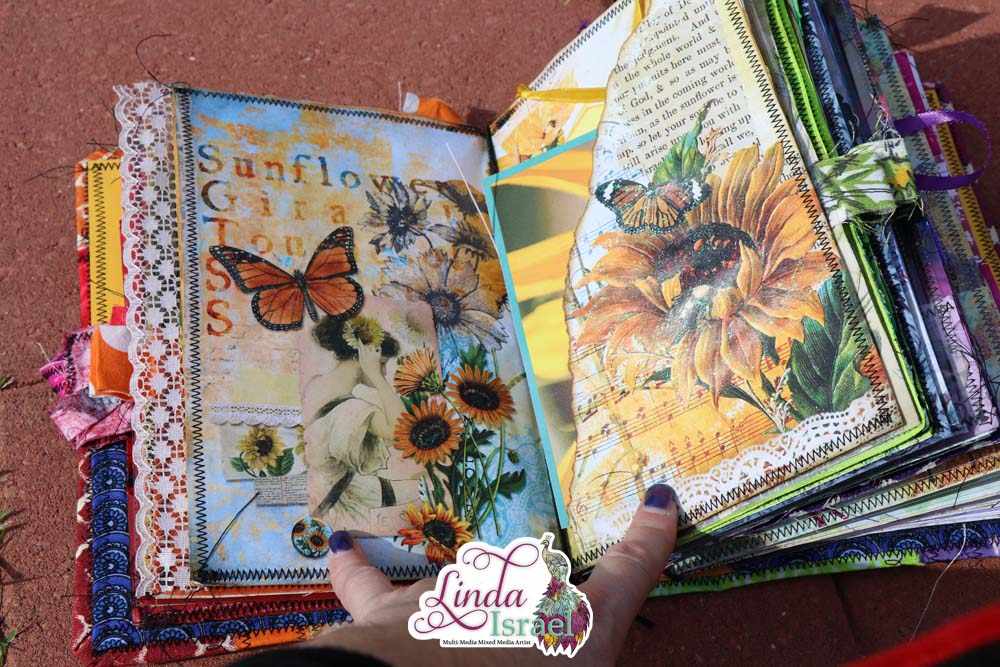
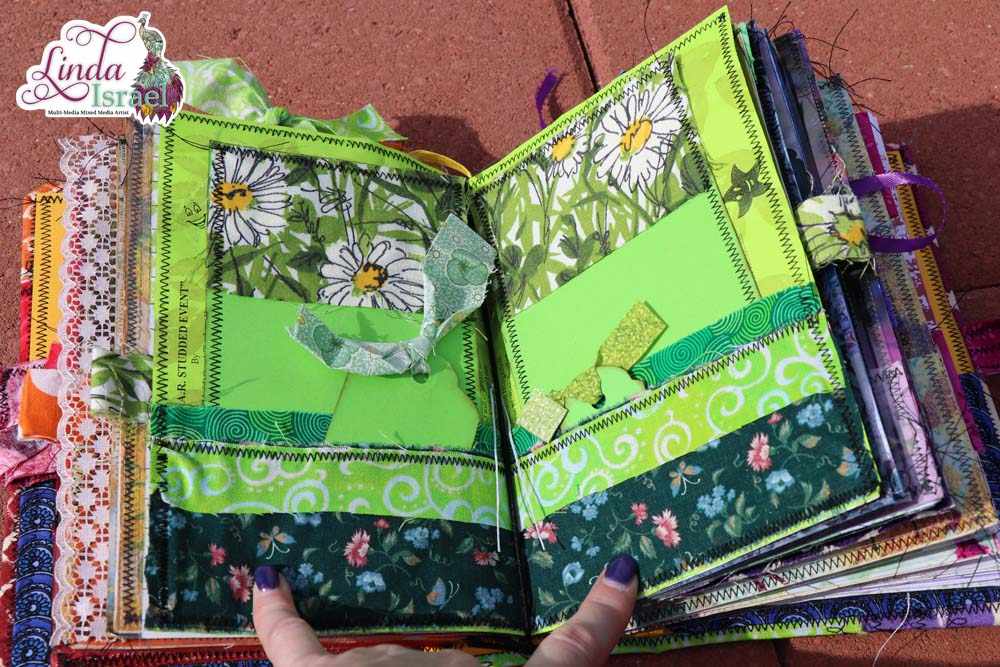
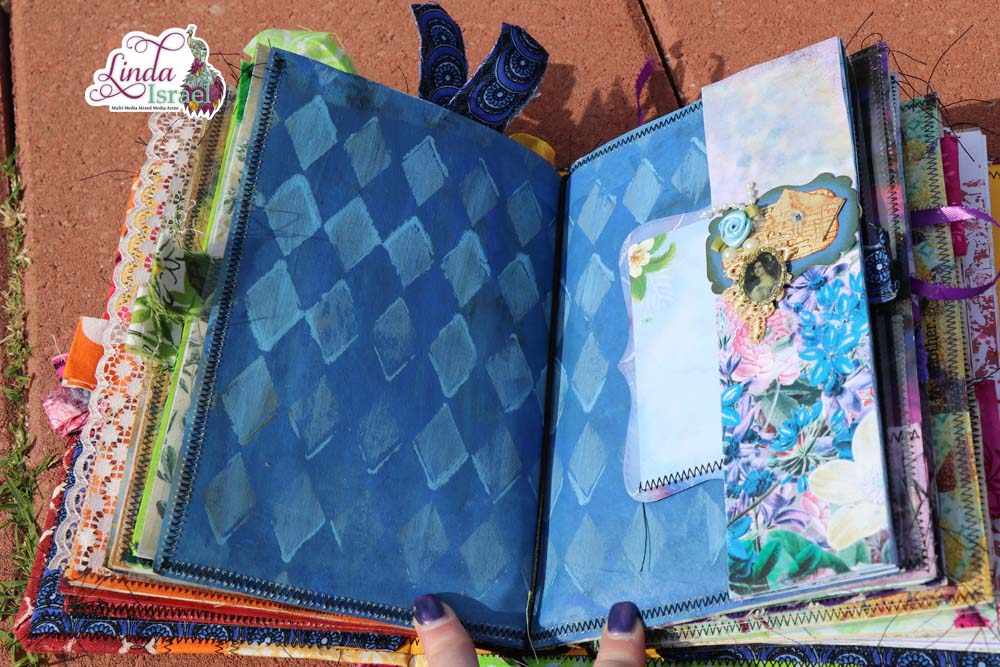
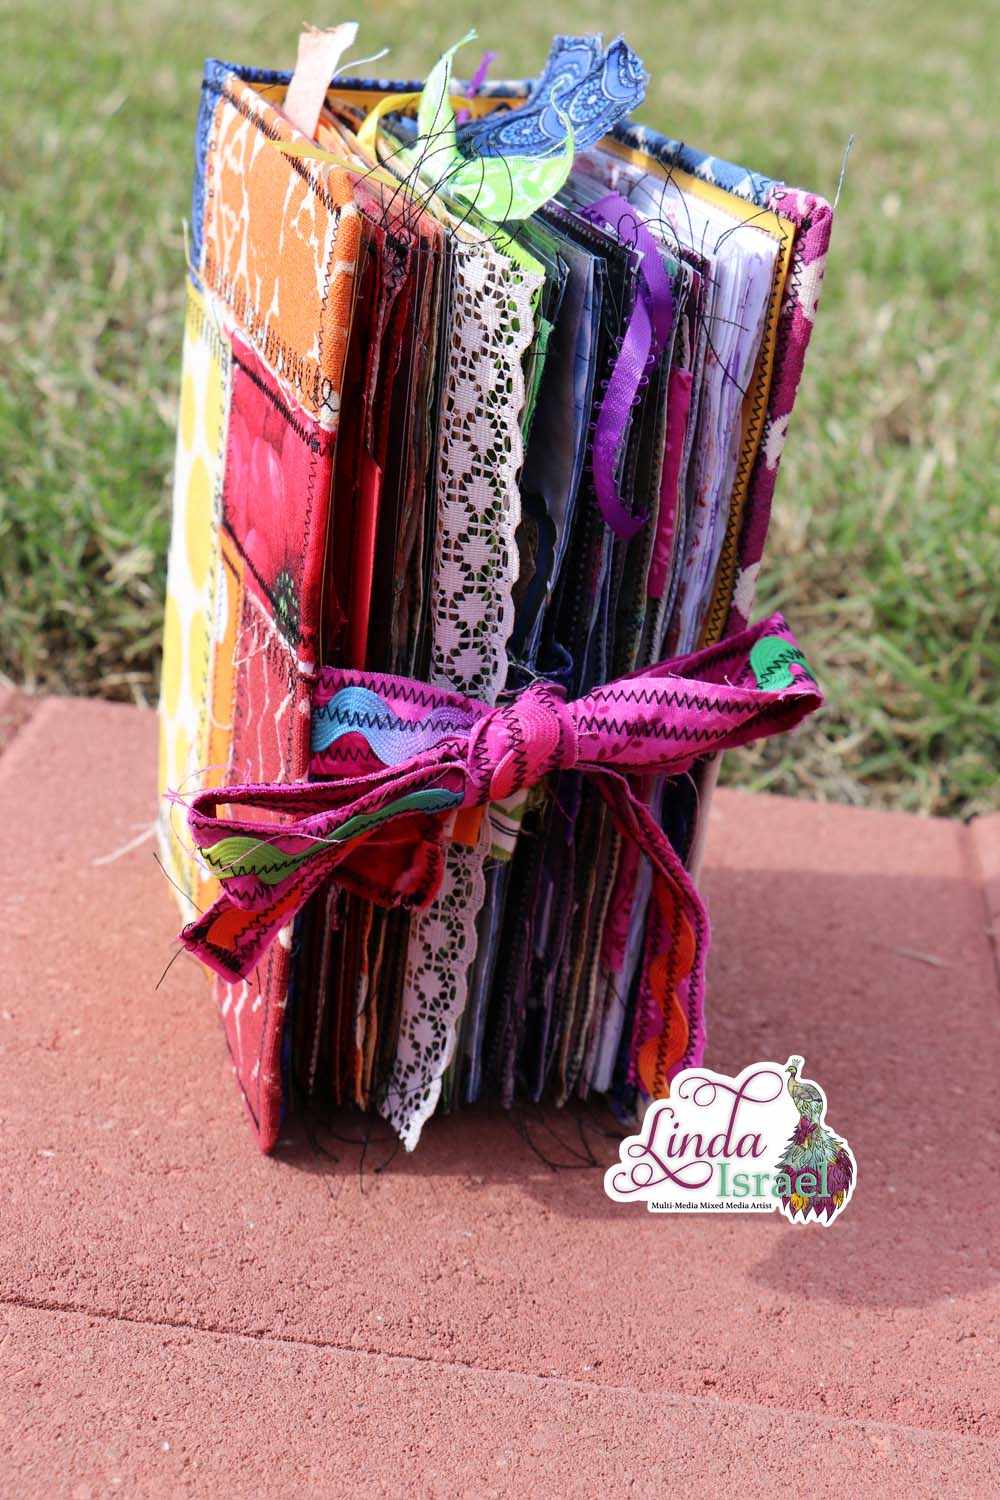
Finally the Rainbow Junk Journal Cover Tutorial is here and the journal is complete! For the past few months, I’ve been making a junk journal page representing each color of the rainbow. It is time to make the cover. Using Tattered Angels Glimmer Mist, Canvas from Canvas Corp Brands and Stencils that I made I show how to make your own fabric to match a project. Come along and learn how the cover was made.

Rainbow Junk Journal Cover Tutorial Video.
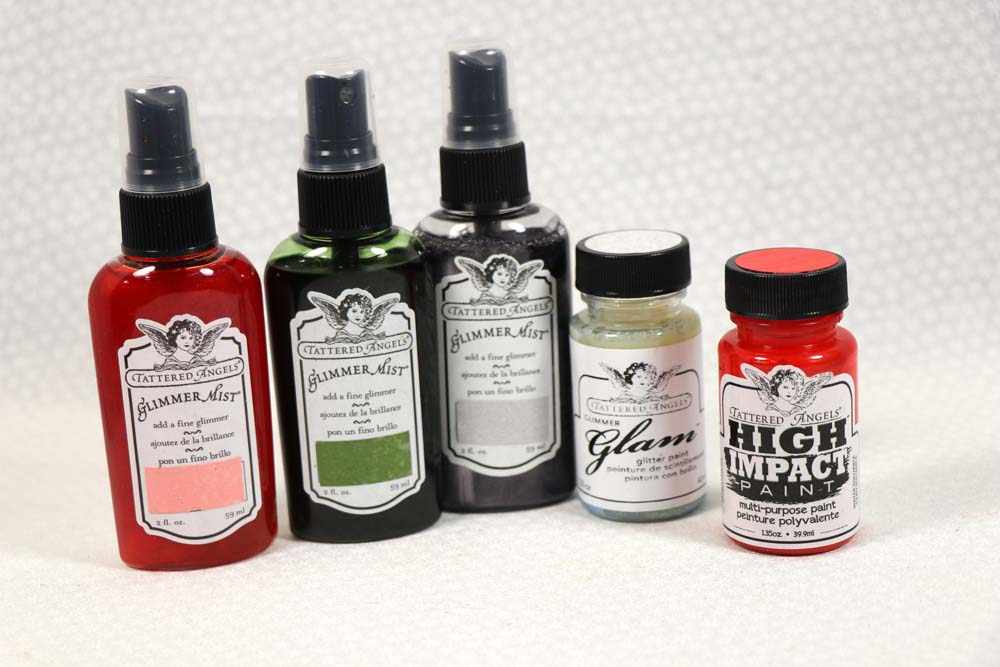
Supplies Used for the Rainbow Junk Journal Cover Tutorial
- Canvas from Canvas Corp Brands
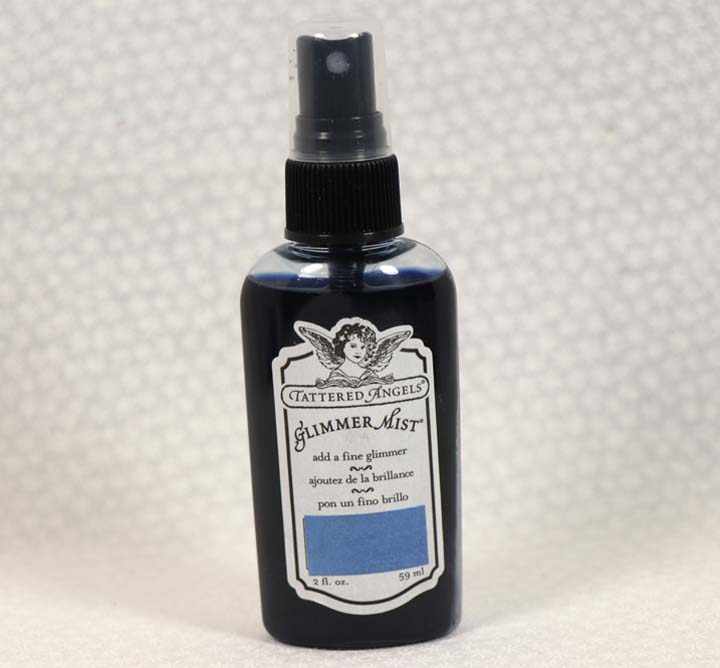
- Tattered Angels Glimmer Mist
- Circle Stencil
- Leaf Stencil
- Moroccan Stencil
- Lace Stencil
- Sewing Machine
- We Are Memory Keepers Crop a Dile hole punch and eyelet setter
- 2 mm Elastic Cord
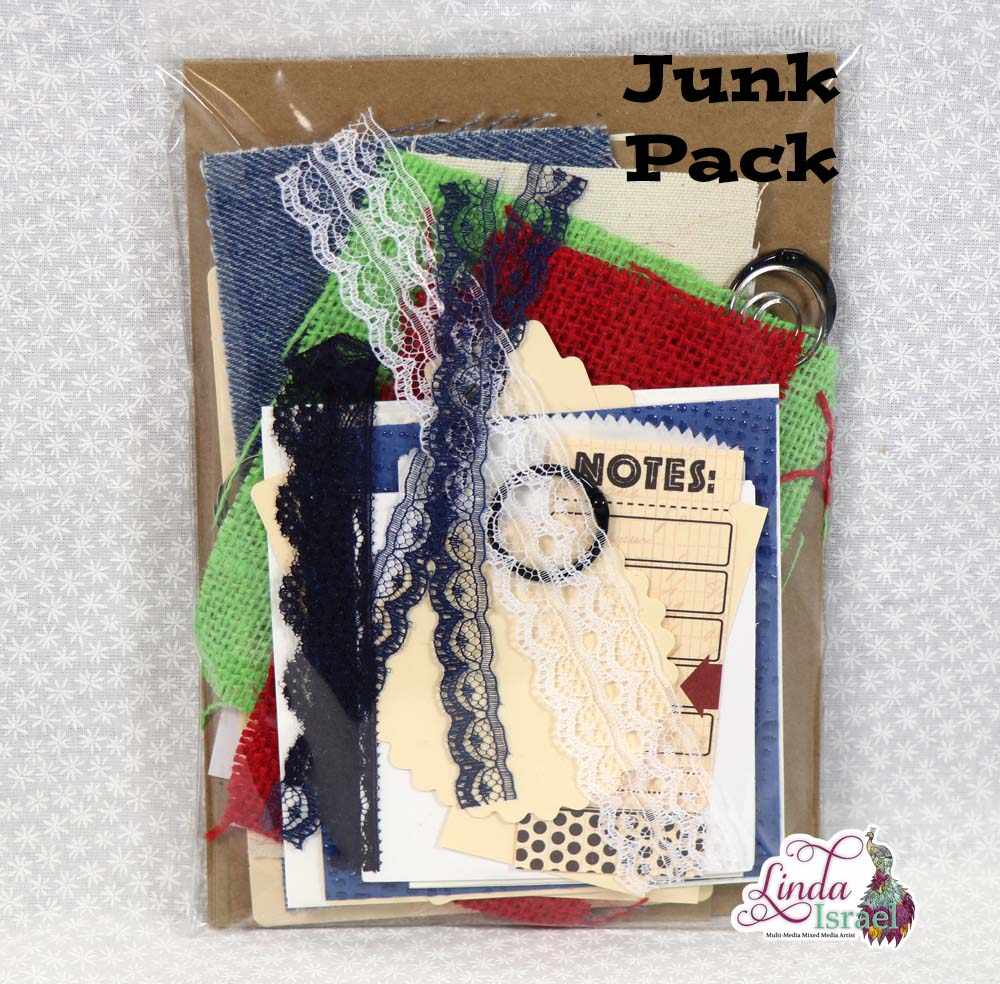
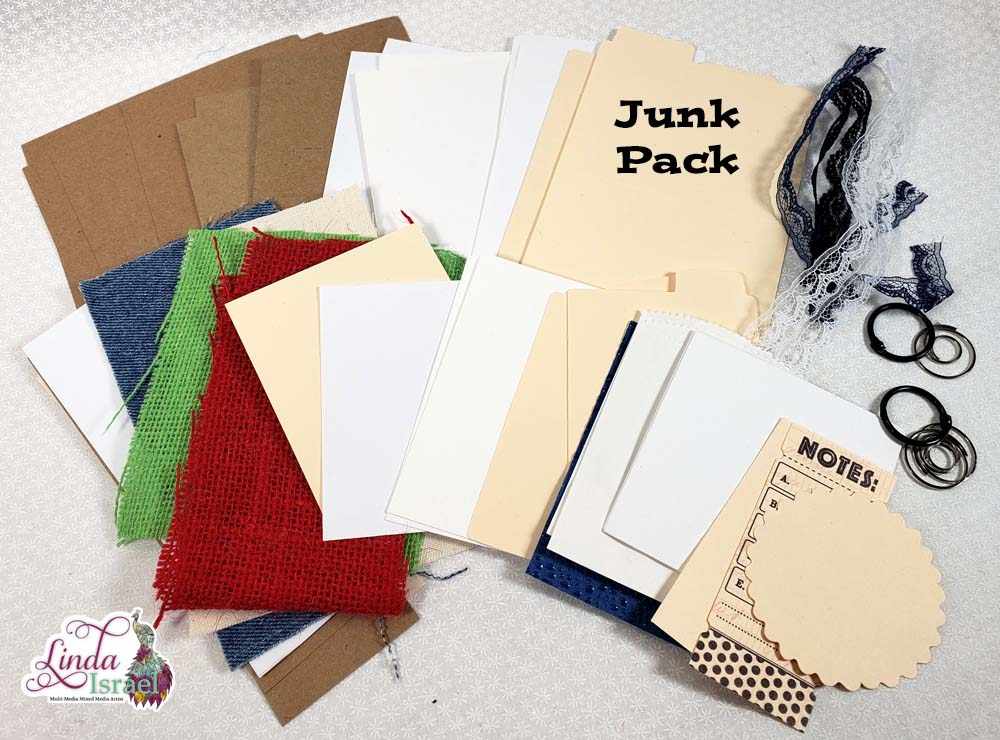
- Scraps of fabric
- Cardstock
- Cardboard
- Aleene’s Tacky Glue

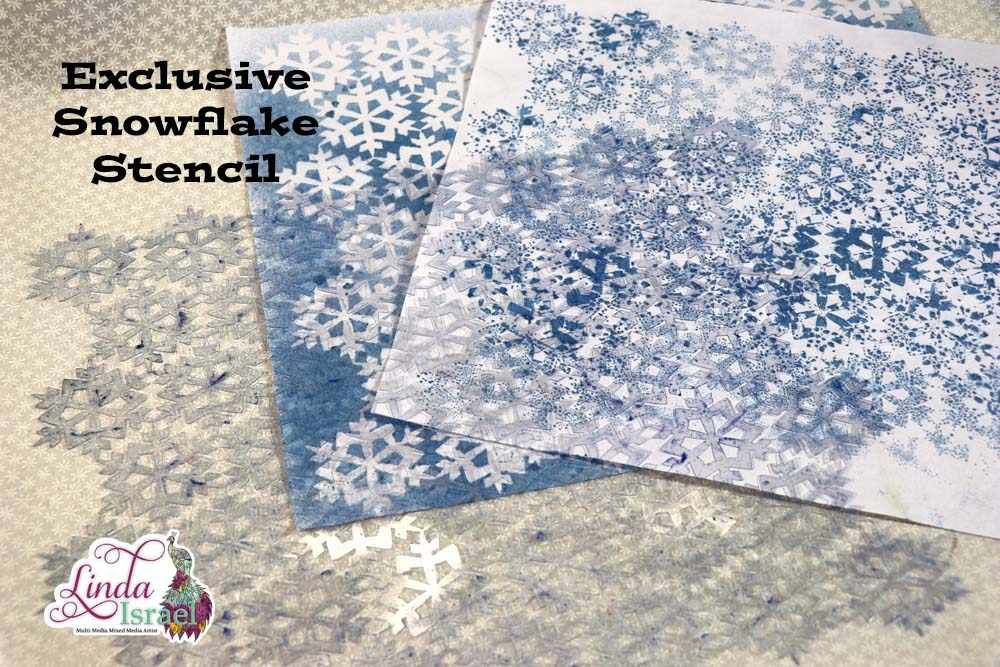
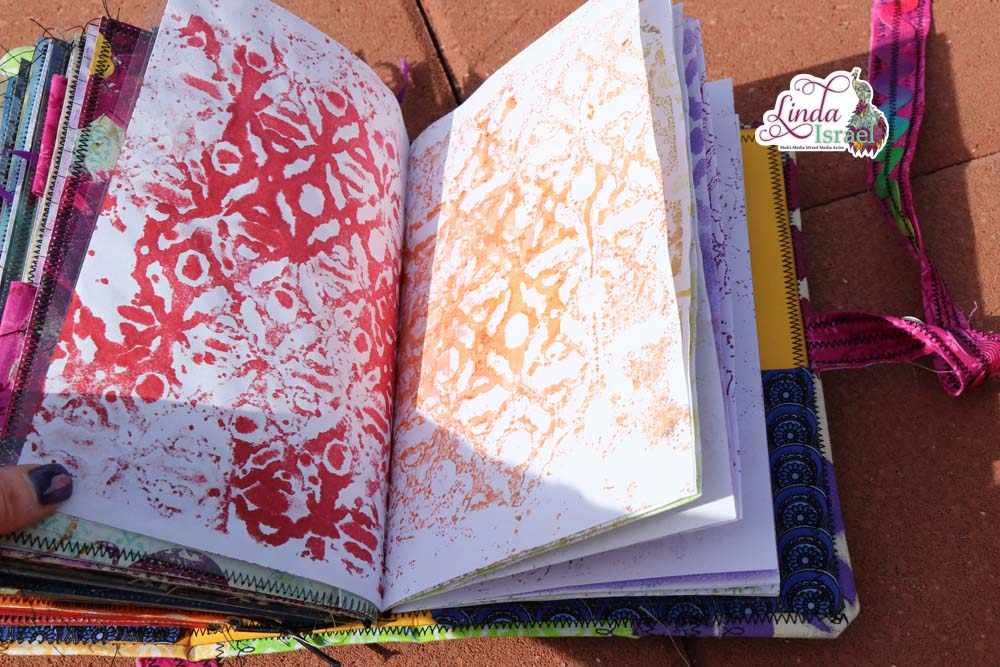
To begin the Rainbow Junk Journal Cover Tutorial, start with a few scraps of Canvas, Tattered Angels Glimmer Mist and stencils. Place a stencil on a scrap of canvas and spray with Tattered Angels Glimmer Mist in the color family you want the fabric to become. Don’t spray too much or the mist will go under the stencil.
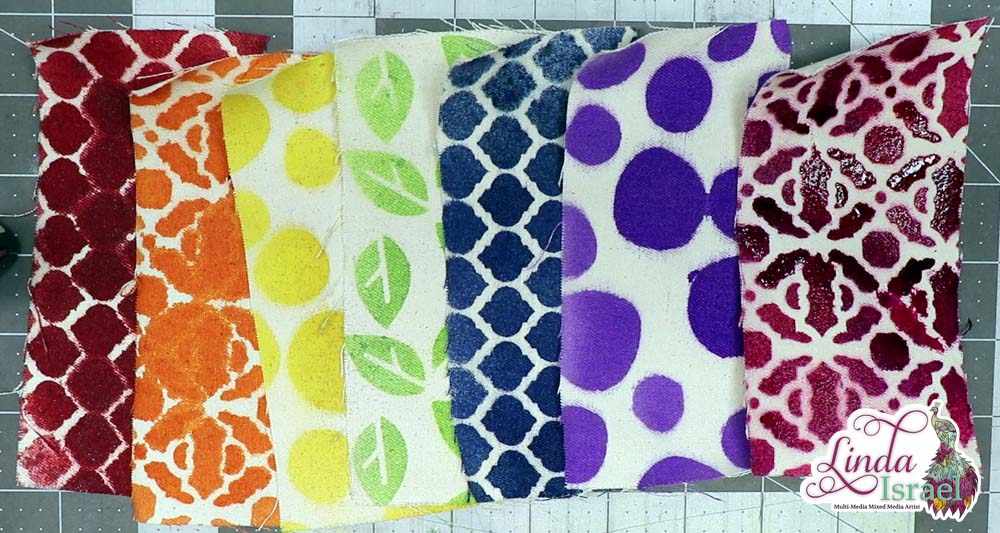
Dry the fabric with a heat tool or let the fabric air dry.
Select other scraps of fabric that match the colors of the sprayed canvas. Arrange on a piece of muslin fabric that is large enough for the cover of the journal.
To determine the size of the cover. Stack the pages together and measure the depth of the stack, the height of the page and the width of the page. For this journal, I decided to make the covers 5.5 wide by 8.5 tall with a 3 inch wide spine. Laying out two 5.5 x 8.5 and one 3 x 8.5 pieces side by side in portrait mode I then was able to determine how big of a piece I would need to cover the journal and added at least an inch all the way around those pieces.
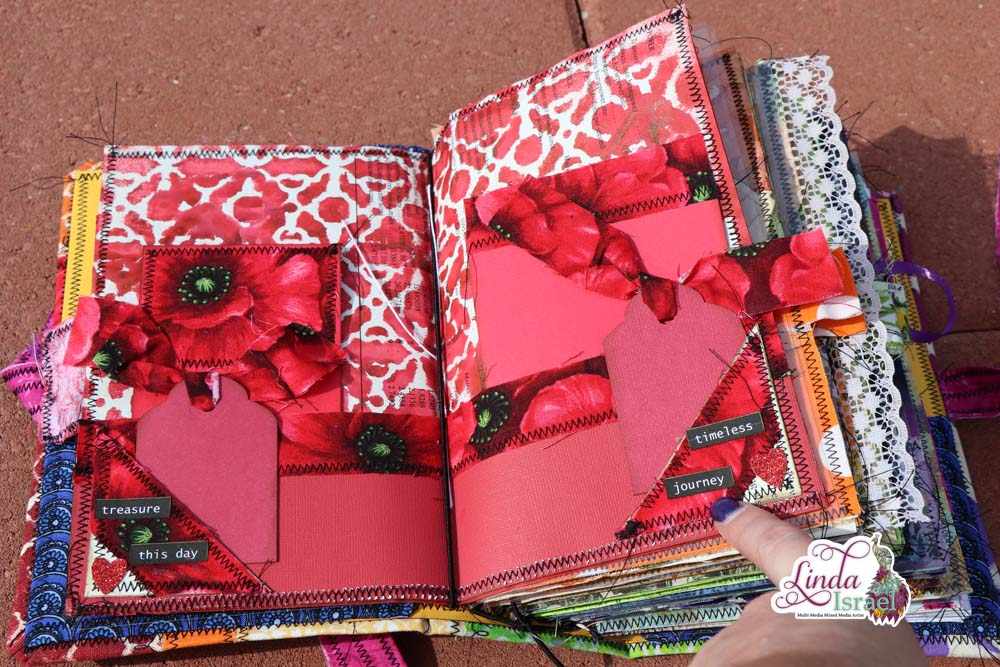
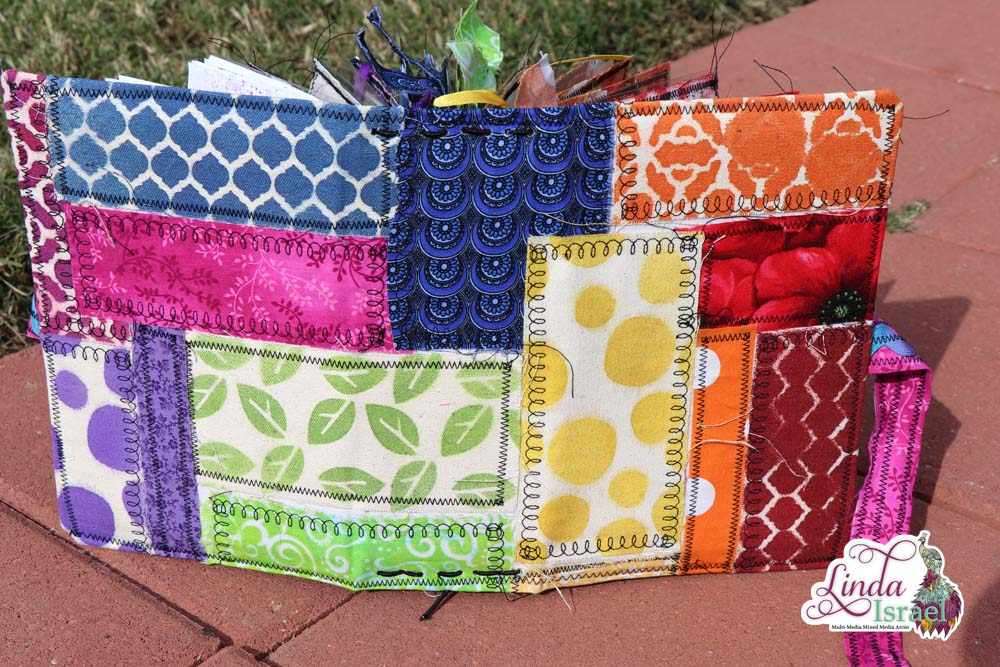
Sew or glue the fabric pieces to the muslin. Arrange the fabric in a way that you like. Play around with the placement. I tried to keep the rainbow going on the cover and not just random pieces. If you look right to left it is the rainbow.
Once all the pieces are attached to the muslin lay face down and proceed to attach the cardboard to the fabric in the center. Remember to leave a gap between the cover and the spine so that the book cover can bend.
Fold and glue the corners in on the cover. Then fold and glue the sides and then the top.
If you want to tie the book close either use ribbon or create ties with fabric. For this journal, I cut the long strip in half and adhered to the front and back cover in the center.
Most importantly, allow time for the glue to dry before sewing, because if you don’t your needle with gum up. Once the glue is dry sew on the front of the cover going around the outside edge, catching the ties.
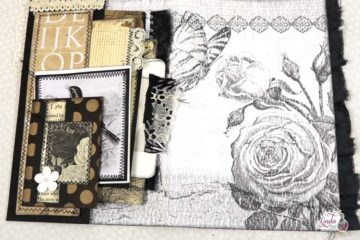
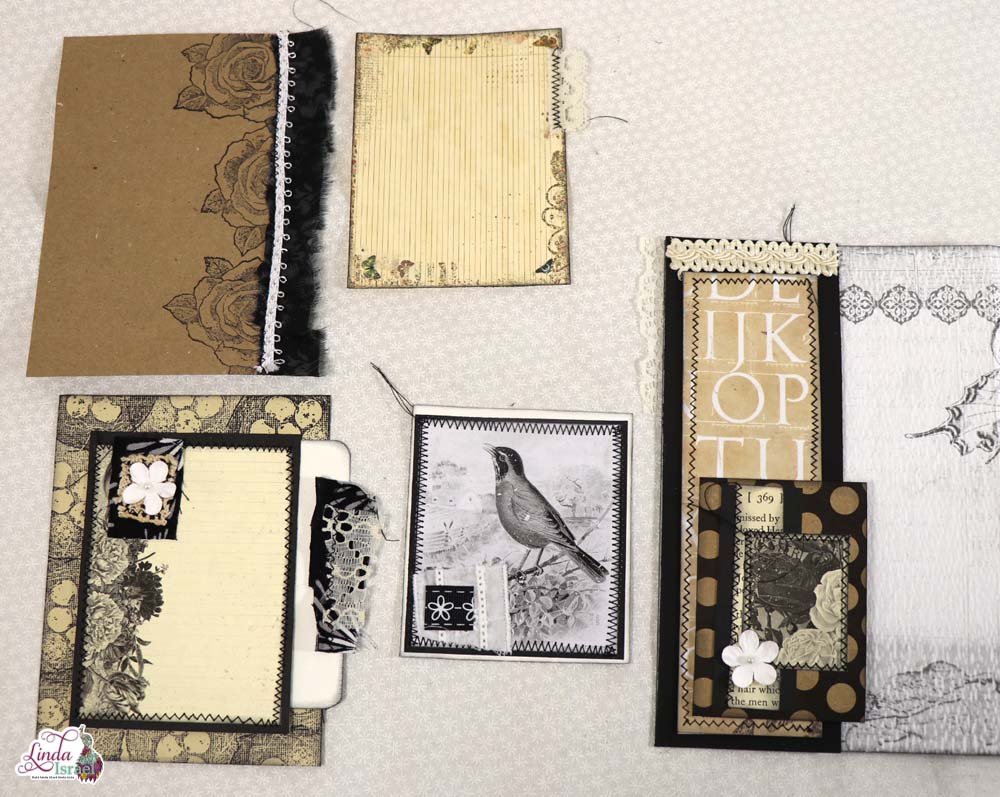
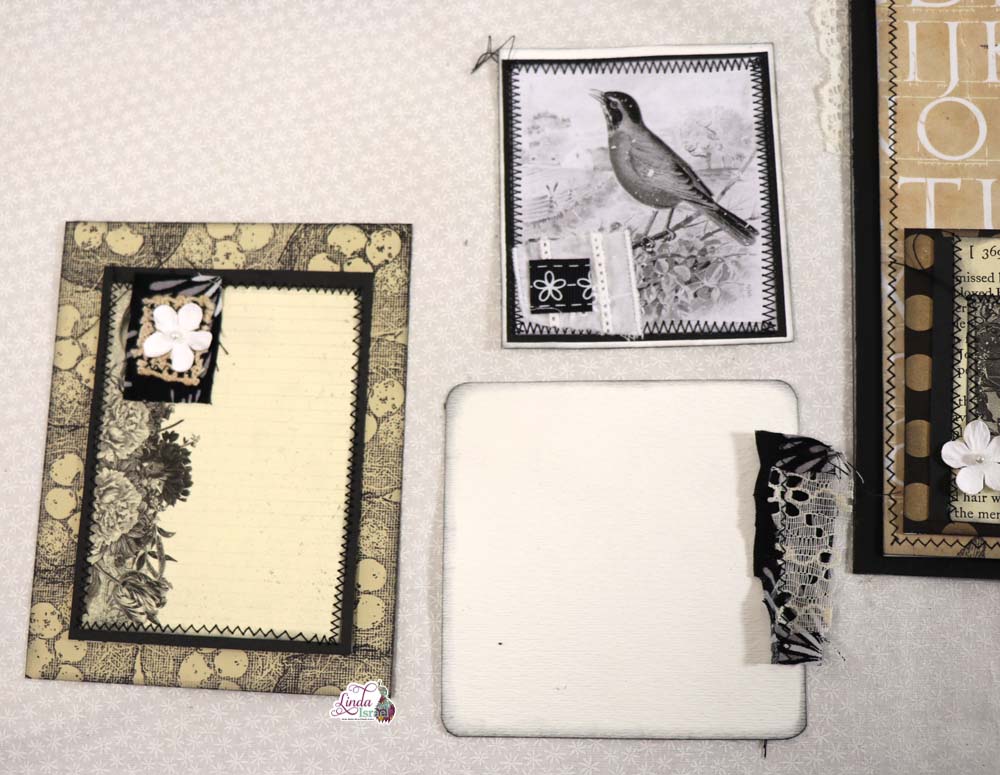
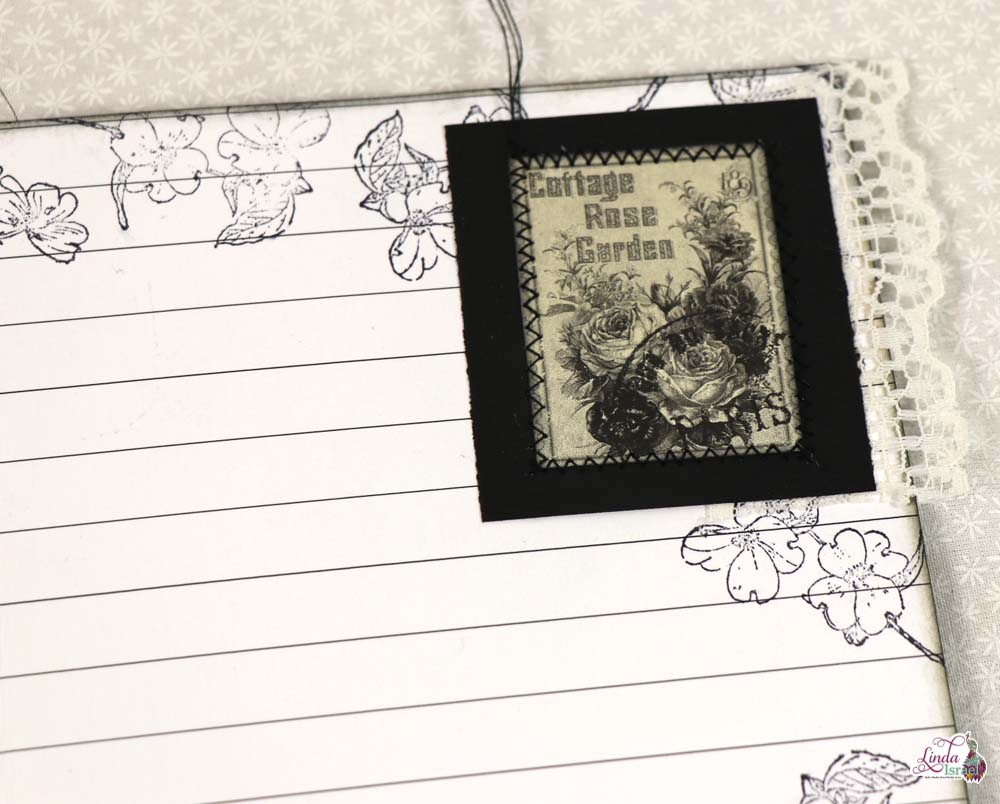
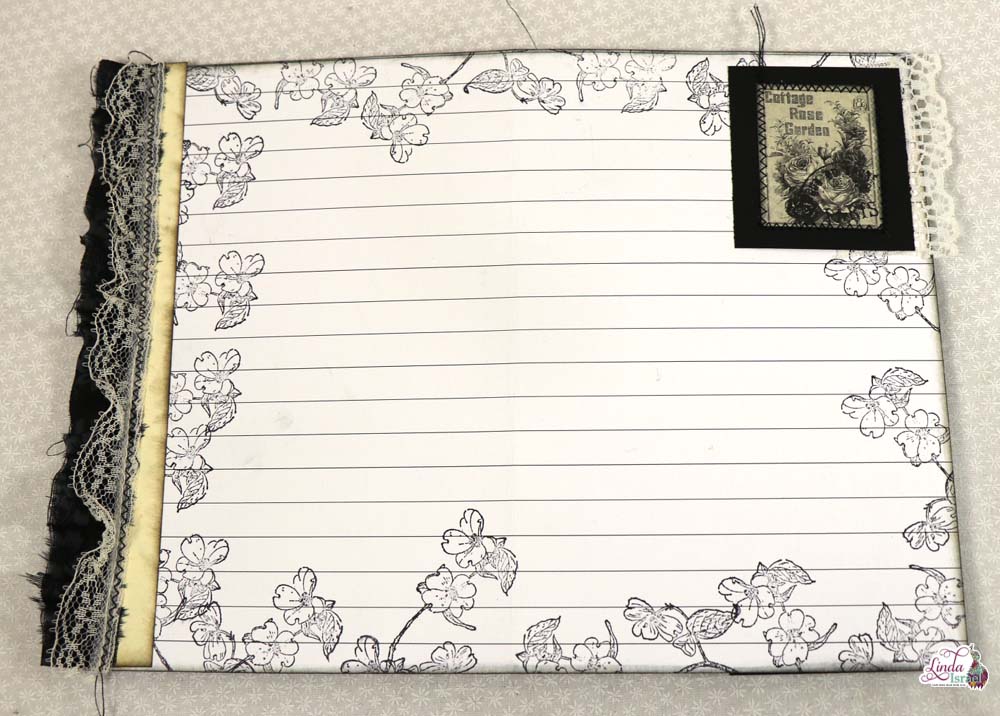
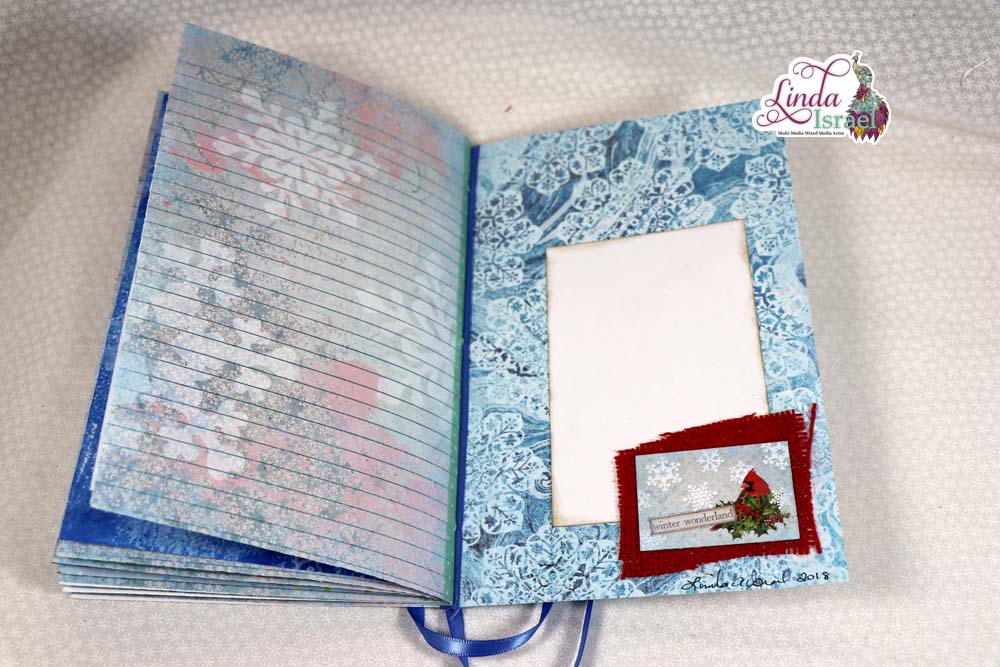
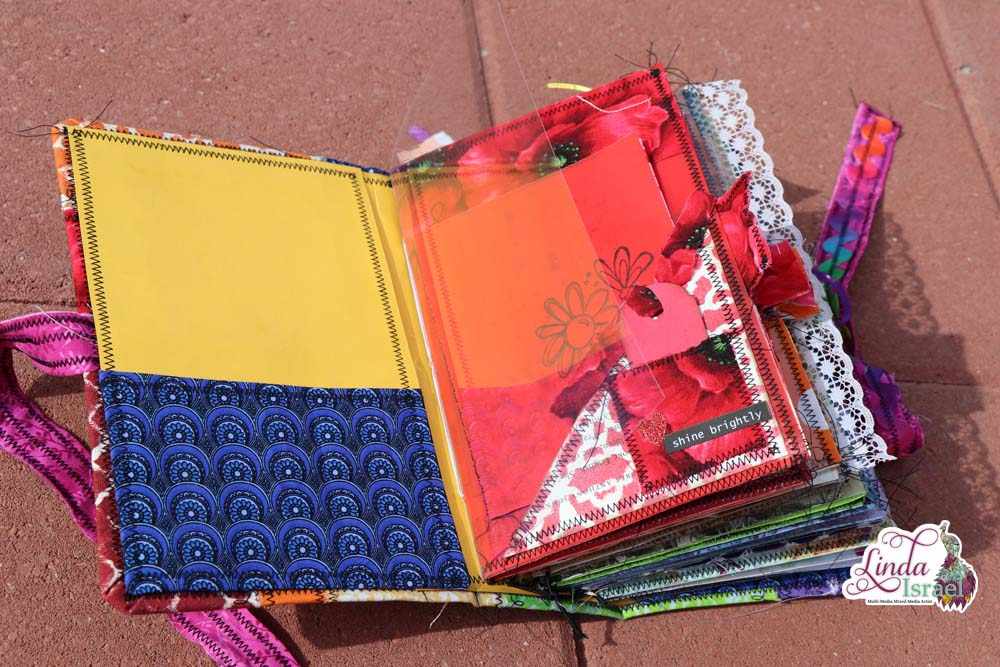
For this journal, I cut cardstock for the inside covers and added fabric pockets. Cut two 5.25 x 8.25 pieces and two 5 x 8.25 pieces of cardstock. Adhere the two 5 x 8.25 pieces together and sew along the top and bottom edge.
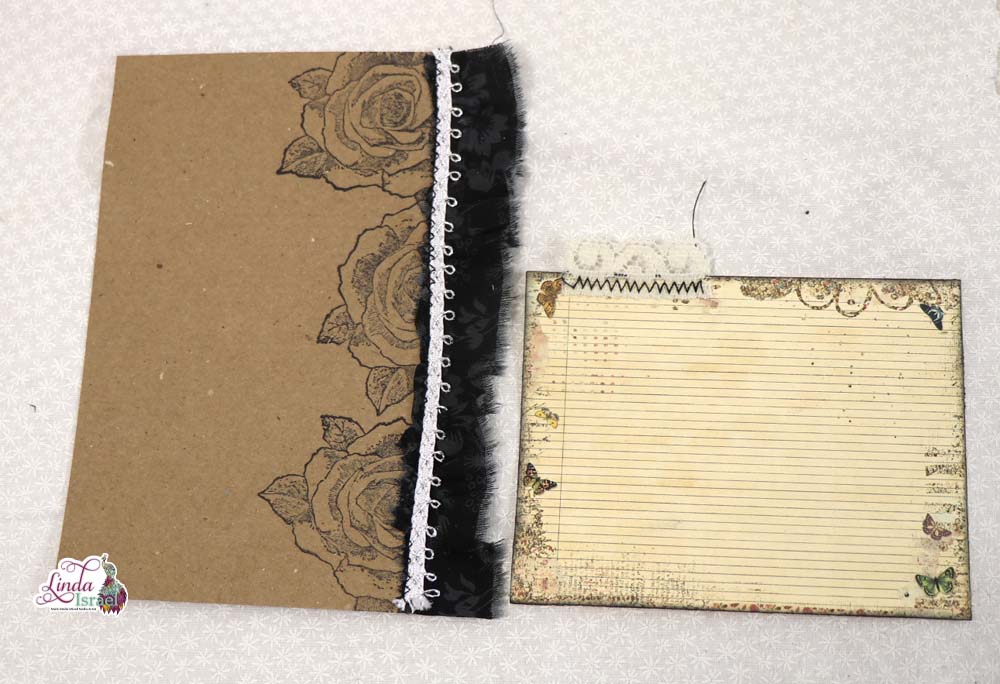
Select some scraps of fabric that are about 7 inches wide and about 4 to 5 inches tall. Folder over the top edge of each scrap, glue or sew into place. Then wrap the front inside cover bottom of the cardstock piece in the same manner as the cover. Glue or sew into place. Repeat for the back cover.
Adhere the 5 x 8.25 piece in the center inside of the cover. Making sure to be generous with the glue. Use a bone folder or a butter knife to press the paper into the gap between the spine and the covers. Try not to fold the covers in until the glue is dry.
Apply glue to the inside cover pieces and place on the left and right of the inside cover.

Make a template that is the same width as the spine and mark the holes. In my case, there were 8 holes. Mark the holes on the top and bottom inside spine and punch.
Thread the 2 mm elastic cord through the holes in a top to bottom zig-zag fashion. These will be the holders for each of the junk journal page signatures. Once the elastic is in place and there isn’t too much slack tie and cut the excess off.
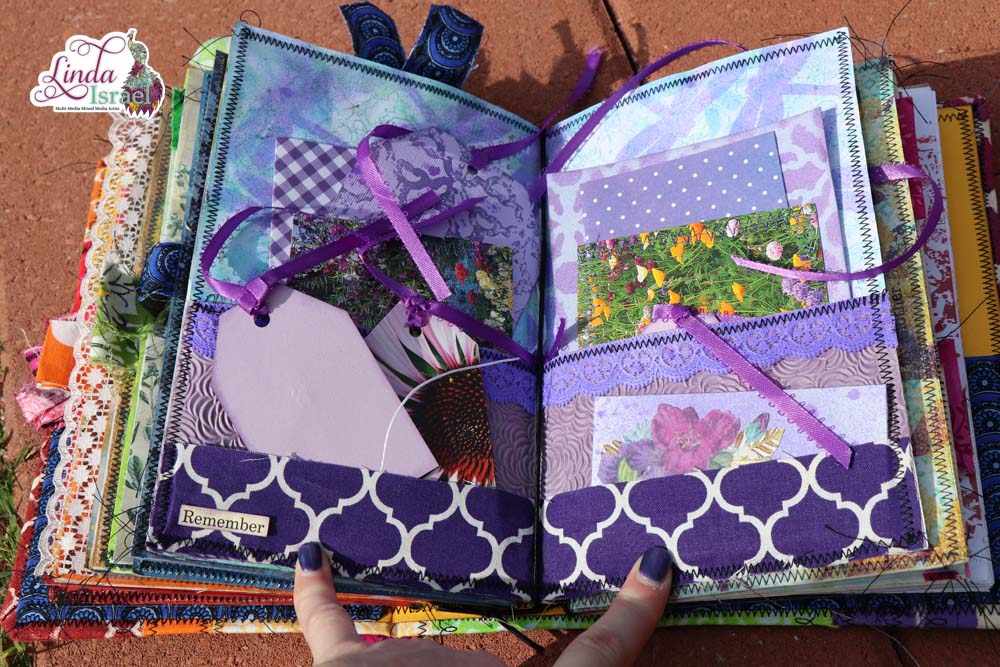
If had to do this over I would have used transparency film on each piece to be the “cover” of each signature and sewn these together. Since I wanted to be able to see each page as a cover I folded a trimmed piece of transparency and made that the cover of each signature. Don’t press too hard on the fold on the transparency or it will split. If that happens you can adhere back together using washi tape. Using the pamphlet stitch on each signature make booklets.
Place the inserts in the journal cover and you are done.
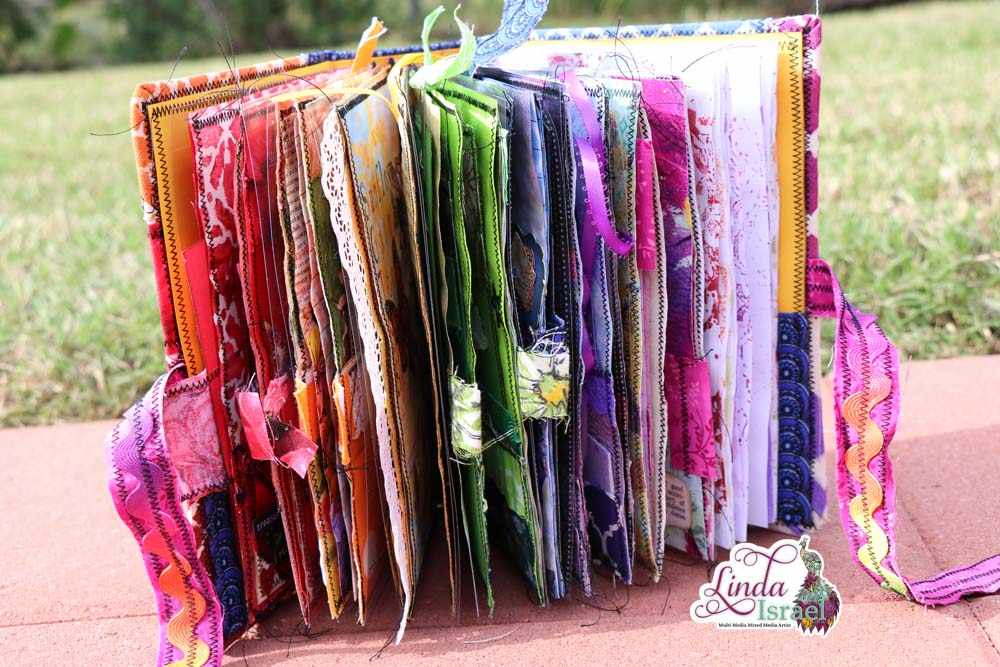
It really was a joy making this Rainbow Junk Journal Cover Tutorial. The colors are so vibrant. Everyone that got to see the journal in person loved how it turned out.
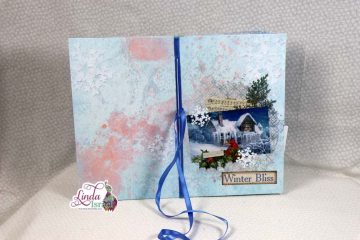
Want to check out all 7 of the Journal Pages made for this journal? Check them out on YouTube.
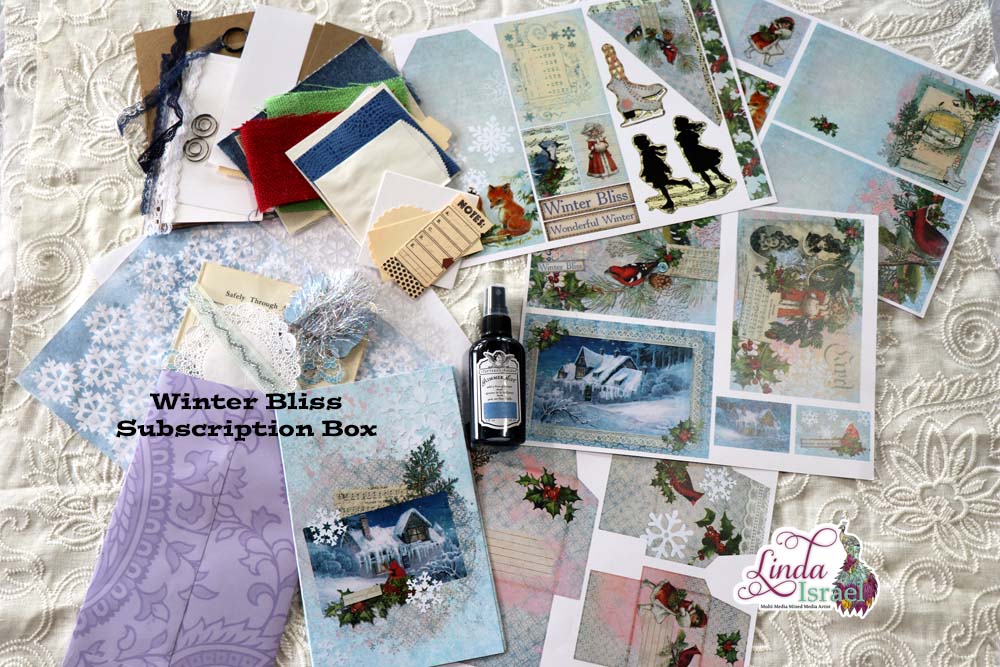
A great way to support me, and continue to see more tutorials and inspirational projects from me is to check out my Patreon account. When you give me your patronage you will get this exclusive digital download featuring art I created that has now been made into a digital journal kit.
 Make sure to check out the Friendly Junk Journal People Facebook group. Of course, you are welcome to join the Friendly Junk Journal People Facebook group. The group is growing daily and we are a friendly group willing to help each other and encourage each other.

Interested in any of the journals I created? Please feel free to contact me through my Facebook Page. Here is my shop, I have a lot of items uploaded and add more weekly.
Keep updated on my posts by following me. Follow my blog with Bloglovin. Or Follow my Facebook Page or on Instagram for updates that may not be shared on my blog.
Thanks so much for stopping by my blog today to see the Rainbow Junk Journal Cover Tutorial.