I was asked how to use embossing powder with rubber stamps via my youtube channel. There are so many supplies out there that can be used. It took me a little time to decide how I was going to choose which supplies to spotlight in my instructions…
Things you will want to have:
Embossing powder – any brand, but consider the project at hand. You may want detailed embossing powder if you are doing a fine detailed stamp, or you may want ultra thick embossing powder if you are doing a solid stamp that is large.
Heat tool – Not a hair dryer. Back when I first started stamping, we tired all kinds of things to heat up the powder so it would melt. Trust me, the best investment is a heat tool. It doesn’t matter which brand. Just pick the one that fits your budget. I even have a commercial heat gun, that is used for removing paint, just have to be careful and not use that one on high, it will burn the paper! lol…
 Pigment ink – a juicy pigment ink will hold the powder in place. If you have an old pad, consider getting the reinker for it so that you can reapply the ink to the pad before you use it in your project. I do this for most of my common ink pads.
Anti static helper – could be a dryer sheet or an Anti Static bag. This you will rub on the paper, before you stamp and apply the powder. It helps to keep the powder from sticking where you don’t want it to stick… (instructions on how to make your own anti static bag)
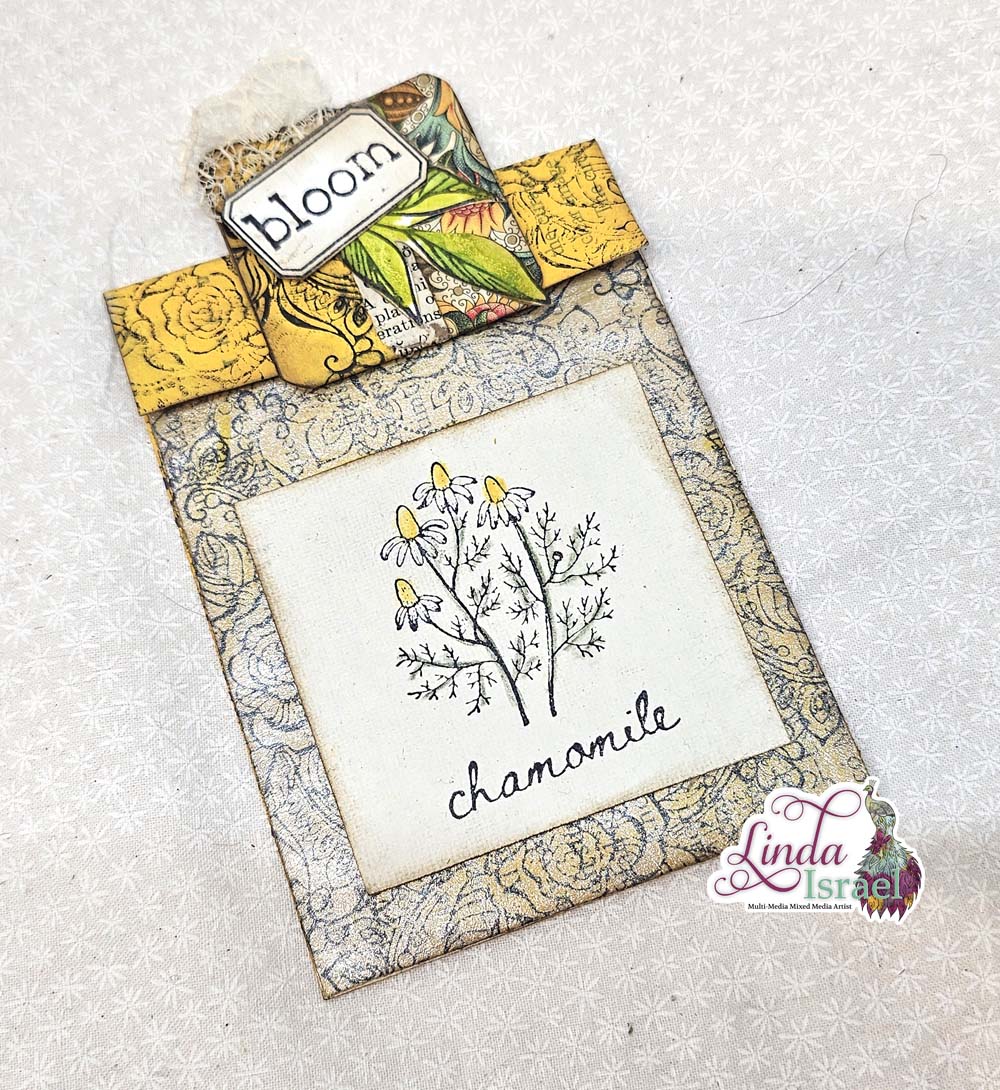
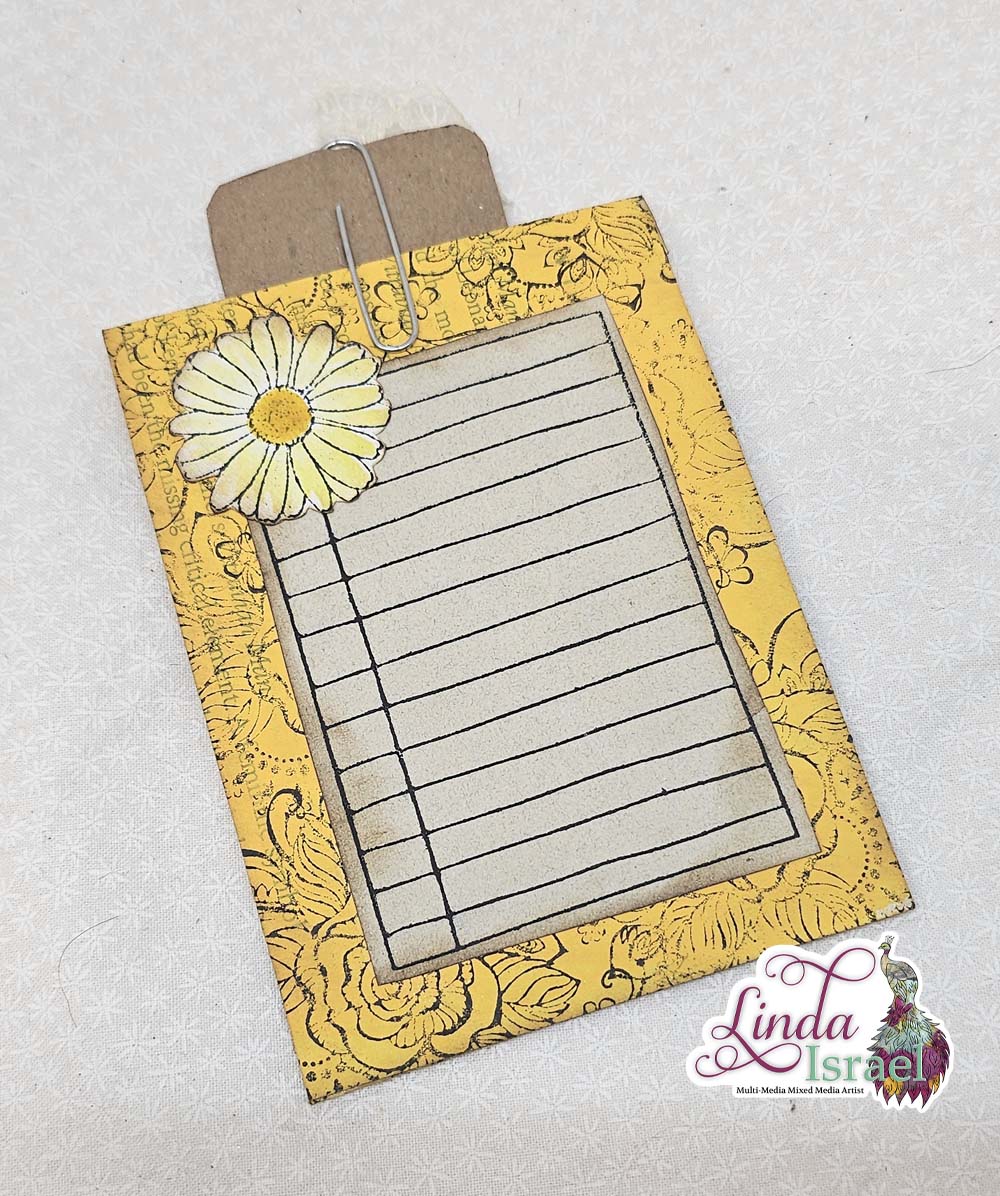
Item to be embossed – paper, canvas, or just about anything that can stand the heat…
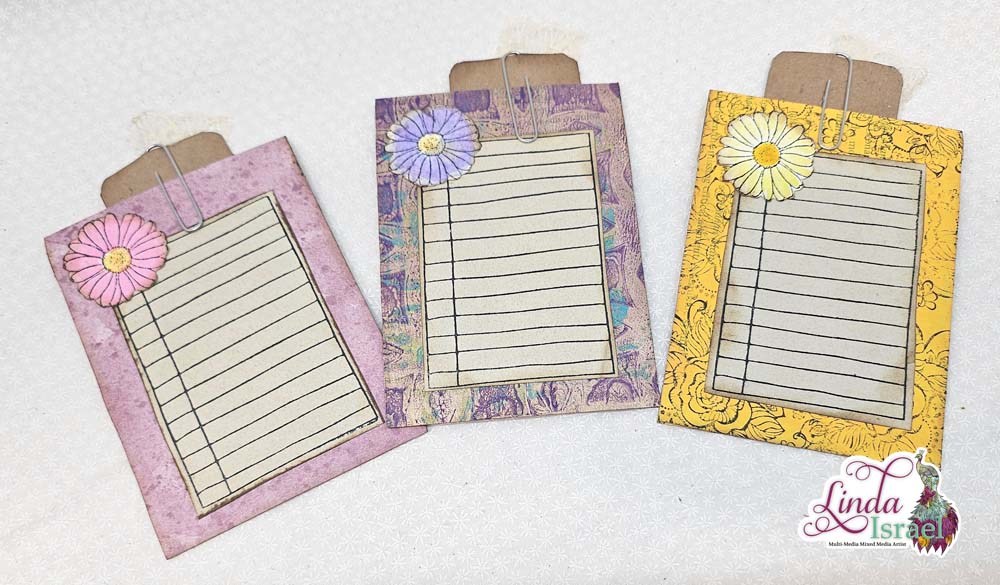
Basic instructions: prepare the surface with the anti static product of your choice. Ink stamp with pigment ink, stamp on item. Coat with generous amount of embossing powder, tap off excess powder onto / into a container so you can reuse powder. Turn on heat tool (if you let the heat tool run for a moment before you apply it to your project the powder will melt faster.) Point heat tool towards project. When you start to see that the dull powder look changes to a shiny surface move the gun to a new location. Don’t keep the gun too close to the project or it will burn or discolor the project. If you keep the gun on the project too long the powder will melt down into a porous surface and will look dull. Which could be a look you are going for, but most of the time people want the shiny raised look of embossing. Keep moving around the project until all of the powder has changed. Turn off the gun and let the project cool. The powder will be very hot and you will get a nasty burn if you touch it before it cools off! Now look at your embossed project and pat yourself on the back! You did it! Great job!
Want to see embossing in action check out the video:
Have questions regarding embossing, please feel free to ask, just make sure to give all the details you can in your inquiry…
Thanks for stopping by my website.
Linda Israel