Back today sharing another segment of Story Time with Linda Getting on Design Teams Part 3. In this post, I’ll share info about my camera and software I use to edit photos and videos. I’ll also show my photo booth that I created and a few tips that I think will help you to create great photos and videos. Being on a Design Team is rewarding, but it does take work.
Story Time with Linda Getting on Design Teams Part 3 Video.
A list of equipment and software I have used or still use to help you with Story Time with Linda Getting on Design Teams Part 3.
- Canon 80D Camera
- Sony Handycam HDR-CX405 Kit
- Gorilla Pod camera adaptor for light cameras
- Camera adaptor for heavy cameras
- Adobe Photoshop Elements and Premiere Elements
- Clamp-On lights and bulbs
- Fluorescent under cabinet light bar
- White fabric
- Foam core posterboard
- other scraps of fabric
- pins to hold the fabric in place.
When I started videos on YouTube I used a simple Casio Point and Shoot Camera that happened to have a video option. Using a Gorilla Pod camera stand adaptor and a few other supplies I made a rig to hold the camera while I created videos. Where there is a will there is a way to get set up!
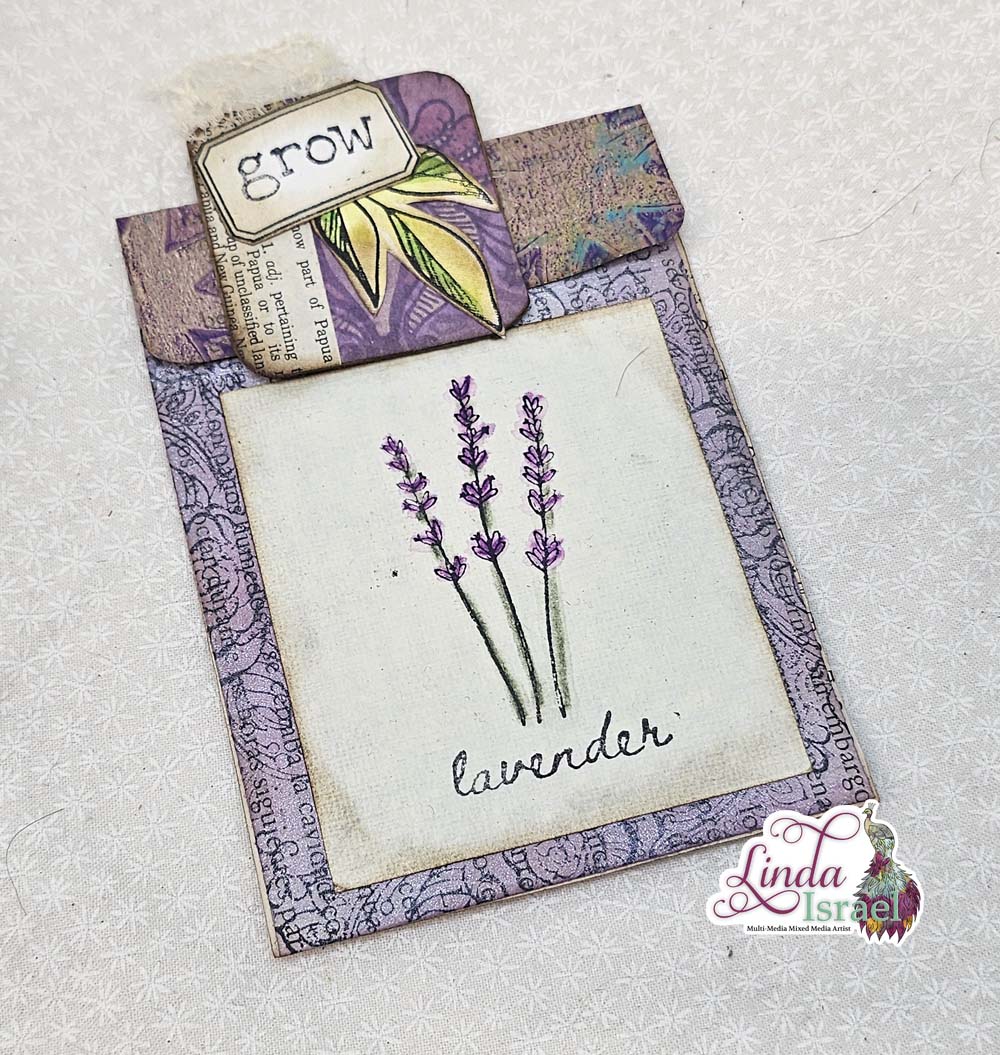
Having a good video camera allows you to be able to create step out photos. Step out photos are a step by step process of the project. There are some design teams that require these photos. Know that up front. I’ve found that being able to create the project and have the video camera capture every step is so easy to create step out photos.

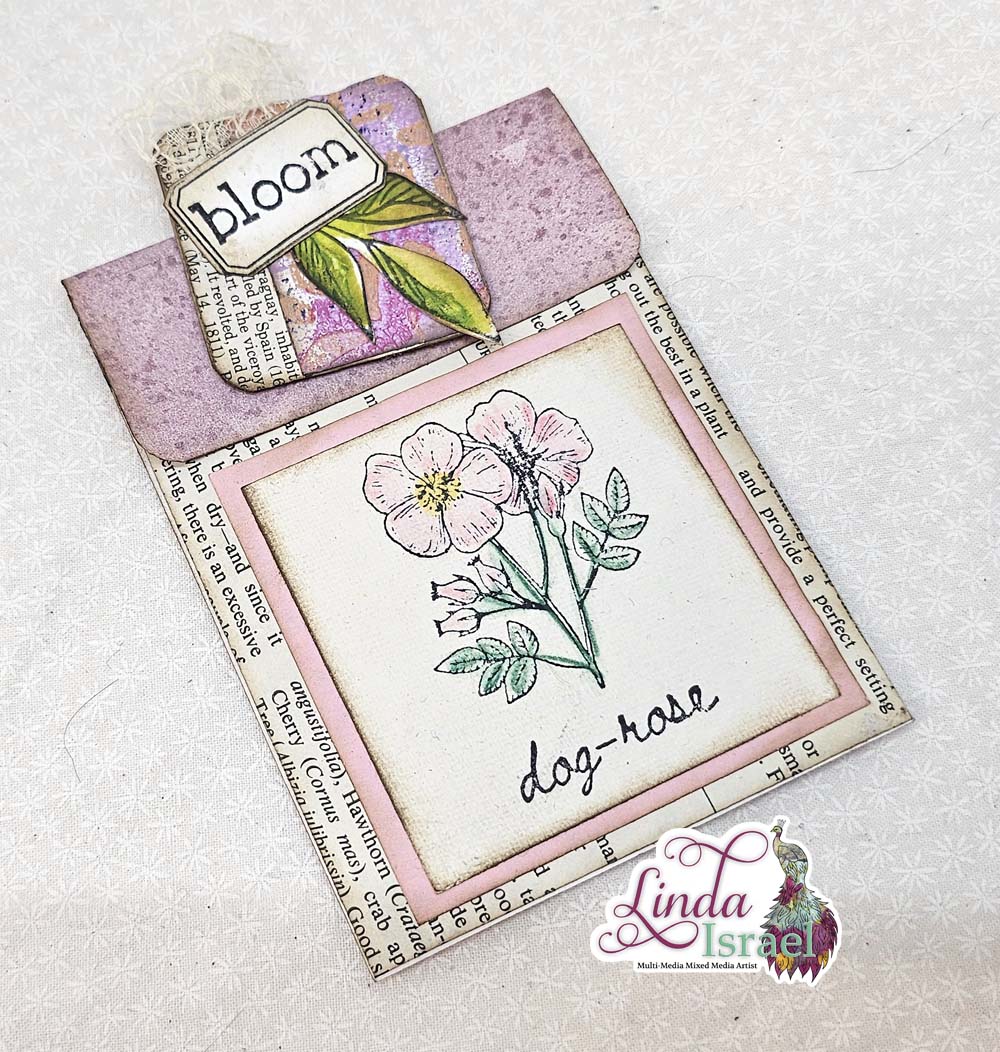
My photo booth or large photo light box is an area I have designated with a white fabric backdrop and a few lights. The lights I use are easy to find. One is a 24 inch fluorescent light, it is an under cabinet mount light. Clamp-on lights are easy to find and can be positioned where you can clamp on something. Get creative.
 Having a designated photo area makes it easy to take great photos every time. When you use the area it is easy to figure out the best way to take photos.
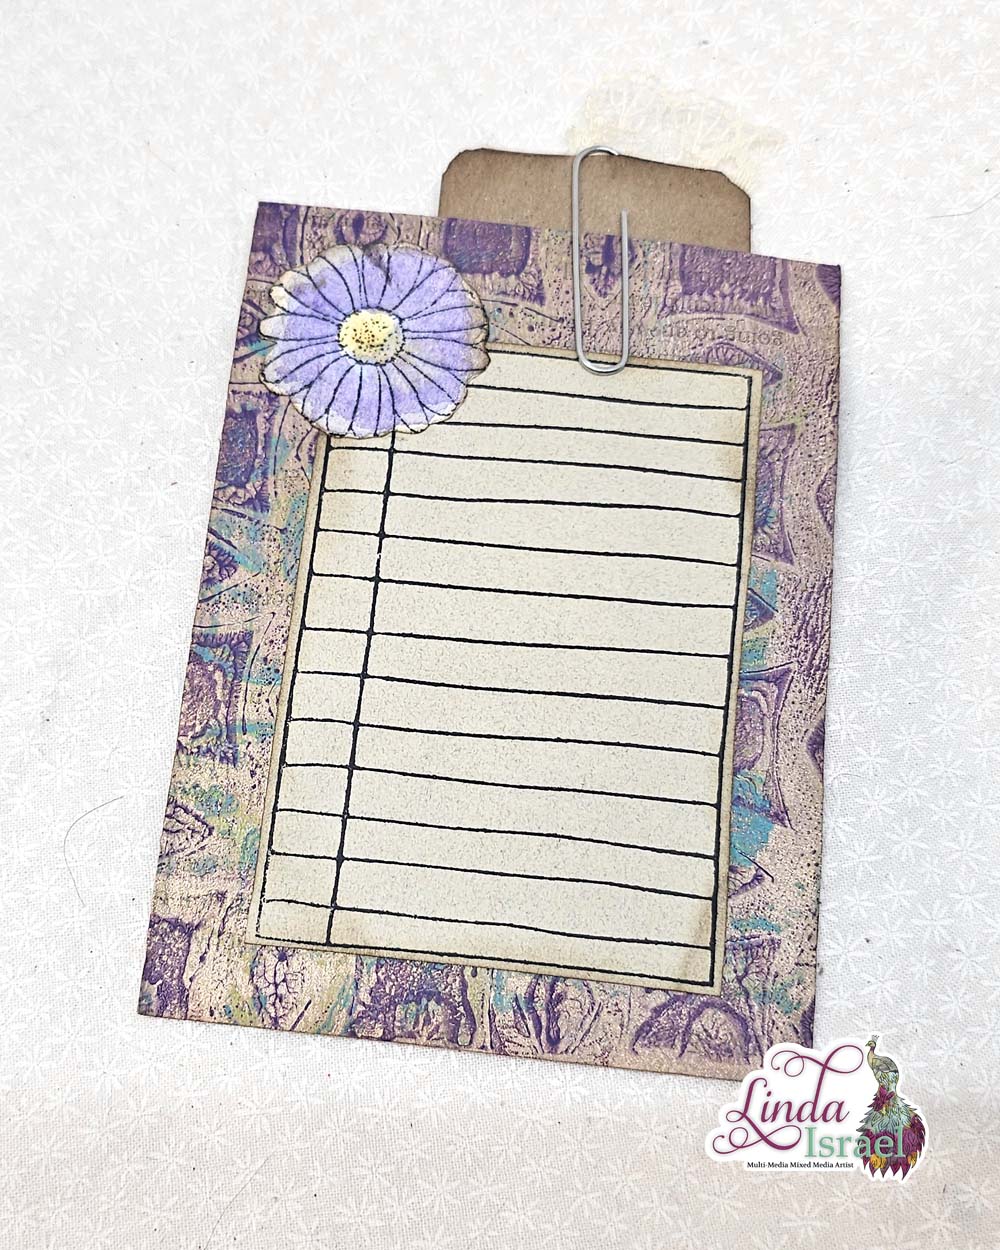
Try to avoid shadows. Get the image in focus and show creative angles of the item.


Then edit your photos. Learn how to clip the white and black in photos. It is part of the adjusting the lighting in editing. By doing this you get a crisper image.
The number one complaint from companies is poor photos. So do your very best when taking photos to show the product in good lighting and in focus.
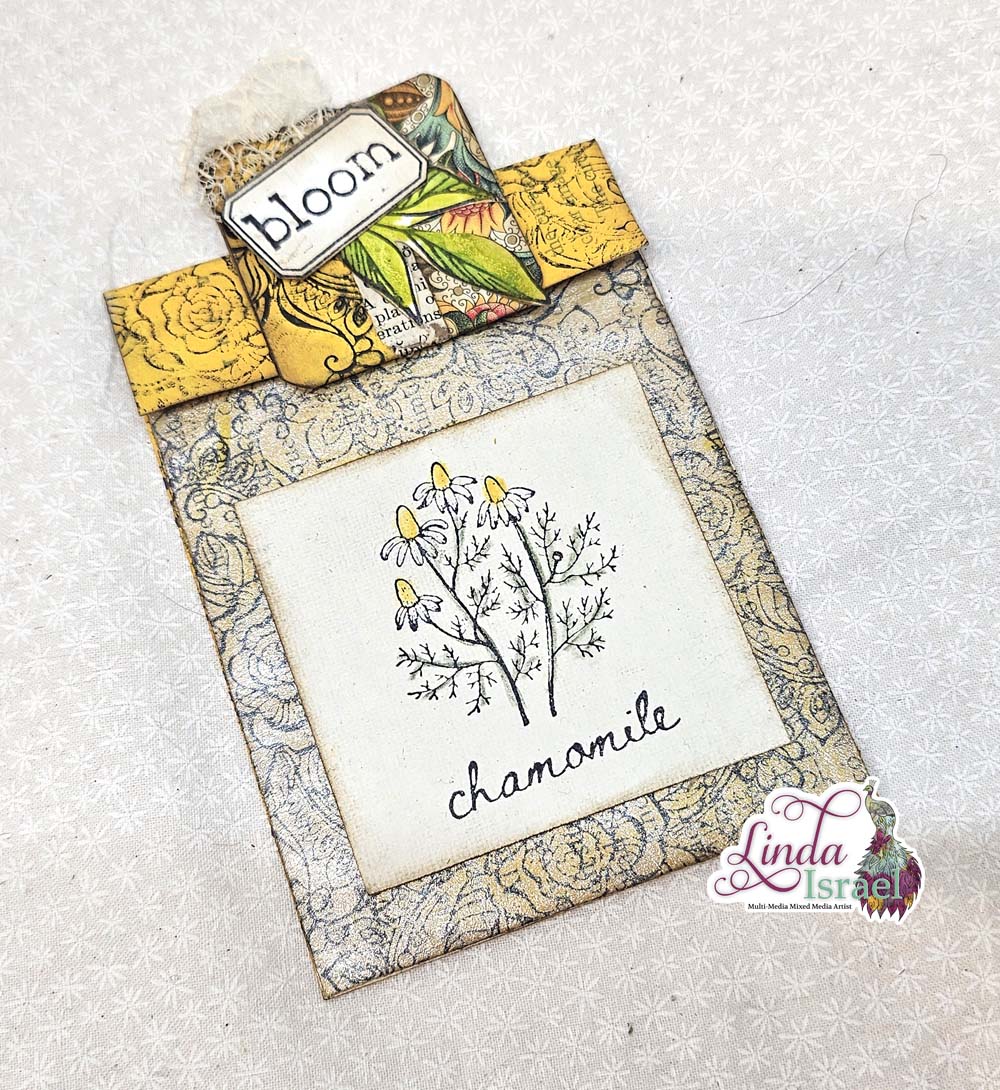
Another thing I didn’t mention in the video is to add your watermark to the photos. Some Design Teams give you a watermark they want you to use. Find out what they require. Don’t make your watermark so big that it is distracting in the photos.
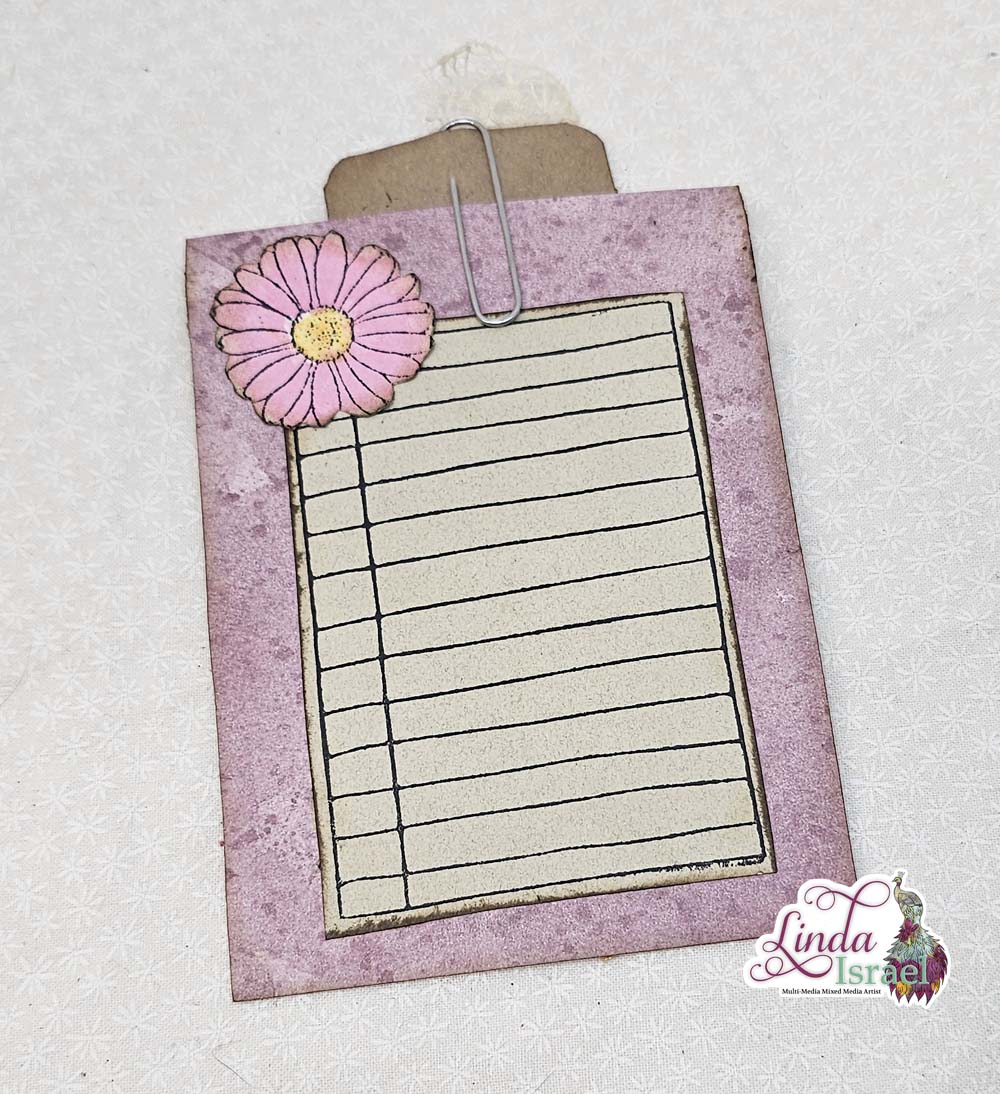
If you love creating and sharing then being on a Design Team might be a perfect fit for you. It does take time and effort to create content and edit photos or videos, make sure to allocate that time. Some of my projects may only take 10 minutes others may take hours or even days to complete.
Hopefully, I’ve given you enough information to help you get started. If there are more questions, please feel free to ask, I’ll do my best to help.
Make sure to check out the Friendly Junk Journal People Facebook group. Of course, you are welcome to join the Friendly Junk Journal People Facebook group. The group is growing daily and we are a friendly group willing to help each other and encourage each other.

Interested in any of the journals I created? Please feel free to contact me through my Facebook Page. Here is my shop, I have a lot of items uploaded and add more weekly.
My hope is that I have inspired you to look at those papers in your stash and make your own junk journal.
Keep updated on my posts by following me. Follow my blog with Bloglovin. Or Follow my Facebook Page or on Instagram for updates that may not be shared on my blog.
Thanks so much for stopping by my blog today for Story Time with Linda Getting on Design Teams Part 3.