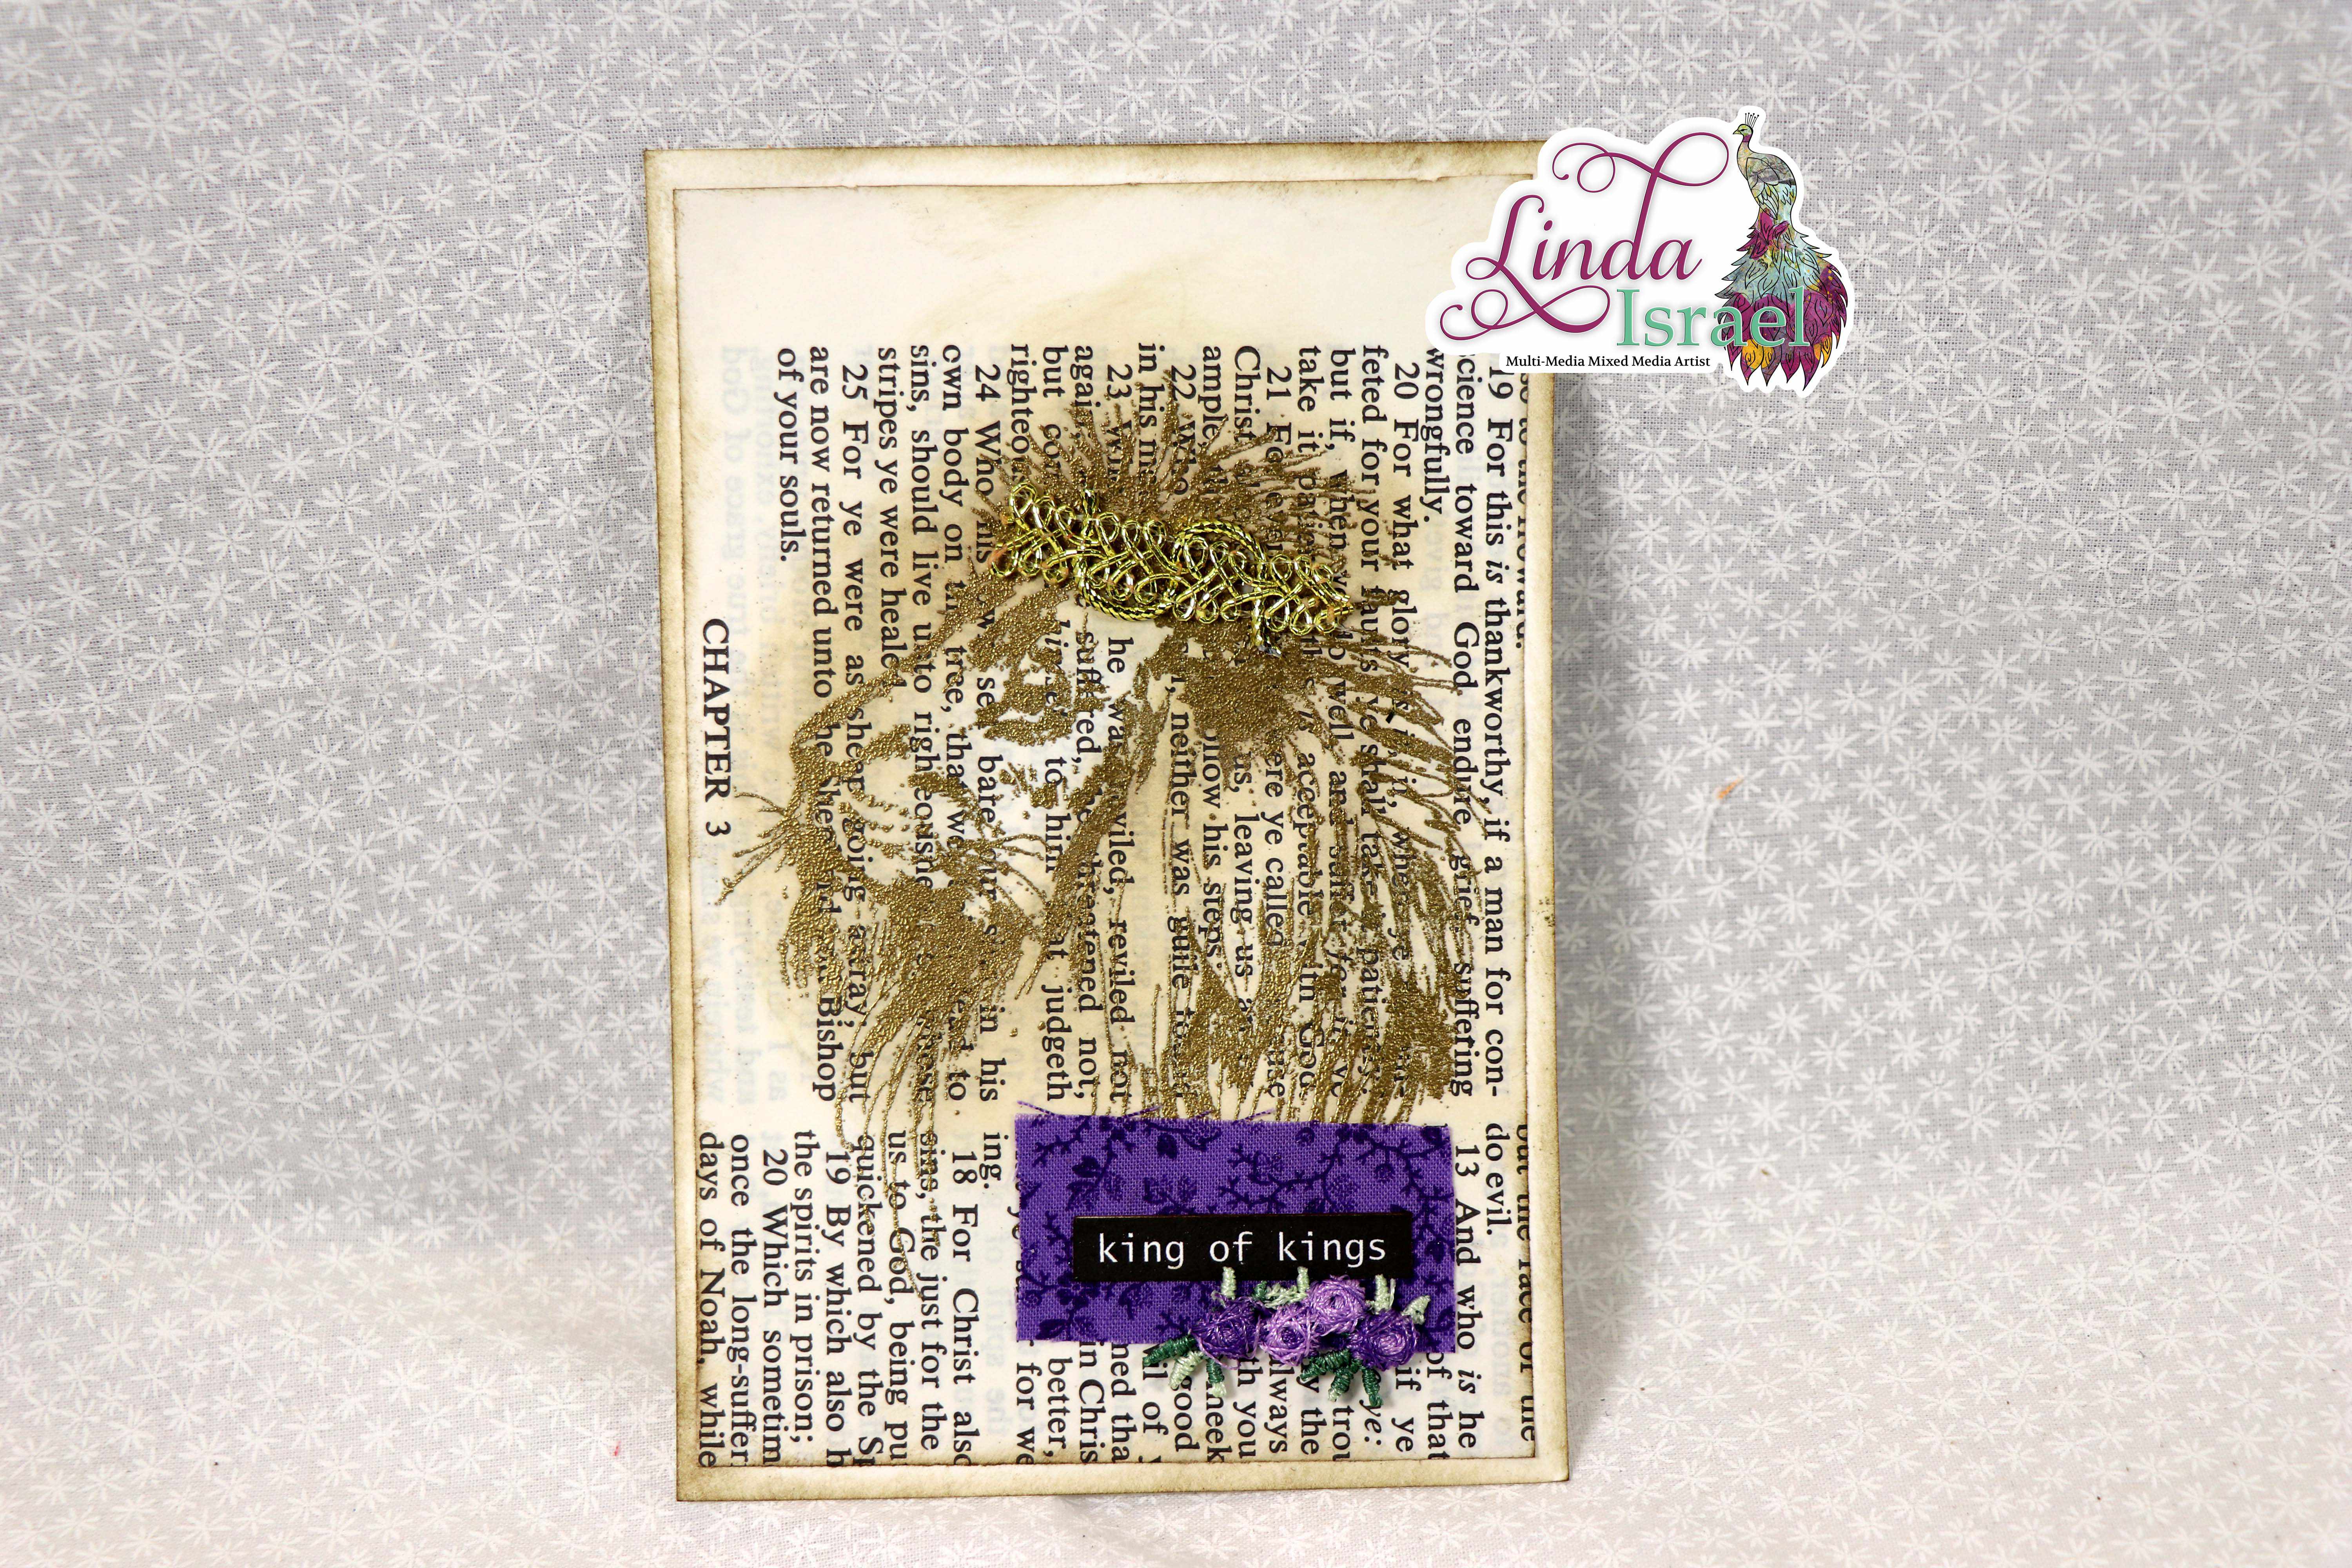
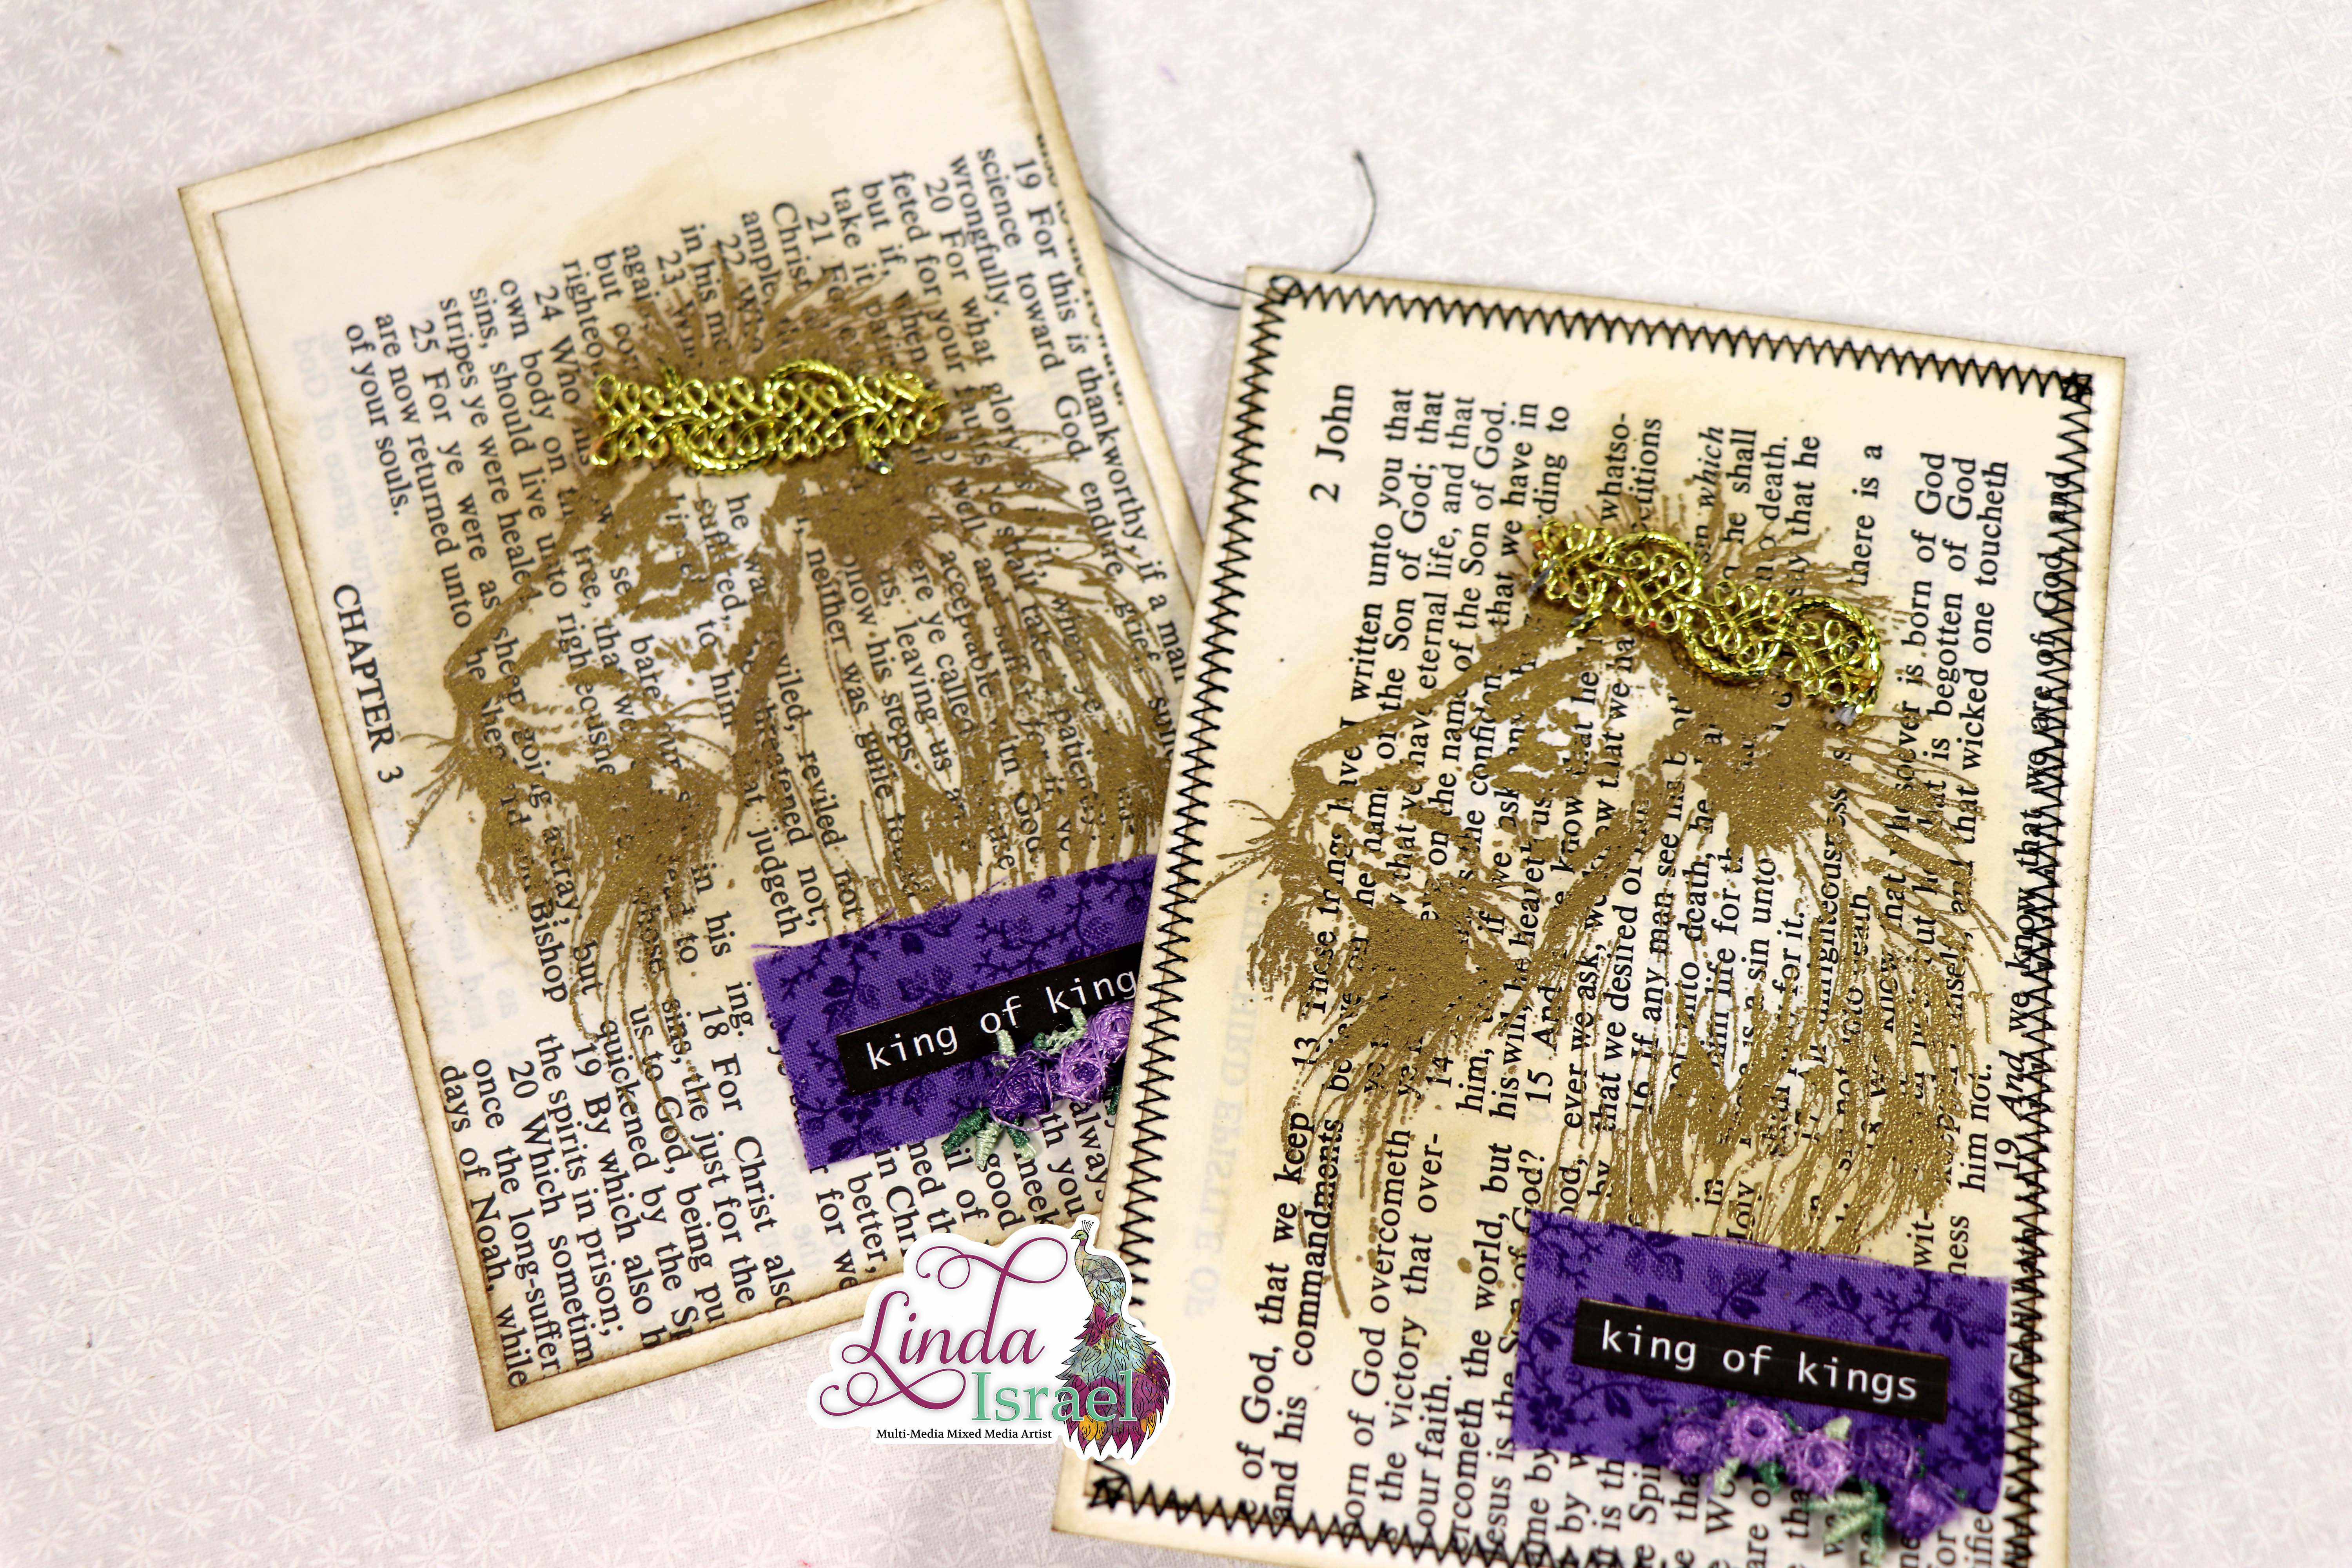
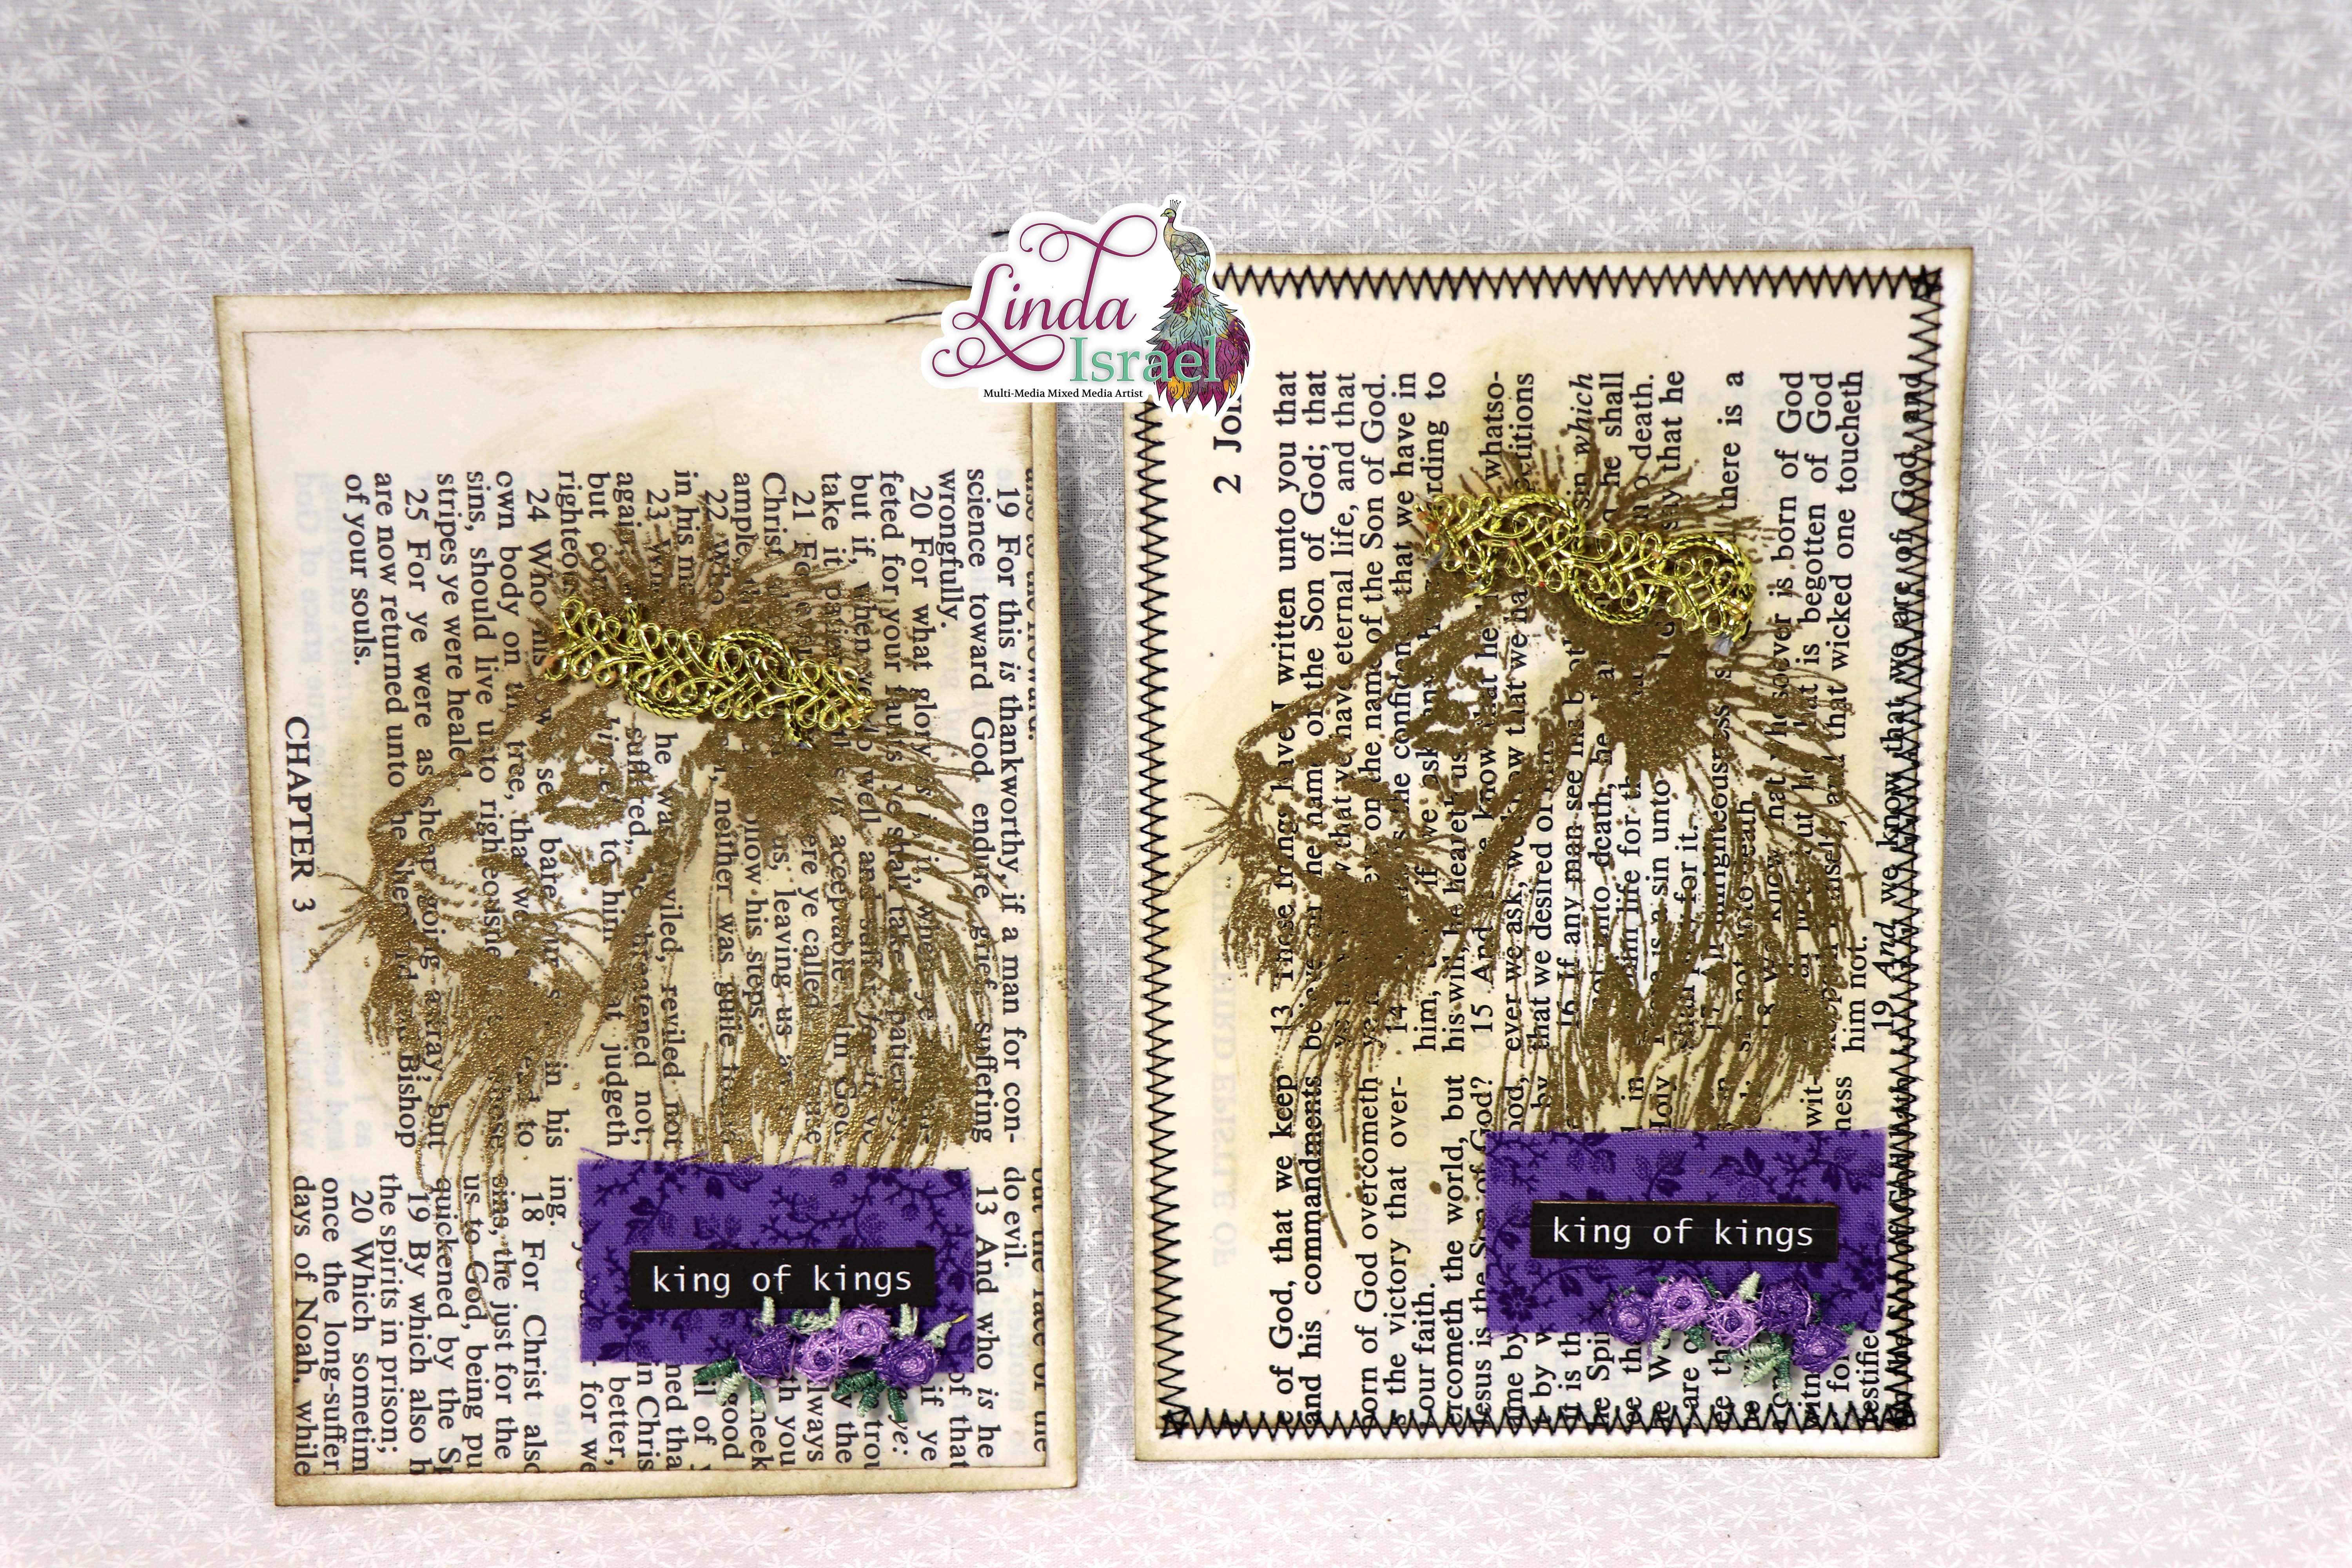
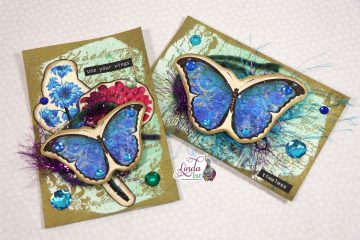
Welcome, everyone. Today I’m sharing a Stamped Heat Embossed Lion Journal Card Tutorial. Ever tried heat embossing only to have embossing powder stick where you didn’t want it on your project? Today I’ll show how to prevent that loose powder from sticking.
Stamped Heat Embossed Lion Journal Card Tutorial Video.
Supplies used for the Stamped Heat Embossed Lion Journal Card Tutorial.
- Best Glue Ever
- No-Clog Writing Cap
- Perfect Crafting Pouch
- Scraps of paper
- Art Impressions Lion Rubber Stamp here is an unmounted stamp
- Fabric
- Printed words
- Brutus Monroe Gilded Gold Embossing Powder
- Heat tool
- Sewing Machine
- Trims
- Distress Ink, Walnut Stain, Vintage Photo
- Blending tool
- Versamark Watermark Ink Pad
- Best Cleaner Ever
- Fiskars Scissors
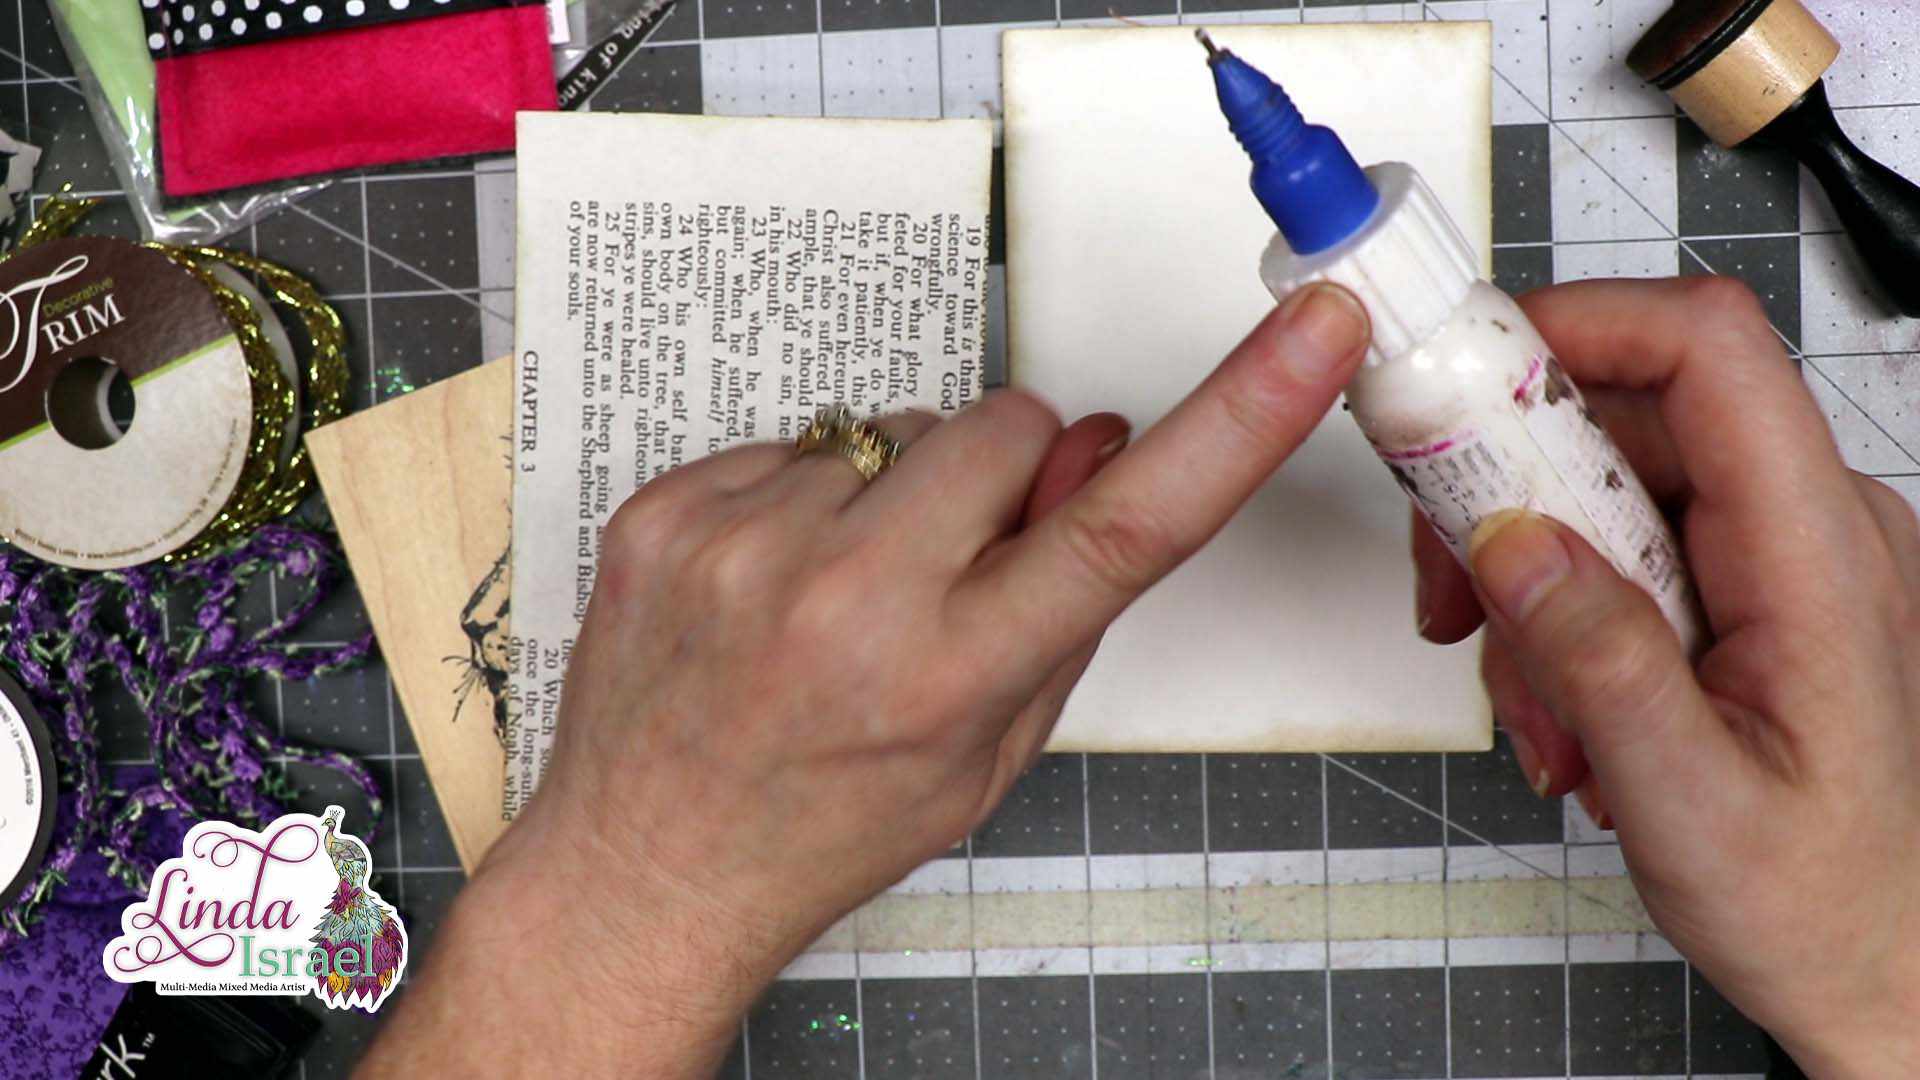
To begin this Stamped Heat Embossed Lion Journal Card Tutorial, cut some cardstock at 4 x 6 inches. Then cut a book page at 3.75 x 5.75 inches. This is your card base and the first layer. Use Distress Inks around the edges of both pieces. Attach the book page using the No-Clog Writing Cap with the Best Glue Ever both by ScraPerfect.
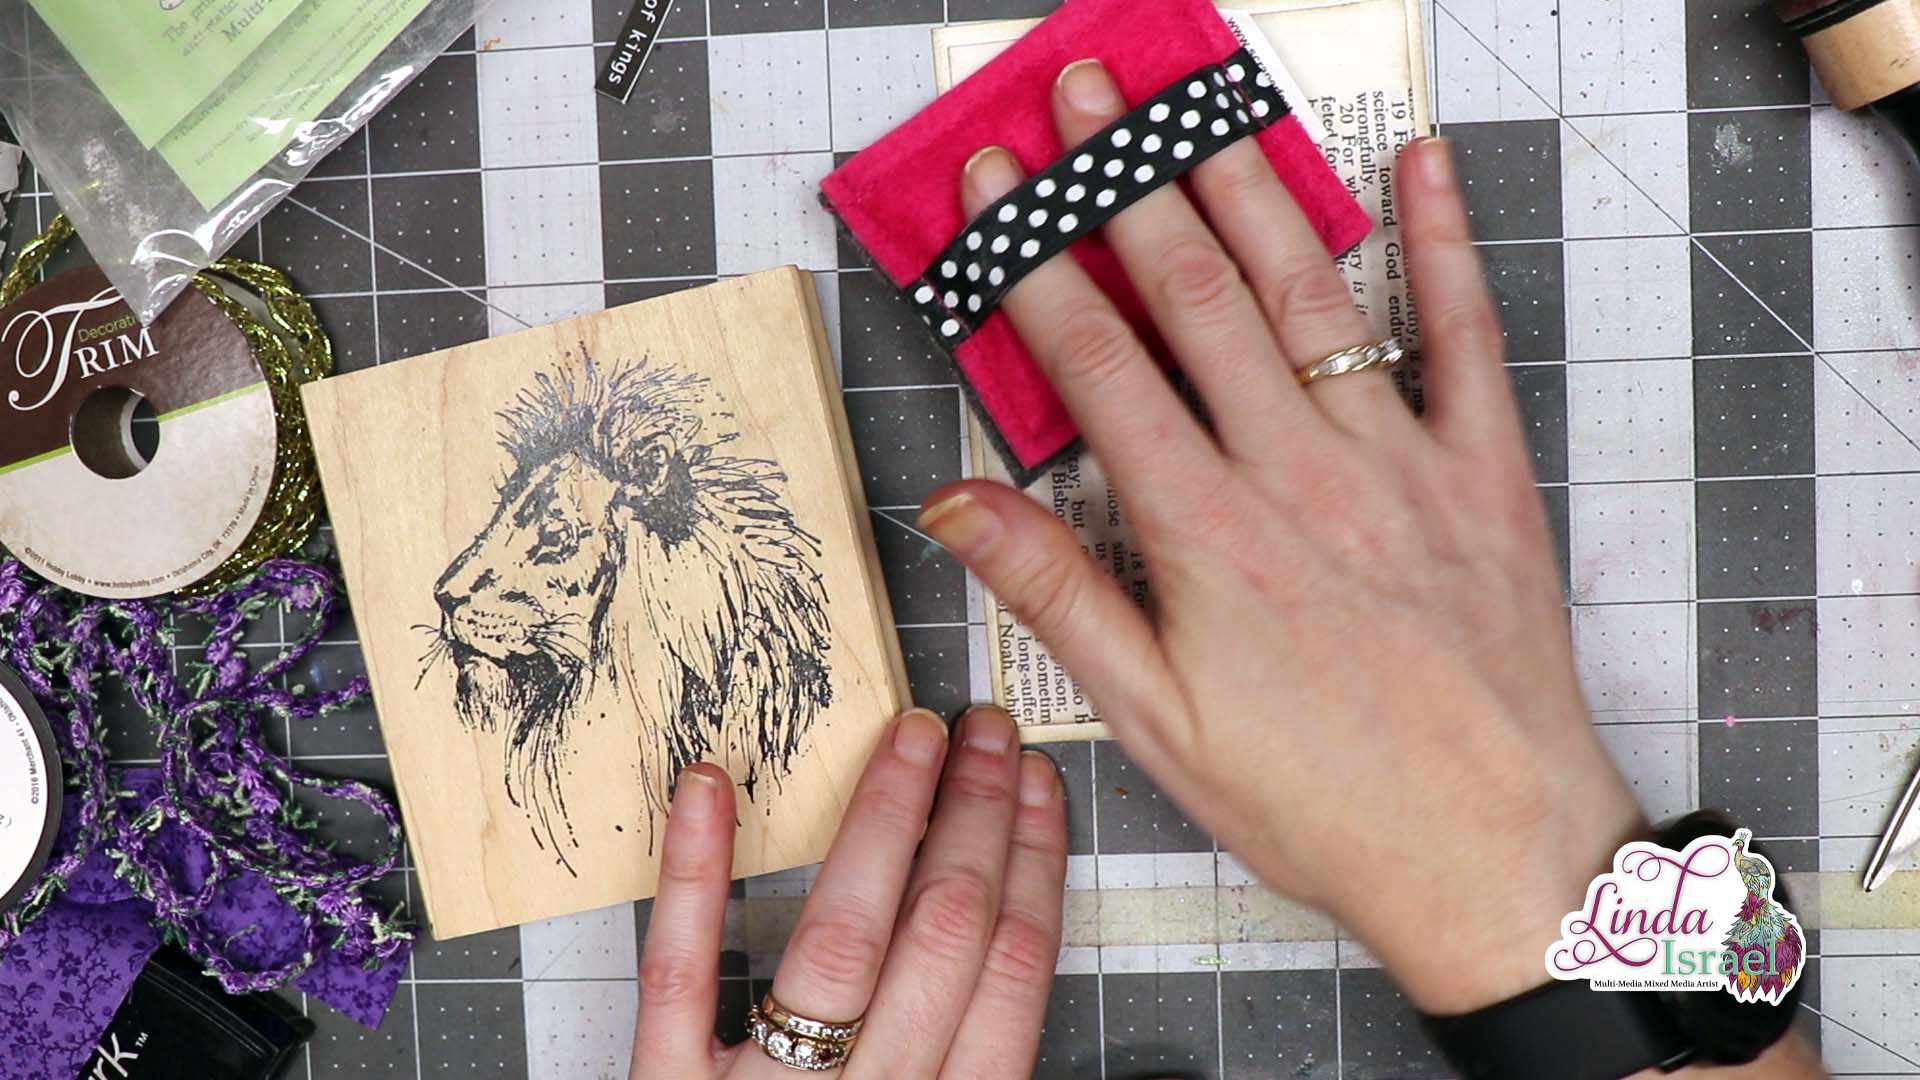
Apply the Perfect Crafting Pouch over the book page. This will remove any oils and fingerprints and keep the embossing powder from sticking where it shouldn’t. Don’t worry about any of the powder left behind, that is the pouch doing its job.
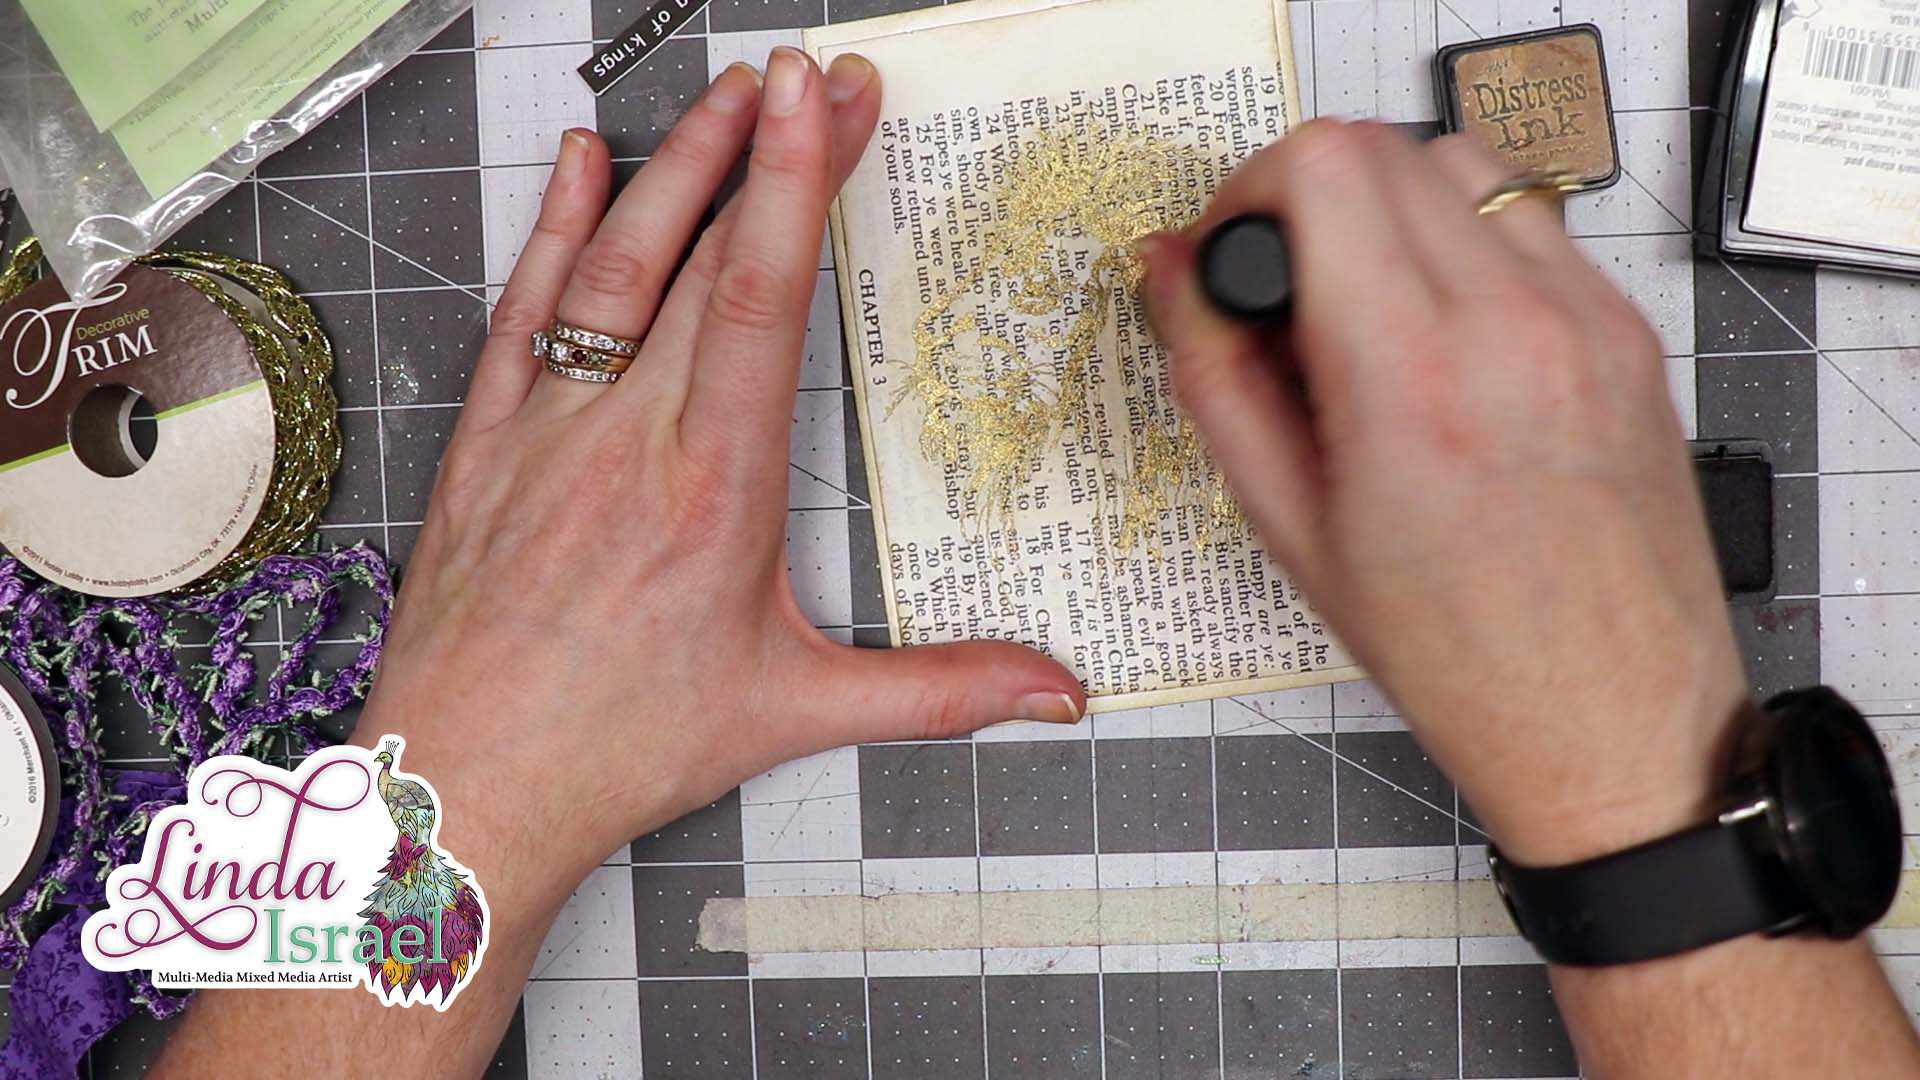
Ink the Lion stamp with Versamark Watermark ink. This is a very wet sticky ink that will grab the embossing powder. Press the stamp to the paper. Sprinkle embossing powder over the stamped image and tap off the excess. See no loose bits of powder left where it isn’t wanted.
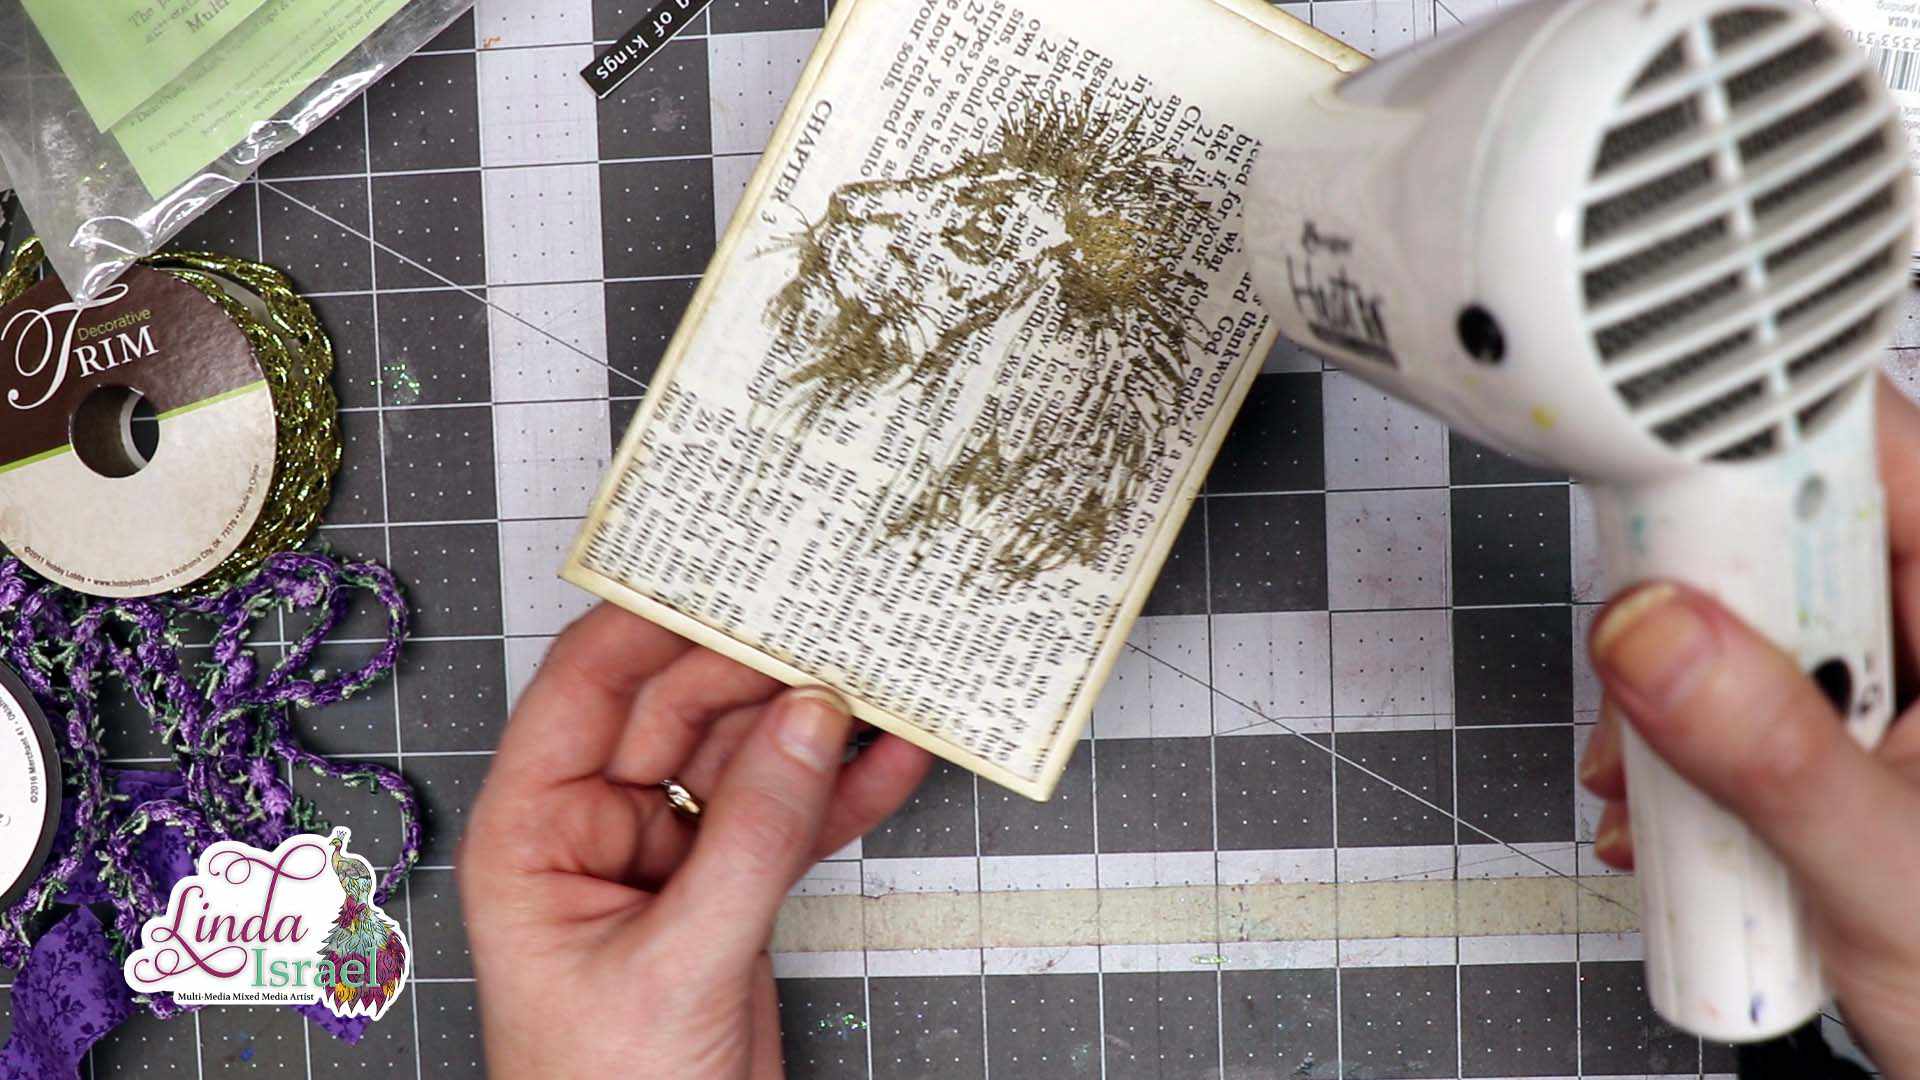
Heat the embossing powder with a heat tool. Keep the tool moving so you don’t scorch the paper. The embossing powder will turn shiny when it is embossed. Once all the powder has become shiny remove the heat. Don’t touch the embossed area until the piece has cooled off as you could burn yourself. Also, make sure you are using a heat resistant surface (could use a ceramic tile), don’t want to warp or burn something.
Apply Vintage Photo Distress ink around the lion image. This will add color without hand coloring the entire image and takes very little time.
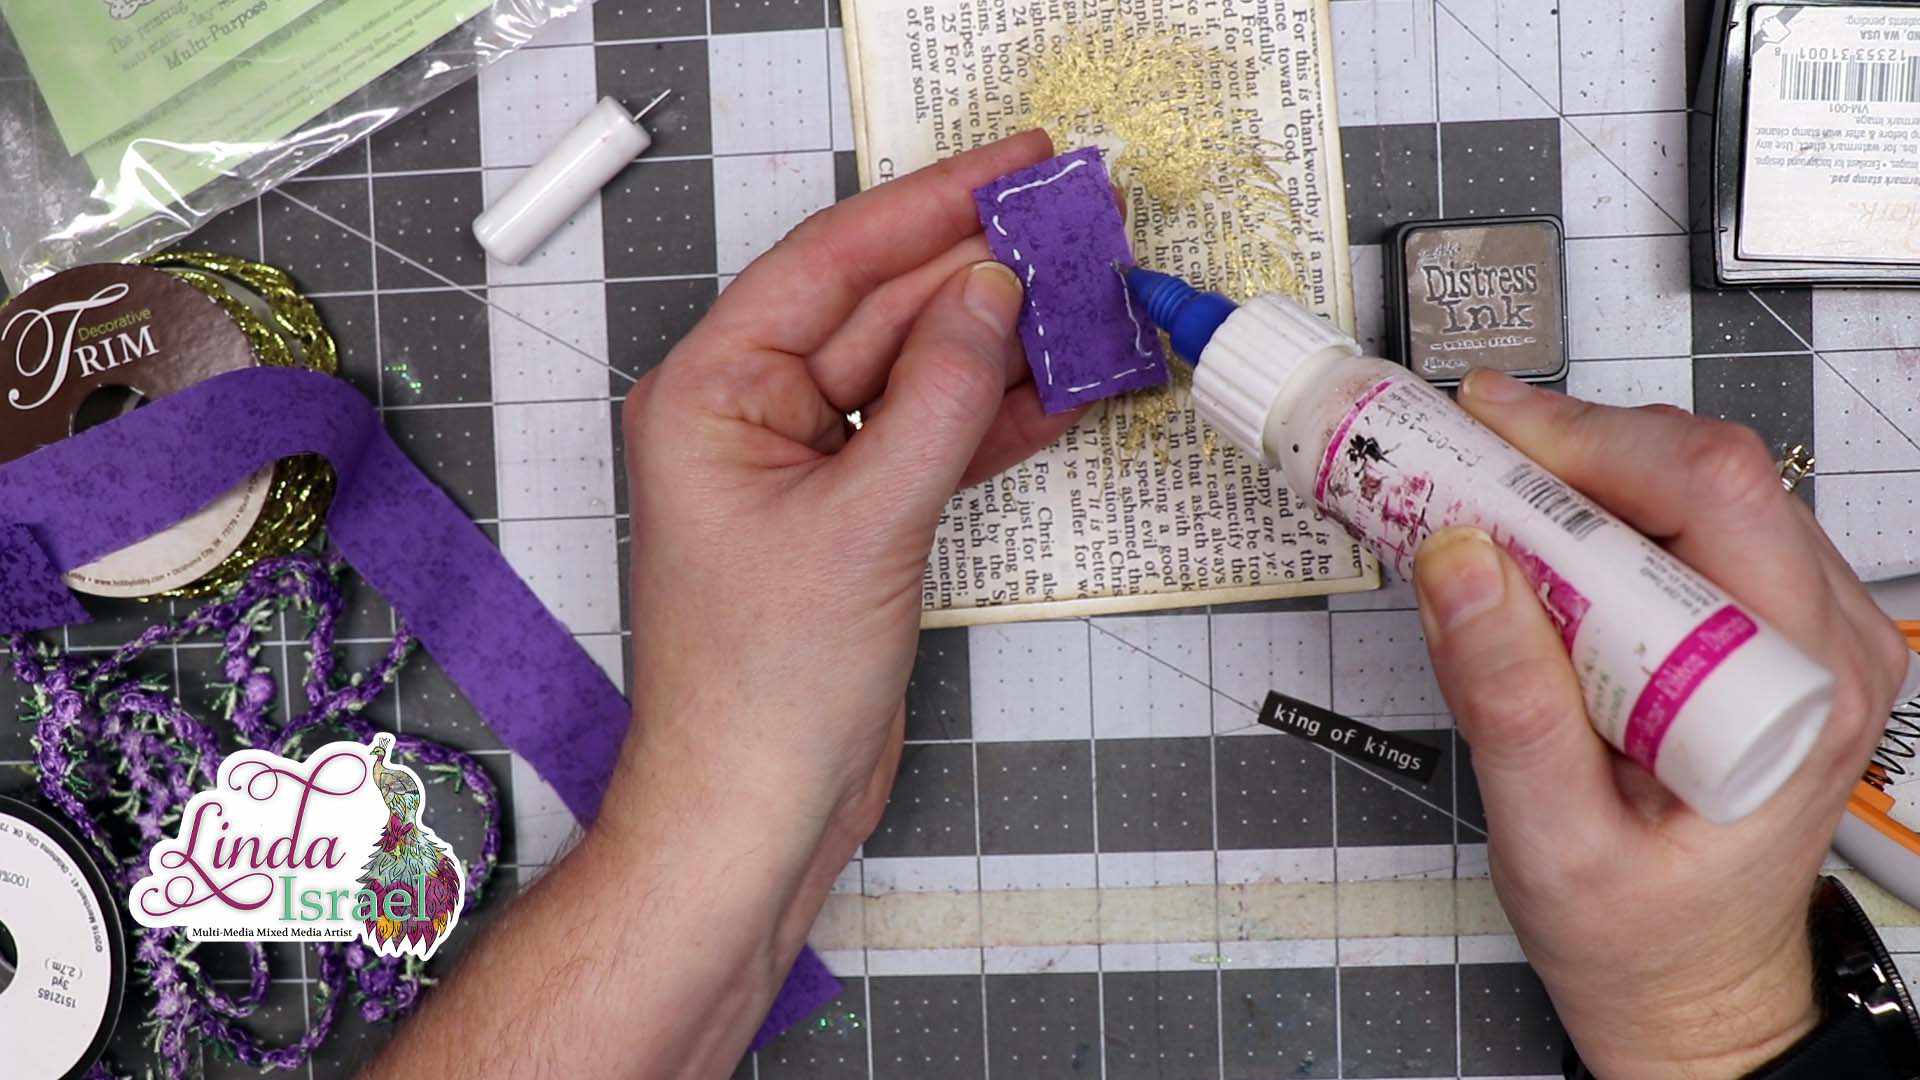
Cut a scrap of fabric to frame the word phrase. Apply the Best Glue Ever on the back side with the No-Clog Writing Cap. This will ensure that there is just enough glue so it won’t make a big mess. Attache the words phrase on top of the fabric scrap.
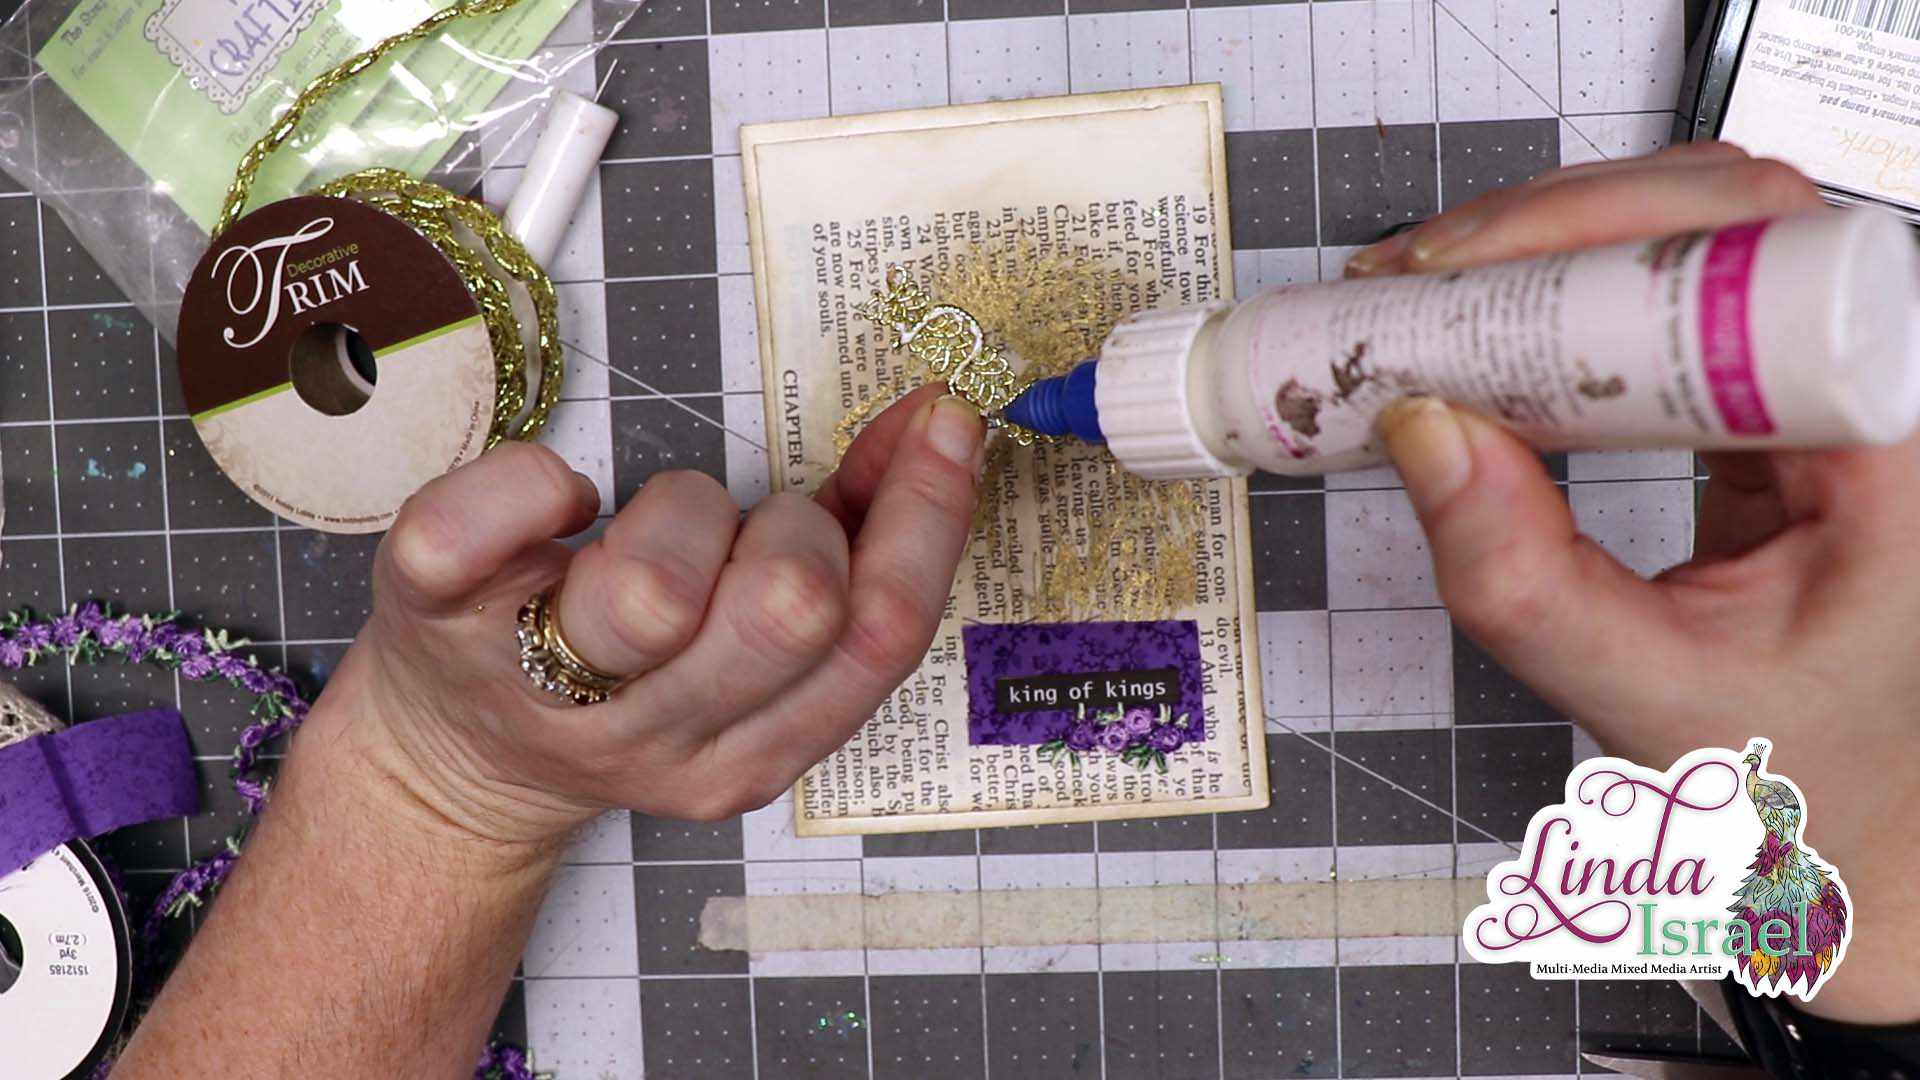
Select floral trim and gold braided trim from the stash. Apply the flower trim under the word phrase. Adhere the gold braided trim on the lions head to give the appearance of a crown.
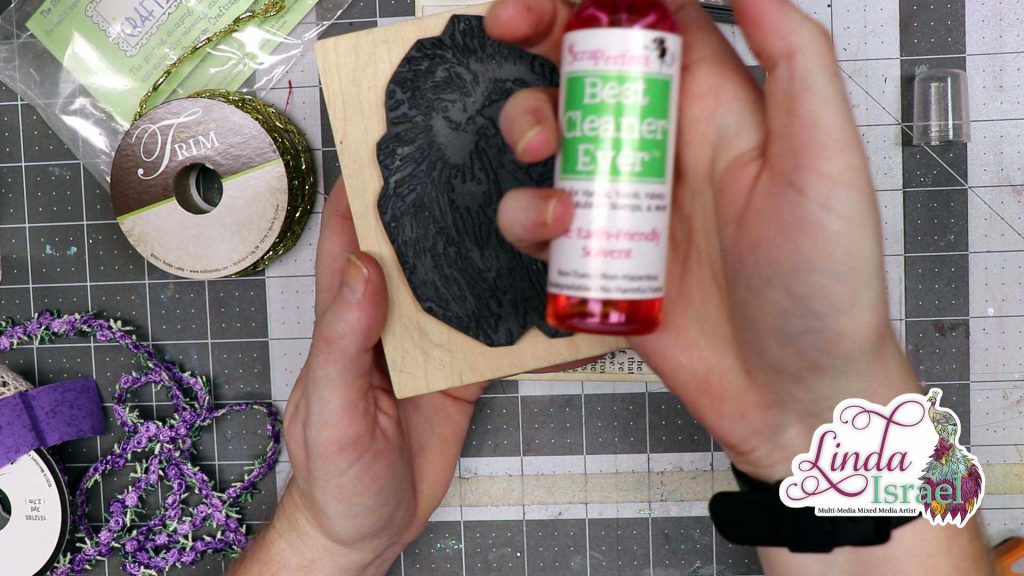
Make sure to clean the stamp with the Best Cleaner Ever. Apply a squirt on the stamp and work into the image with fingers. Use an old rag to remove the excess cleaner.
Did you like this super easy project? What did you learn from the Stamped Heat Embossed Lion Journal Card Tutorial?
Make sure to check out the Friendly Junk Journal People Facebook group. Of course, you are welcome to join the Friendly Junk Journal People Facebook group. The group is growing daily and we are a friendly group willing to help each other and encourage each other.
Interested in any of the journals I created? Please feel free to contact me through my Facebook Page. Here is my shop, I have a lot of items uploaded and add more weekly.
Keep updated on my posts by following me. Follow my Facebook Page or on Instagram for updates that may not be shared on my blog.
Thanks so much for stopping by my blog today to see the Stamped Heat Embossed Lion Journal Card Tutorial.
