In this Autumn Tree and Leaves Gel Print Tutorial, I’ll show how to use a gel plate and a multi pieced stencil to create a layered gel print. Don’t be afraid to play with stencils and a gel plate. Follow along with this tutorial to see how easy it is to create your own beautiful gel prints.
Autumn Tree and Leaves Gel Print Tutorial Video
Supplies used for the Autumn Tree and Leaves Gel Print Tutorial
- October 2020 Artistic Stencil Club Tree and Leaves Stencil
- 12 x 12 Gel plate
- Acrylic Craft Paint – used Anita’s Acrylic Craft Paint, Red, Orange, Yellow, Light Blue, Charcoal, Espresso, and Moccasin
- Brayer Speedball Deluxe Soft Rubber
- HP Printer Paper 8.5 x 11 Multi Purpose 20 lb 5 Ream Case 2500 Sheets 96 Bright White
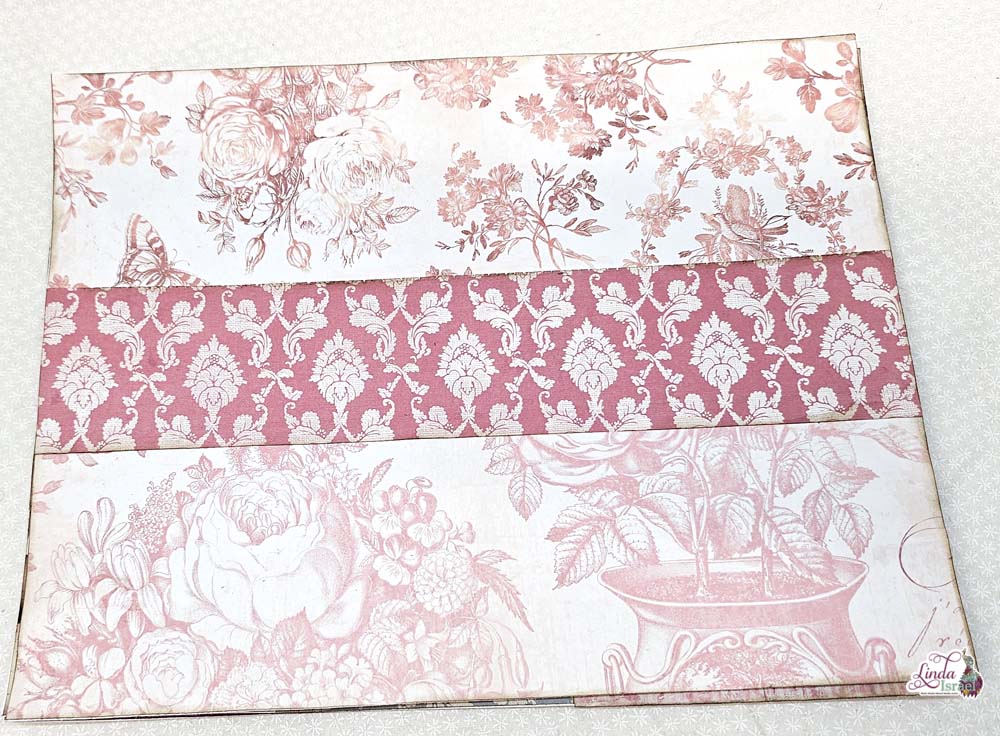
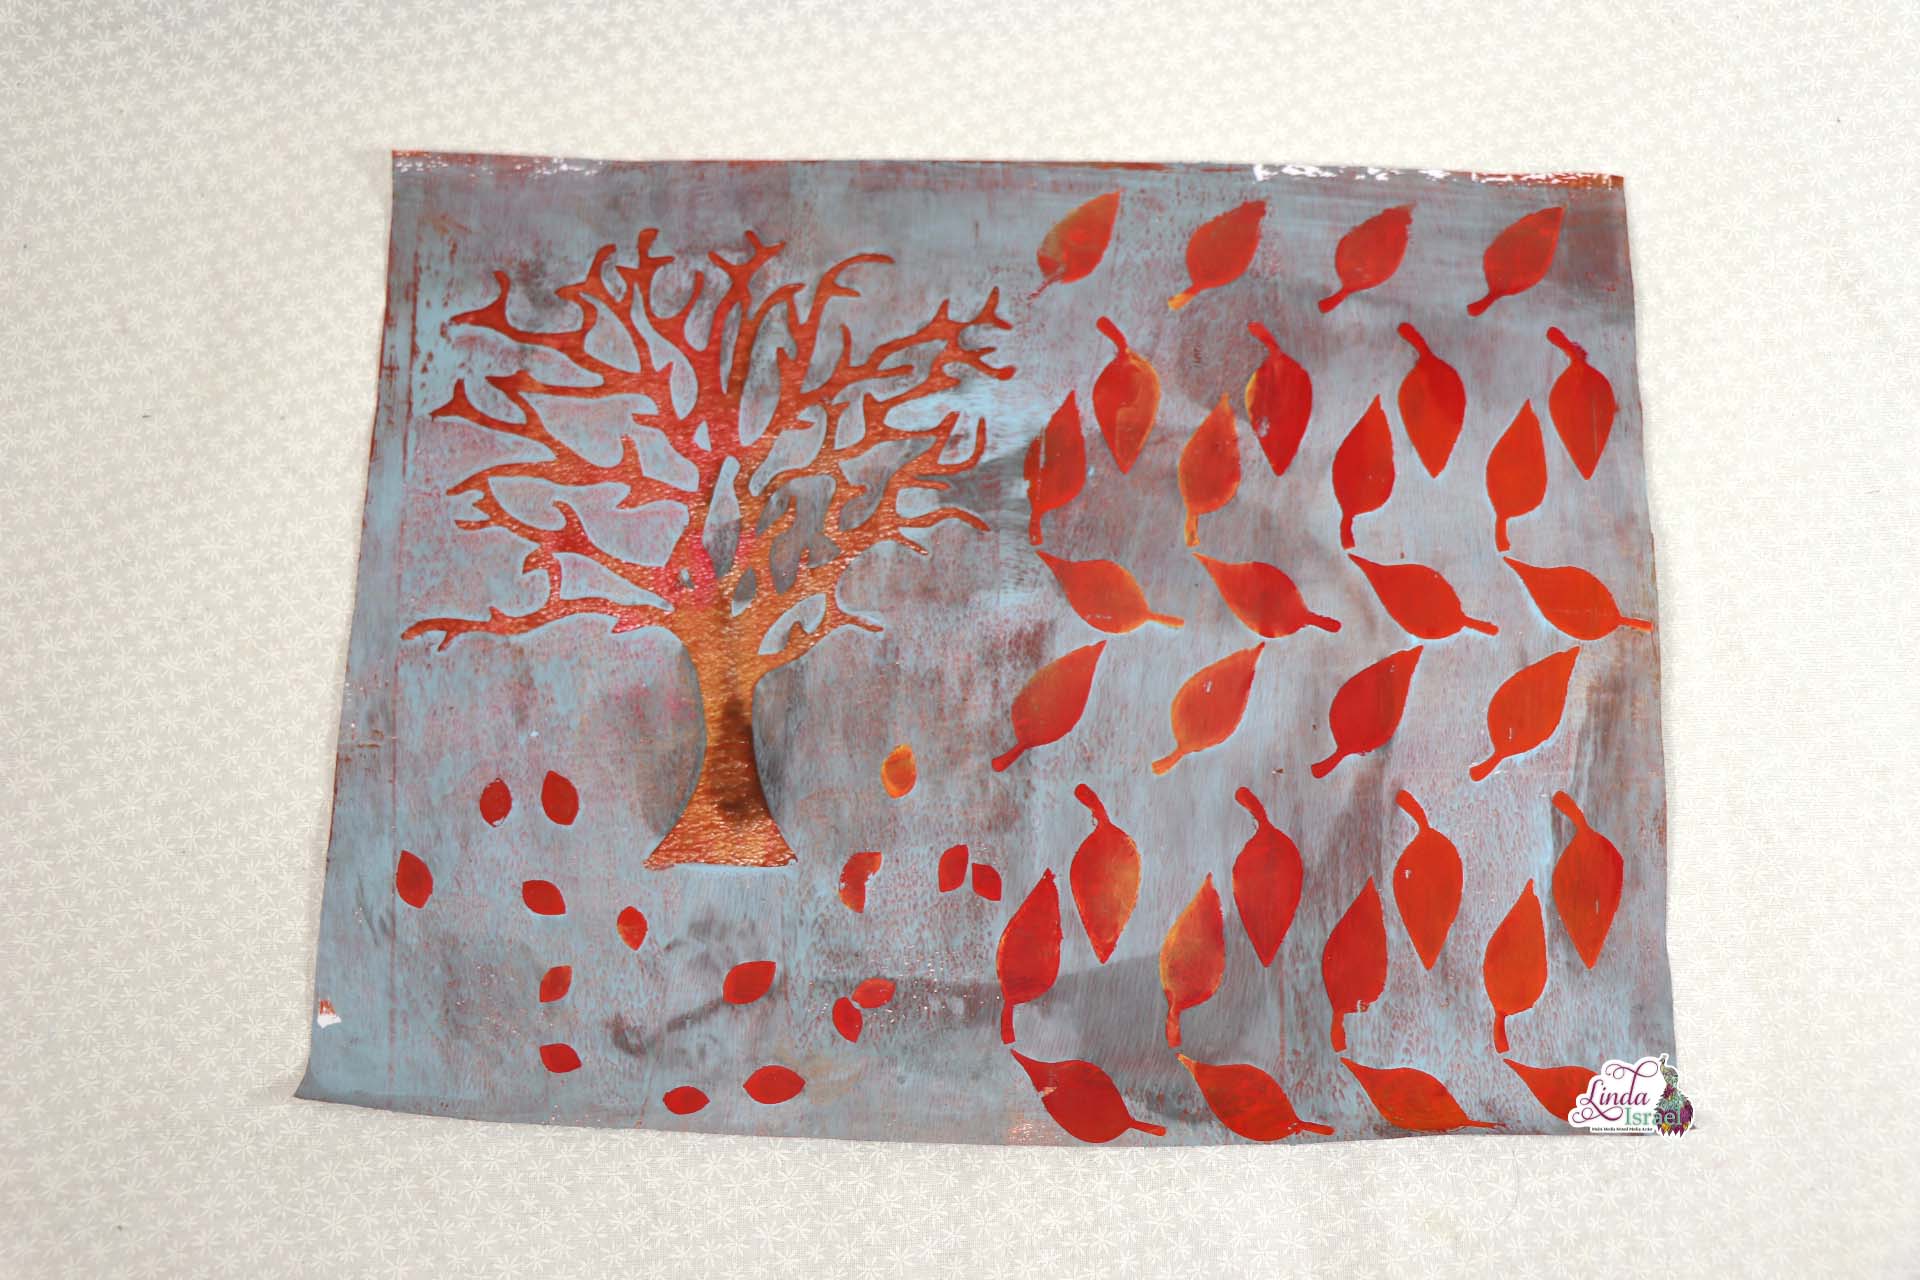
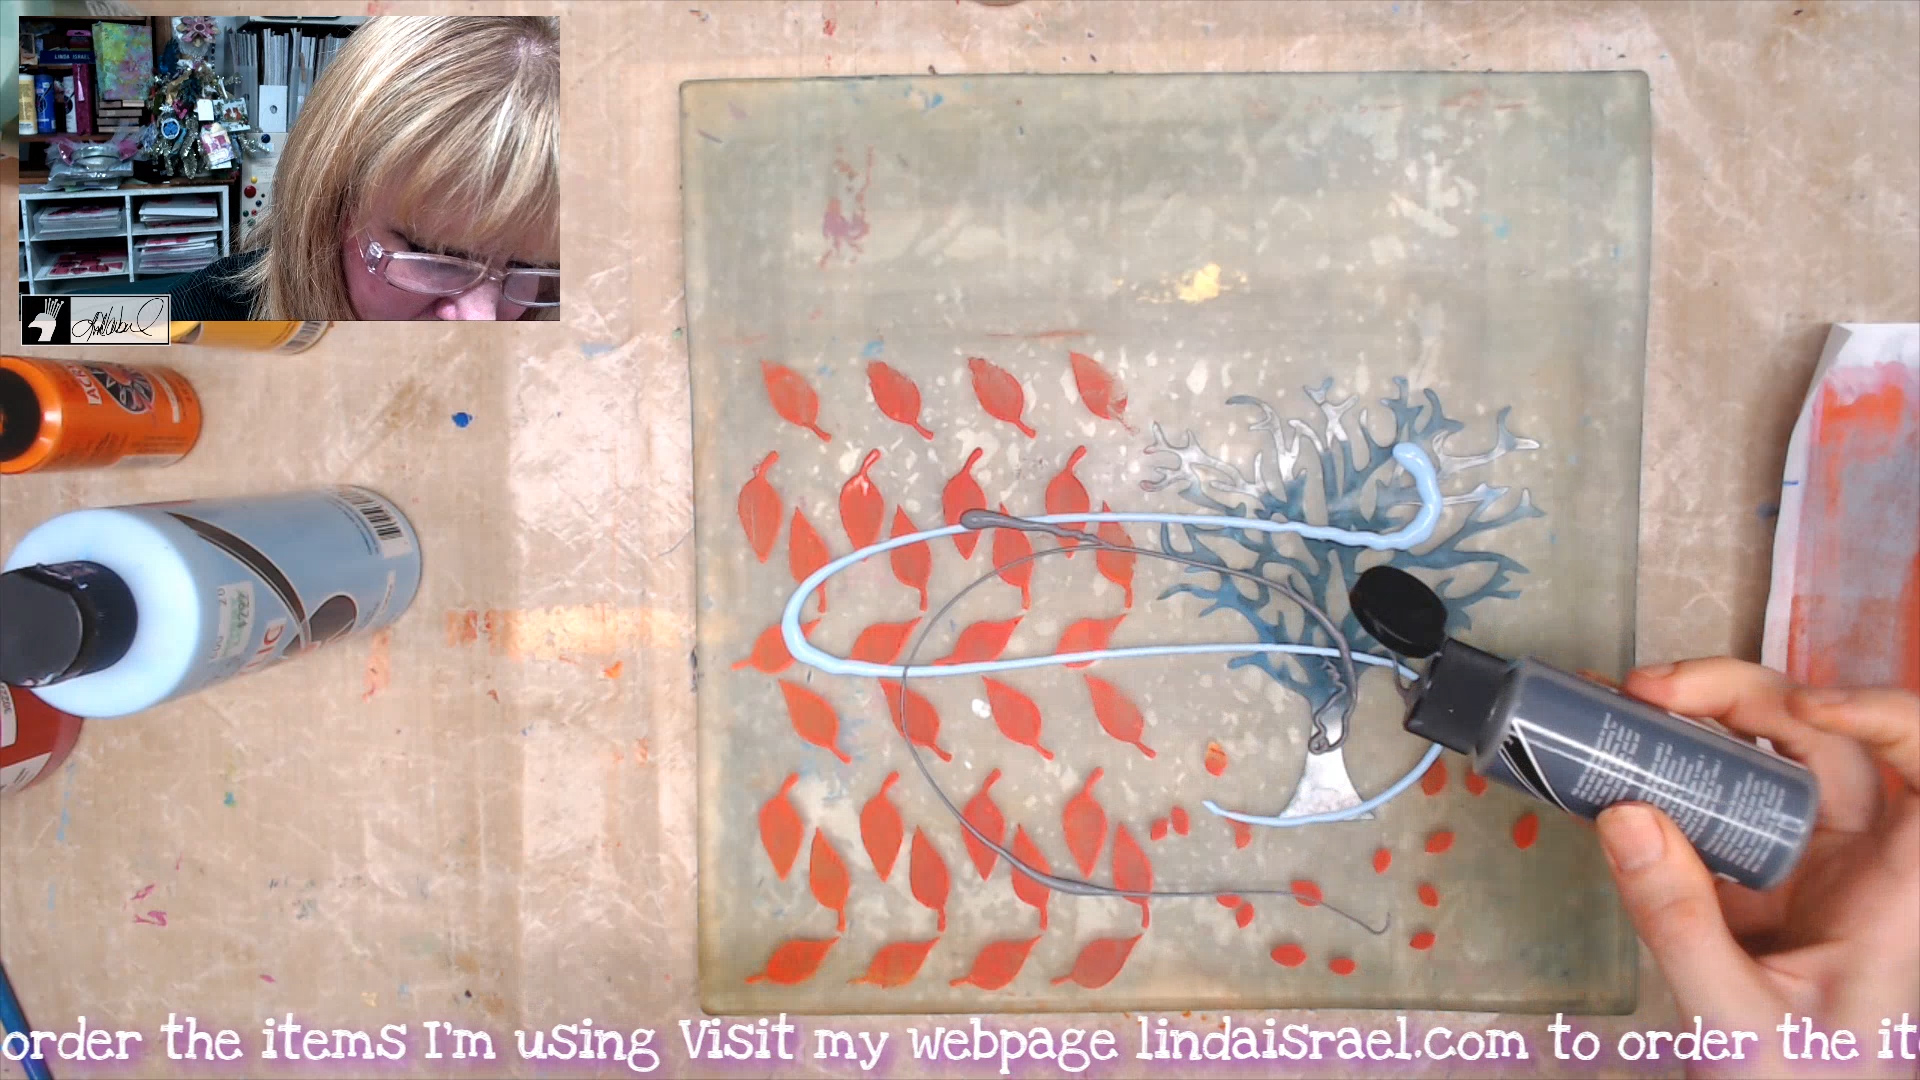
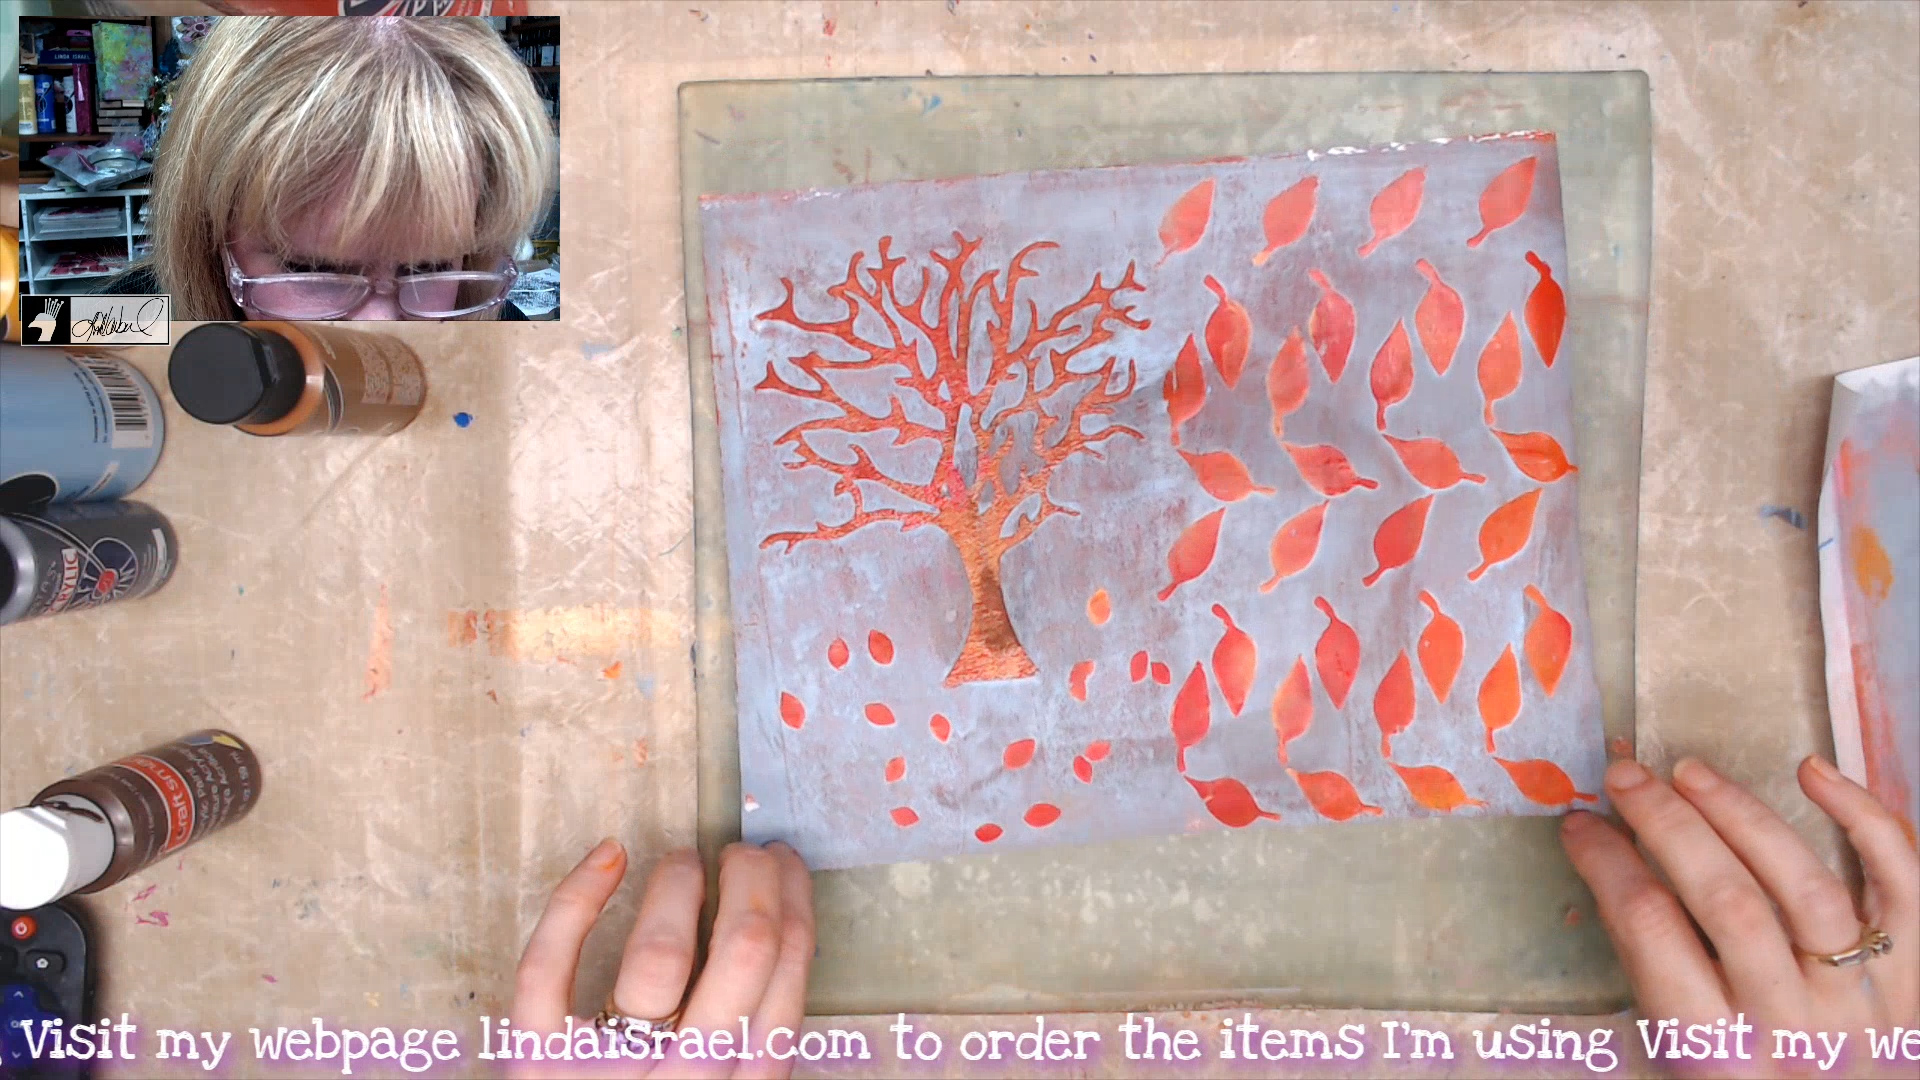
Place the stencil from the October Artistic Stencil club on a 12 x 12 Gel plate, apply acrylic paint, brayer to spread the paint over the leaves, let the paint dry.
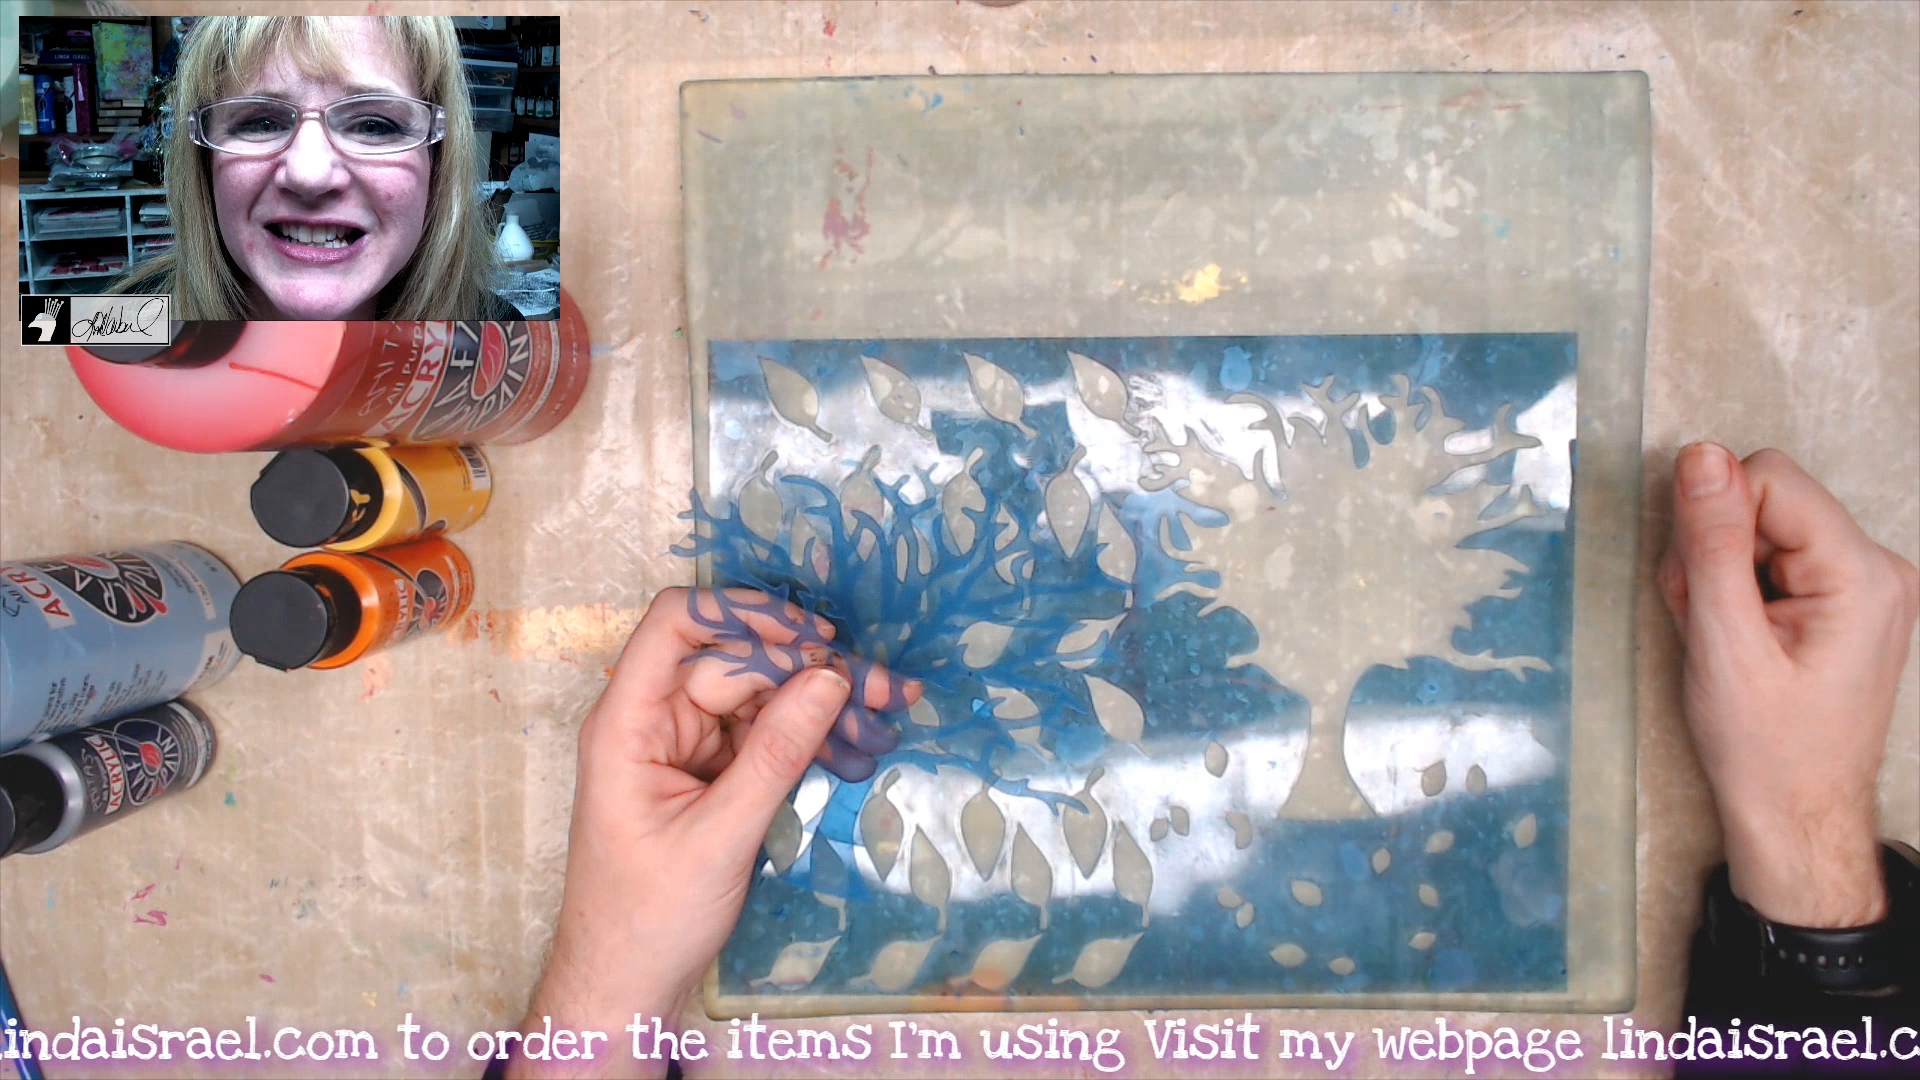
Apply first layer of paint with your brayer and let the paint dry completely,
If the paint is shiny, it is still wet. It is important to allow the layers to dry so when you apply your next layer it will not smear.
 While you use your brayer have an extra piece of paper off to the side in case you’ve used to much acrylic paint as well as to clean off the brayer before starting a new layer.
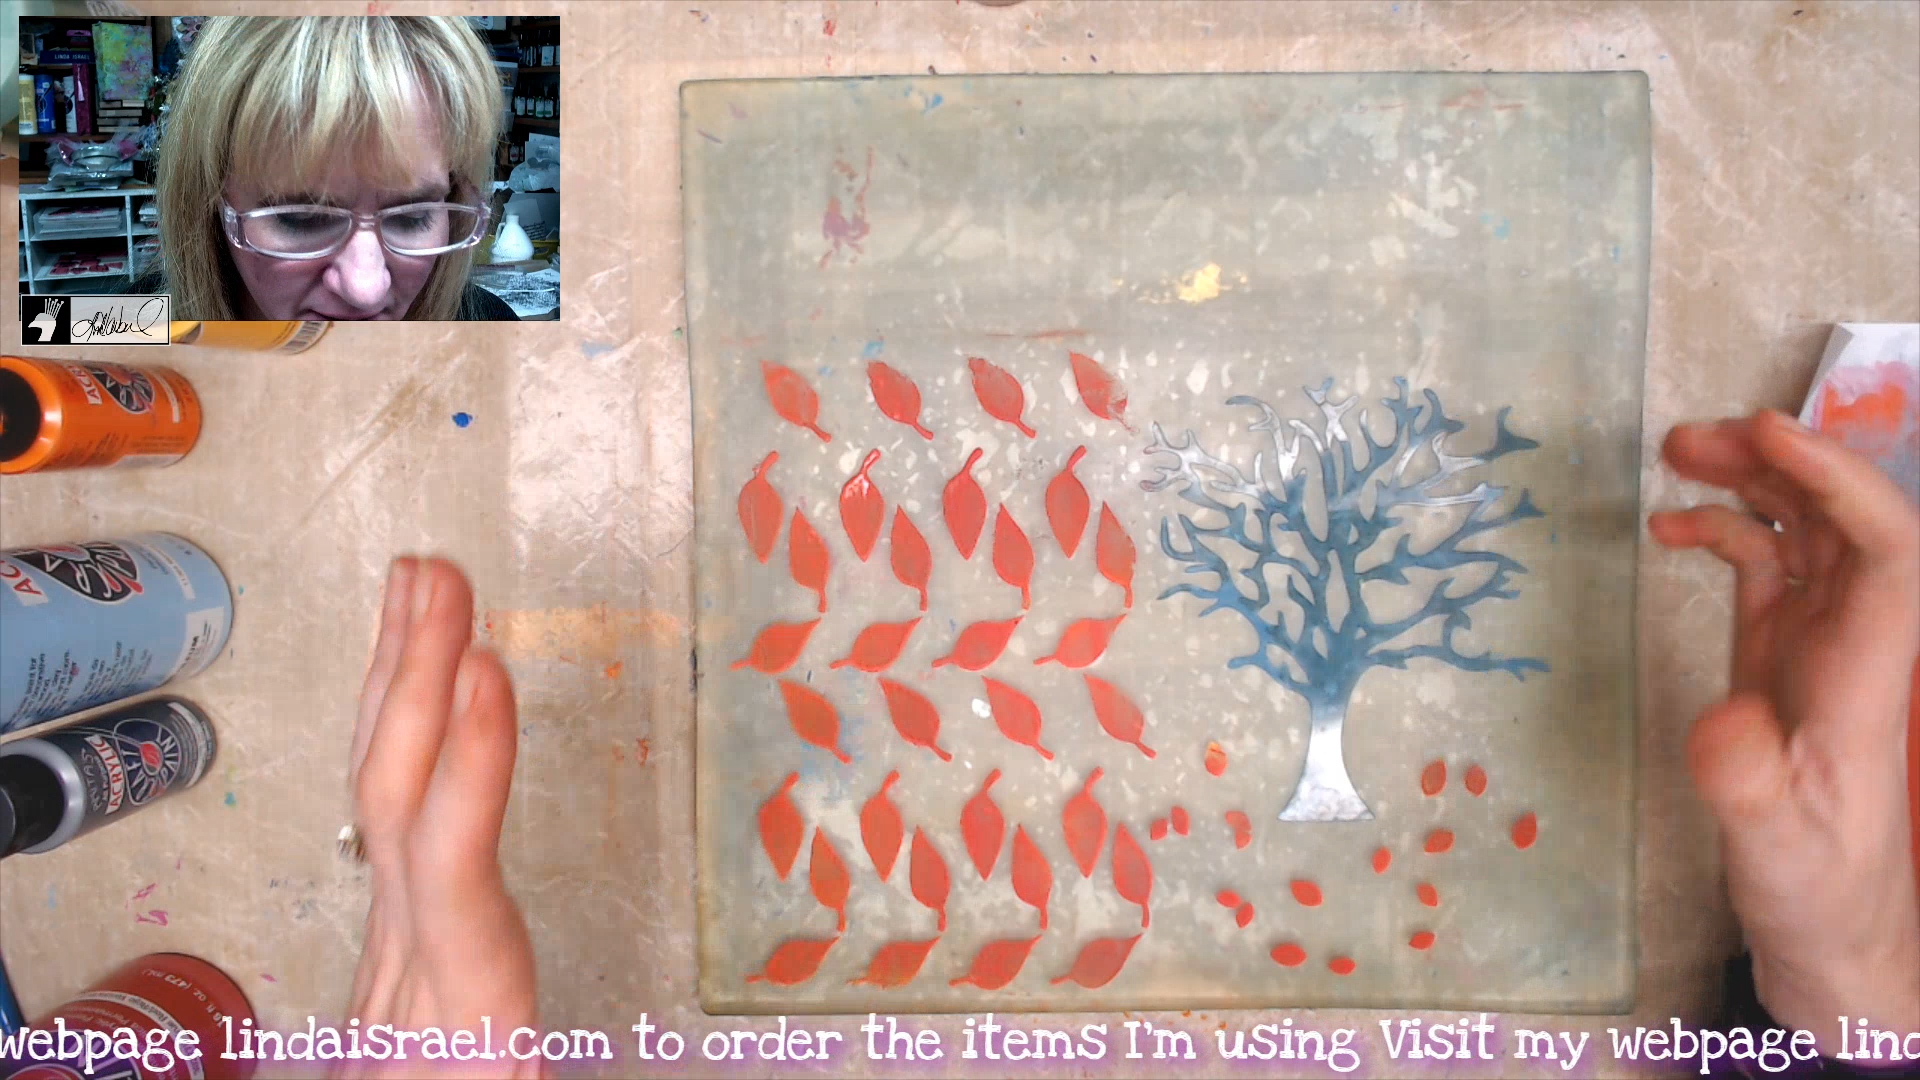
Carefully remove the stencil, clean up and allow to dry completely. Layering paint on your stencils takes time, just take your time and be patient in the process.
 Noticing that the paint is no longer shiny, it is now dry and ready for the next layer.
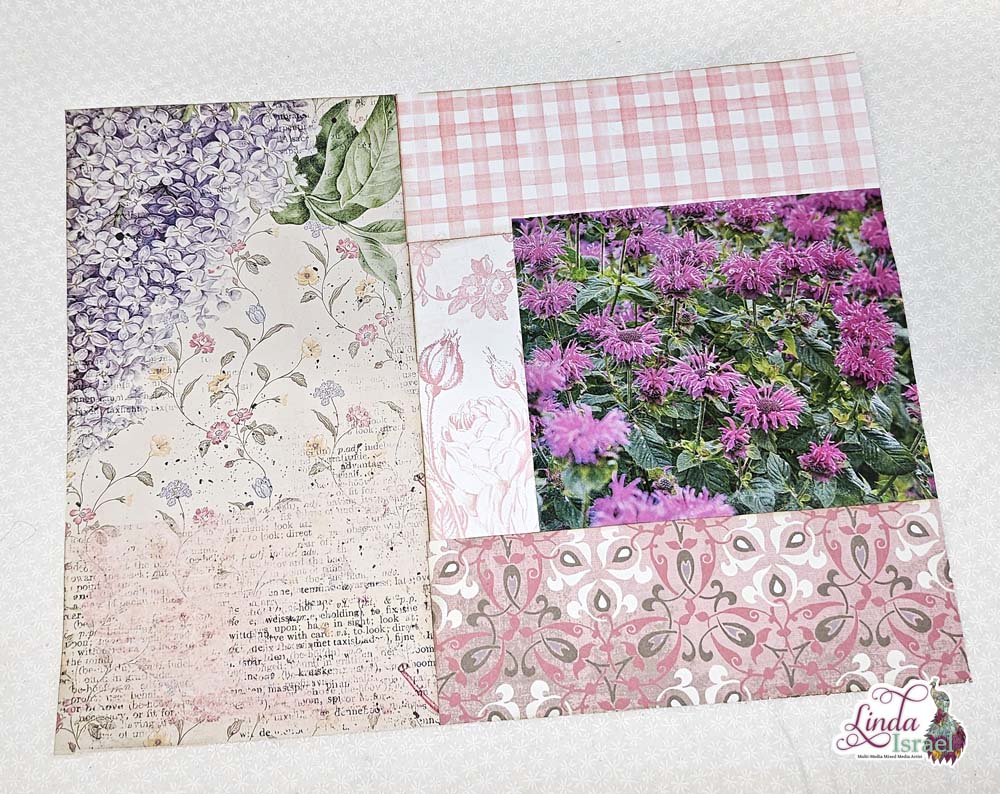
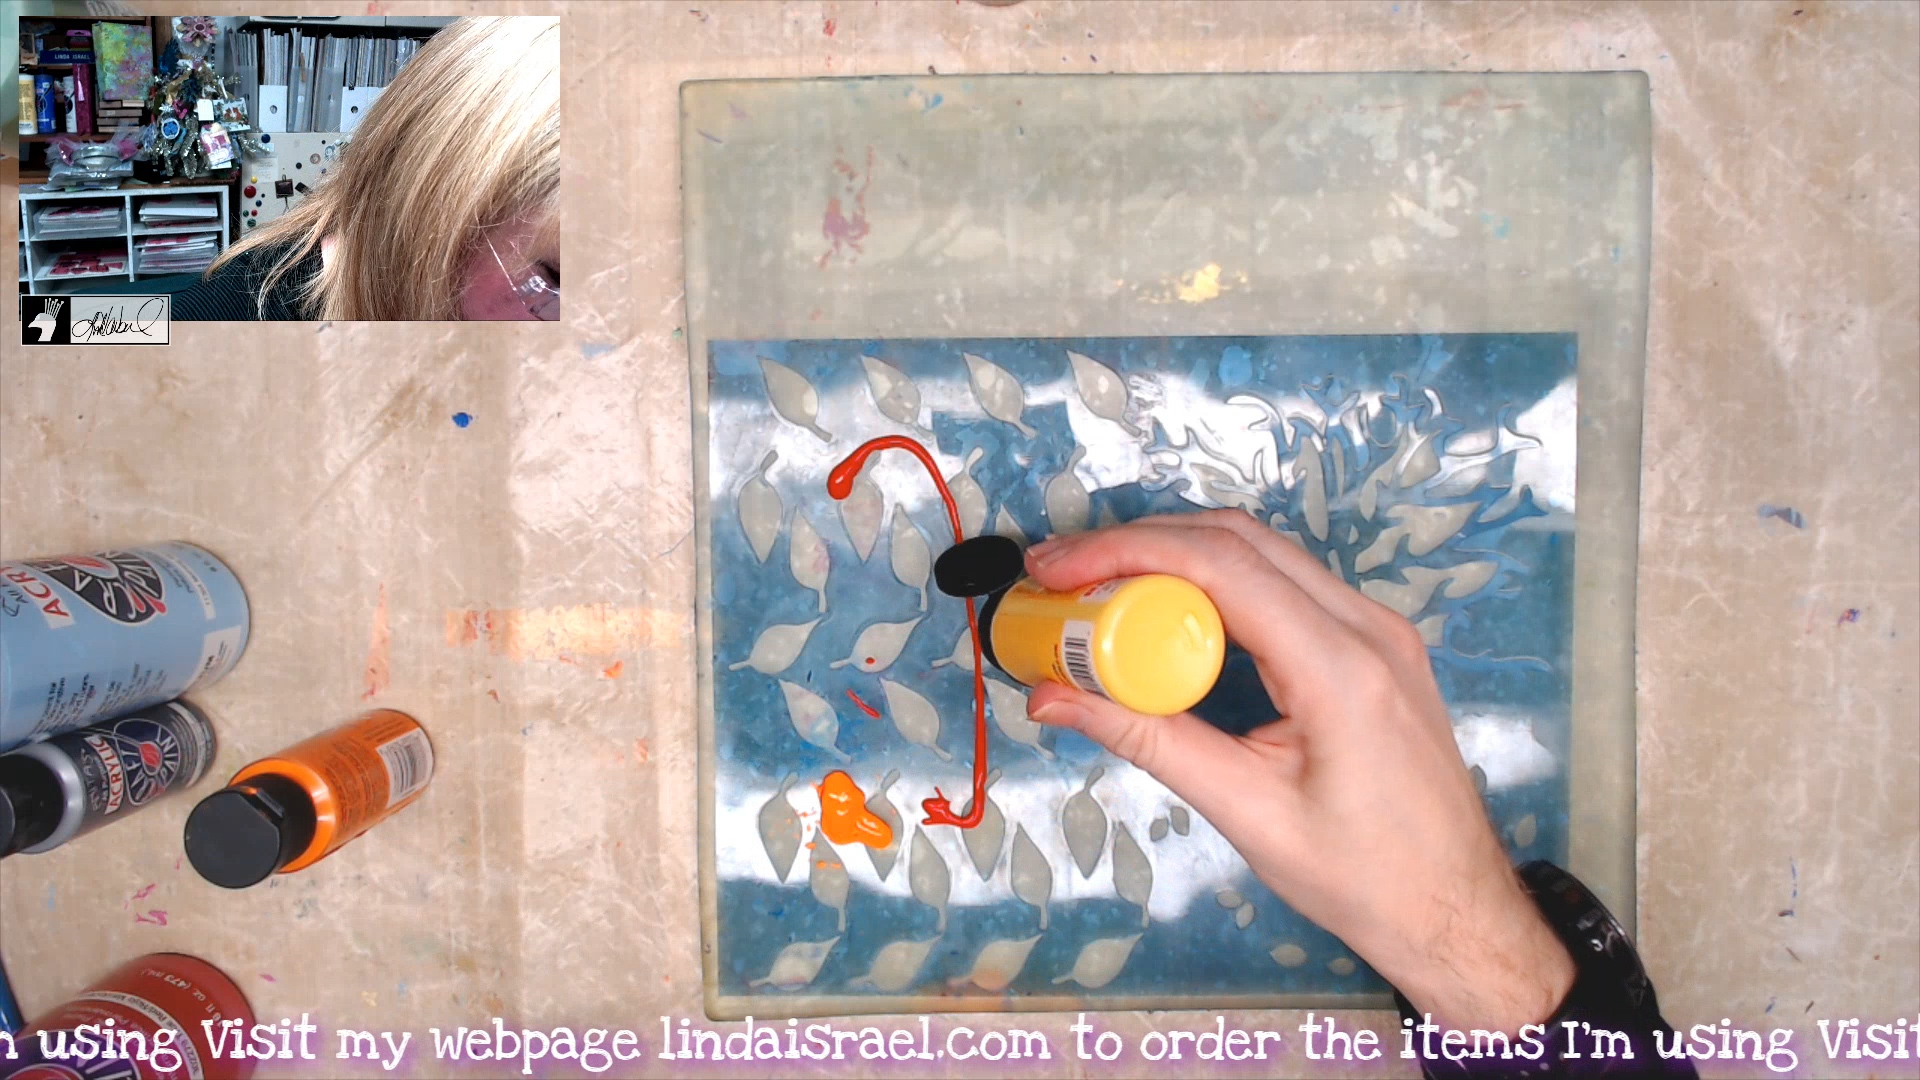
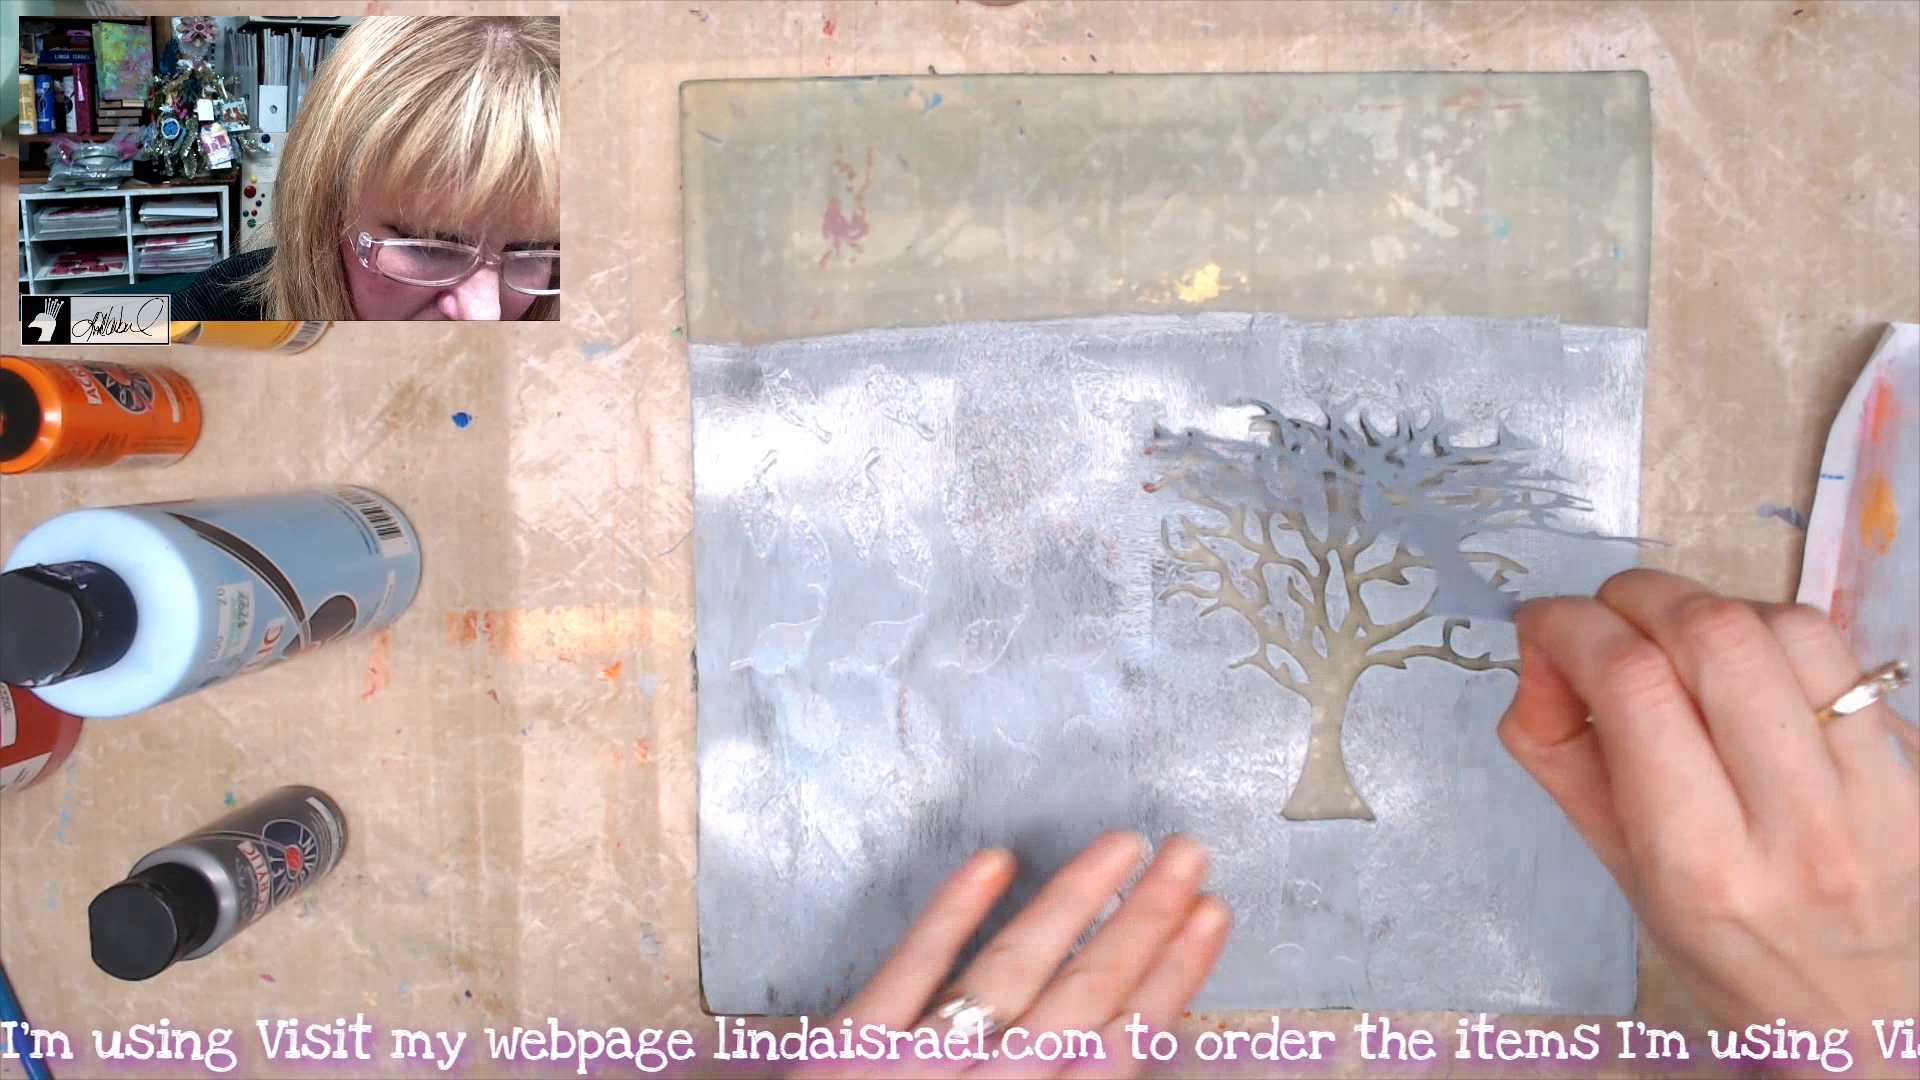
Adding second layer of paint, I chose to use blue and grey acrylic paint to offset the colors of the leaves.
Carefully lift the Tree stencil and allow the paint to dry. The tree stencil is available in the October Artistic Stencil Club and was designed so you may have the choice of using it for a dimensional look to your designs.
 When the second layer of paint is dry, it is now ready to apply your third layer.

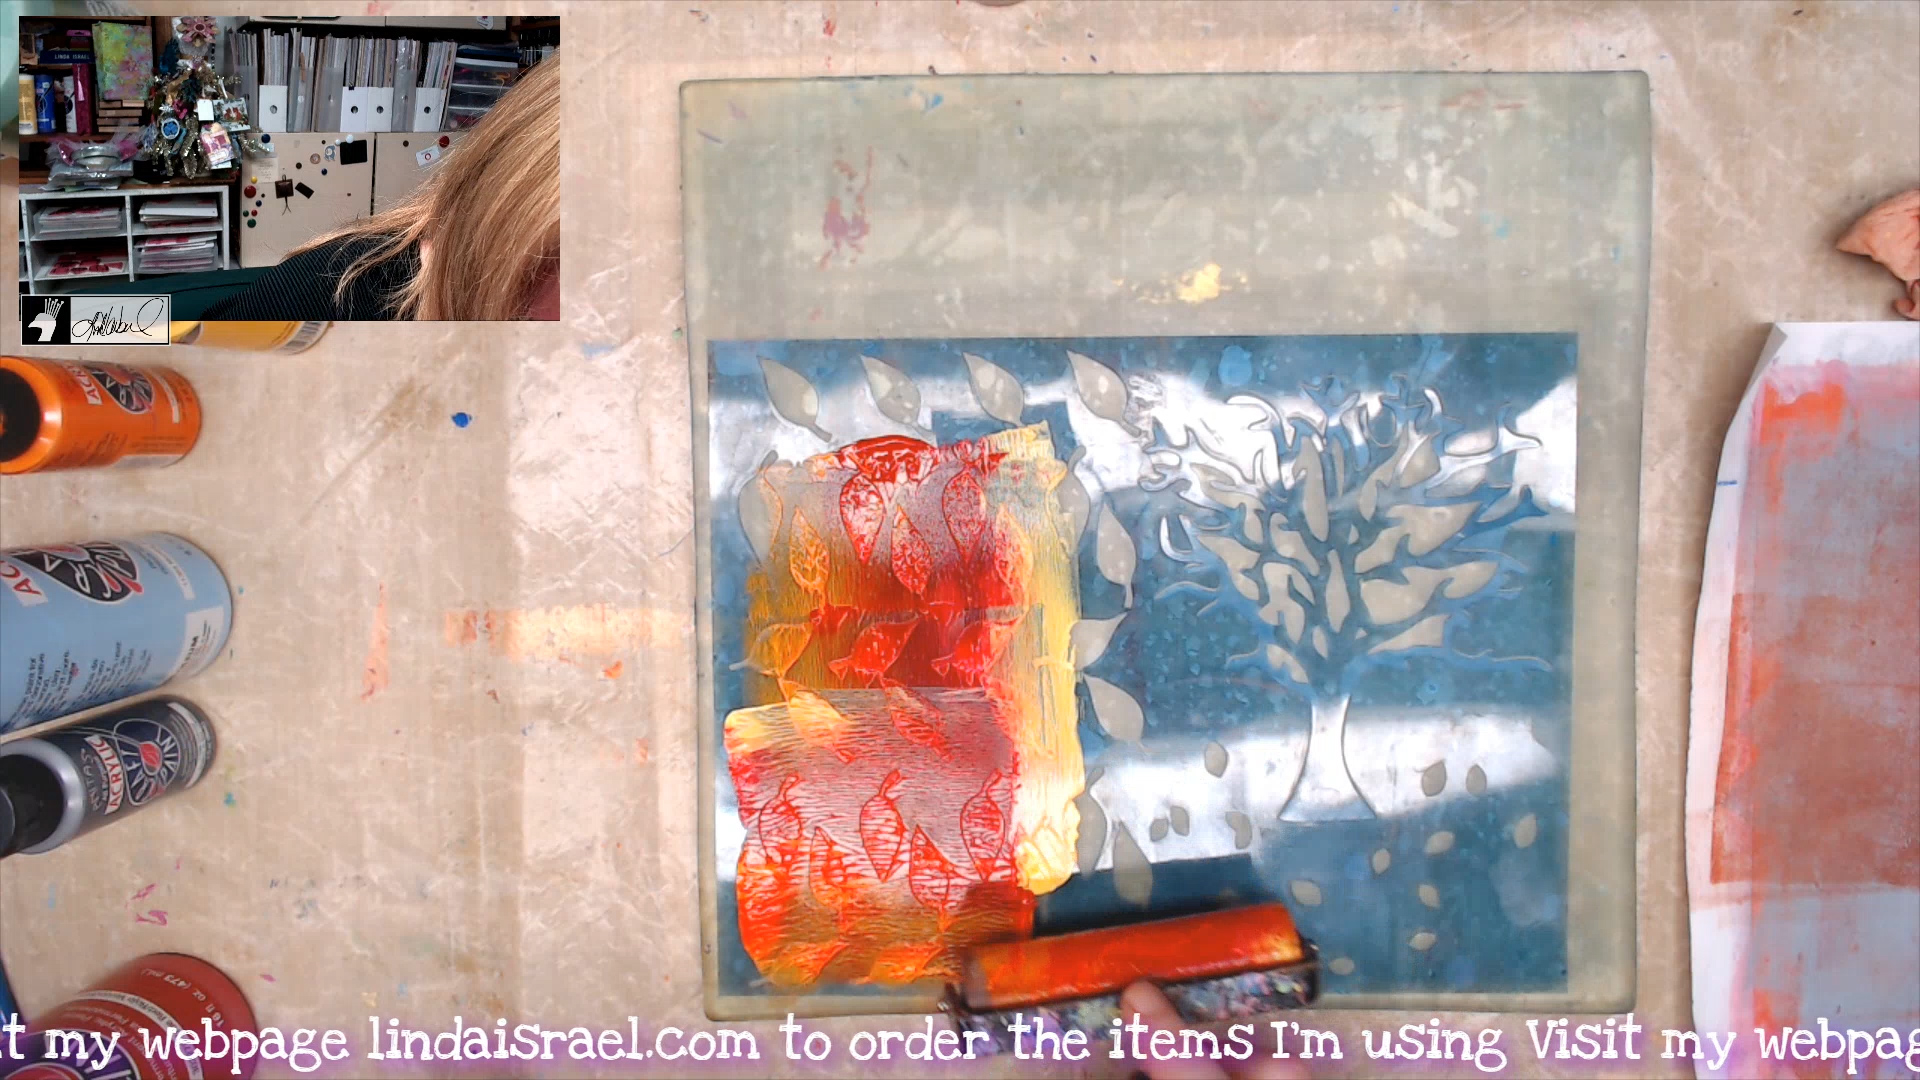
Apply third layer of paint colors over the tree area, try using a couple of colors to make the tree image stand out. Don’t forget to let this dry completely!
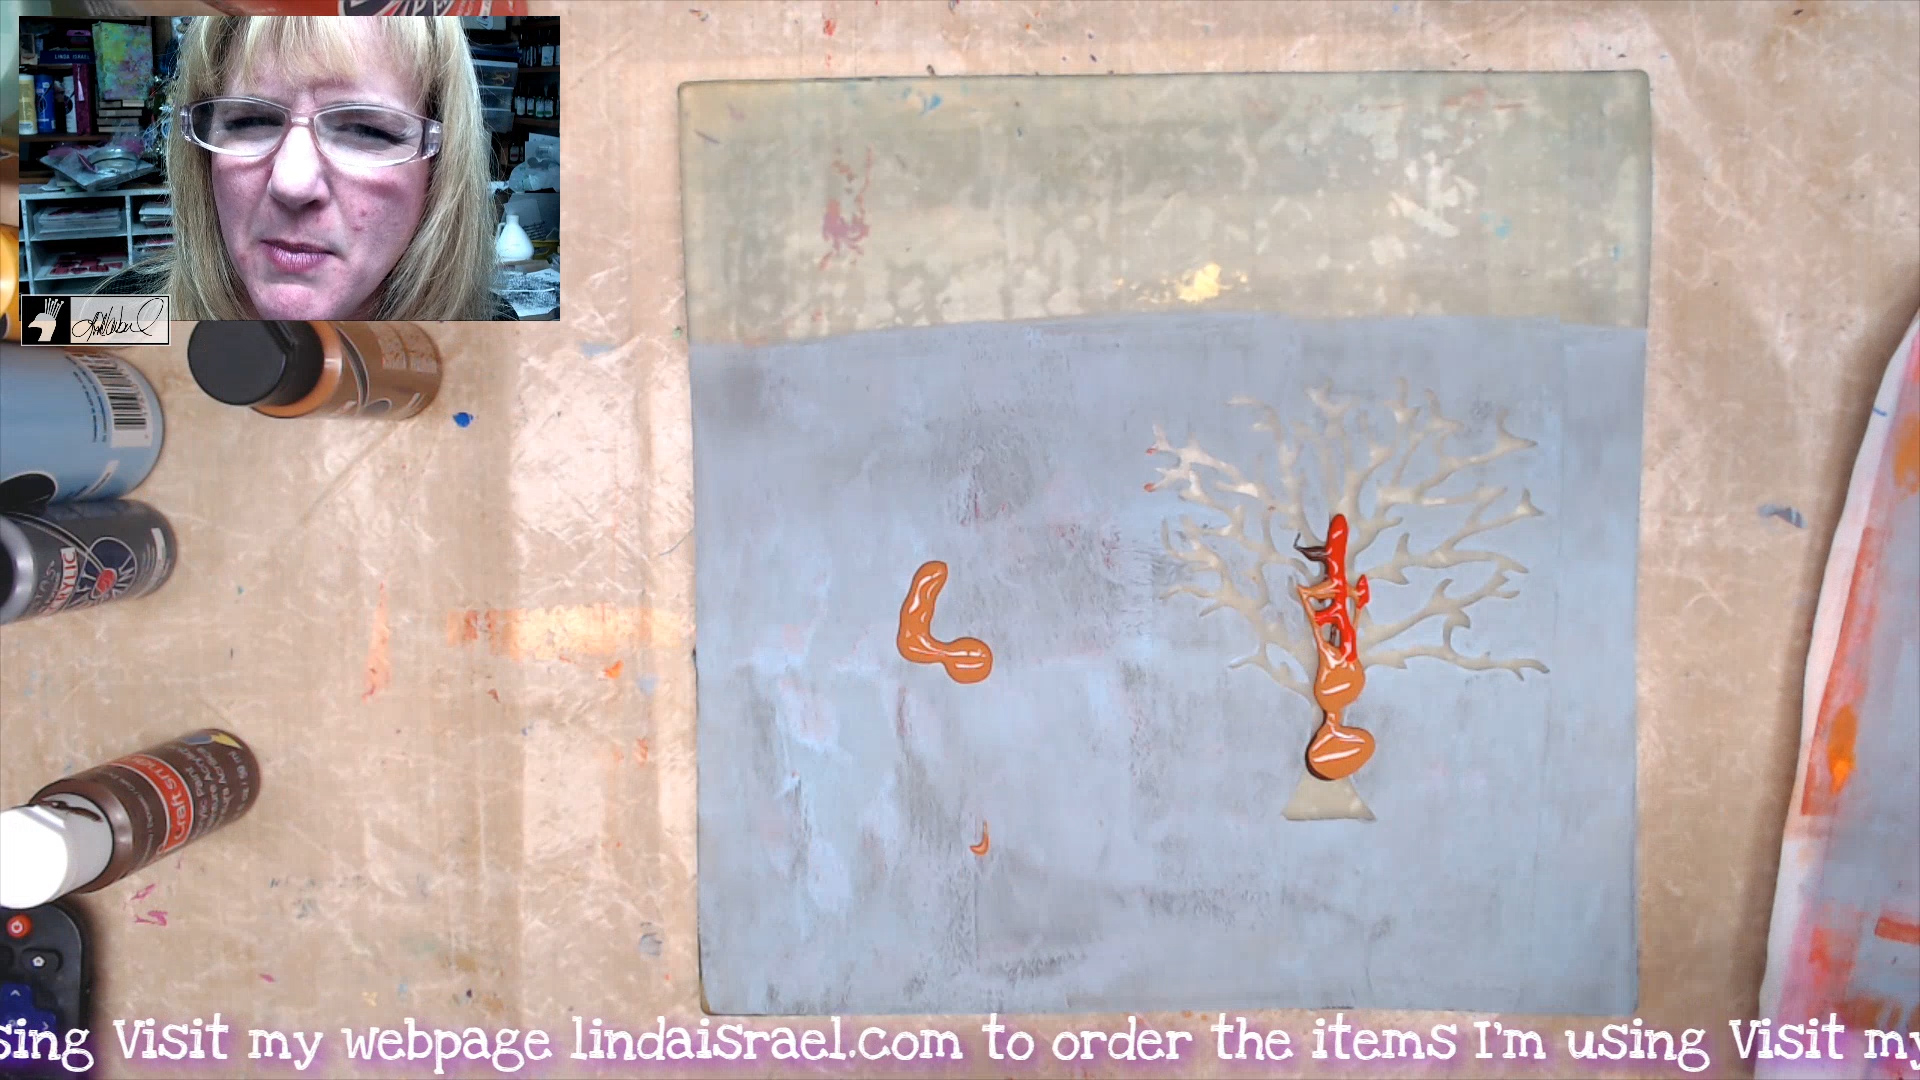
Brayer the third layer of the chosen acrylic paints over the entire stenciled area.
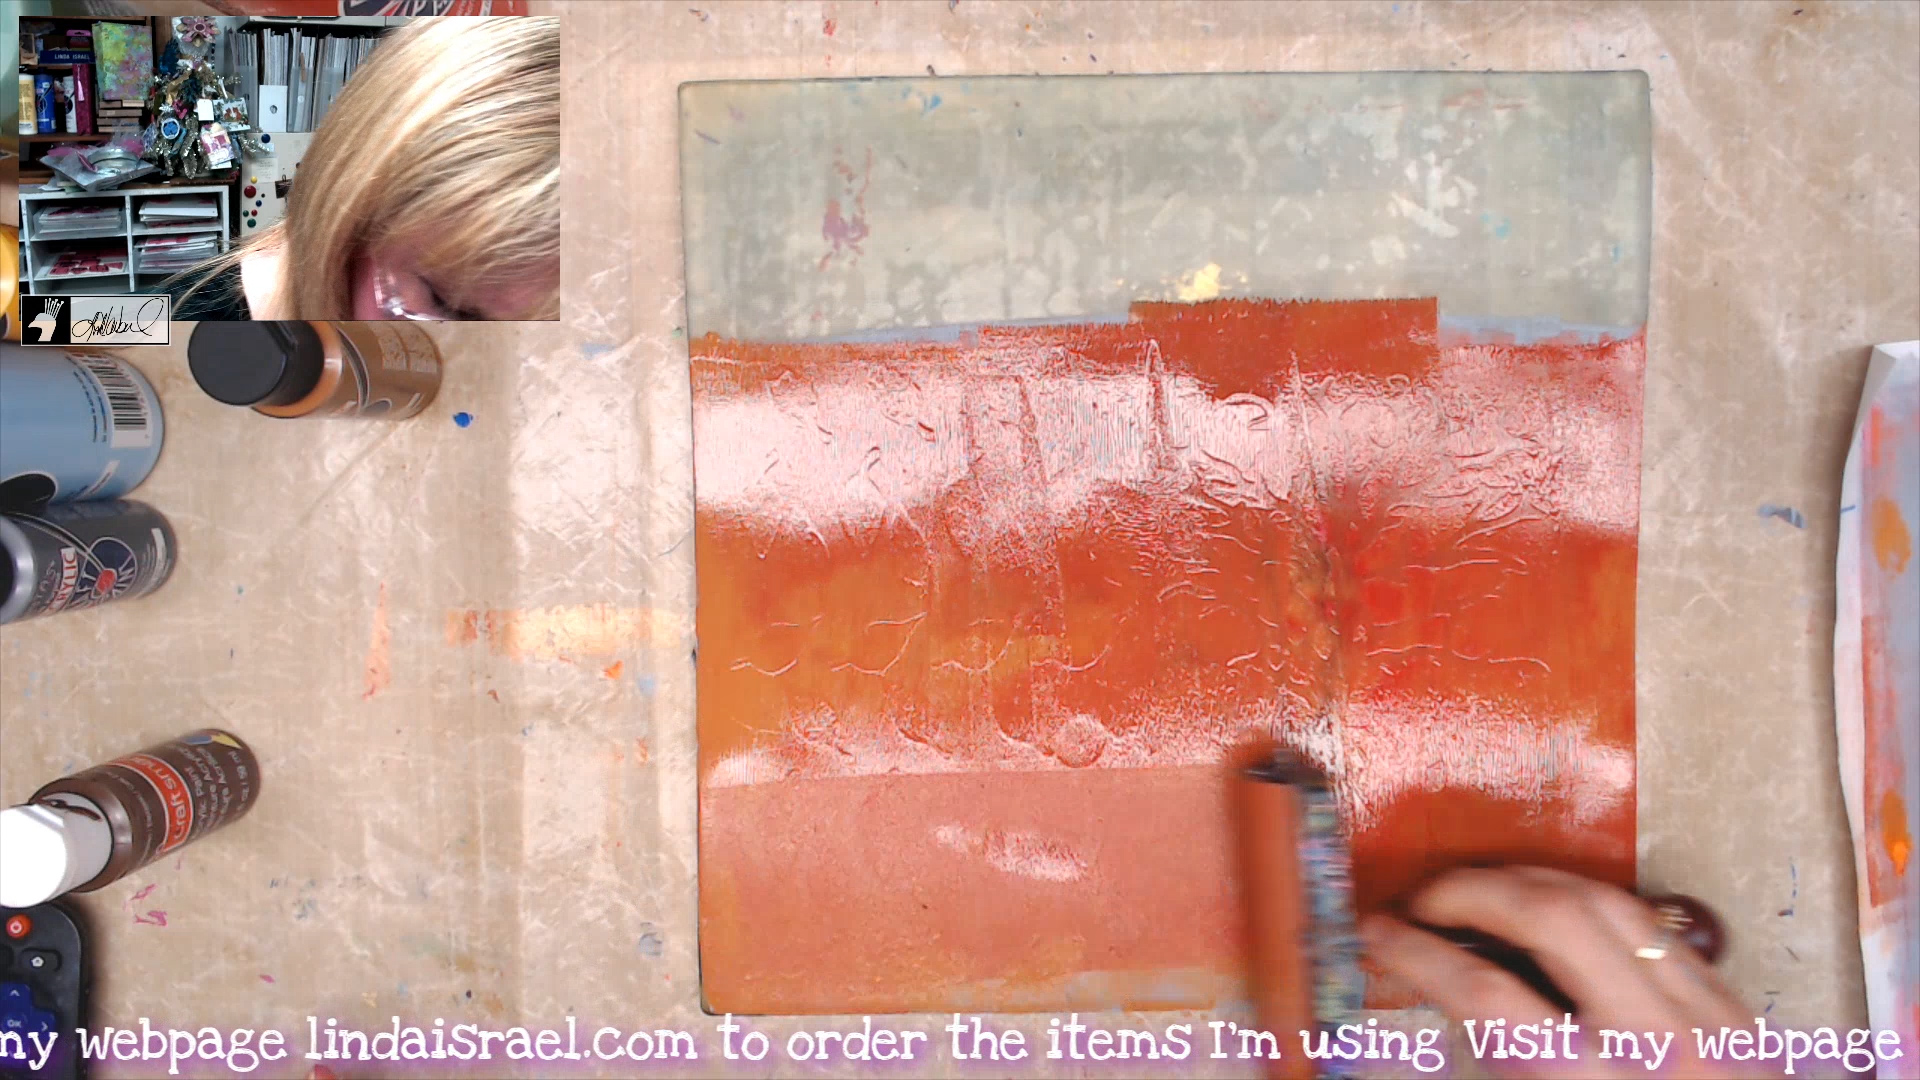
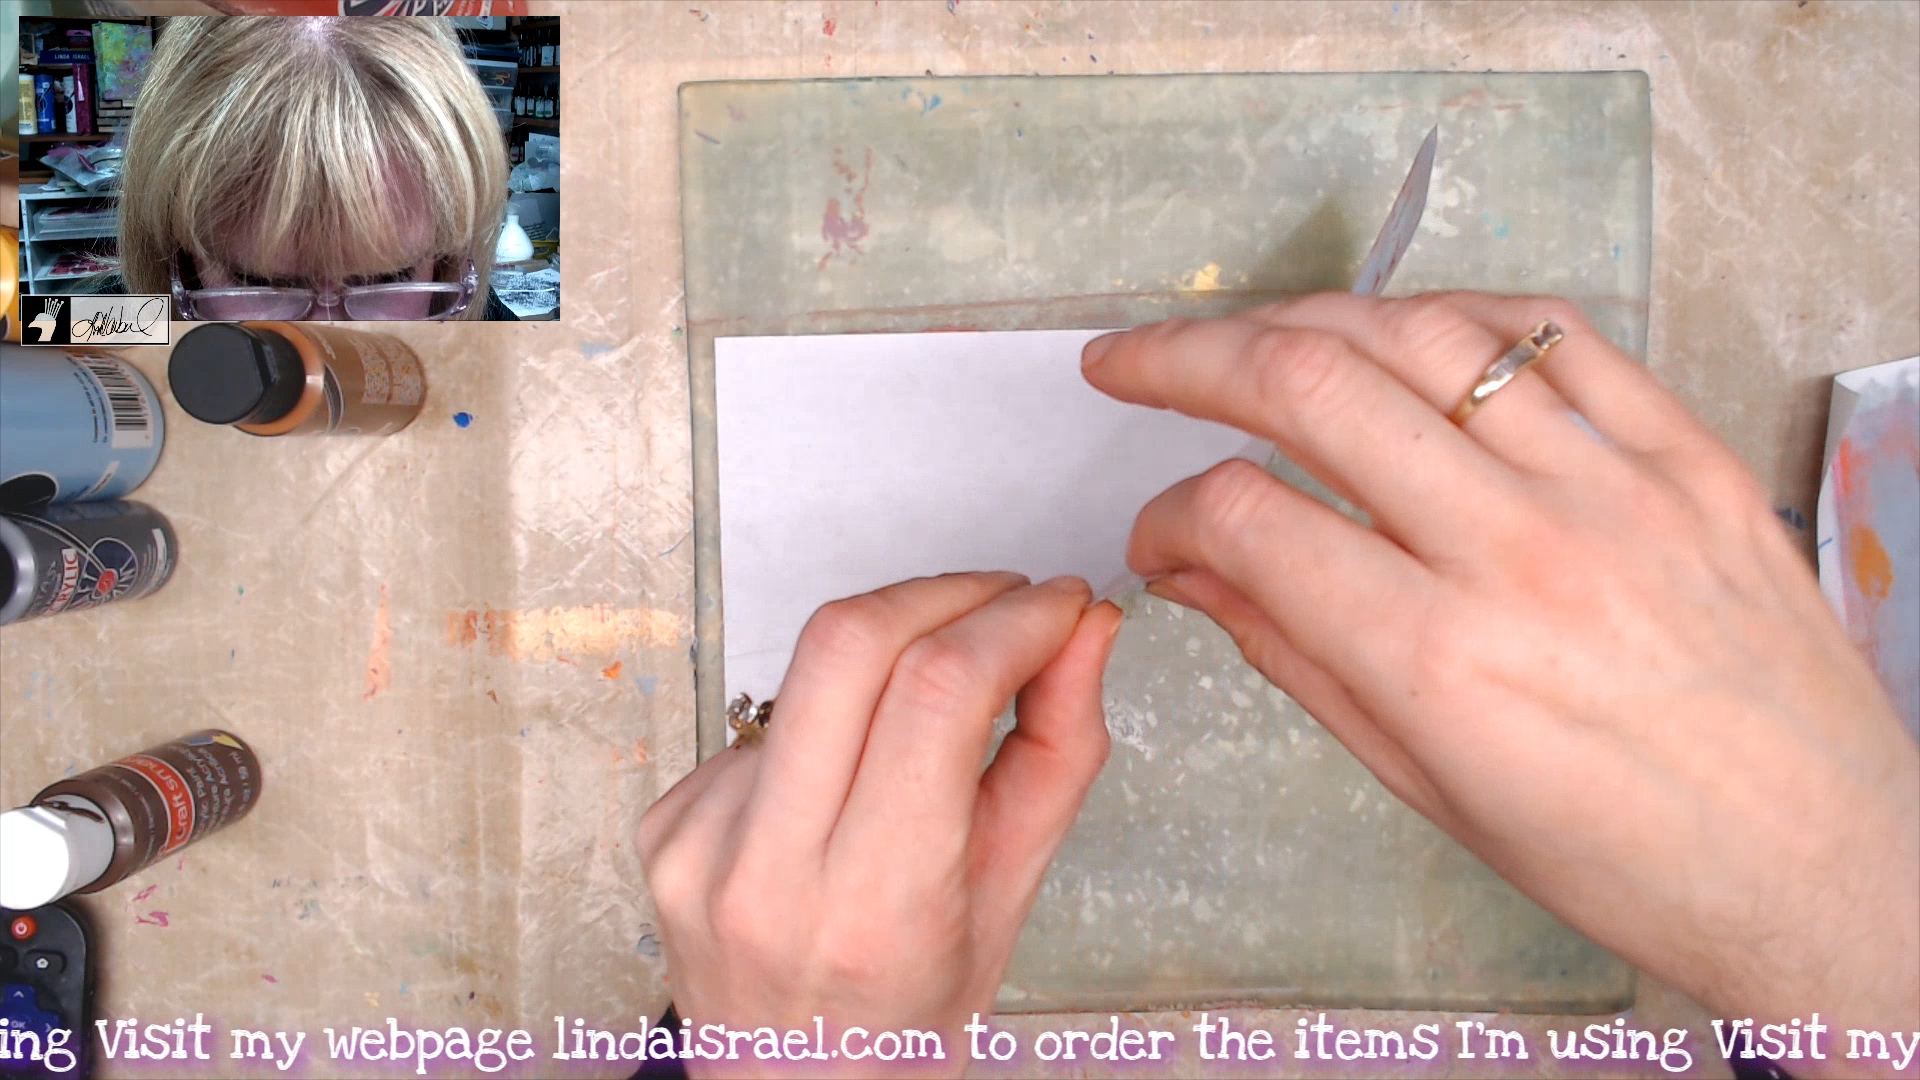
Lay a sheet of printer paper onto wet paint. I use my hand to lightly rub over the paper so when I peel the paper the paint will adhere to the paper. I use 20 pound weight printer paper for my Gel Plate prints.

Once you feel you have the image set to the paper, it is time to slowly lift paper from gel plate. I do not recommend using a brayer on this step, you can smear the paint and will not get a good image when you peel off the paper.
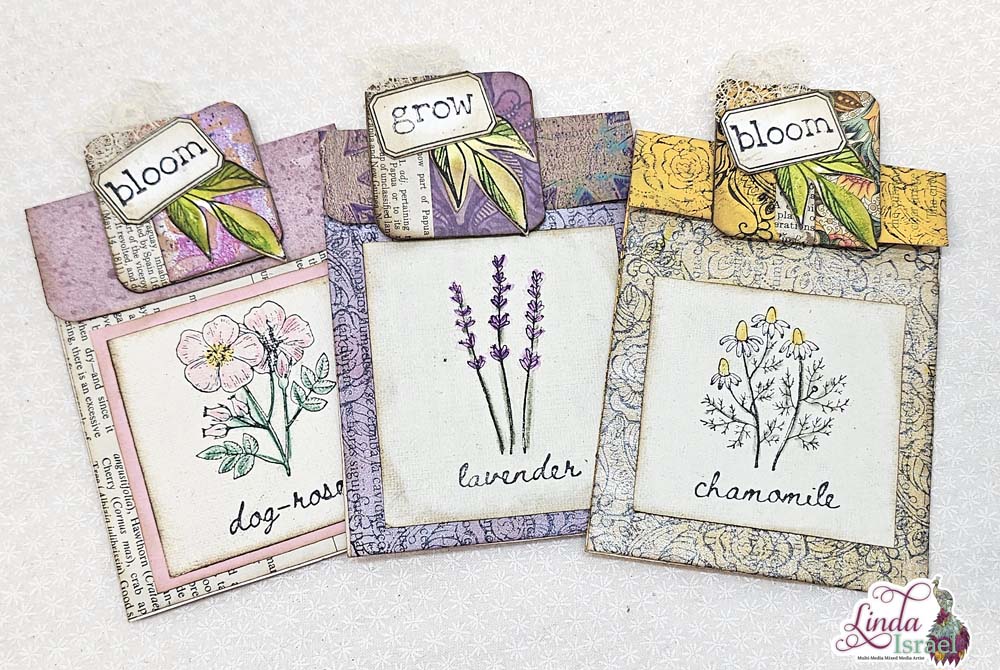
Now it is time to admire gel print results! With a little practice and patience you will soon get the process to work for you!
How will you use your stencils to create your Autumn Gel prints?
Robin Fennessy
Make sure to check out the Friendly Junk Journal People Facebook group. Of course, you are welcome to join the Friendly Junk Journal People Facebook group. The group is growing daily and we are a friendly group willing to help each other and encourage each other.

Interested in any of the projects Linda has created? Please feel free to contact her through her website. Here is her shop, a lot of items featured and more added weekly.
Keep updated on her posts by following the blog by creating an account. Follow Linda on her Facebook Page or on Instagram for updates that may not be shared on the blog.
Thanks so much for stopping by the blog today to see my Autumn Tree and Leaves Gel Print Tutorial Video.