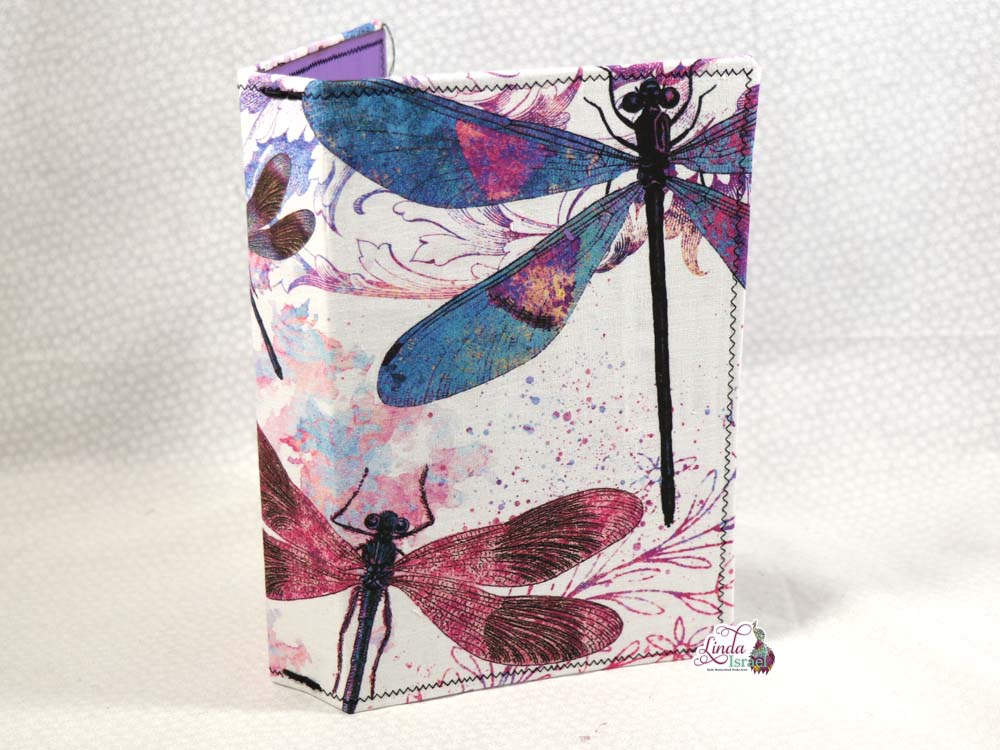
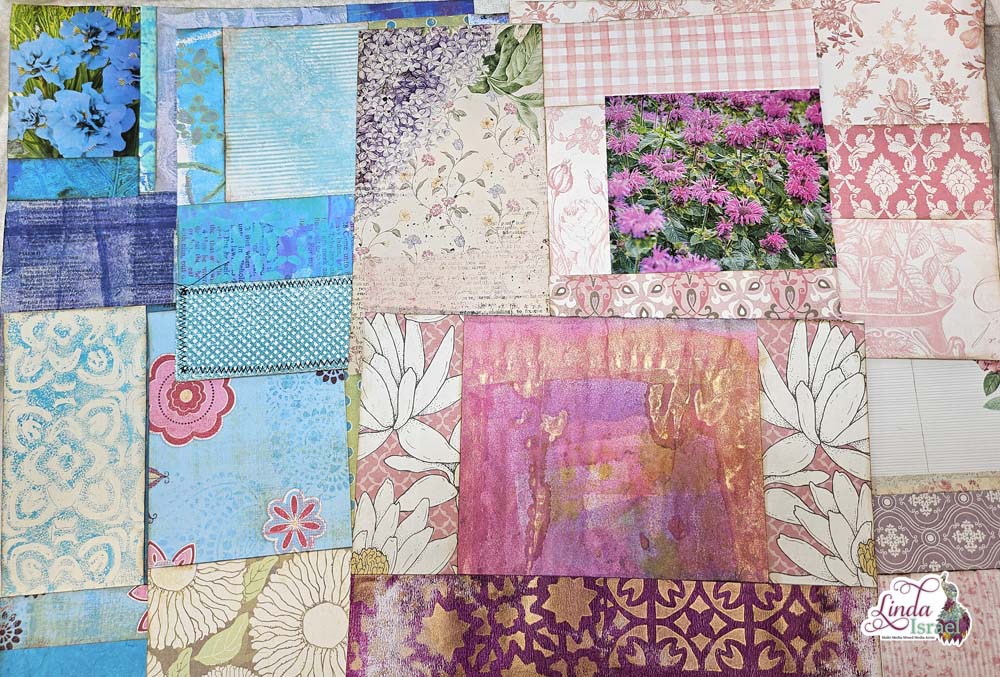
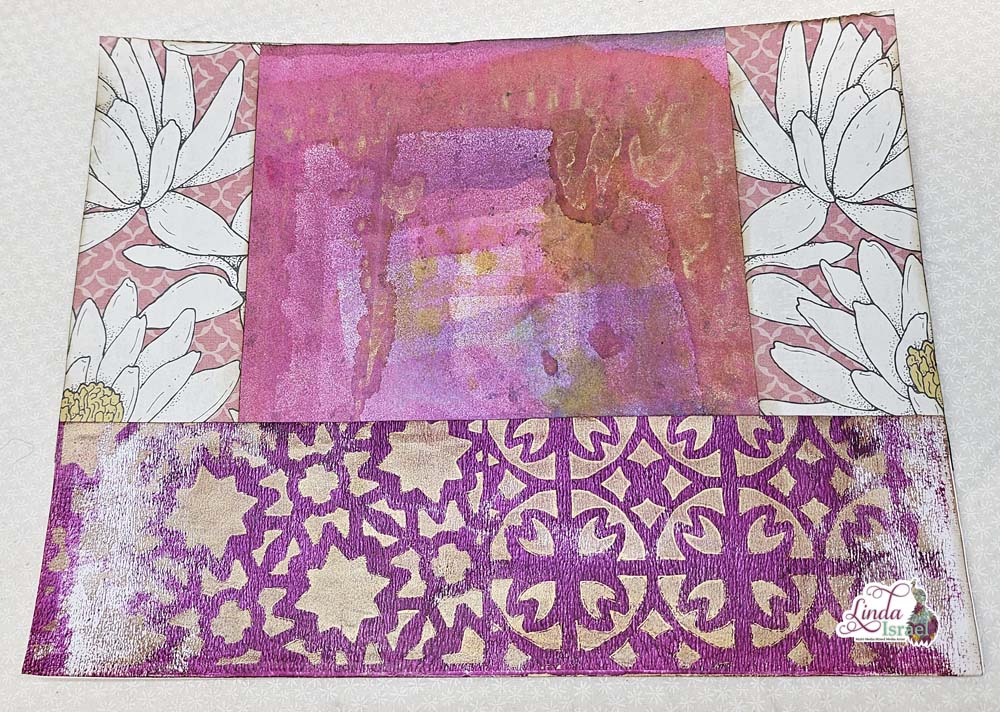
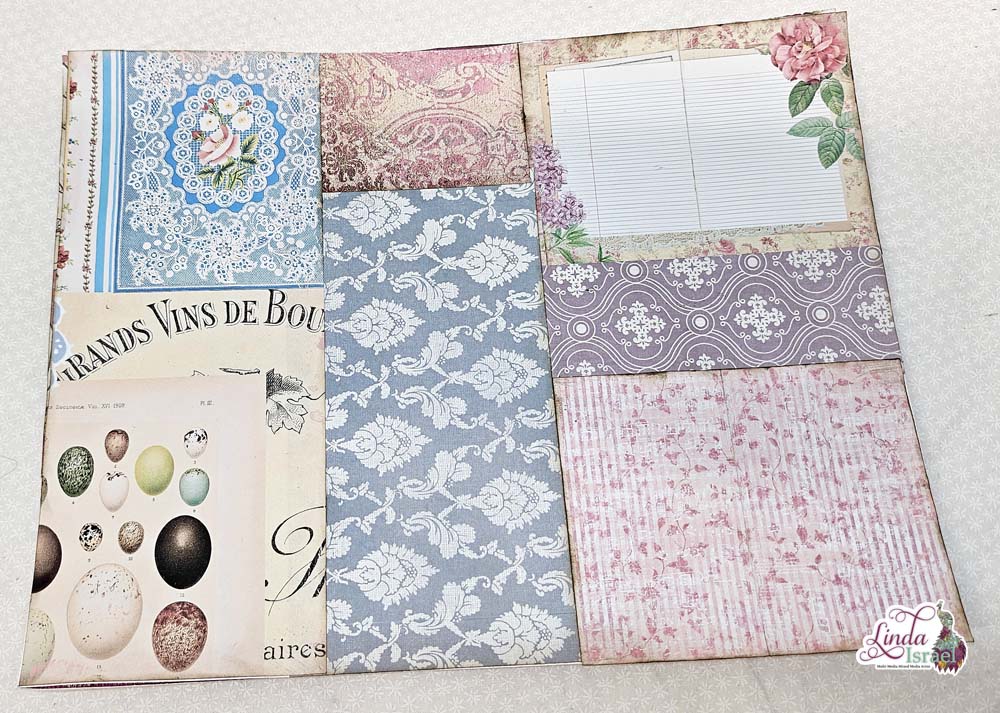
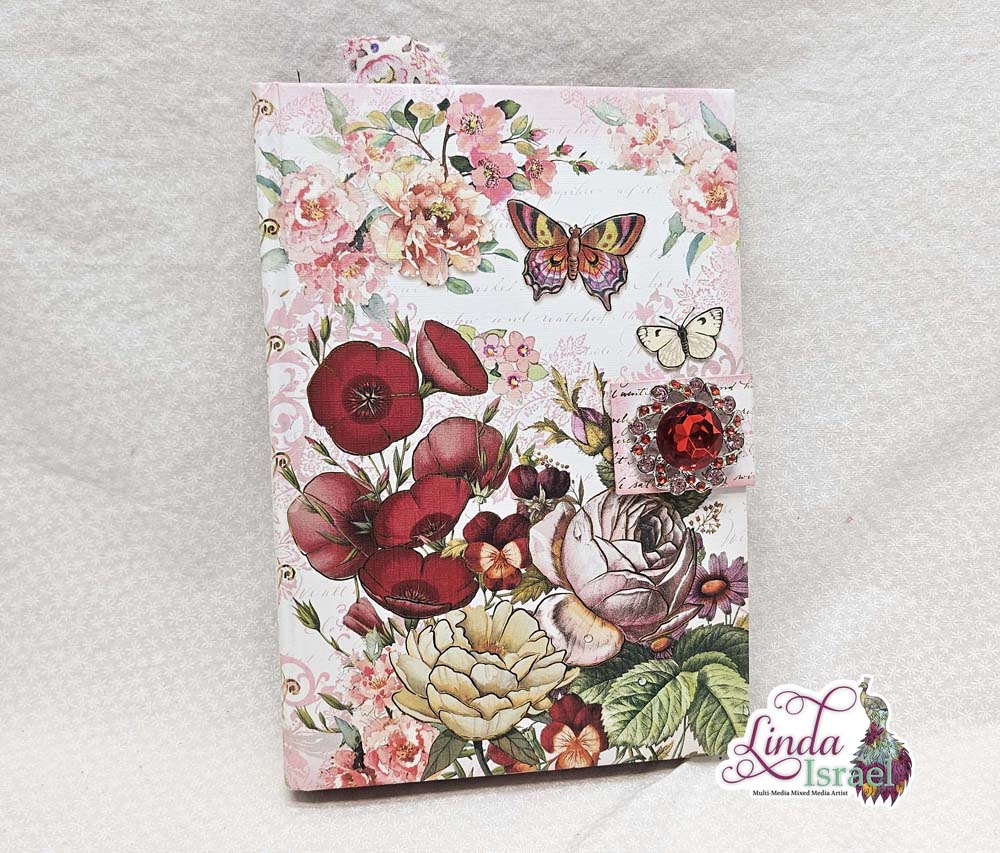
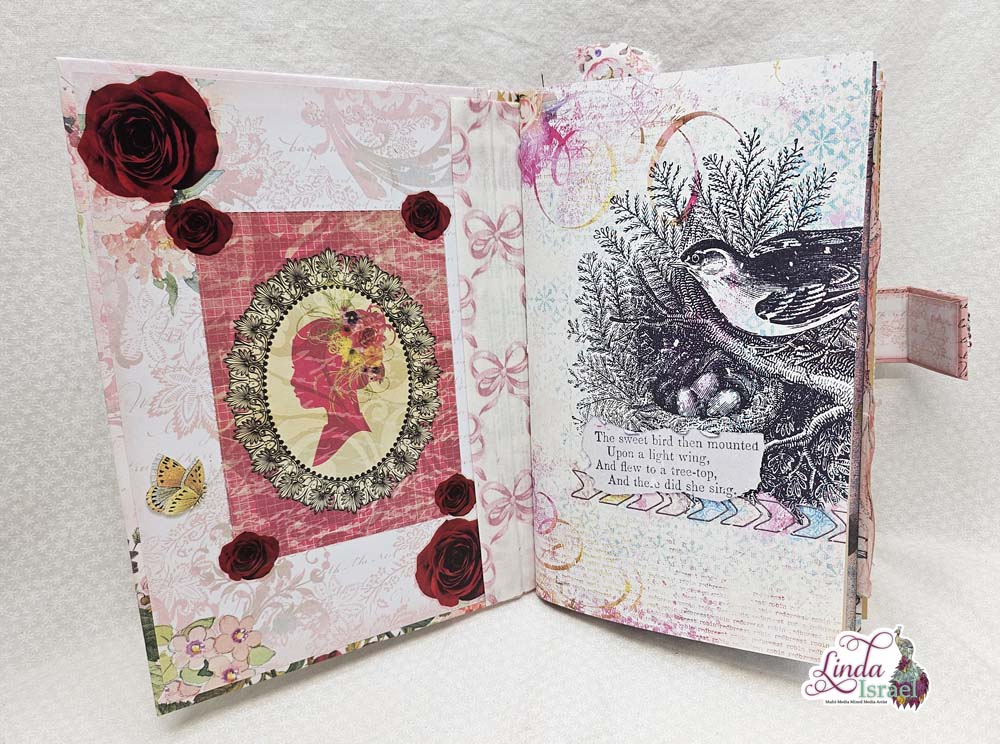
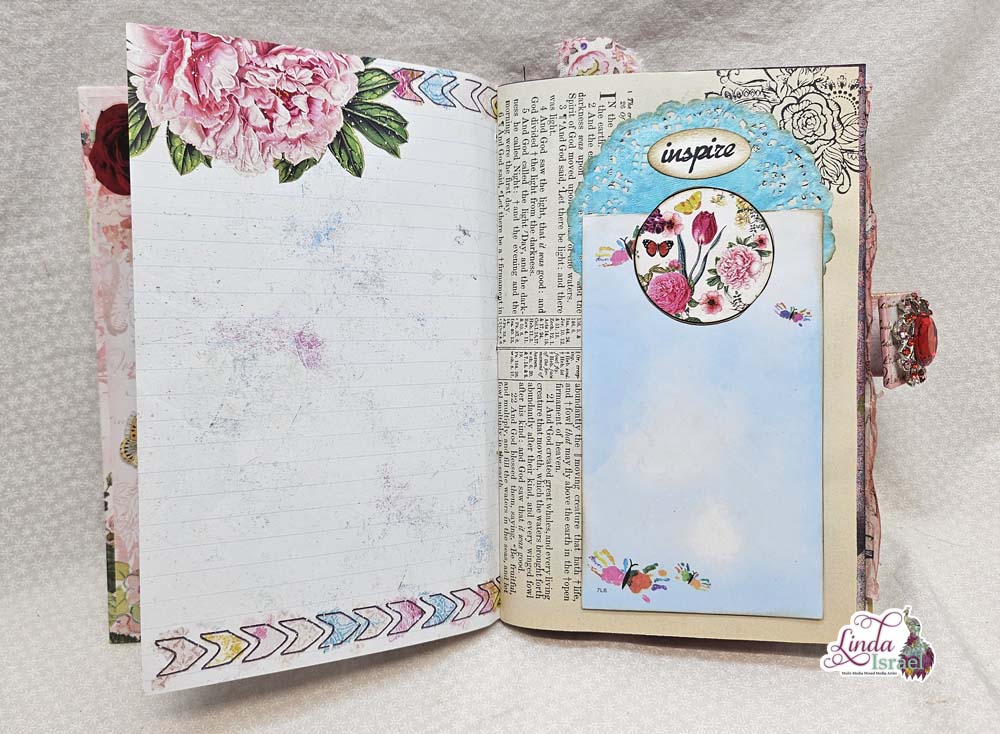
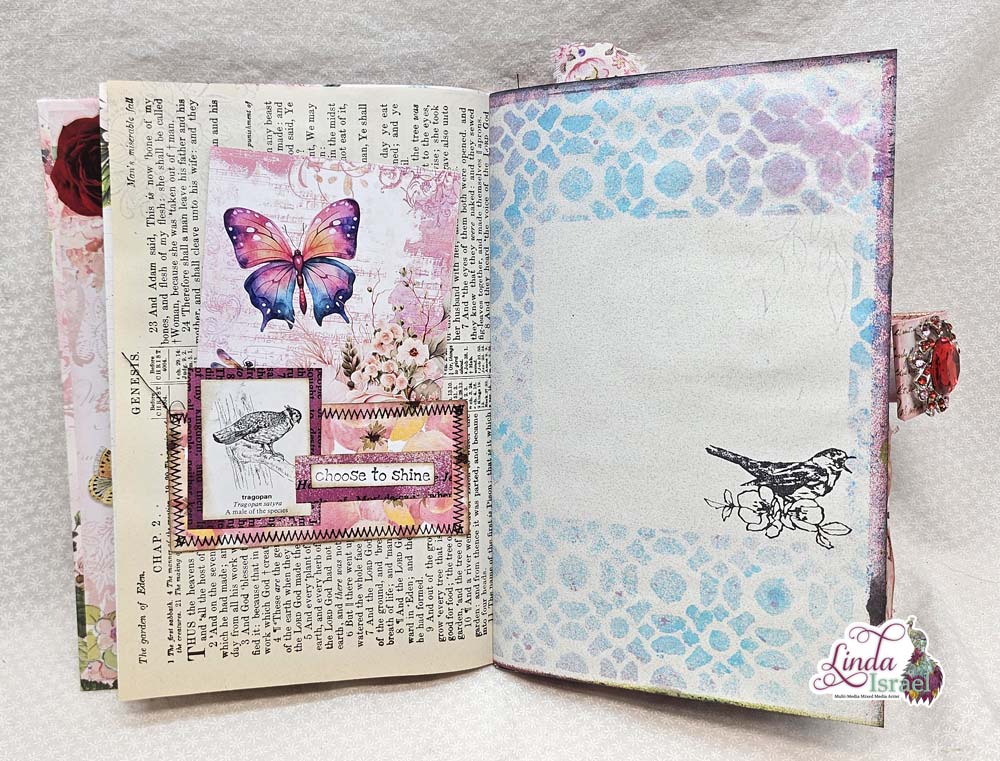
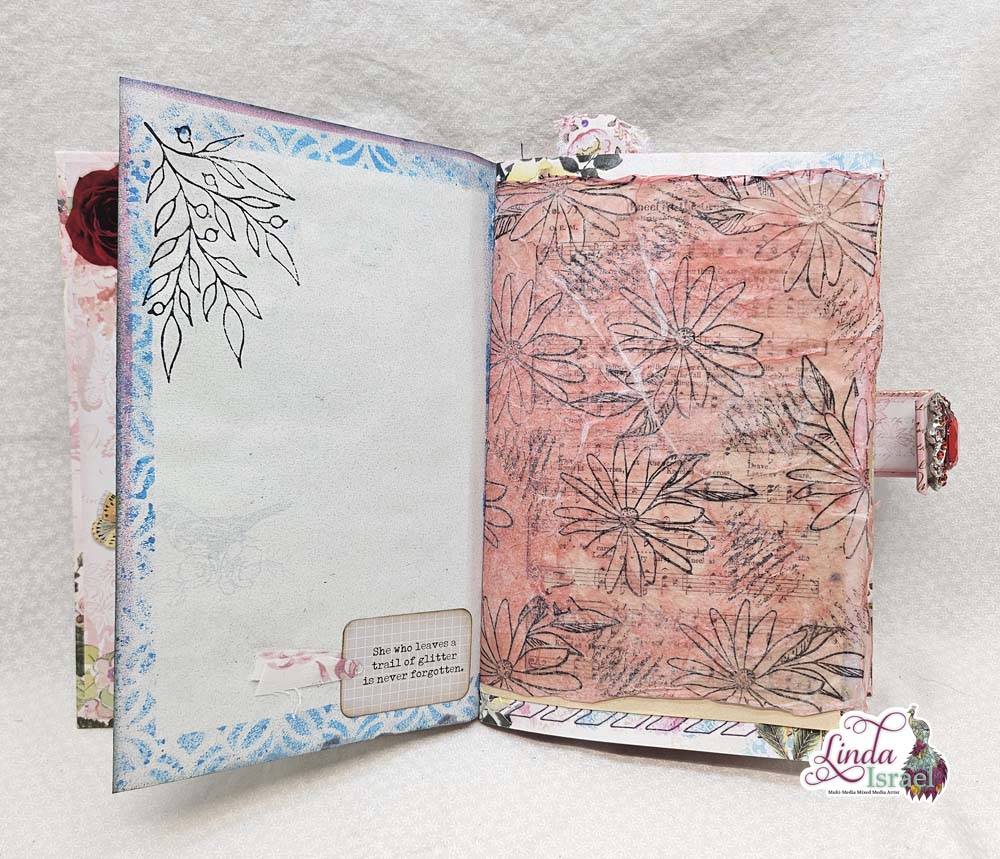
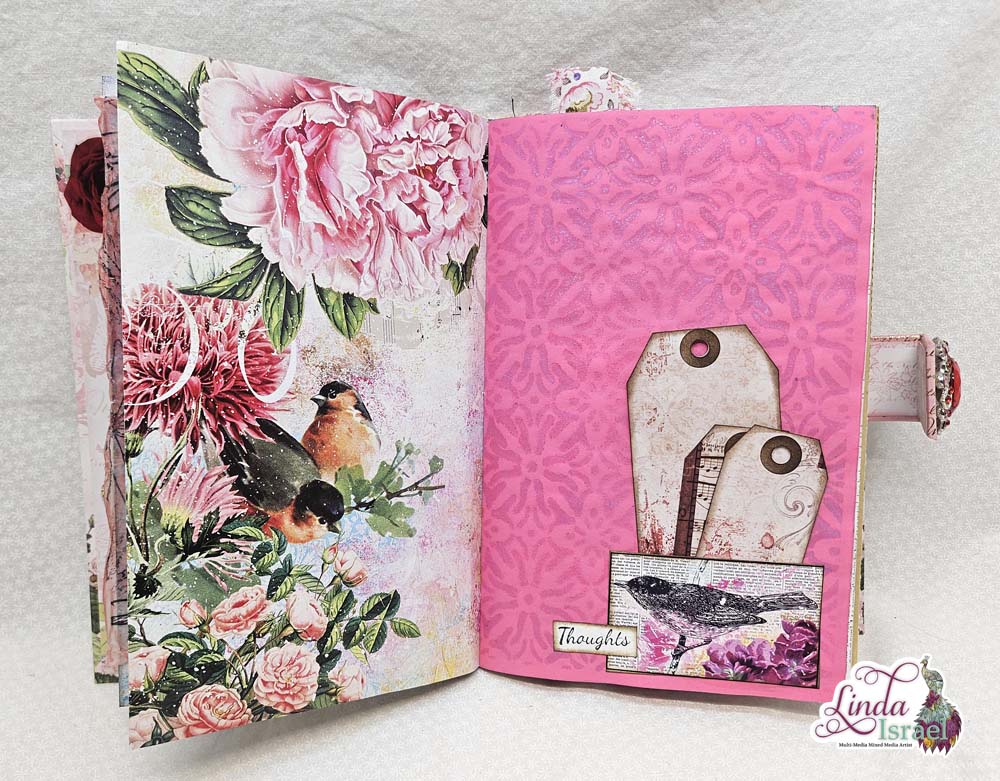
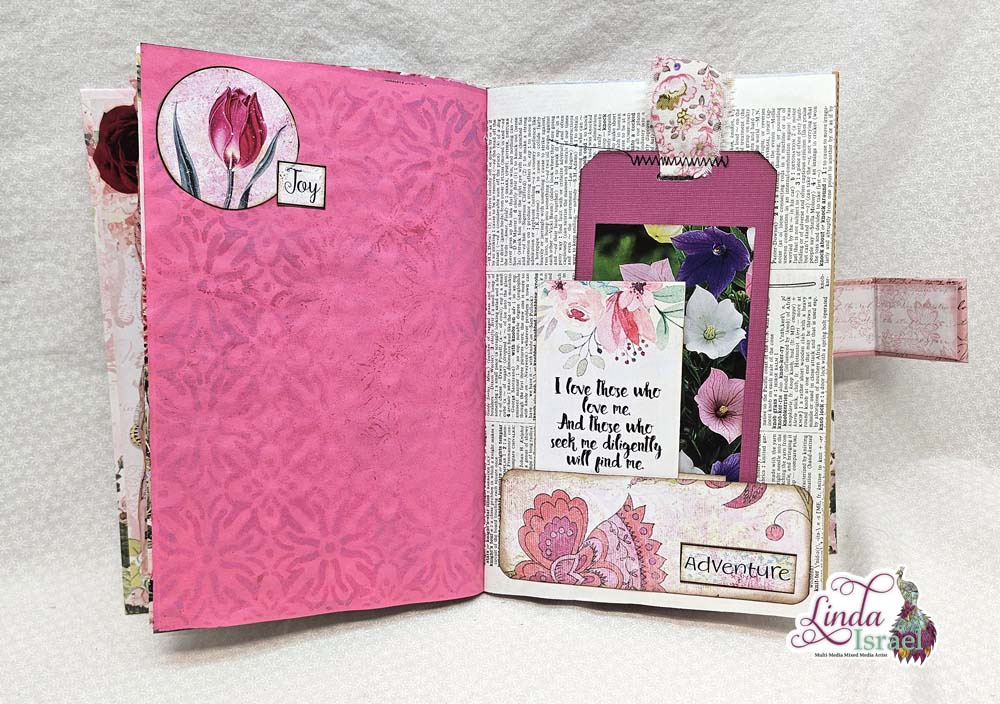
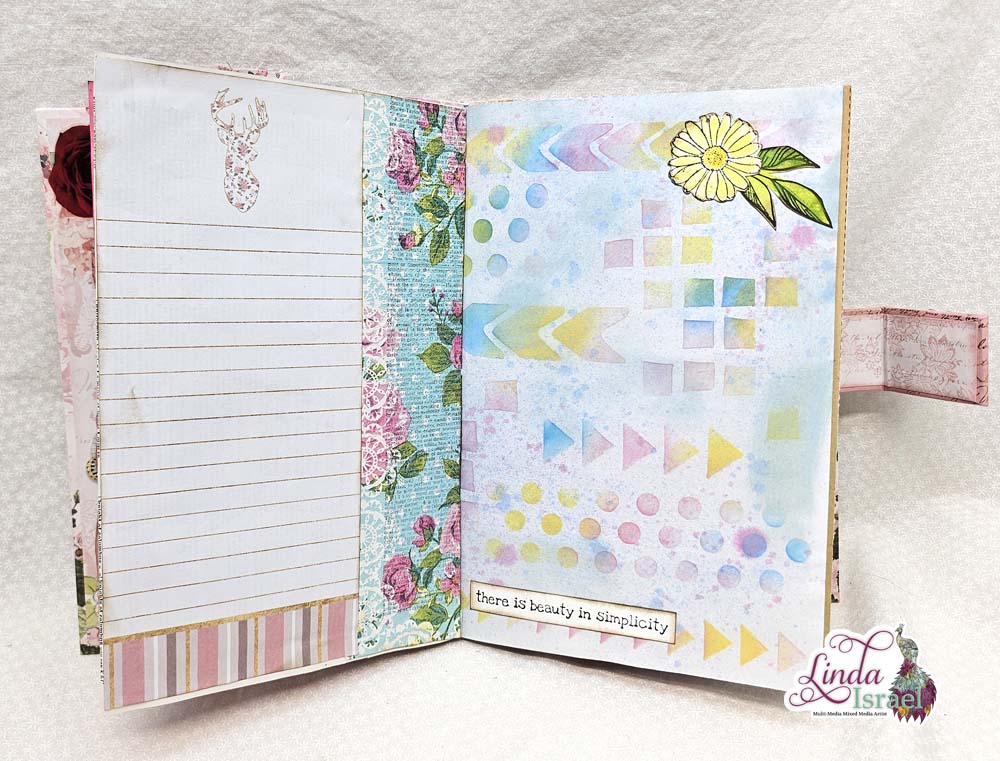
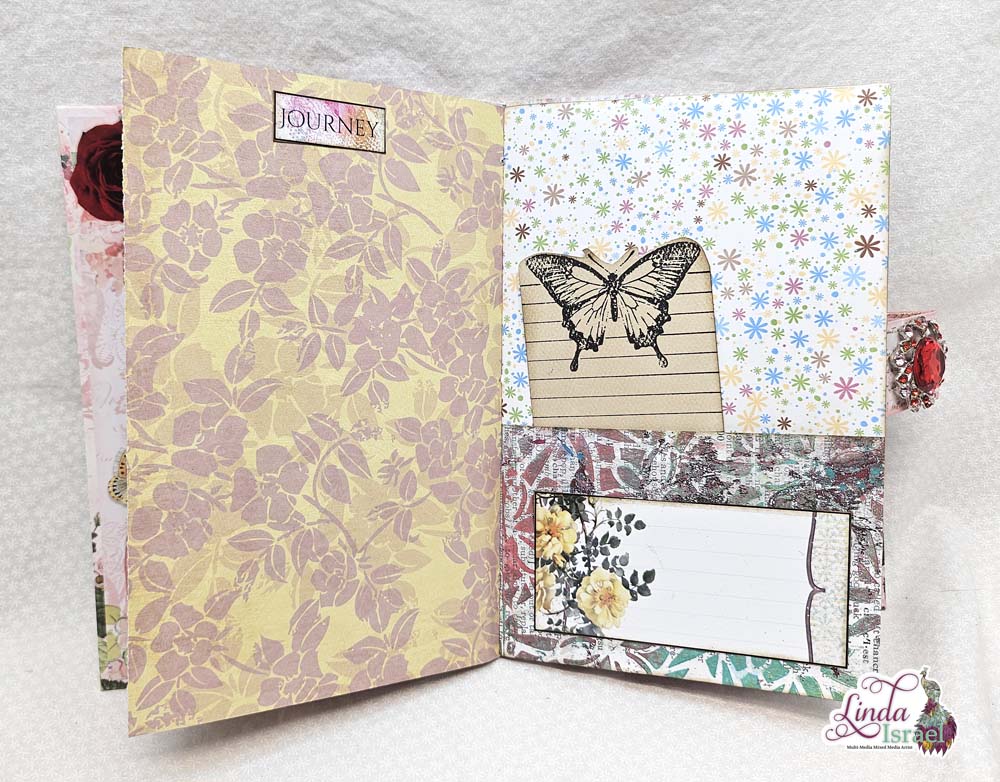
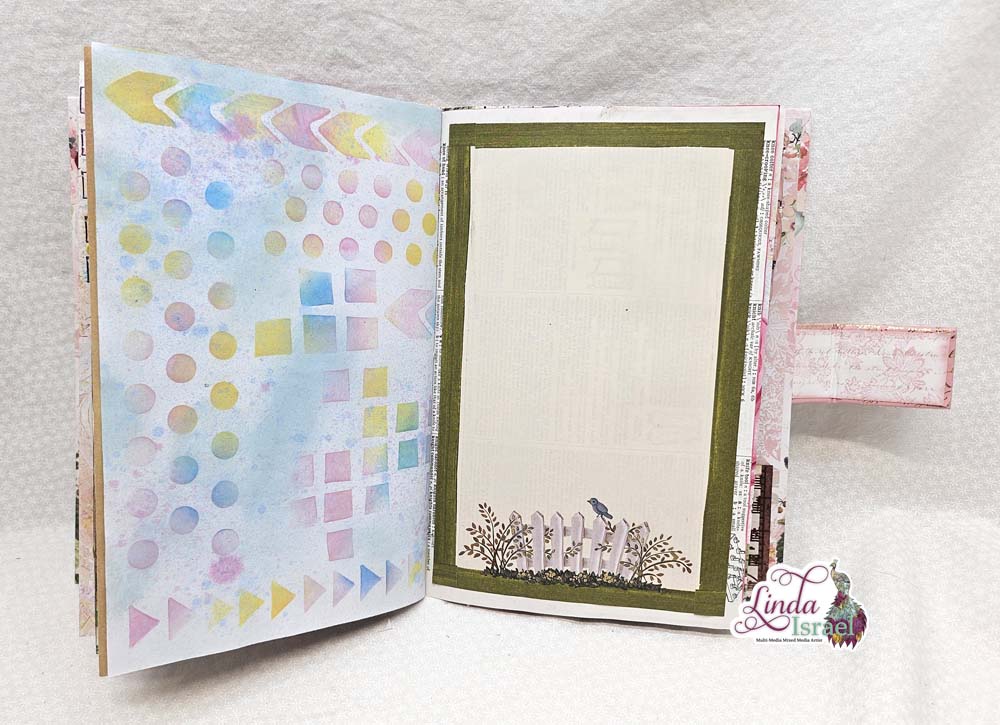
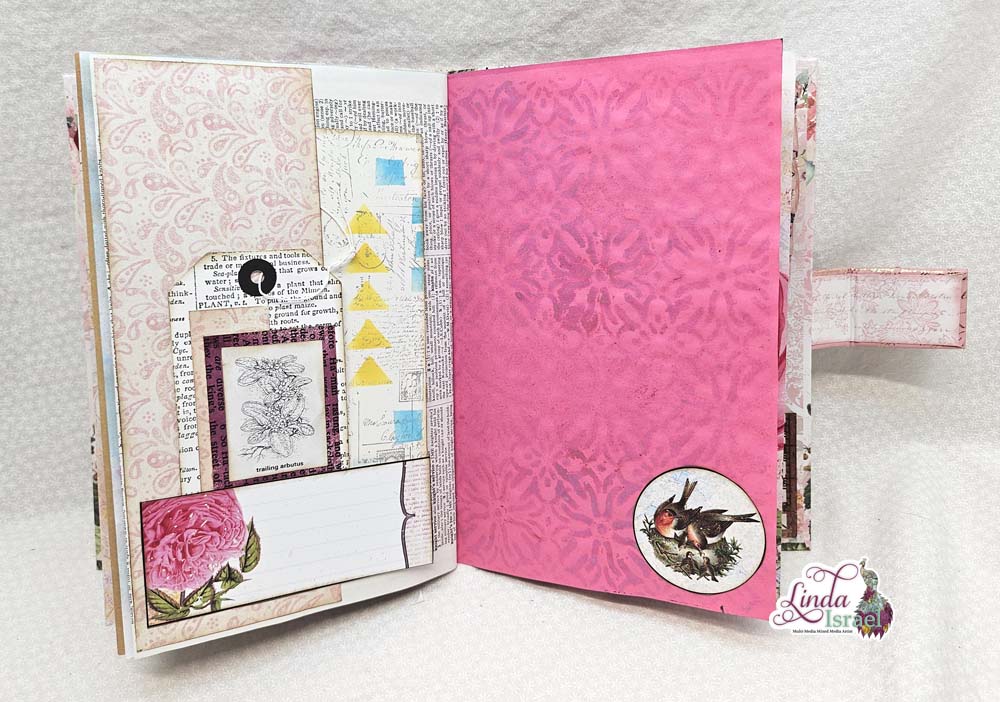
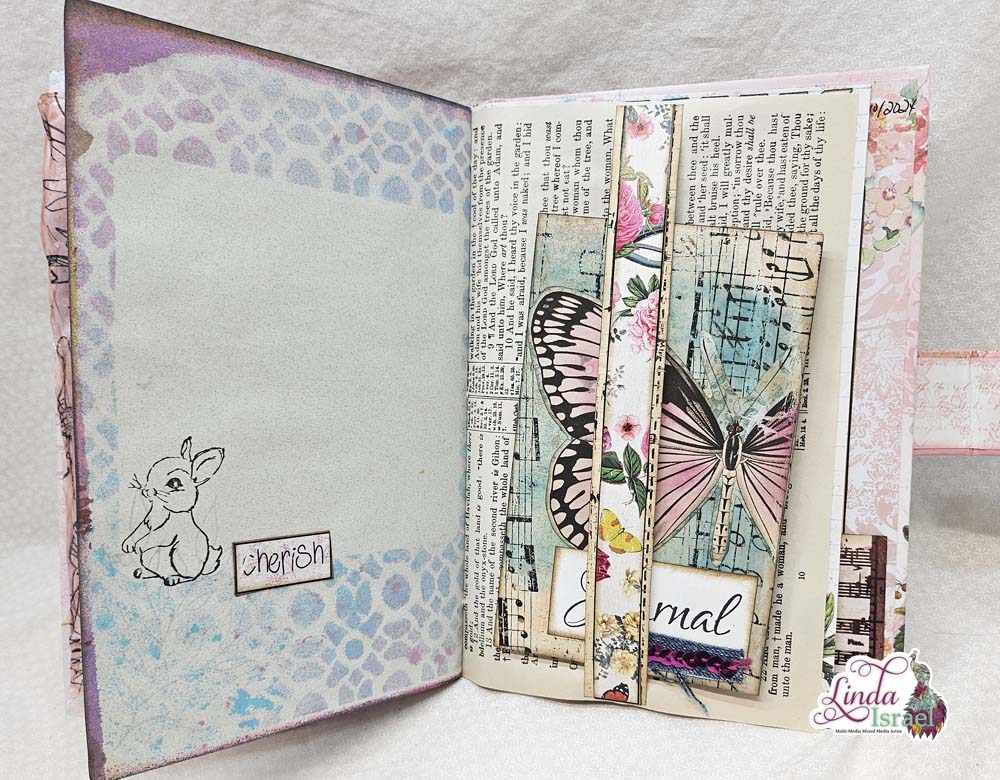
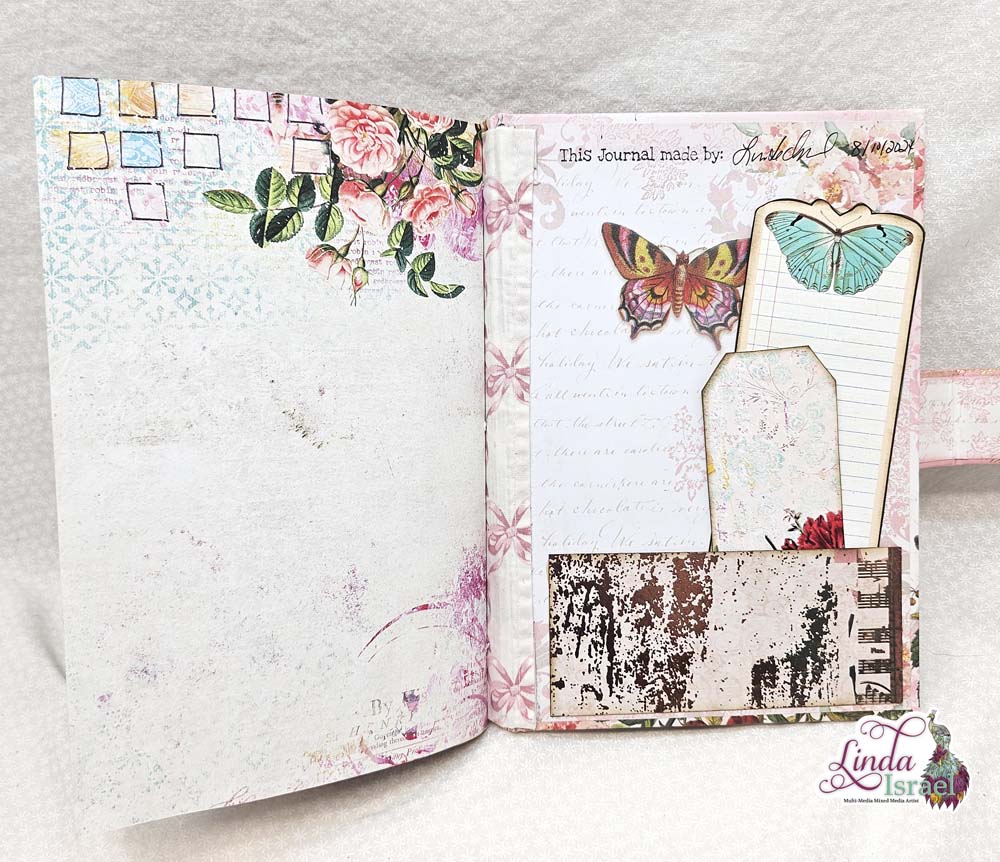
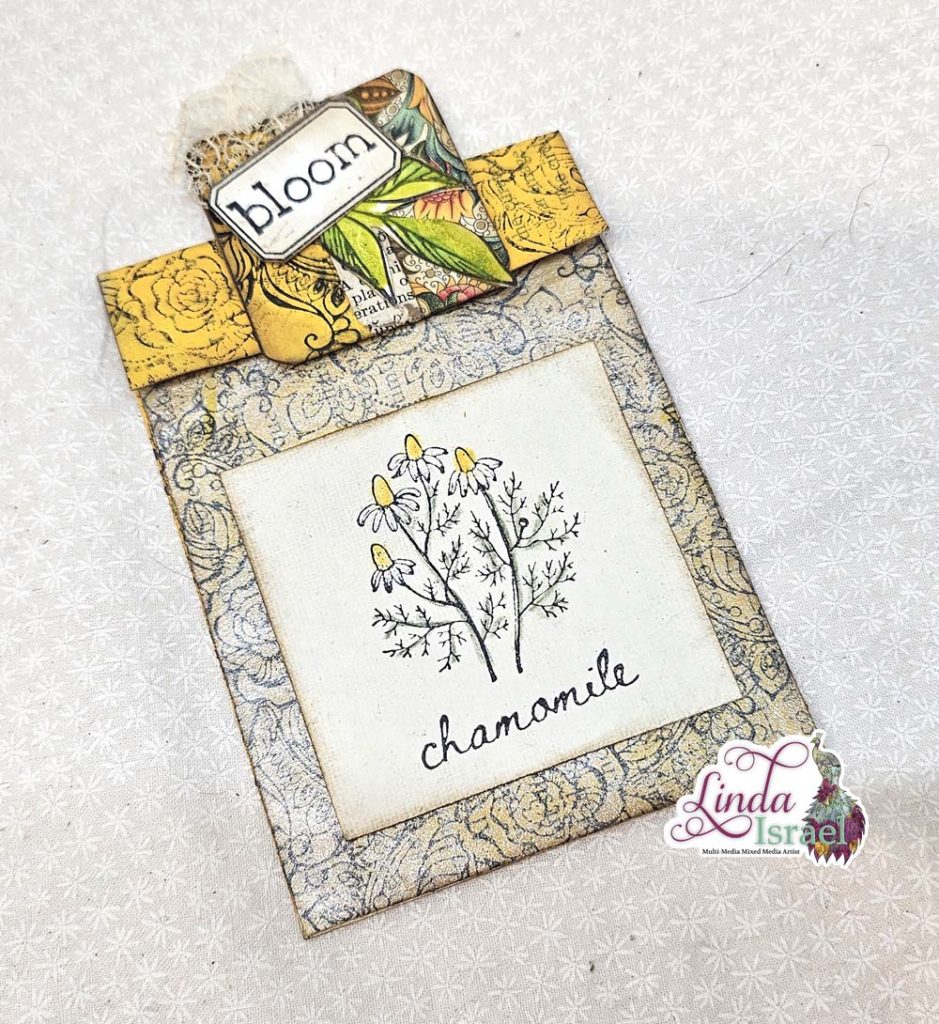
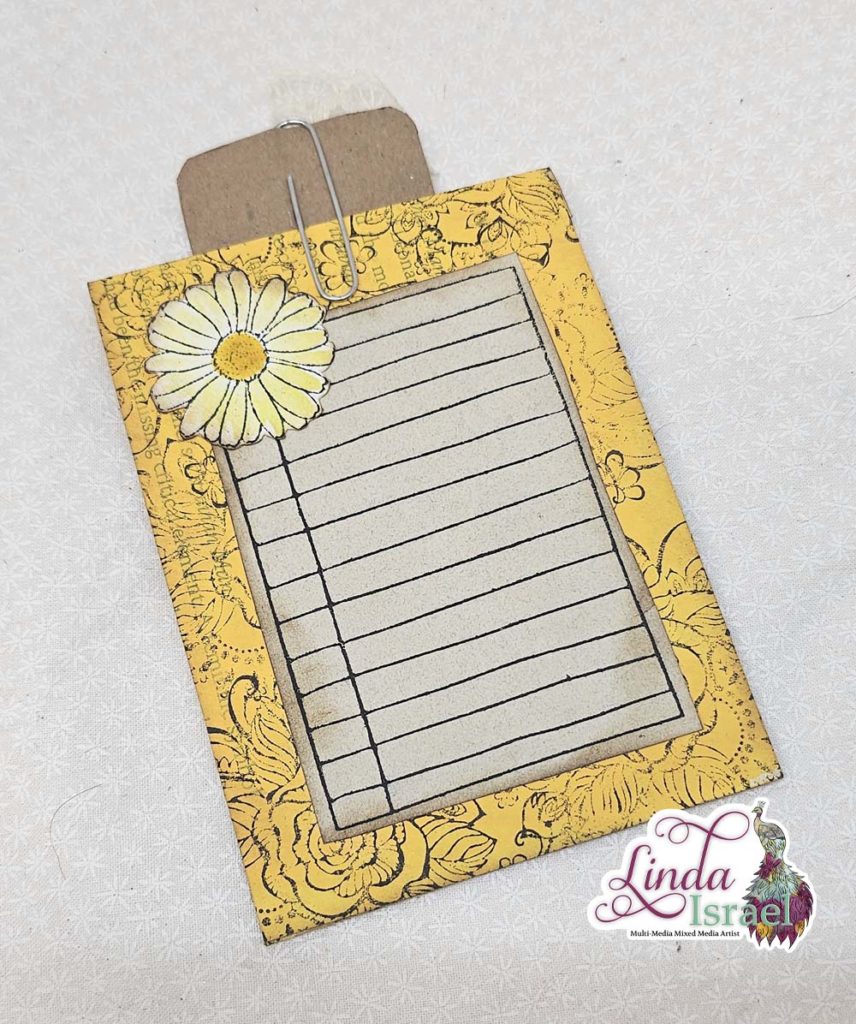
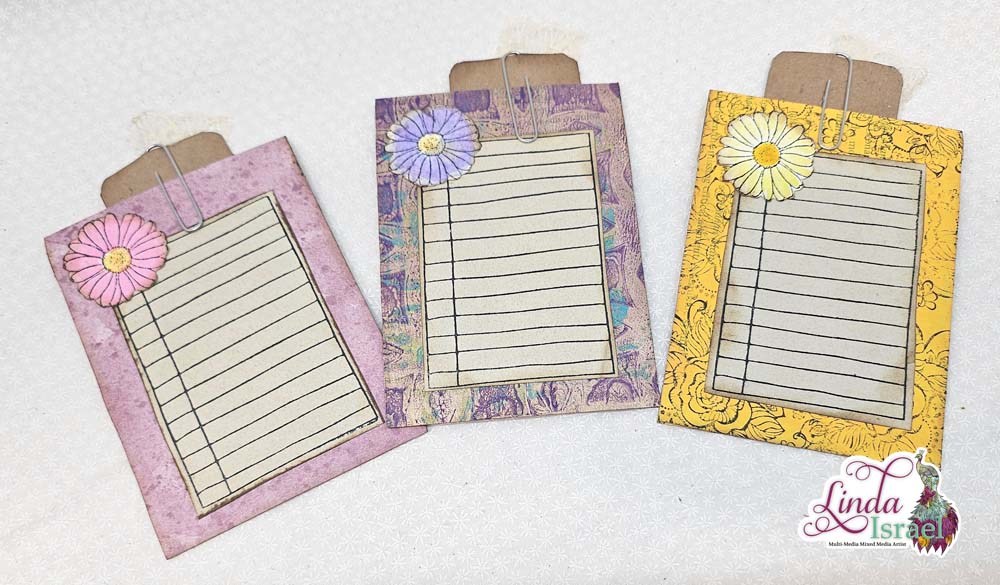
Today I’m sharing a Dancing Dragonflies Midori Style Journal Cover Tutorial. In this tutorial I’ll show how to create a Midori Style Journal Cover using fabric, chipboard and cardstock. A Midori Style cover is a cover that allows journal inserts to be removed from the cover. I like this style as I can take my journal insert out and write with it flat and I can change the inserts if I love the cover and want to keep using it to hold my current journals.
Dancing Dragonflies Midori Style Journal Cover Tutorial Video
Supplies used to create the Dancing Dragonflies Midori Style Journal Cover Tutorial
- Dancing Dragonflies Midori Style Kit
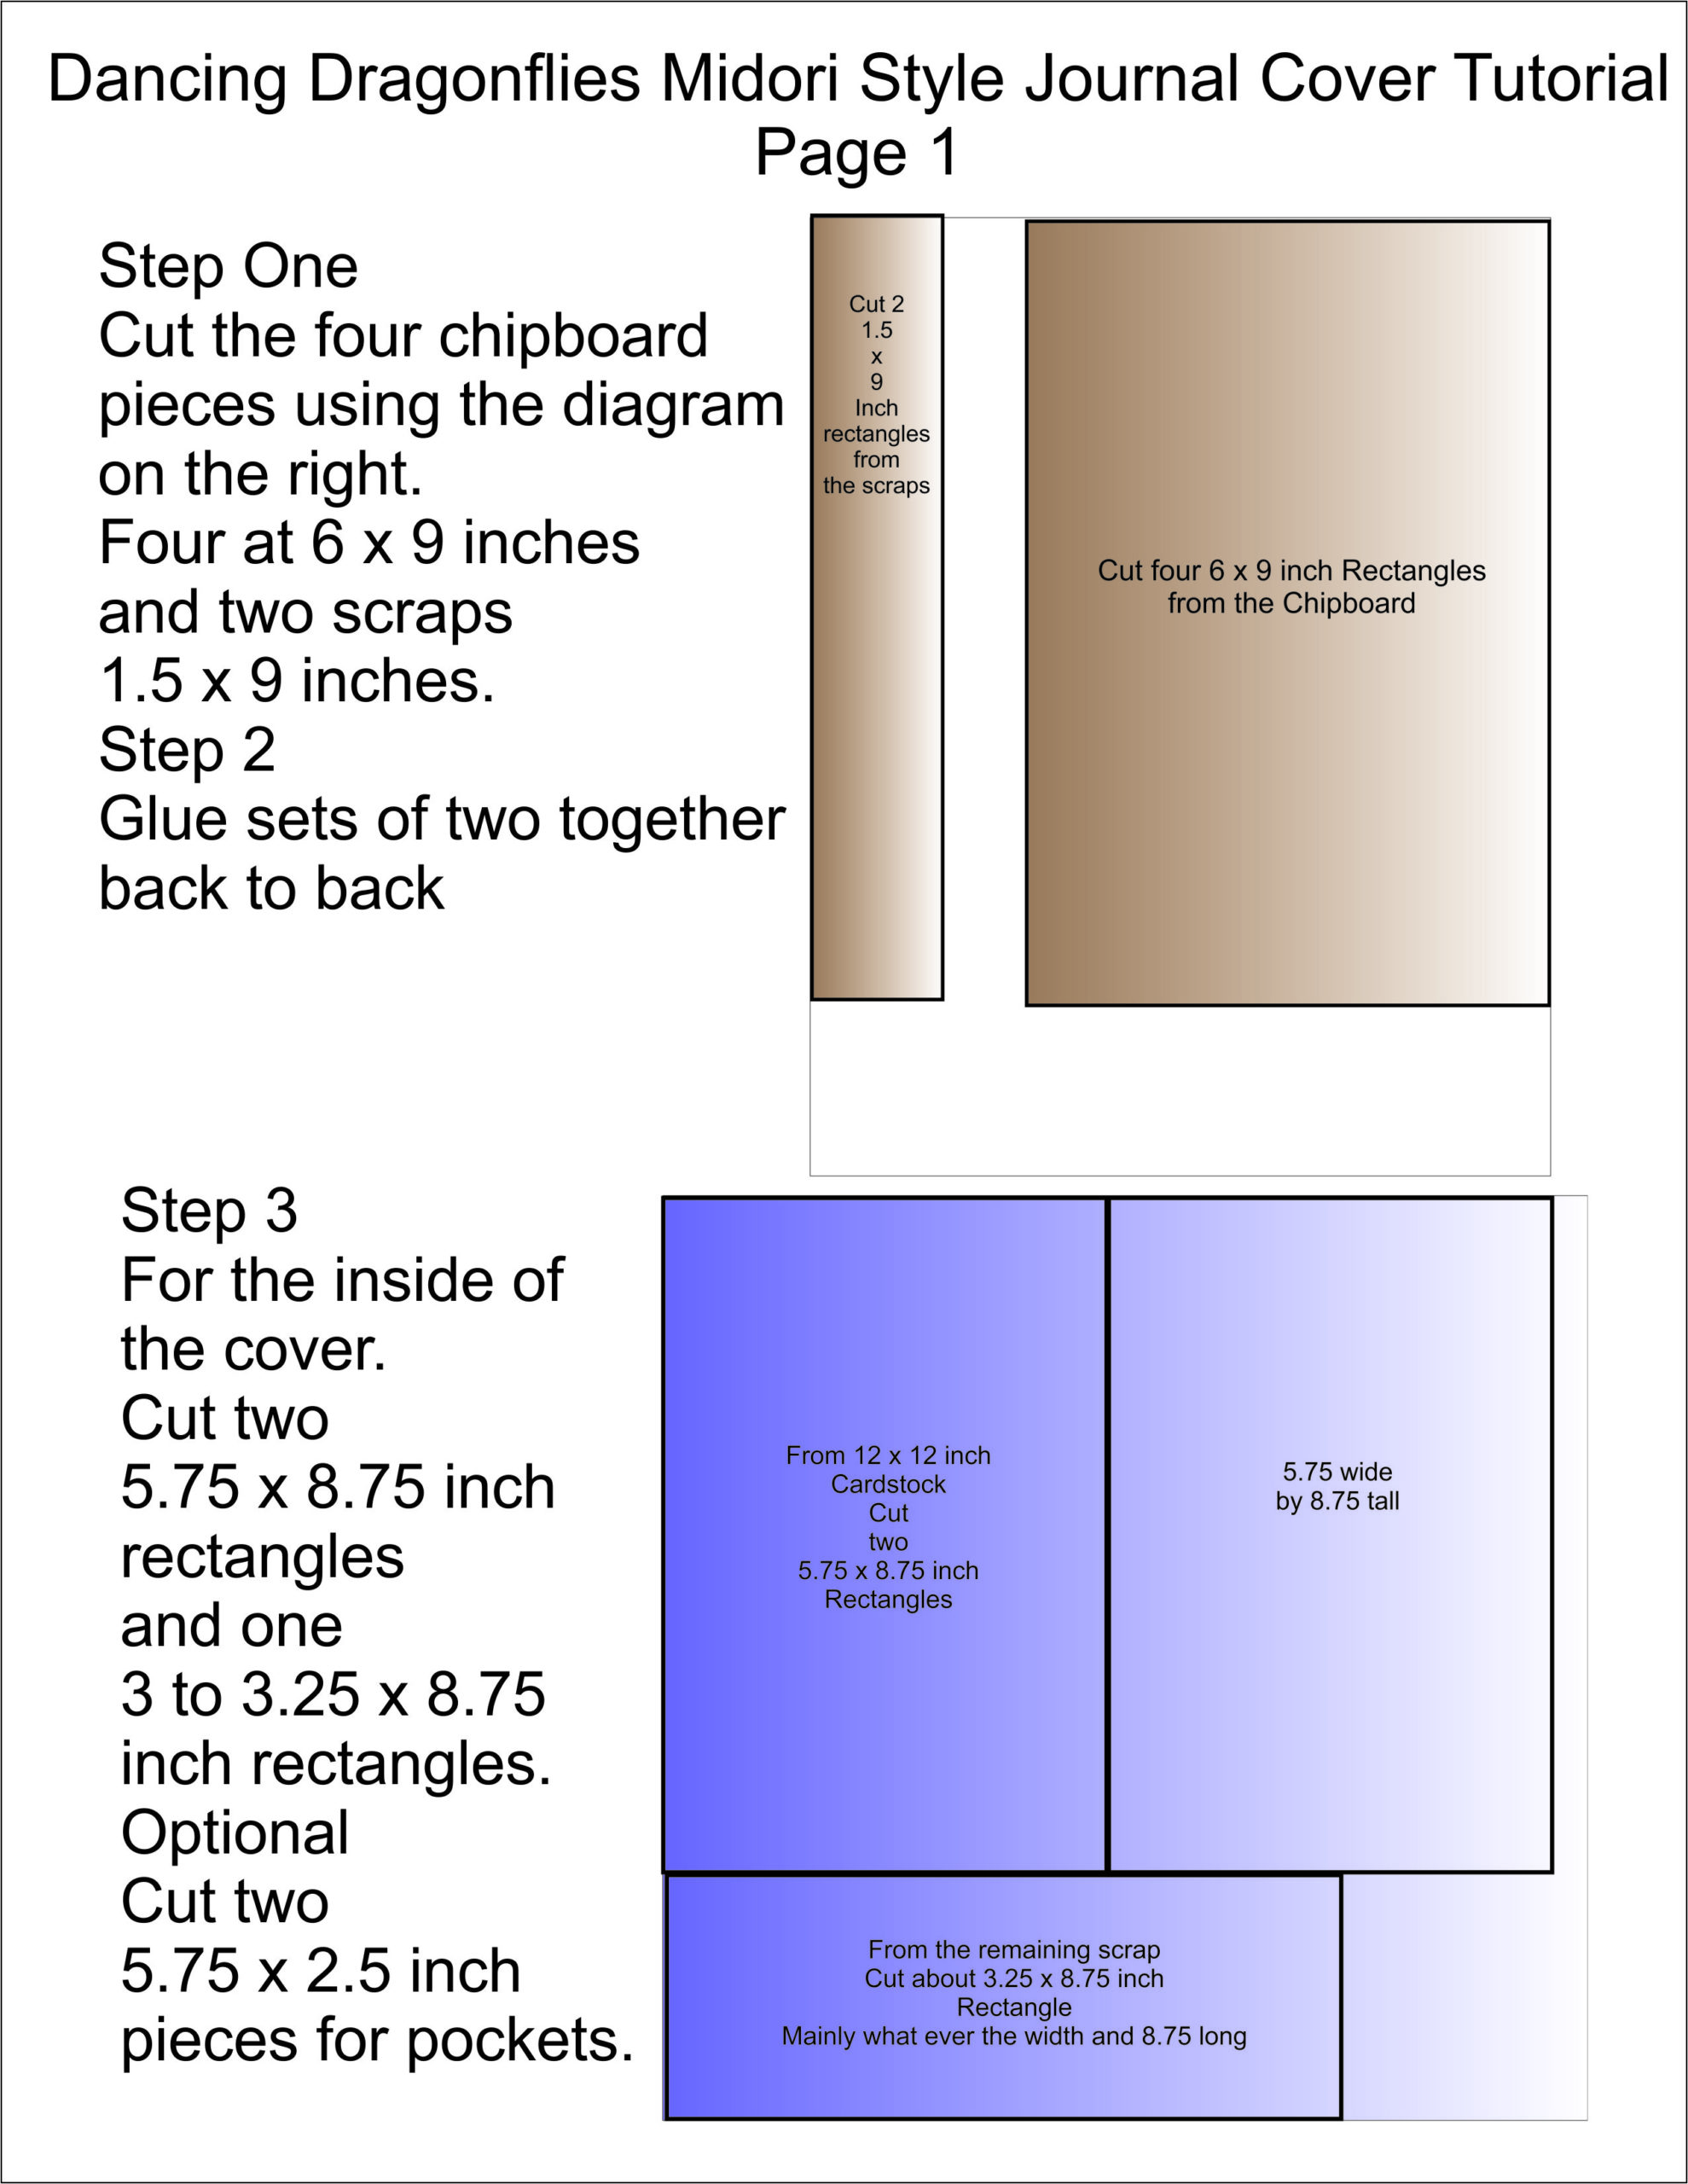
- Chipboard 4 pieces at 6 x 9 inches and two at 1.5 x 9 inches
- Cardstock for inside cut at two pieces cut 5.75 x 8.75 and one about 3 x 8.75 inches
- 2 mm round elastic cord about 45 inches give or take.
- Sewing Machine
- Crop a dile 1/8 inch hole punch
- Fiskars Scissors
- Aleene’s Tacky Glue
Creating your own journal cover is a great way to make something custom. Follow my instructions and you will soon be creating these like crazy.
To help with this tutorial I have created some diagrams that can be downloaded – three pdf files that are zipped. Dancing Dragonflies Midori Style Journal Cover Tutorial pdf files
Offering a Dancing Dragonflies Midori kit in her shop, you can choose the option to purchase the chipboard with the fabric.
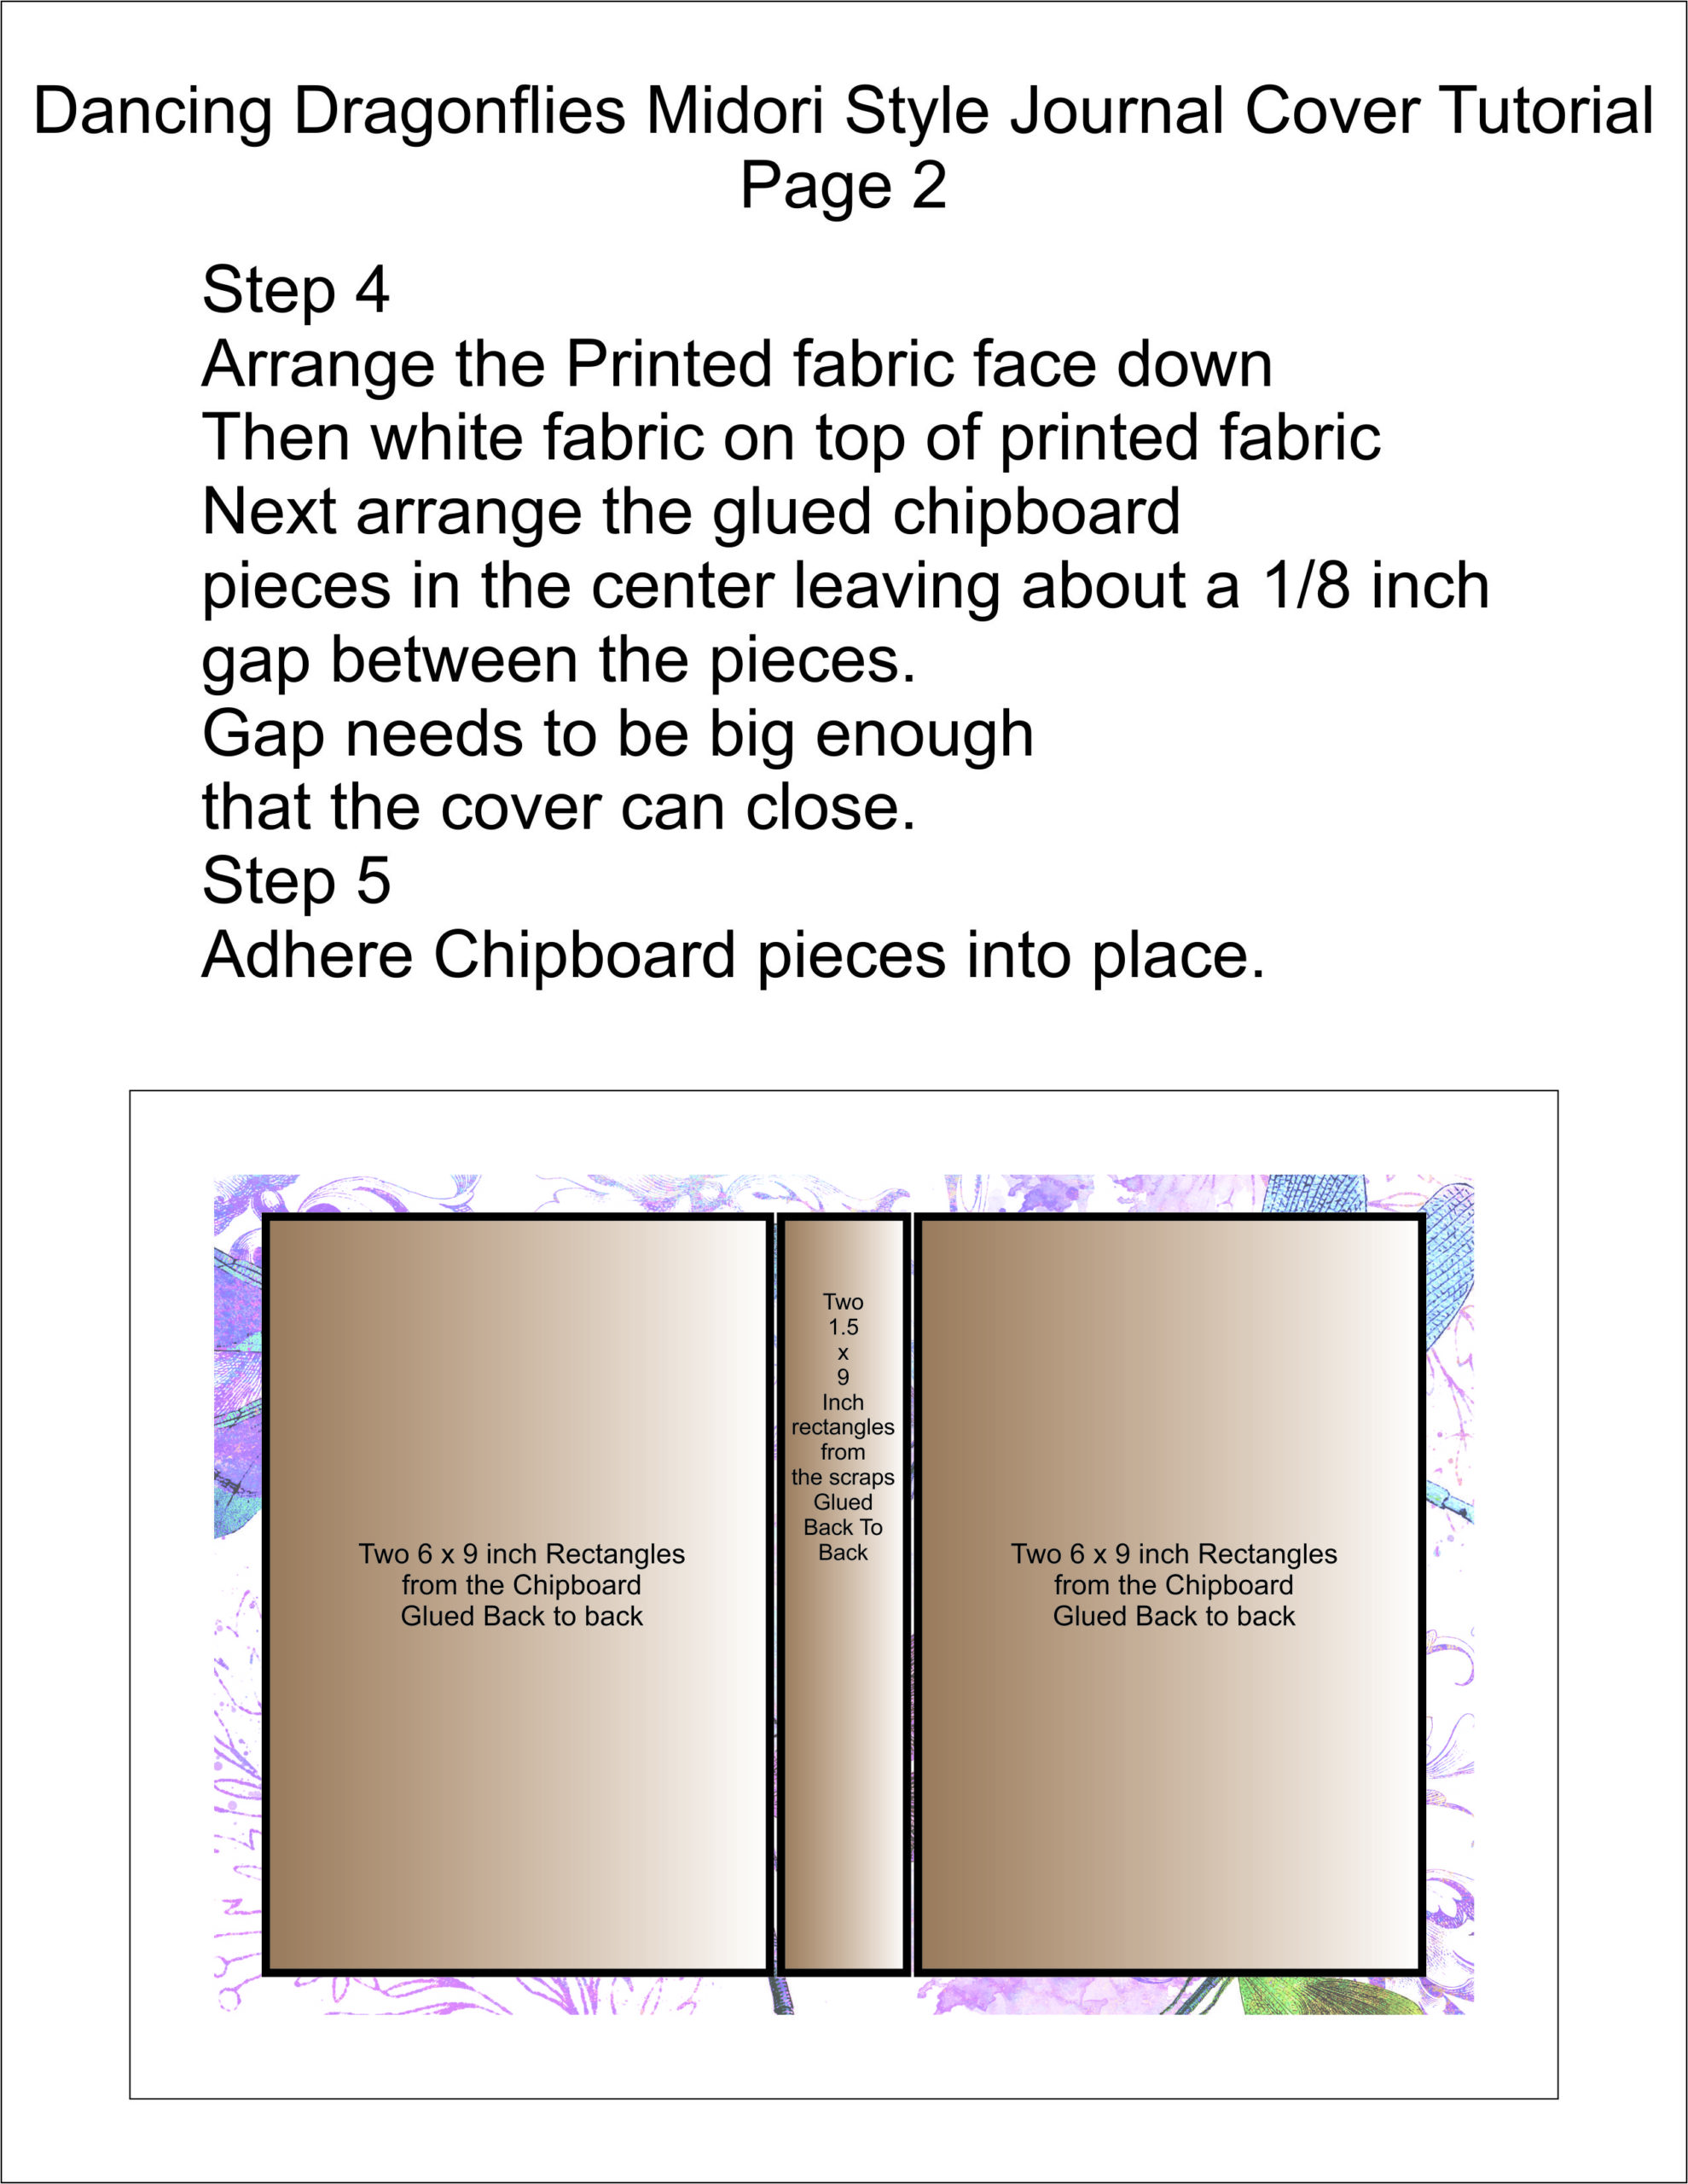
Arranging the chipboard, center it on the fabric, leave a little bit of a gap between the cover and spine pieces. You don’t want too much of a gap, just enough for the cover to fold without bending. Make sure to leave enough fabric to fold over.
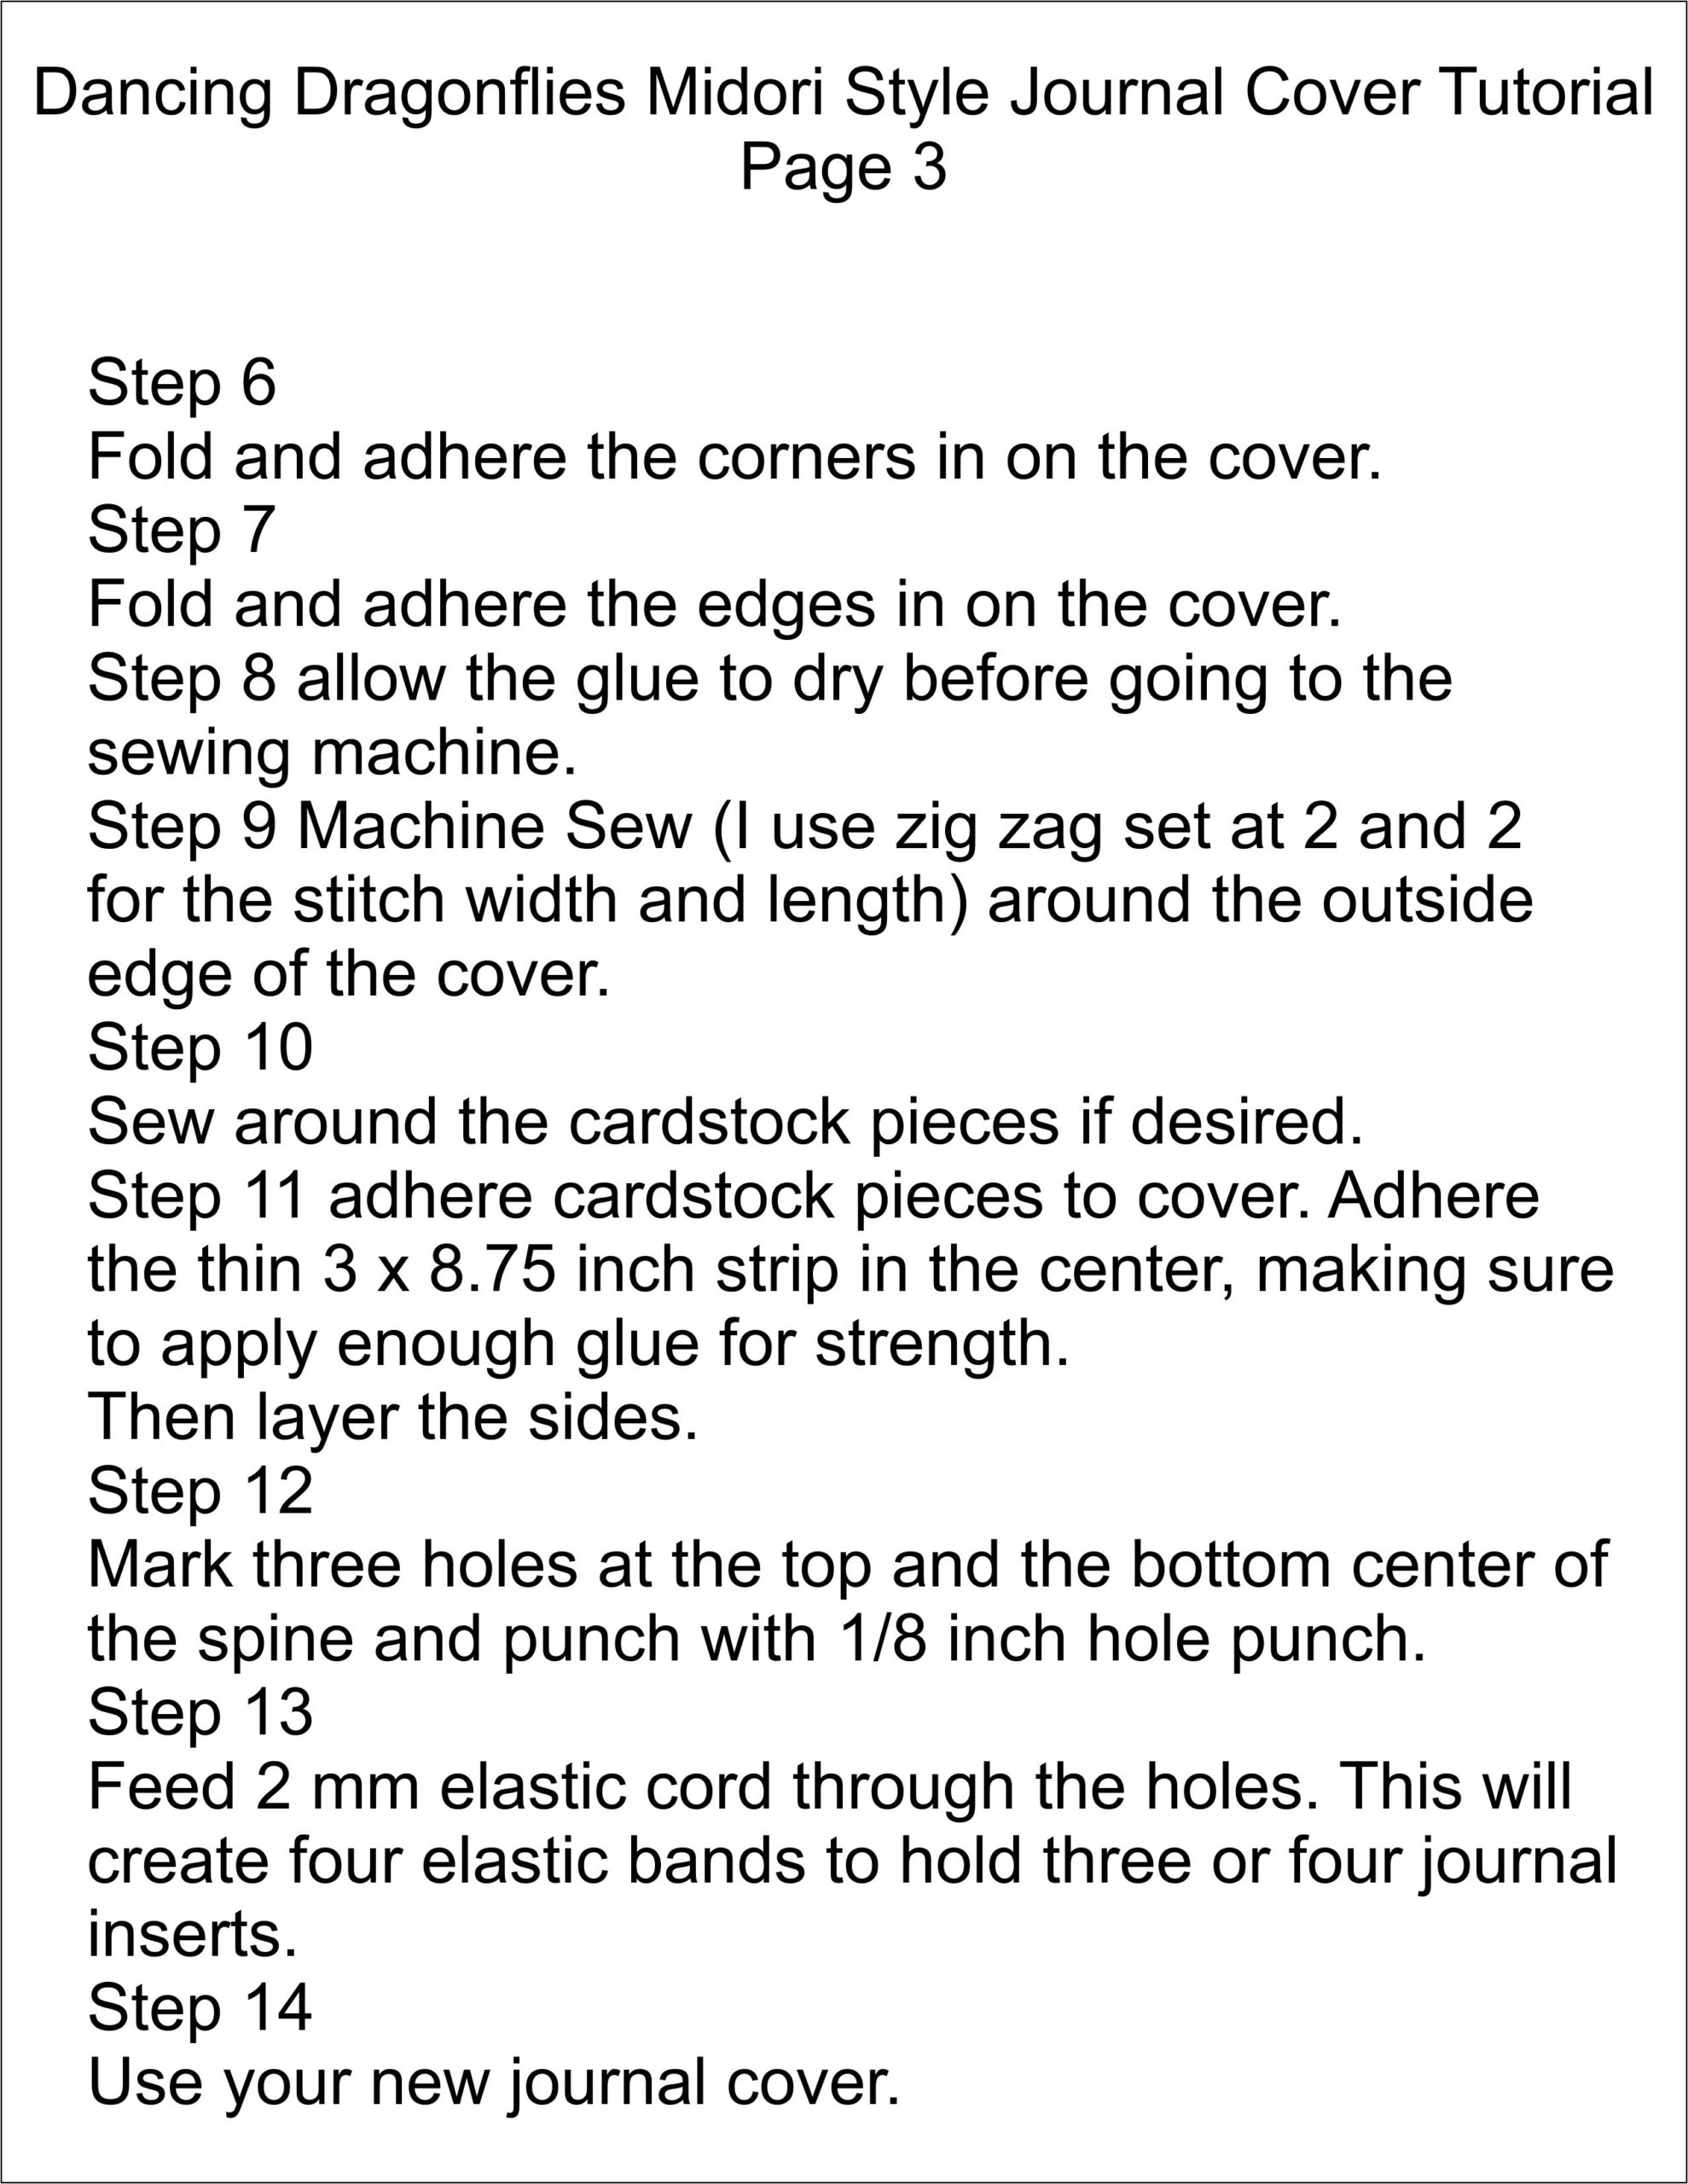
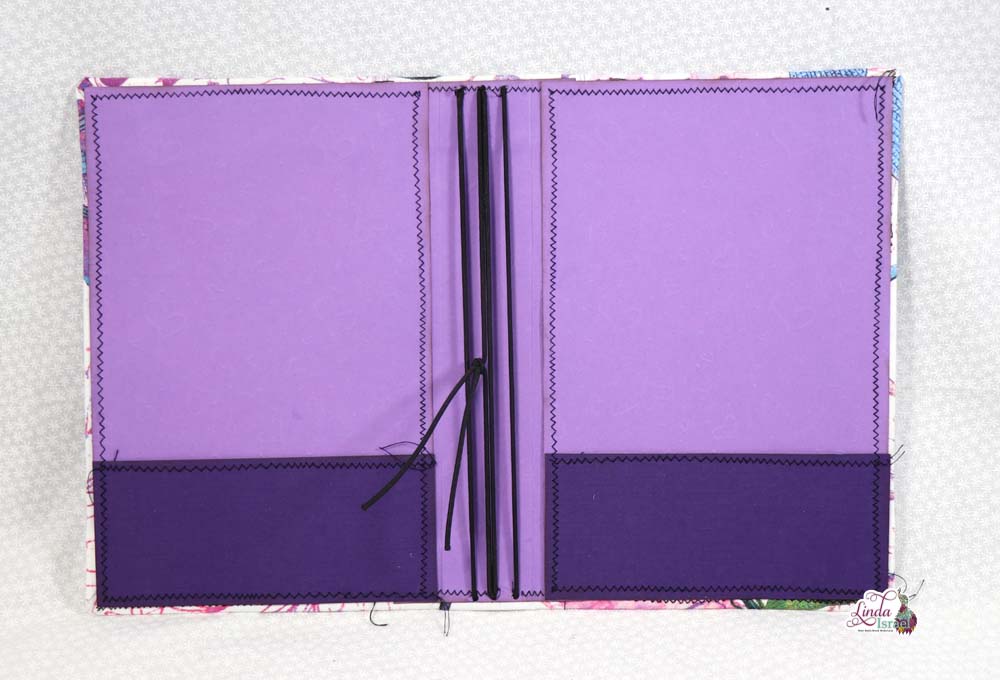
Choosing to sew, Linda sews the center spine top then flips it around to sew the bottom. Next she stitches the pocket piece top and then attaches the pocket to the base and then stitches around the whole piece. Make sure your glue is completely dry before sewing. The cover is then stitched all the way around the outside area.
Adhere your cardstock, make sure your cover is the right way up. Using a generous amount of Aleene’s tacky glue to the spine center piece. Score the spine lightly to get a crease before applying the inside cover cardstock pieces. You can now adhere the cover pieces, remember to use generous amounts of glue.
Using a template, Linda shows how to mark the holes where the 2 mm round elastic cord will go through. Using the crop a dile hole punch on the 1/18th setting. If you choose to use grommets now is the time to attach to the holes.
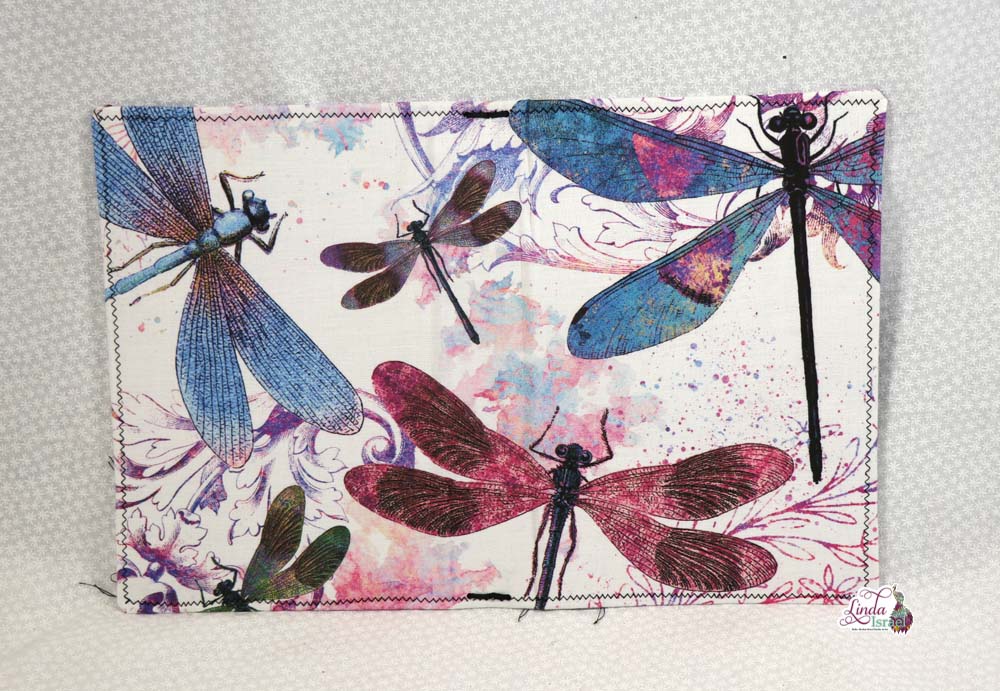 Taking 2 mm round elastic cord, Linda shows how to weave. Make sure to secure tight enough but not to where your cover will bough. Remember elastic wears over time so knotting the elastic will help to undo and tighten when needed..
What do you like the most about the midori style journals?
Robin Fennessy
Make sure to check out the Friendly Junk Journal People Facebook group. Of course, you are welcome to join the Friendly Junk Journal People Facebook group. The group is growing daily and we are a friendly group willing to help each other and encourage each other.
Interested in any of the projects Linda has created? Please feel free to contact her through her website. Here is her shop, a lot of items featured and more added weekly.
Keep updated on her posts by following the blog by creating an account. Follow Linda on her Facebook Page or on Instagram for updates that may not be shared on the blog.
Thanks so much for stopping by the blog today to see the Dancing Dragonflies Midori Style Journal Cover Tutorial.
