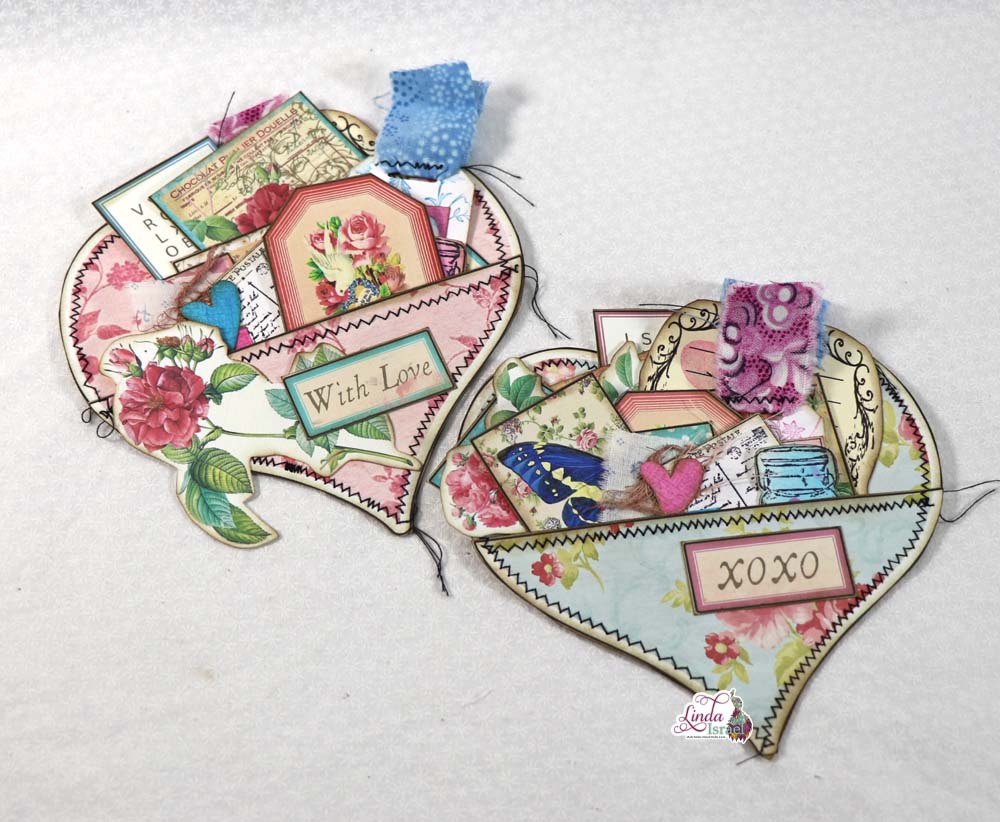
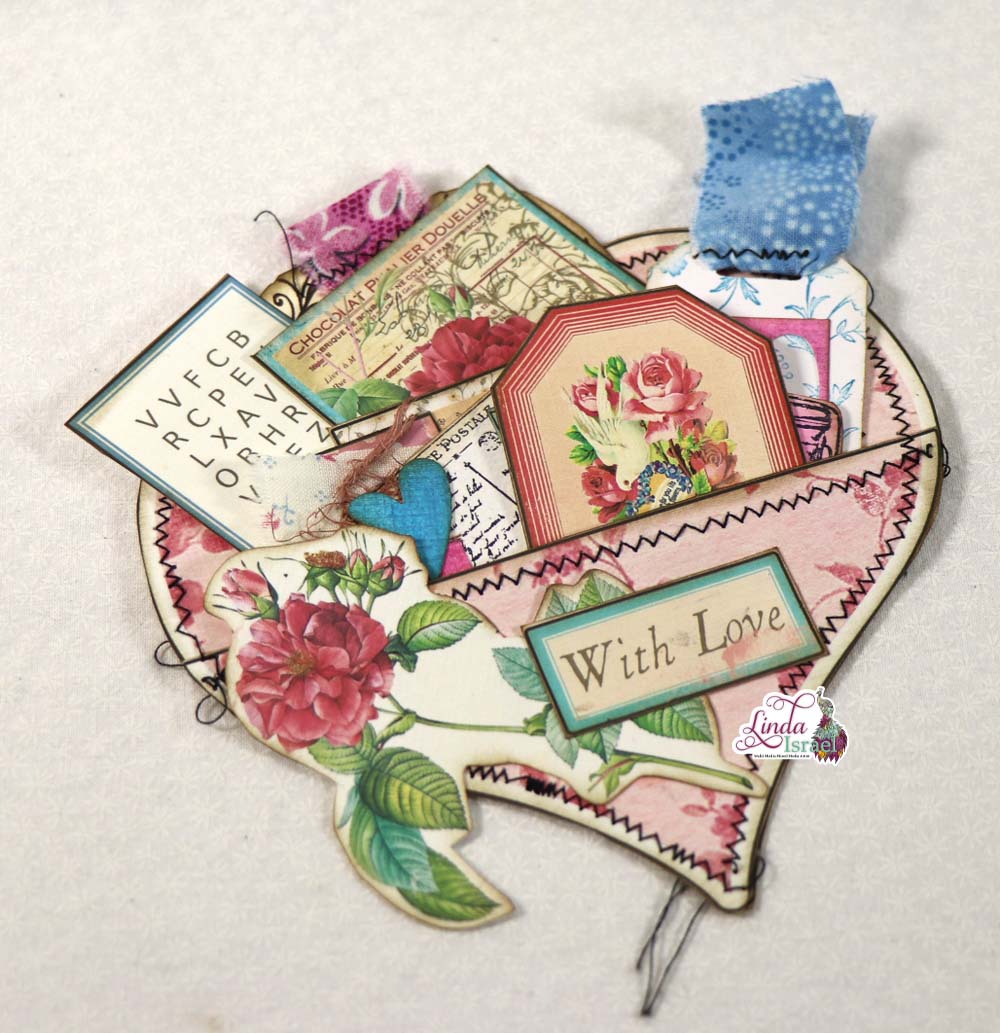
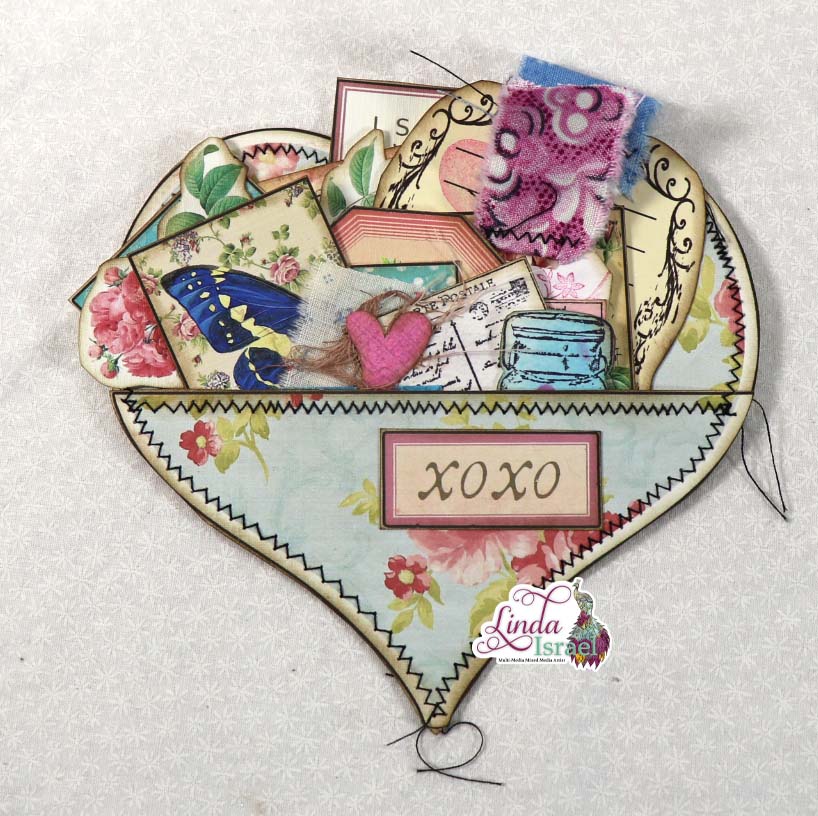
In this Tiny Faux Postage Pocket Tutorial, I’ll show how to use a tiny faux postage stamp, scraps of paper, Tattered Angels Glimmer Mists and more to create a tiny pocket.
Tiny Faux Postage Pocket Tutorial Video
Supplies sued for the Tiny Faux Postage Pocket Tutorial
- Tea Postage Stamp
- Tiny Library Card Stamp
- Admission Stamp
- Garden Tea Party TAGM from Subscription Box
- Fiskars Easy Touch Scissors
- Tiny Cosmos Stamp
- Garden Tea Party TAGM Kit
- Aleene’s Tacky Glue
- Archival Ink, Jet Black
- Scraps of paper, Ivory, Purple and Kraft along with a one inch by about 5 inch strip of text weight paper.
- Distress Ink, Walnut Stain
- Blending tool
- Tonic Studios Craft Pick
- Photo Turn fastener
- Tiny Brad
- Paint Brush
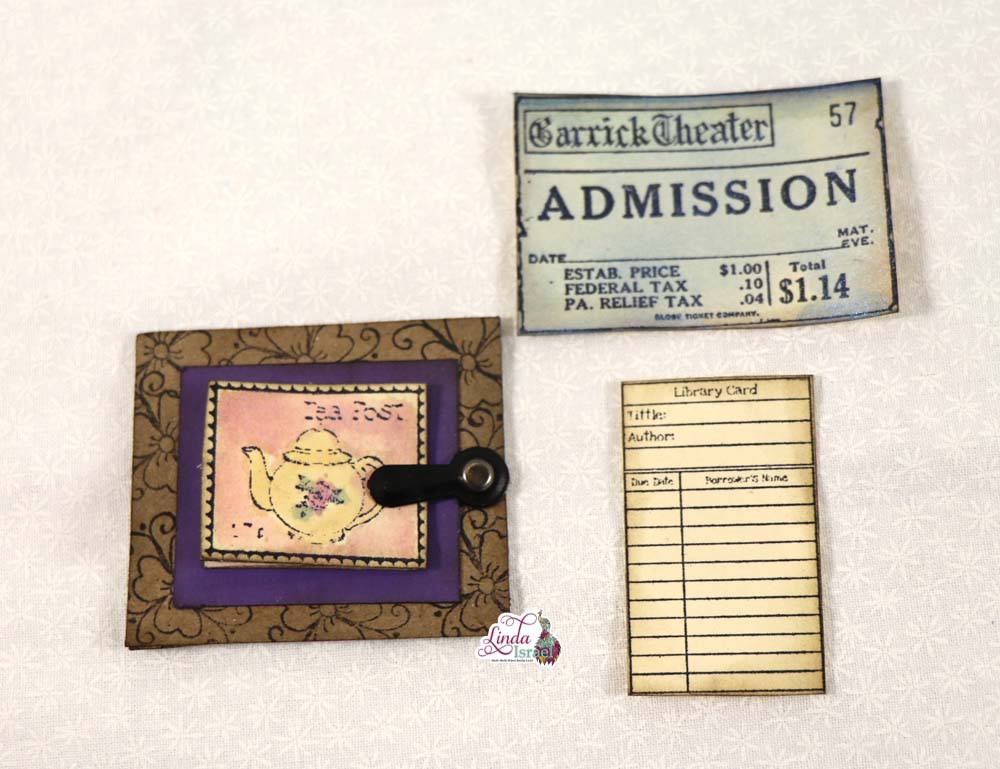
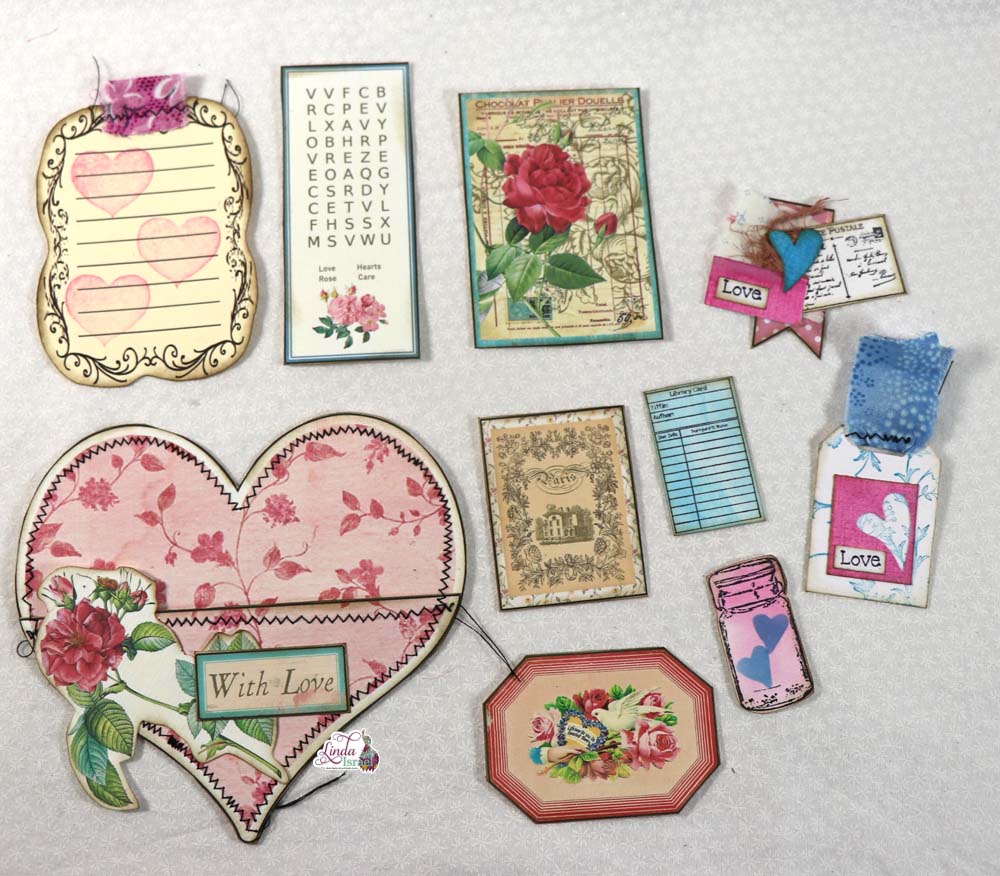
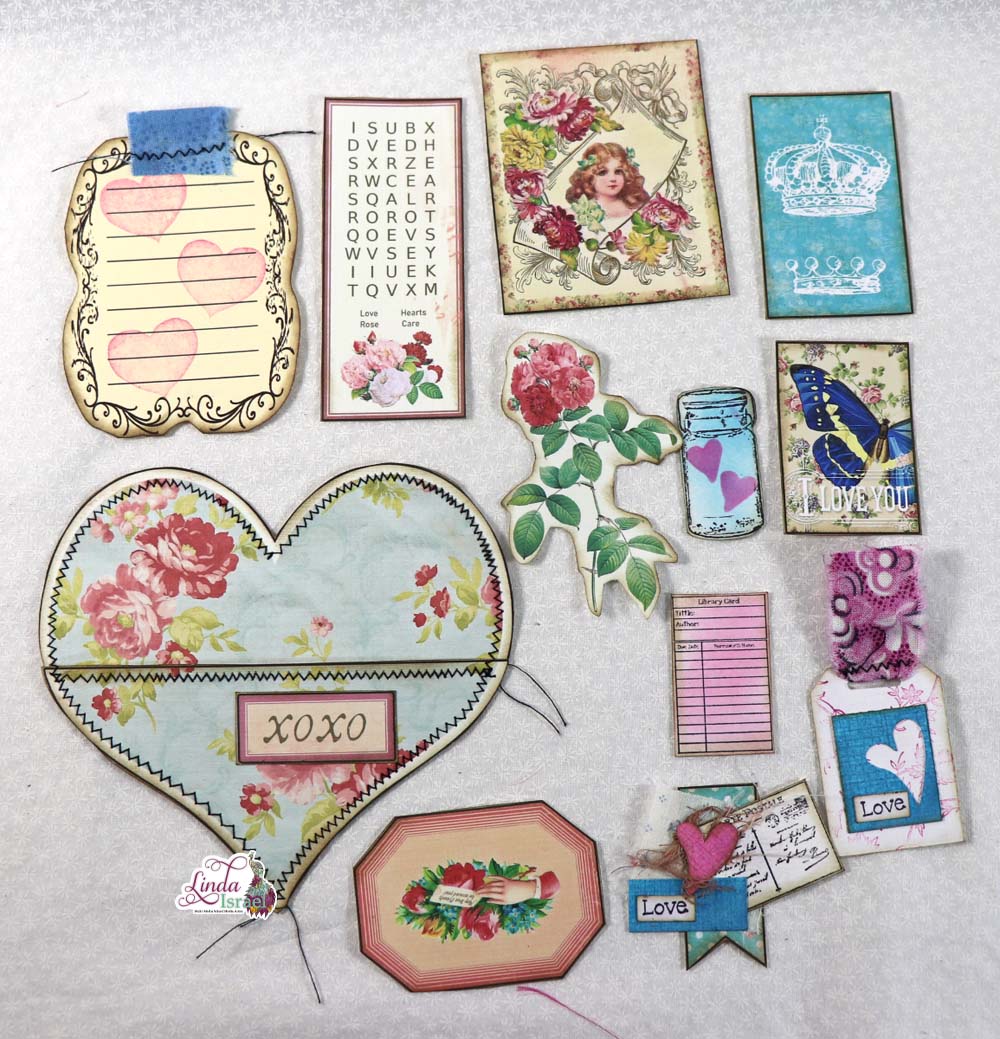
To get started on this Tiny Faux Postage Pocket Tutorial, grab some scraps of paper. I used a scrap of ivory cardstock to stamp the images: Tea Postage, Tiny Library Card, Admission with Archival Ink Jet Black.
Remember to ink your stamp well and don’t rock the stamp. If you don’t get a good impression try cleaning the stamp with a mild cleaner and try again.
Once all the images were stamped I then colored in the tea postage stamp using a paint brush dipped into different colors of Tattered Angels Glimmer Mists (TAGM).
I used the Fiskars Easy Touch Scissors to fussy cut the images and then added Distress Ink, Walnut Stain using a blending tool.
Place the Admission ticket into a box and spray with Garden Tea Party Blue Bells. Dry with a heat tool or allow to air dry.
Trim a piece of kraft cardstock into a 2 x 2.75 inch piece and apply distress ink around the edges. Then Stamp the Tiny Cosmos with Archival Ink, Jet Black around the outside edge. However, don’t worry about the center as it will be covered.
Create a back for the faux postage out of a purple piece of cardstock measuring 1.25 x 1.5 inches apply dress ink to the edges.
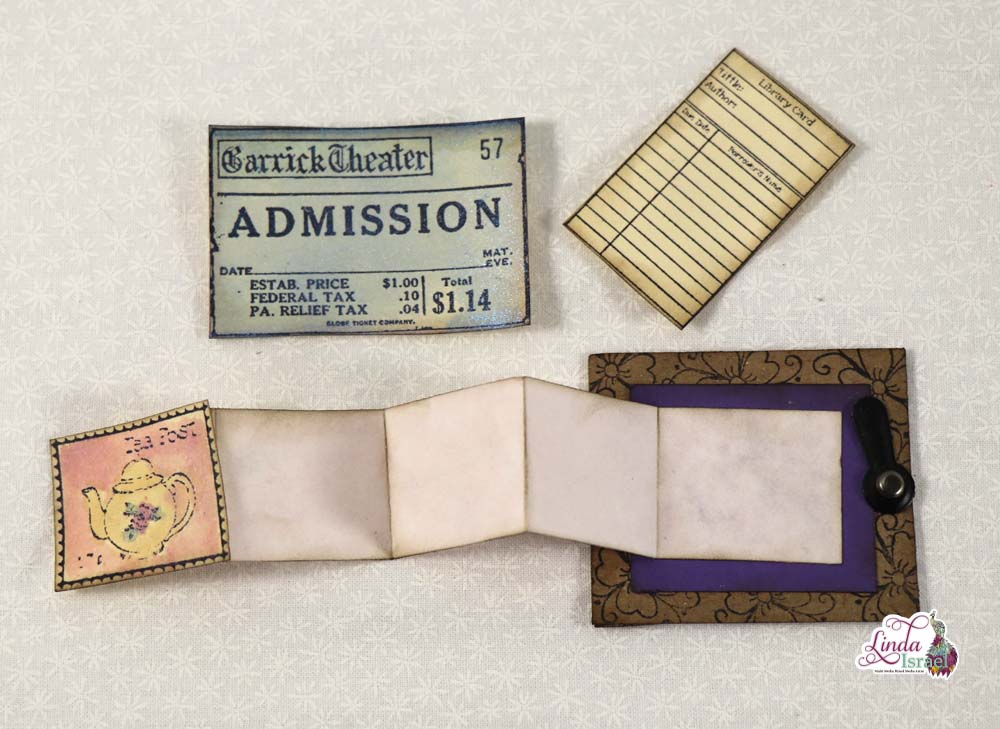
Select a strip of text weight paper measuring 1 inch wide by about 5 to 6 inches long. Accordion fold the paper to fit on the back of the postage stamp. Glue a tab to the back of the postage and then a flat side to the purple cardstock in the center.
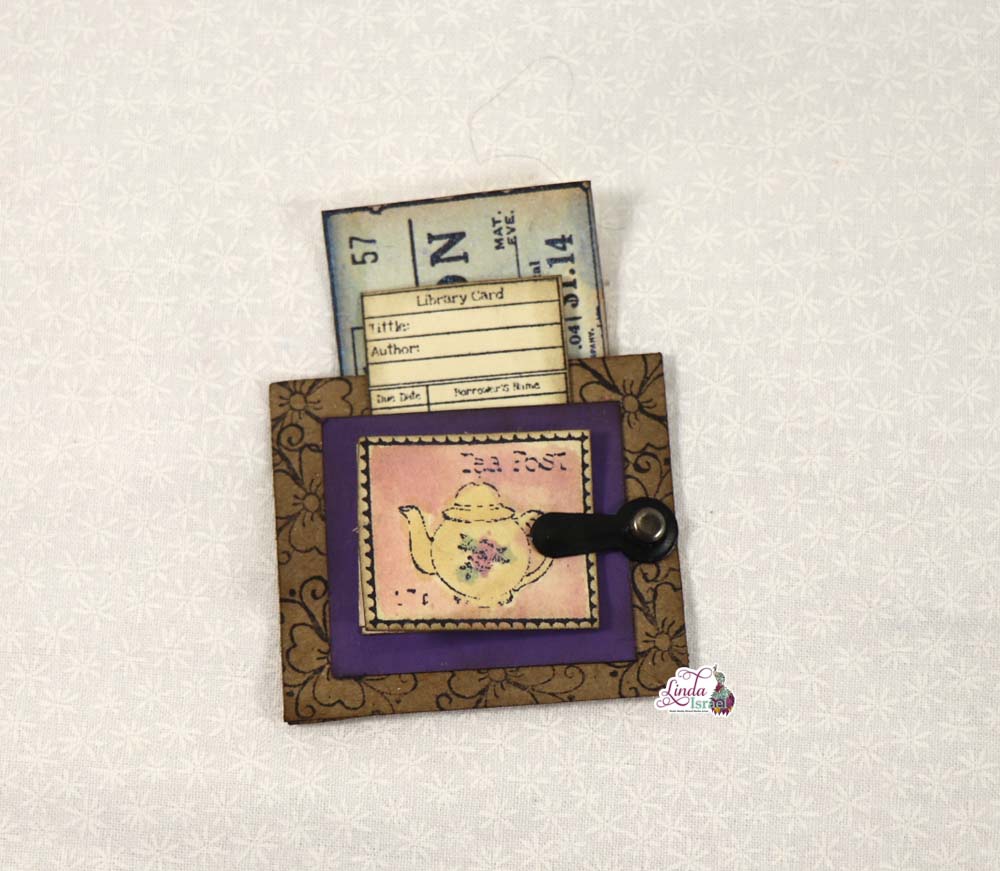
Adhere the purple mated faux postage as a pocket by applying glue to three sides and attach to the stamped kraft cardstock.
To keep the little accordion folded book closed use a photo turn fastener attached with a tiny brad. Aline the fastener on the right side of the faux postage and over the kraft cardstock. Punch one small hole with a craft pick. Attach the fastener with a tiny brad, opening up the legs on the back of the kraft cardstock paper.
Next, cut one inch strips of scrap paper and use these to attach to the back of the kraft cardstock on three sides to create a pocket that will hold the Admission Ticket. Glue about half an inch in, allow the glue to dry, trim the corners and then fold to the inside.
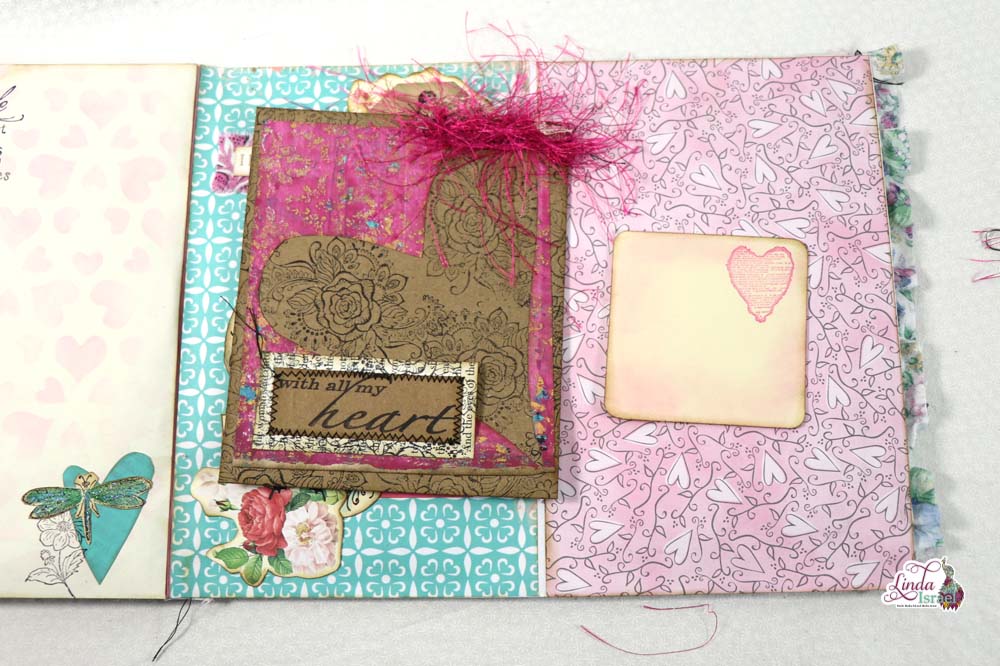
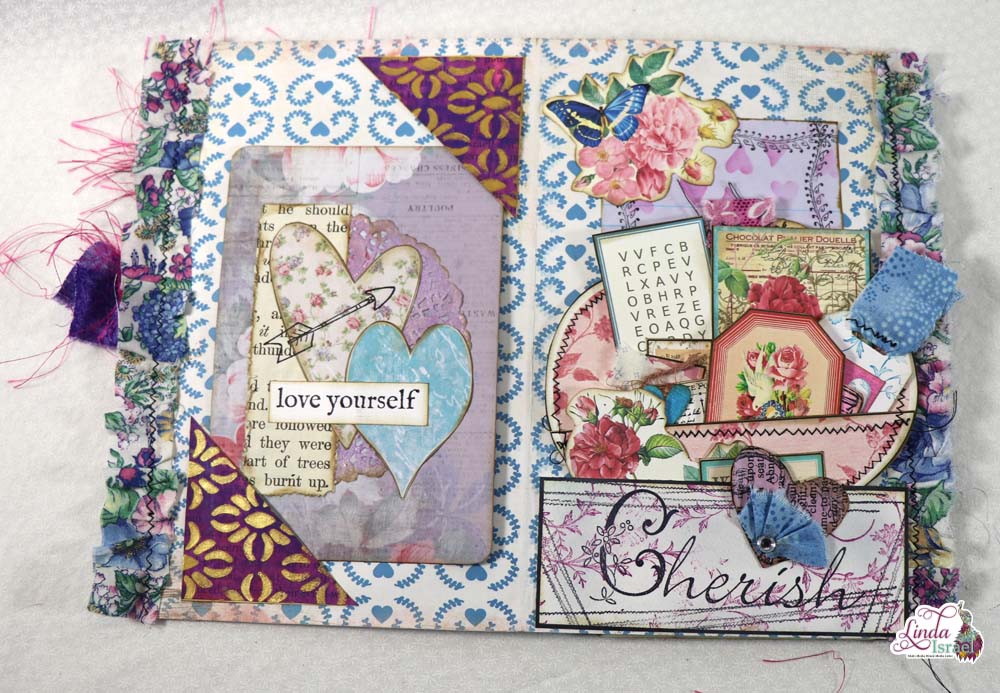
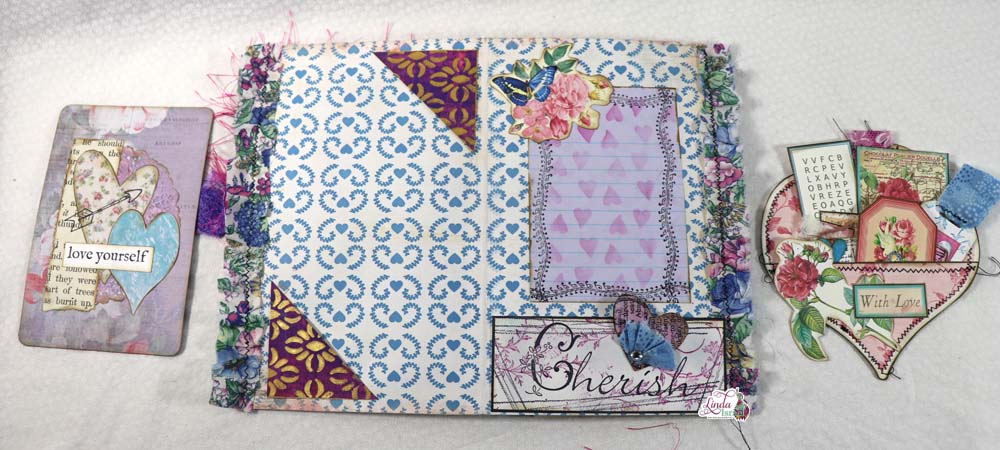
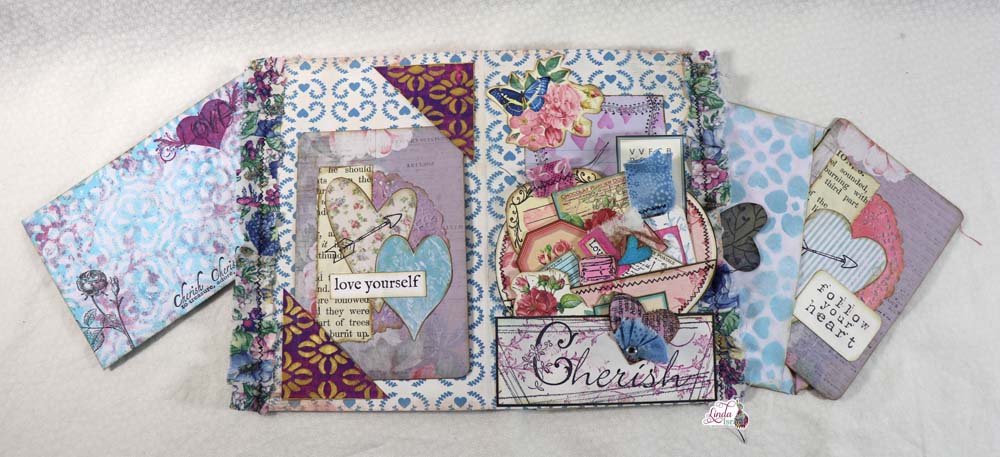
Now you are done and have a super cute faux postage pocket that you can attach to a journal or card. Another idea is to back the pocket with a piece of cardstock add a paperclip and then you will have an altered paper clip you can use.
Use up those scraps with your stamps and other supplies to create your own little pockets.
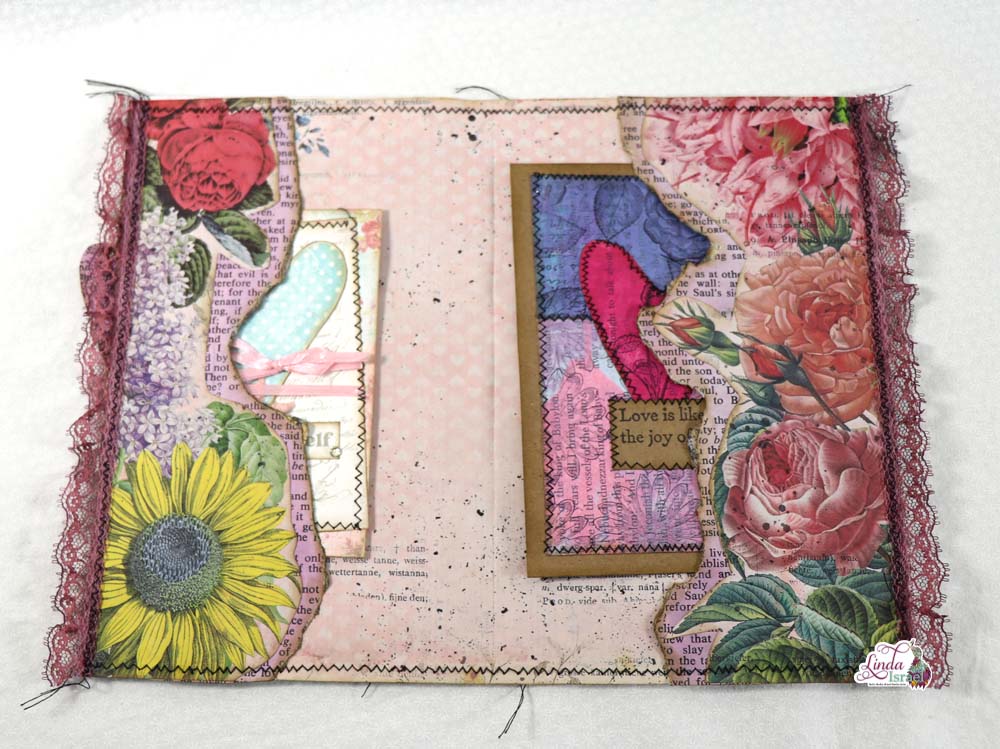
Watch the live tutorial made July 26th using the Garden Tea Party Subscription box and see how I used this element on one of the pages.
Interested in any of the projects Linda has created? Please feel free to contact her through her website. Here is her shop, a lot of items featured and more added weekly.
Keep updated on her posts by following the blog by creating an account. Follow Linda on her Facebook Page or on Instagram for updates that may not be shared on the blog.
Thanks so much for stopping by the blog today to see the Tiny Faux Postage Pocket Tutorial.

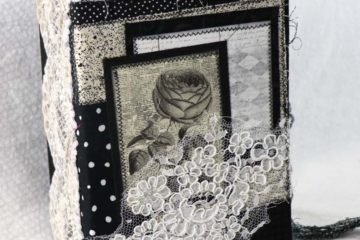
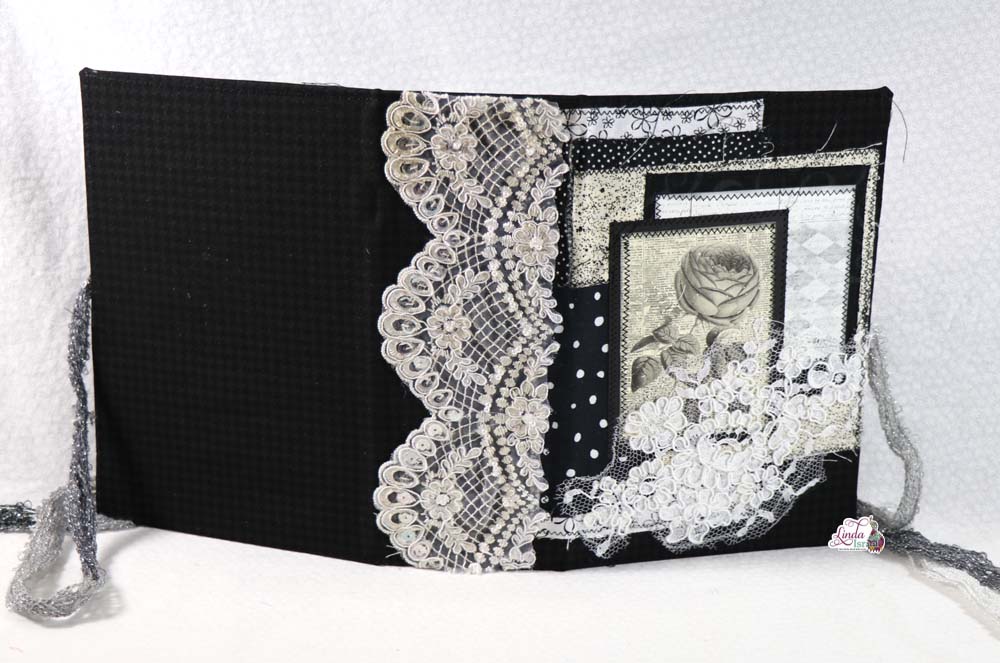

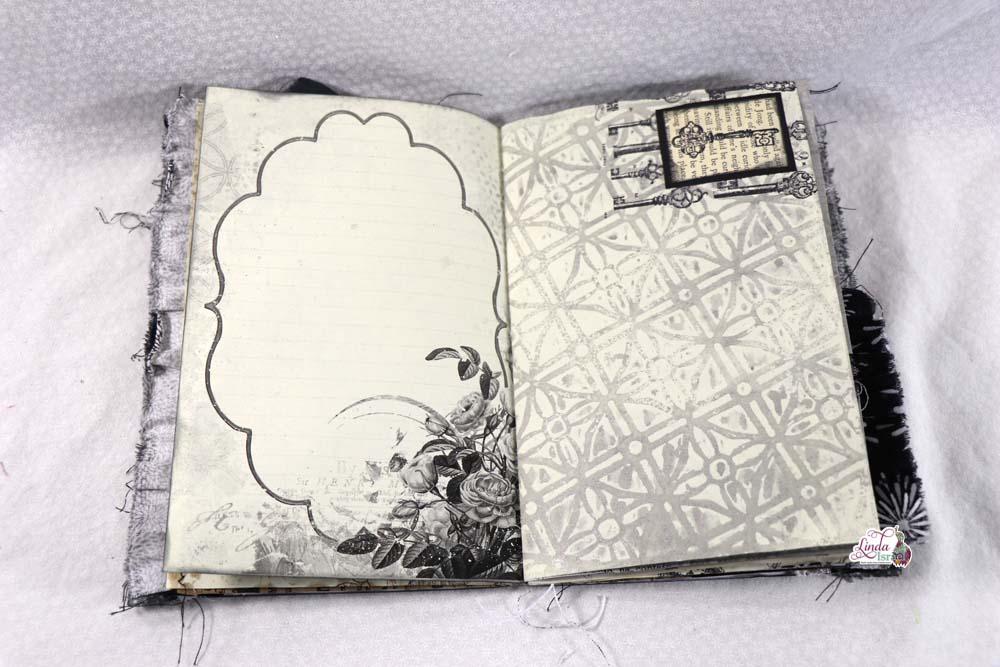
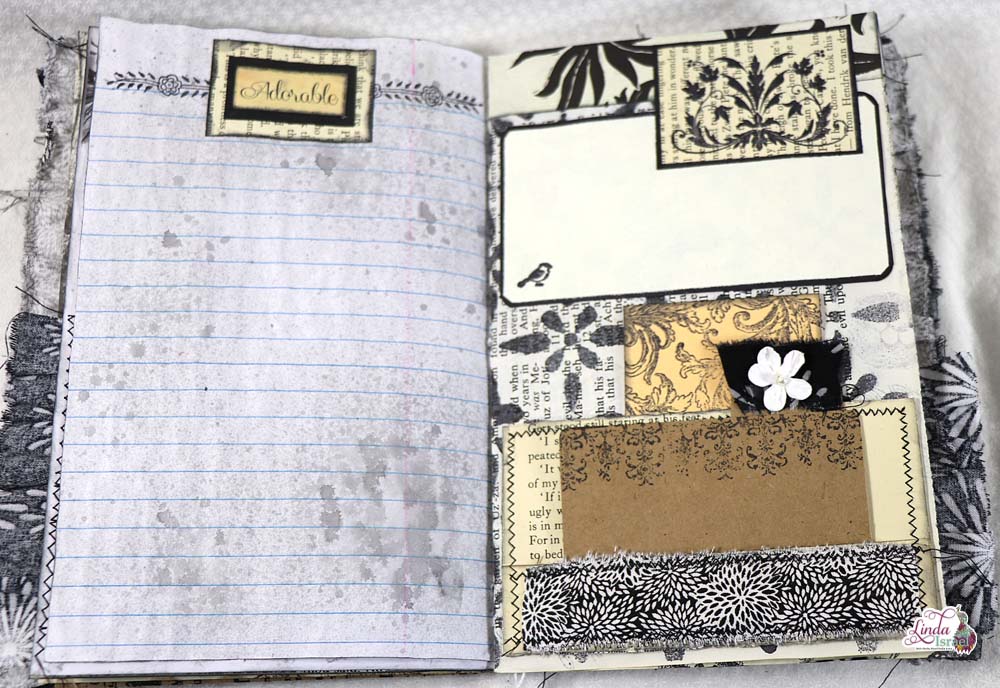
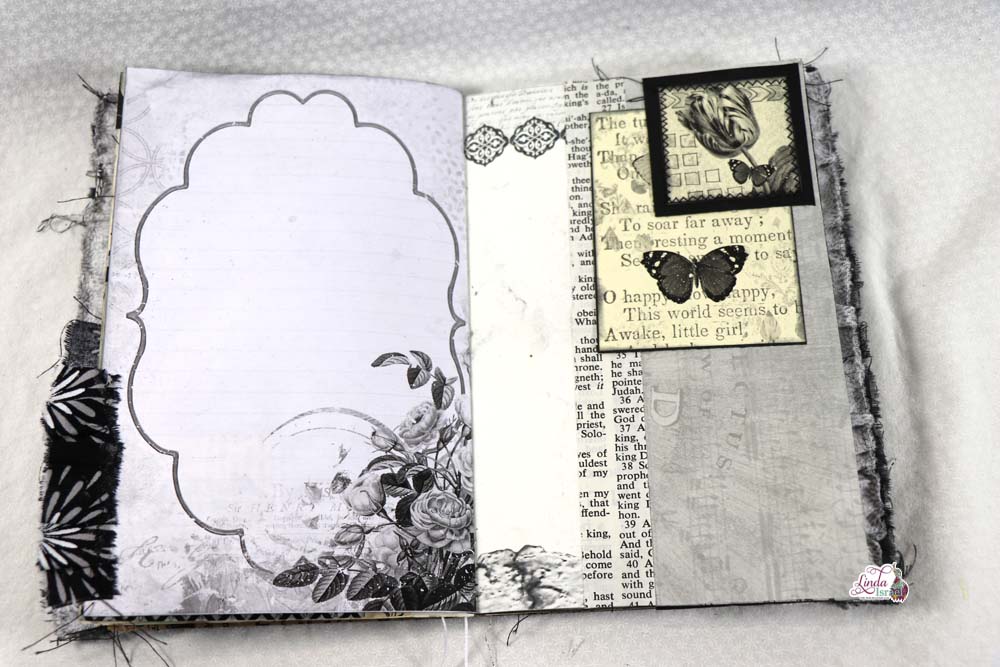
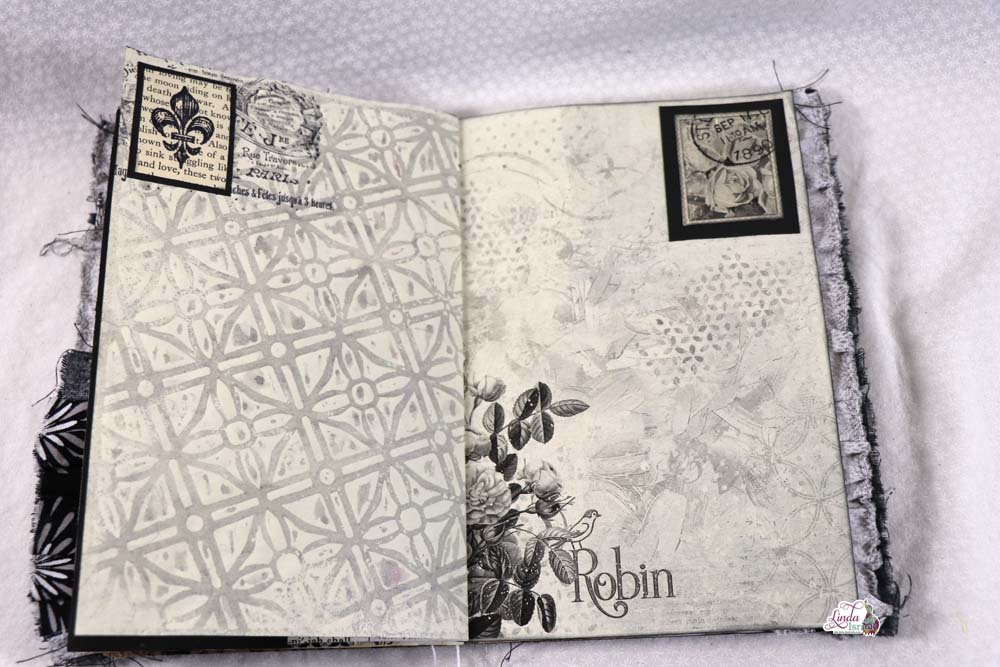
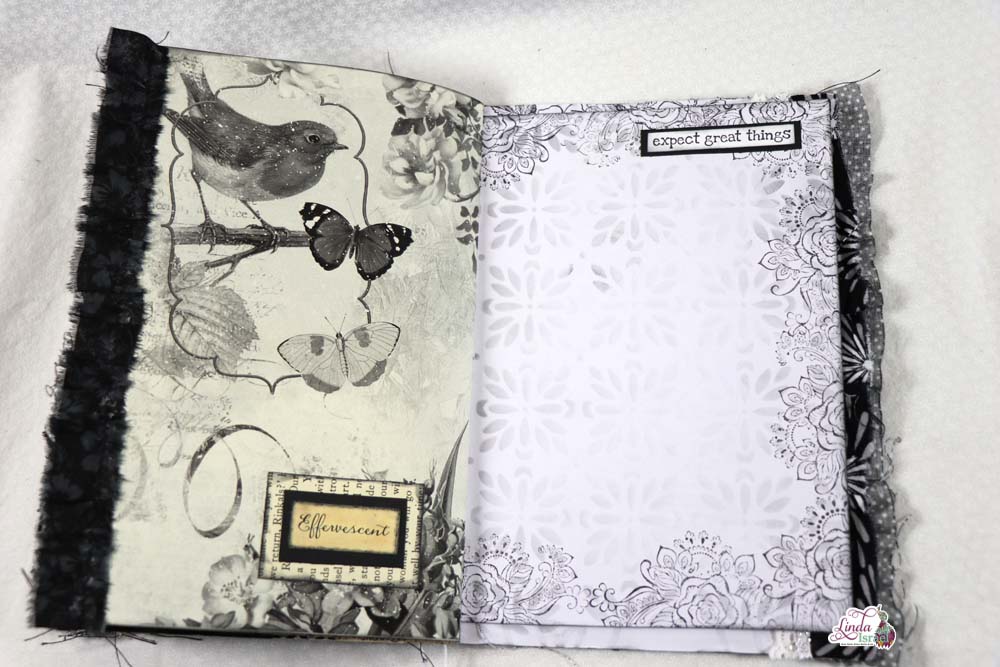
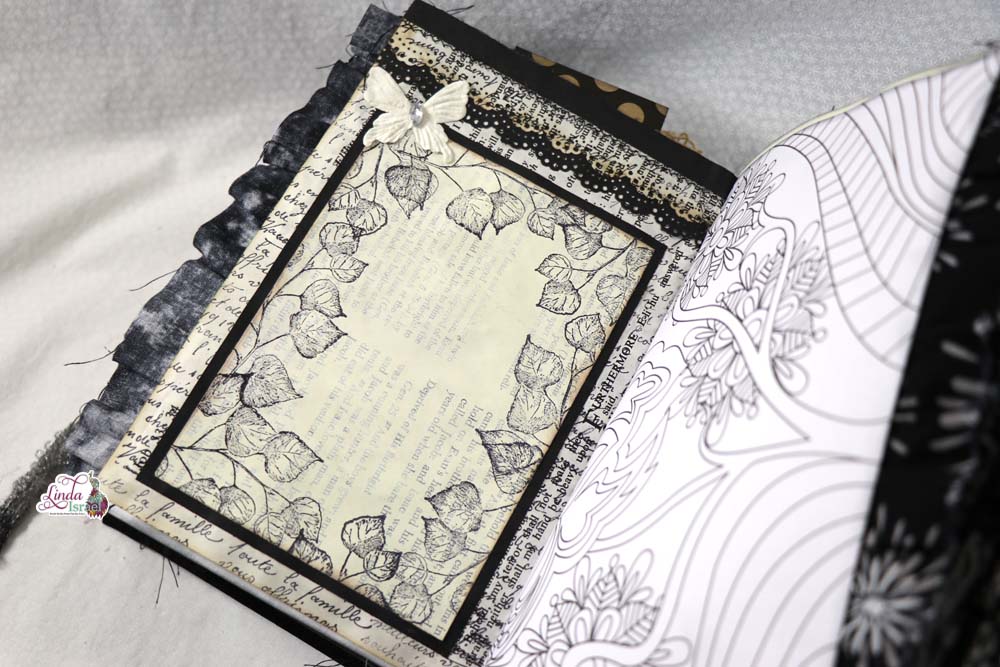
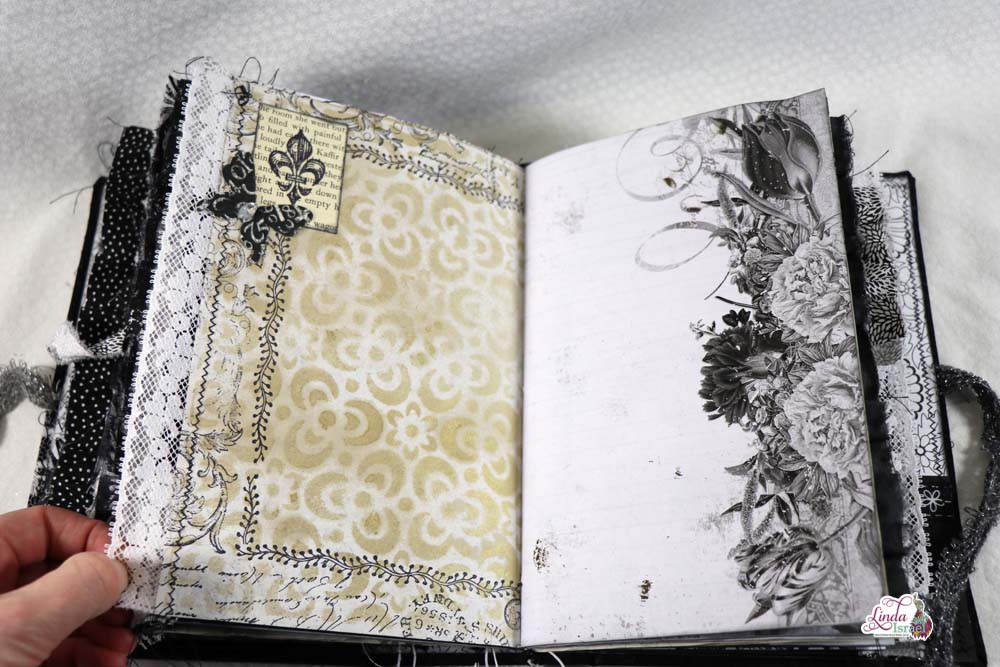
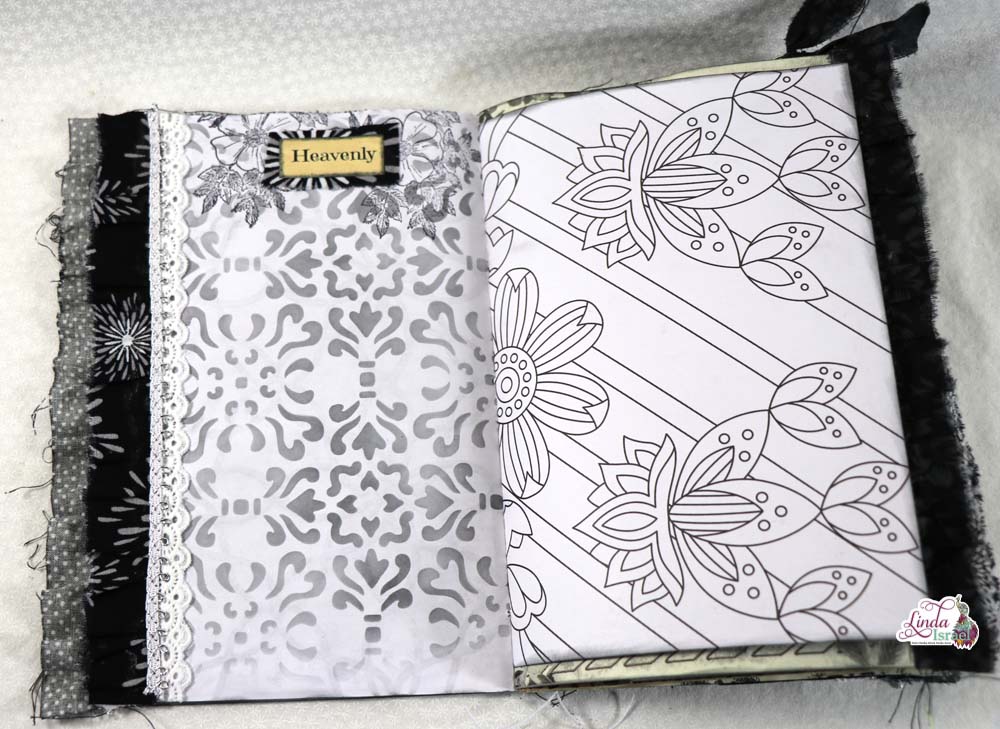
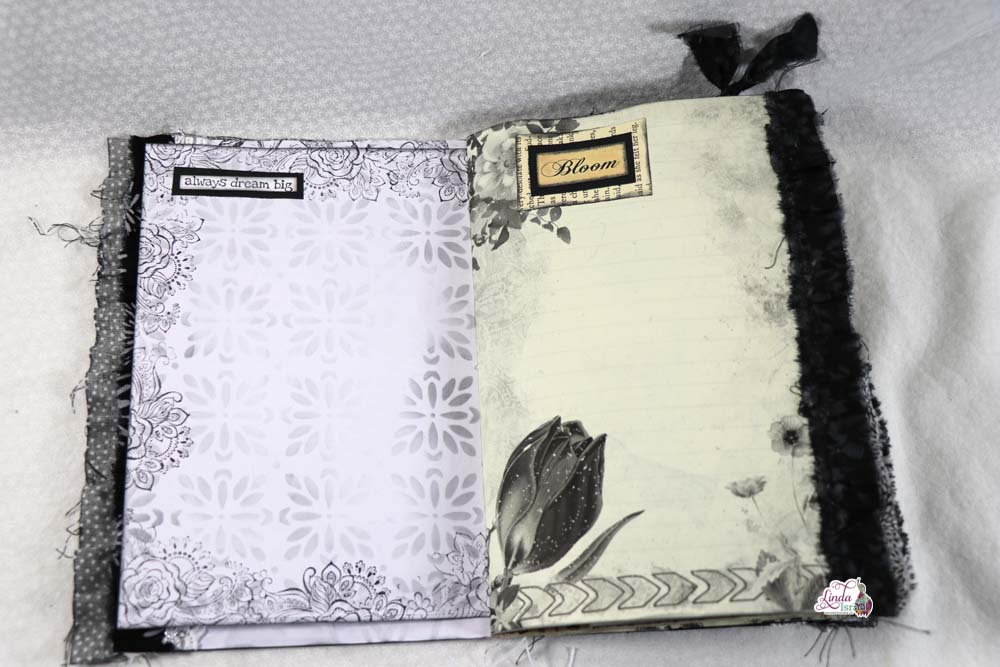
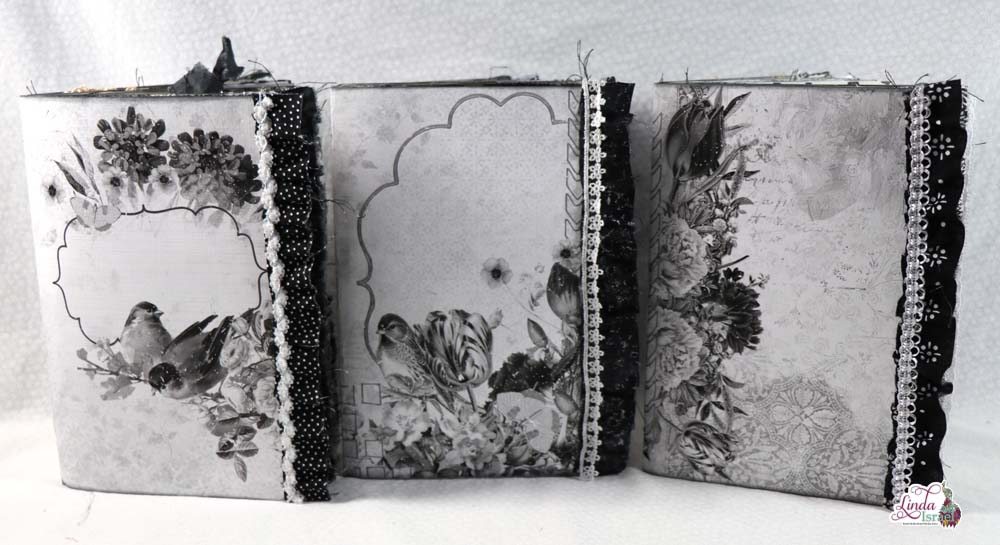 Preparing to create this monochrome journal, then deciding which digitals looked good when printing in black and white takes a lot of time.
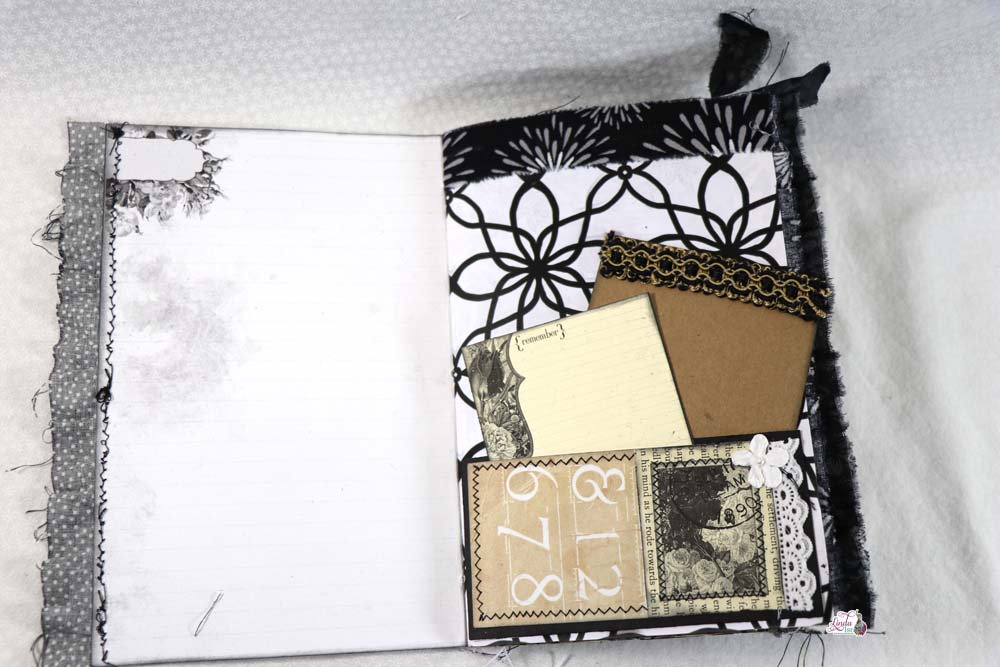
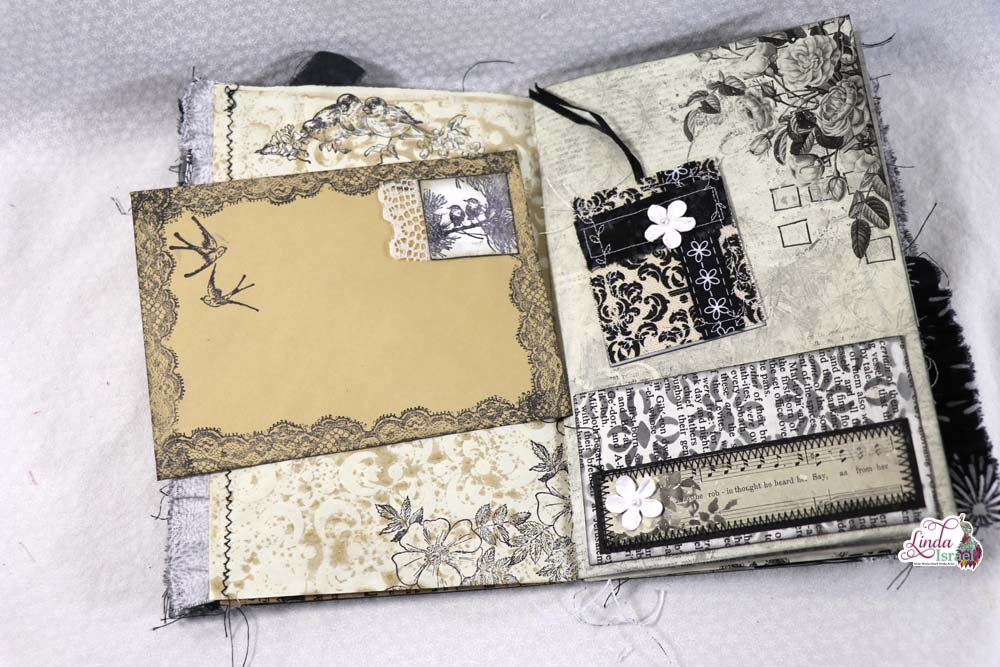
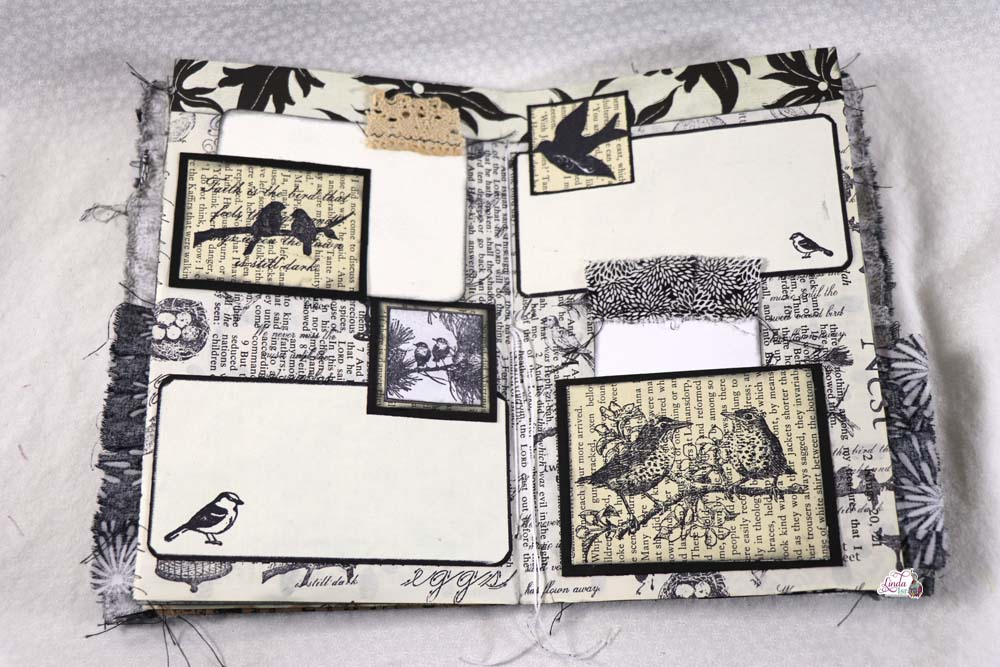
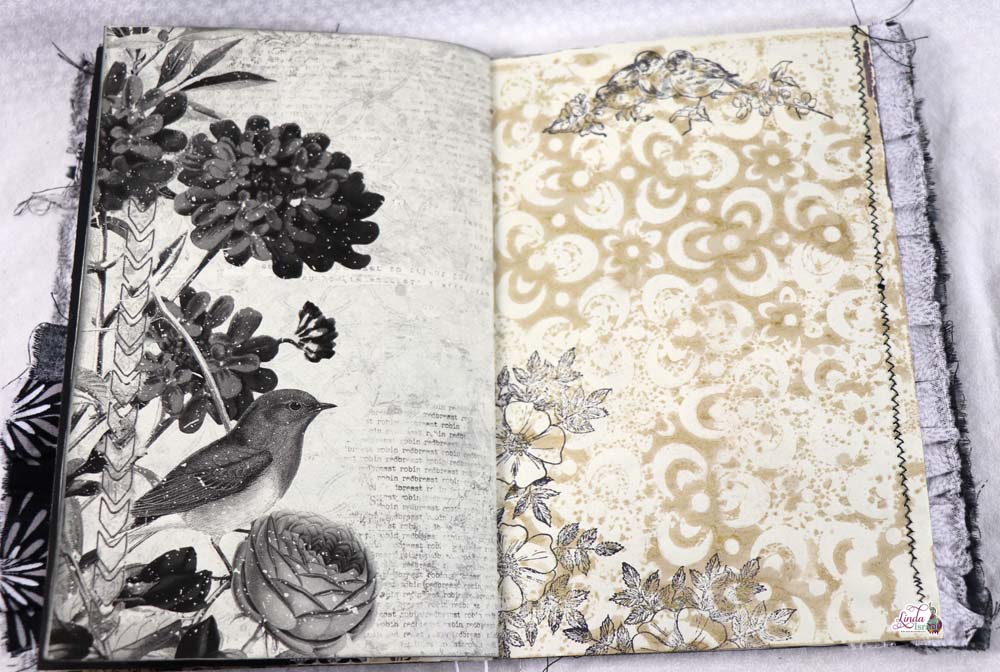
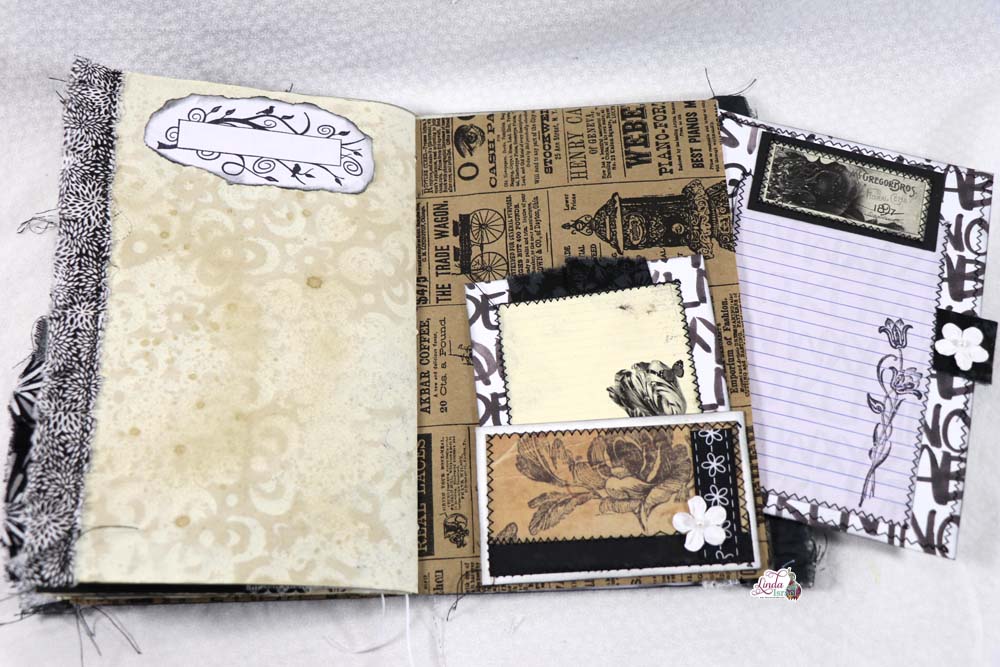
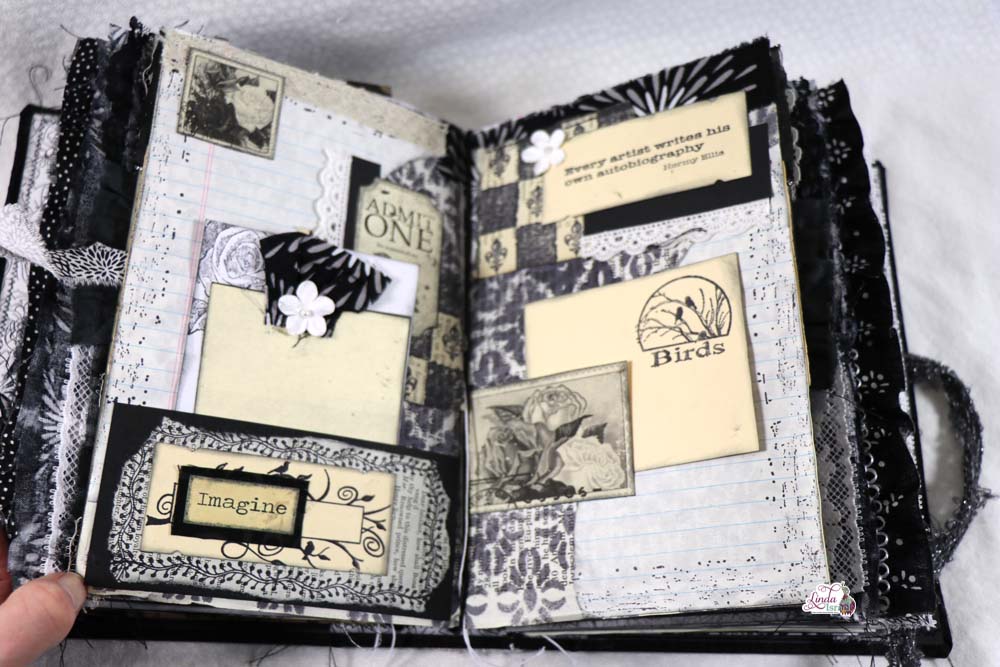
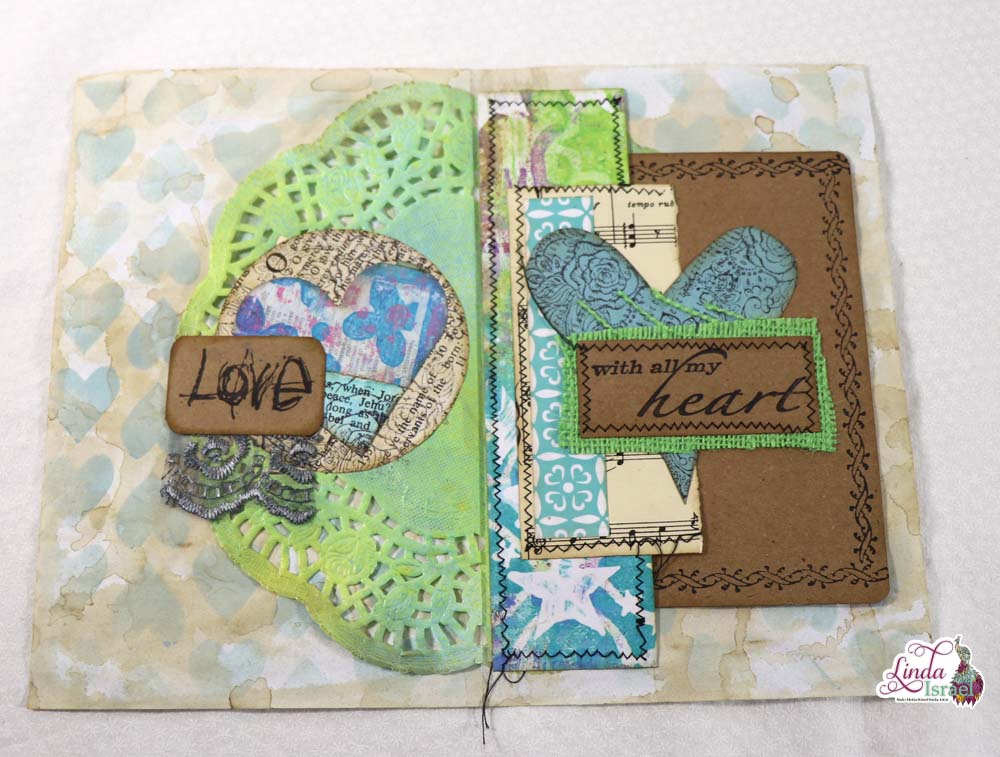
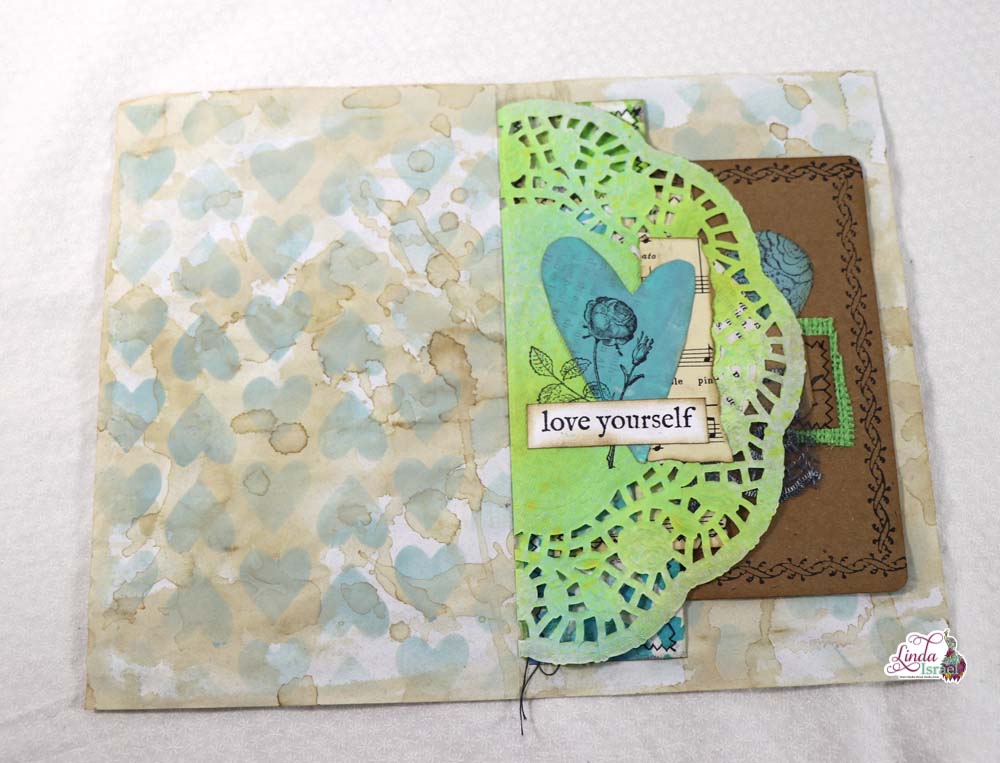
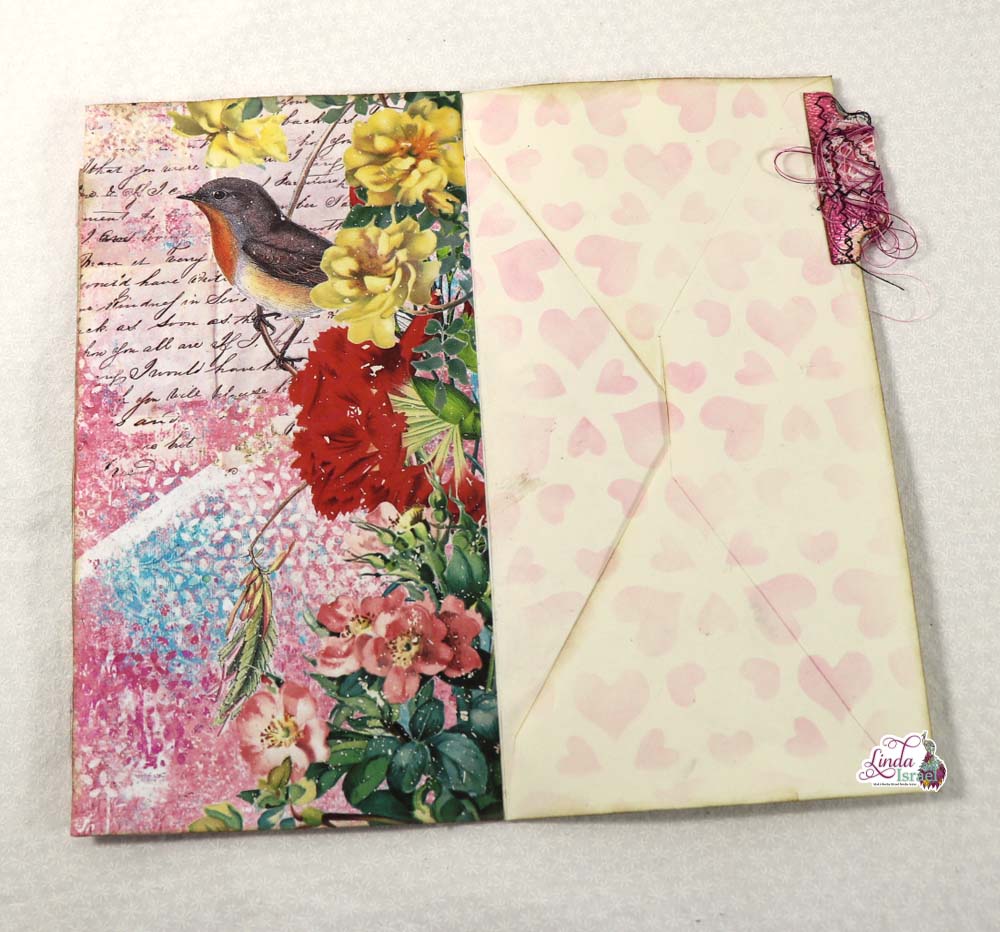
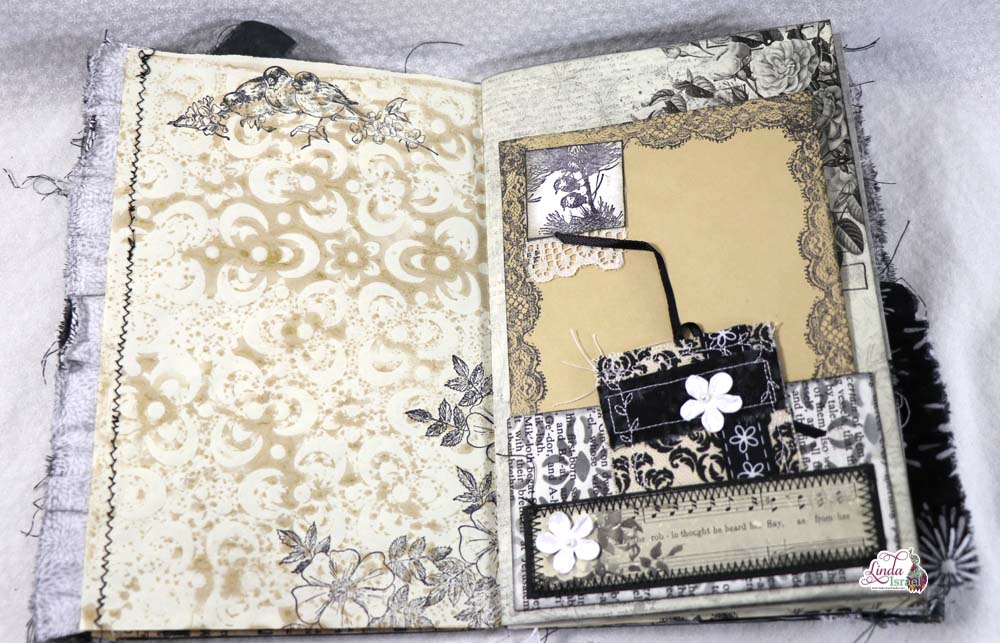 Altering an envelope can be done easily with rubber stamps! One of the stamps from the Lace Duo was stamped around the edge. On a scrap of white paper the little birds were stamped and a real piece of lace was attached.