Today, I’m sharing a Stenciled Stamped Handmade Envelope Tutorial. Every once and a while I want an envelope that can accommodate a 4 x 6 journal card. So I decided to create a template. In this tutorial I’ll show how to use the template along with stencils and stamps to create a handmade envelope.
Stenciled Stamped Handmade Envelope Tutorial Video.
Supplies used for the Stenciled Stamped Handmade Envelope Tutorial.
- Envelope stencil Template 4 x 6
- Copy Paper or book page.
- Little Hearts stencil https://lindaisrael.com/art/product/little-hearts-stencil/
- Dried Lavender TAGM (Tattered Angels Glimmer Mist) https://lindaisrael.com/art/product/dried-lavender-tattered-angels-glimmer-mist/
- Heart Flower Stencil https://lindaisrael.com/art/product/heart-flowers-stencil/
- True Turquoise TAGM Substitute Curious https://lindaisrael.com/art/product/curious-tattered-angels-glimmer-mist/
- Pencil
- Heat Tool https://amzn.to/3vX3IPI
- Fiskars Scissors https://amzn.to/2Wwn4vE
- Distress Ink Walnut Stain
- Blending Tool https://amzn.to/2YVuFRY
- Aleene’s Tacky Glue
- Winged Heart
- Distress Oxide Distress Oxide Seedless Preserves
- Grunge Love
- Archival Ink Jet Black
- Single Rose
- Cherish
- Floral Cherish
- Scrap of Paper
- Lots of Hearts 29 Chipboard Pieces
- Heart Flower Branch
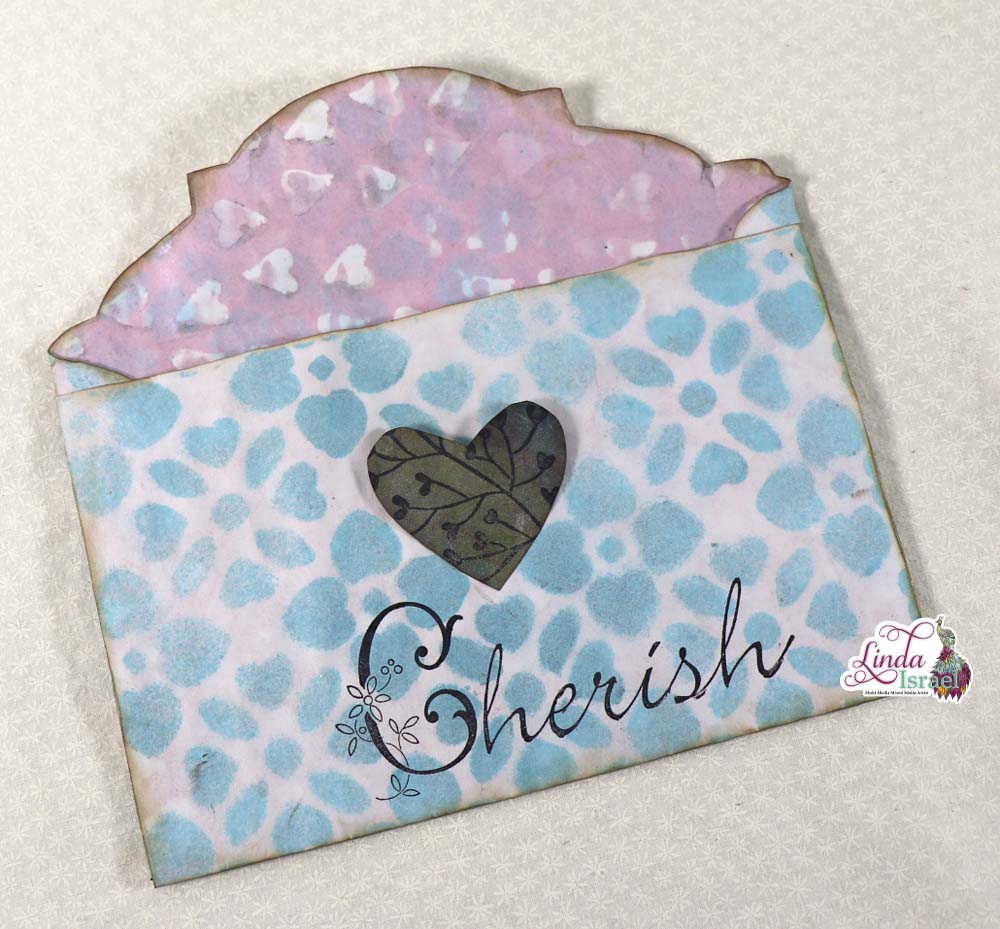
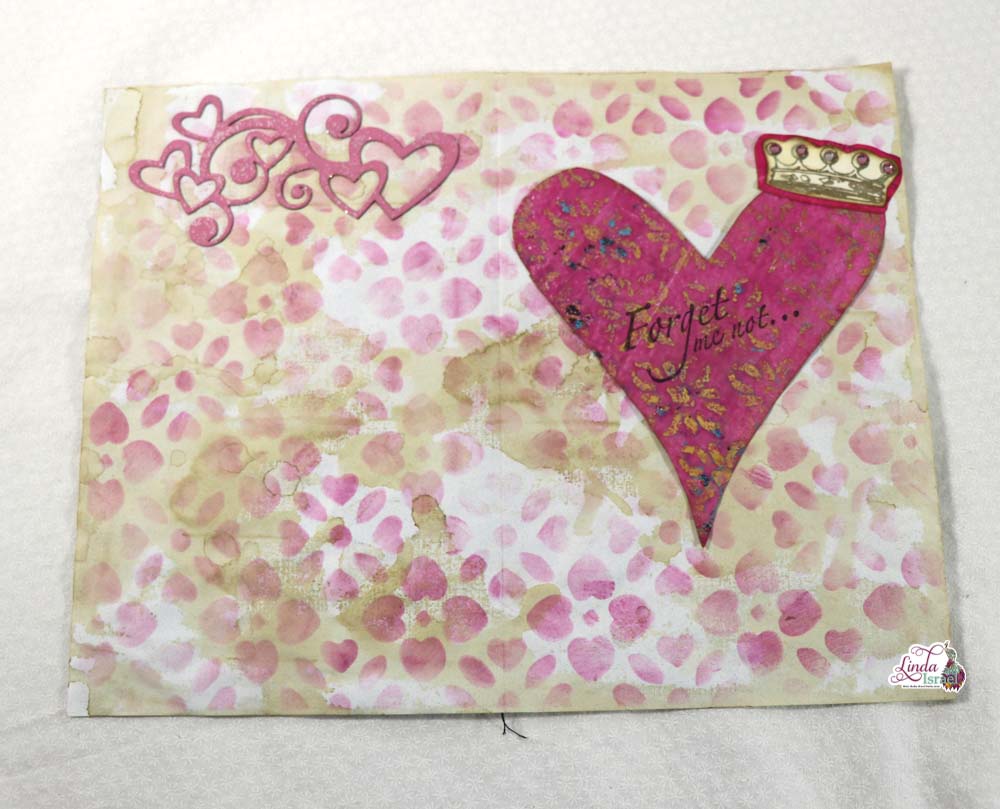
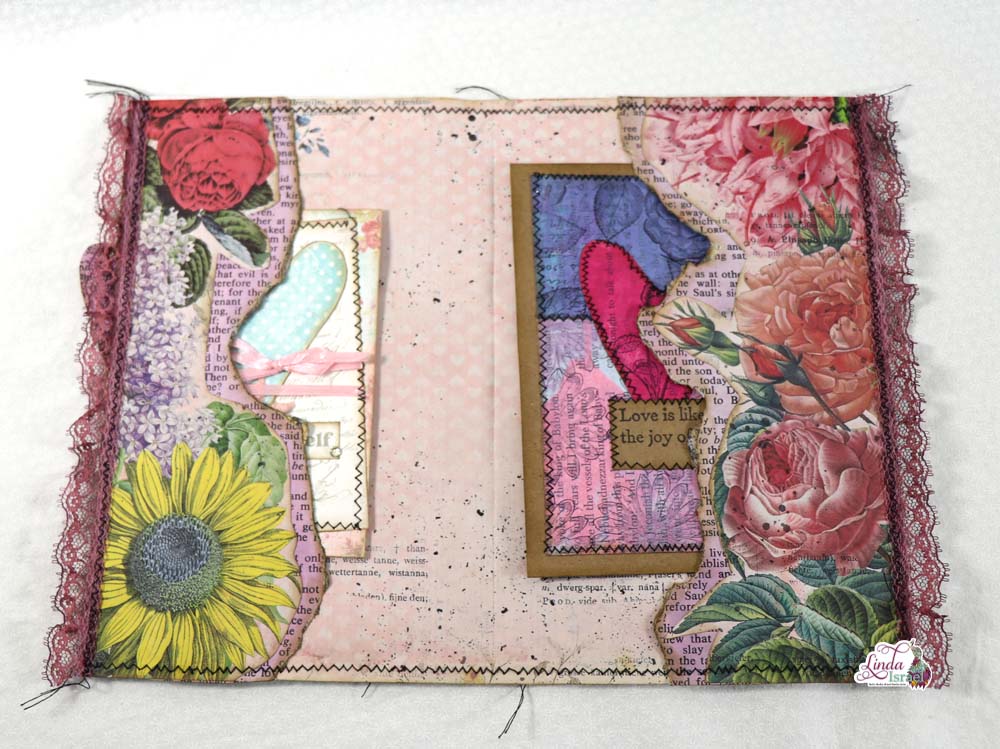
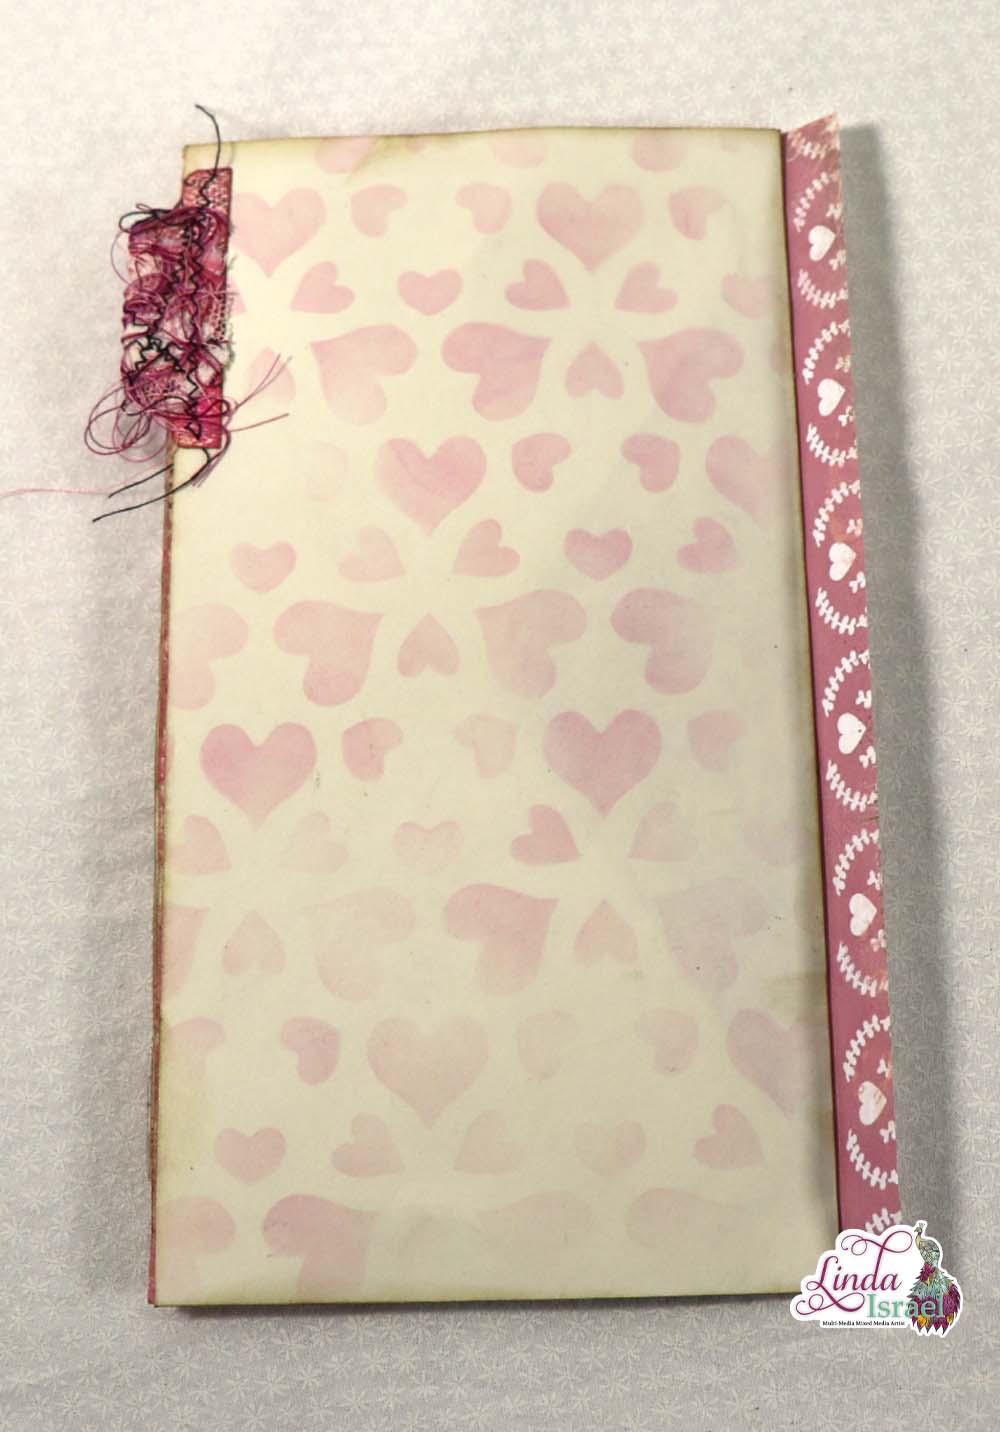
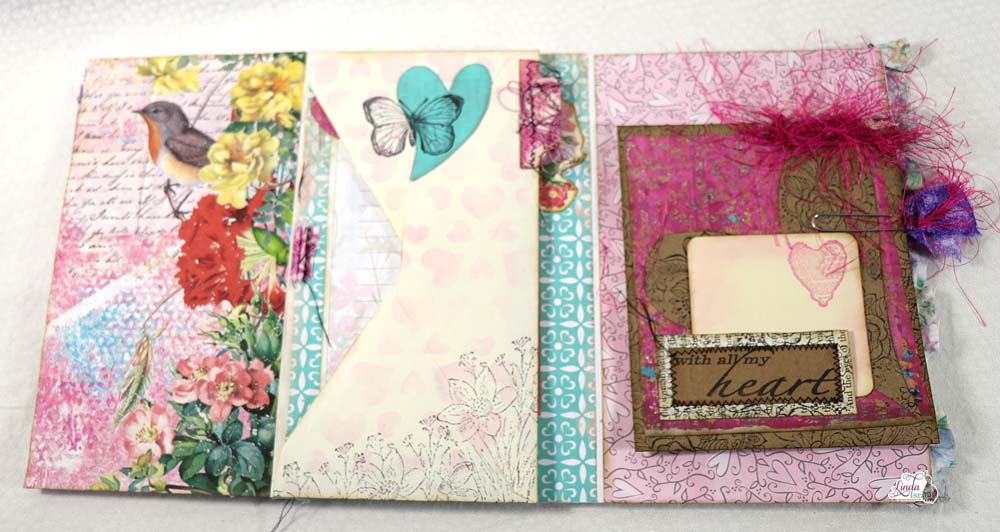
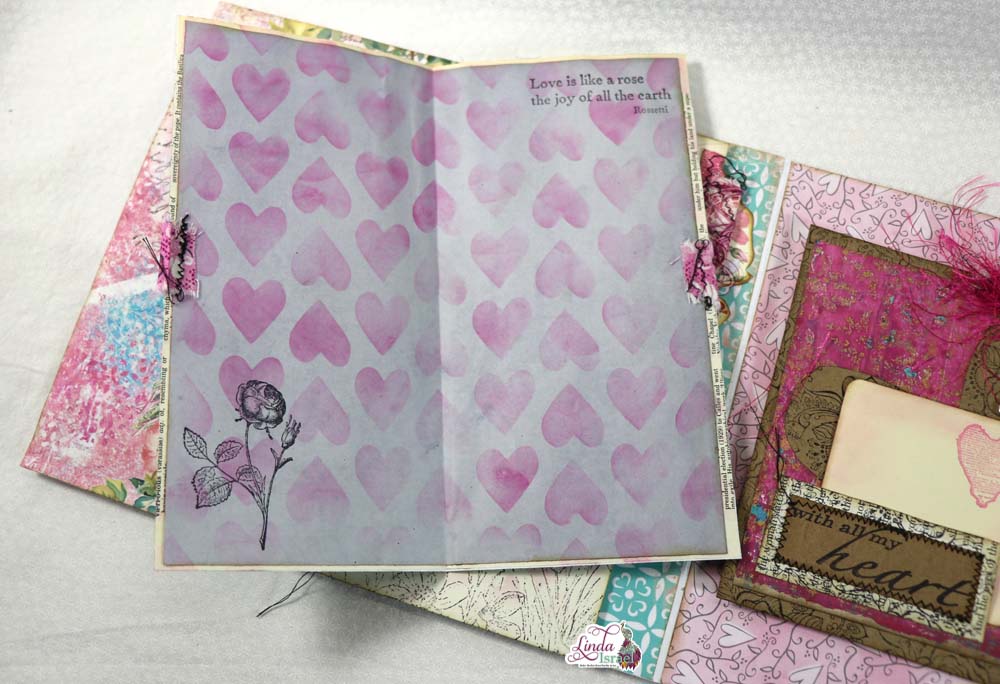
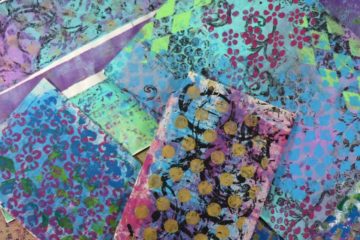
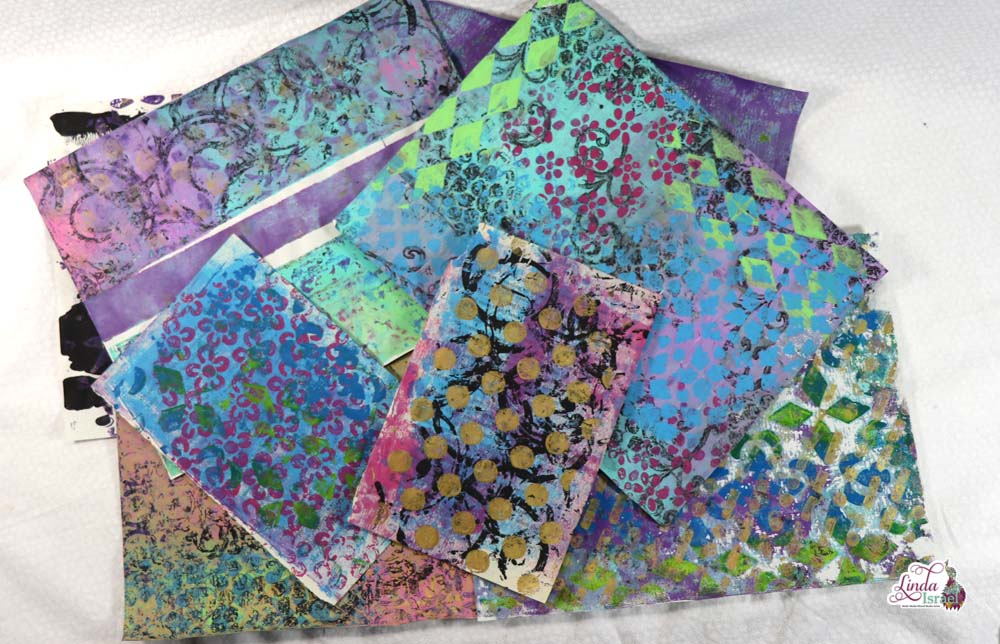
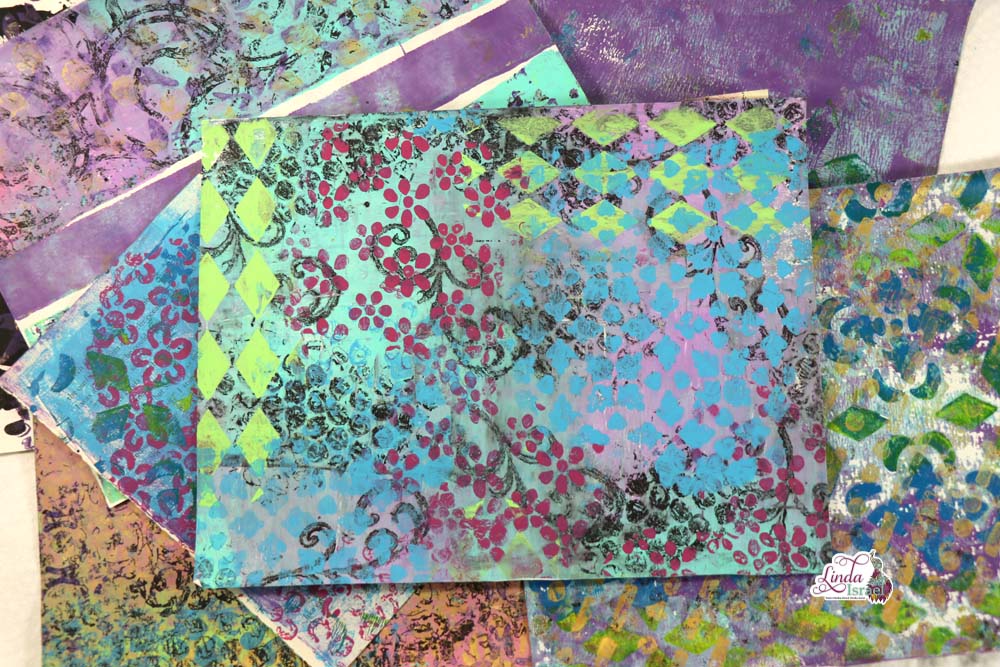
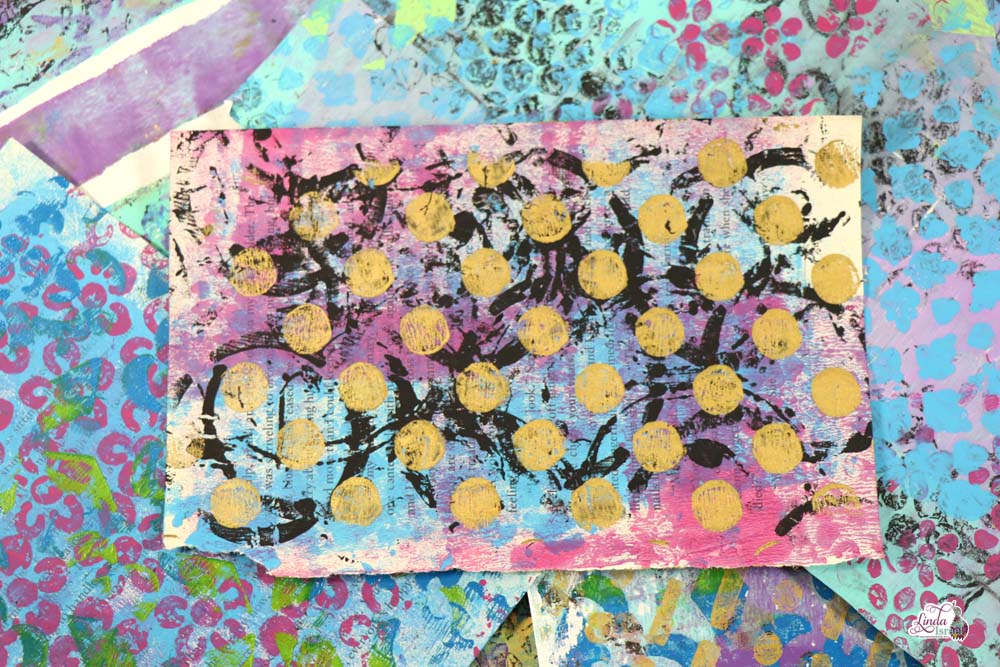
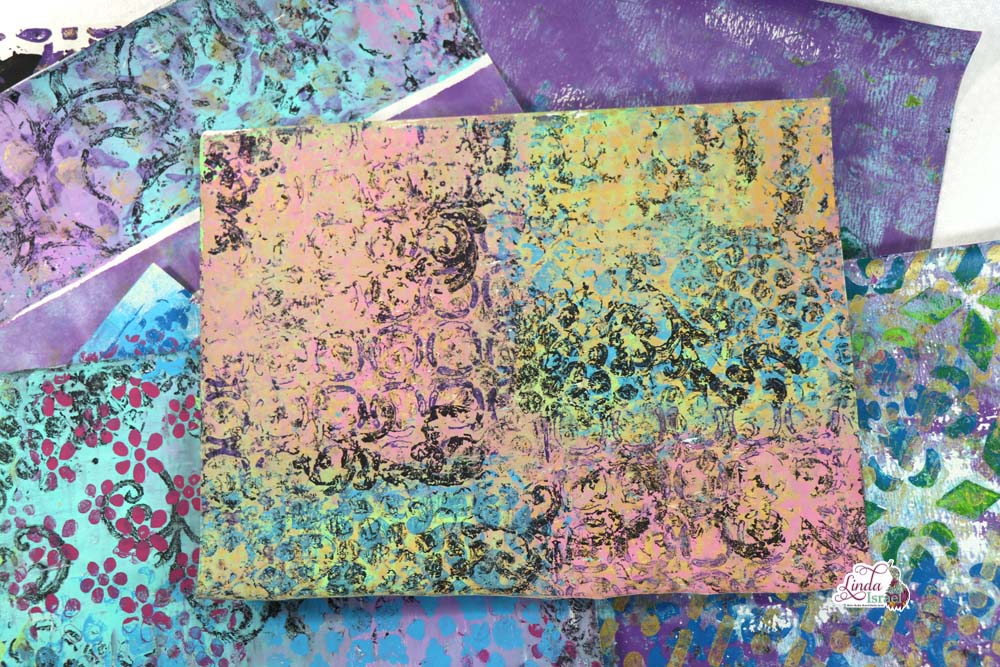
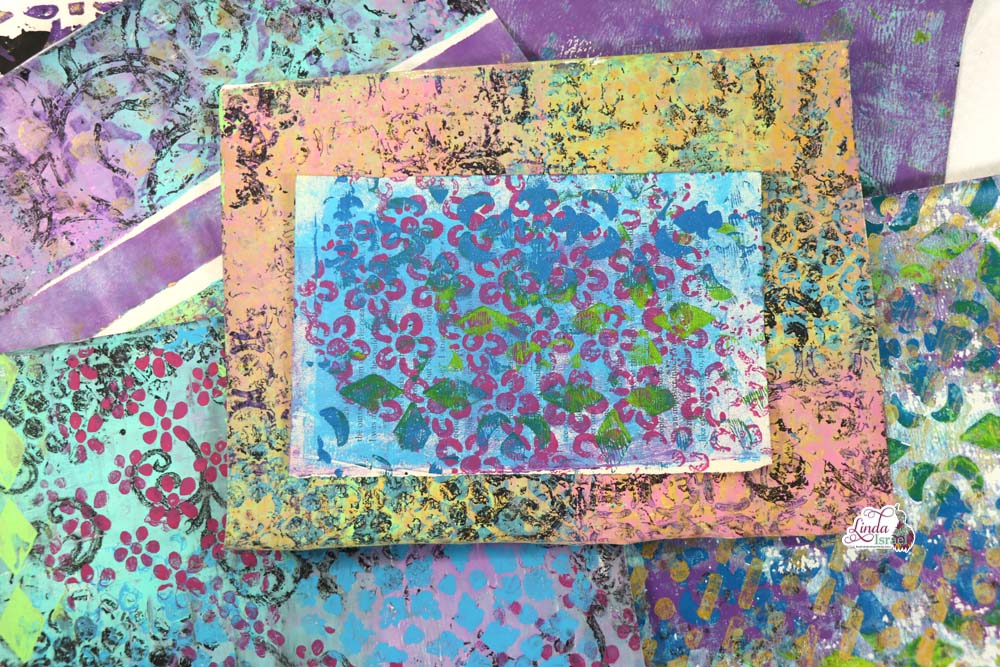
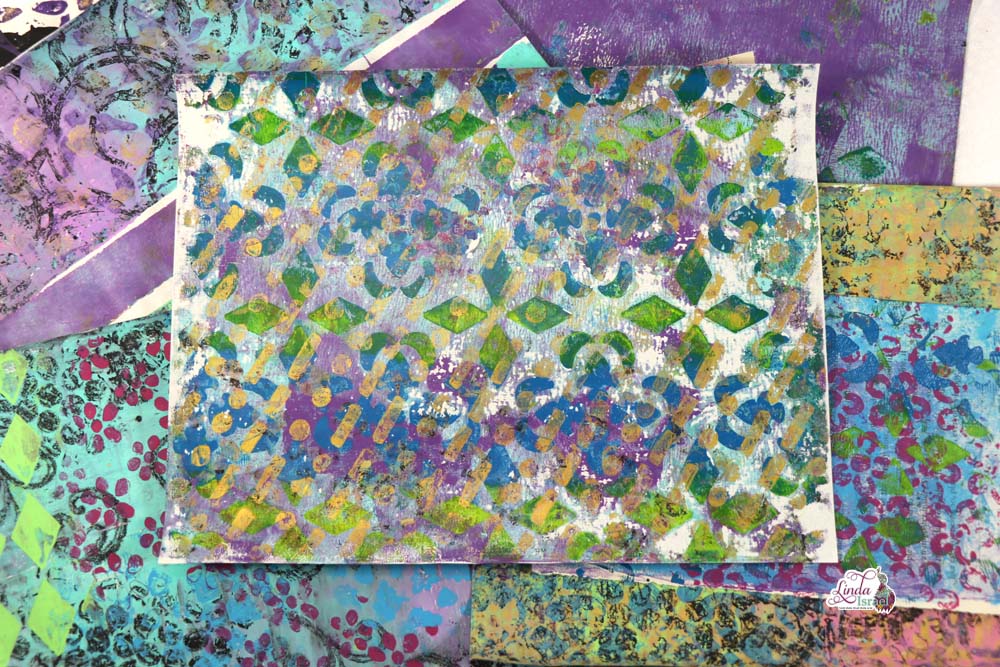
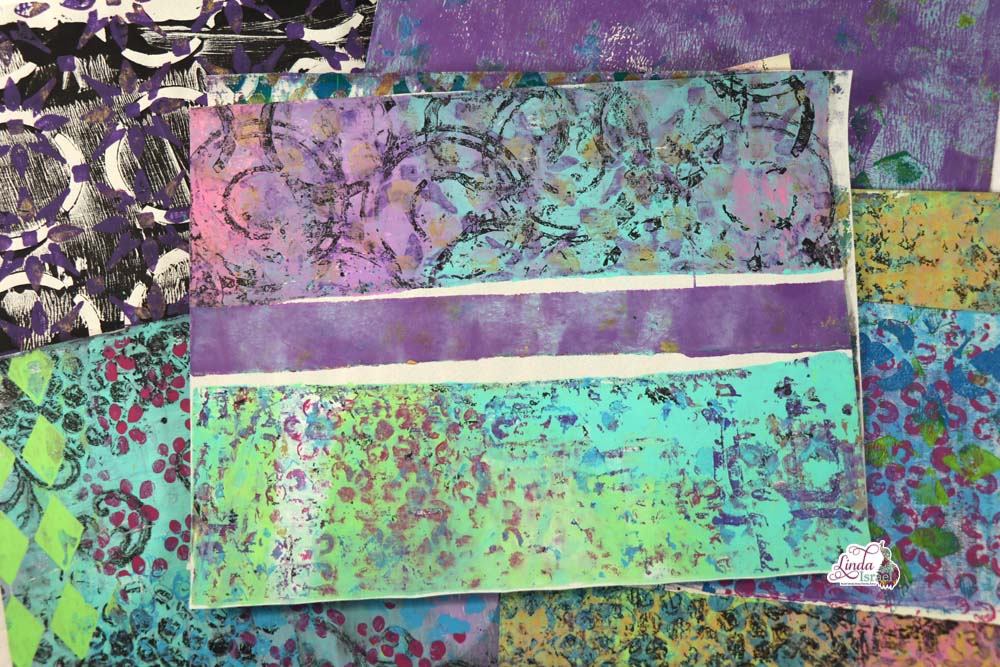
This is a super easy Stenciled Stamped Handmade Envelope Tutorial. Grab a sheet of copy paper or even a book page that is 8.5 x 11 inches in size. Lay the Little Hearts Stencil on top and spray with Dried Lavender TAGM. Place another sheet of paper on top of the wet stencil to mop up the excess spray. I love doing this because it creates two pages with one spraying session.
Flip the sprayed page over (sometimes I’ll use the mop up page to spray the new design on the backside) However, do what you like! Lay the Heart Flower Stencil on top of the paper and spray with True Turquoise or Curious TAGM. Mop up the excess spray with the same mop up page or use a new page.
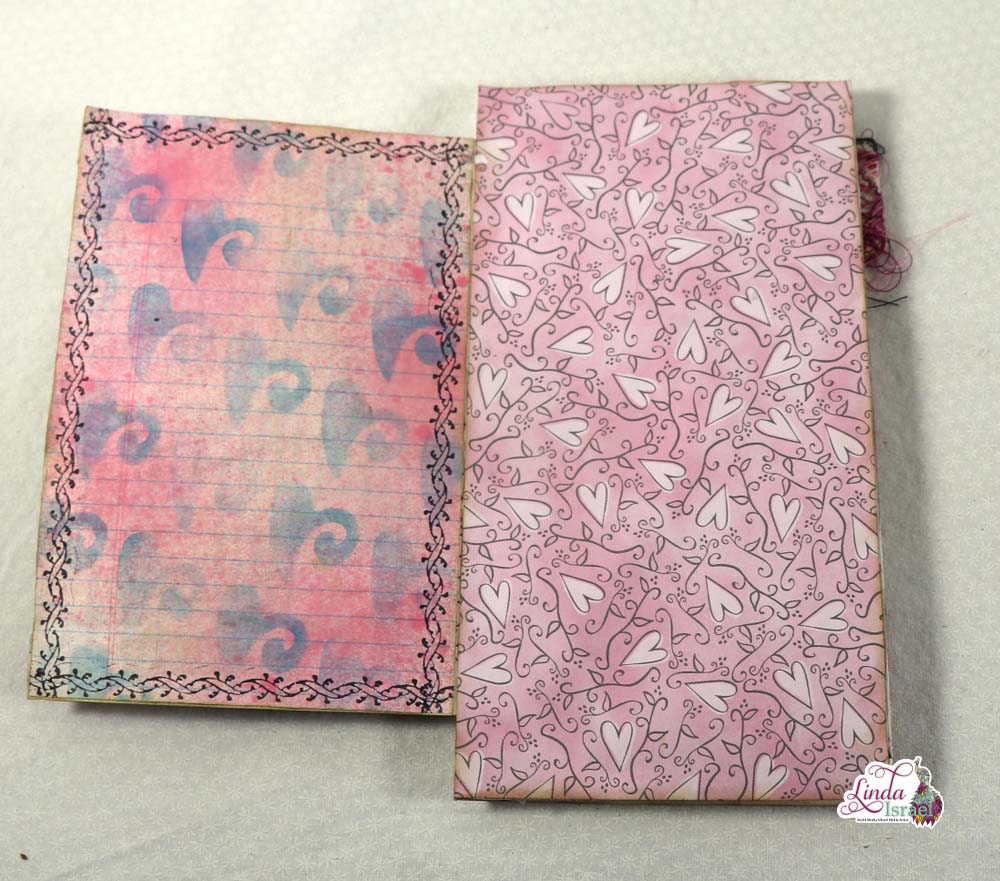
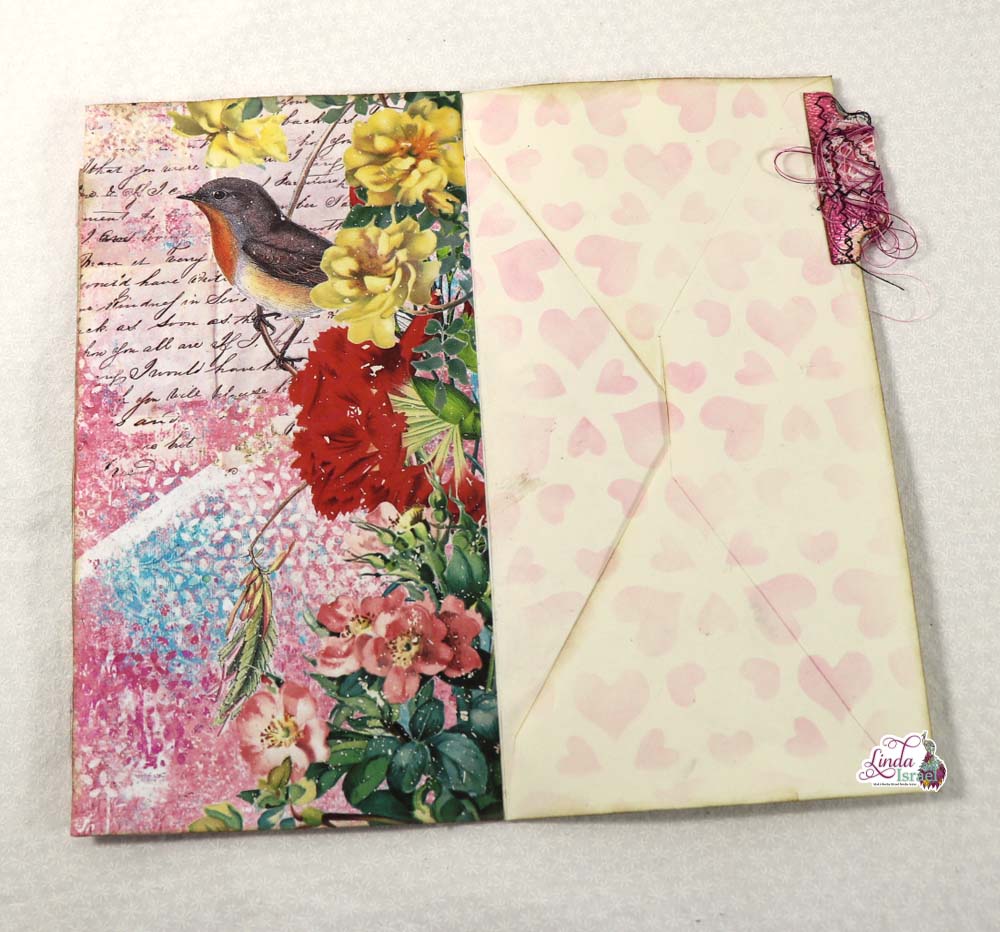
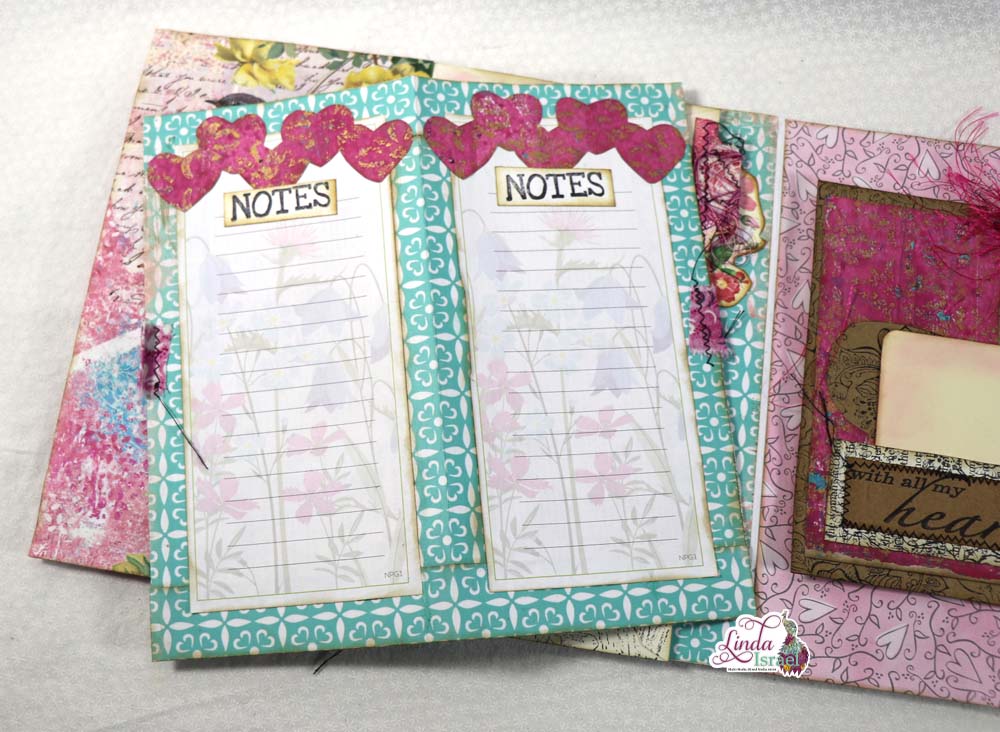
Either let the paper air dry or use a heat tool to dry the paper. Place the Envelope stencil Template 4 x 6 on the back (or what will be the inside of the envelope) of the dry paper and trace with a pencil. I find that if I place the straight edge of the stencil to the edge of the paper then that is one less cut I have to make. This also gives a nice straight edge to the inside top of the envelope.
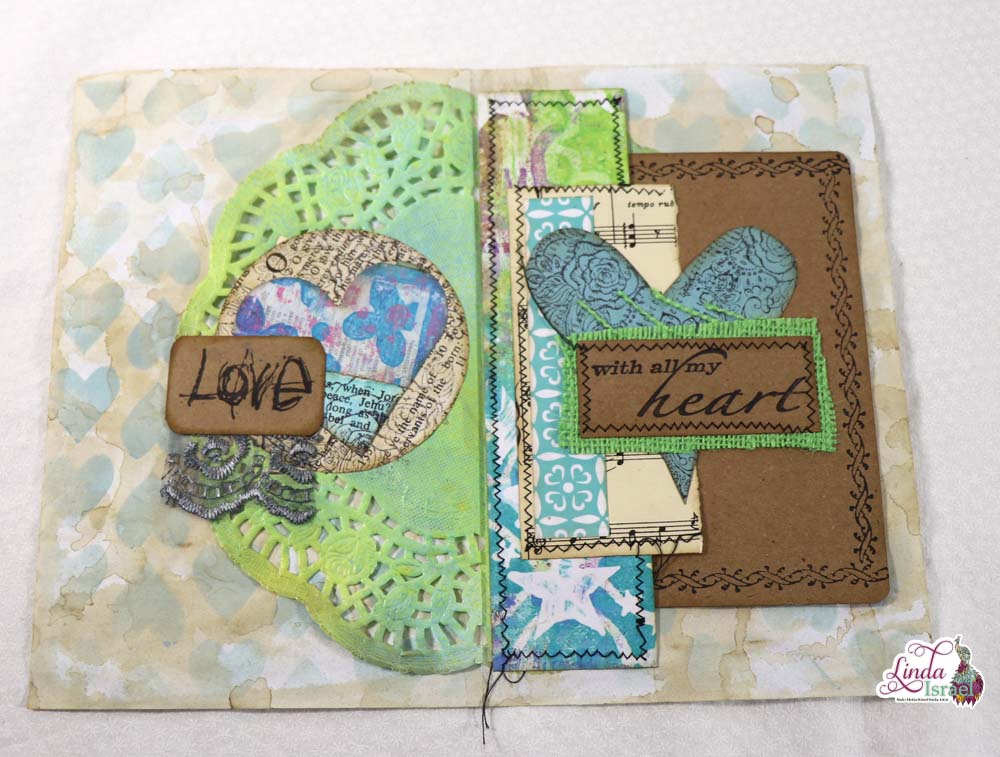
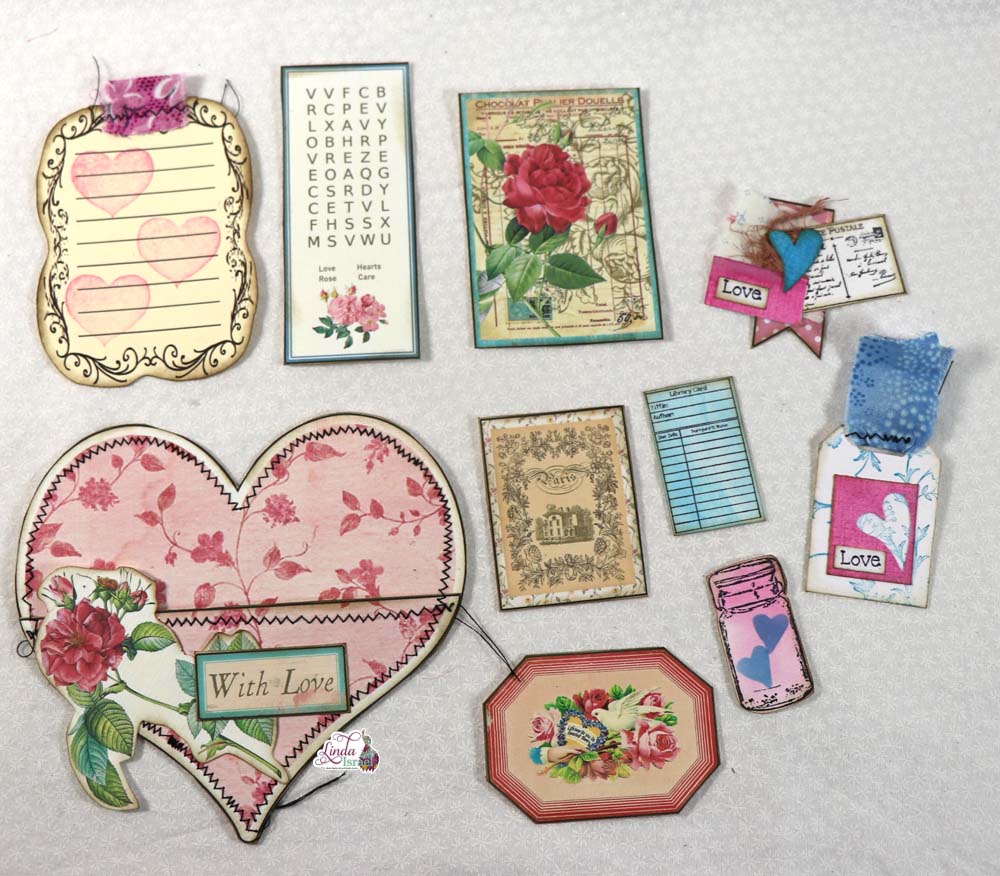
Fussy cut the envelope. Apply Distress Ink Walnut Stain to the edges of the envelope. Fold the envelope and adhere the sides with Aleene’s Tacky Glue or your favorite adhesive. At this time I like to use the Distress Ink Walnut Stain again to go around the folded edges.
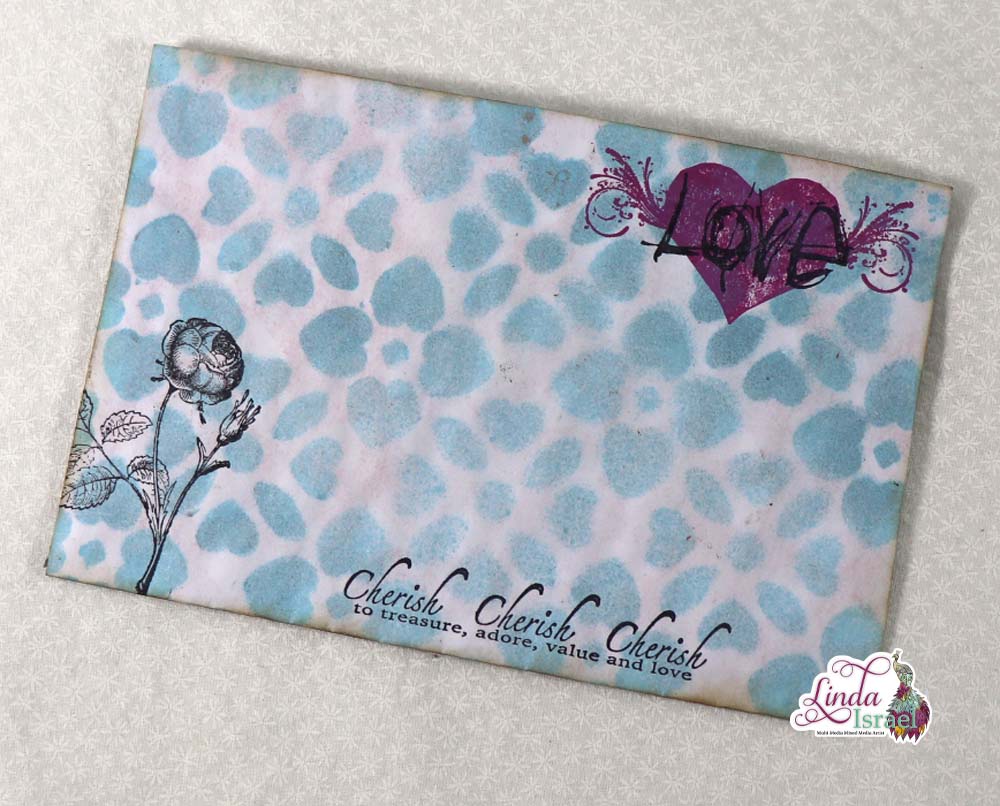
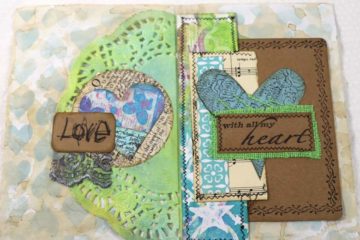
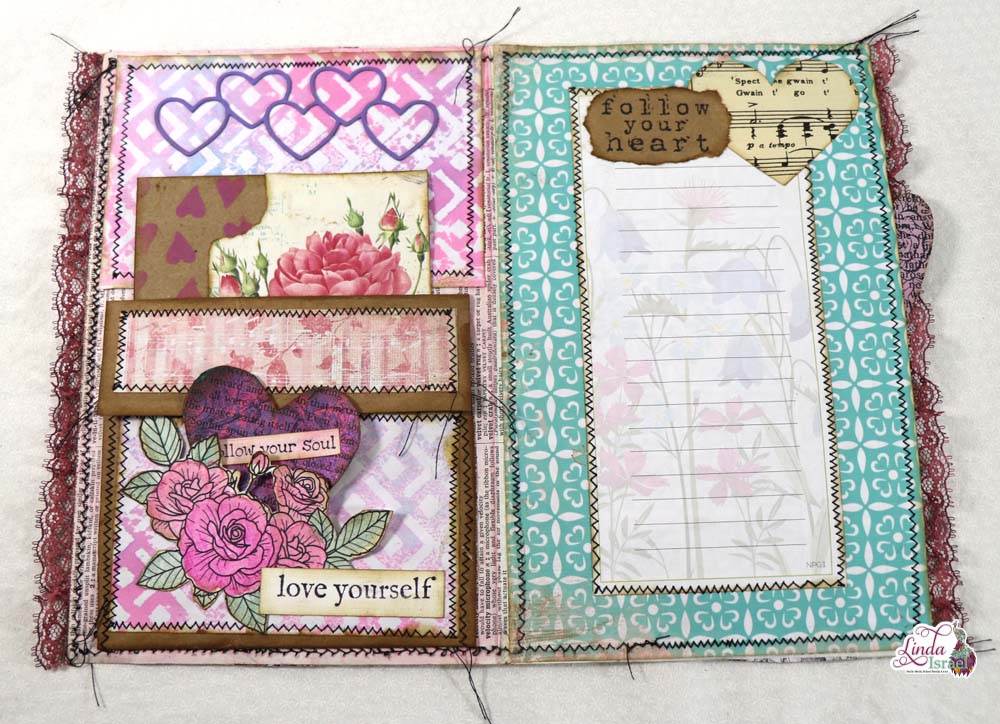
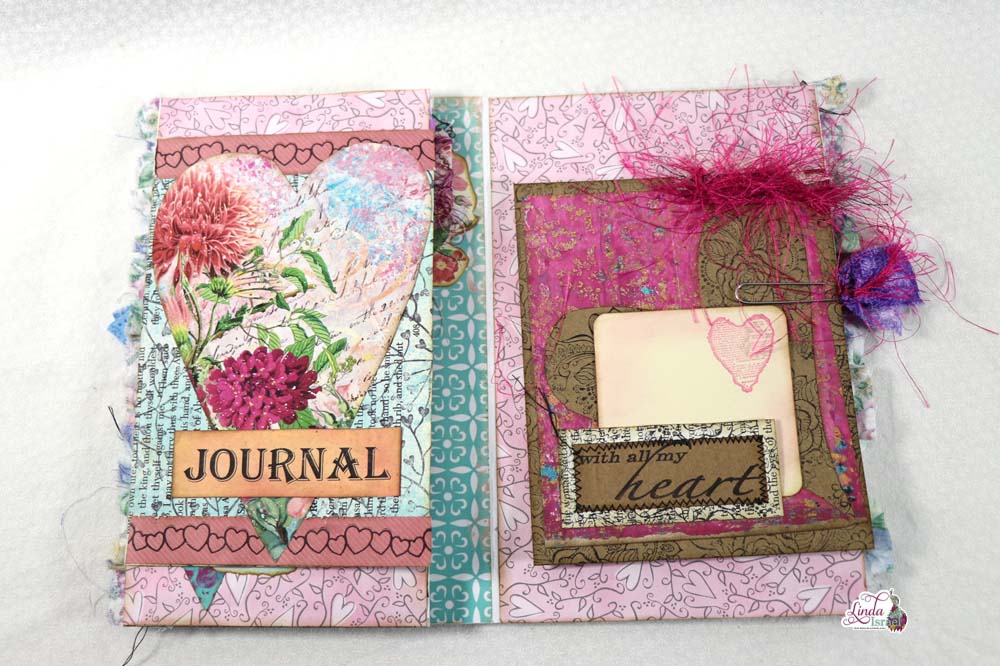
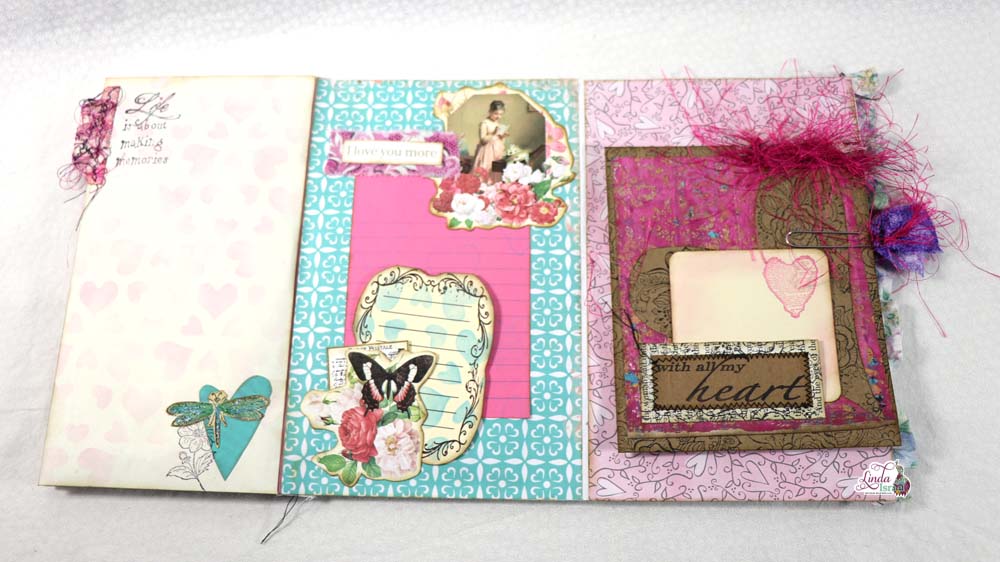
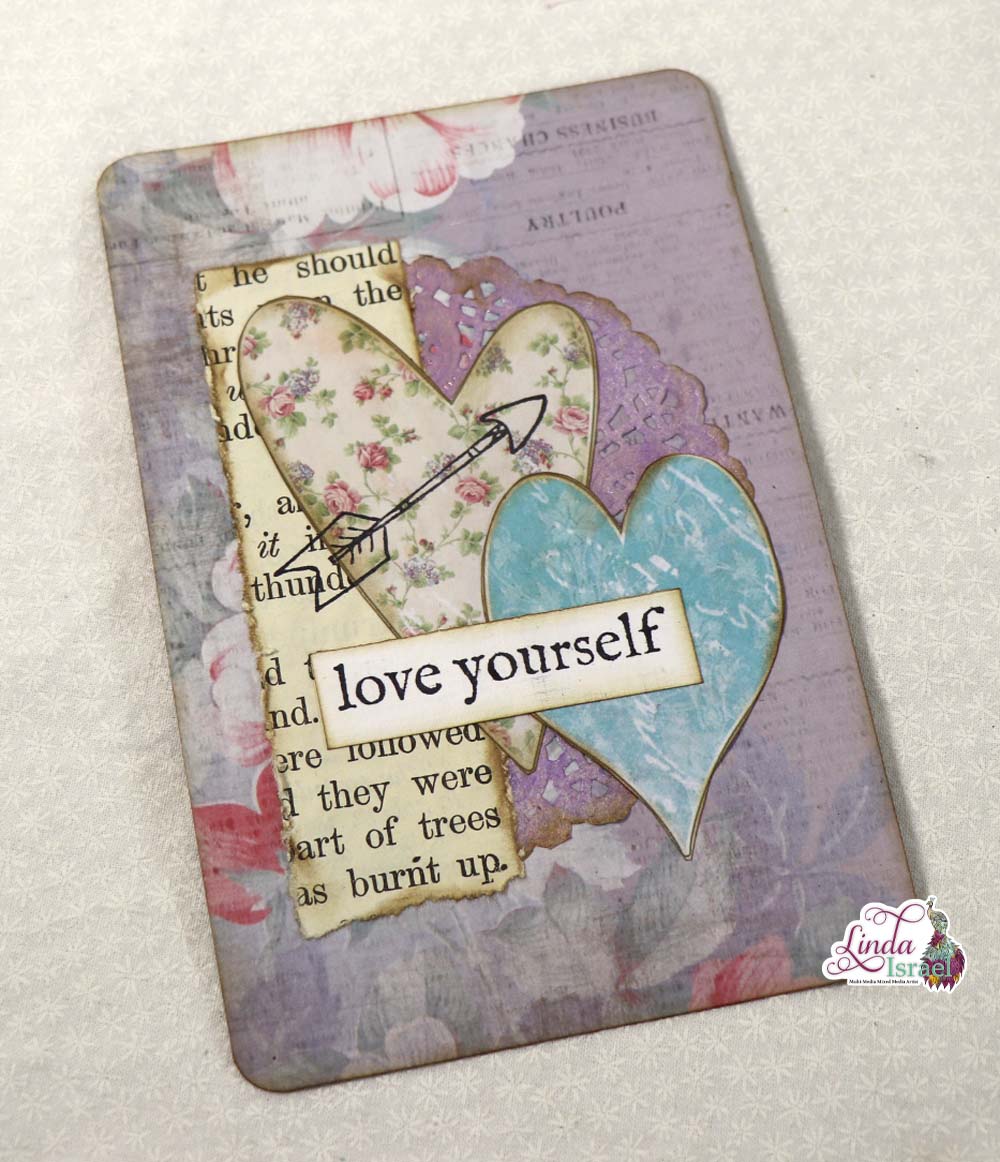
Finish decorating the envelope with stamps. Stamp the Winged Heart with Distress Oxide Distress Oxide Seedless Preserves. Dry the ink with a heat tool.
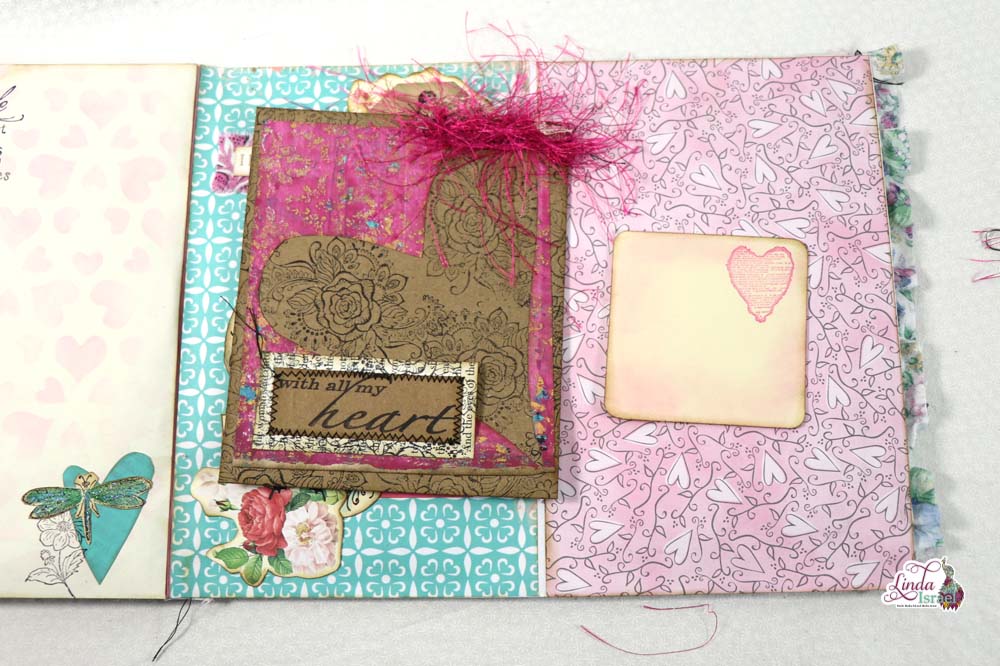
Over stamp the heart with Grunge Love using Archival Ink Jet Black. Stamp the Single Rose and Cherish on the front of the envelope.
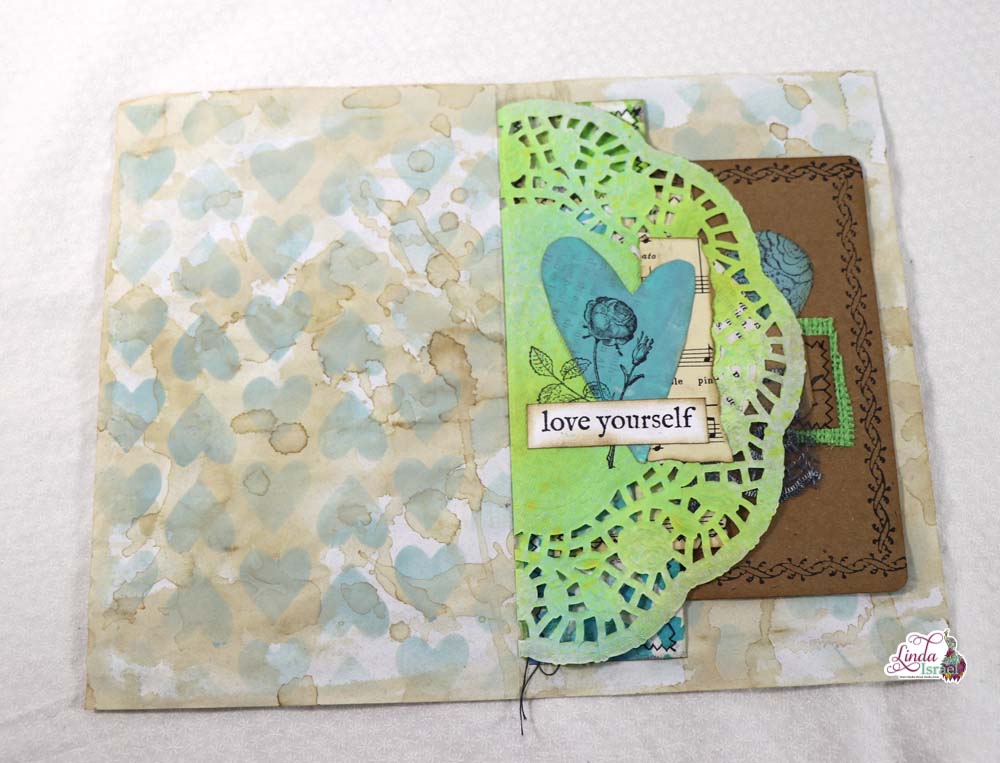
Turn the envelope over and stamp the Floral Cherish at the bottom, below the flap.
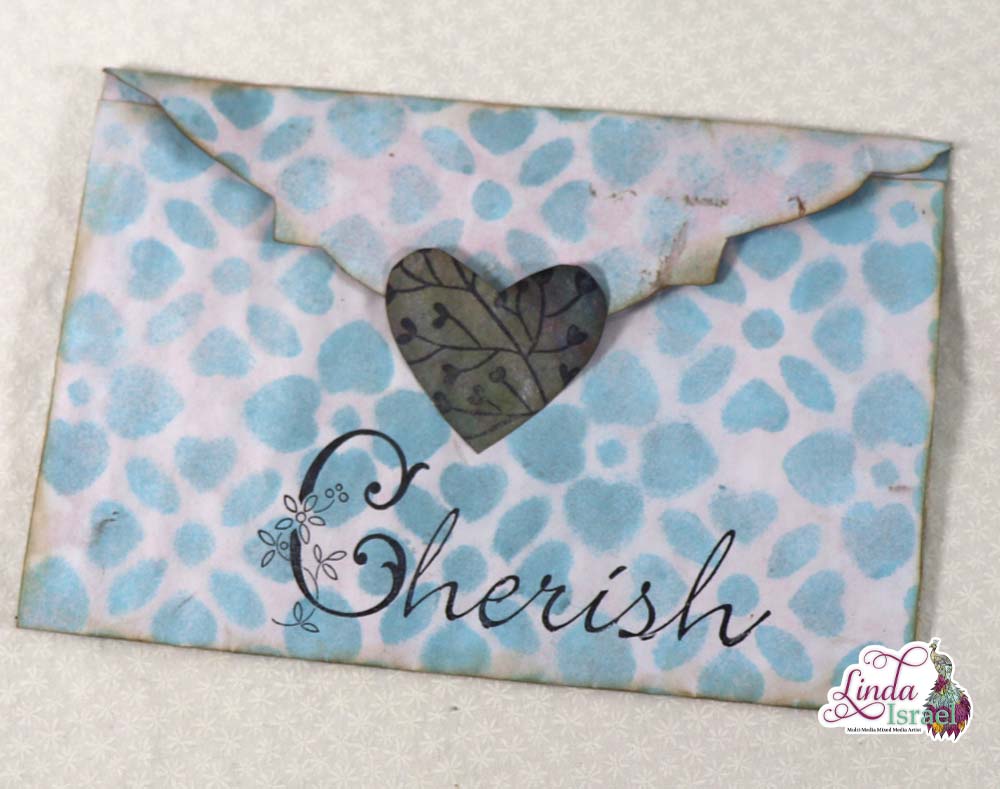
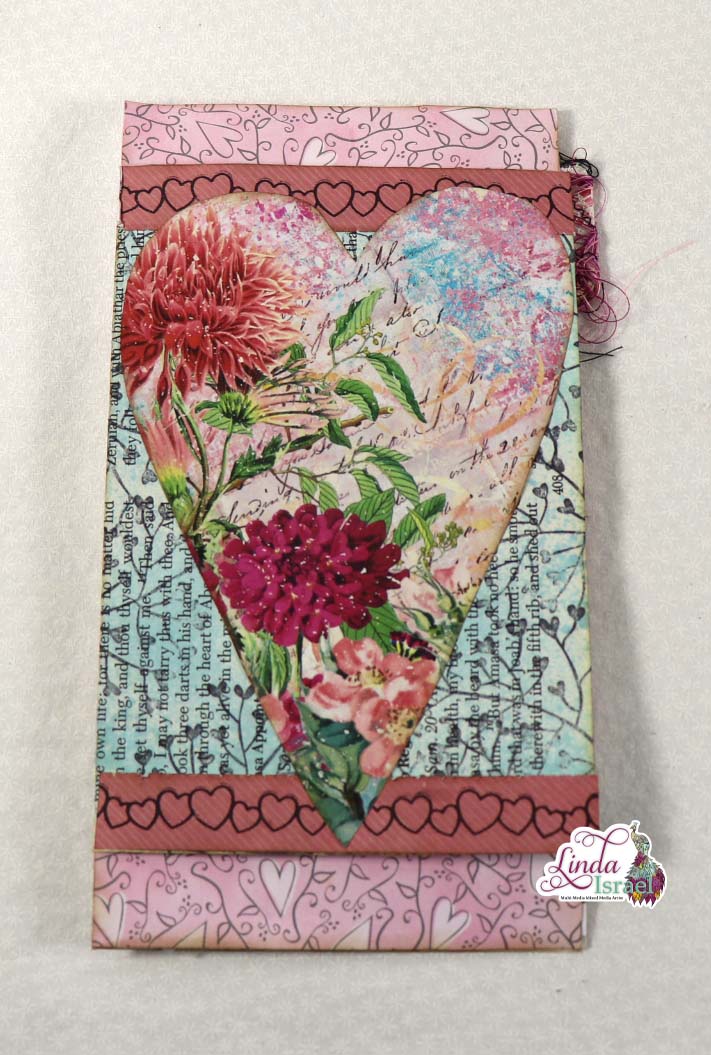
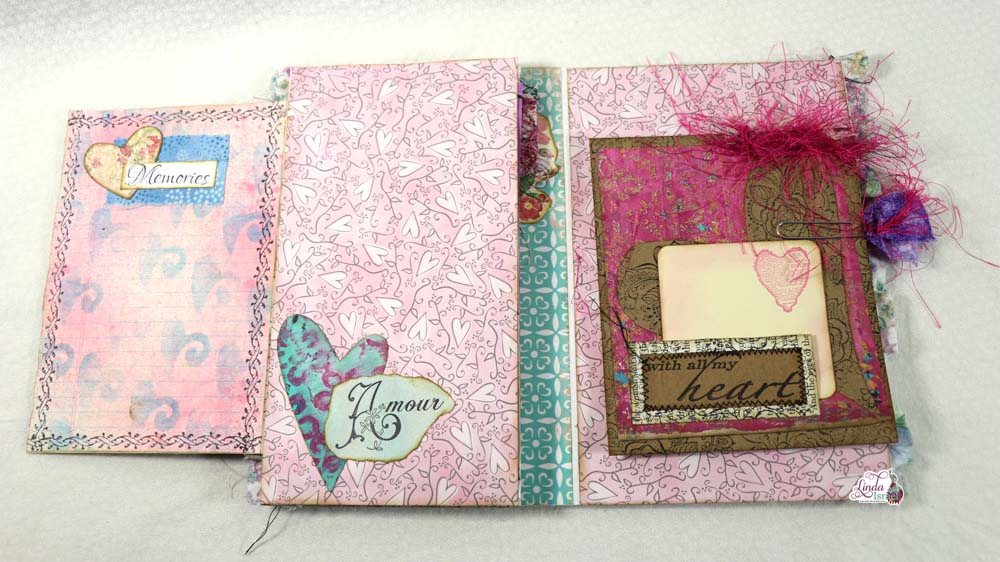
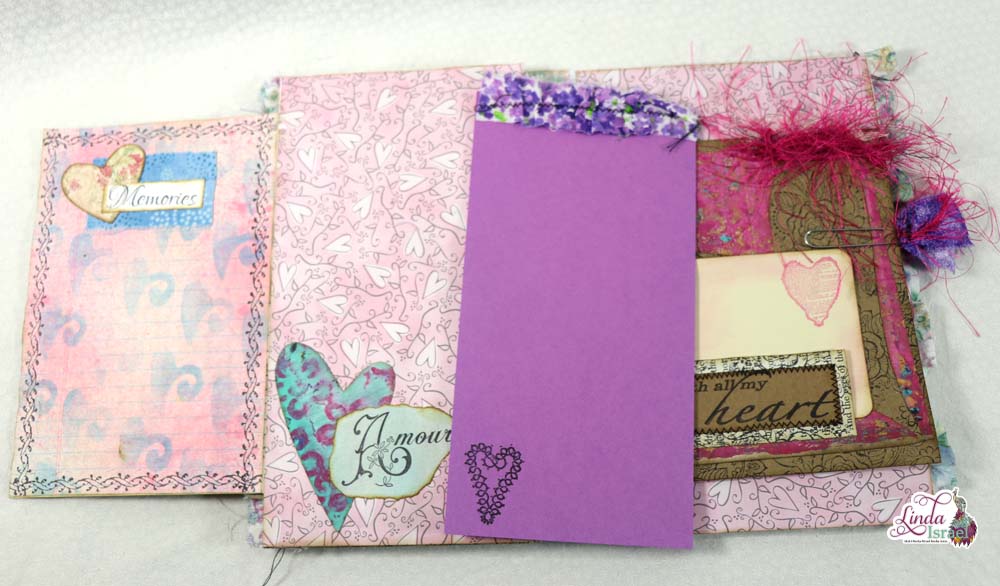
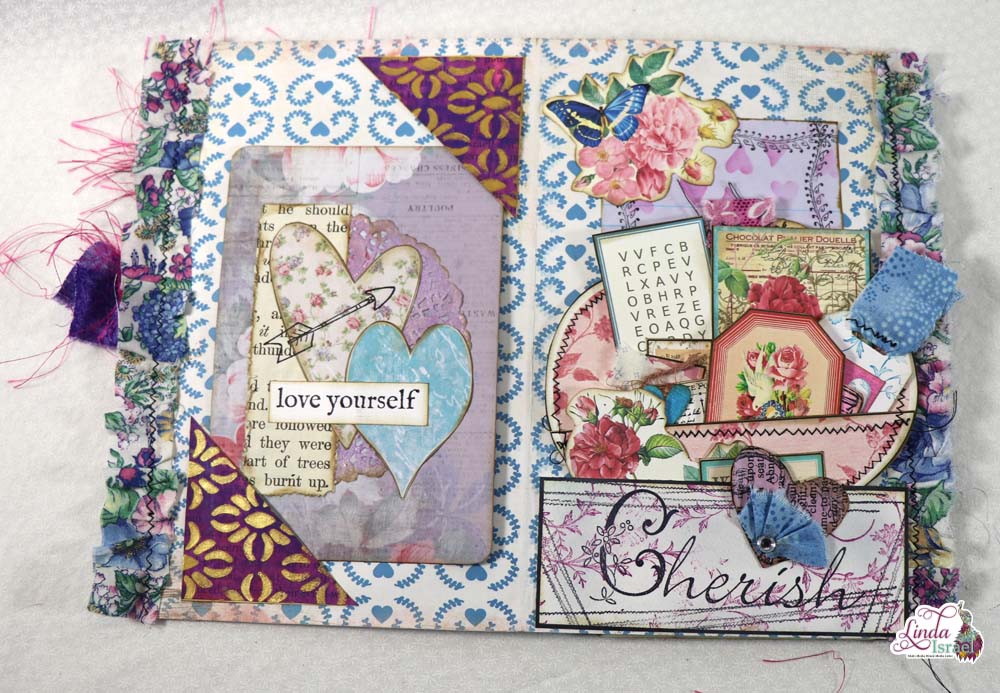
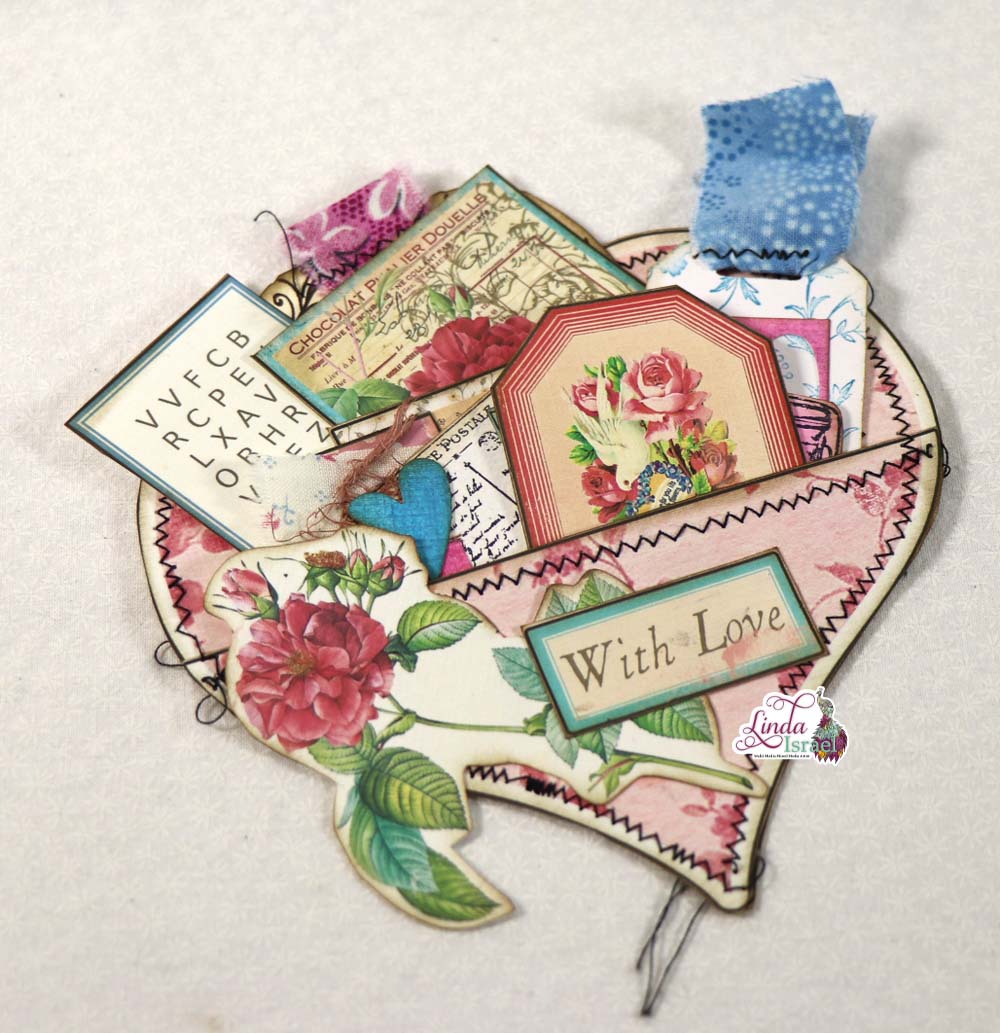
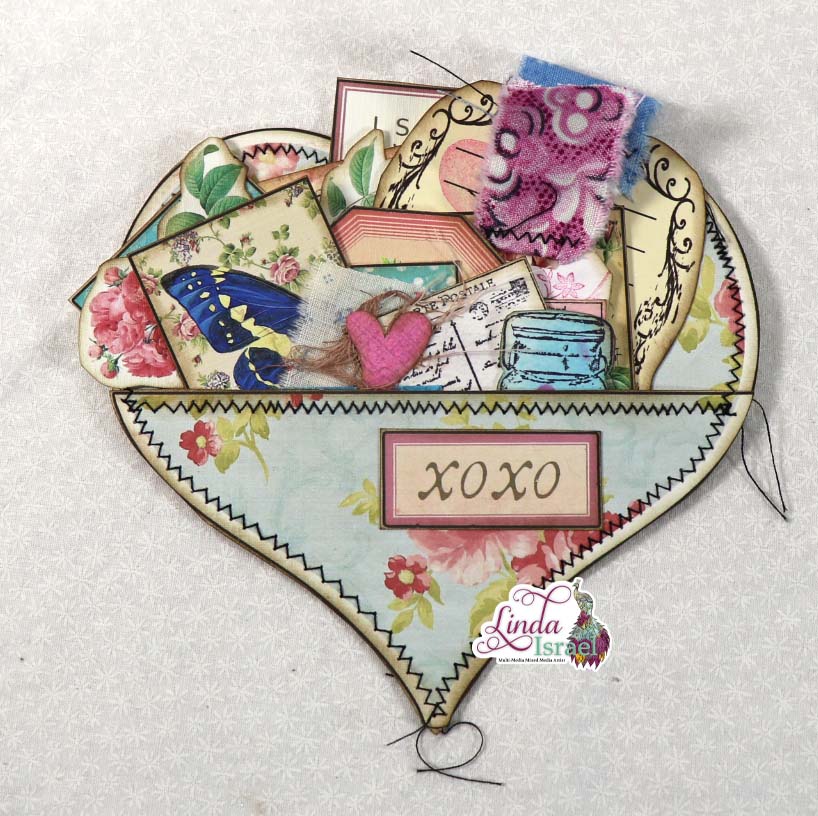
Create the heart closure by using a scrap of paper and trace one of the hearts from the Lots of Hearts 29 Chipboard Pieces. Fussy cut the heart. Apply distress ink around the edges of the heart. Stamp on top of the heart with the Heart Flower Branch. Apply a small amount of glue to the bottom third of the heart and glue just below the flap to create a tuck closure for the envelope.
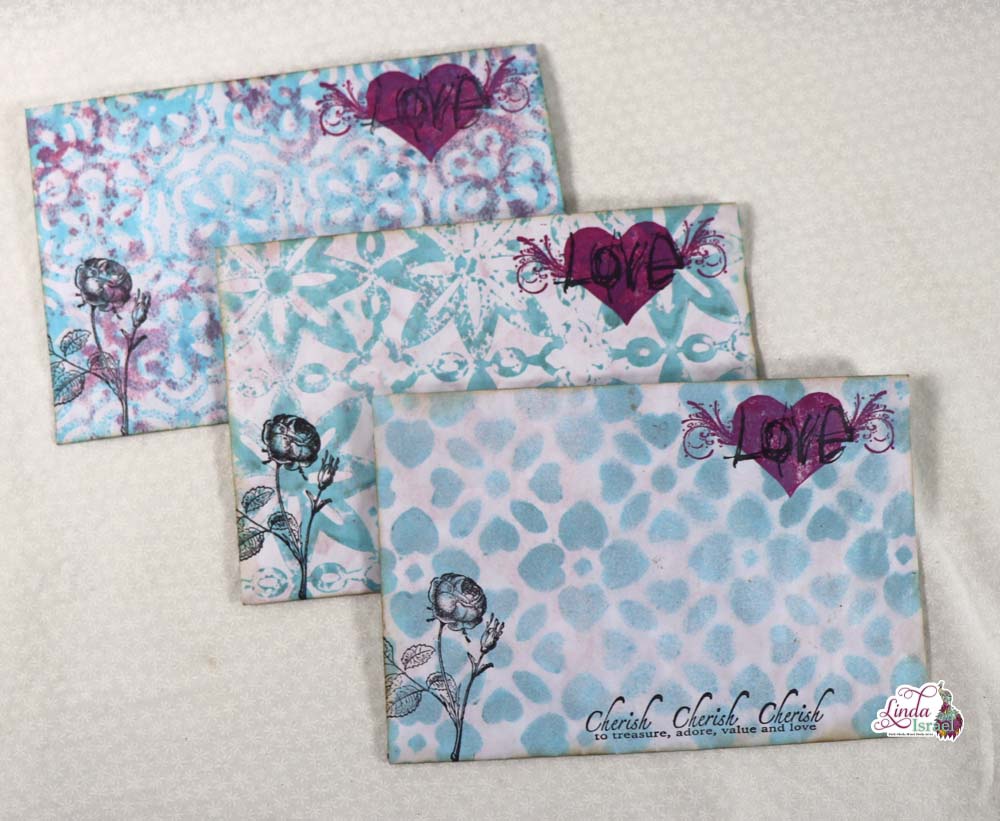
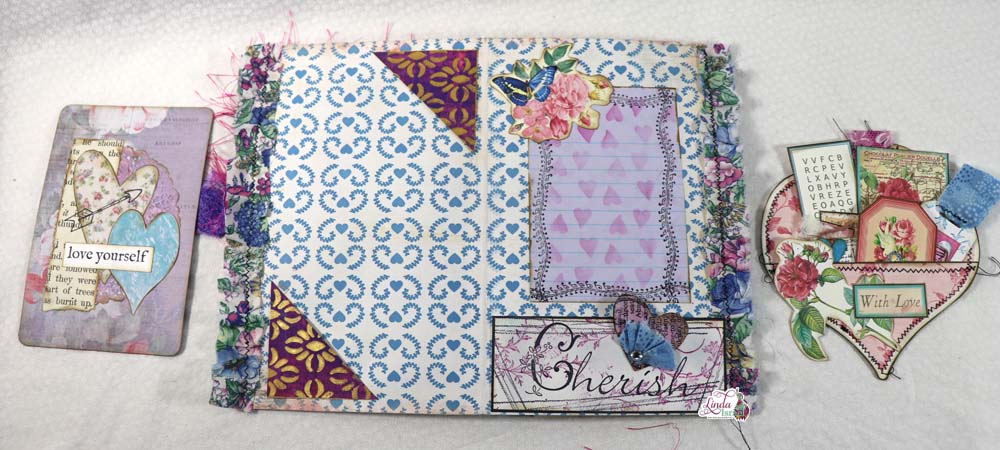
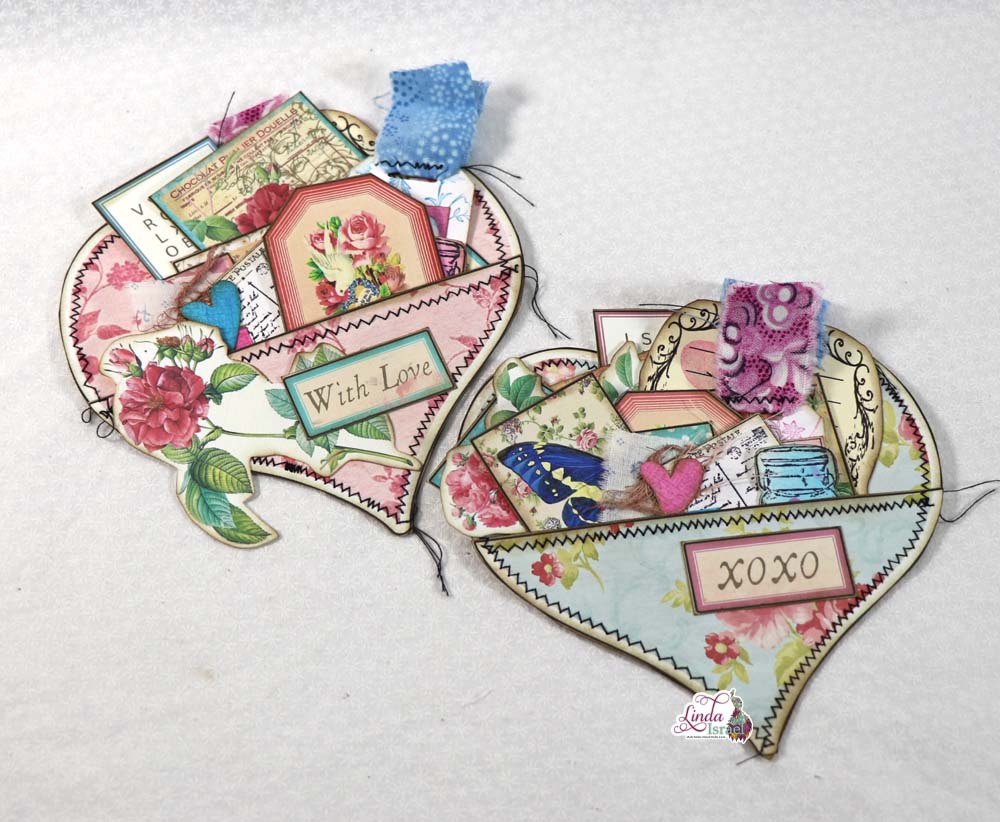
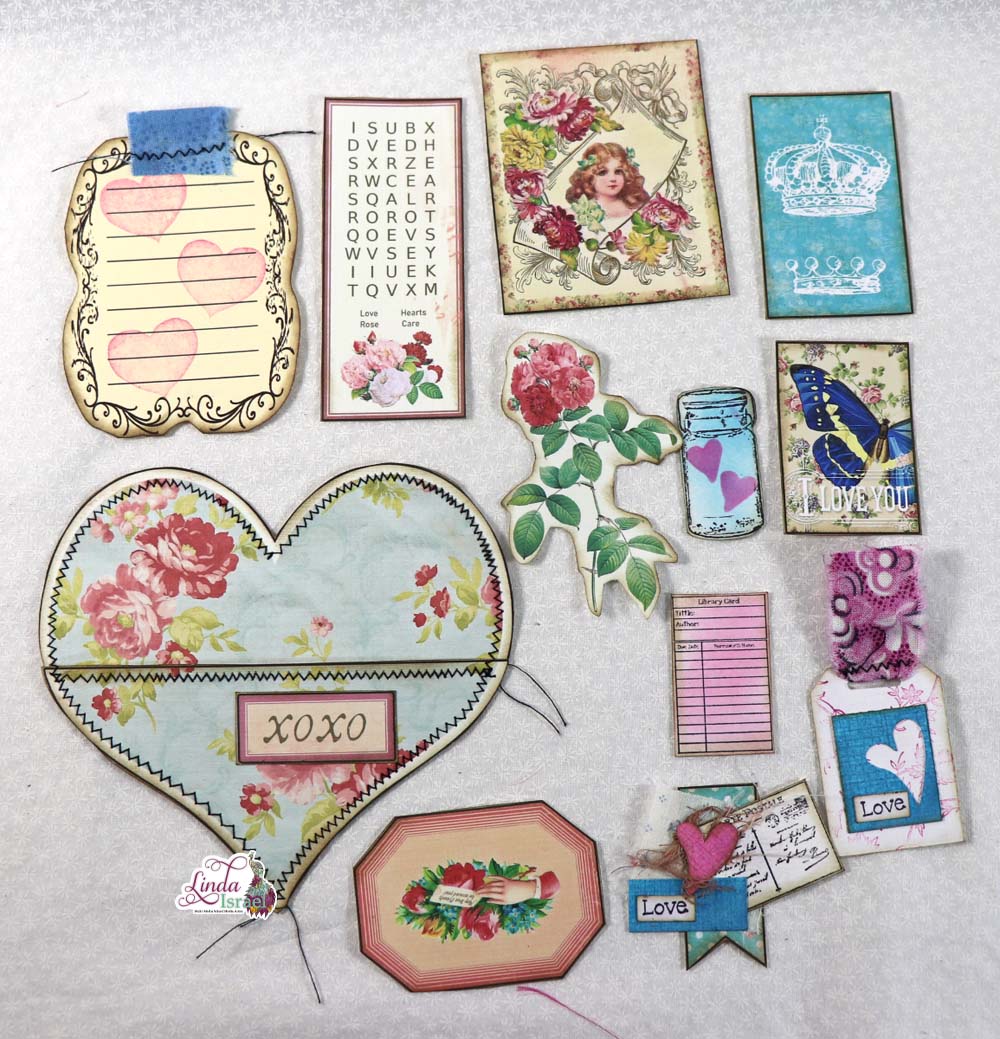
Now admire your envelope! Wasn’t that super easy? Once you get started making one it is so easy to make several. Take a little time to create stenciled papers and trace a bunch of envelopes to decorate later. Or have one jam packed creative session and create as many as you like!
Visit the Friendly Junk Journal People Facebook group. Of course, you are welcome to join the Friendly Junk Journal People Facebook group. The group is growing daily and we are a friendly group willing to help each other and encourage each other.

Interested in any of the projects Linda has created? Please feel free to contact her through her website. Here is her shop, a lot of items featured and more added weekly.
Keep updated on her posts by following the blog by creating an account. Follow Linda on her Facebook Page or on Instagram for updates that may not be shared on the blog.
Thanks so much for stopping by the blog today to see the Stenciled Stamped Handmade Envelope Tutorial.
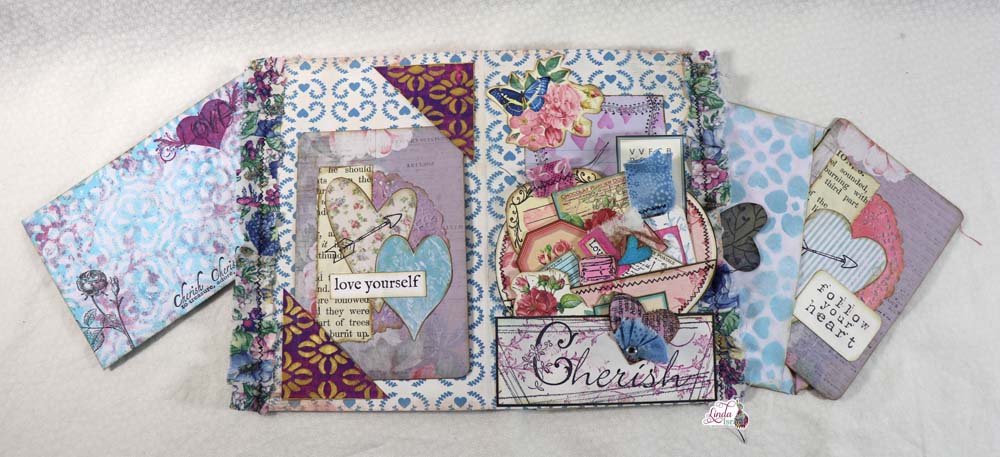

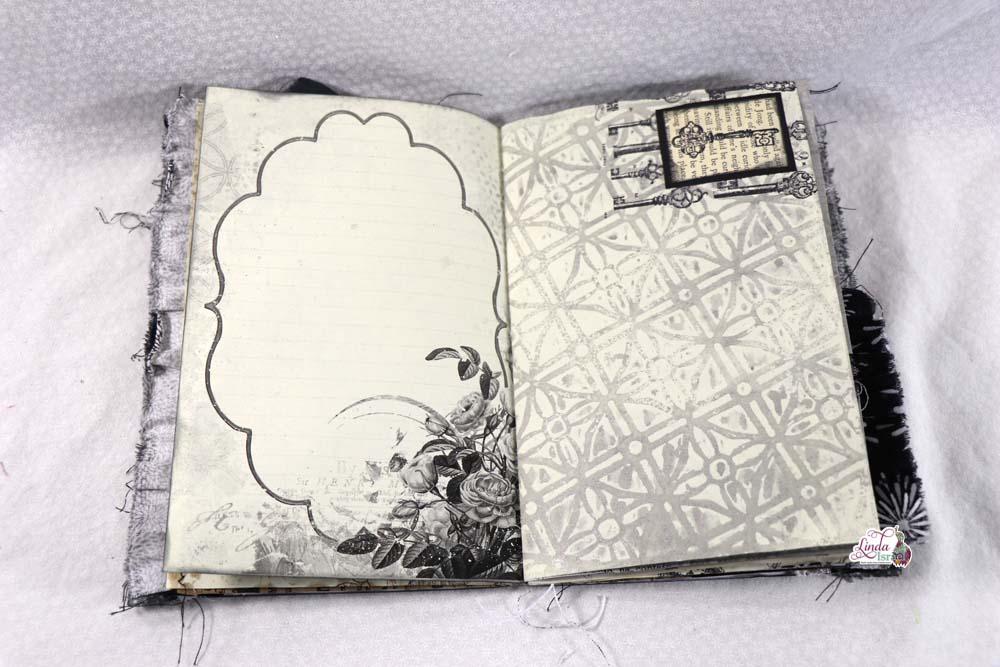
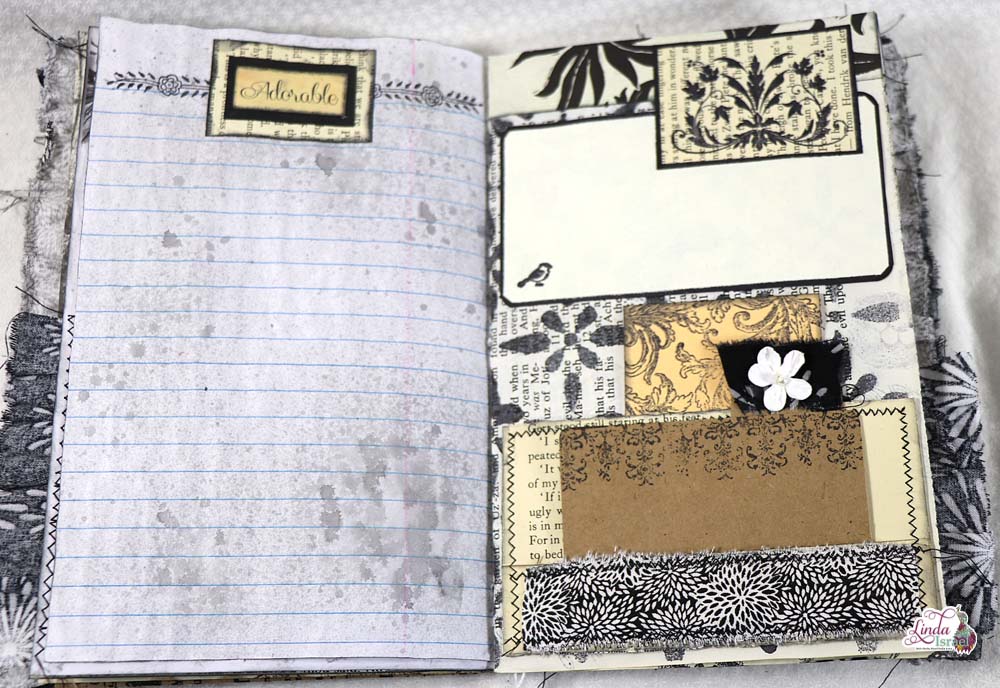
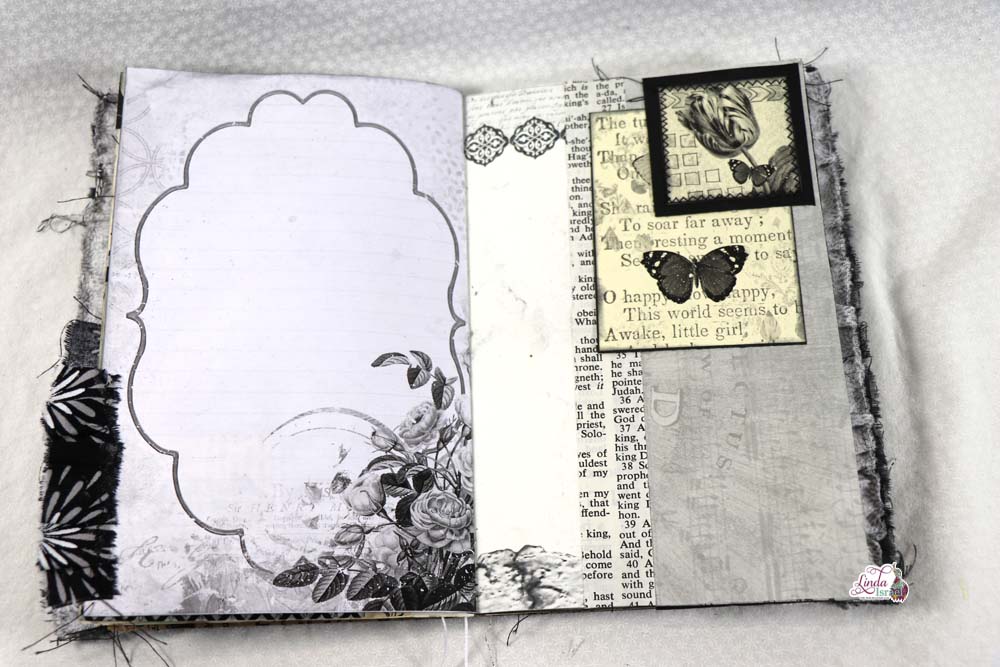
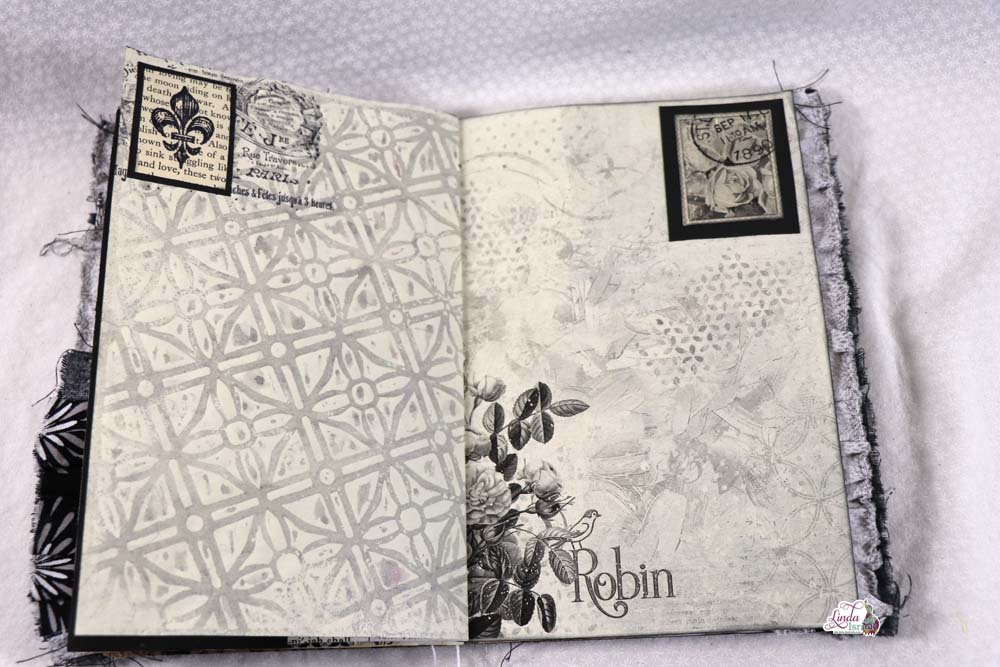
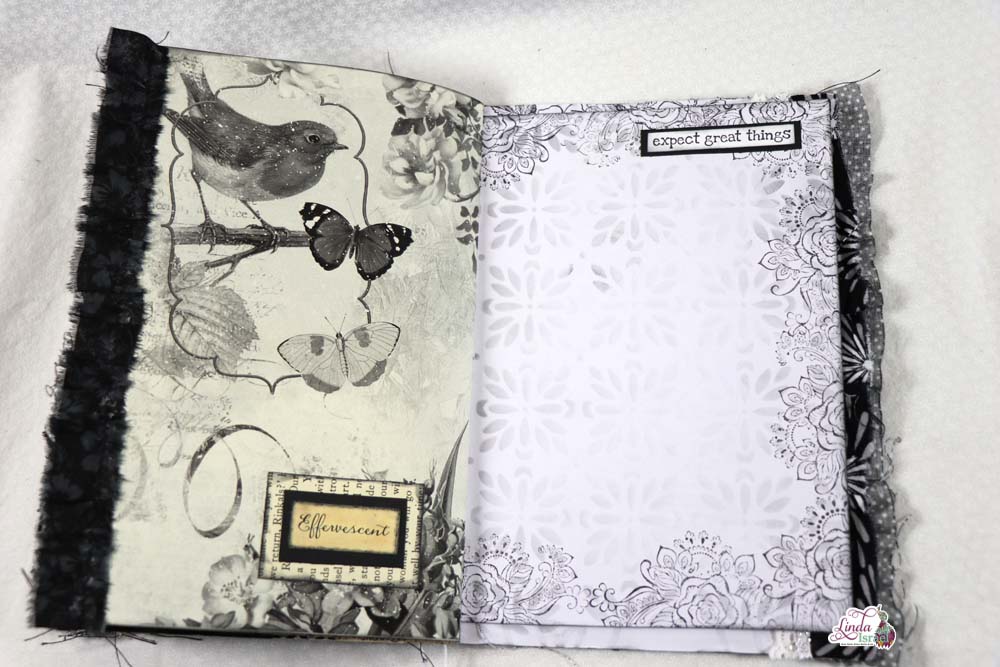
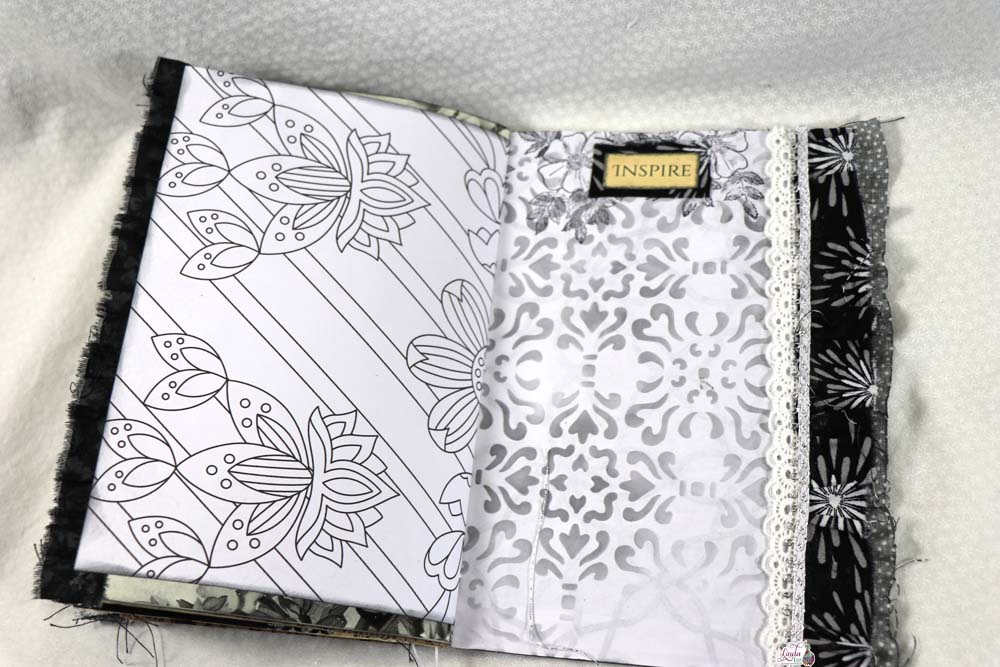
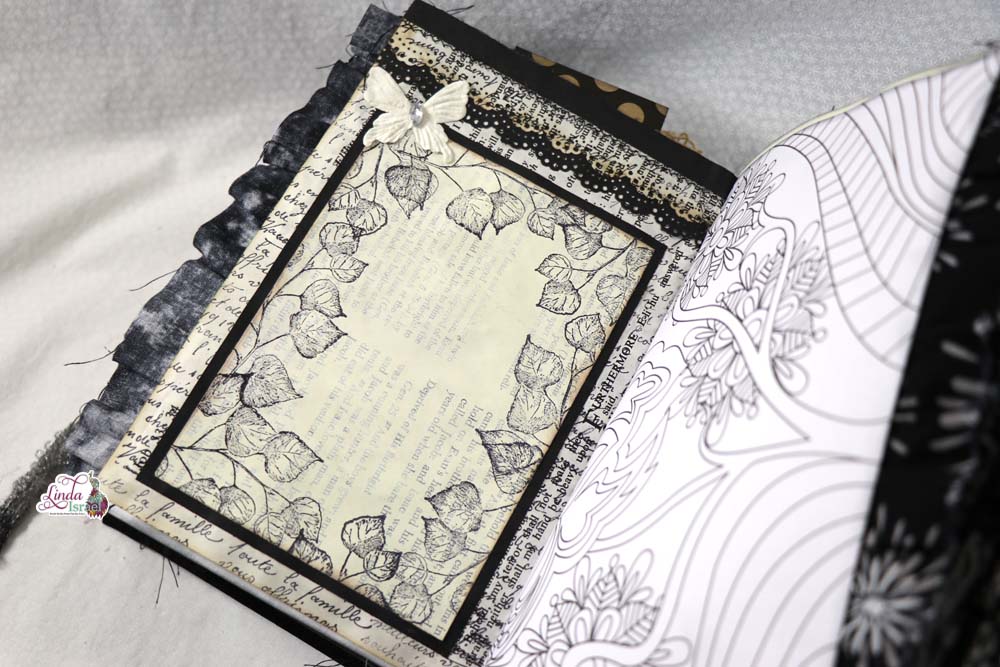
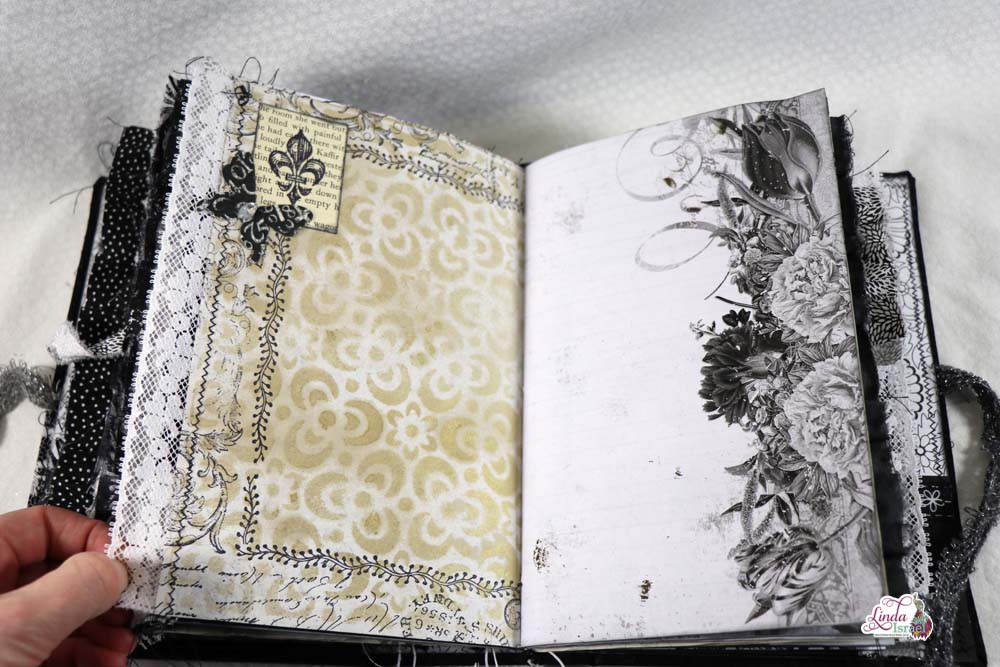
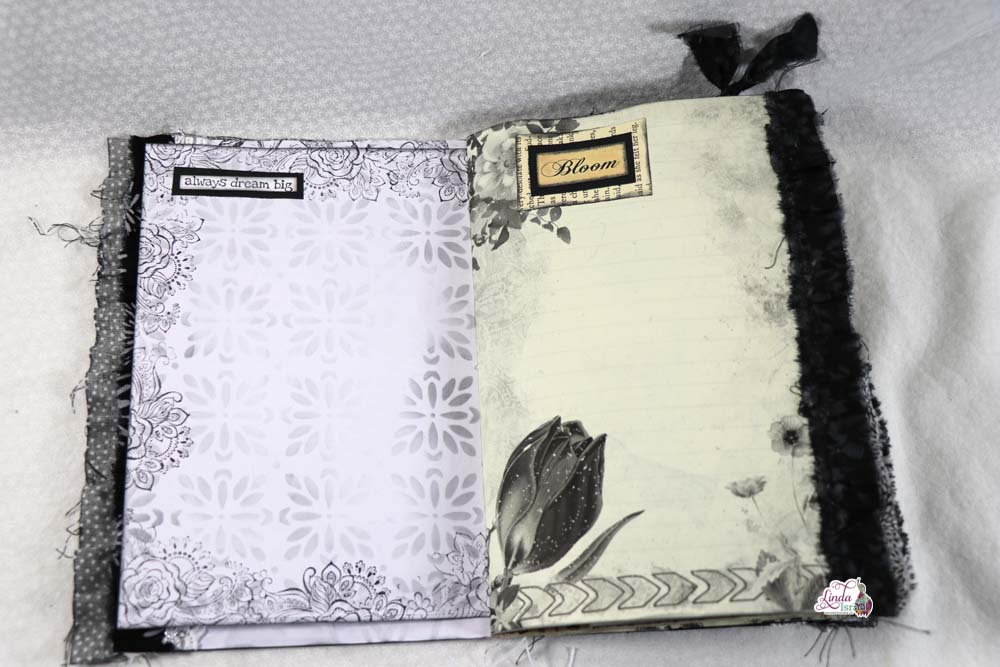
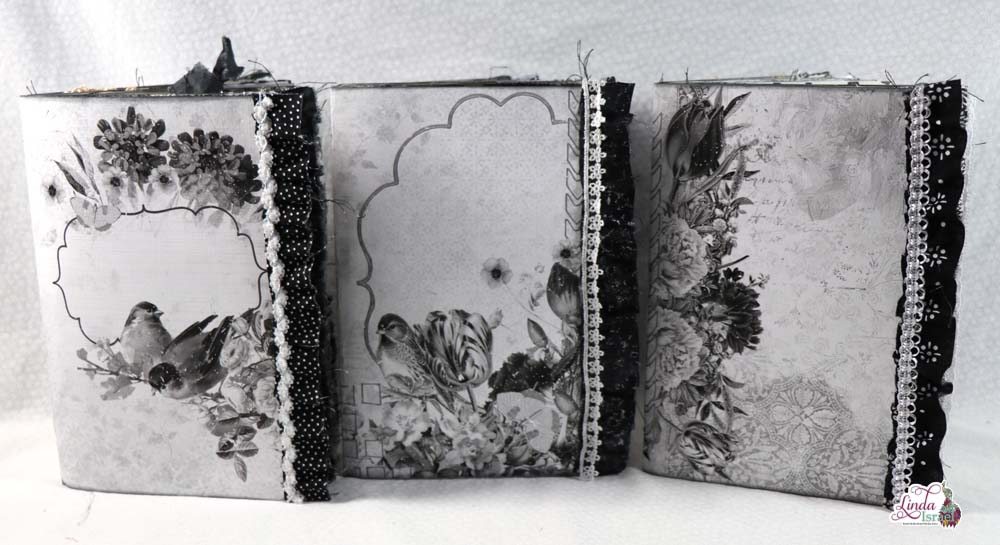 Preparing to create this monochrome journal, then deciding which digitals looked good when printing in black and white takes a lot of time.
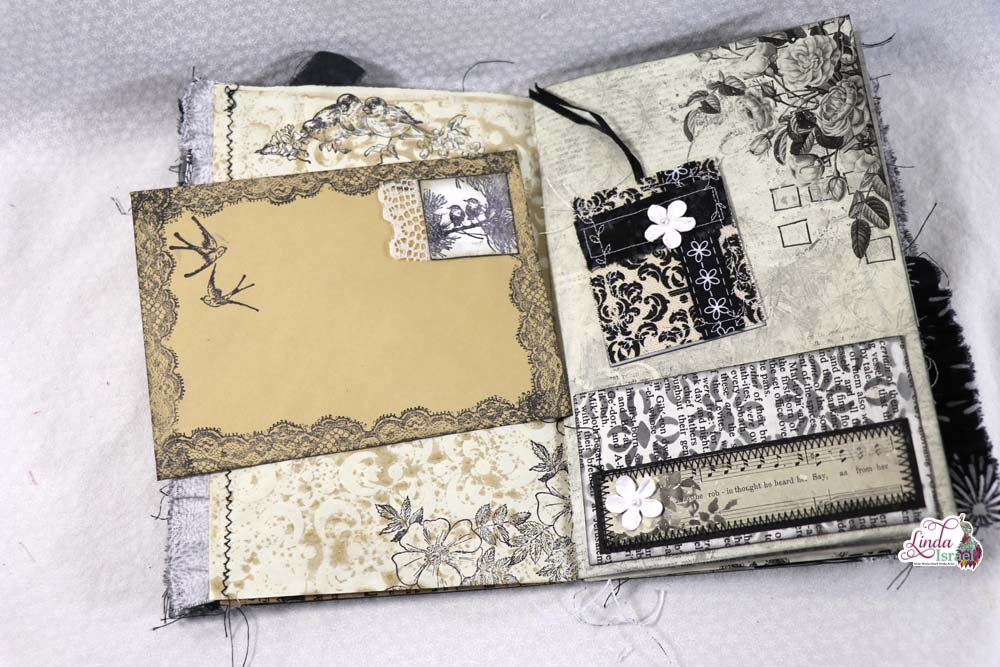
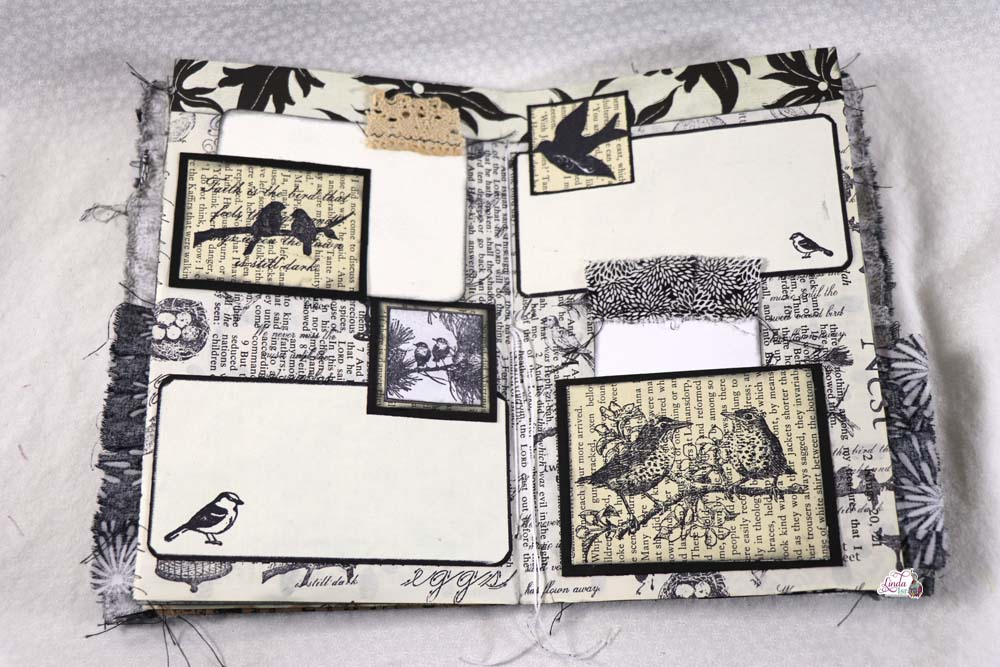
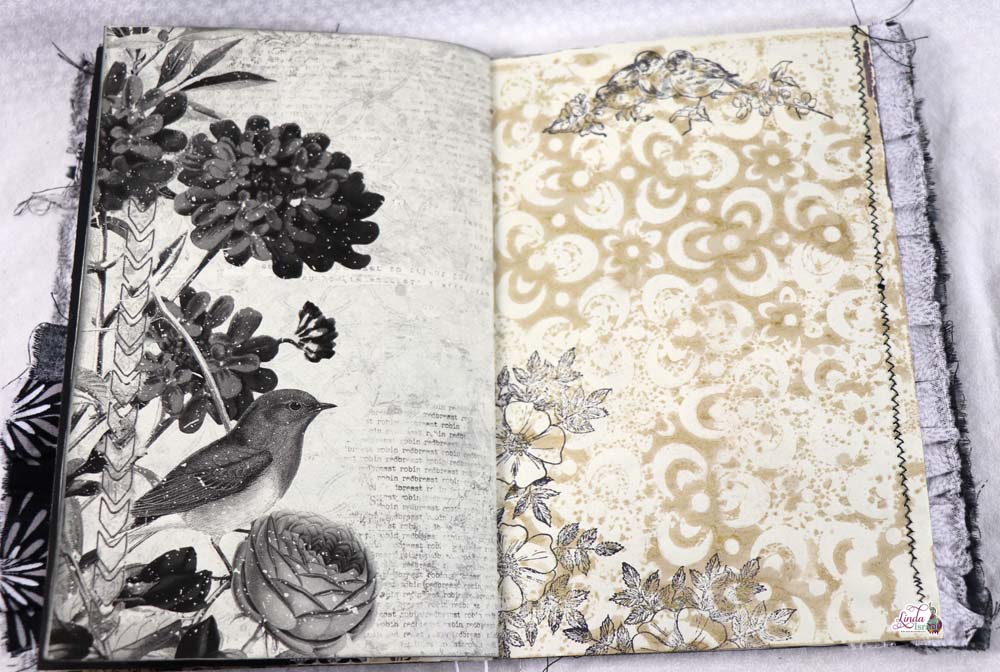
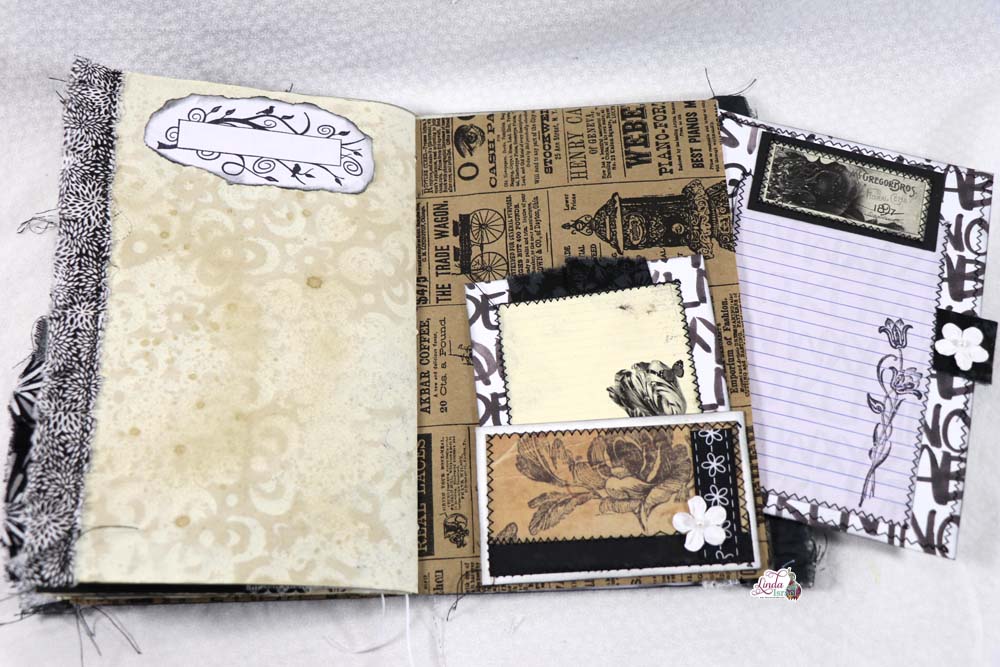
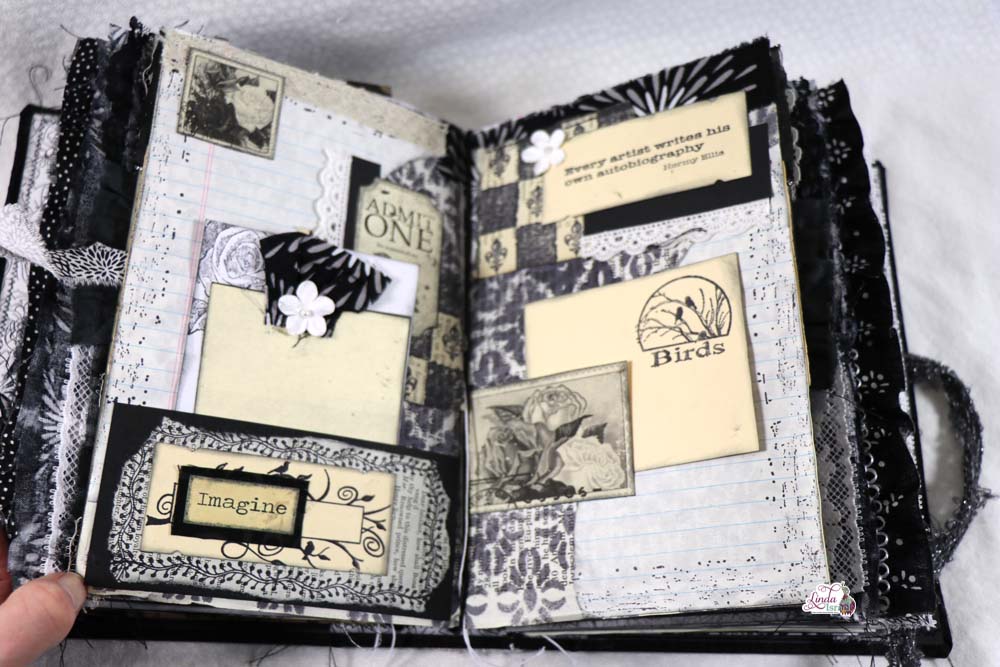
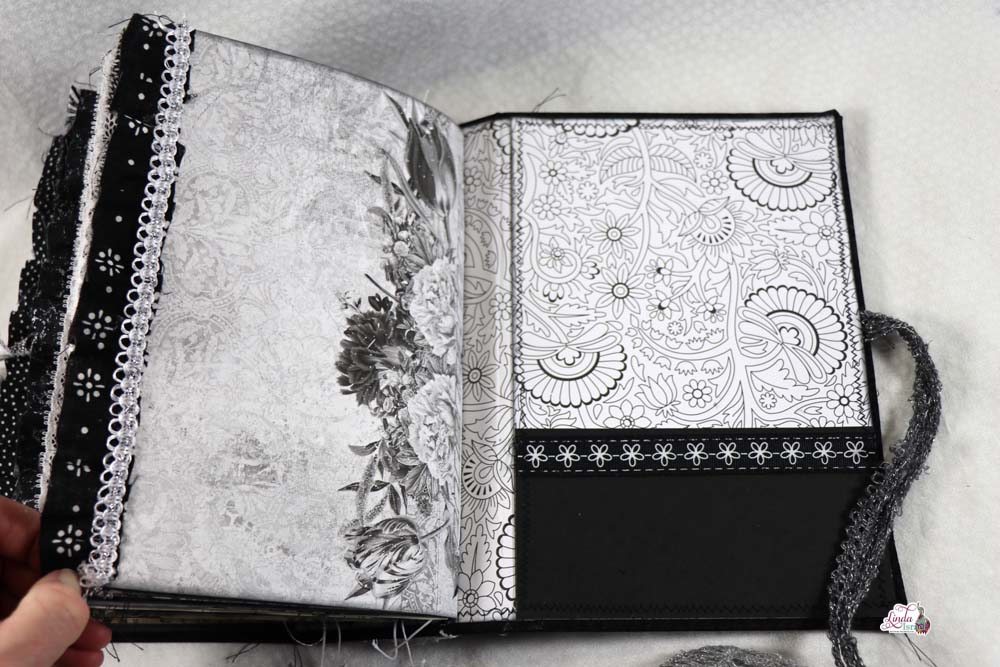
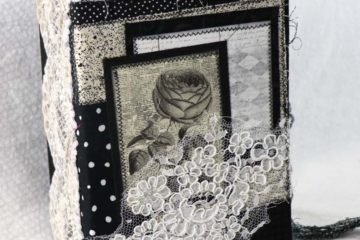
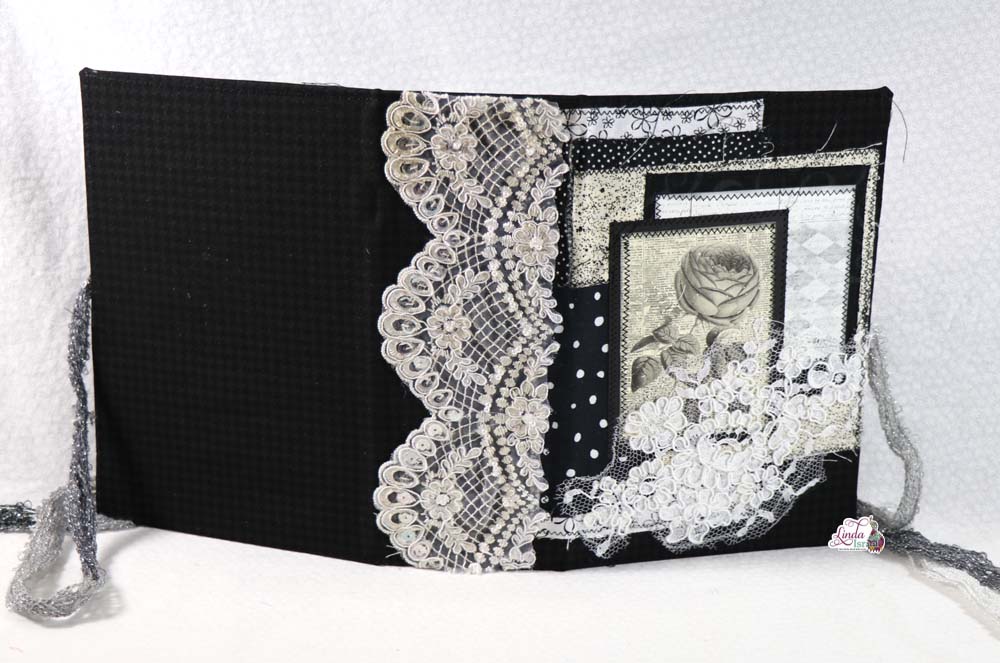
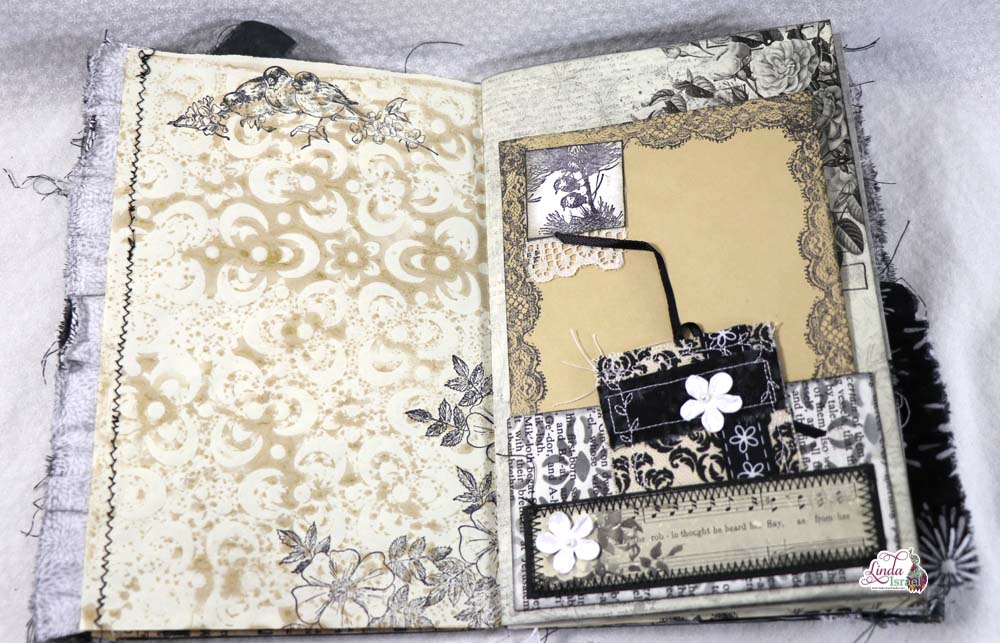 Altering an envelope can be done easily with rubber stamps! One of the stamps from the Lace Duo was stamped around the edge. On a scrap of white paper the little birds were stamped and a real piece of lace was attached.