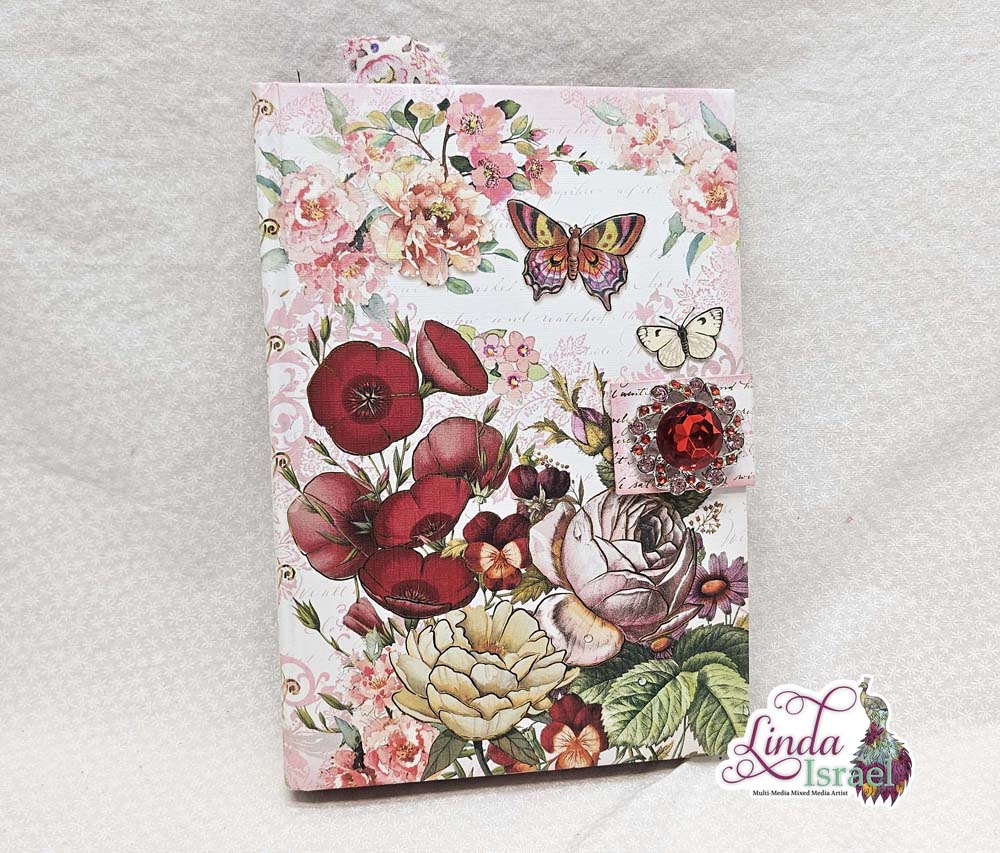
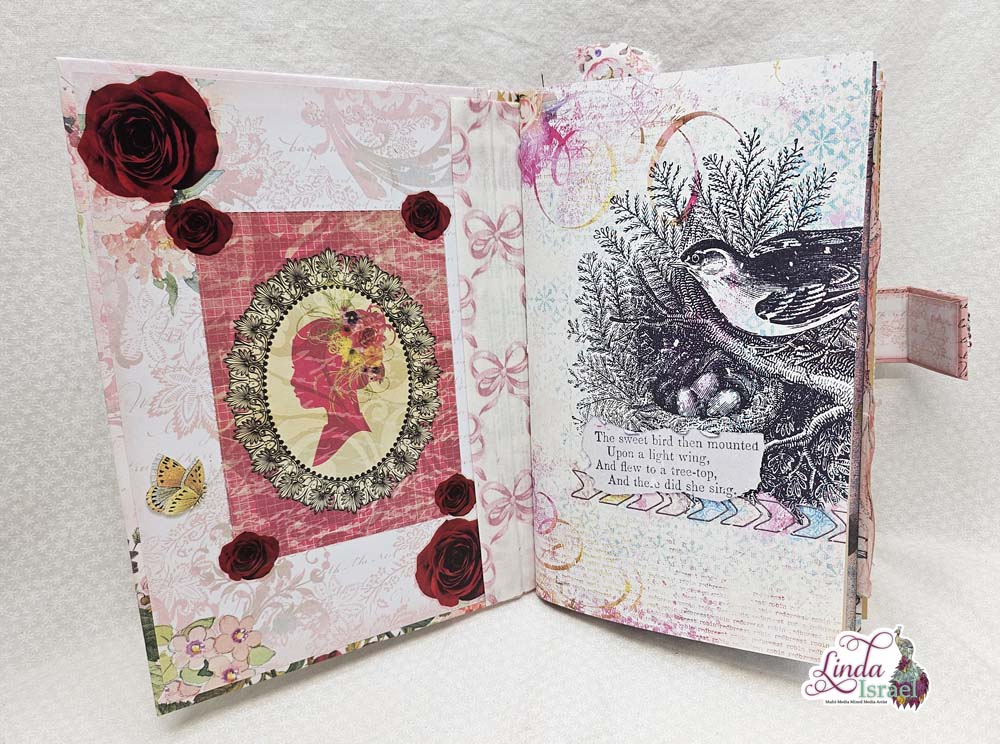
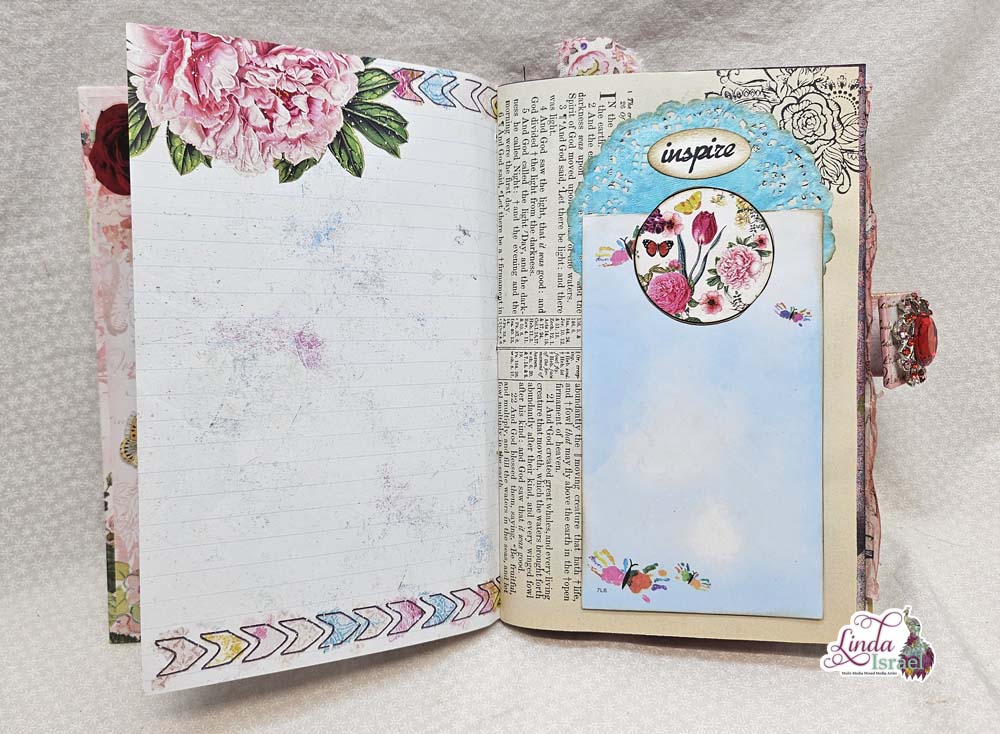
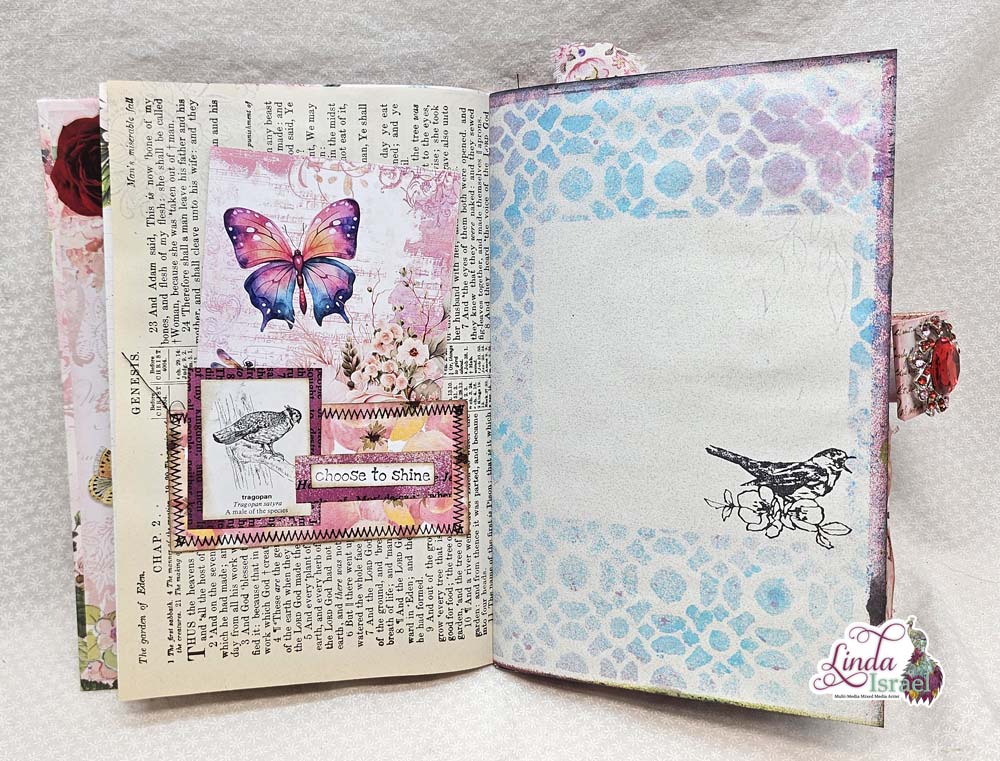
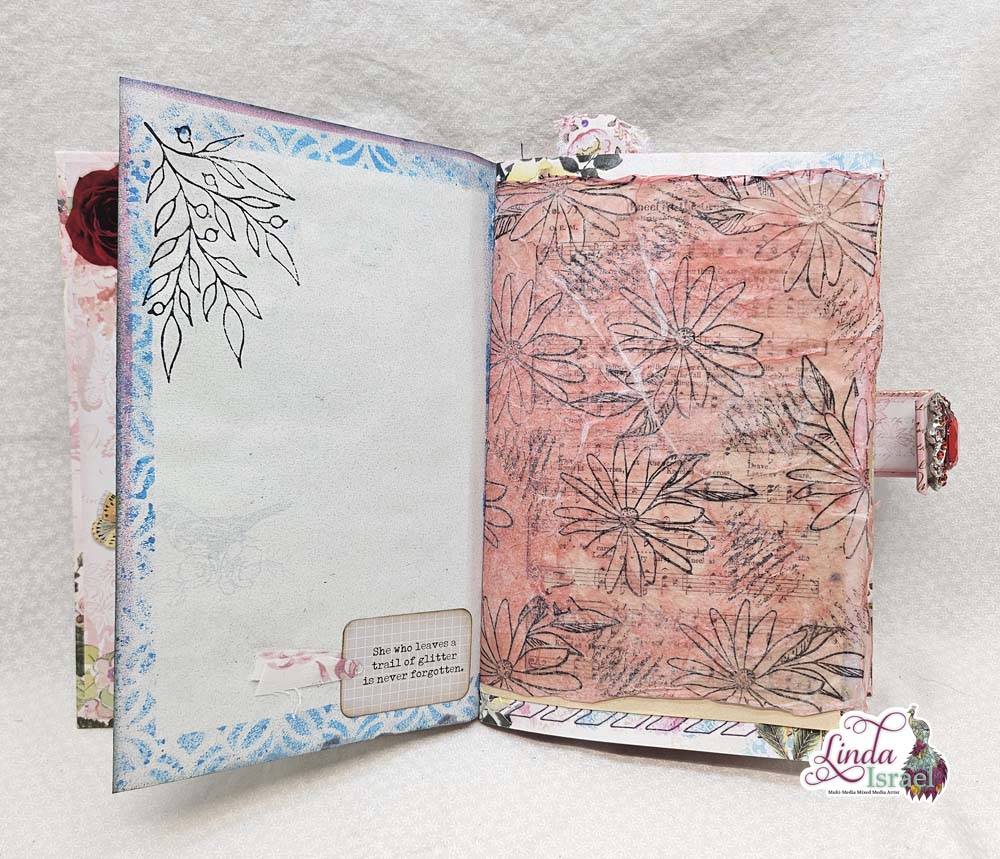
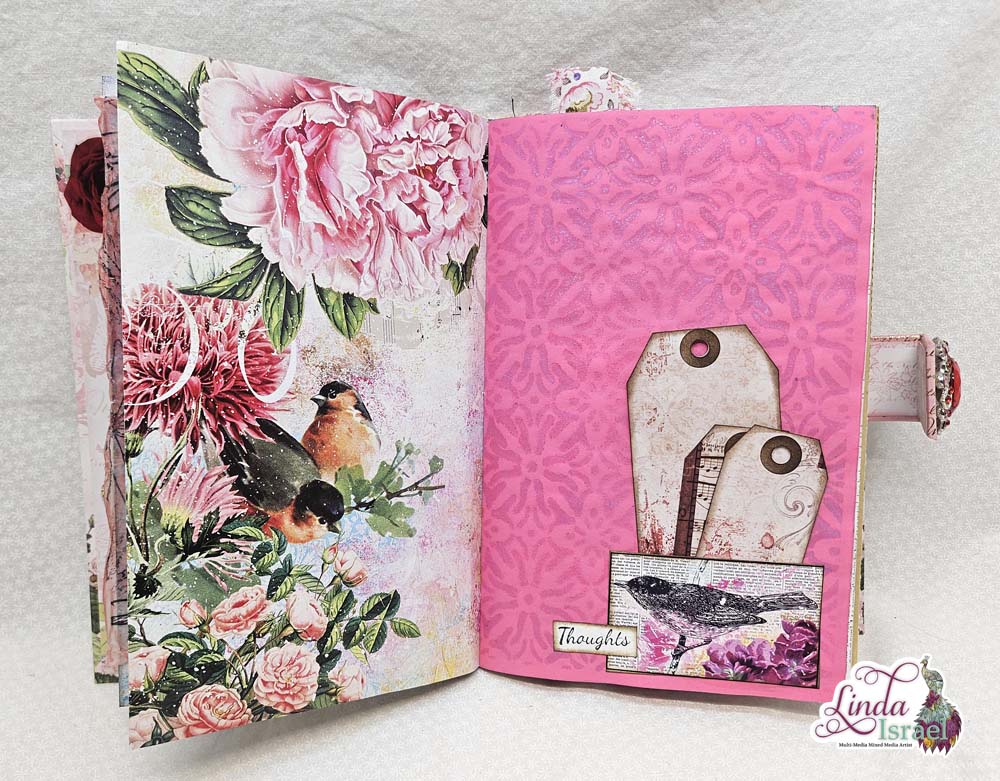
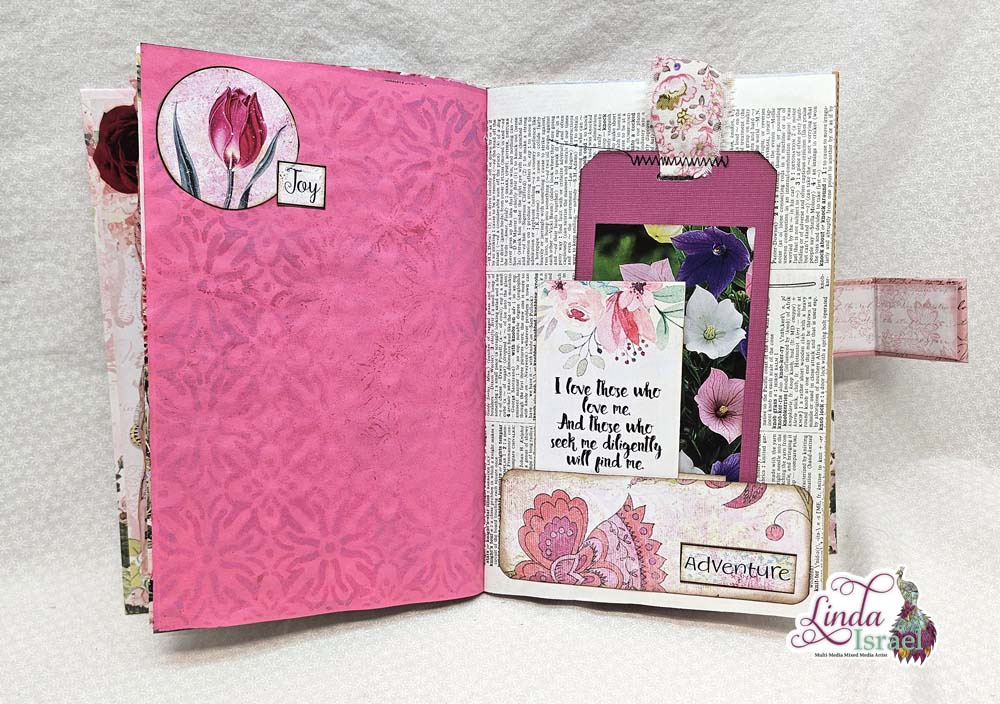
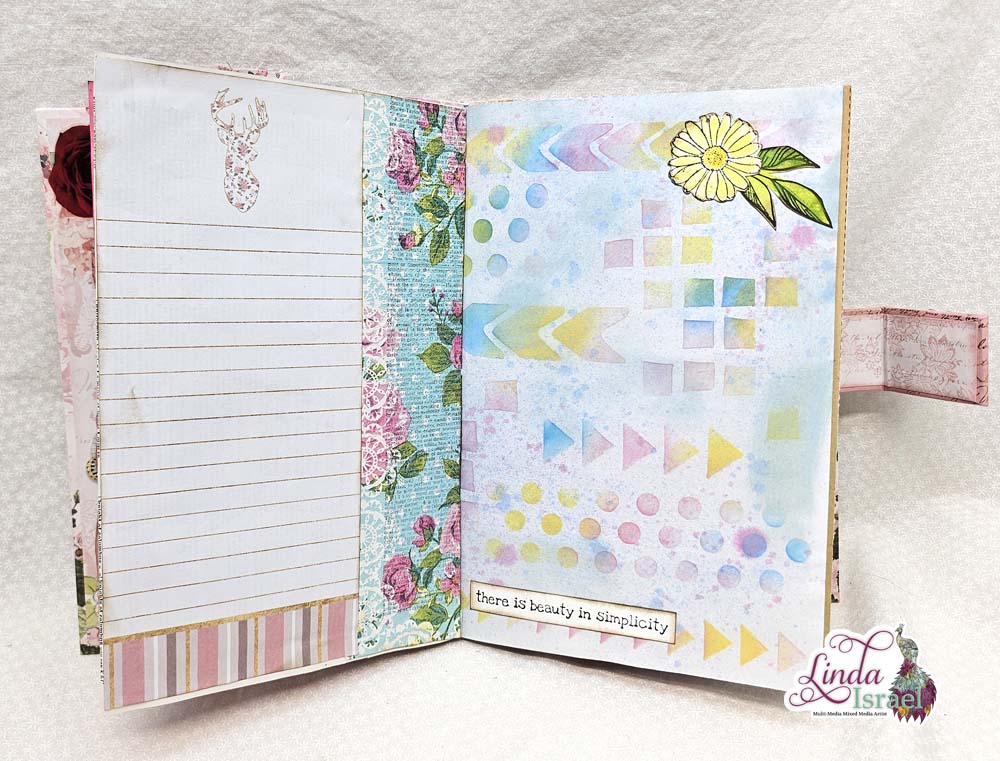
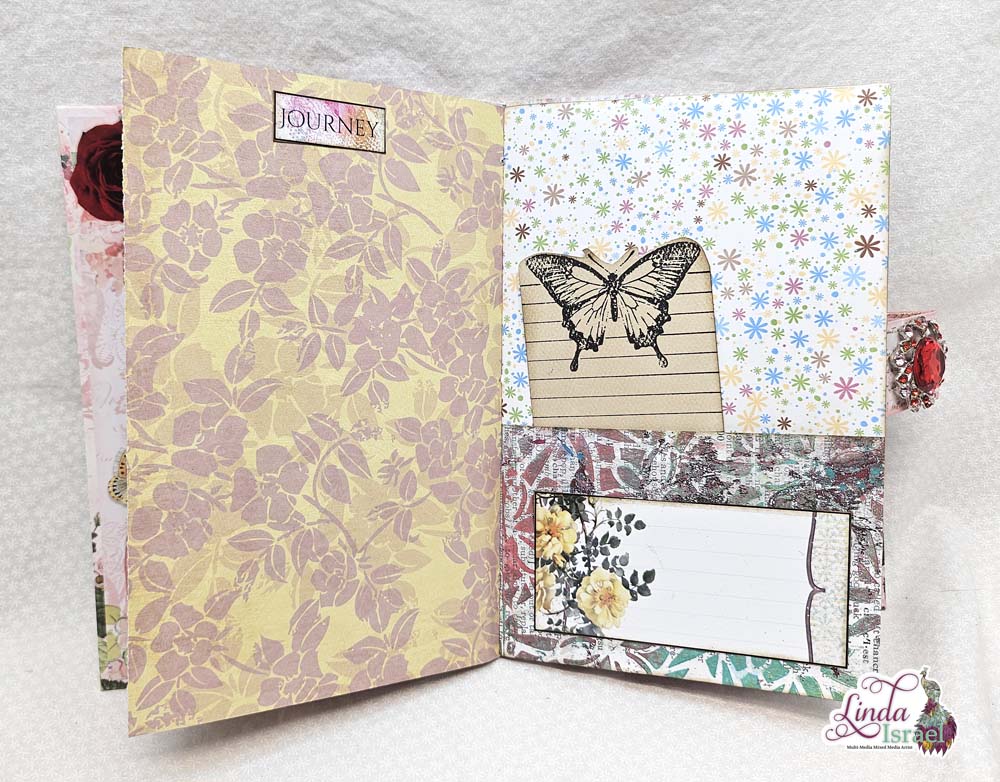
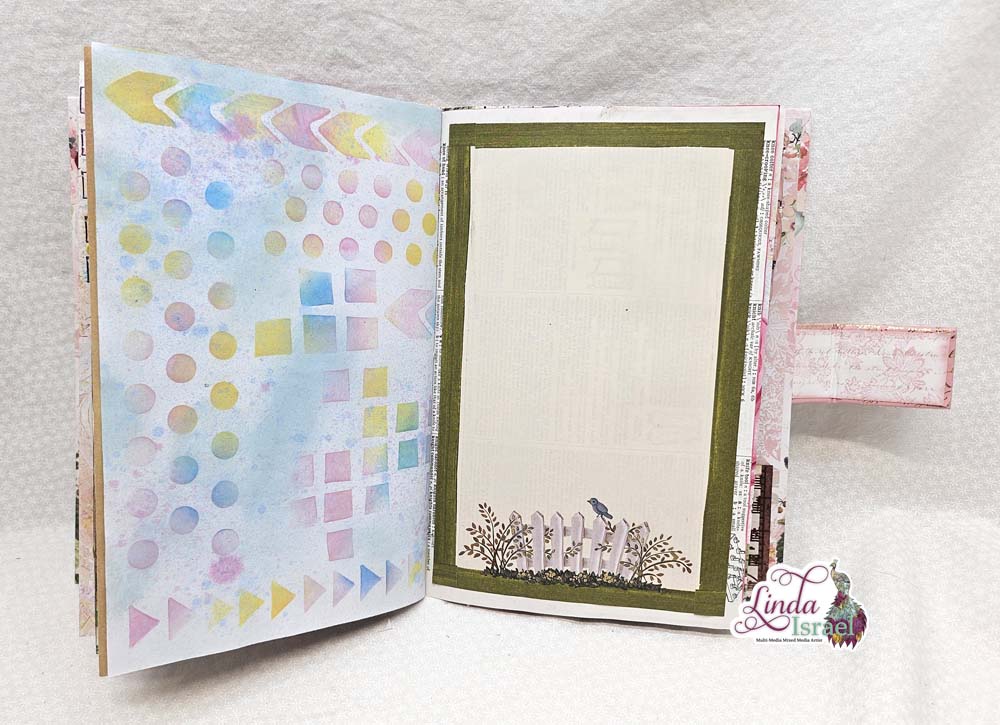
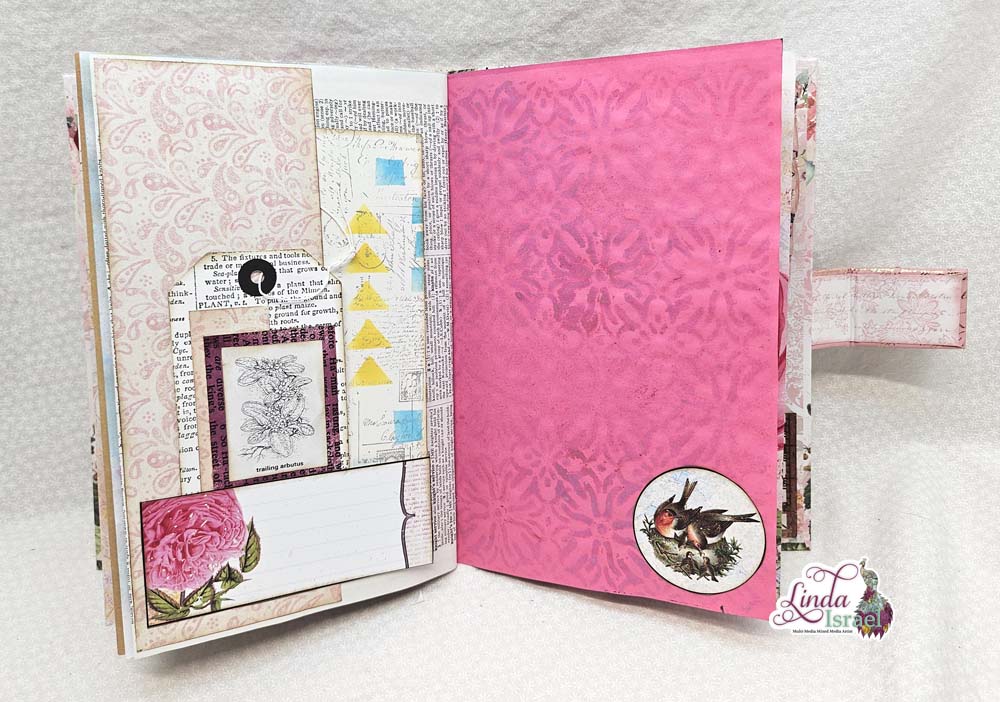
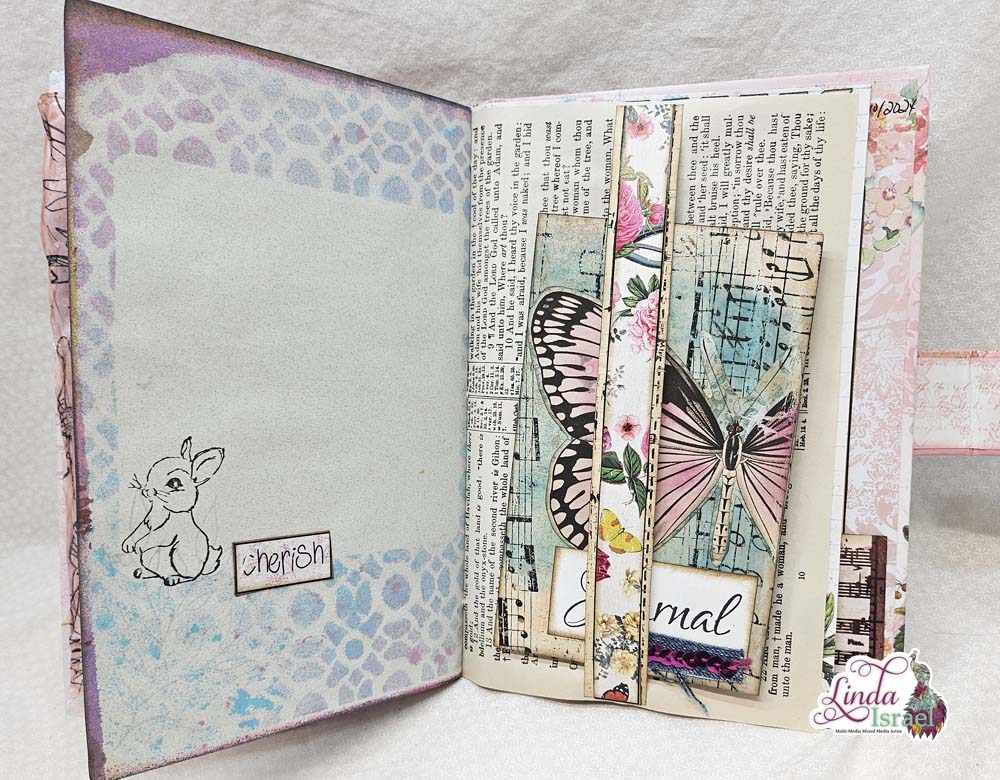
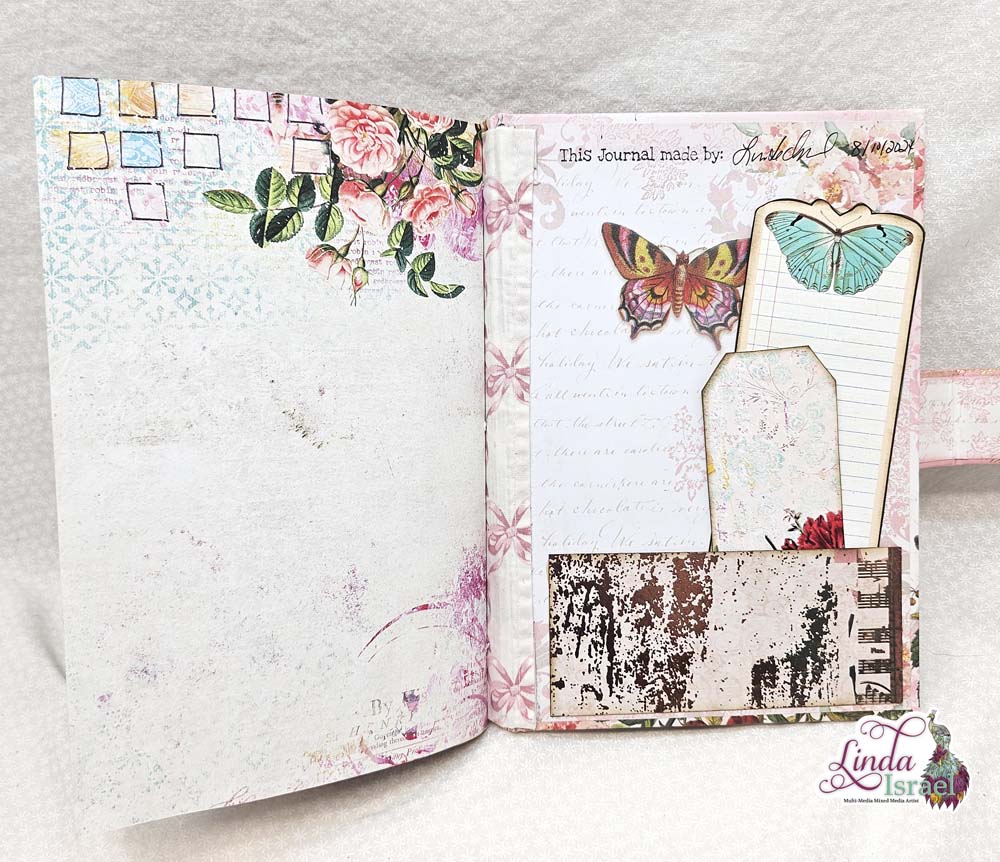
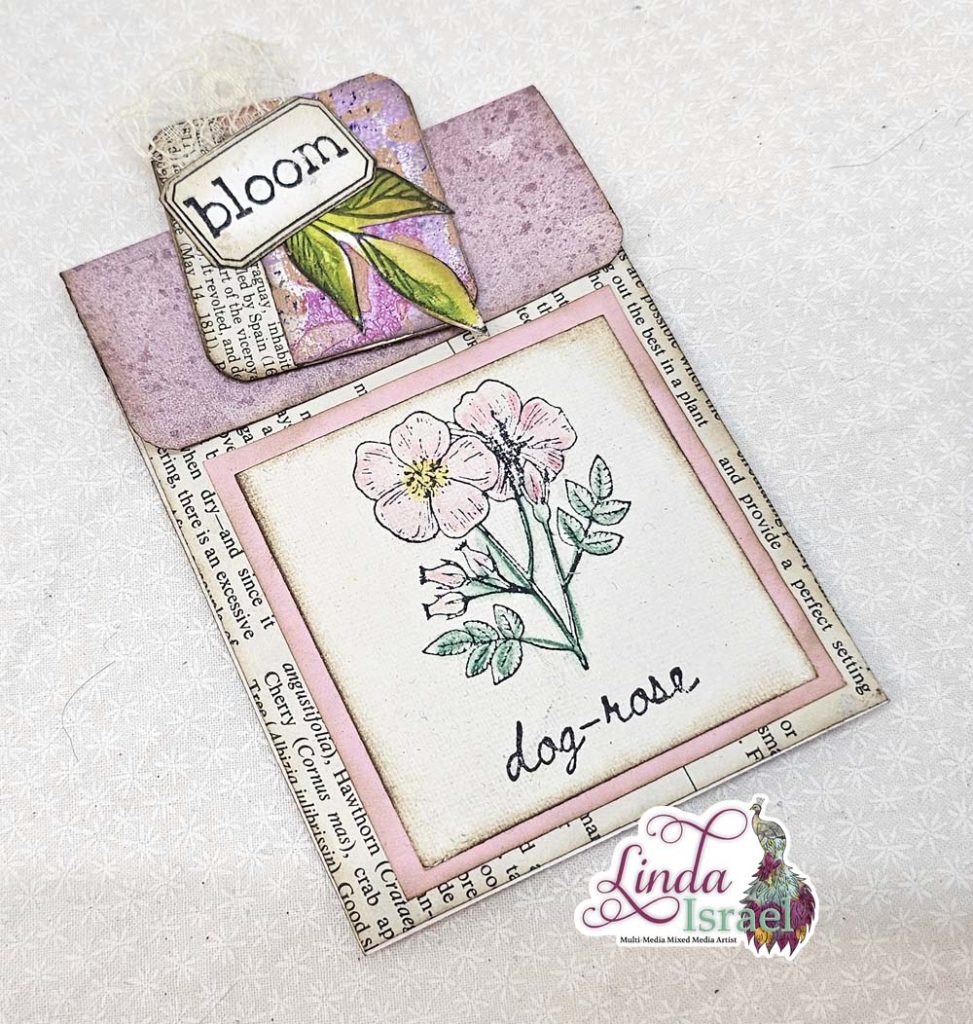
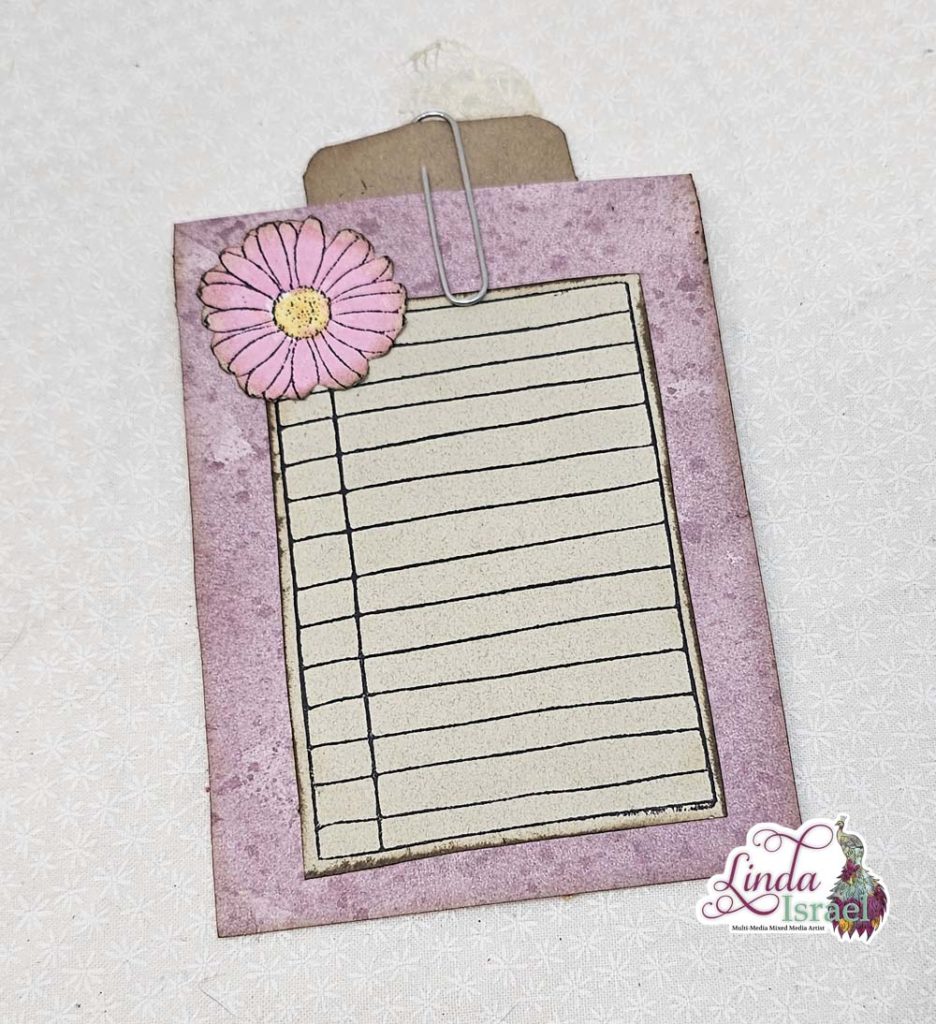
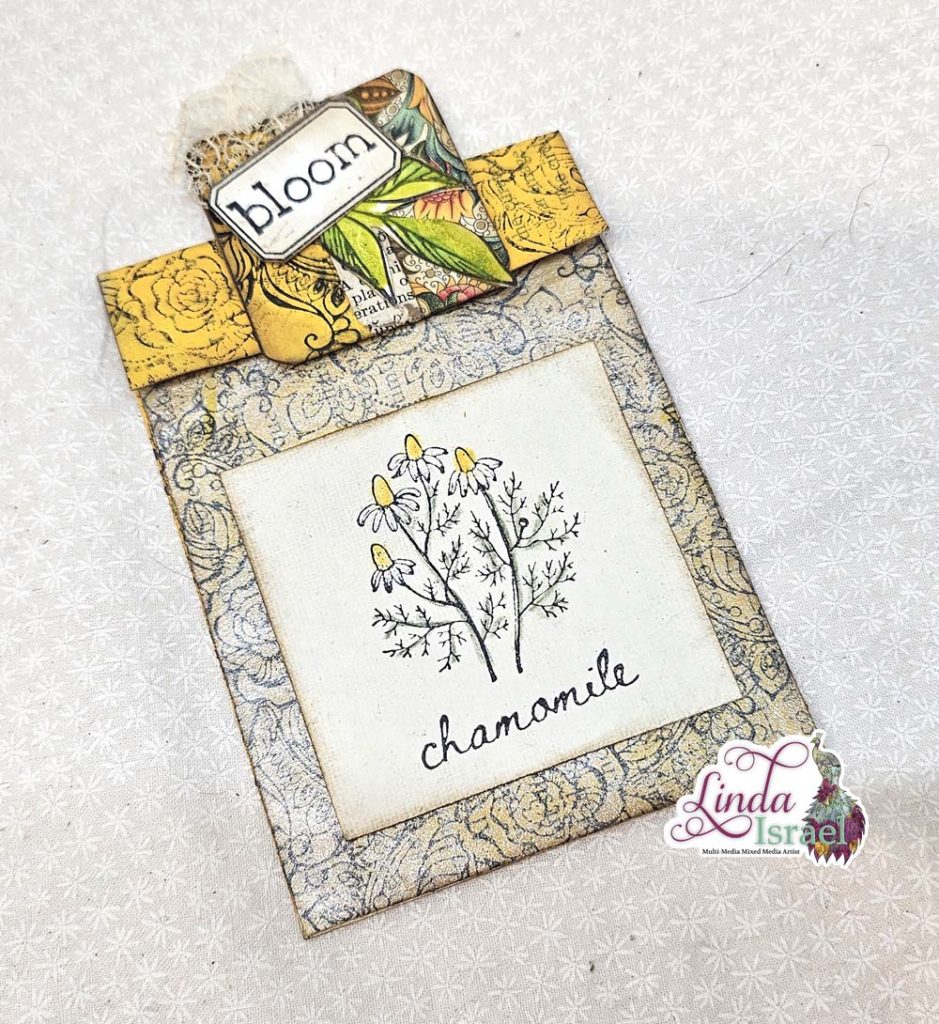
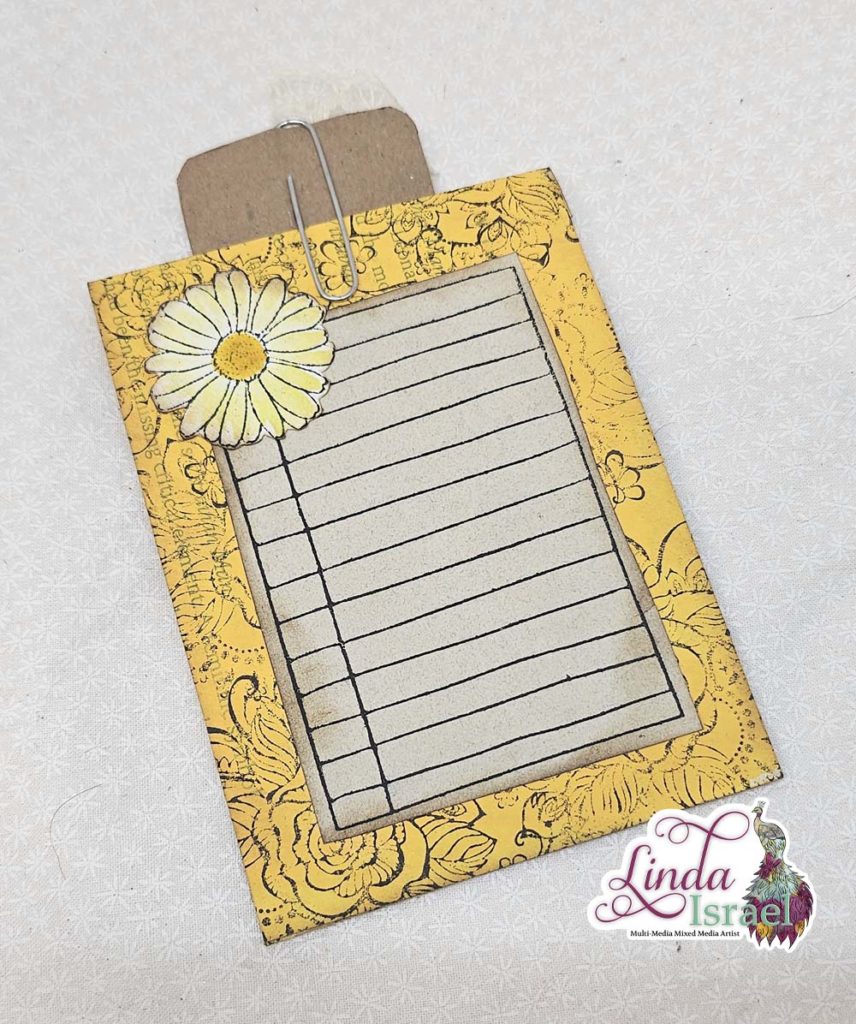
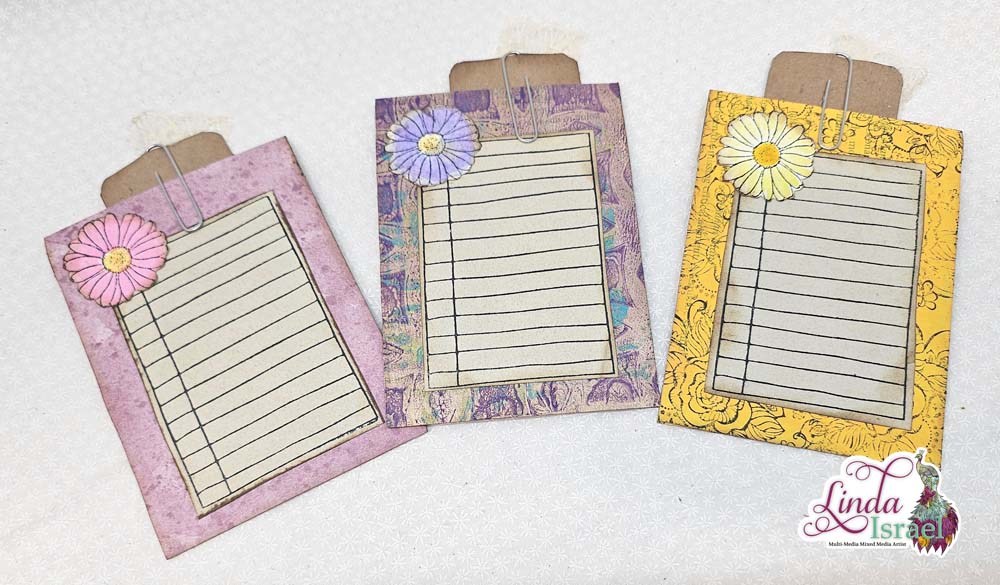
Super easy Tri Fold Folio Tutorial for you today. This project is a great way to use scrapbook papers, franken pages and digital prints. Create a few of these folios to give as gifts or add to a junk journal.
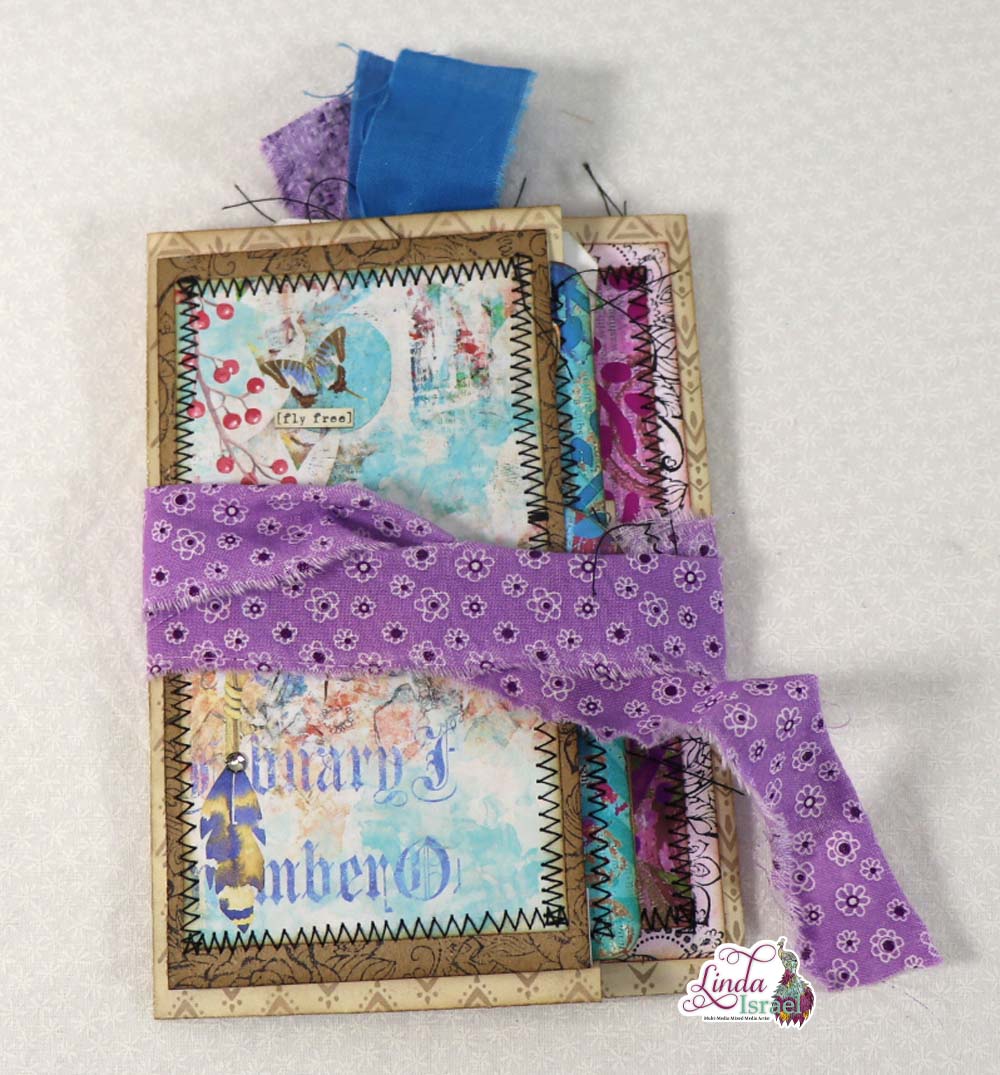
Tri Fold Folio Tutorial Video.
Supplies used for the Tri Fold Folio Tutorial.
- Wild and Free Digital Collection
- Scoring Tool
- Distress Ink, Walnut Stain
- Blending Tool
- Henna Rose Stamp
- Black Archival Ink
- Kraft Cardstock
- Aleene’s Tacky Glue
- 1.5 inch Circle Punch
- Wild 2 Gel Print Digital Download Images
- Sewing Machine
- 1 inch strips of scrap paper
- 3/16 hole punch
- Distress Oxide Seedless Preserves
- Blending Brush https://amzn.to/2ZYiIxO
- Never stop exploring stamp set
- Paper Scraps
- Fabric strips
- Canning Jar Large
- Free Spirit QT
- Dragonfly 2 Stamp
- Bohemian words QT
- Library Card
- ID Slot Punch
- Swirly Note Card Stamp
- Tear off Note paper
- Mushrooms Stamp
- Cow Skull Stamp
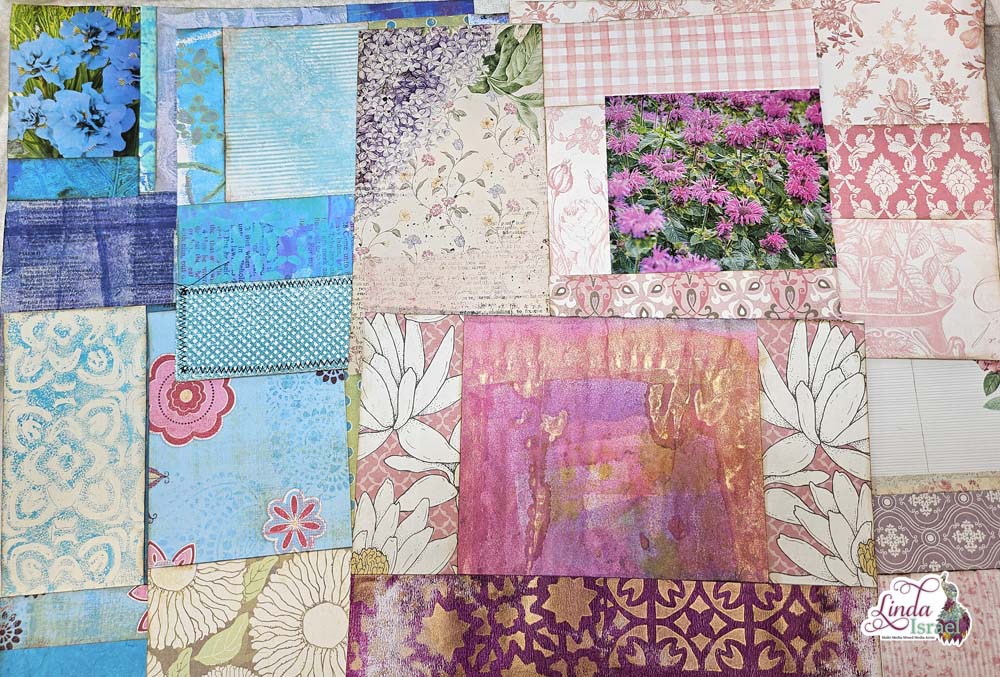
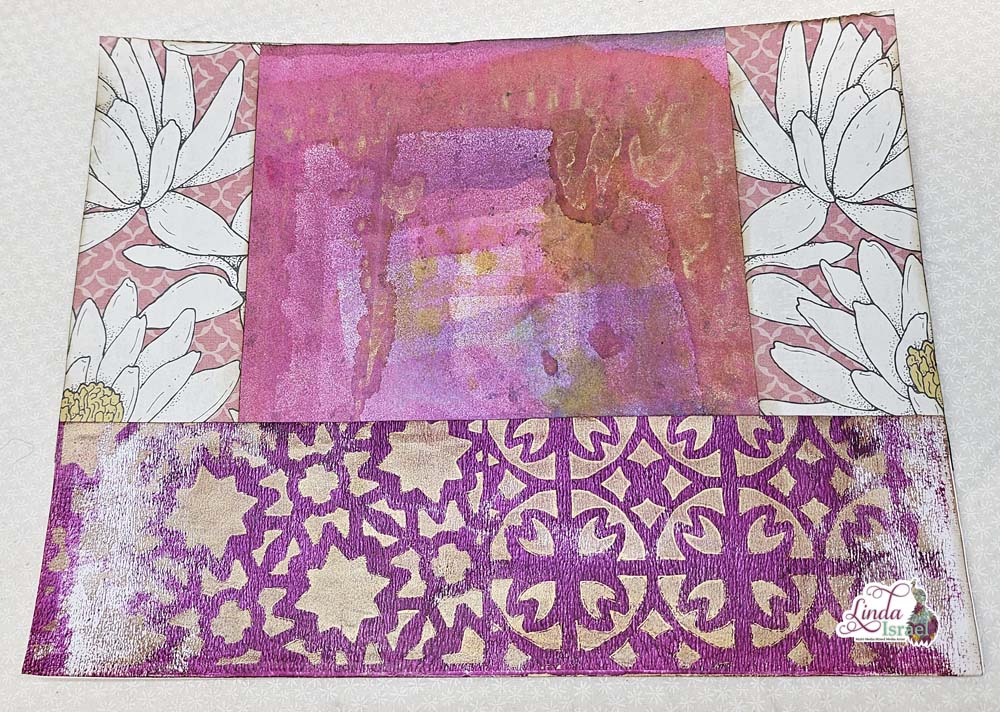
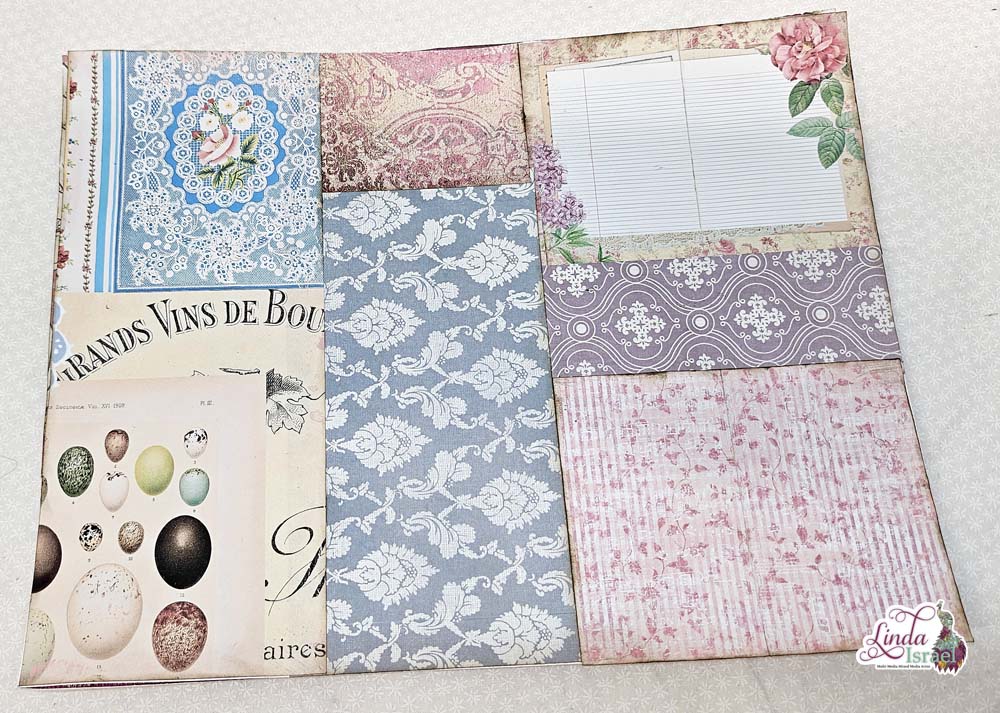
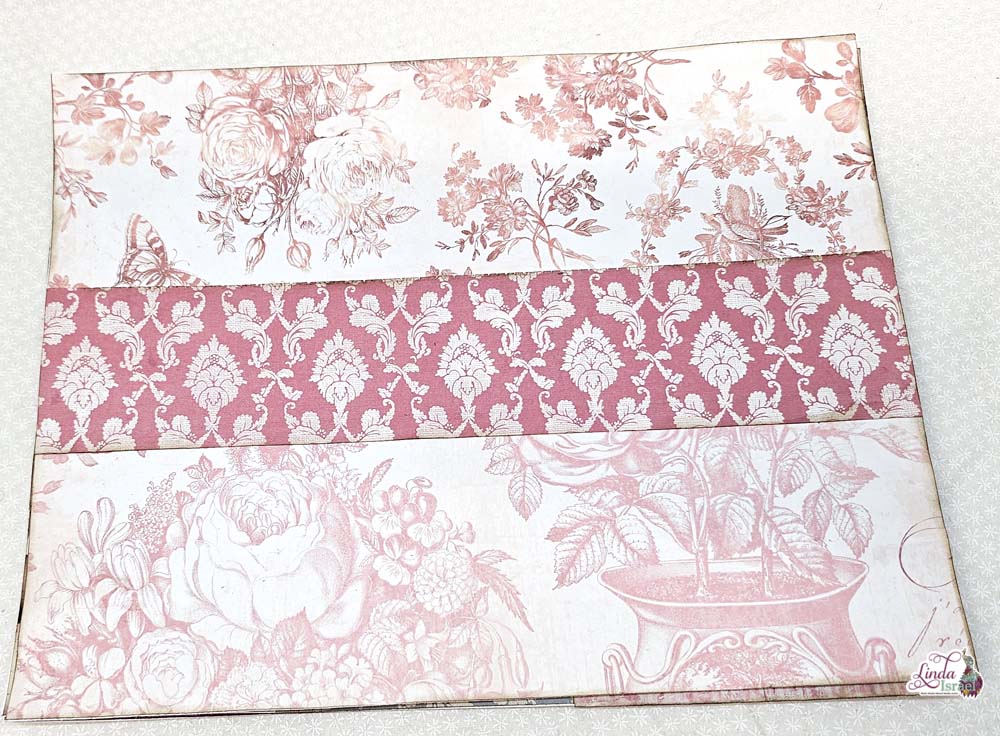
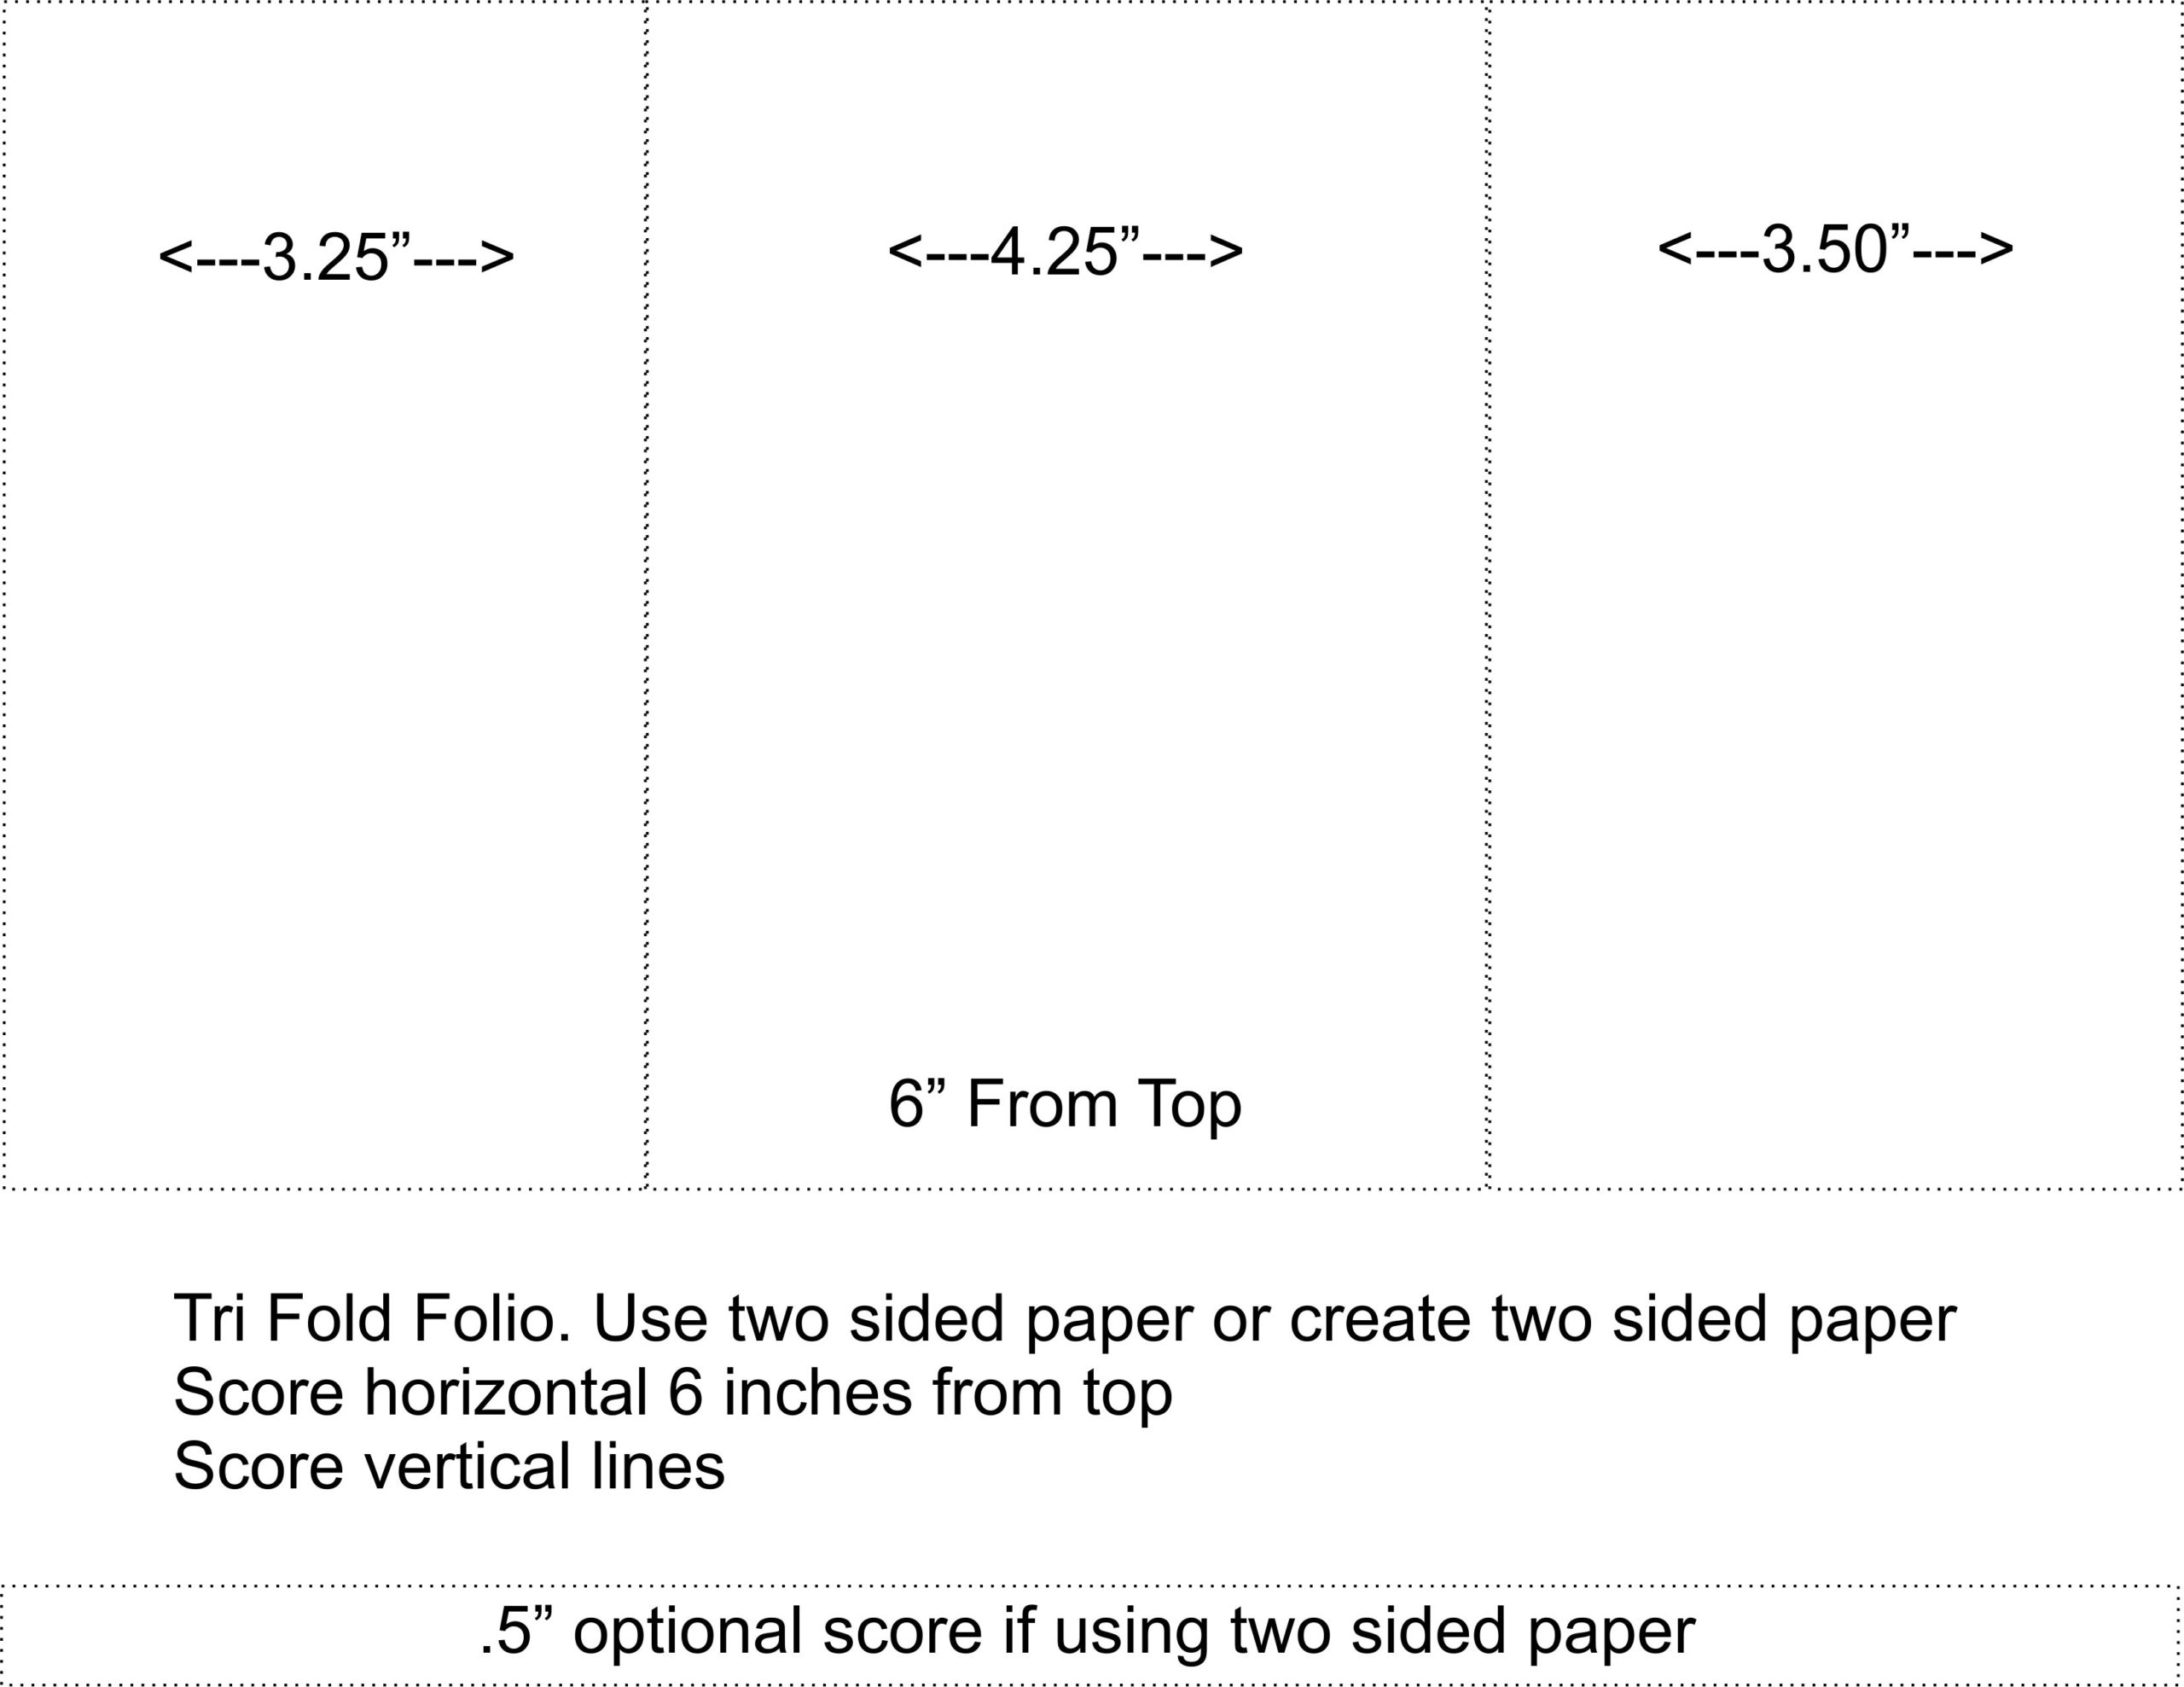
Below is a diagram showing how to score an 8.5 x 11 sheet of double sided paper. Remember you can create double sided papers by gluing two back to back, stenciling, stamping and collaging on the back. Whatever you want, do what you love! I used a few pages from the Wild and Free Collection for my foundation.
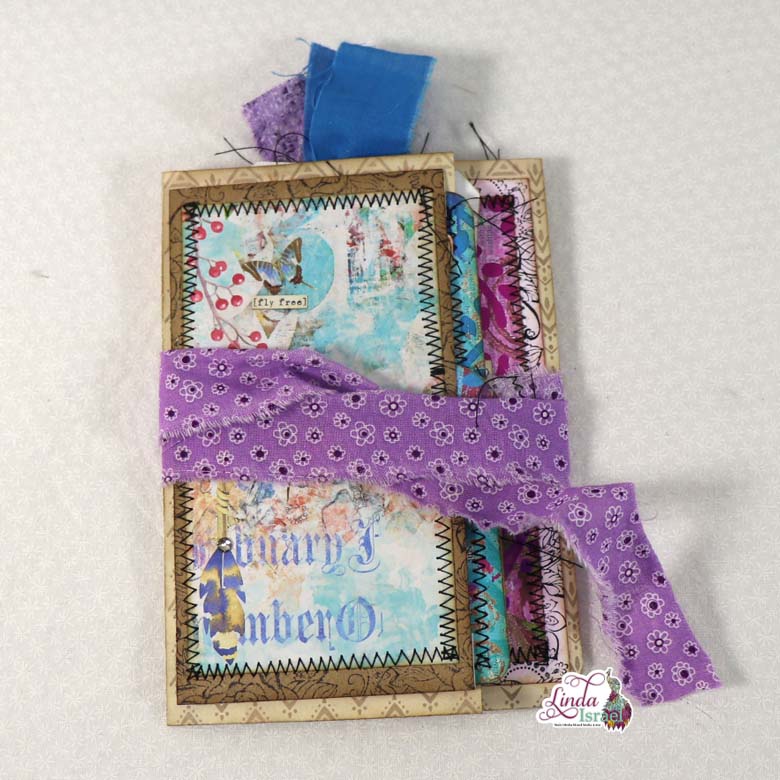
Included in this tutorial I’ll show ideas on journal cards and tags that can be added to the folio or journals. Because, it is fun to create your own ephemera to add to junk journals.
Using the Tri Fold Folio Diagram score and fold a letter sized paper (8.5 s 11 inches) Remember this can be scrapbook paper, digital paper, collaged, stamped, stenciled papers or even franken pages.
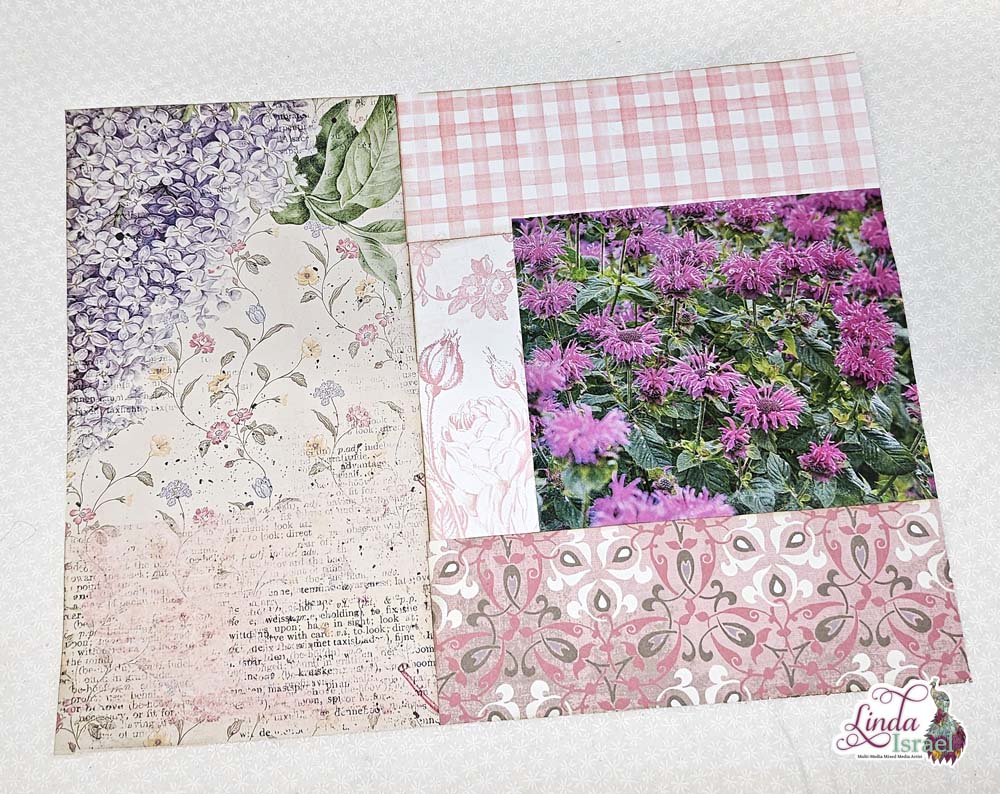
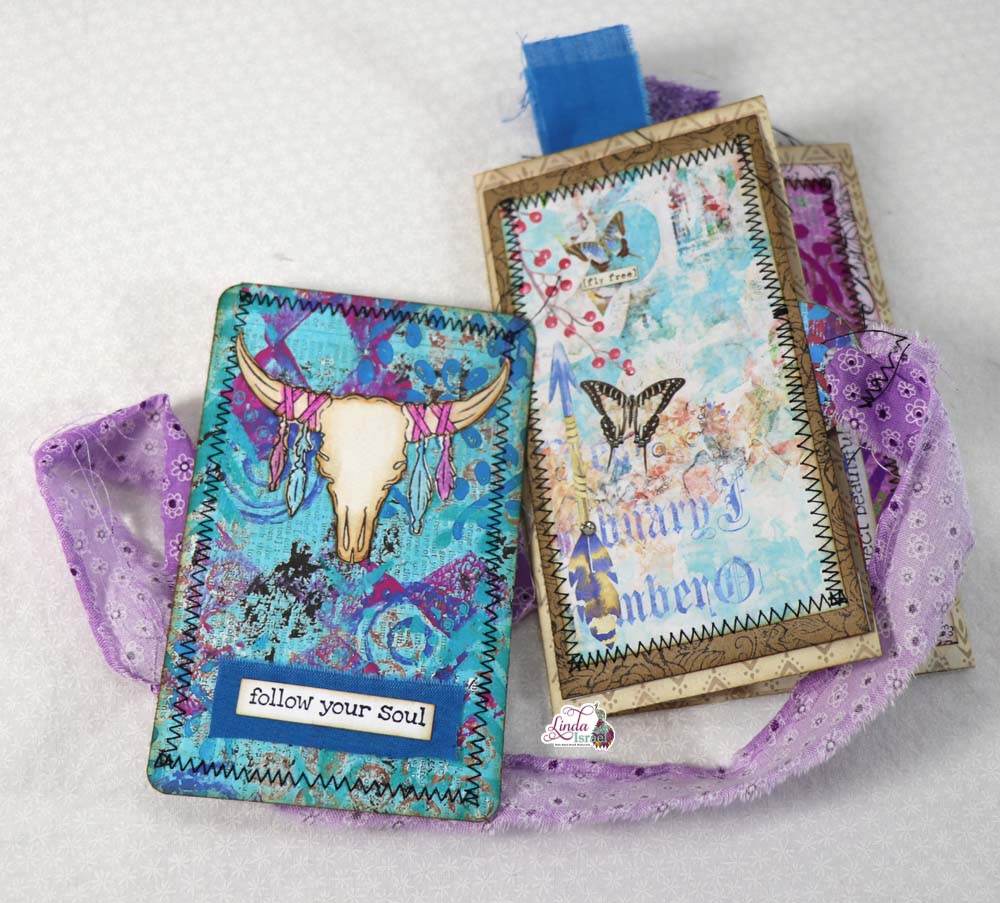
For the front Tri Fold Folio I made a pocket to hold a journal card. Also, this pocket has a tab where the fabric used to wrap the folio is attached. Try printing a digital journal page at 5 x 7 and then cutting it to fit a project.
Having the digital image was a great focal point for the front of the folio. Add stitches as a decorate touch.
The journal card features one of my Wild 2 Gel Print Digital Download. I love how I made one gel print and then was able to alter it digitally to create nine different colorways. On top of the card is the Cow Skull Rubber stamp that I colored with watercolor pencils. However, this could also be colored with regular color pencils, markers or other mediums.
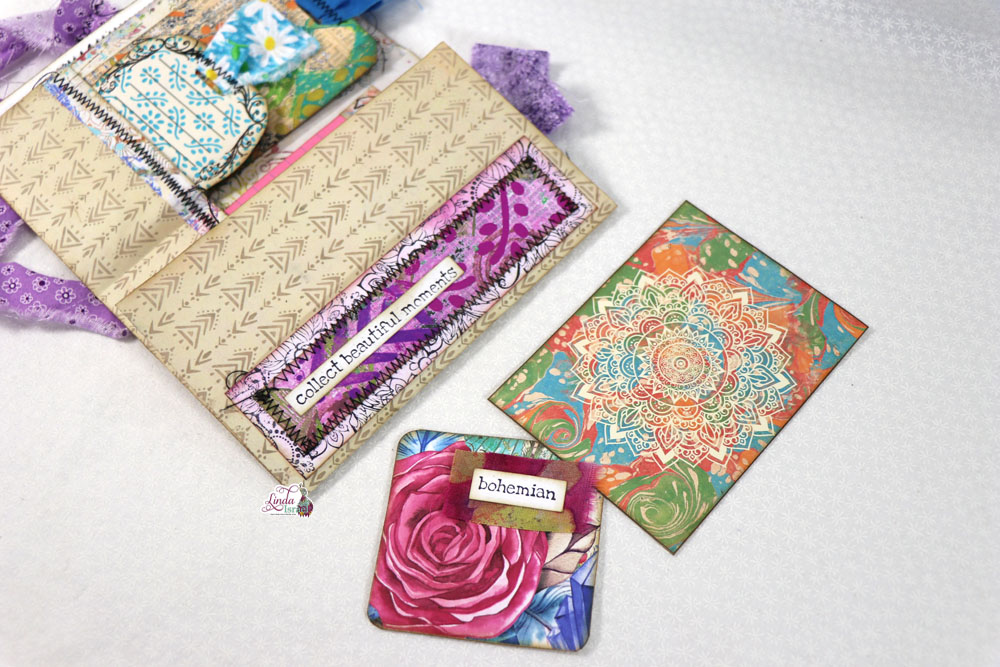
A side pocket was created out of a scrap of white cardstock that was stamped with the Henna Rose Rubber stamp and then lightly brushed with distress oxide Seedless Preserves. On top of the strip is another piece from the Wild 2 Gel Print Digital Download.
Save strips of paper cut off of pages. I love having these strips for words and sentiments. Stamped; collect beautiful moments from the Never stop exploring QT and bohemian from the Bohemian Words QT sets.
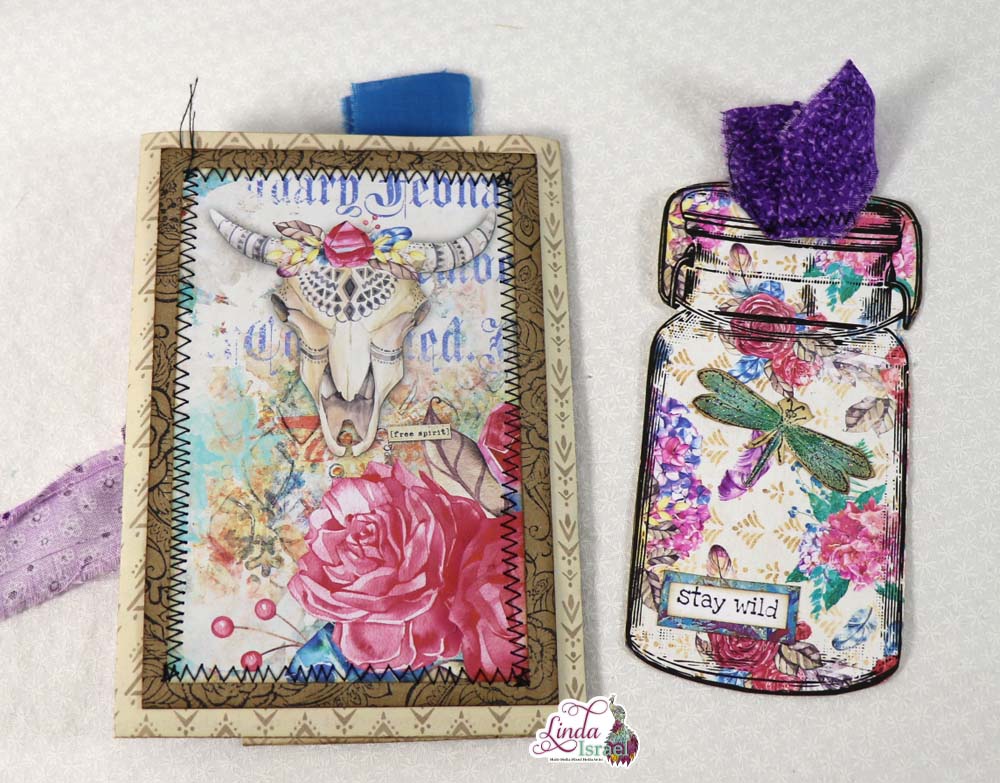
A top loading pocket on the back of the folio adds more color and texture. The Canning Jar Large was stamped on one of the pages from the Wild and Free collection. Print one of the pattern papers on cardstock and then stamp with the canning jar. Adding a scrap of fabric at the top helps pull the card from the pocket. Also add decorate touches like stamping the Dragonfly and stay wild to attach to the jar.
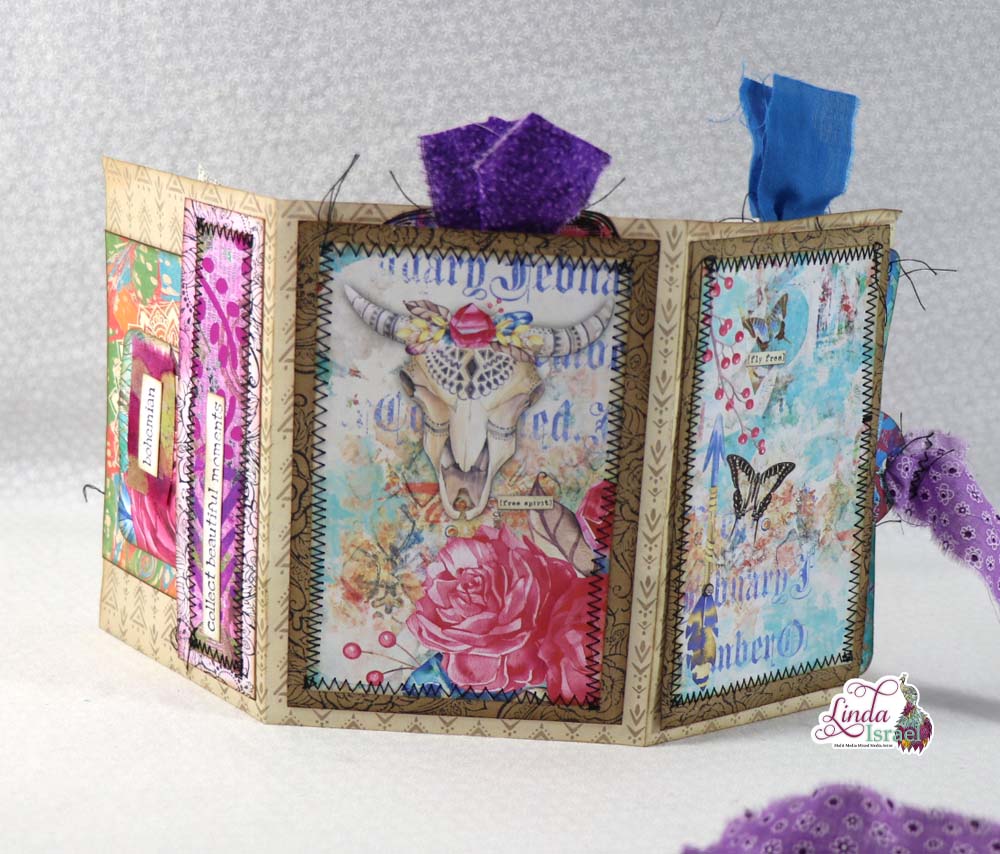
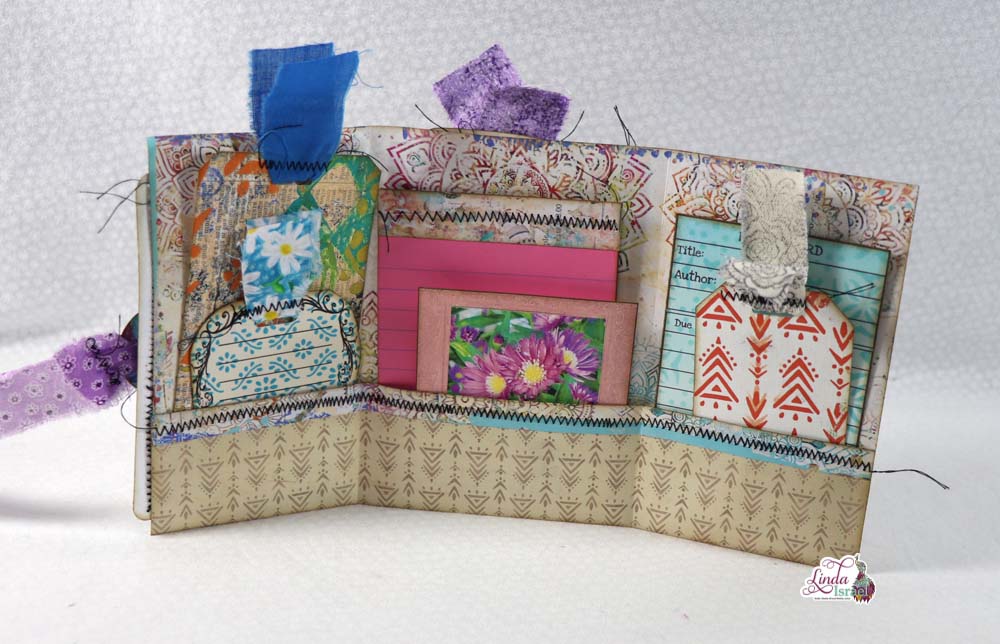
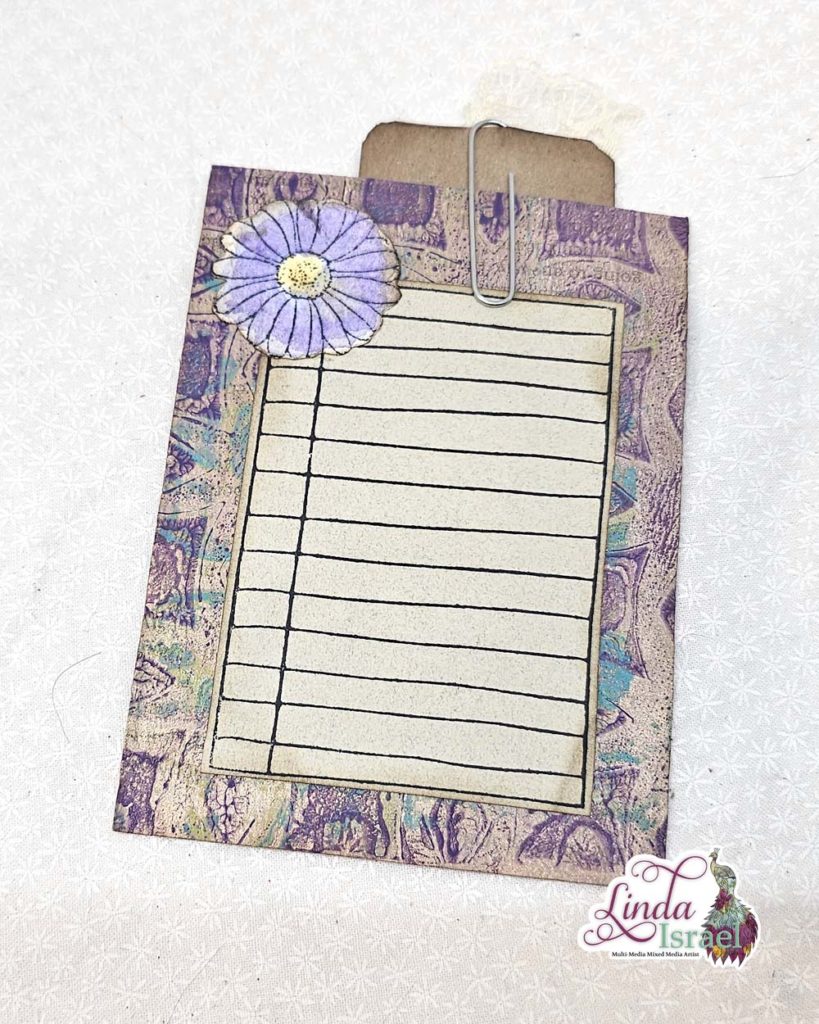
Add tags and journal cards to the inside. Rubber stamp on printed paper to get unique journal cards. I used the Swirly Note Card and the Library Card 2 to create a couple of journal cards.
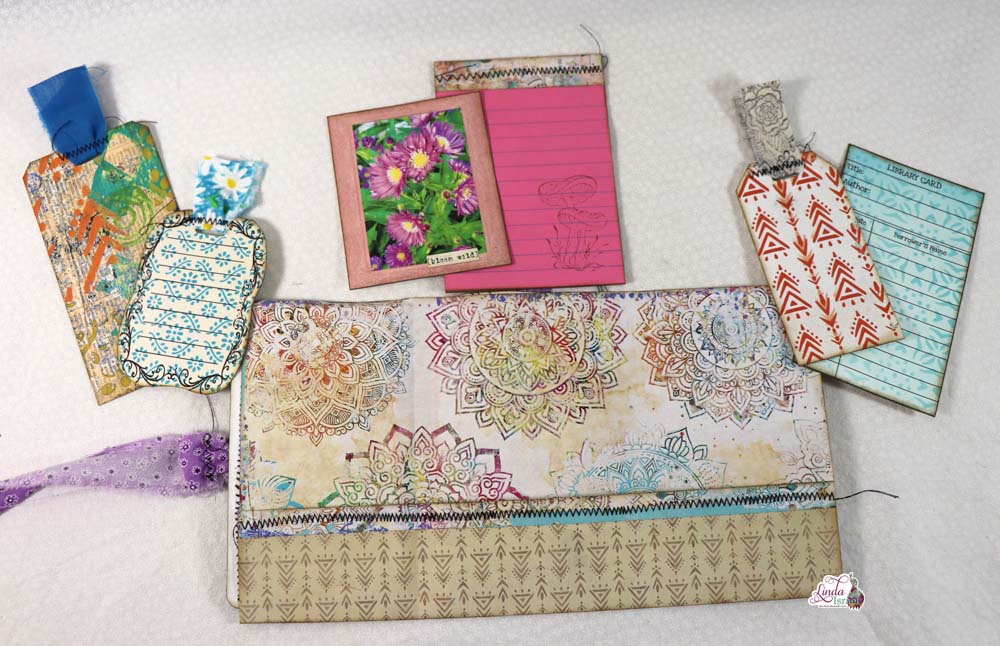
See, wasn’t that super easy. Sit down and make a few for your stash. Use these as gifts or to include in a junk journal. Have fun creating your own version.
Visit the Friendly Junk Journal People Facebook group. Of course, you are welcome to join the Friendly Junk Journal People Facebook group. The group is growing daily and we are a friendly group willing to help each other and encourage each other.
Interested in any of the projects Linda has created? Please feel free to contact her through her website. Here is her shop, a lot of items featured and more added weekly.
Keep updated on her posts by following the blog by creating an account. Follow Linda on her Facebook Page or on Instagram for updates that may not be shared on the blog.
Thanks so much for stopping by the blog today to see the Tri Fold Folio Tutorial.

