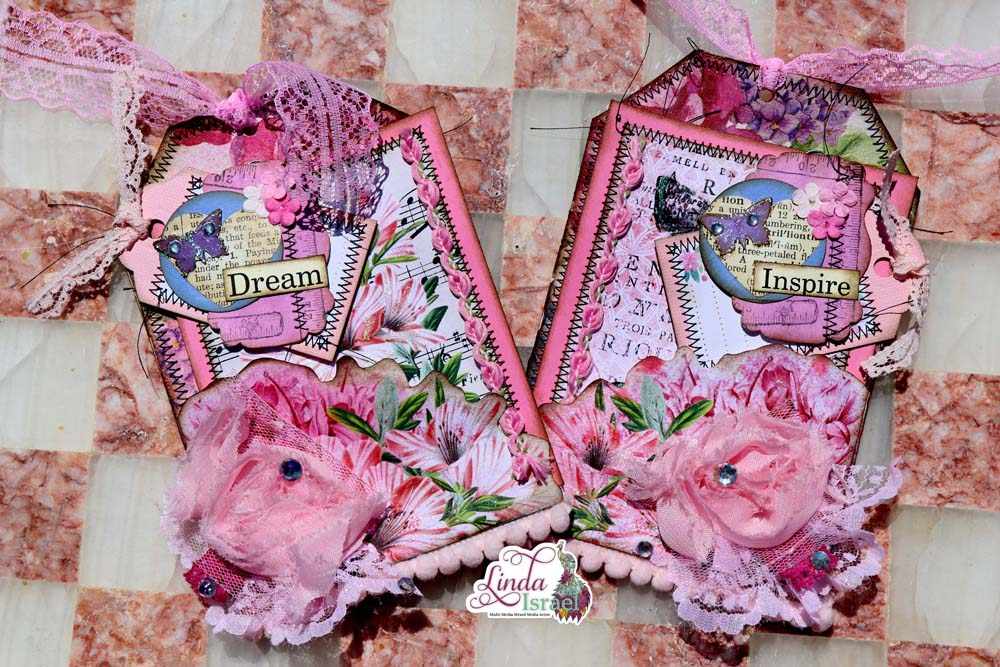
Today I’m sharing a Pink Floral Napkin Tag Tutorial. The tag was made for a swap with one of my friends. She loves pink and I think this tag had the perfect amount of pink for her. This project is the first of what I hope to be many projects to cause you to be a #motivatedcreator. Be inspired to create because of the things I show you, try new things.
Pink Floral Napkin Tag Tutorial Video
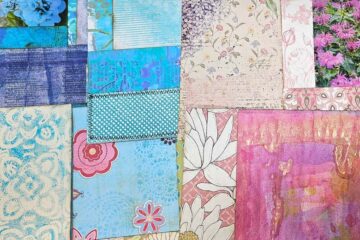
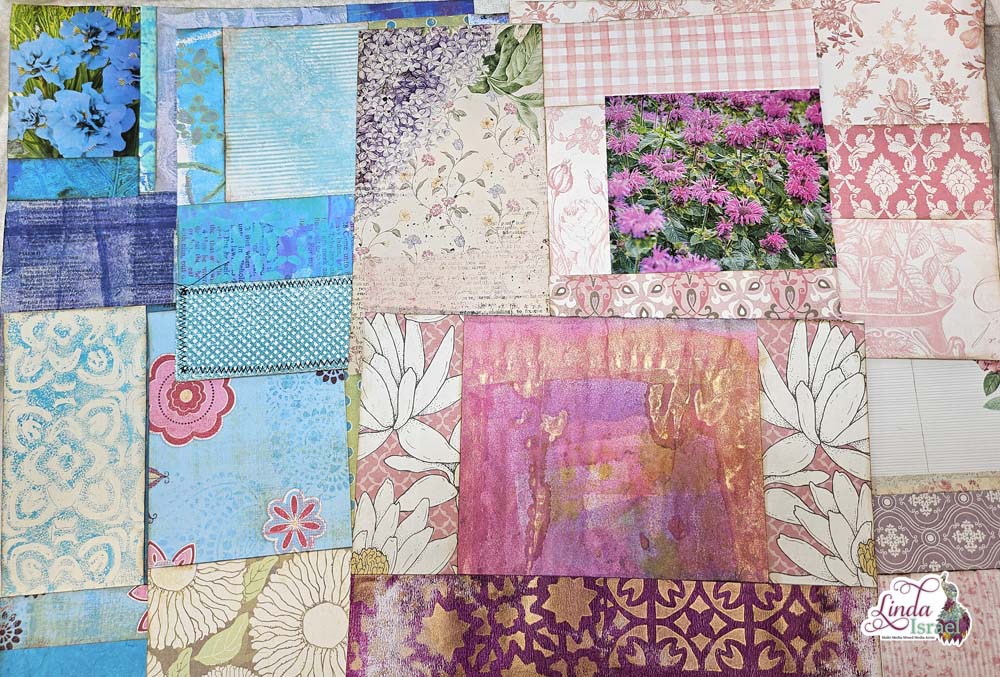
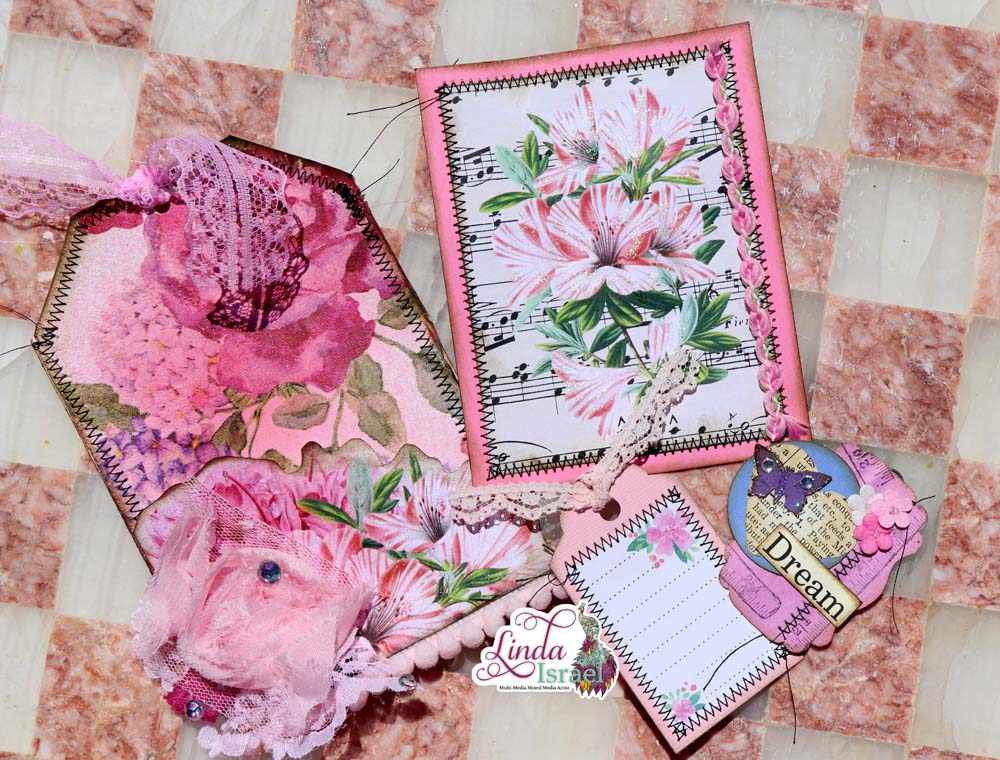
Supplies used in the Pink Floral Napkin Tag Tutorial.
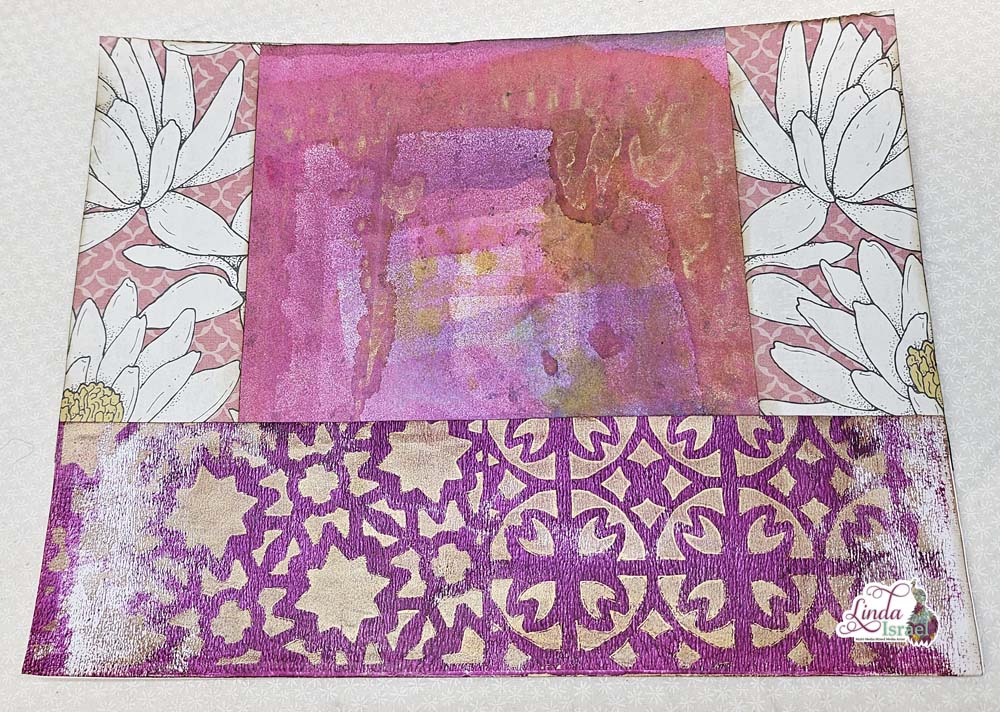
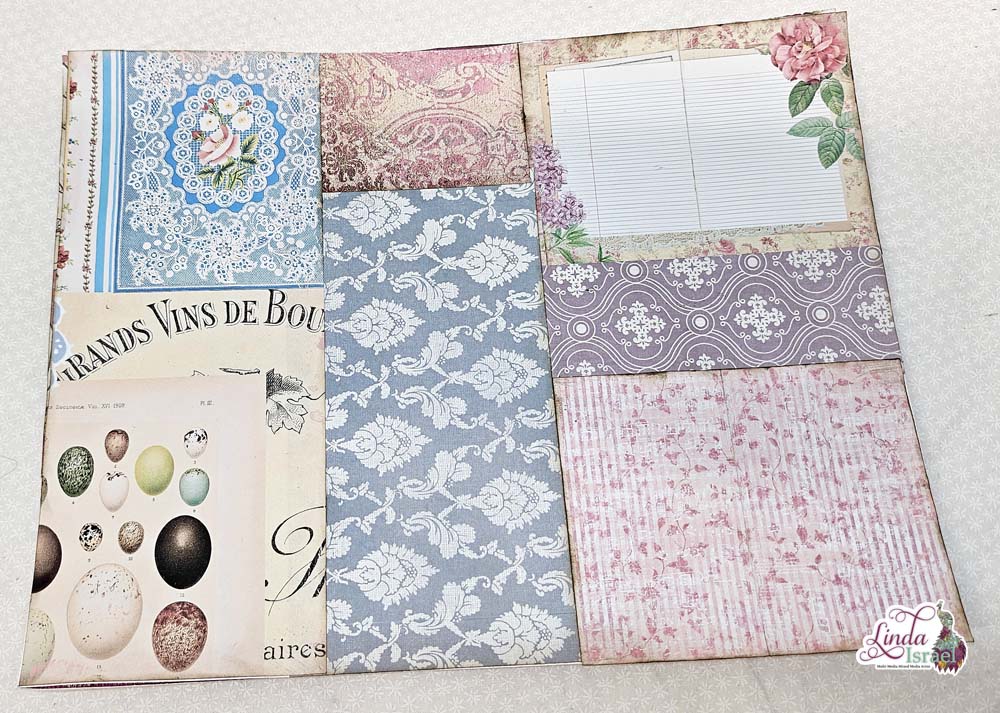
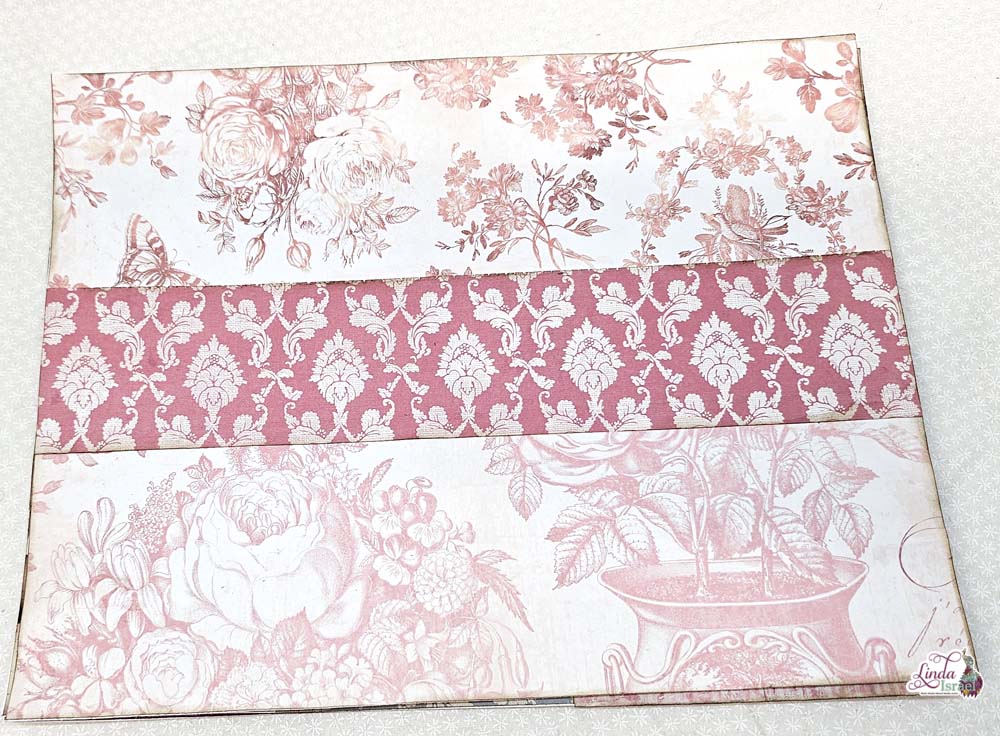
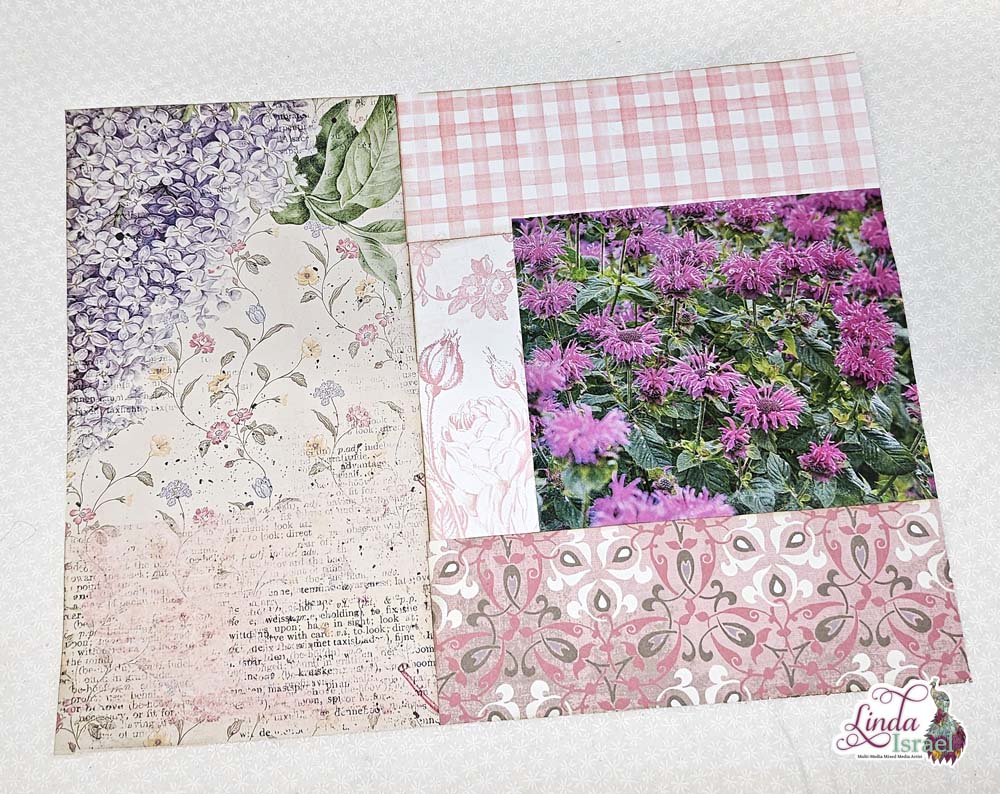
- Calico Collage Digital Journal Kit Her Allure
- Napkin
- 4 x 6 cardstock for tag base
- Tattered Angels Glimmer Mist, Pink Poodle
- Lace
- Glue stick
- Distress Ink, Walnut Stain
- Blending Tool
- Pom Pom Trim
- Fiskars Scissors
- Stapler
- Tulip Dimensional Glitter Paint
- Sewing Machine
- Hot Glue Gun
- Chiffon Rose Trim
- Rhinestones
- Best Glue Ever
- Large No Clog Writing Cap by ScraPerfect
- Crop a Dile hole punch and eyelet setter
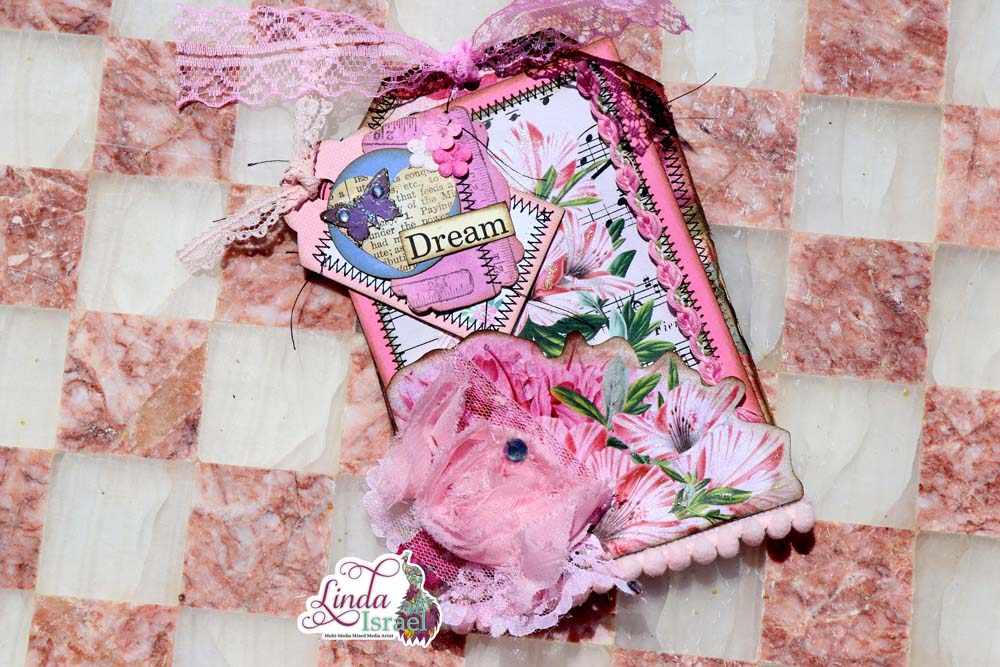
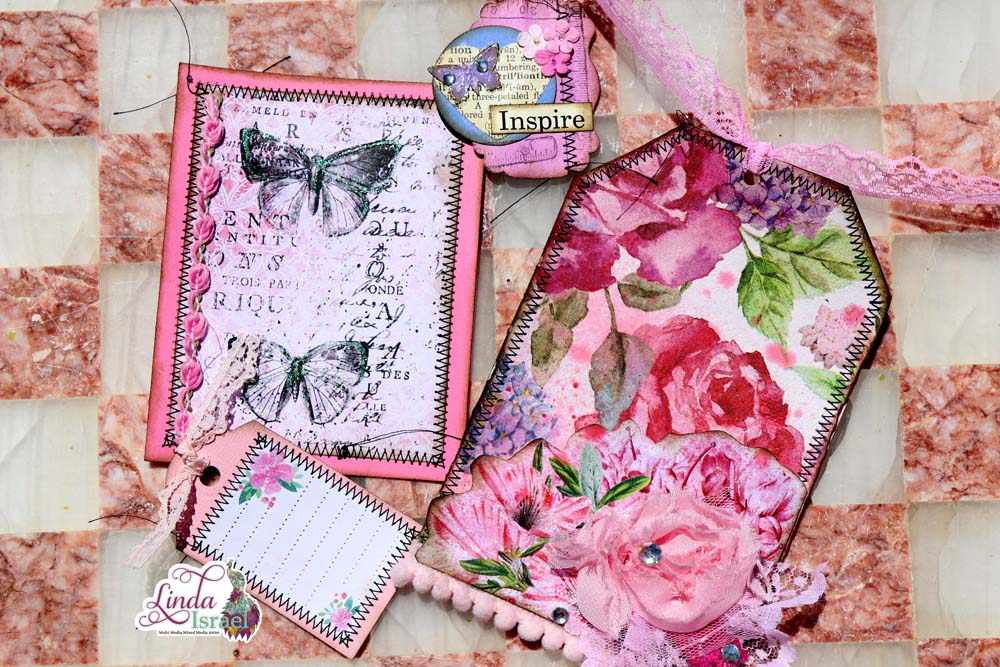
Let’s begin the Pink Floral Napkin Tag Tutorial. Select the corner image from Her Allure, trim and add distress ink to the edges. Apply Tulip Dimensional Glitter paint on the flowers of the corner and allow to dry.
Use a pretty napkin and a 4 x 6 tag base. Apply glue stick to the tag base and then using the top layer of the napkin adhere the napkin.
Spray Tattered Angels Glimmer Mists on the tag base and corner pocket. Let the spray dry or use a heat tool.
Trim the corners of the 4 x 6 to create a tag shape. Sew around the edges of the tag shape. Apply distress ink around the edges.
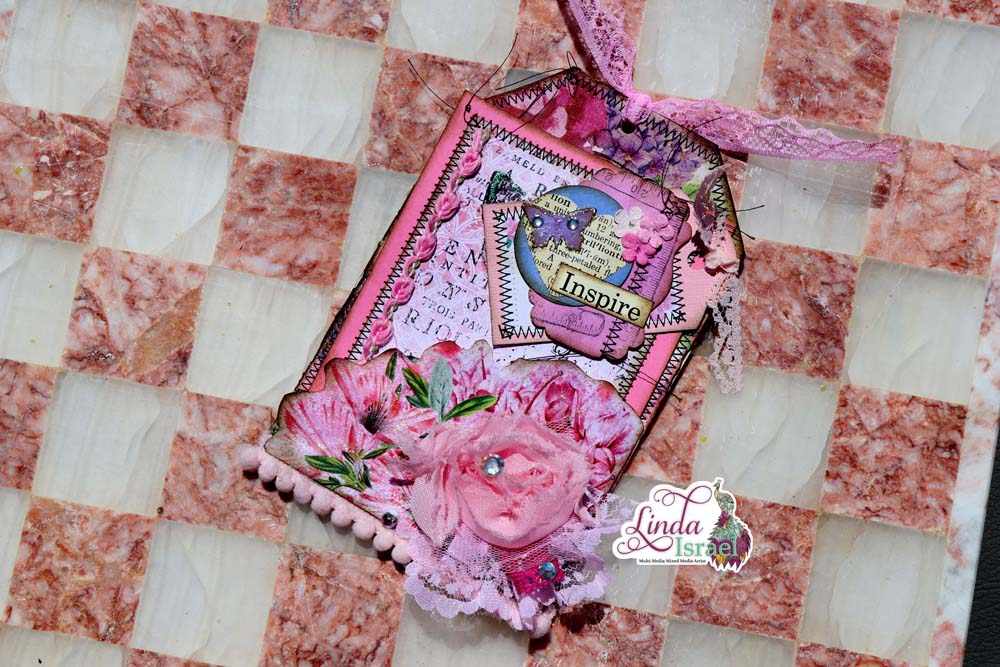
Using hot glue attach the pom pom trim to the bottom of the tag. Adhere the corner pocket on the tag base over the trim.
Create a half rosette using pink lace and a stapler, adhere to the corner using hot glue. Adhere the pink lace scrap and chiffon rose on top of the lace bit.
Apply dots of the Best Glue Ever on the chiffon rose, lace embellishment in three spots, then place flat back rhinestones on top.
Punch a hole at the top of the tag and tie lace through the hole. Could staple or sew if you like that look.
Add a journal card to the pocket and enjoy. Hope you found this Pink Floral Napkin Tag Tutorial easy and you are a #motivatedcreator because of seeing this today. Head over to my Facebook page LindaIsrael and share your creations in the event to be entered into a drawing for a prize.