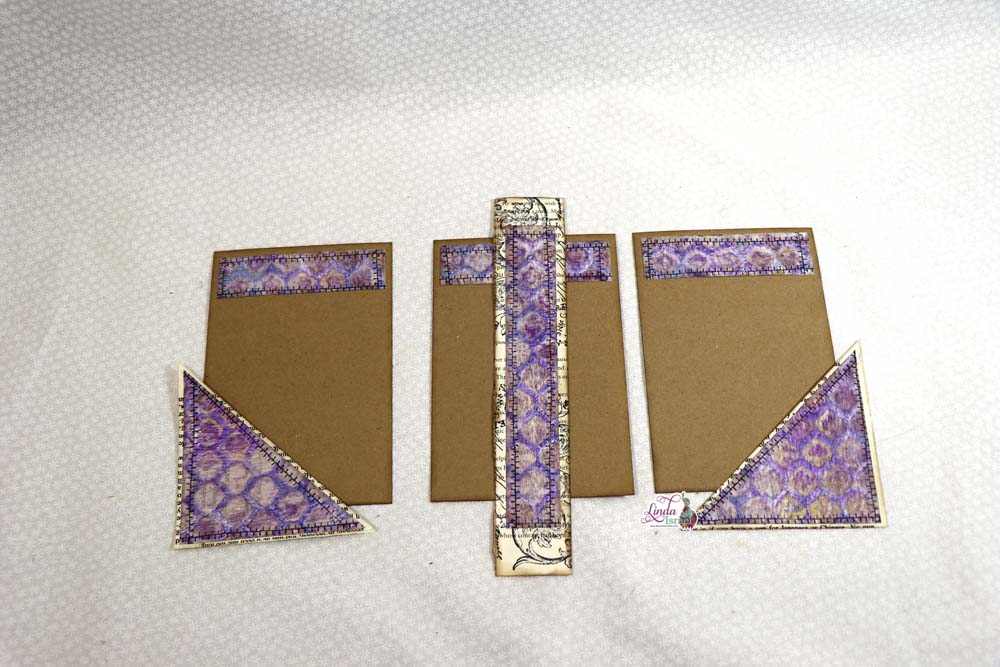
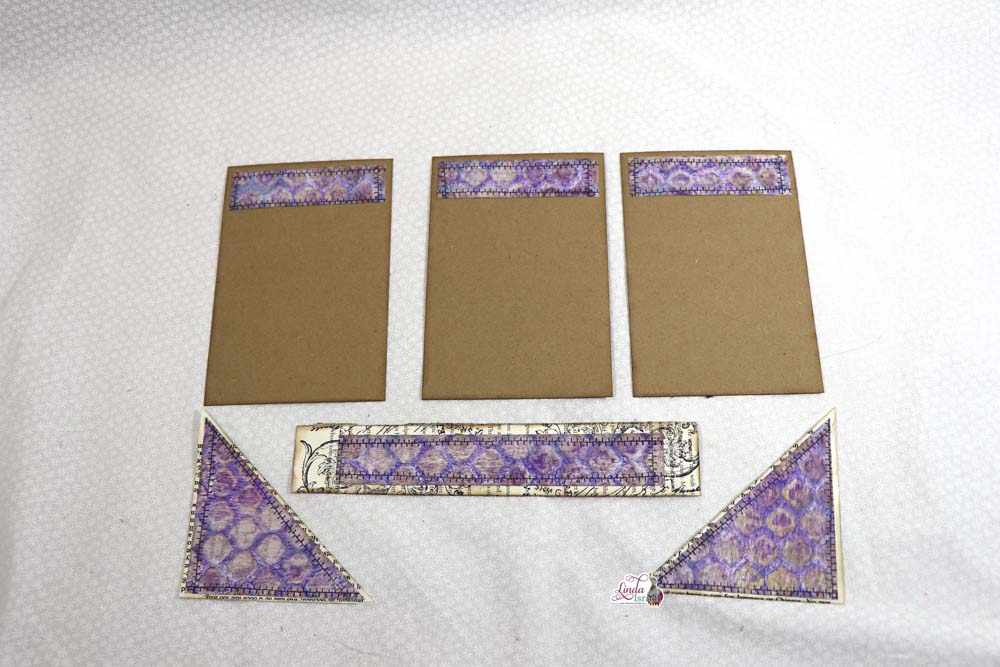
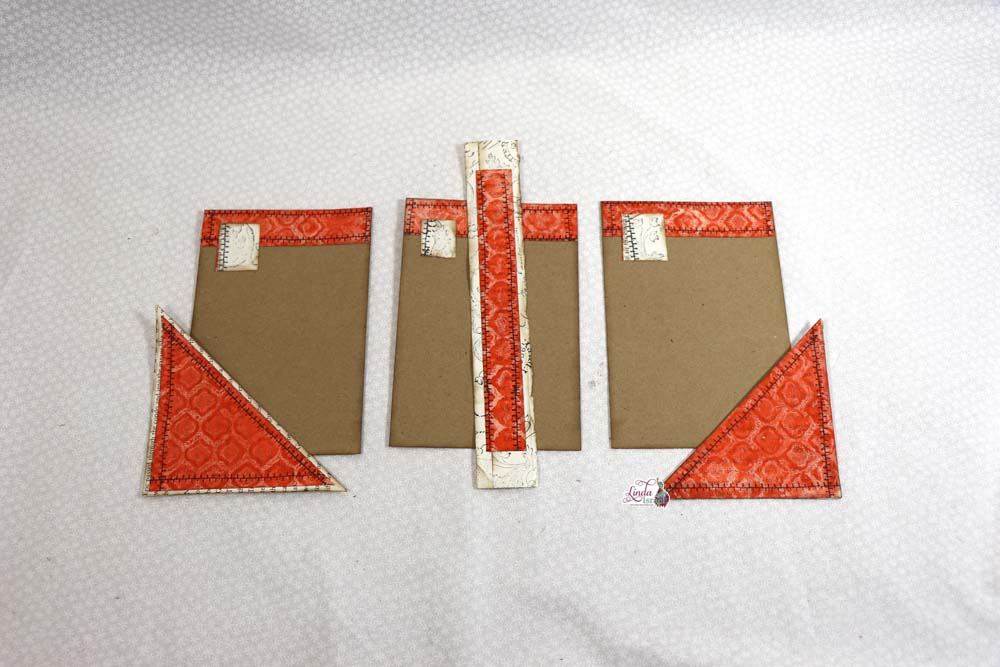
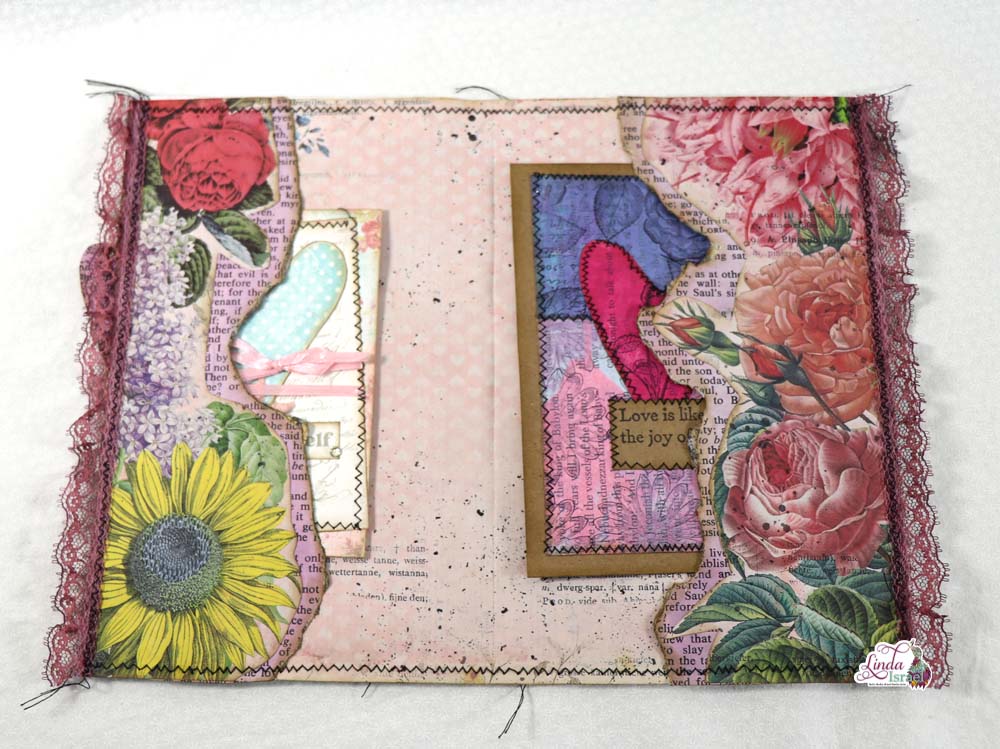
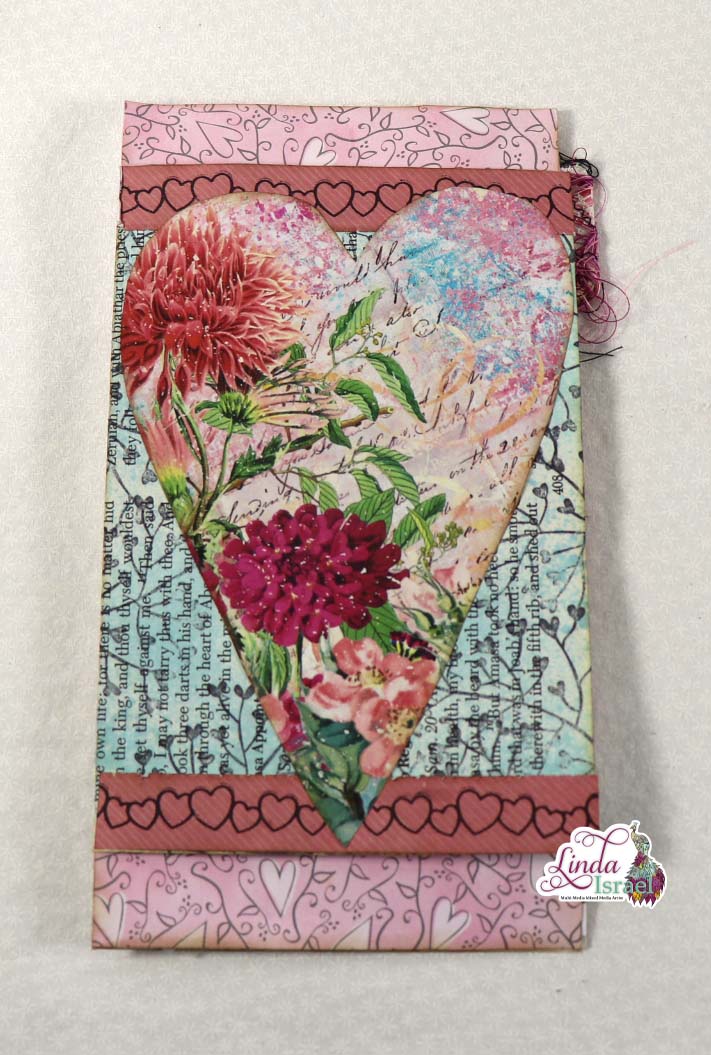
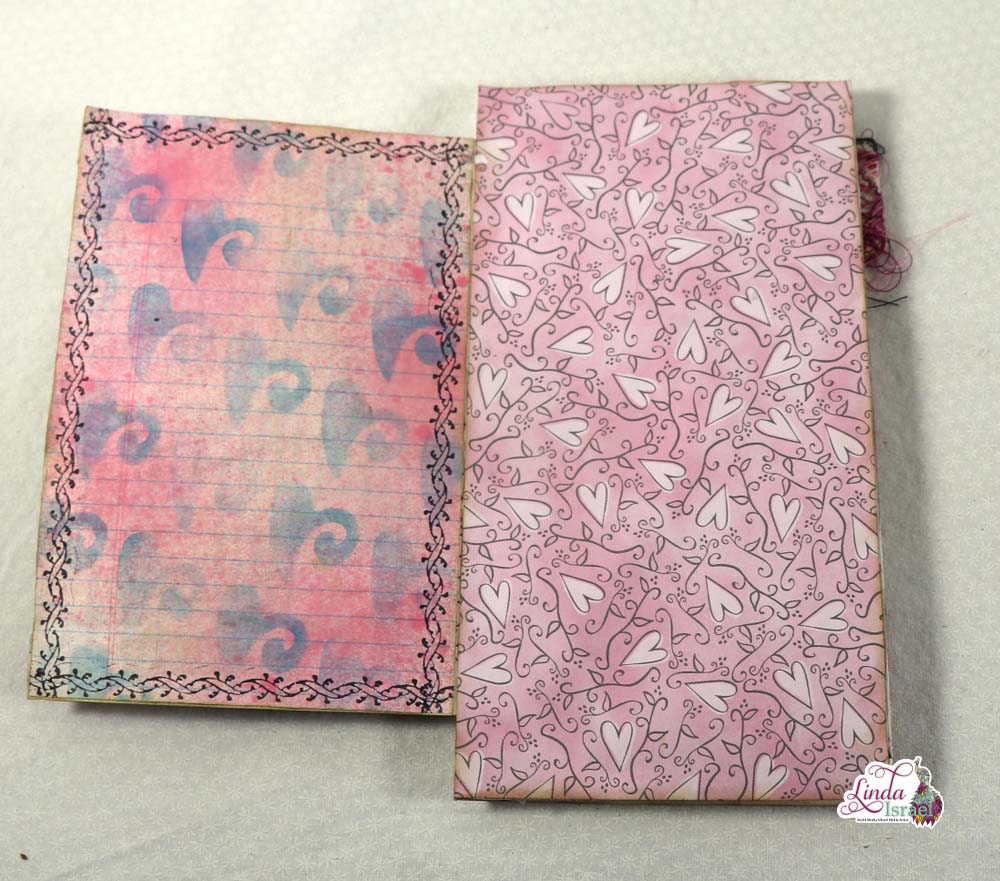
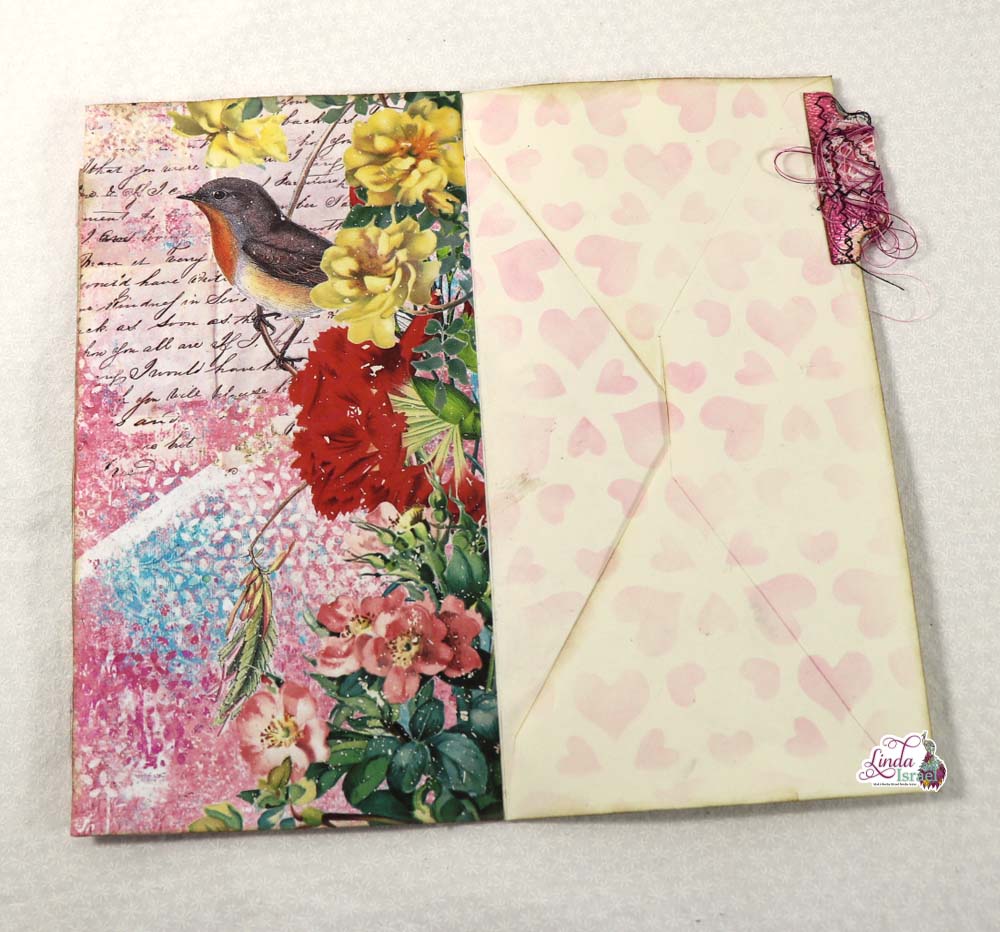
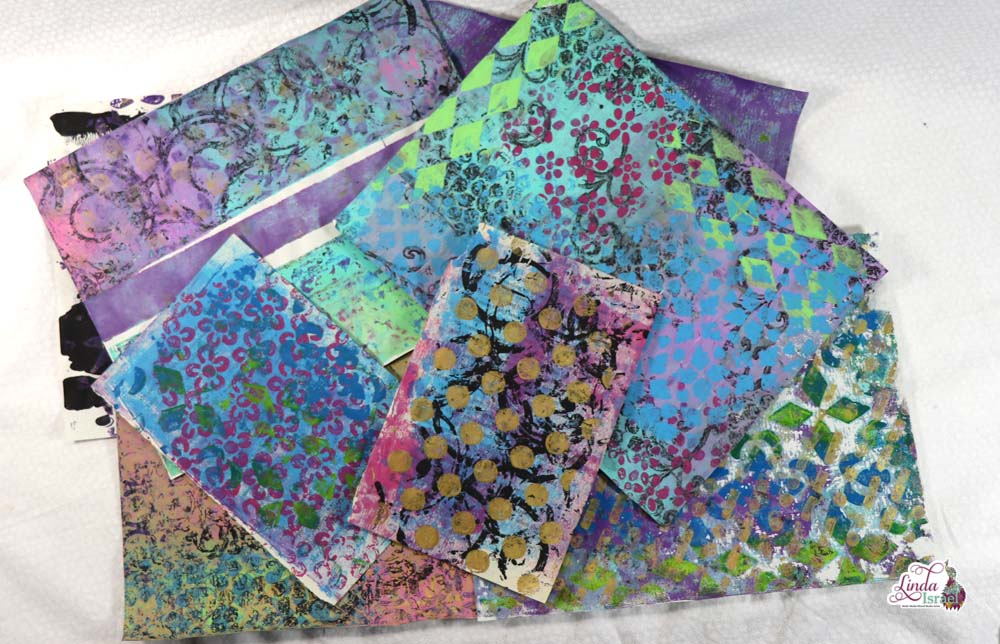
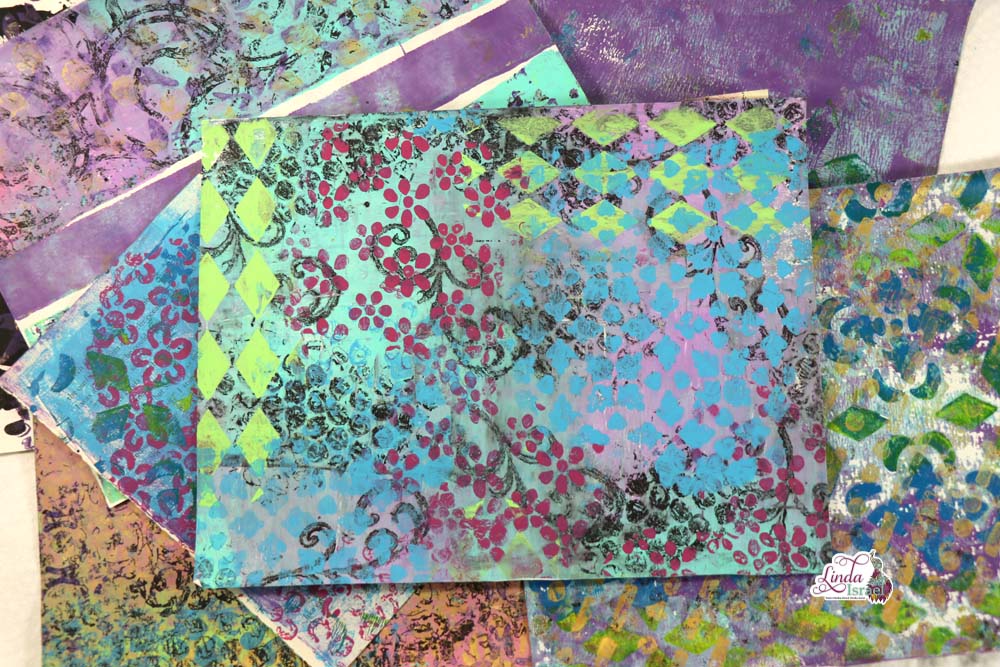
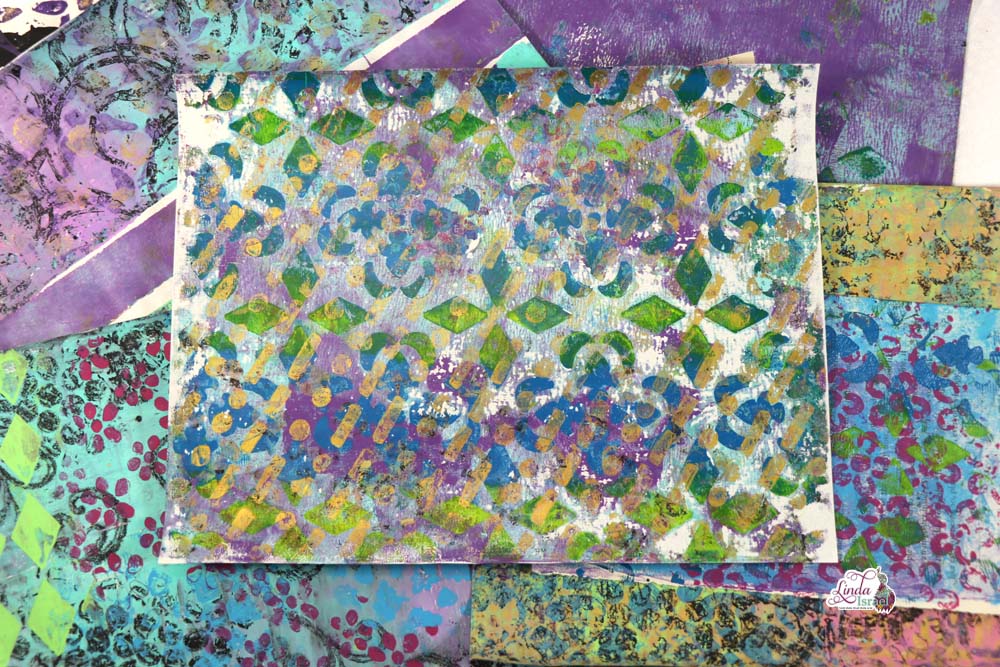
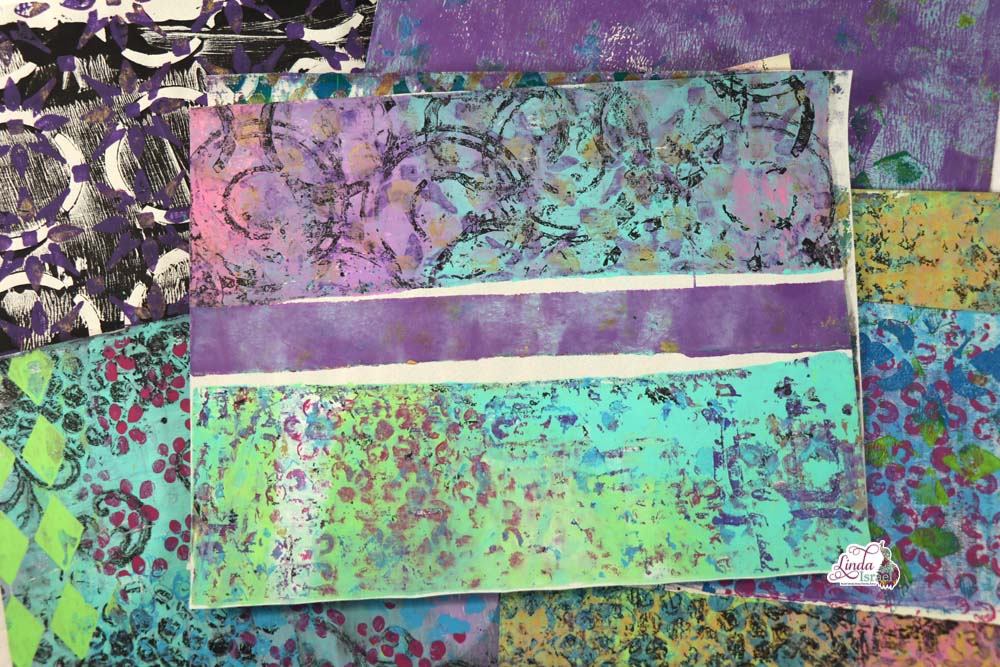
Sharing a super quick and easy Six Journal Elements with Gel Print Tutorial. Using one gel print I’ll show you how to create six elements that can be used in a junk journal. Great way to use up those gel prints you have been making!
Six Journal Elements with Gel Print Tutorial Video
Supplies used for the Six Journal Elements with Gel Print Tutorial
- Gel Prints
- Shabby Stitches QT Rubber Stamp
- Moroccan Stencil
- Postmark Collage Stamp
- Aleene’s Tacky Glue
- Ranger Archival Jet Black Permanent Dye Ink Stamp Pad
- EK Success Rotary Paper Trimmer
- Tim Holtz Distress Ink Walnut Stain
- Book Pages
- Card Stock Paper
Today Linda demonstrates how to create six journal elements using one Gel Print. This is a great way to use up those gel prints you have that you don’t know what to do with.
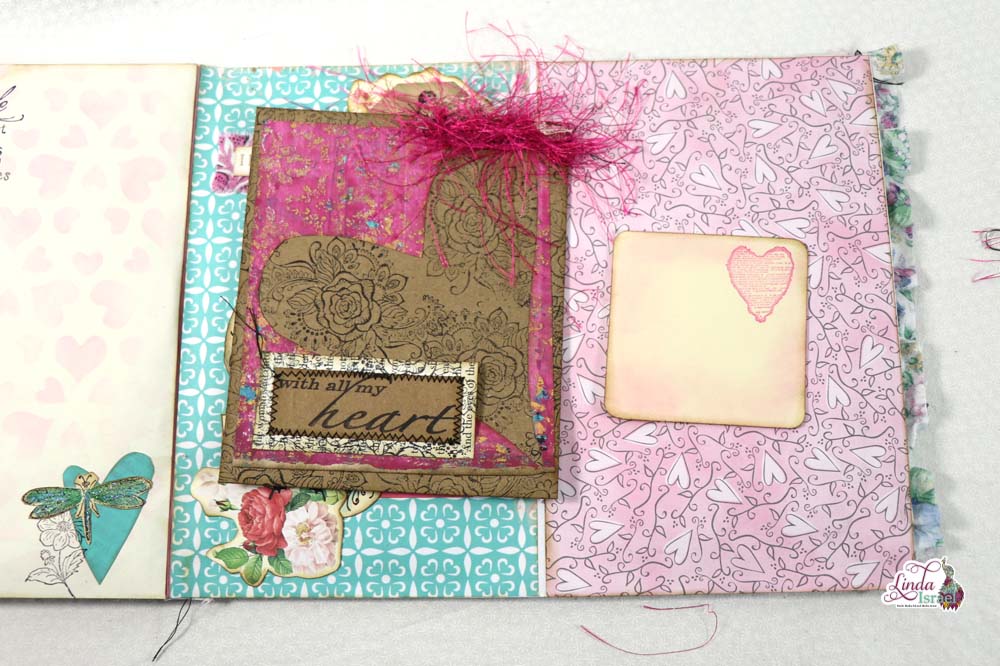
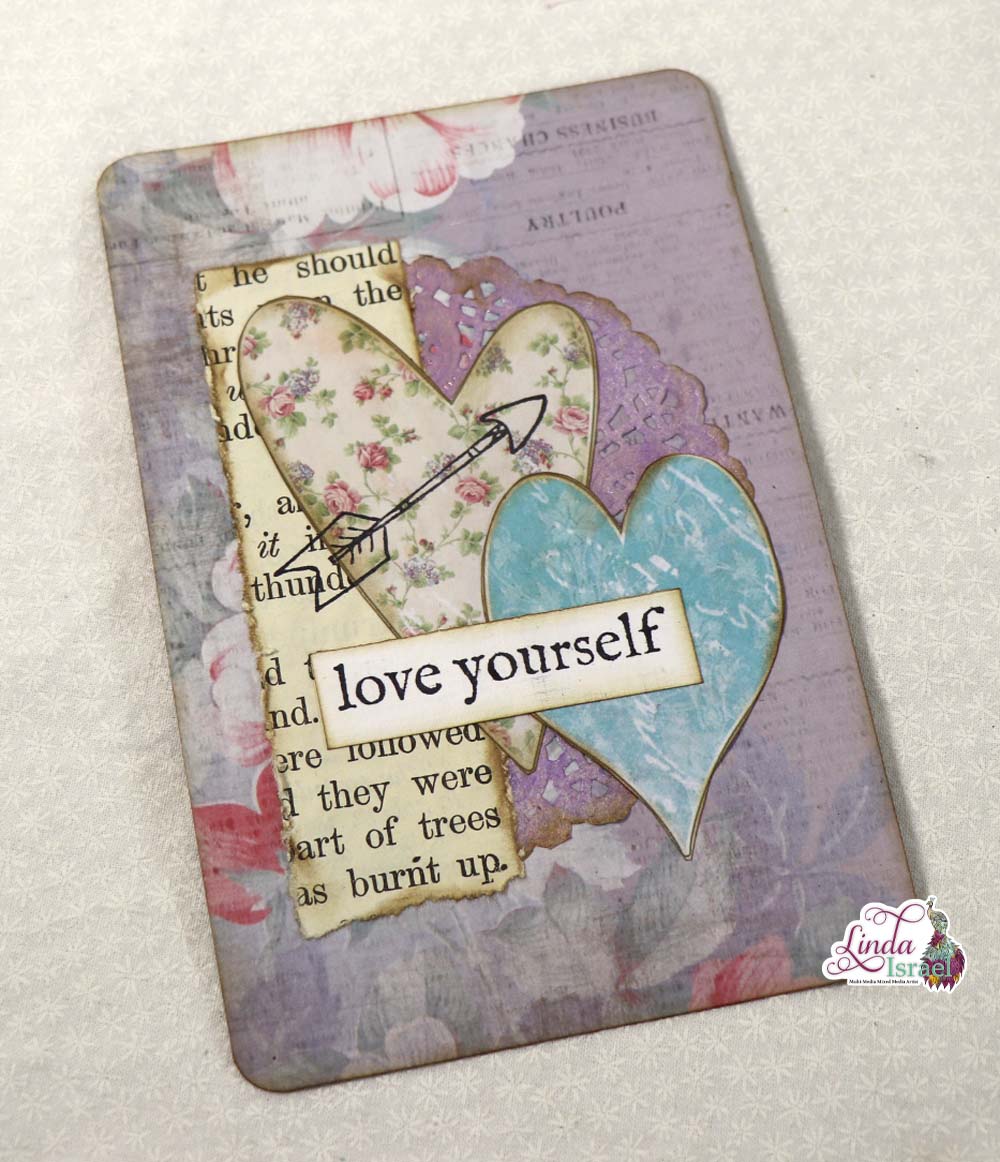
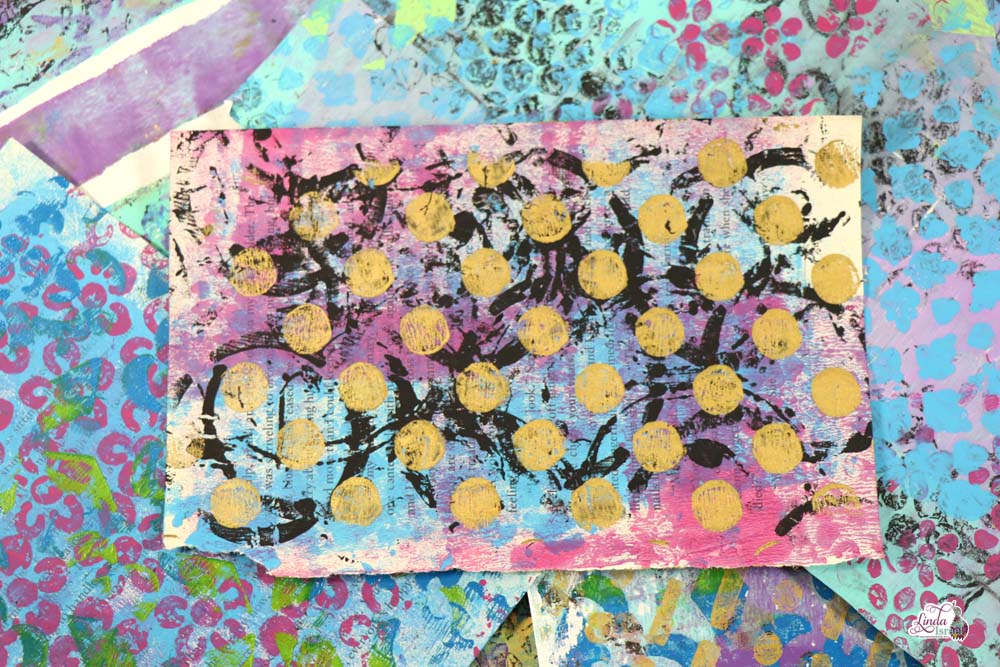
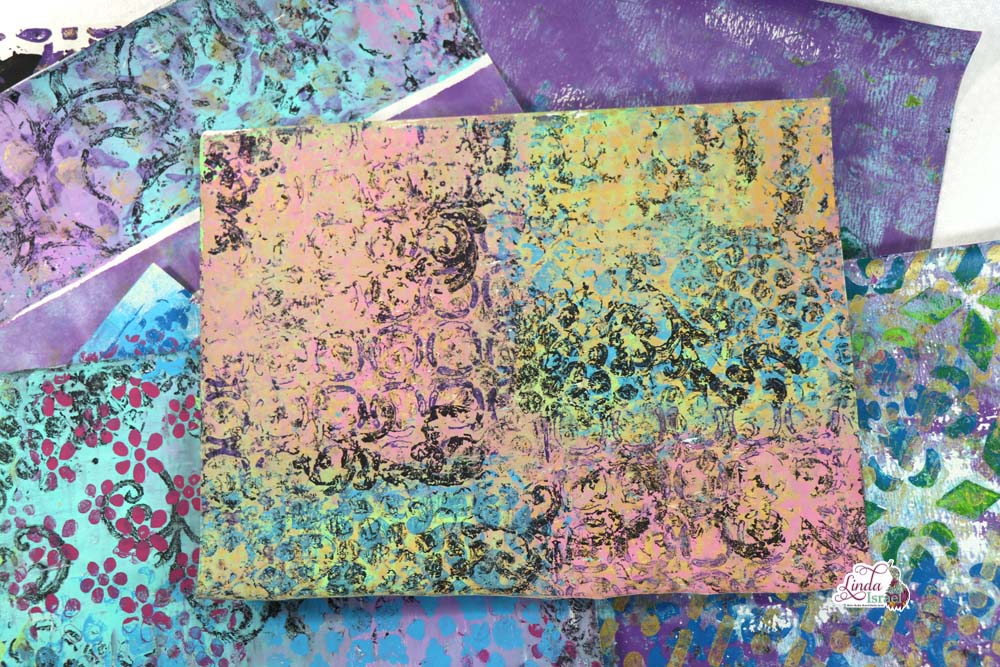
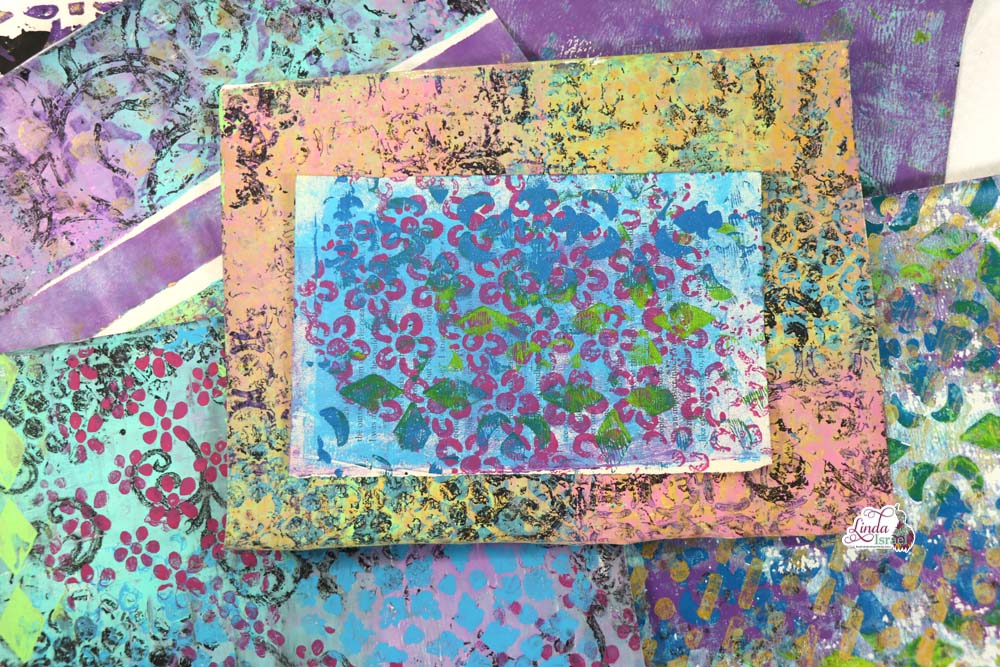
Using one gel print you can create three journal cards, a belly band, and two corner tuck spots for your journal. Linda first distressed the edges of all the pieces she cut and then used archival black ink with the shabby stitches rubber stamp. For the book page she used the Postmark Collage stamp and then placed a piece of gel print over the piece of book page.
A gel print is an easy way to dress up those journaling elements for your journal! How do you use the gel prints you created?
Robin Fennessy
Make sure to check out the Friendly Junk Journal People Facebook group. Of course, you are welcome to join the Friendly Junk Journal People Facebook group. The group is growing daily and we are a friendly group willing to help each other and encourage each other.
Interested in any of the projects Linda has created? Please feel free to contact her through her website. Here is her shop, a lot of items featured and more added weekly.
Keep updated on her posts by following the blog by creating an account. Follow Linda on her Facebook Page or on Instagram for updates that may not be shared on the blog.
Thanks so much for stopping by the blog today to see the Six Journal Elements with Gel Print Tutorial.


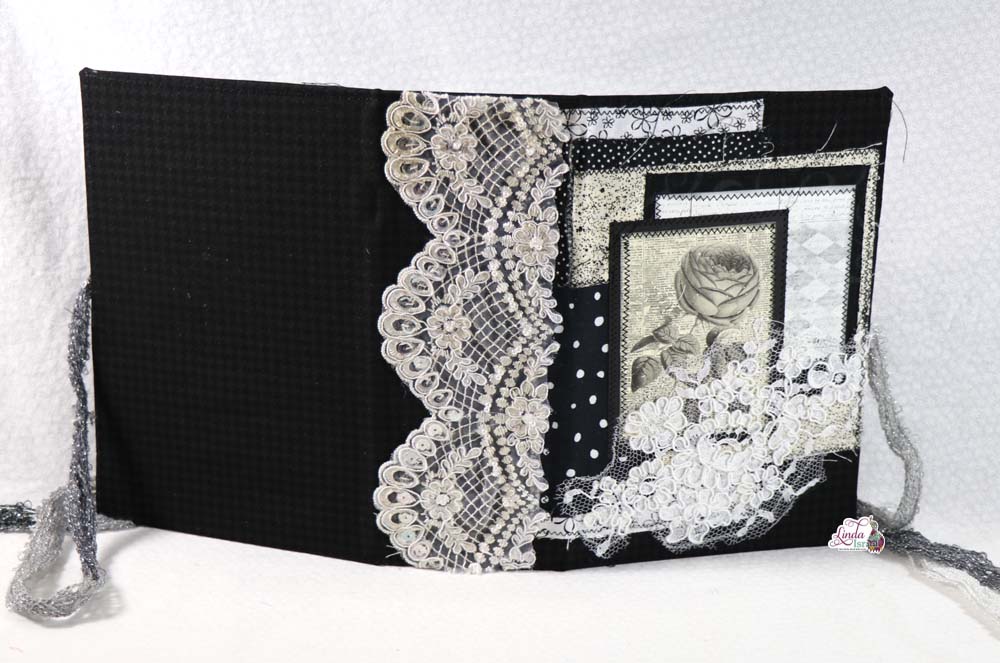
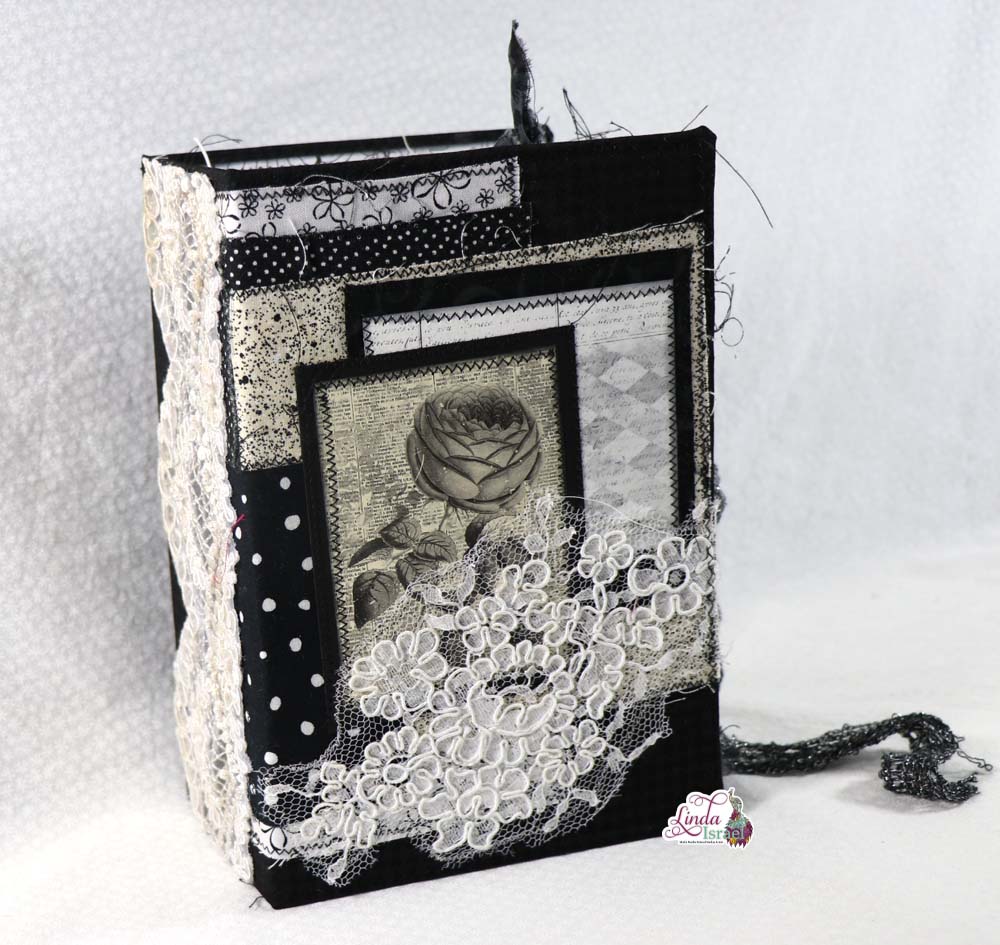
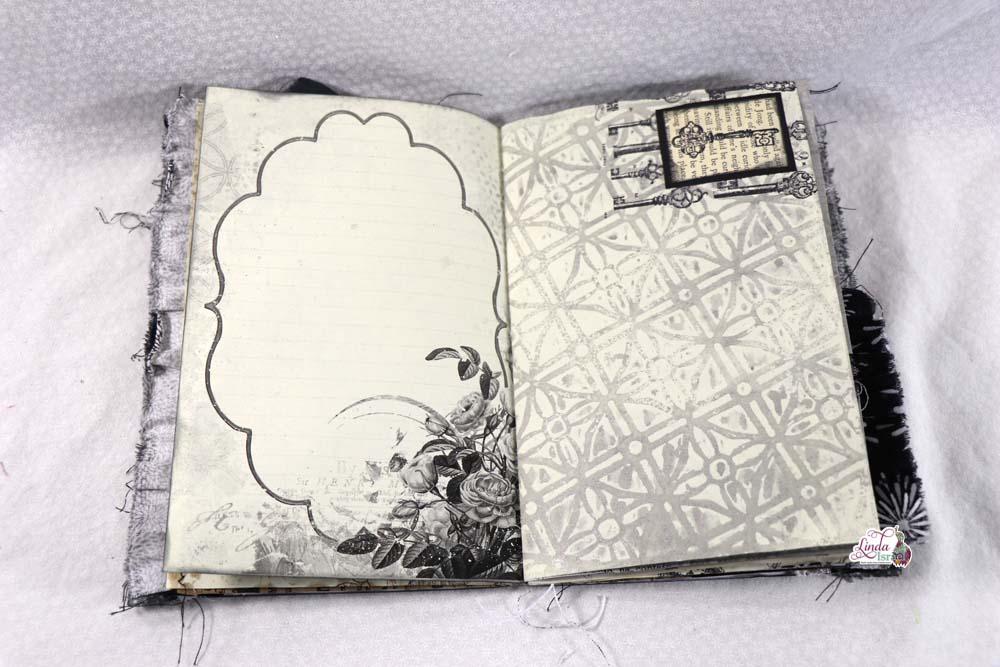
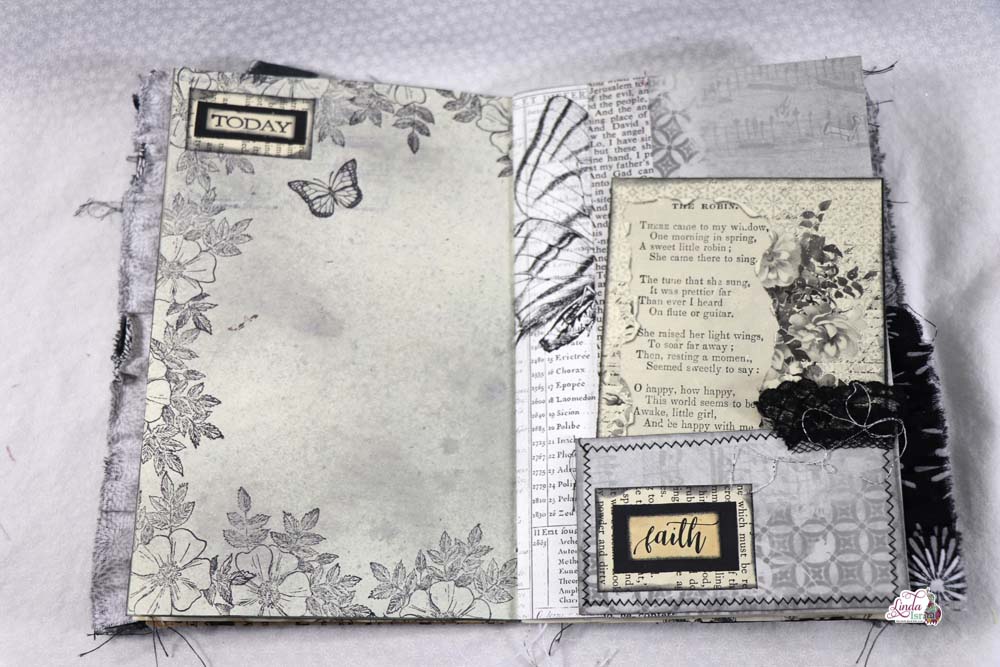
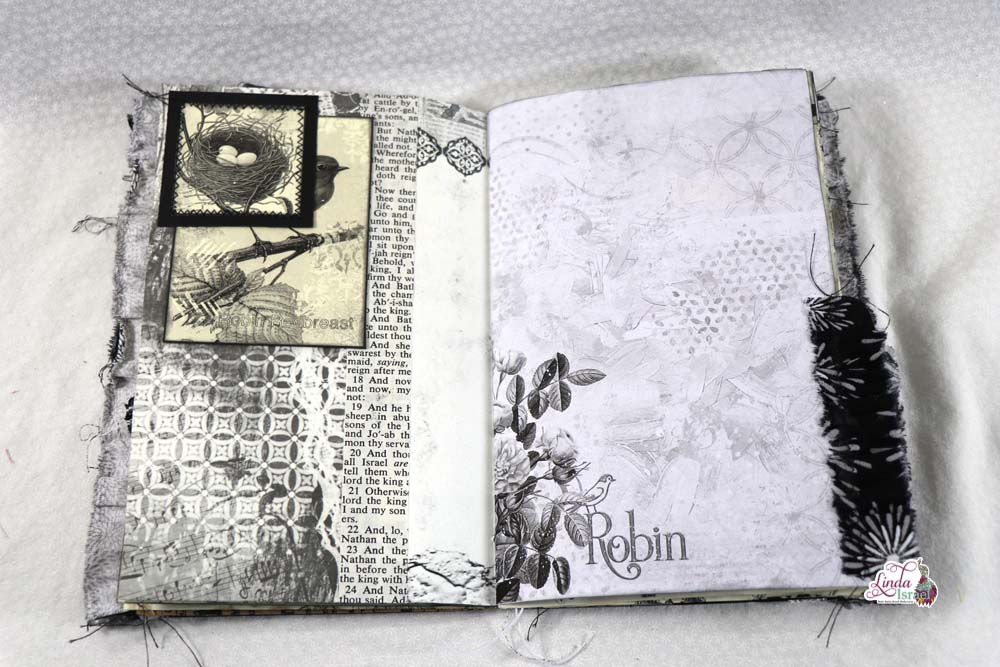
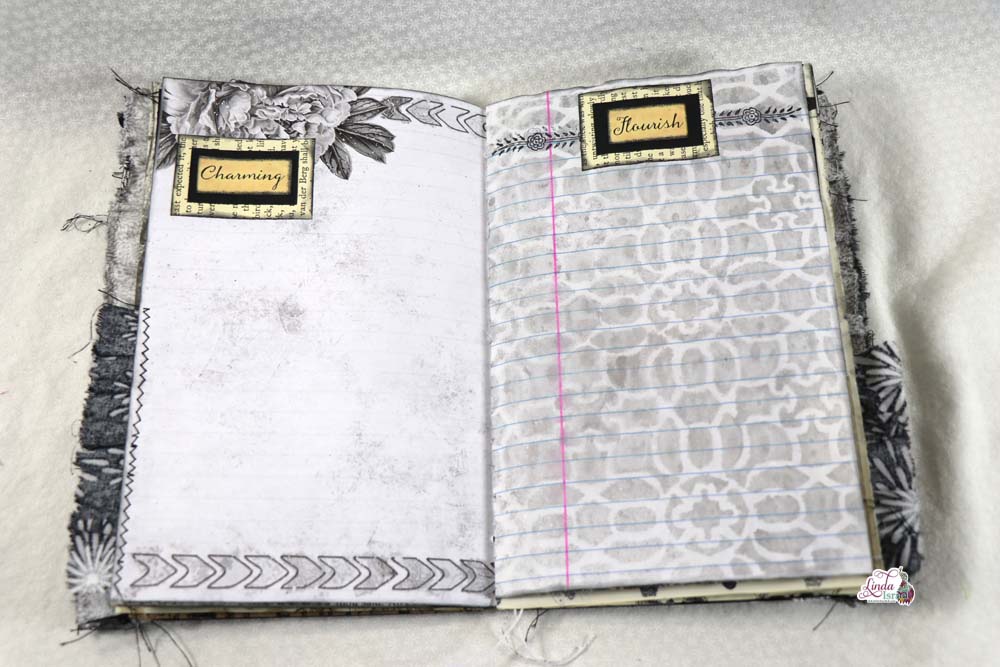
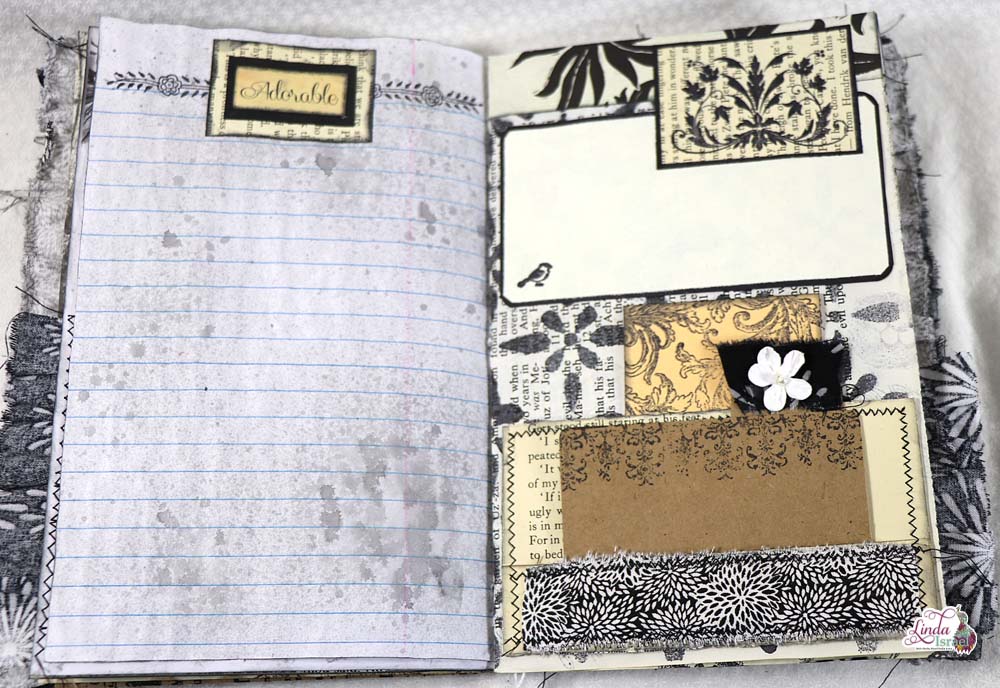
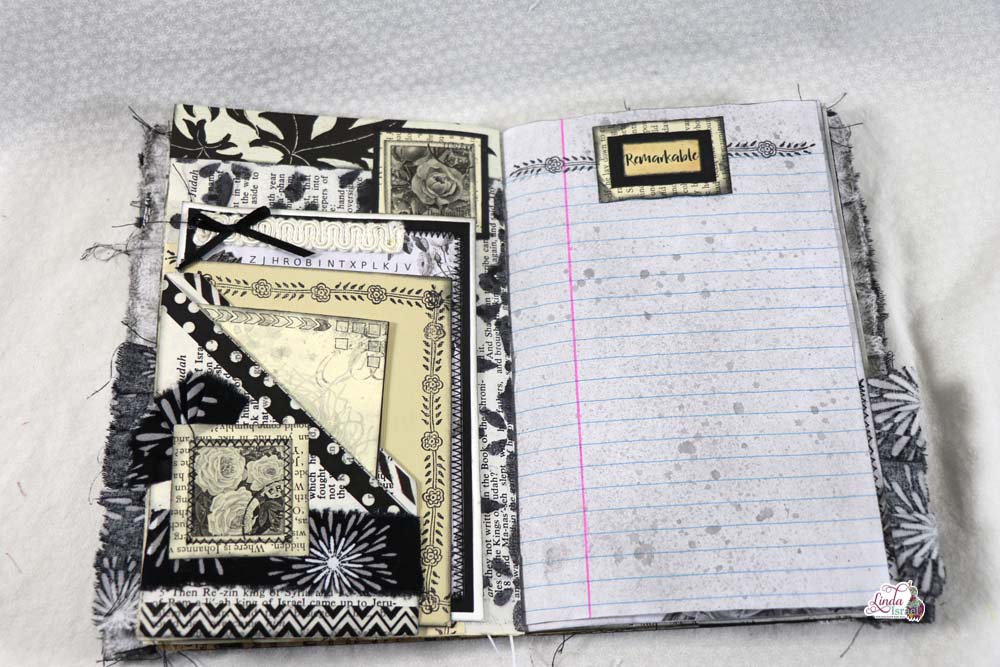
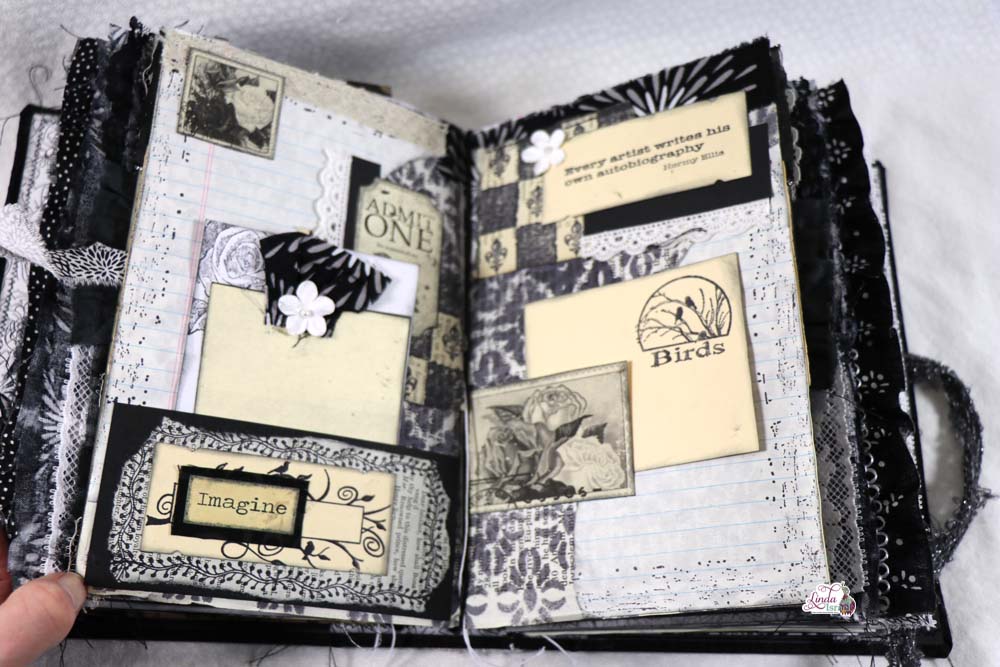
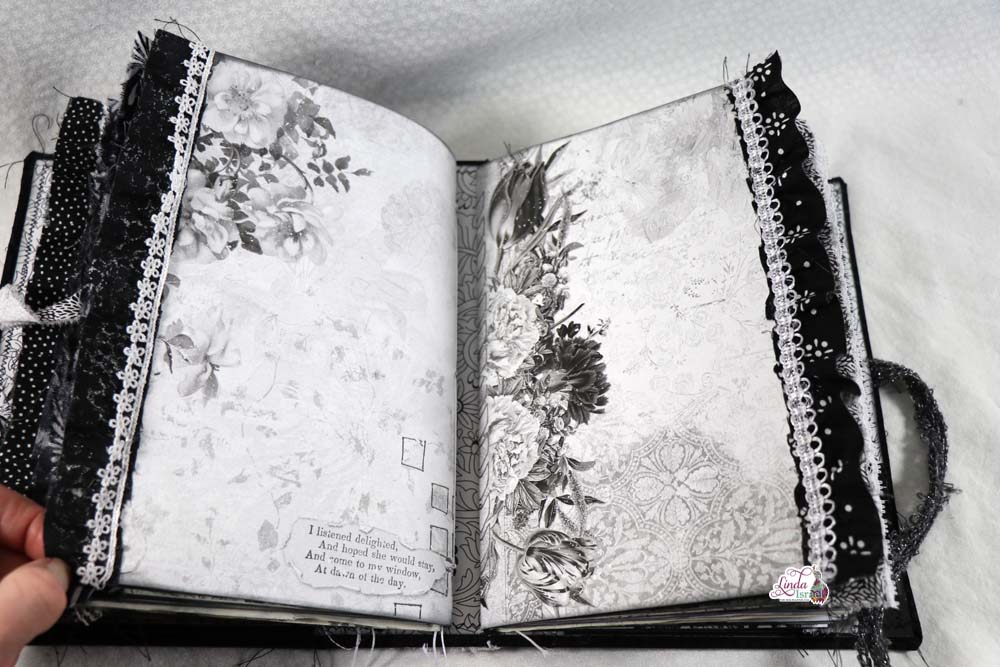
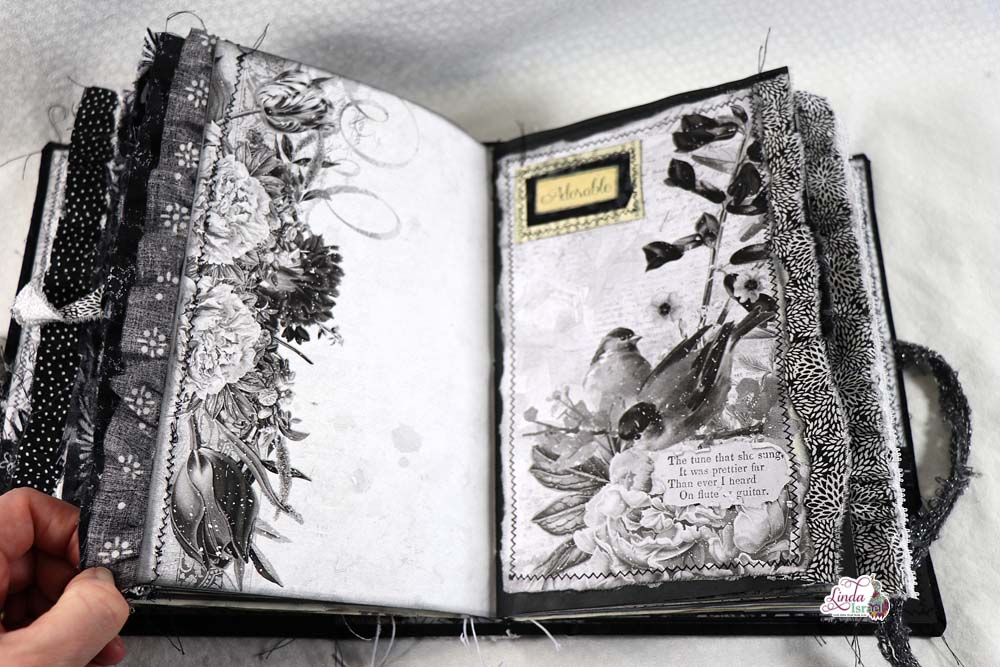
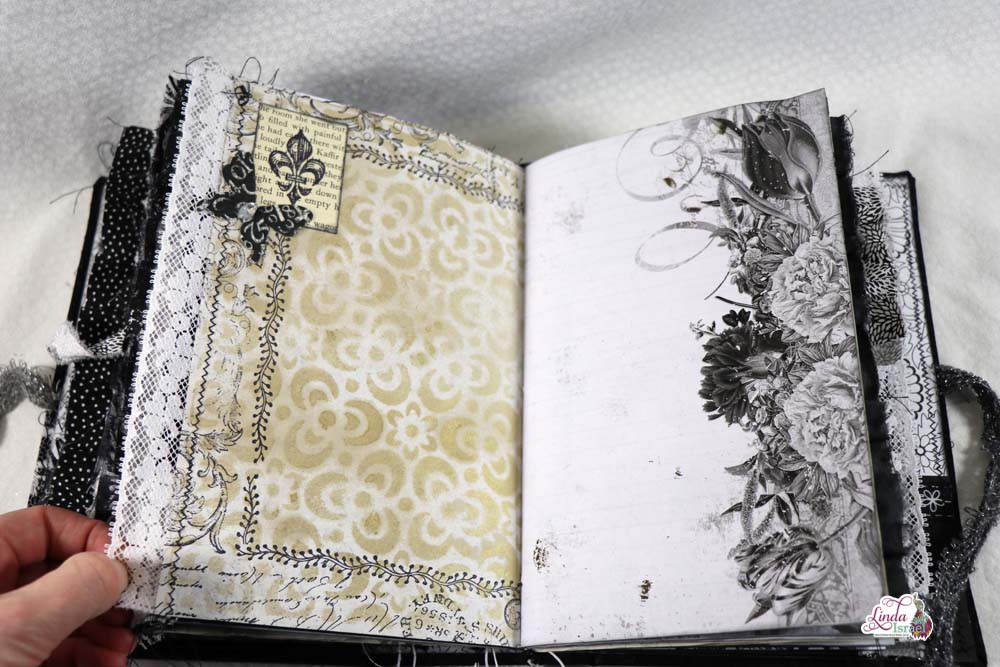
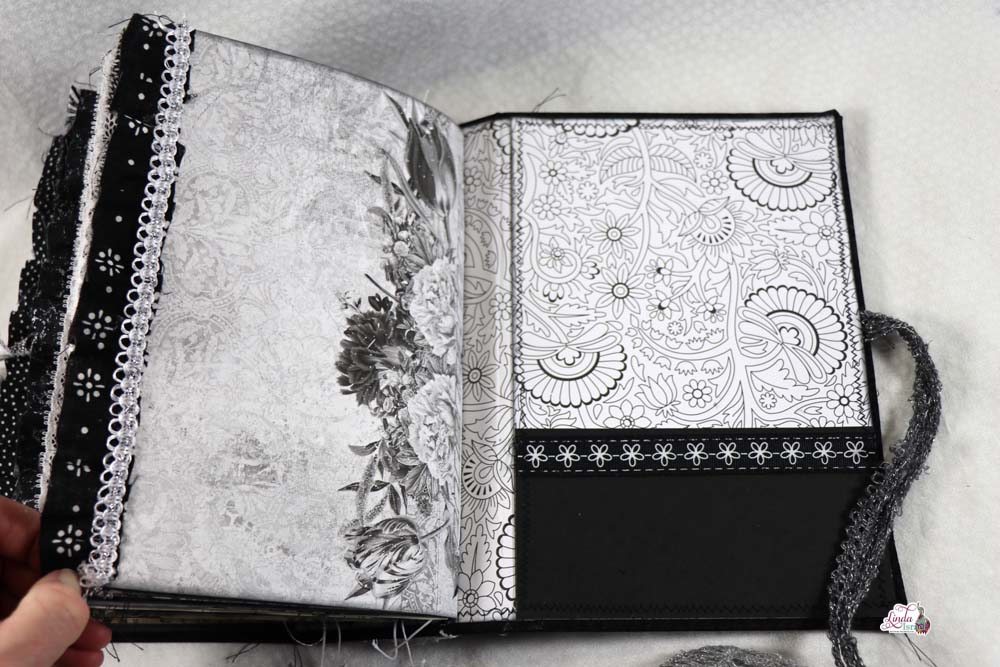
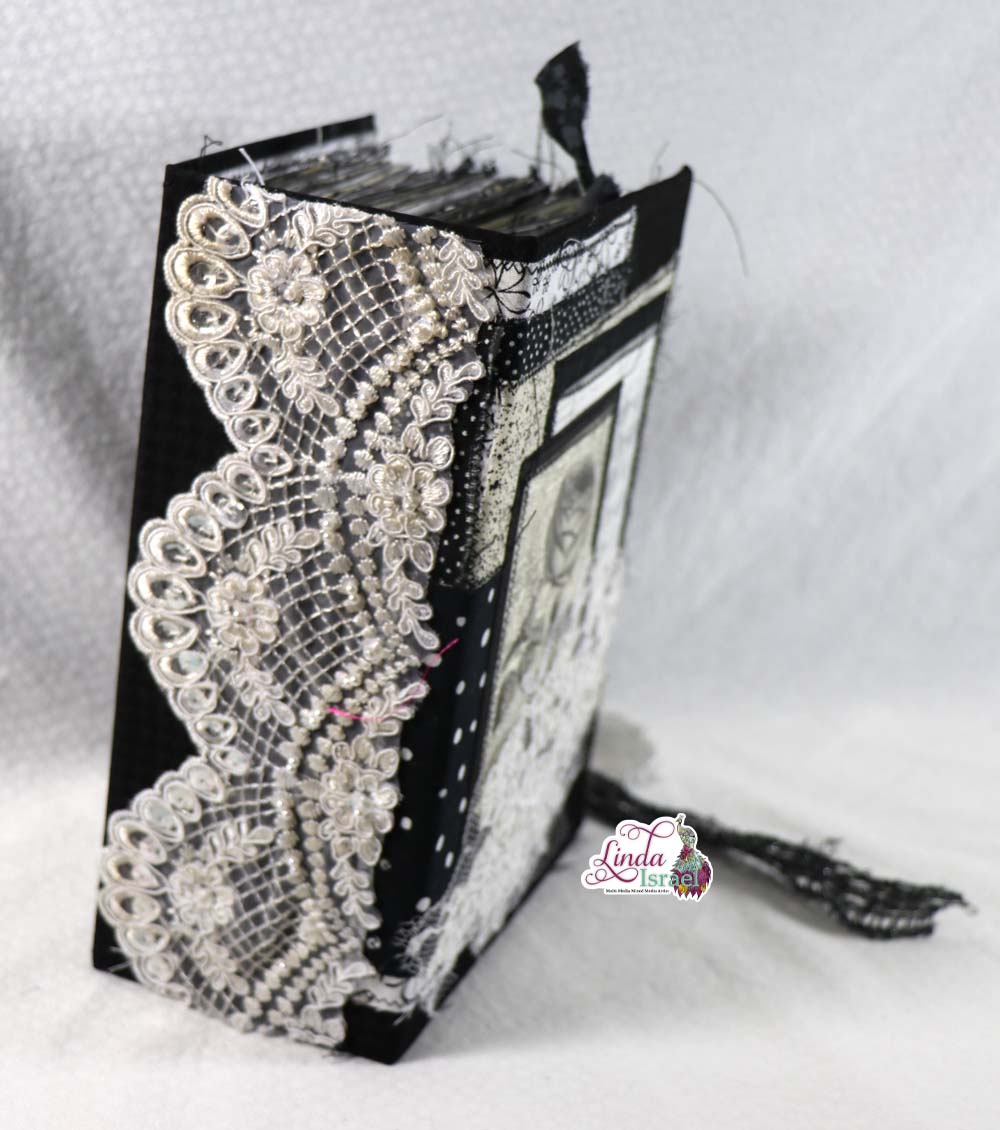
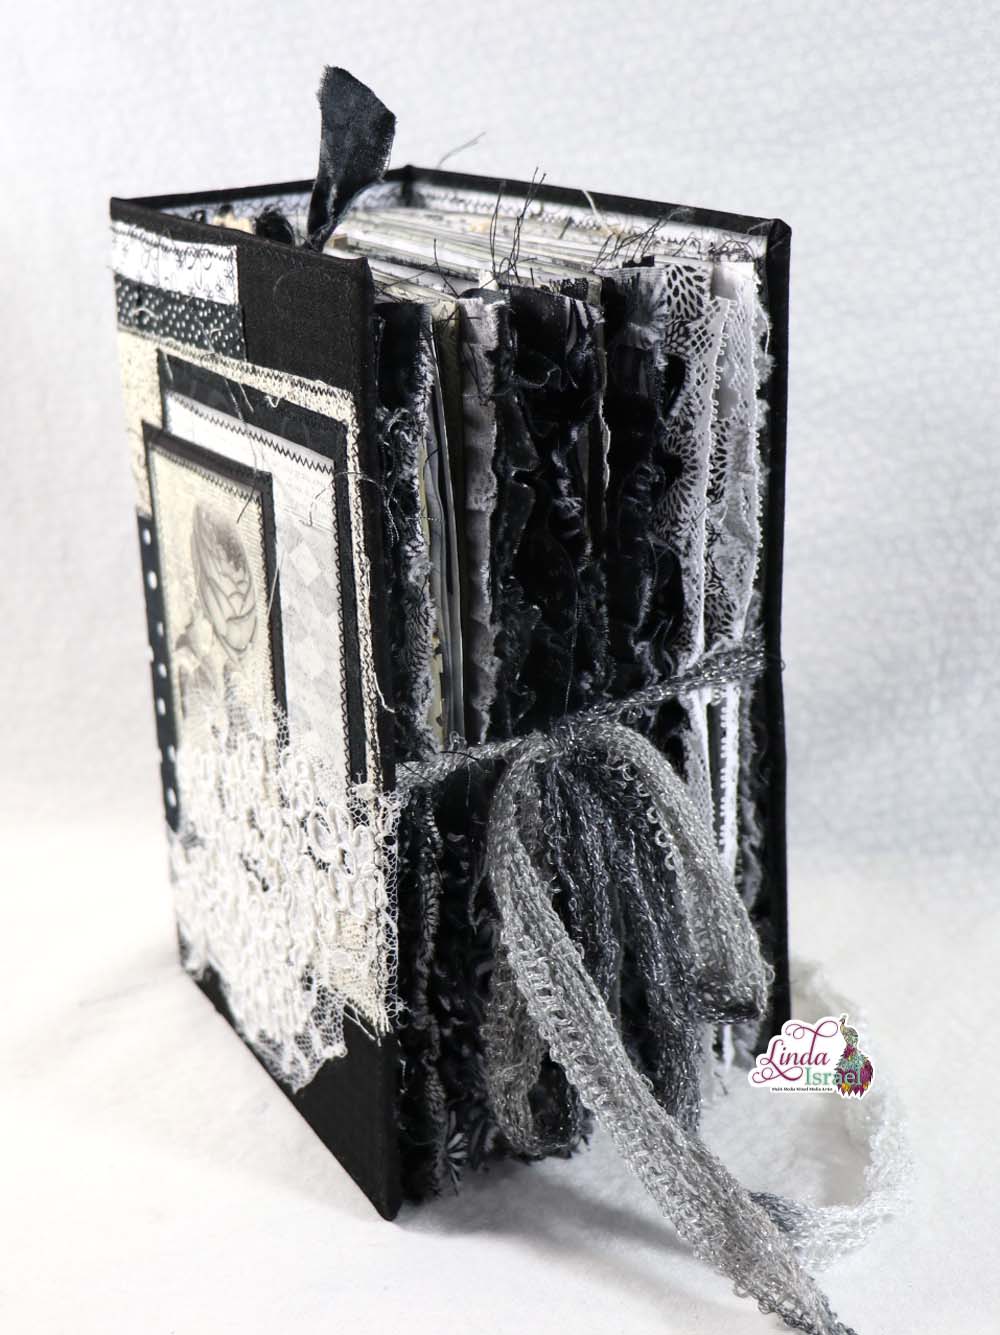
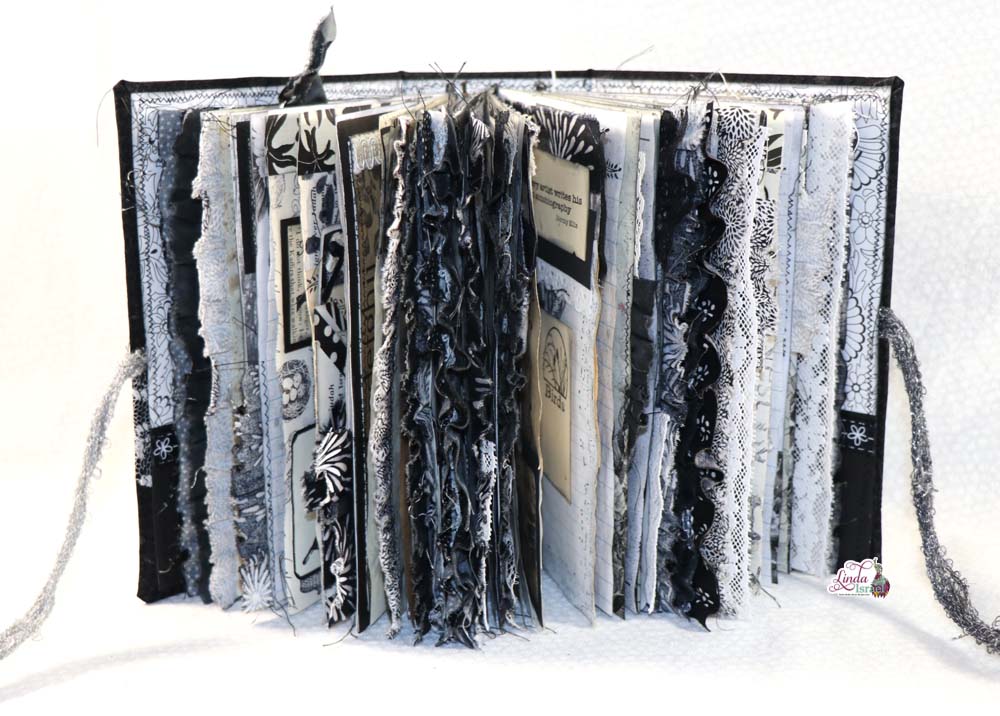
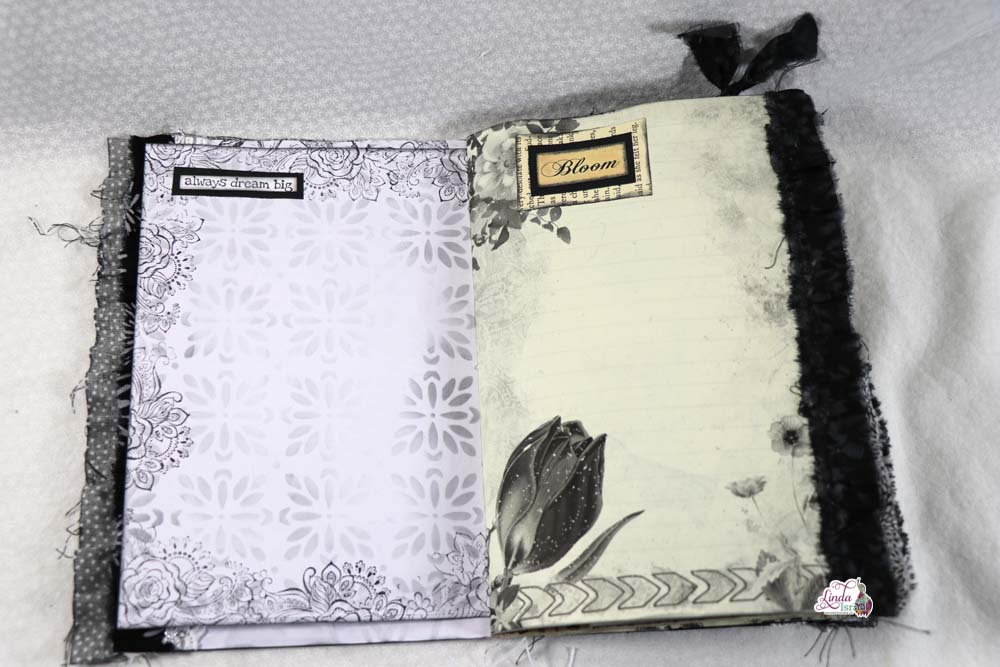
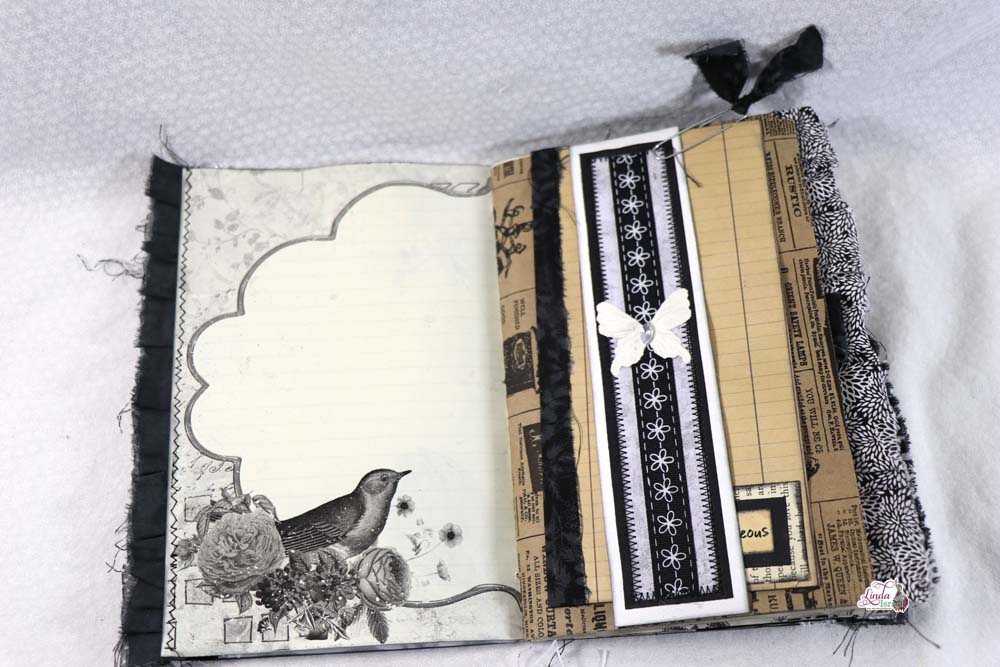
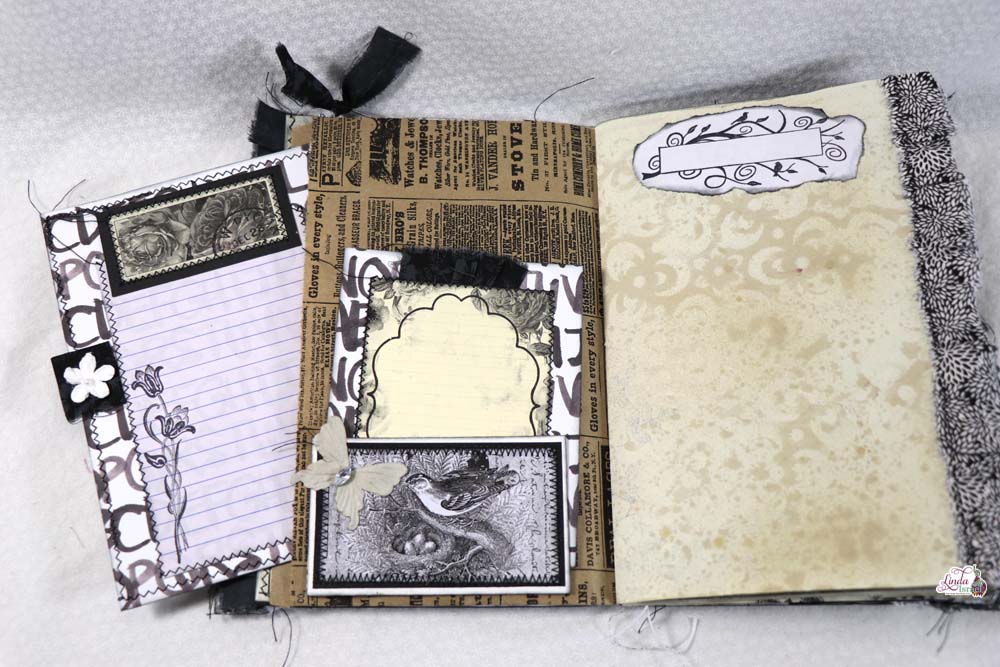
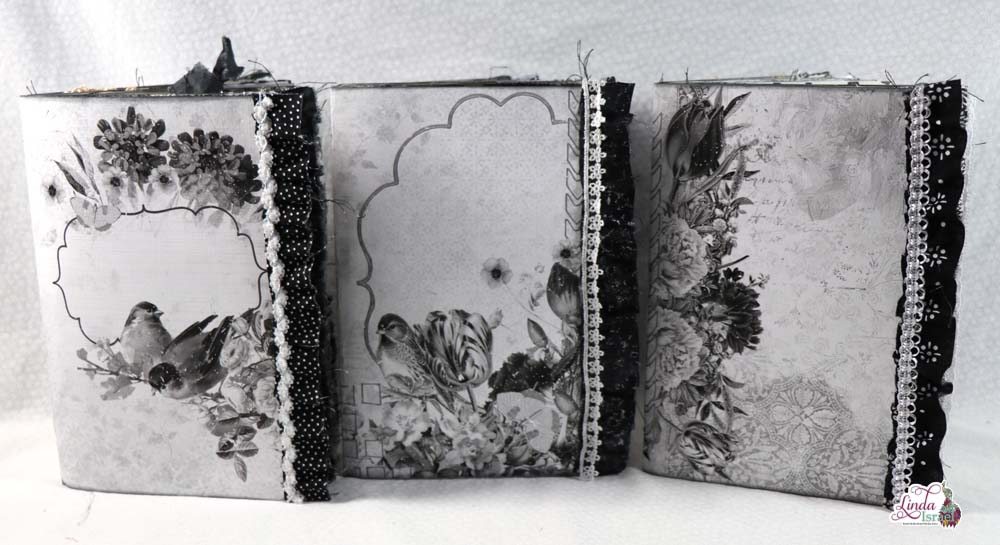 Preparing to create this monochrome journal, then deciding which digitals looked good when printing in black and white takes a lot of time.
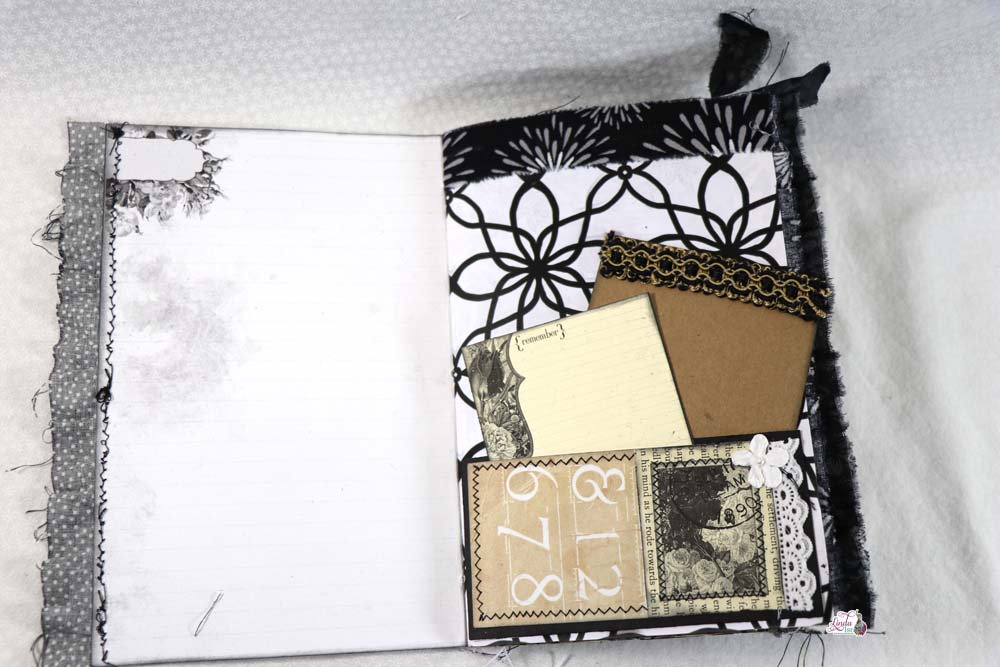
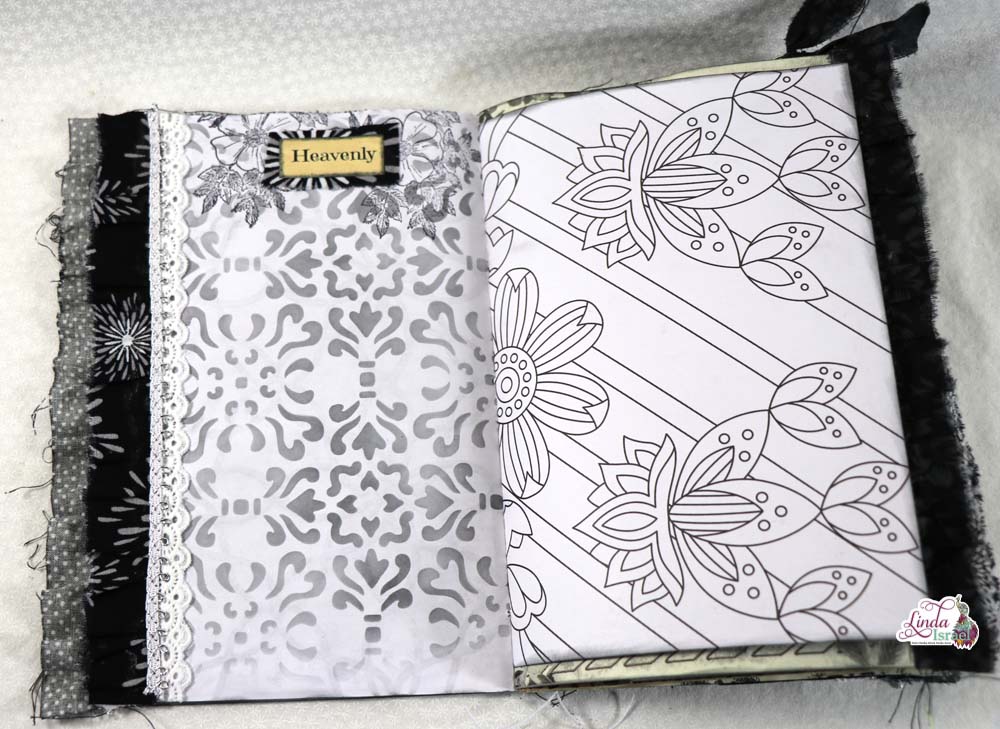
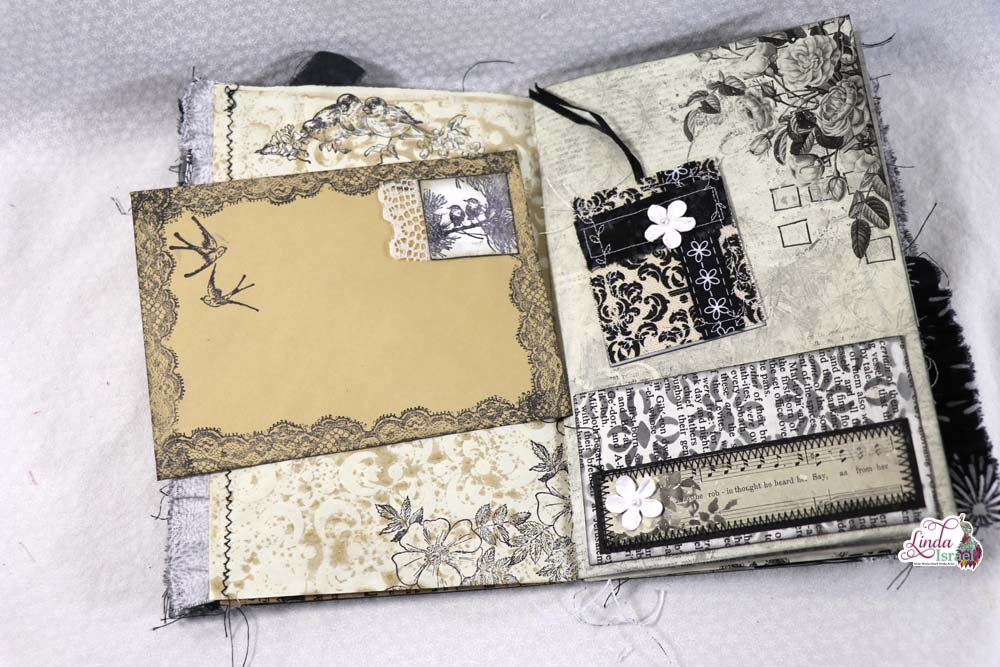
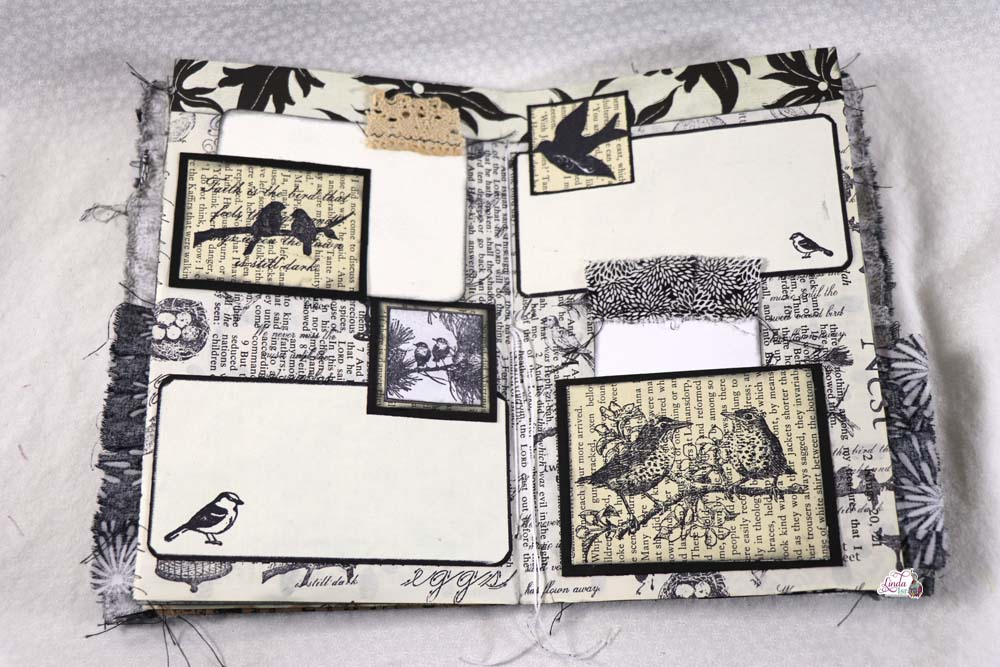
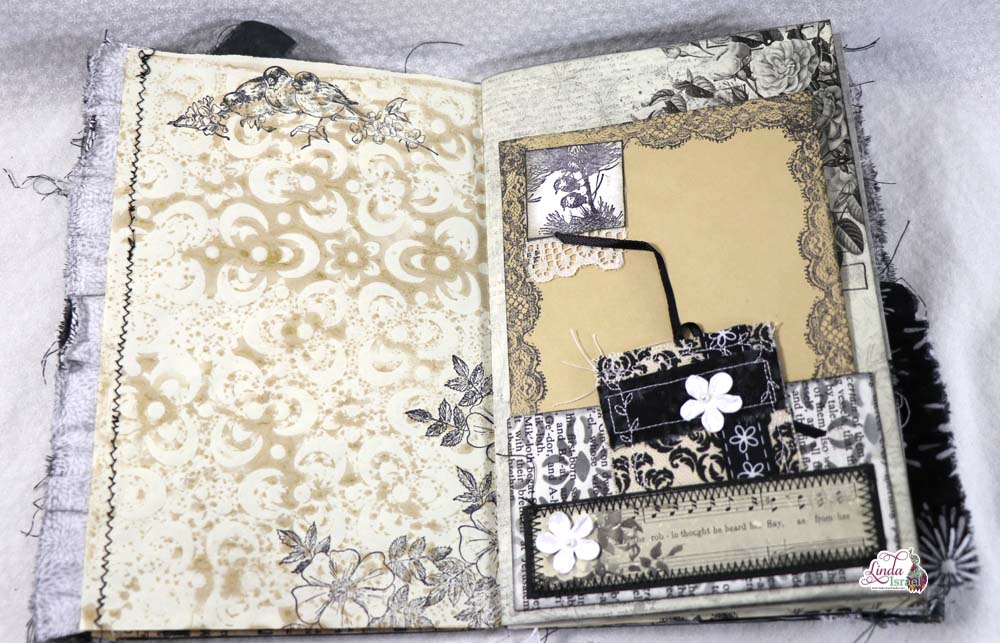 Altering an envelope can be done easily with rubber stamps! One of the stamps from the Lace Duo was stamped around the edge. On a scrap of white paper the little birds were stamped and a real piece of lace was attached.