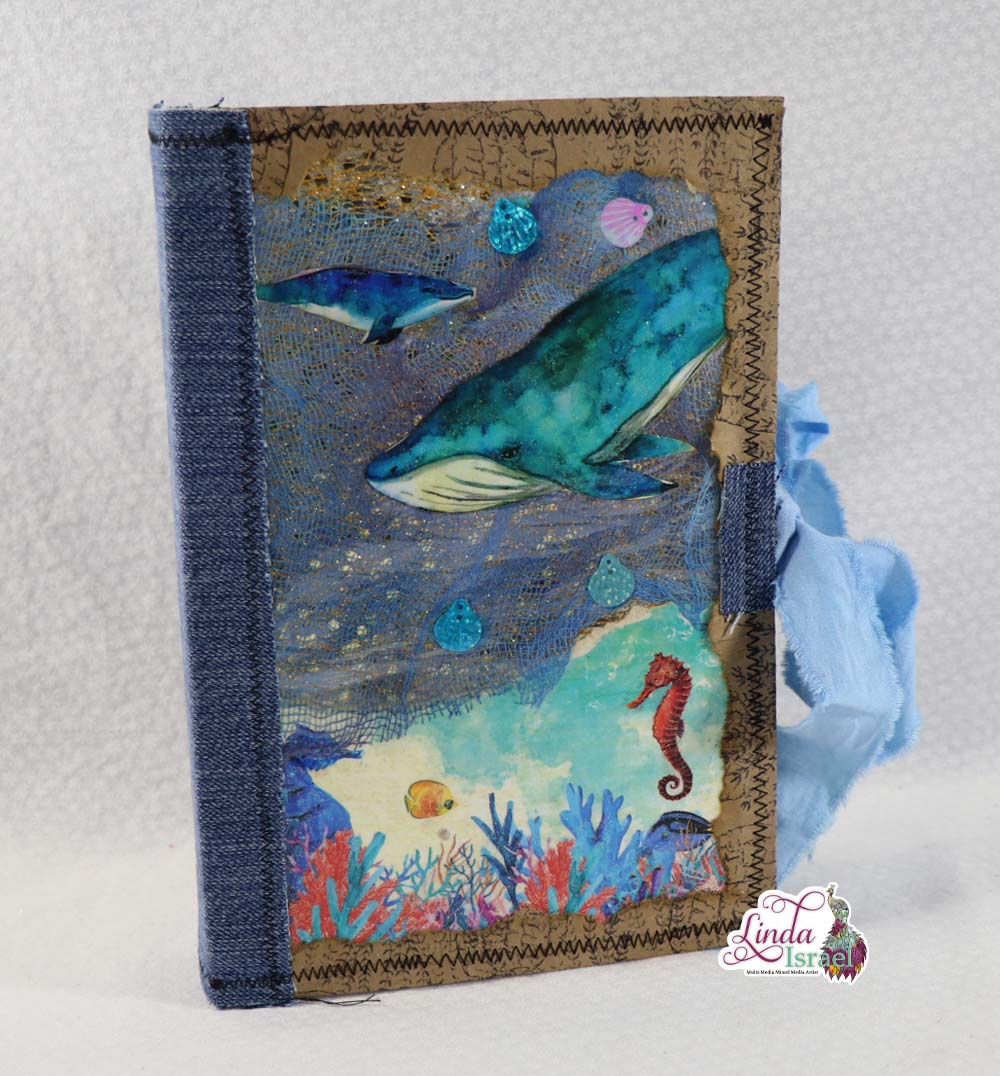
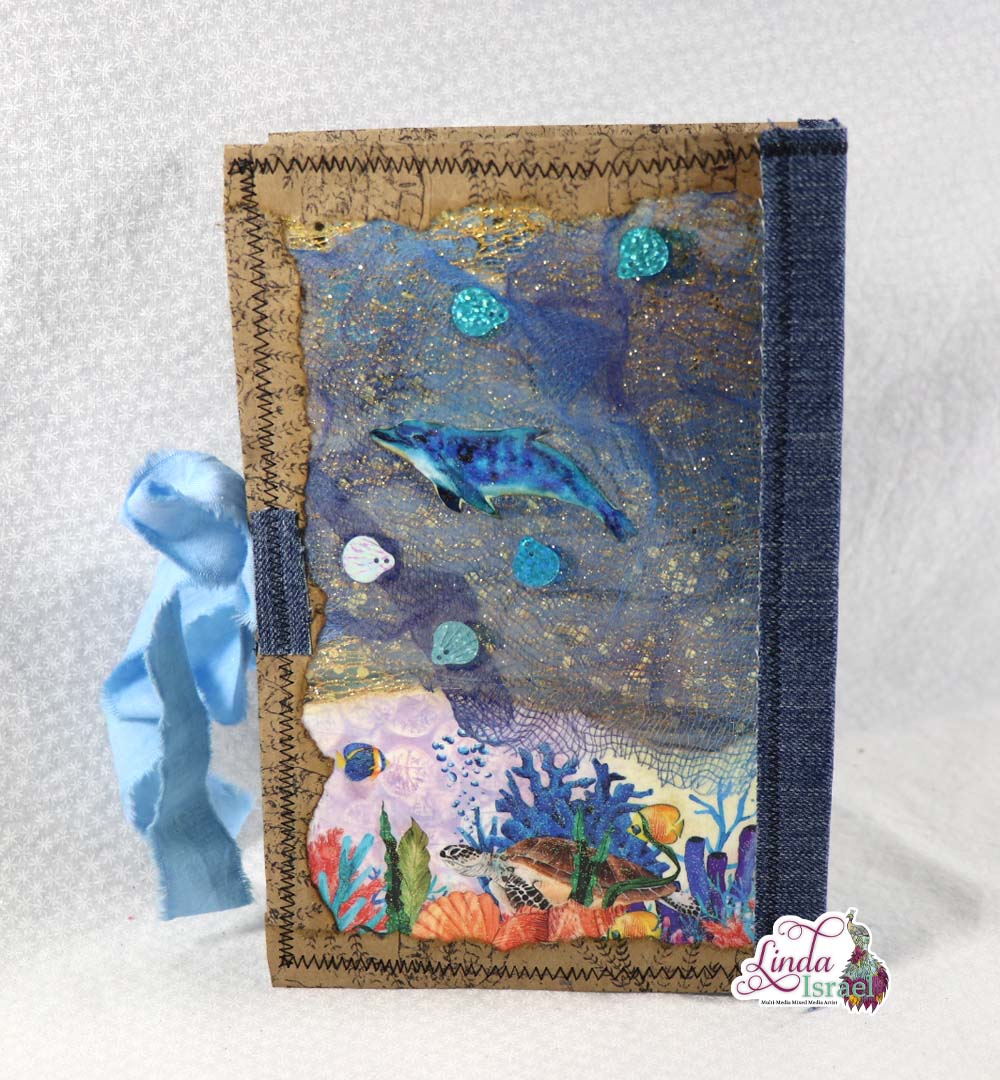
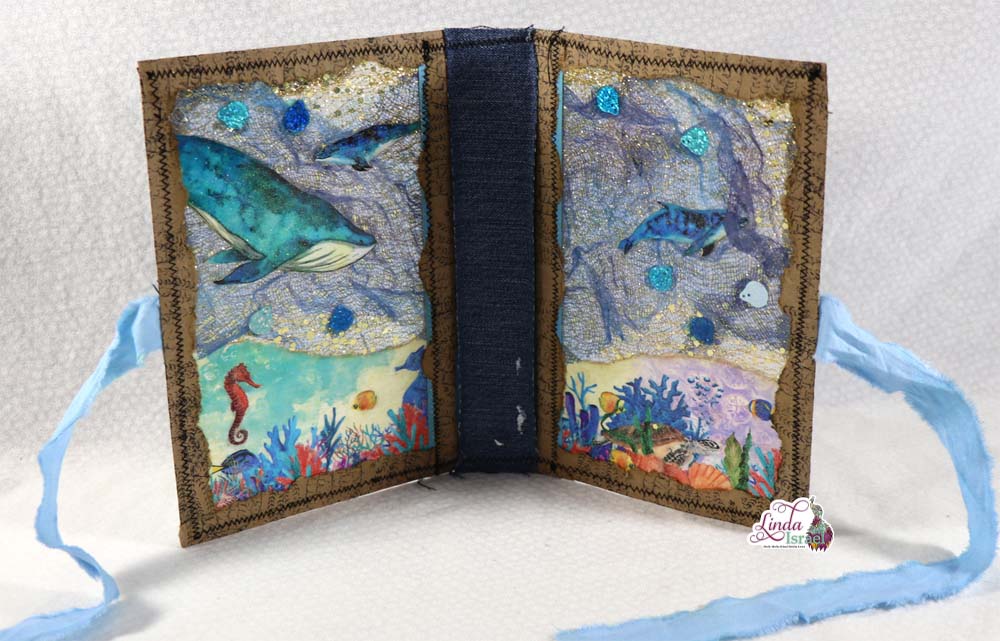
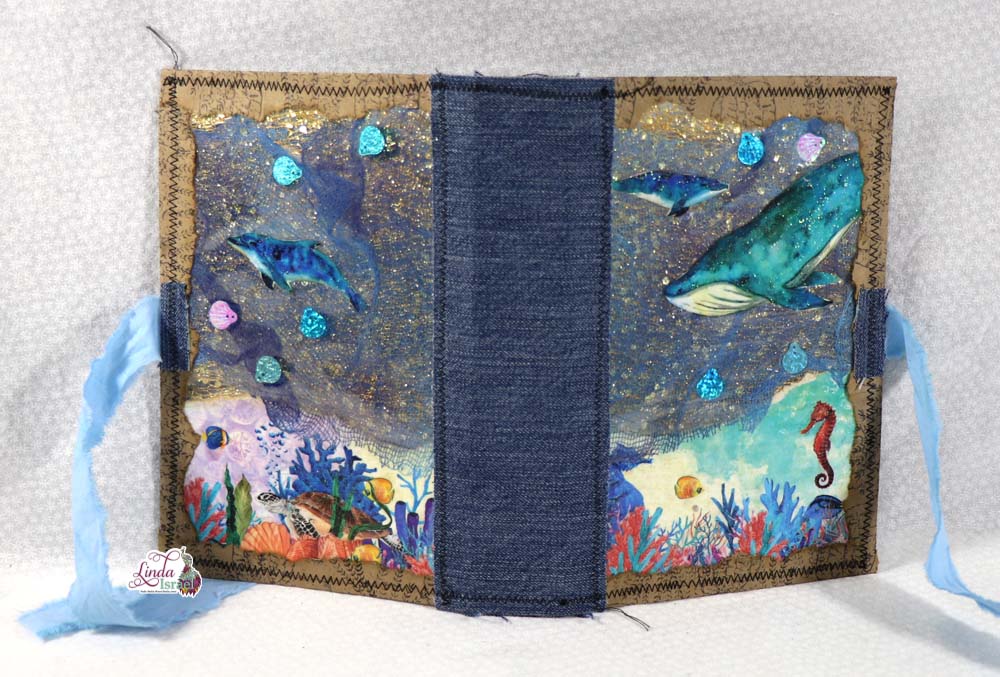
Sharing a new idea in the Laminated Journal Cover Tutorial. I wanted a way to use a letter size printed page to create a multi signature journal. In this tutorial I show how to create a cover using the letter paper, lamination and more.
Laminated Journal Cover Tutorial Video.
Supplies Used in the Laminated Journal Cover Tutorial
- Under the Sea Large Journal Kit
- Tulip Dimensional Glitter Paint
- Fiskars Easy Action scissors
- Distress Ink, Walnut Stain
- Blending tool
- Christmas Glitter Tulle
- Cheesecloth sprayed with Under the Sea TAGM
- Fabri-tac Glue
- Flat Shell Sequins (found in the Under the Sea Creative Kit)
- Lamination Sheet
- Heat Laminator.
- Fiskars guillotine Cutter
- Cardstock
- Fiskars Rotary Paper Cutter
- Scoring tool
- Brown paper sack
- Coral QT Stamps
- Kelp and Seaweed stamps
- Archival Ink, Jet Black
- Denim Scrap
- Dyed fabric
- Sewing Machine
For this project I knew that I needed an image that would look great mirrored from the original. Since the image I chose didn’t have any text, it was easy to use photo editing software to mirror the image. Then I printed the original and the mirrored image on linen cardstock.
Using a paintbrush I then applied Tulip Dimensional Fabric Paint to the sea life. It doesn’t take long for this paint to dry, one of the reasons I like using the paint. The other is it adds a beautiful sparkle to the page and the glitter won’t transfer. (Tip: if the painted pages seem to stick to other pages use the Perfect Paper pouch over the image(s) and then it won’t stick anymore.)
Aline the two pages back to back, use paperclips to hold in place. Tear the two pages so that the upper half is removed.
Fussy cut the sea life images. Apply distress ink, walnut stain to the images and page. Fold the page in half and mark the center point as this will be used to cut the page in half later.
Here is the fun part. I used Christmas Glitter Tulle. A while back I picked up some of this pretty tulle, but I haven’t used it very often. I thought it would make a great background for the Under the Sea Journal cover. Adhere a strip of the tulle to the top half of the page. Place the tulle between the outside and inside page. I tore my page to short so I had to piece it together, so don’t worry if you don’t have a tall enough piece, just glue another.
Using Tattered Angels Glimmer Mists from the Under the Sea collection I then sprayed a length of cheese cloth. Dry with a heat tool or let air dry. Lay the cheese cloth over the gold glitter tulle and trim to fit. Adhere with a few dots of glue and repeat on the other side.
Flat sequins are perfect to add for additional interest. Glue around the sea life on both sides.
Once all the pieces have been added to the cover place inside lamination sheet and use a heat laminator to adhere and seal the cover.
Cut the laminated sheet in half and this will create the front and back covers for the journal.
Cut two strips of 9 x 3 cardstock, score at .75 on both sides long ways leaving a 1.5 inch strip in the center, this will become the spine of the journal. Fold on the score lines. Don’t have cardstock? Use chipboard or oversize junk mail postcards.
Adhere the covers to the spine pieces.
Using a brown grocery sack, tear strips that are about 1.5 inches wide. I actually cut a wider strip, folded in half and then tore so that the paper would line up when folded over the edge. Stamp different stamps from the Kelp and Seaweed and Coral QT stamp sets along this strip. Apply distress ink, walnut stain to the edges.
Adhere the strips over the edge of the cover. I found that gluing on side first was easier.
For the outside spine I decided that a 3 x 9 inch scrap of denim would work great. Adhere on the outside. When I looked at the inside I decided that a scrap of the paper sack could be used along with another scrap of denim. Use what you have on hand.
Since I knew this journal might be a little fluffy I created a fabric tie. Two strips of 1 x 15 inches of Tattered Angels Dyed fabric were selected along with another scrap of denim. Adhere to the center and allow the glue to dry.
Finally, to finish the cover sew down the center spine (this will hold the denim in place and give a finished look to the cover). Sew around the outside edge and the journal cover is done.
This cover was used for the journal made on June 6th live on YouTube. Watch the livestream to see how to create journal pages and how I bound the pages to the cover.
I really love how this journal cover came together. Using the lamination sheet allowed for the page to be sturdy and transparent in areas. This will be a technique that I’ll use again.
Visit the Friendly Junk Journal People Facebook group. Of course, you are welcome to join the Friendly Junk Journal People Facebook group. The group is growing daily and we are a friendly group willing to help each other and encourage each other.
Interested in any of the projects Linda has created? Please feel free to contact her through her website. Here is her shop, a lot of items featured and more added weekly.
Keep updated on her posts by following the blog by creating an account. Follow Linda on her Facebook Page or on Instagram for updates that may not be shared on the blog.
Thanks so much for stopping by the blog today to see the Laminated Journal Cover Tutorial.
