Gel Print Envelope Tutorial using acrylic paints, stencils, rubber stamps and more. In this tutorial Linda shows how to create Gel Prints to make an envelope with pockets and tuck spots.
Gel Print to Envelope Tutorial Video
Supplies used for the Gel Print to Envelope Tutorial
- Gel Press
- Acrylic Paint
- Seam Binding
- Tattered Angels Glimmer Mist
- Sewing Machine
- Shabby Stitches Stamp Set
- Postmark Collage
- Stencils
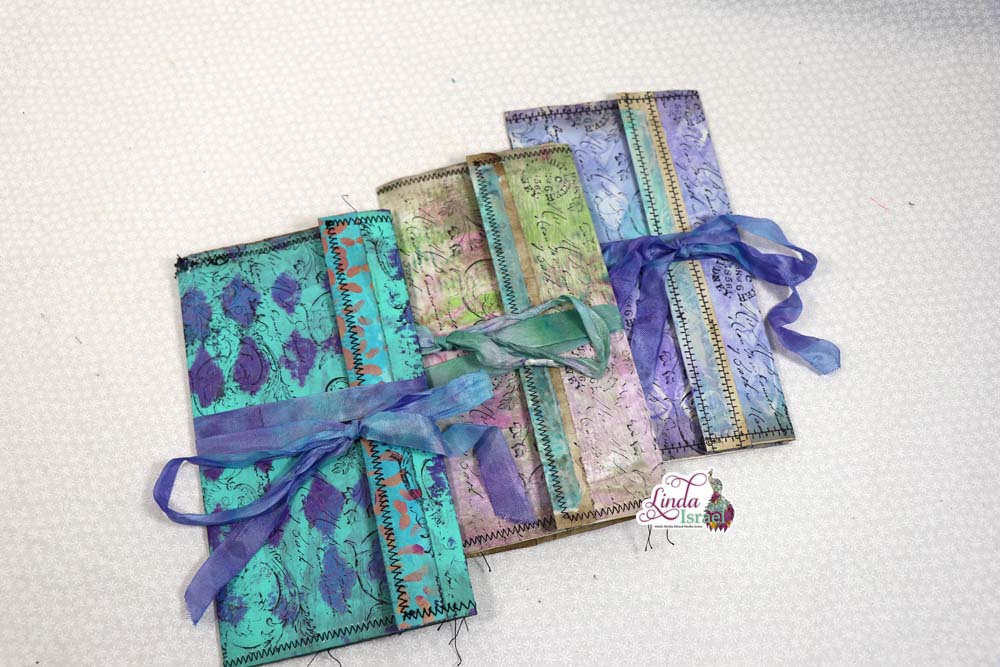
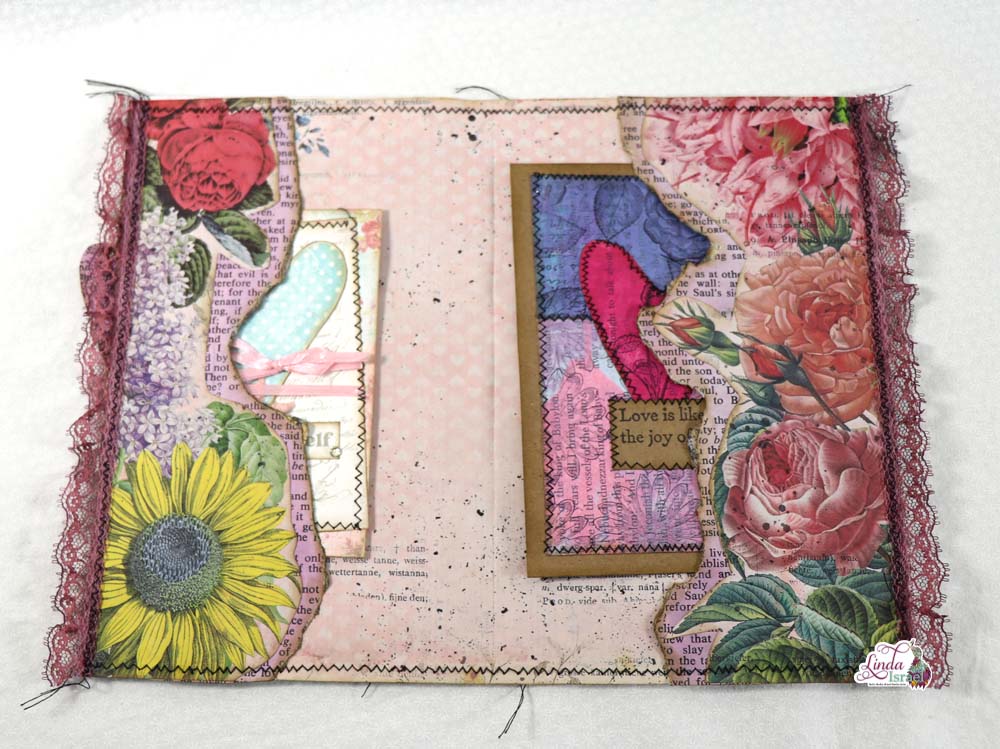
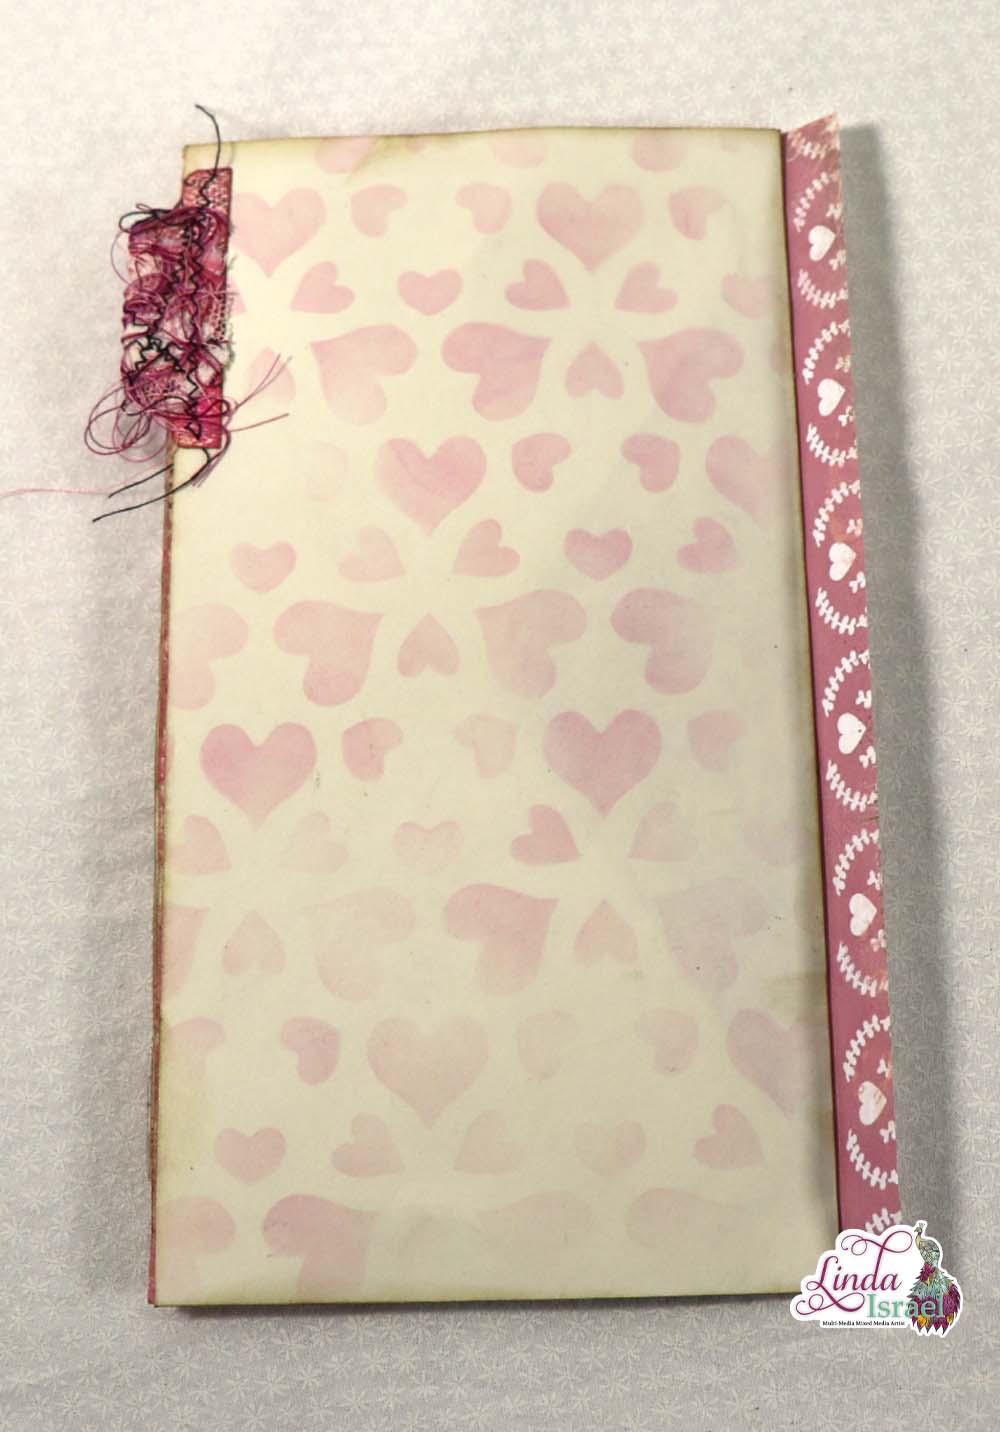
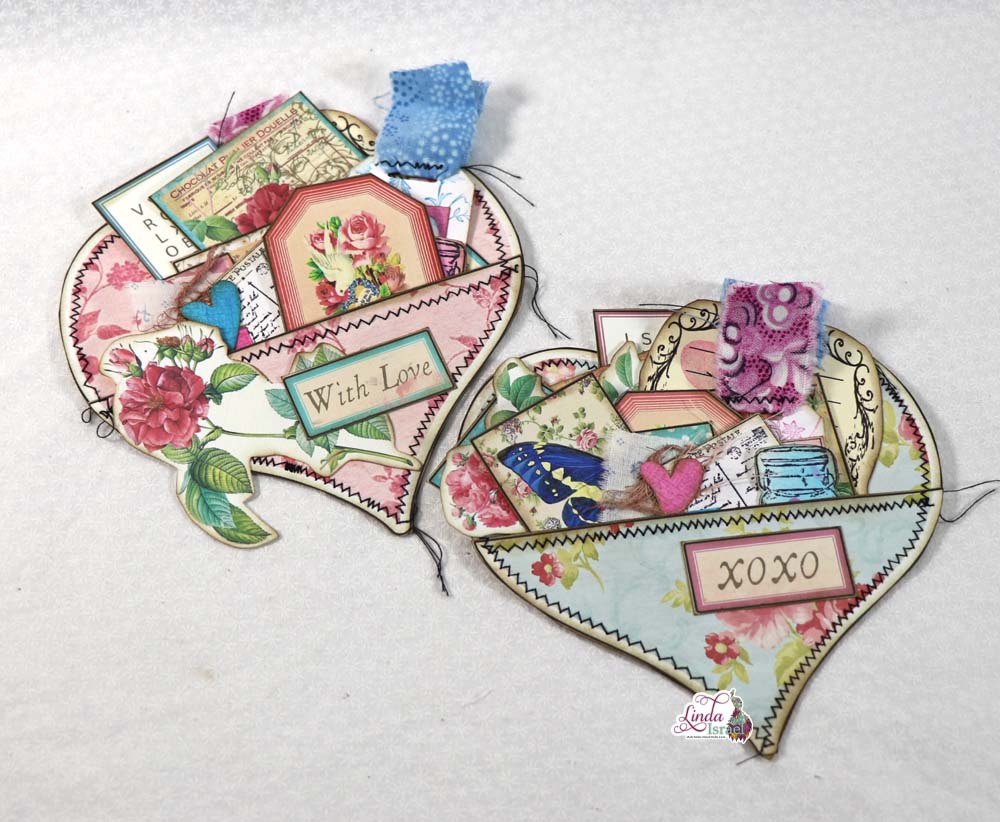
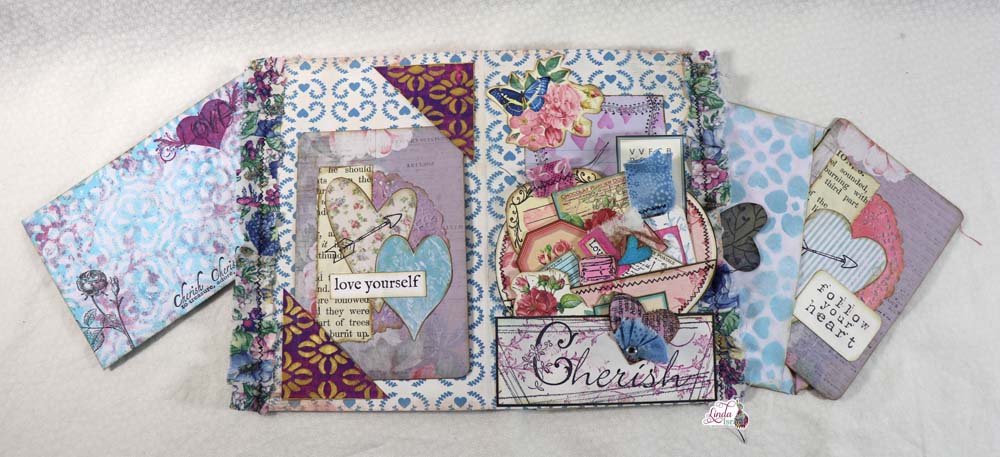
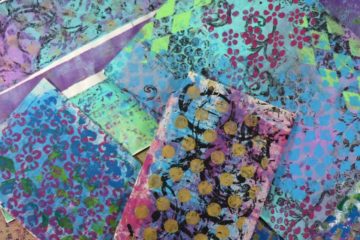
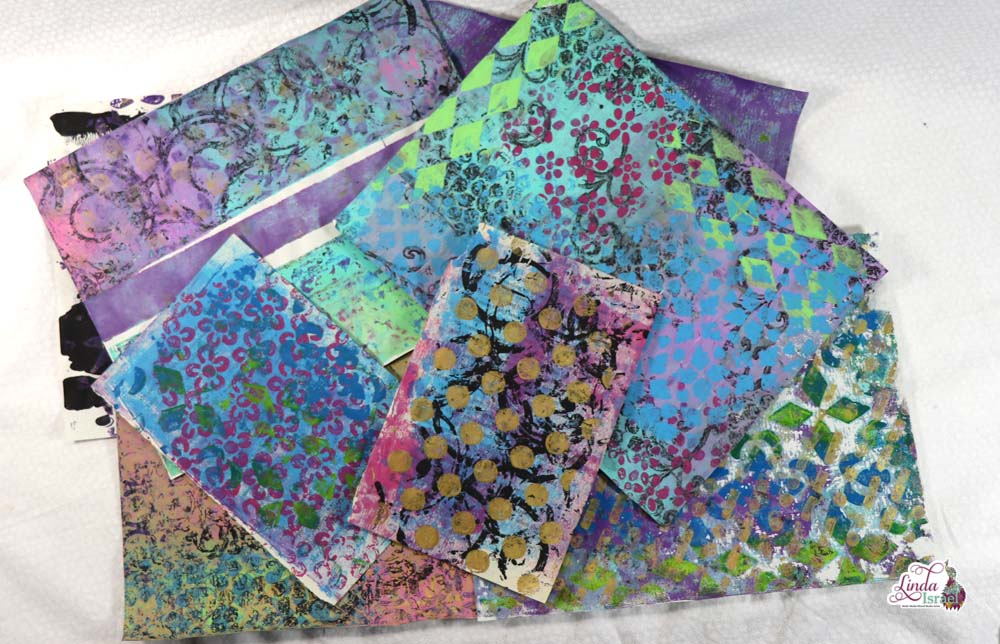
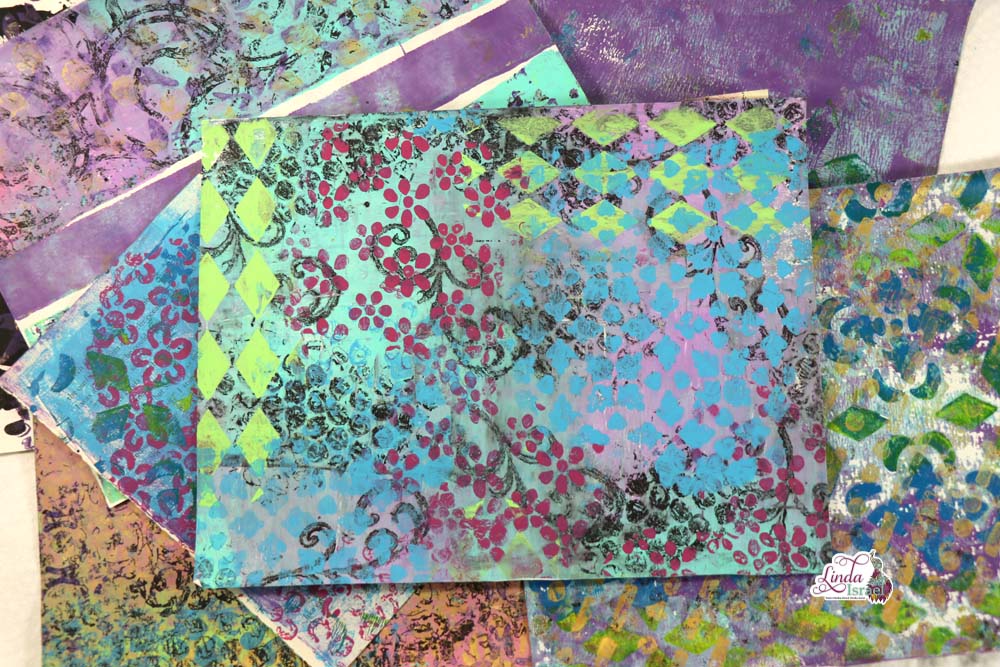
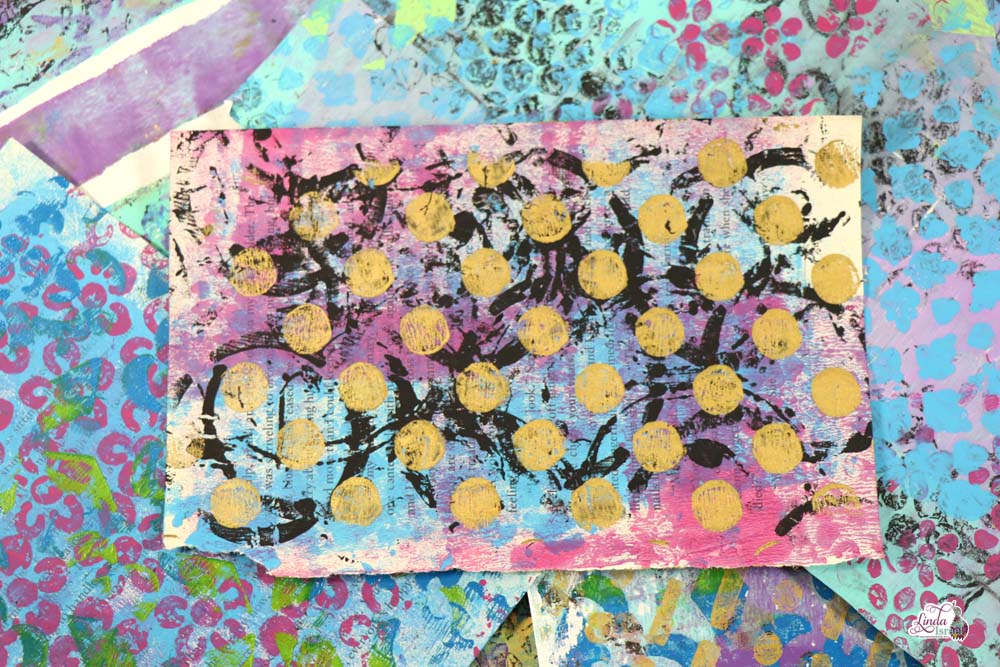
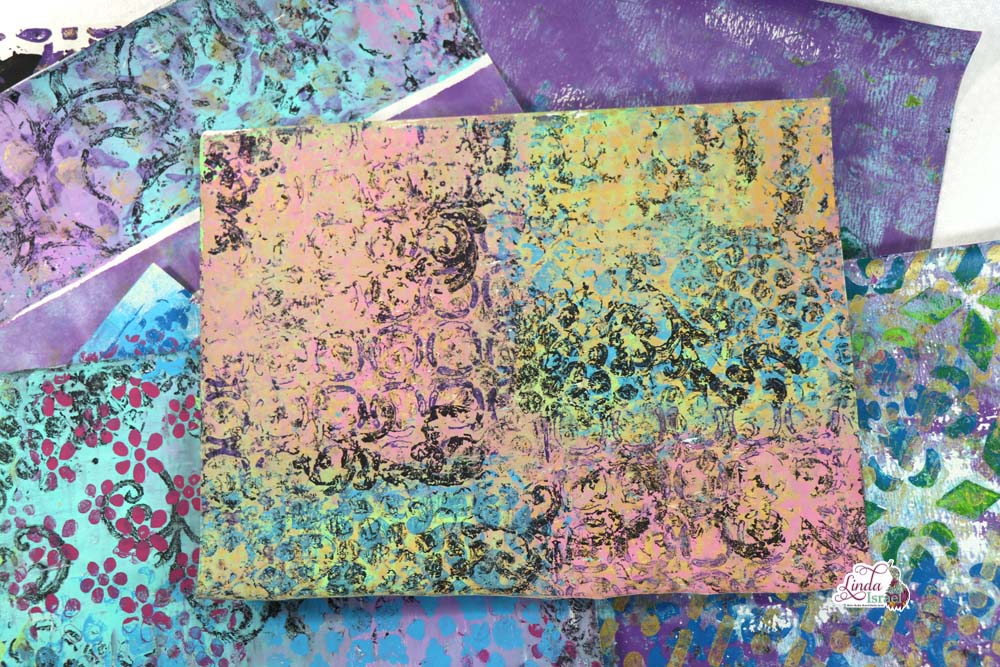
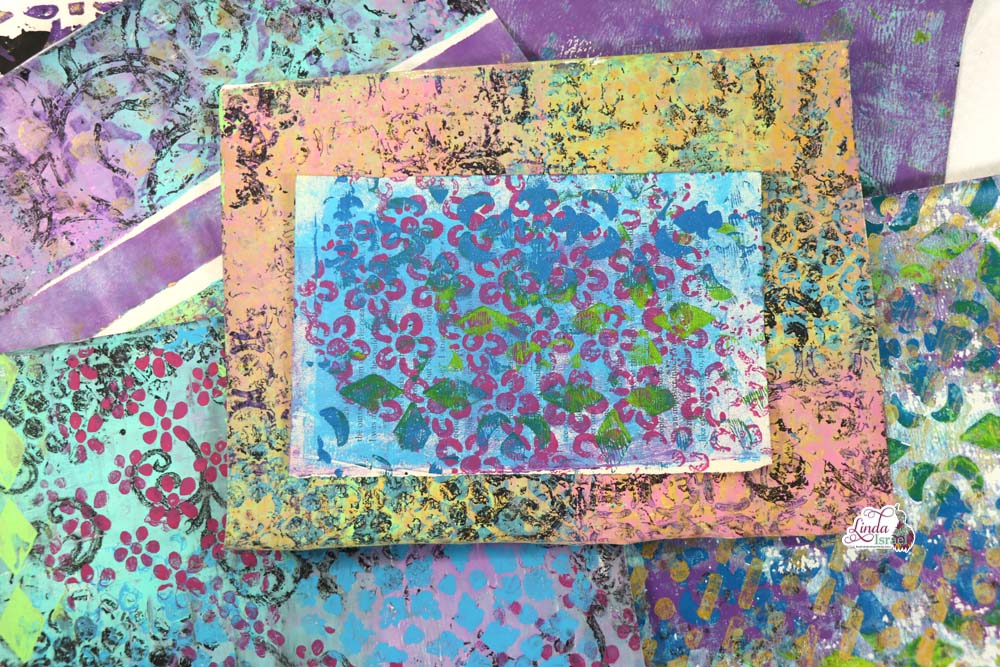
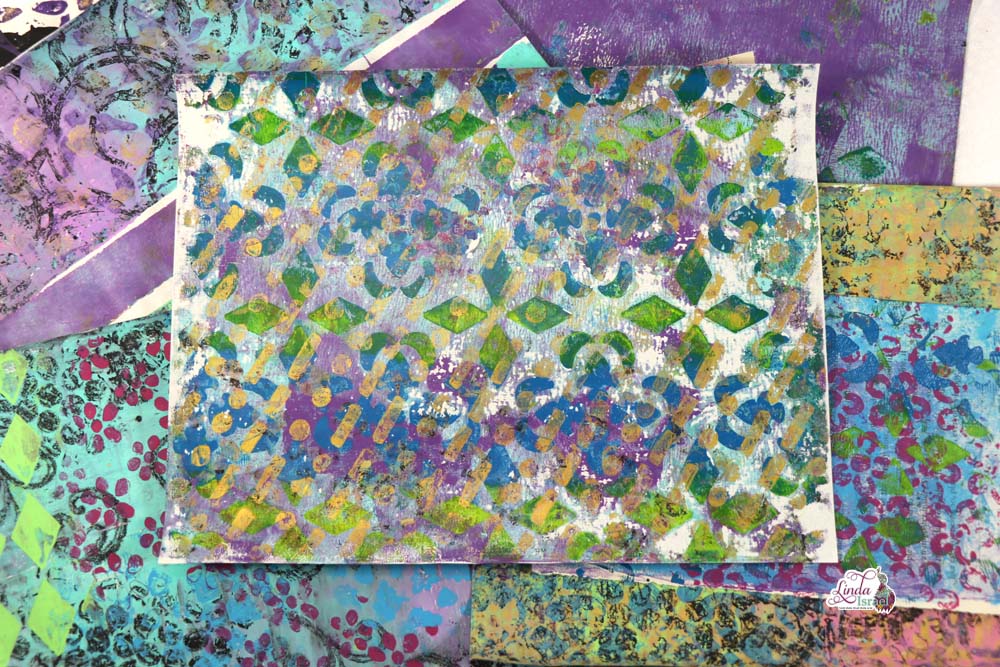
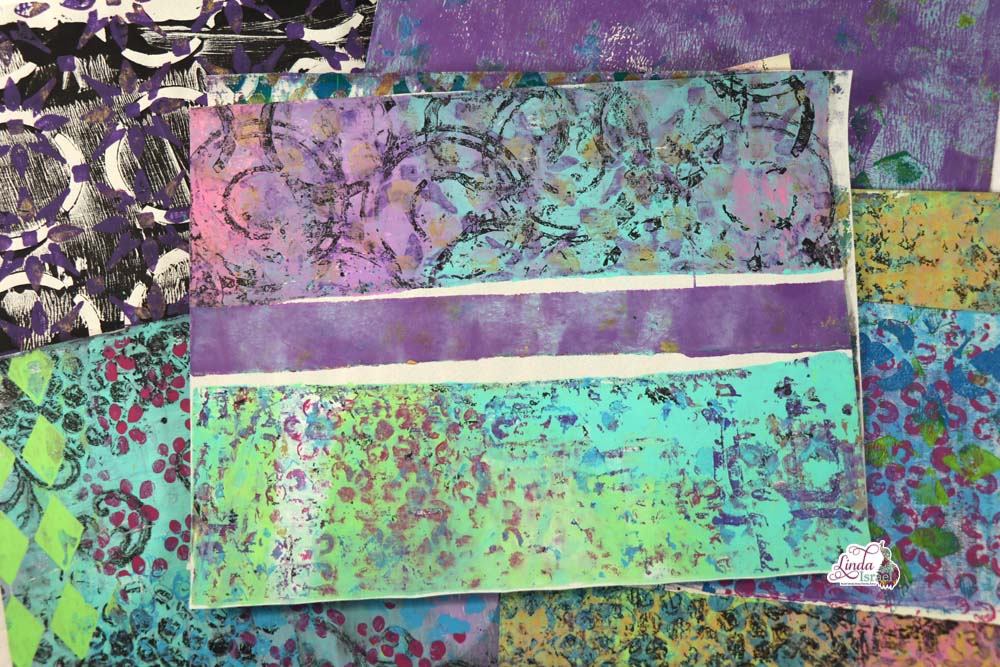
Using Gel Prints created with Acrylic Paints, Stencils on old book pages and copy paper you can create an Envelope with tuck spots.
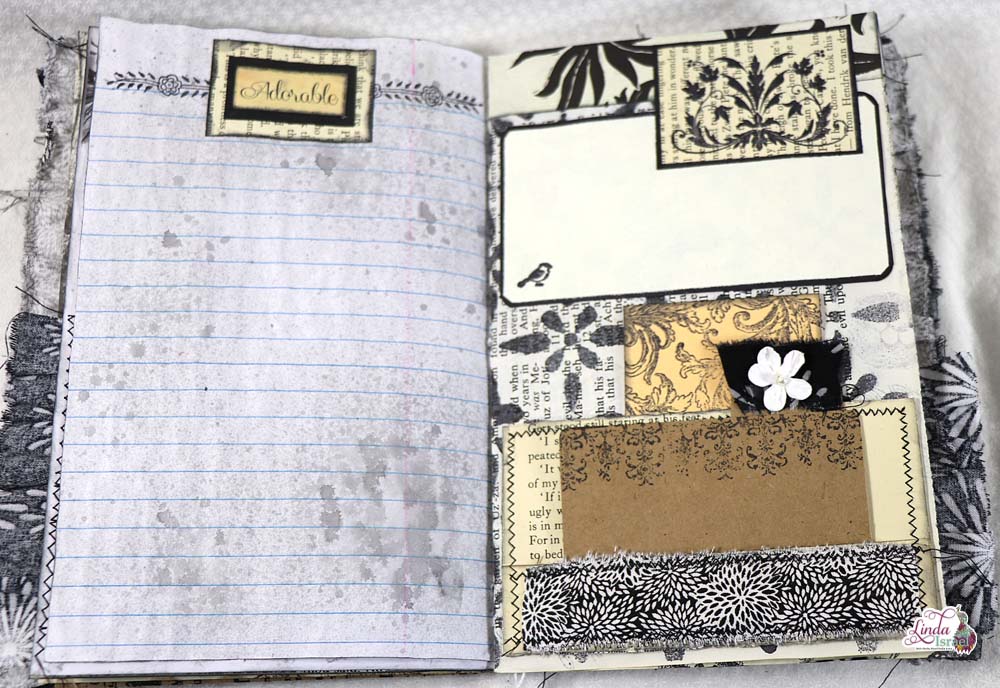
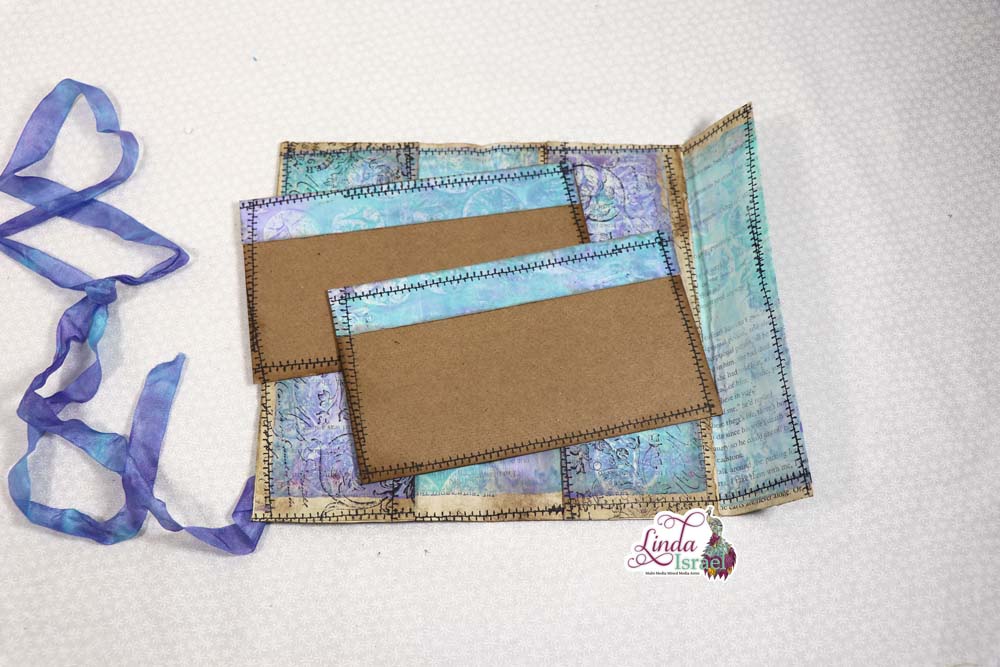
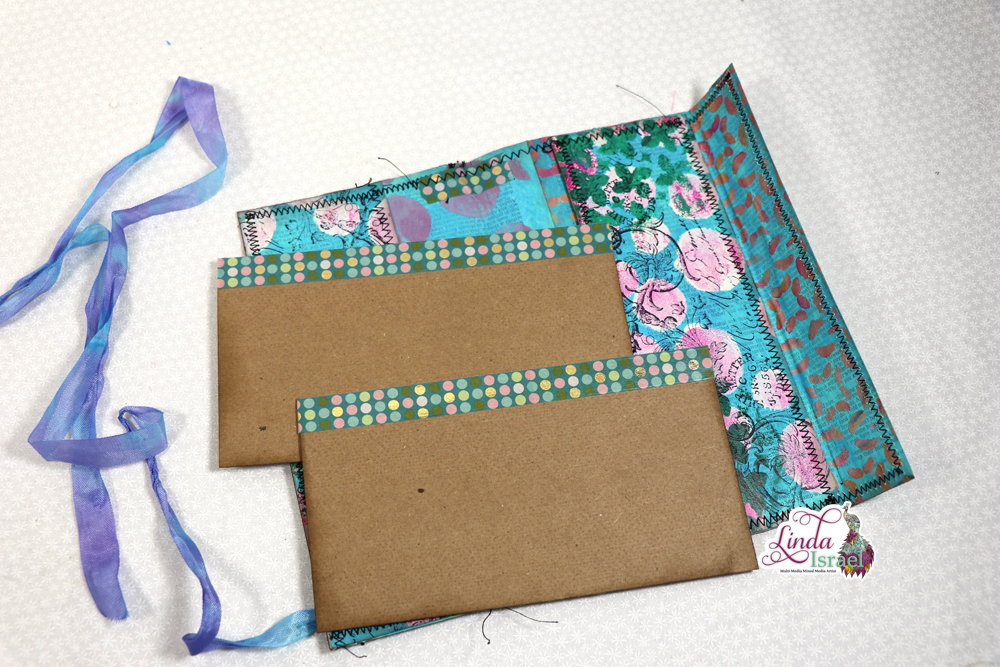
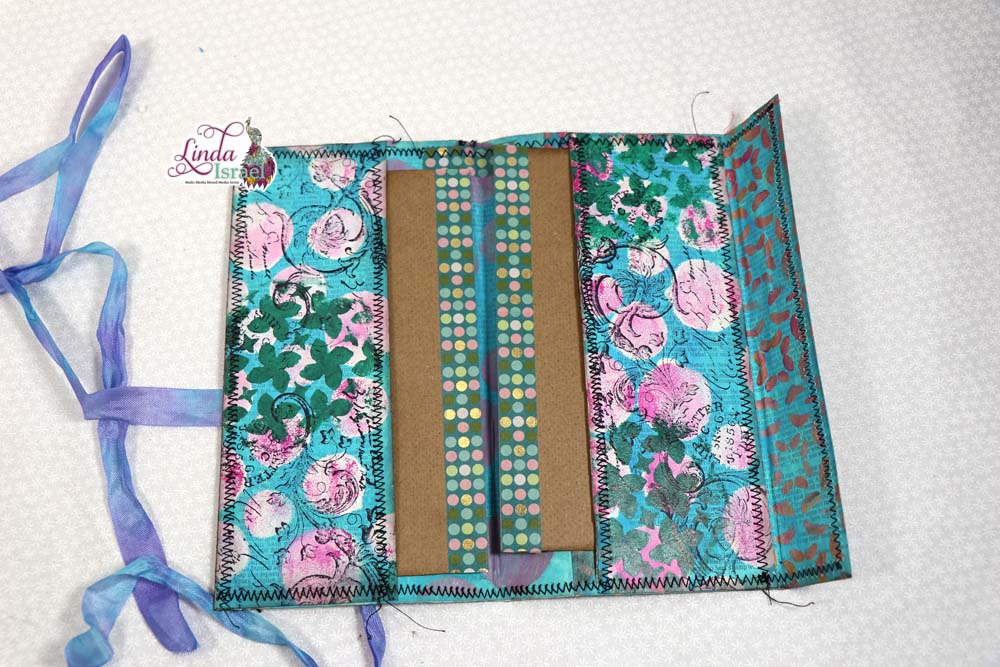
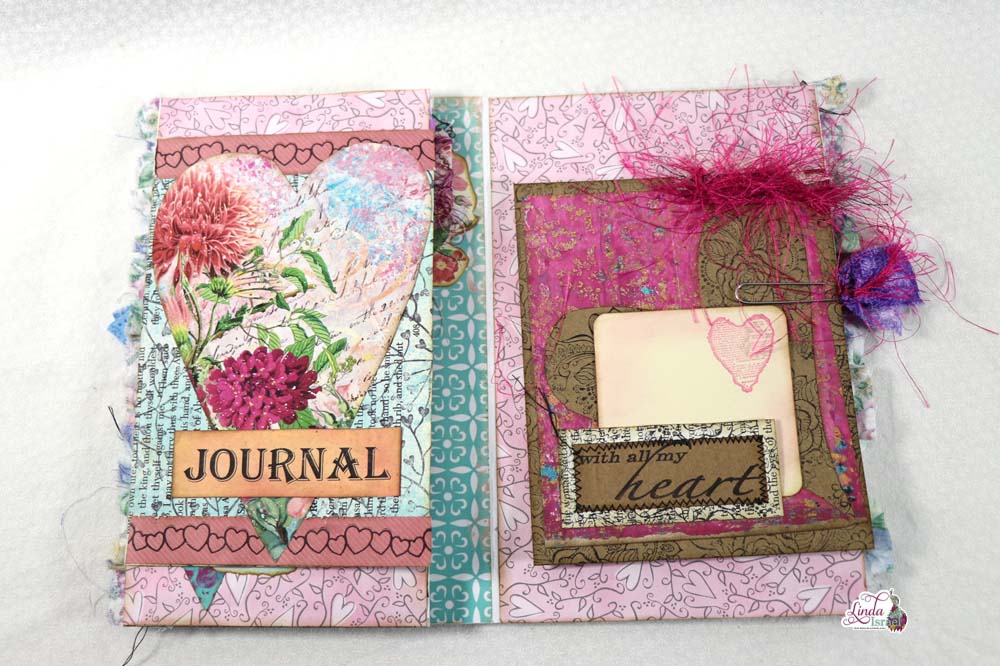
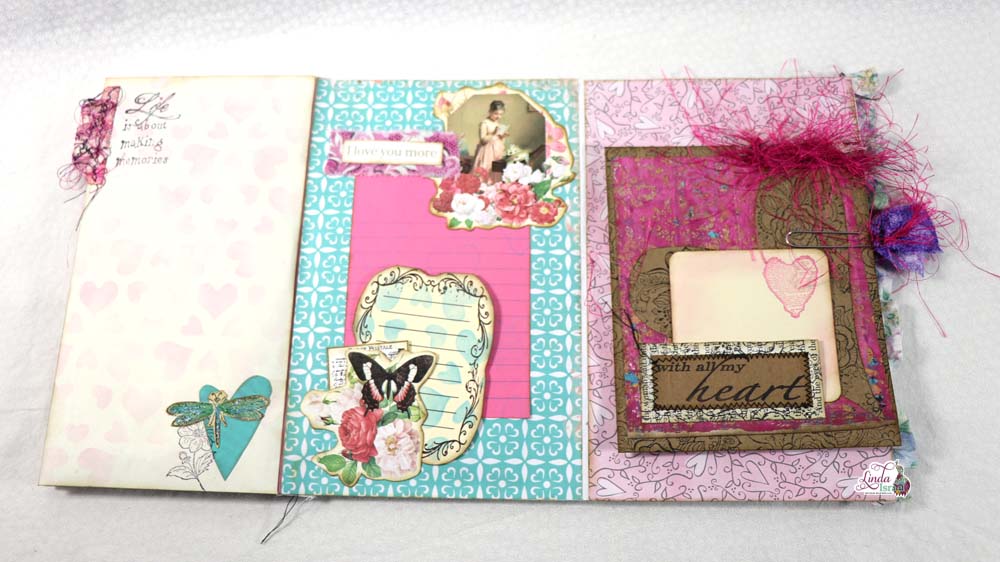
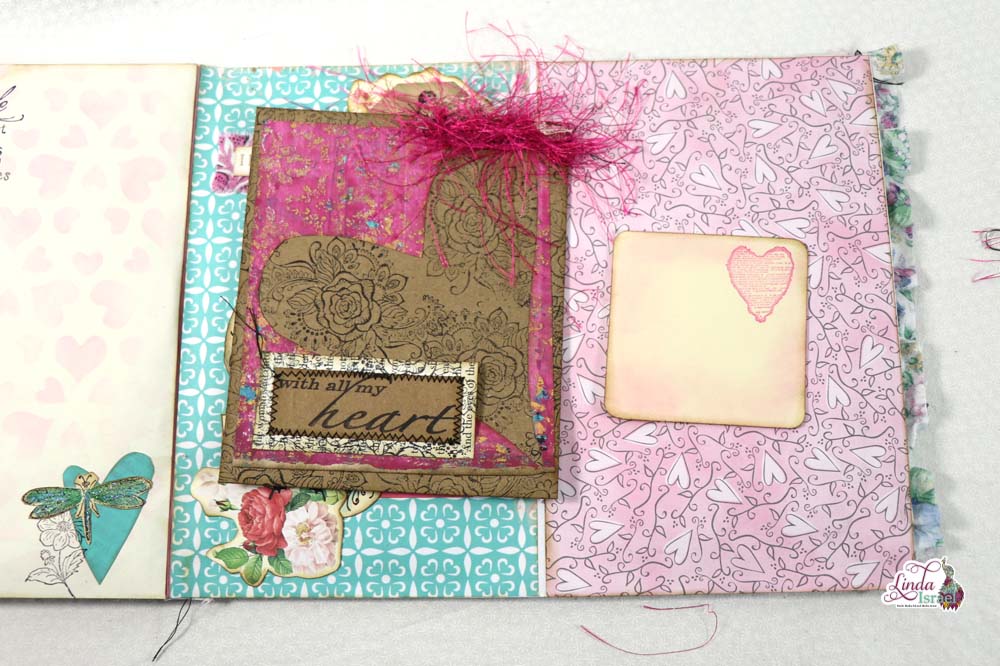
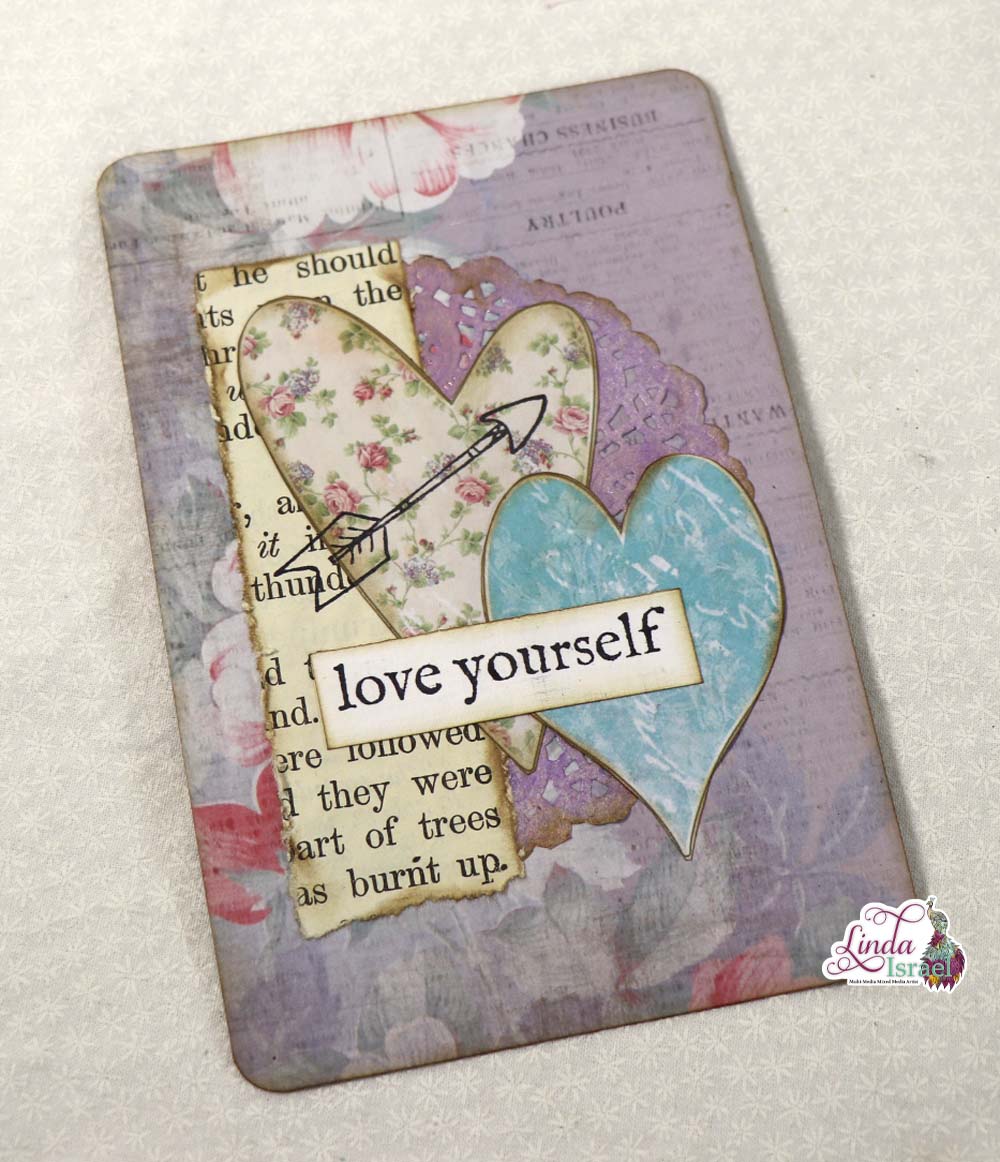
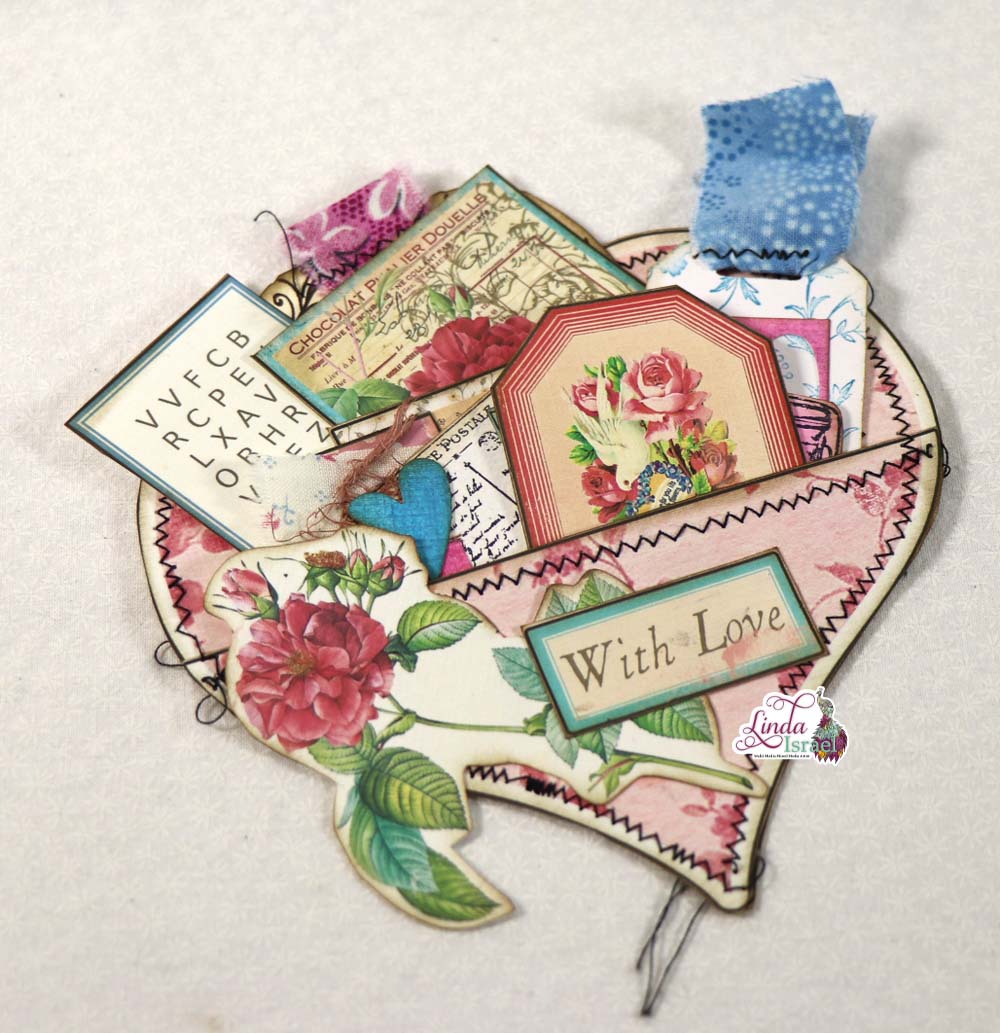
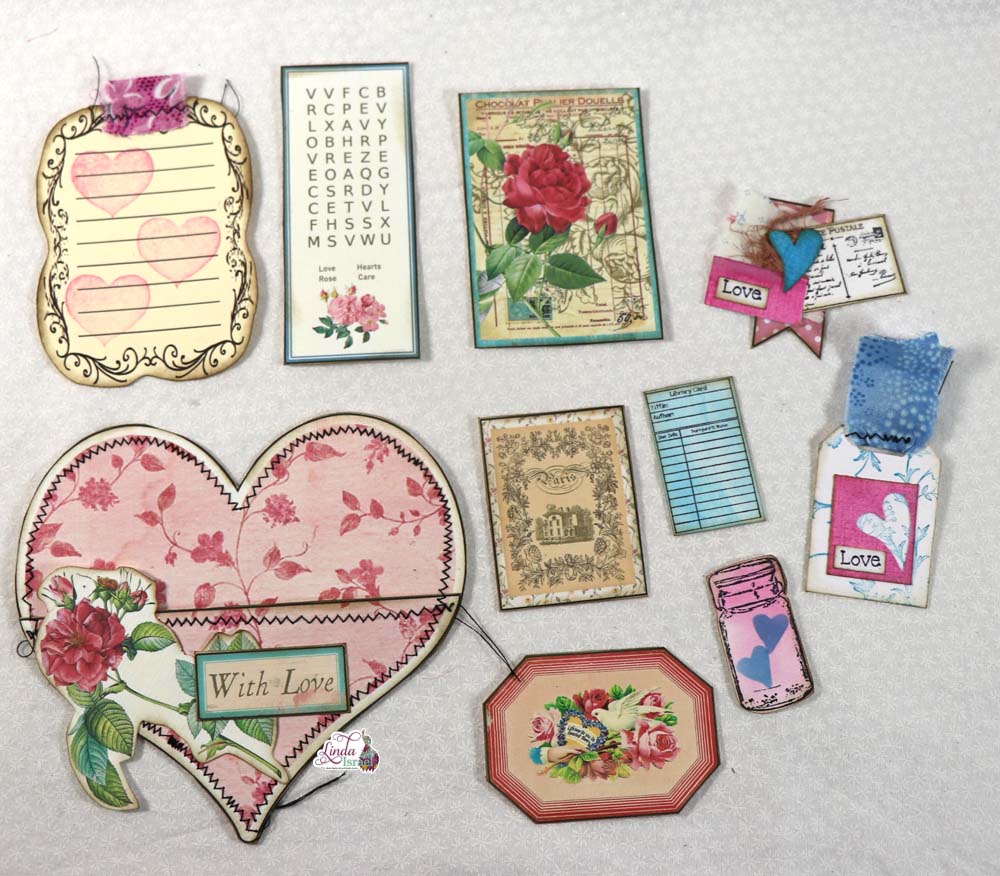
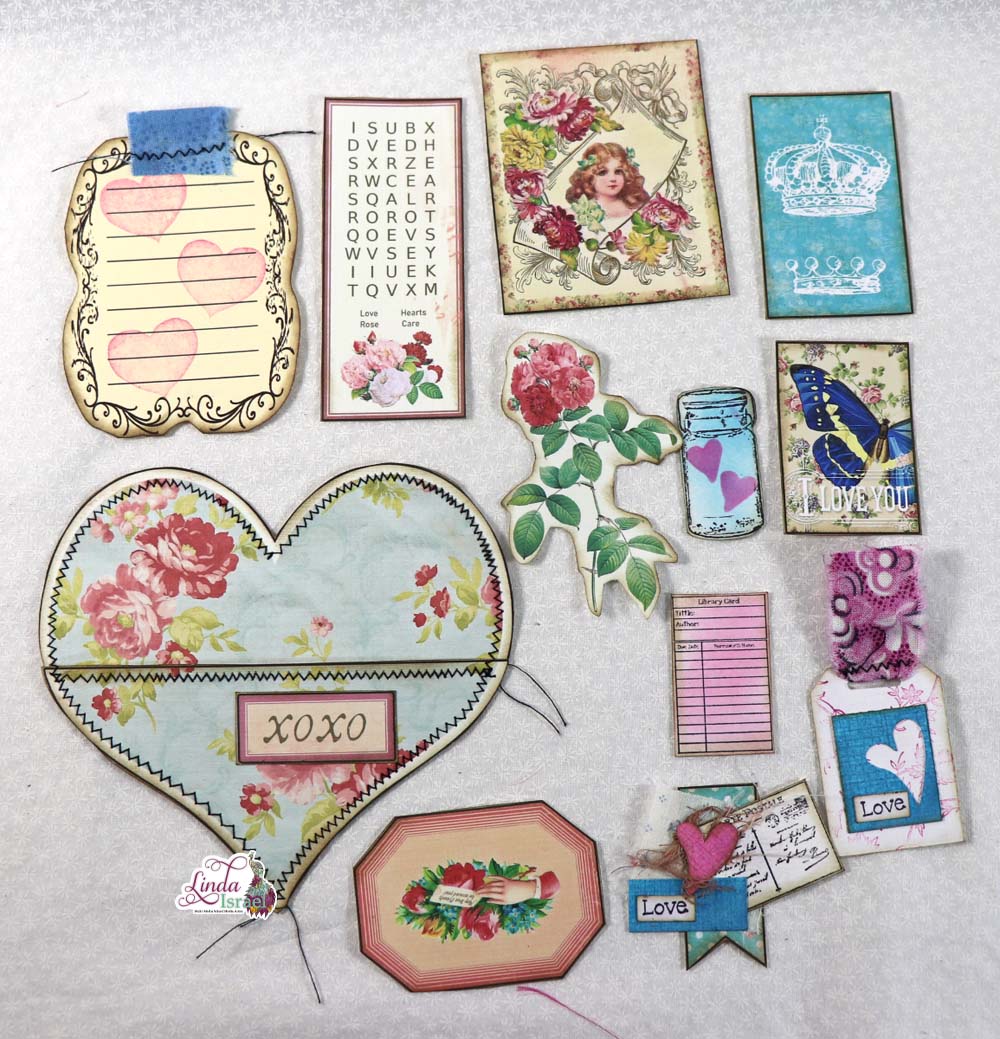
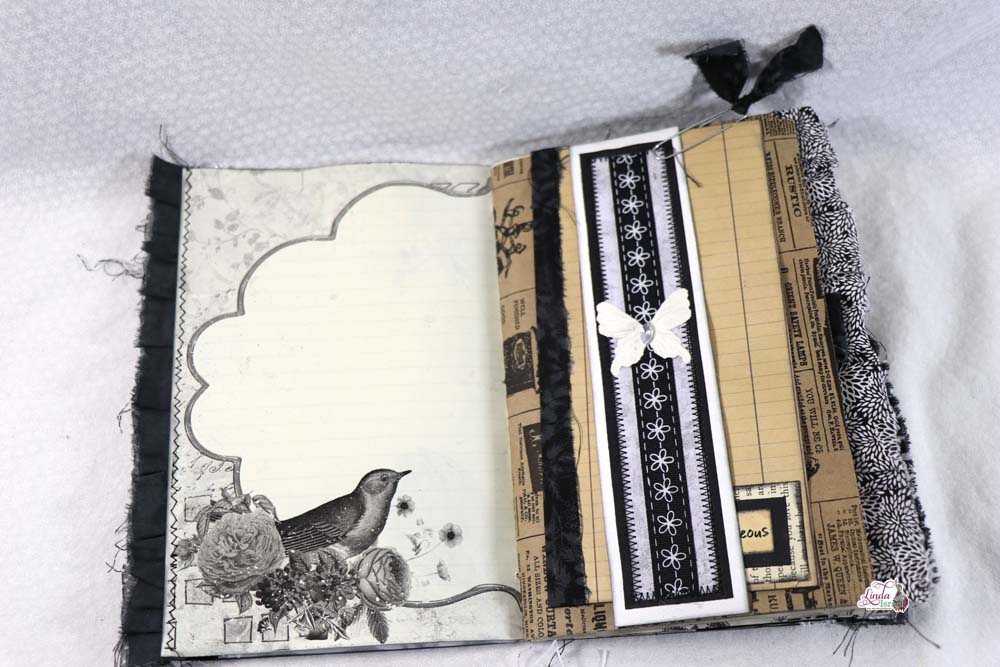
Add journaling cards to for the pockets in your envelope. Attach stripes of your Gel Prints to the journal cards and the Shabby Stitches Stamps on the edges for a finished look.
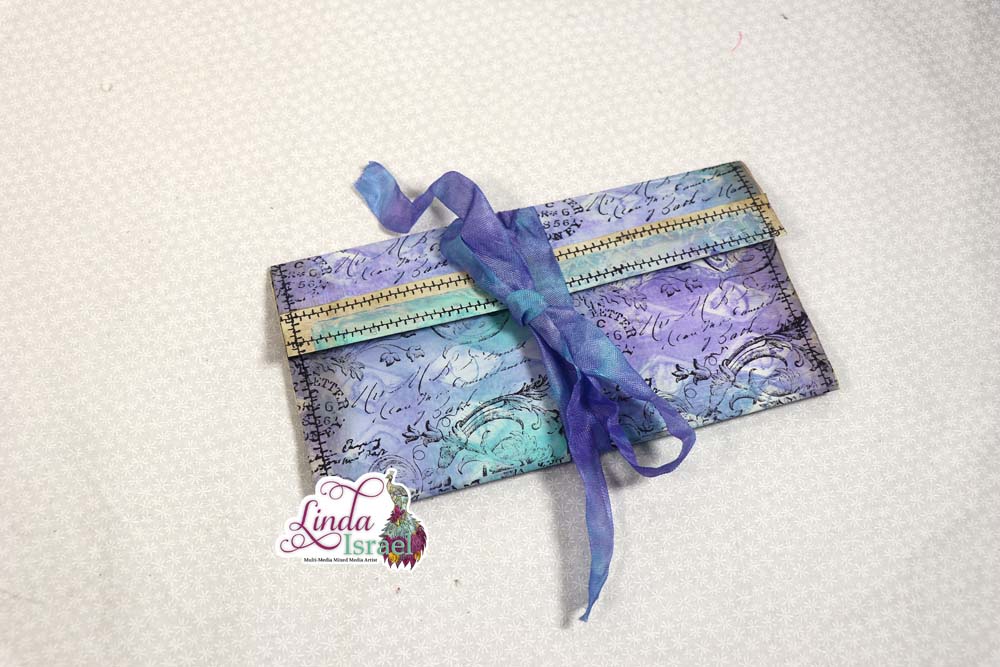
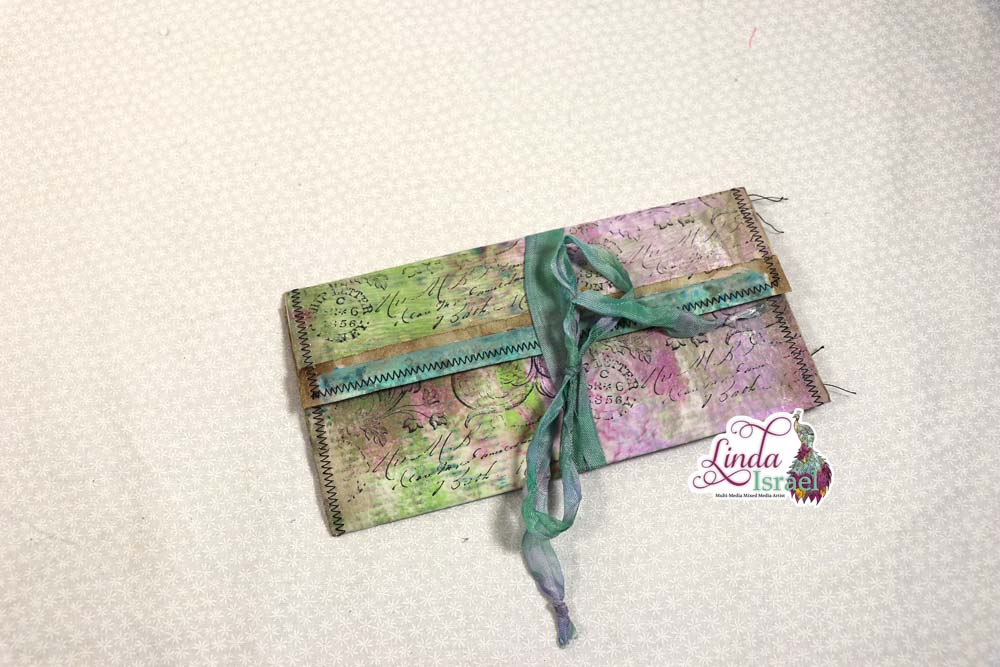
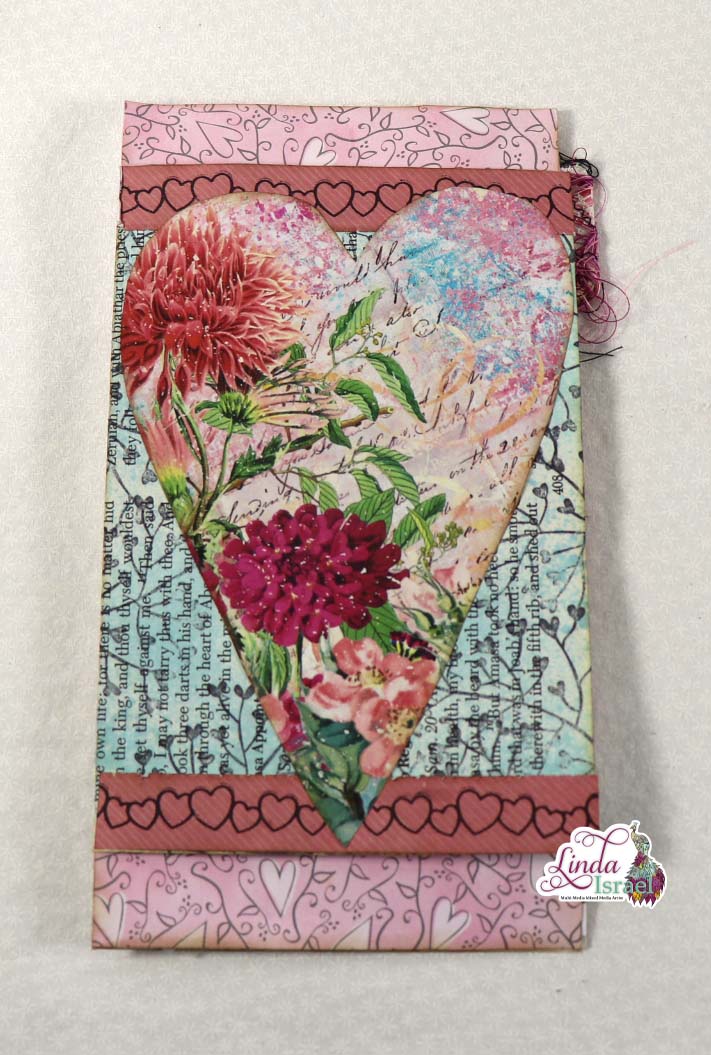
The Postmark Collage Stamp gives an elegant look on the cover, and the Shabby stitches Stamp gives the affect of being machine sewn on the edges of this Gel Print envelope.
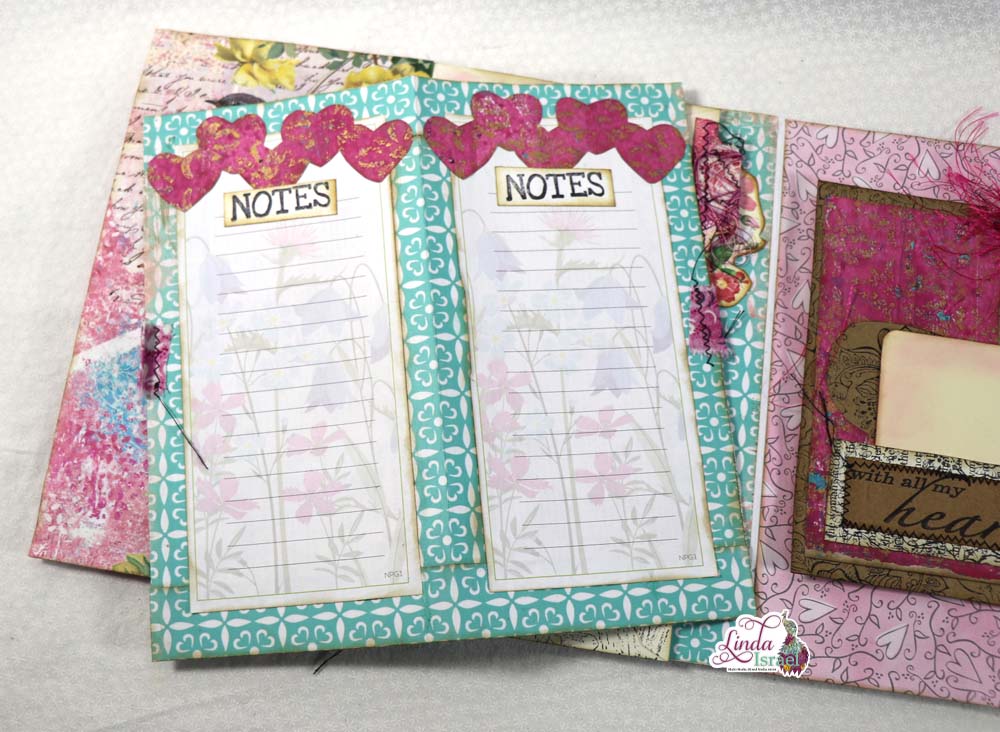
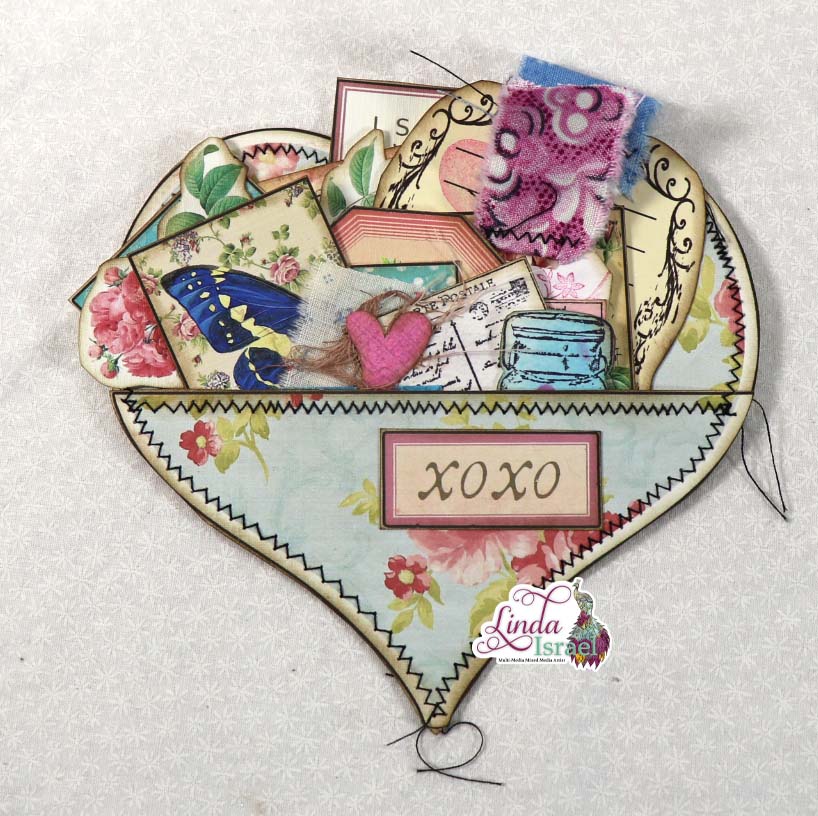
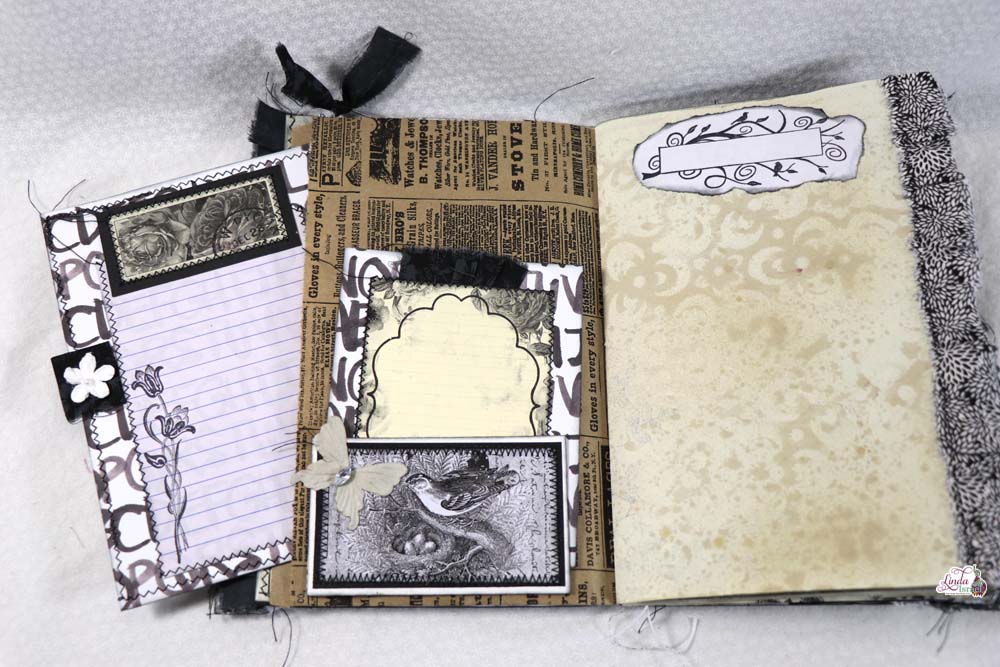
Add pockets made with your Gel Prints , for larger journal cards.

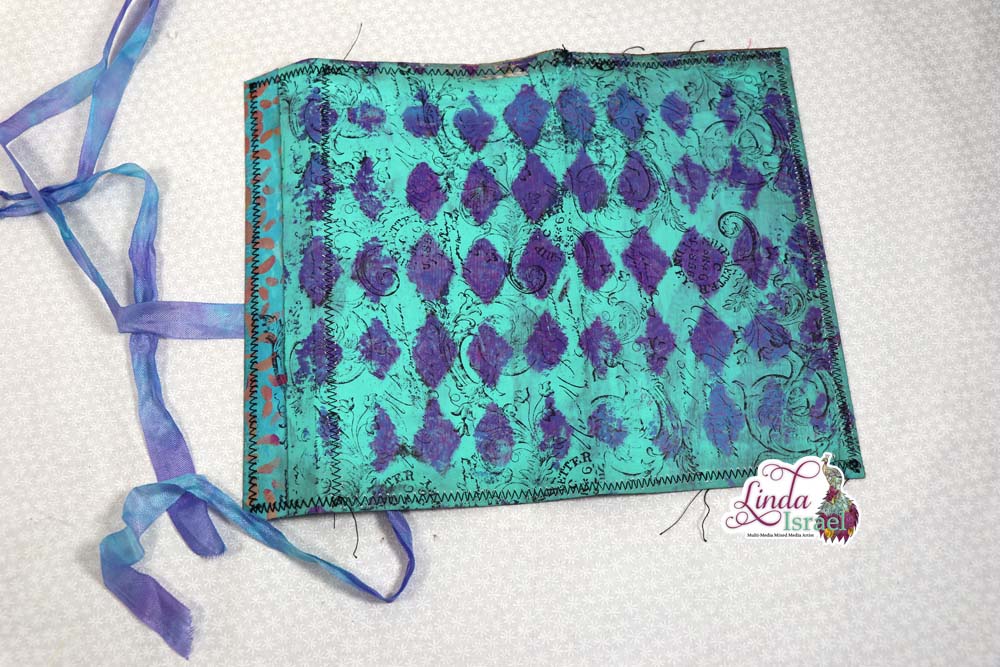
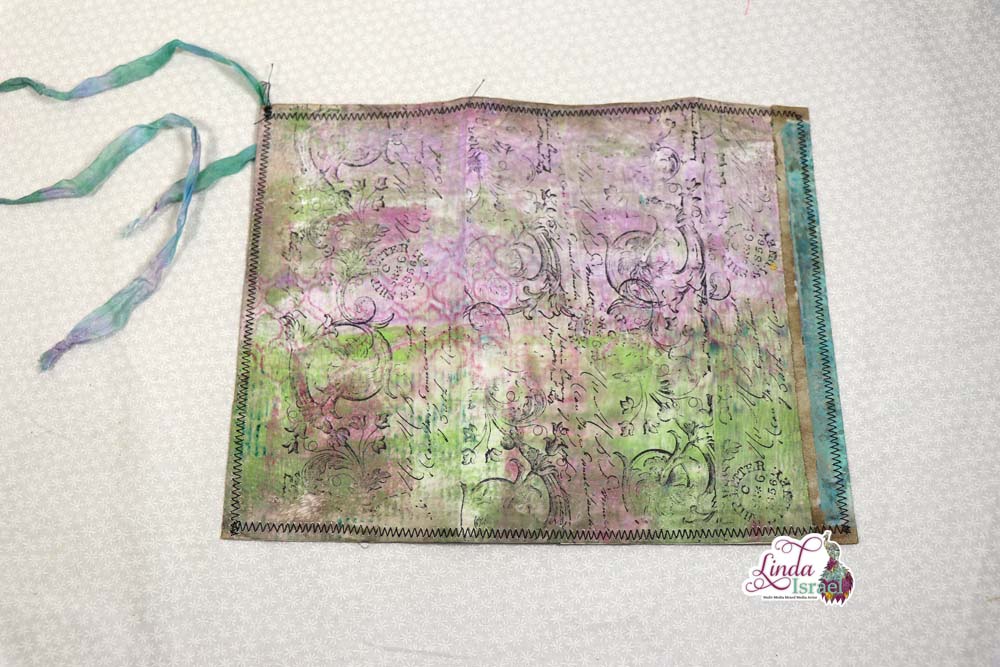
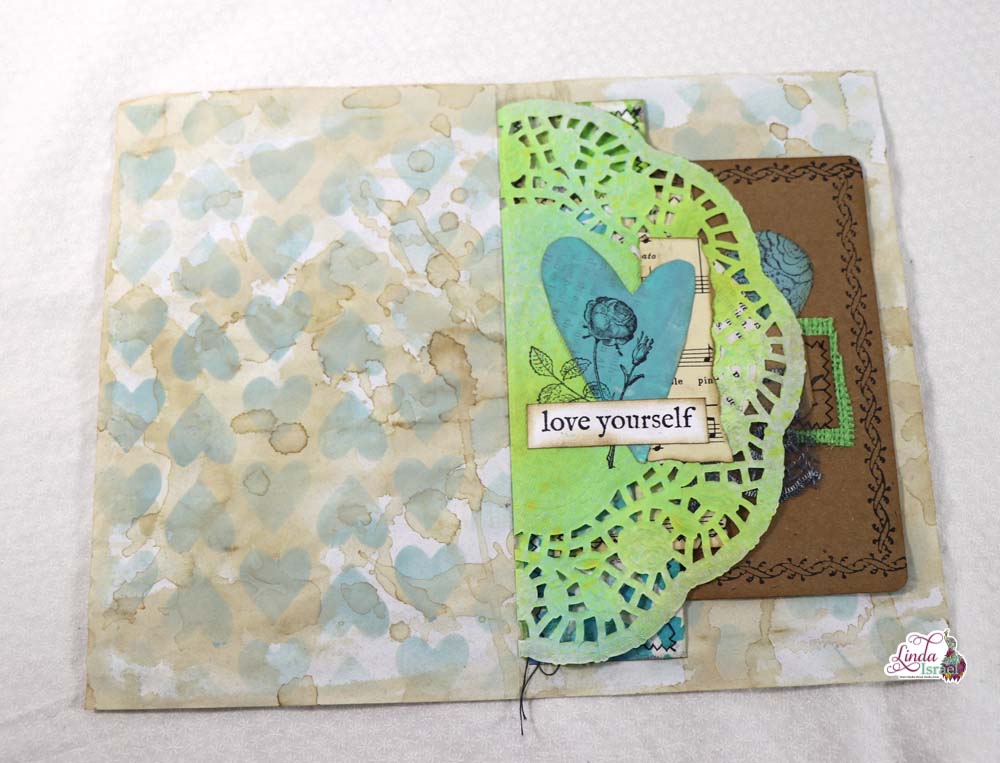
Here Linda uses the Large Diamond Stencil sprayed with Tattered Angels Glimmer Mist for a layered look to the cover.
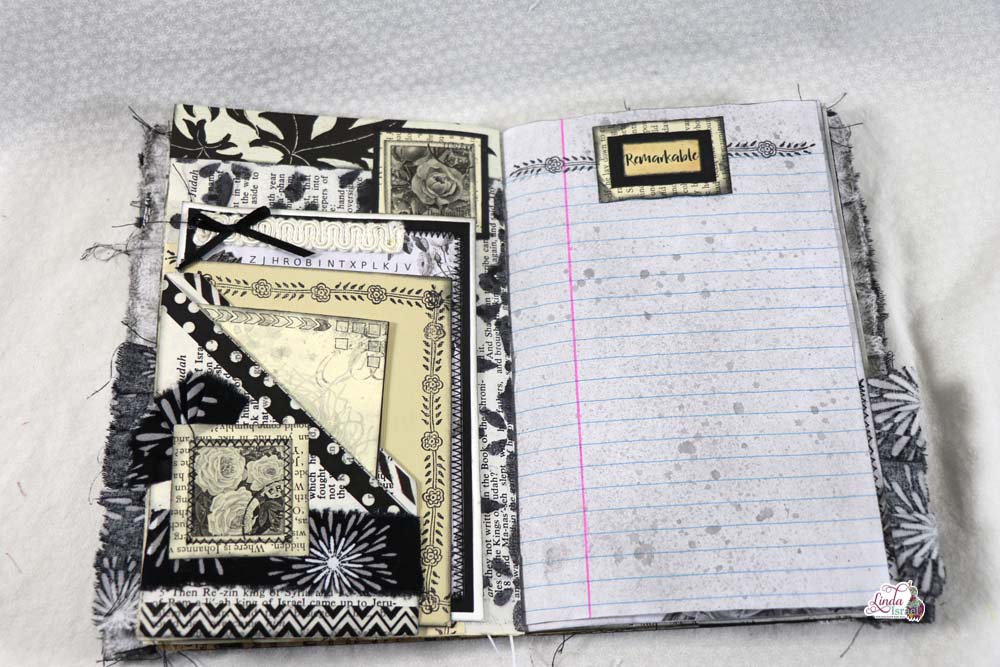
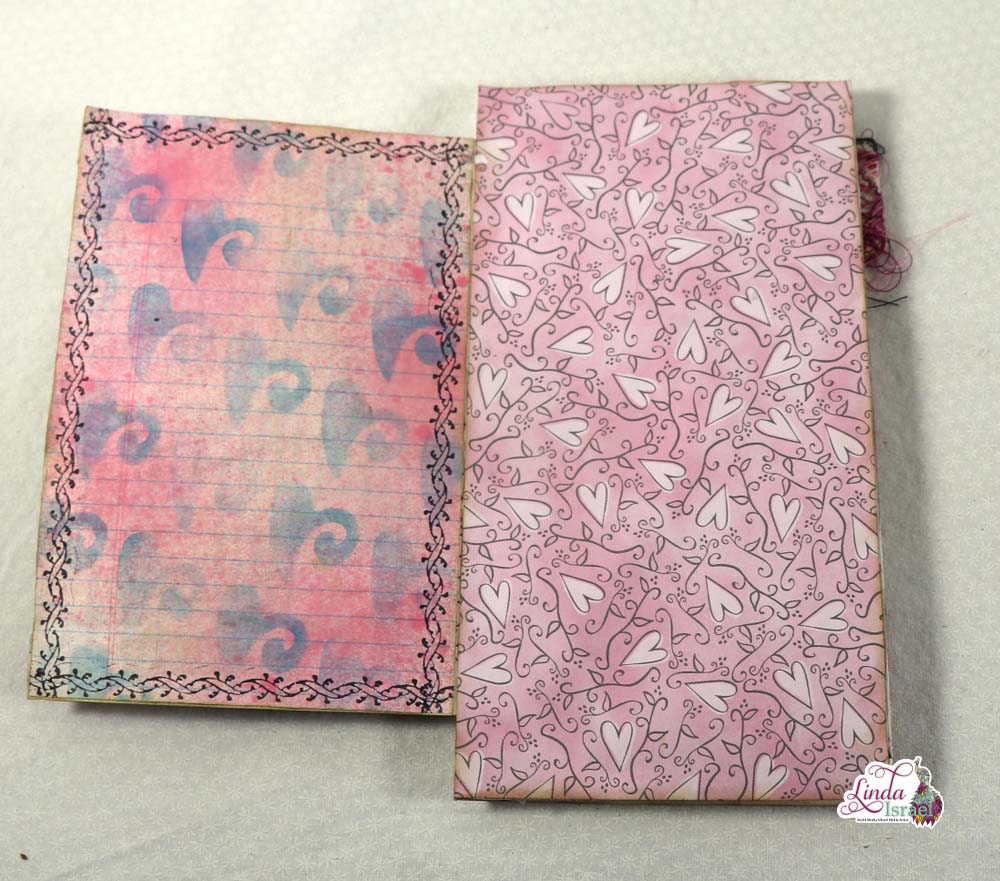
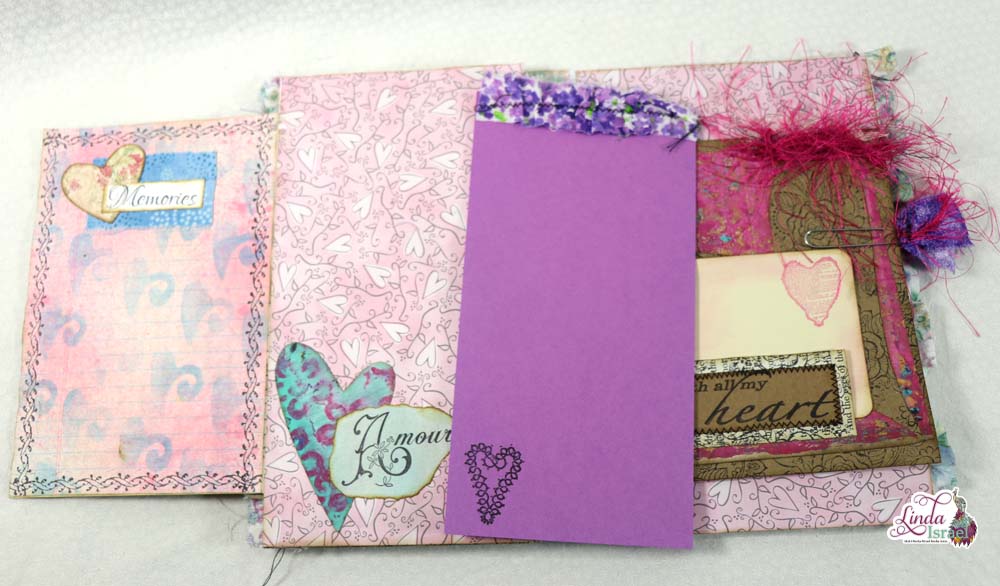
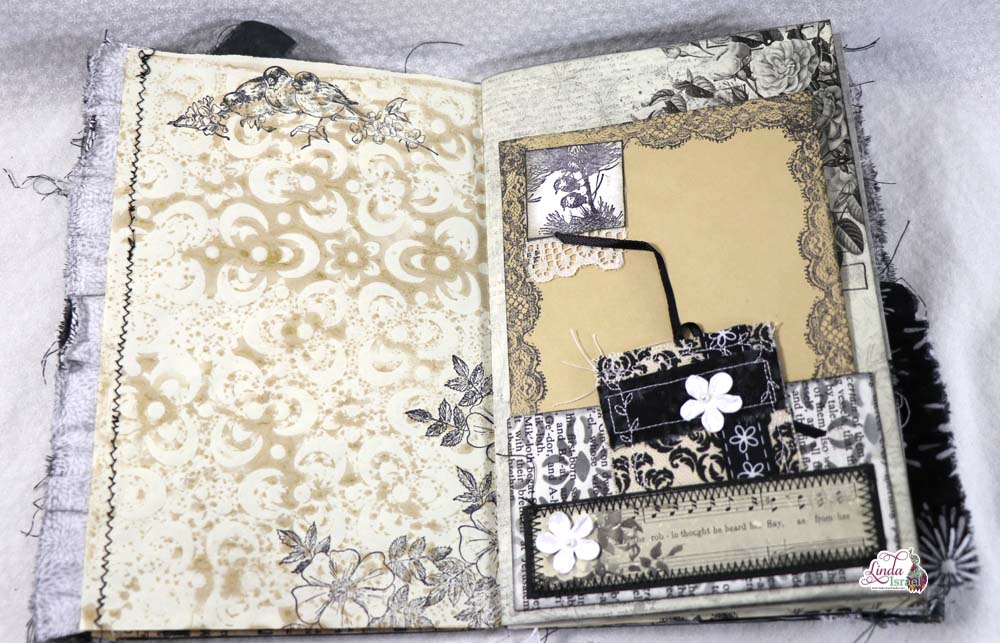
Be creative with your Gel Prints, add them to your journal cards. Spray your seam binding with Tattered Angels Glimmer Mist to match the colors of your envelope.
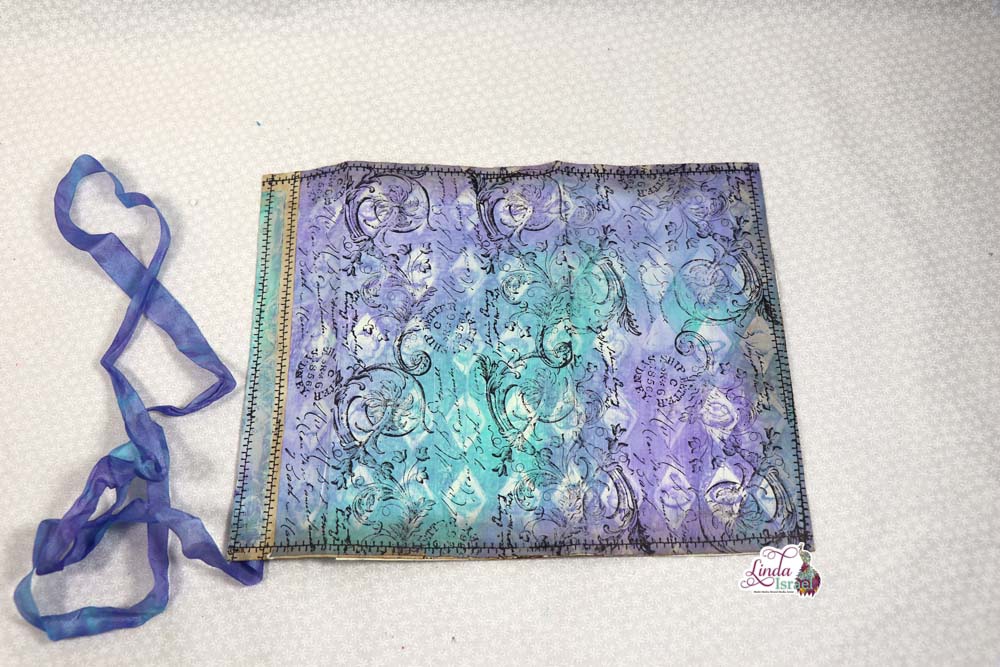
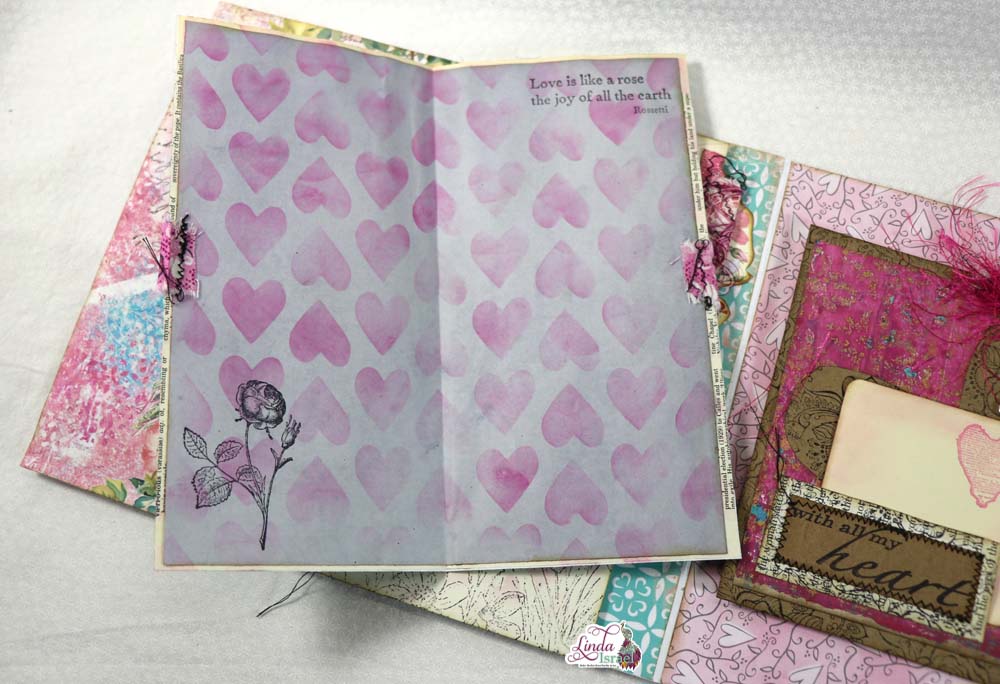
Use this mixed media effect by using stamps, stencils and your Gel Prints to create something beautiful to write in.
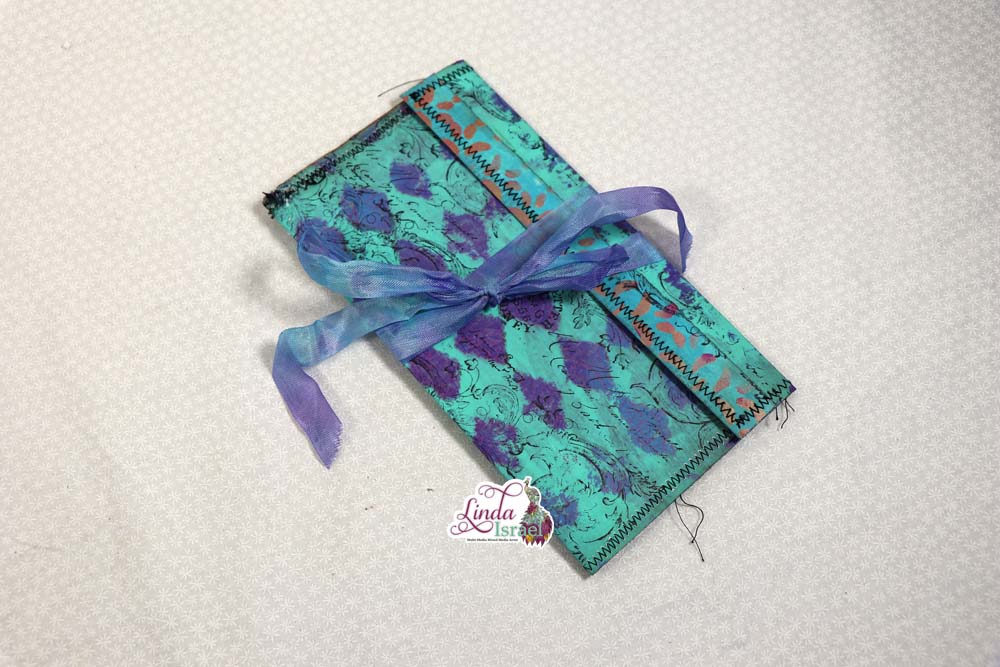
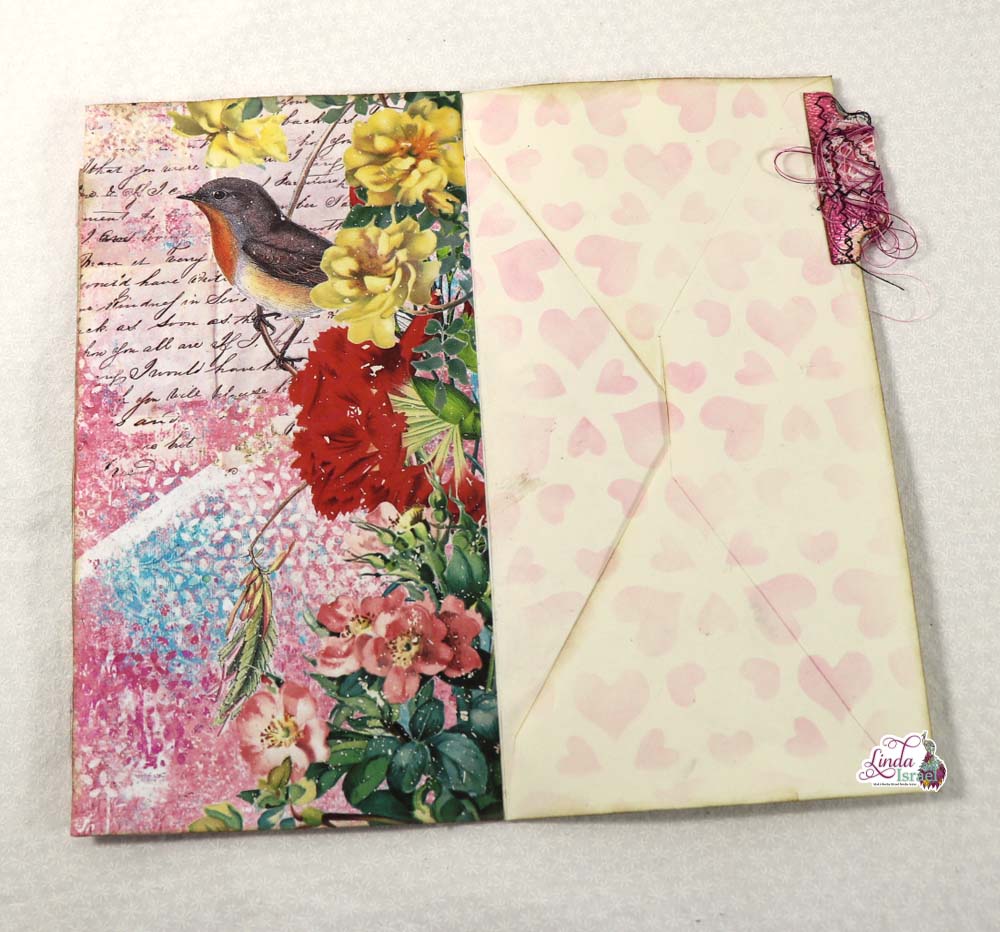
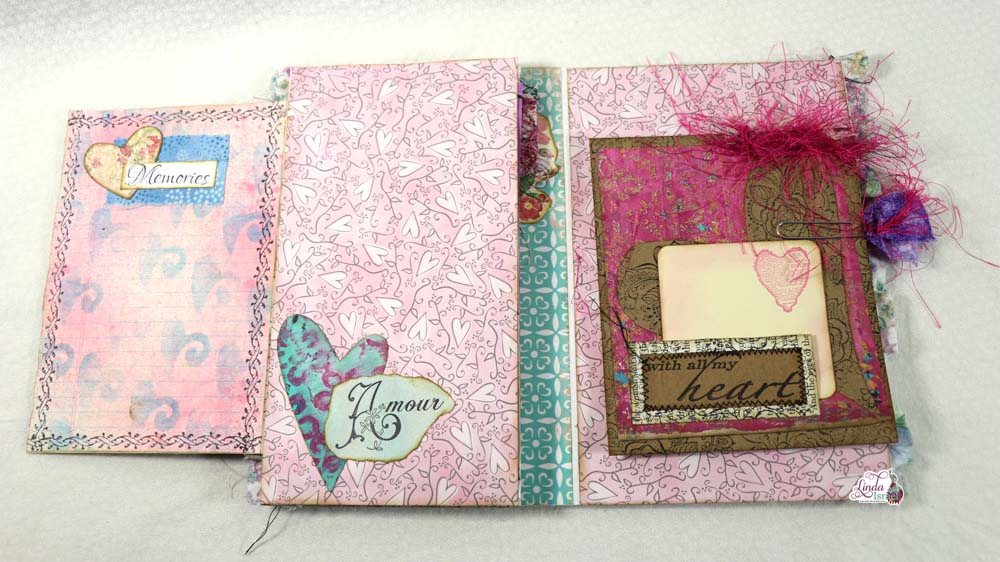
Attach seam binding sprayed with Tattered Angels Glimmer Mist as a pretty closure to the Gel Print Envelope that will help hold your journaling thoughts or notes safely inside.
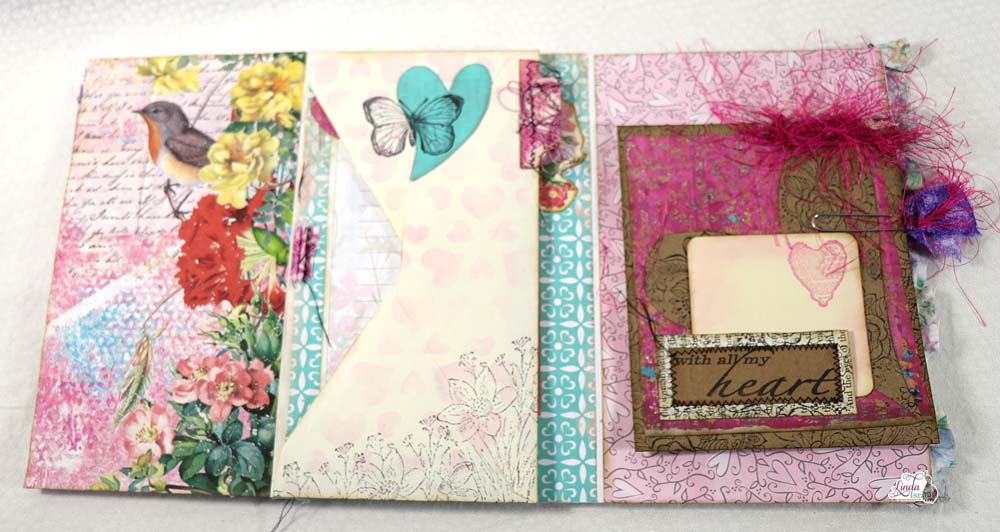
Use your sewing machine on the edges of your Gel Print Envelope to give a polished look.
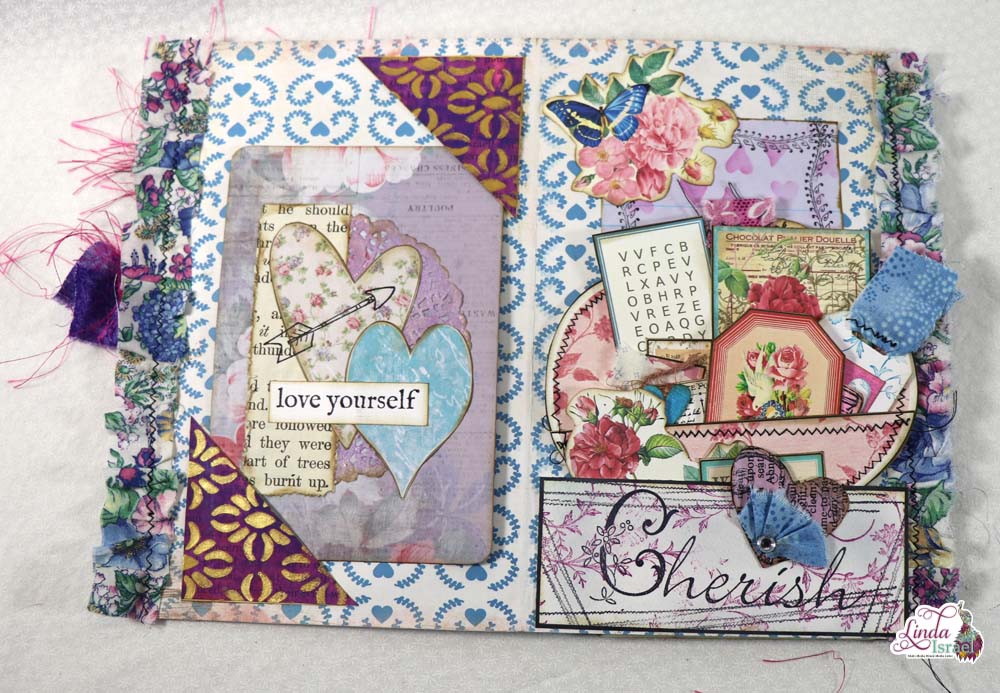
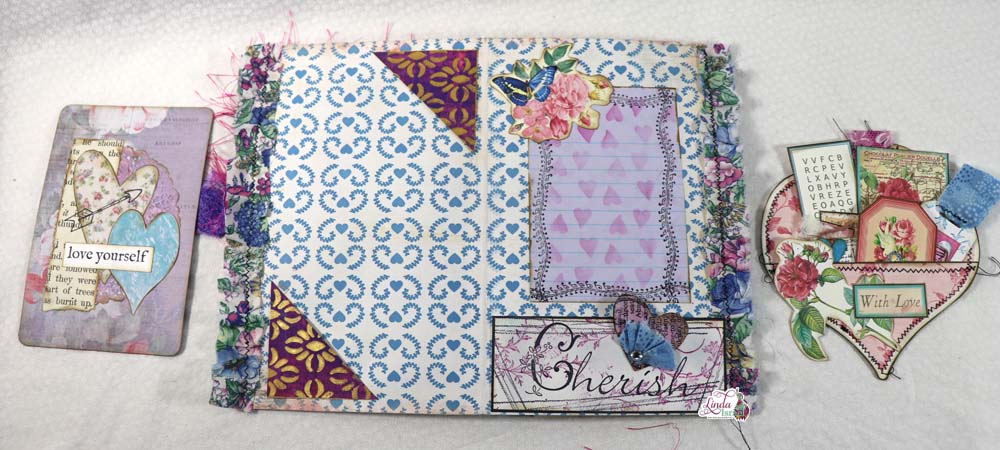
You also add several journaling cards inside your Gel Print Envelope by creating a layered pocket area inside the pockets giving even more journaling space.
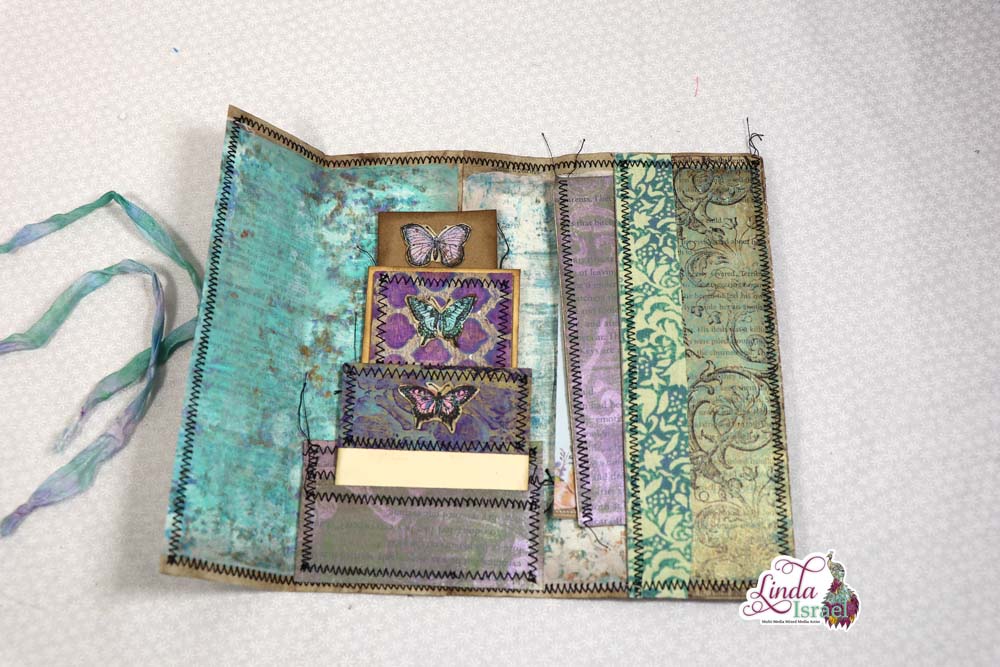
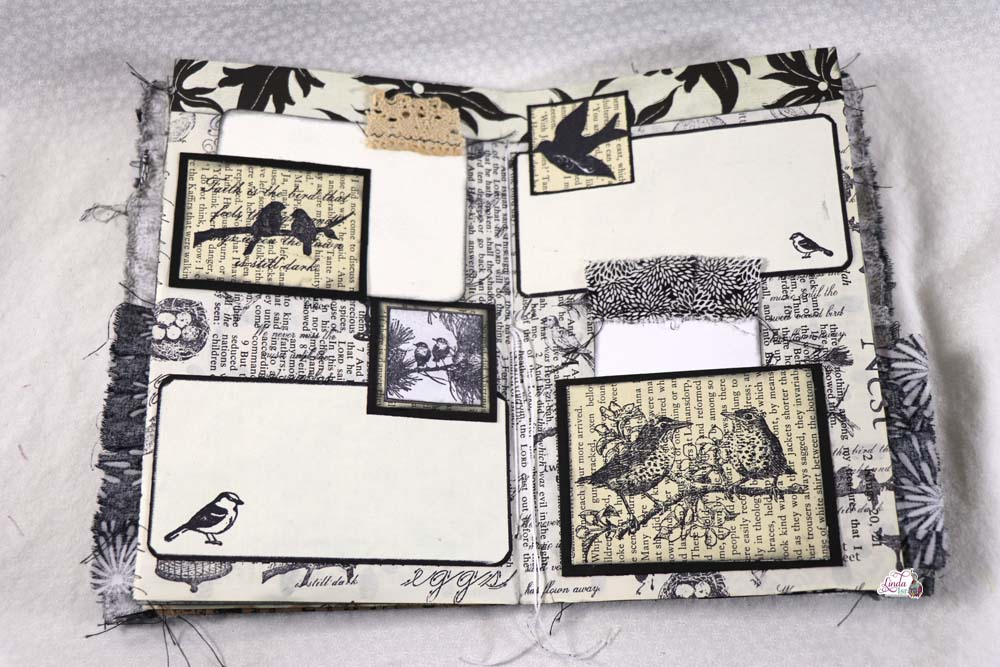
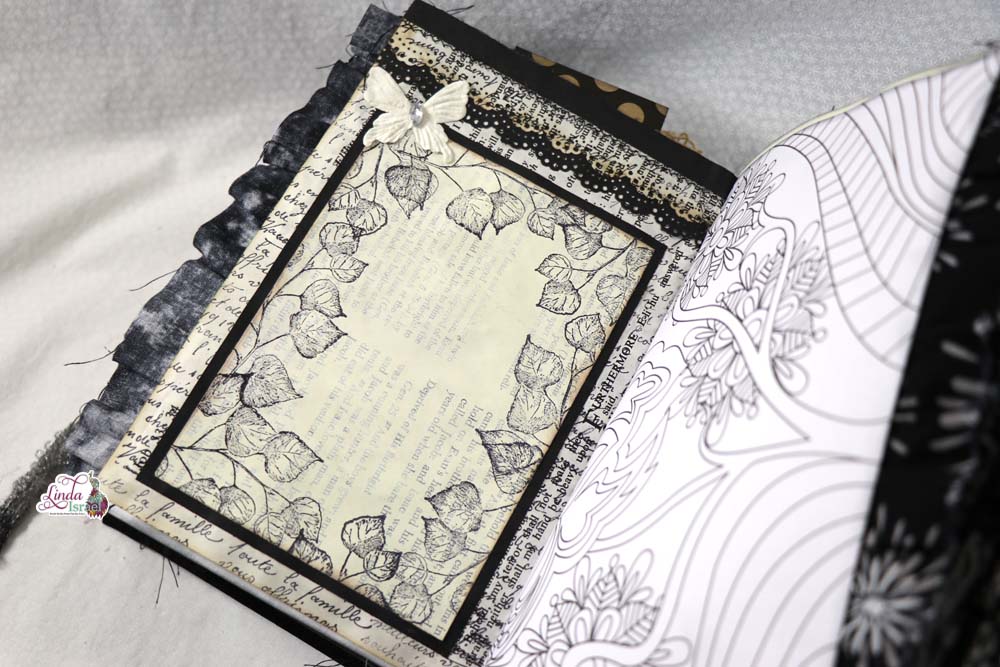
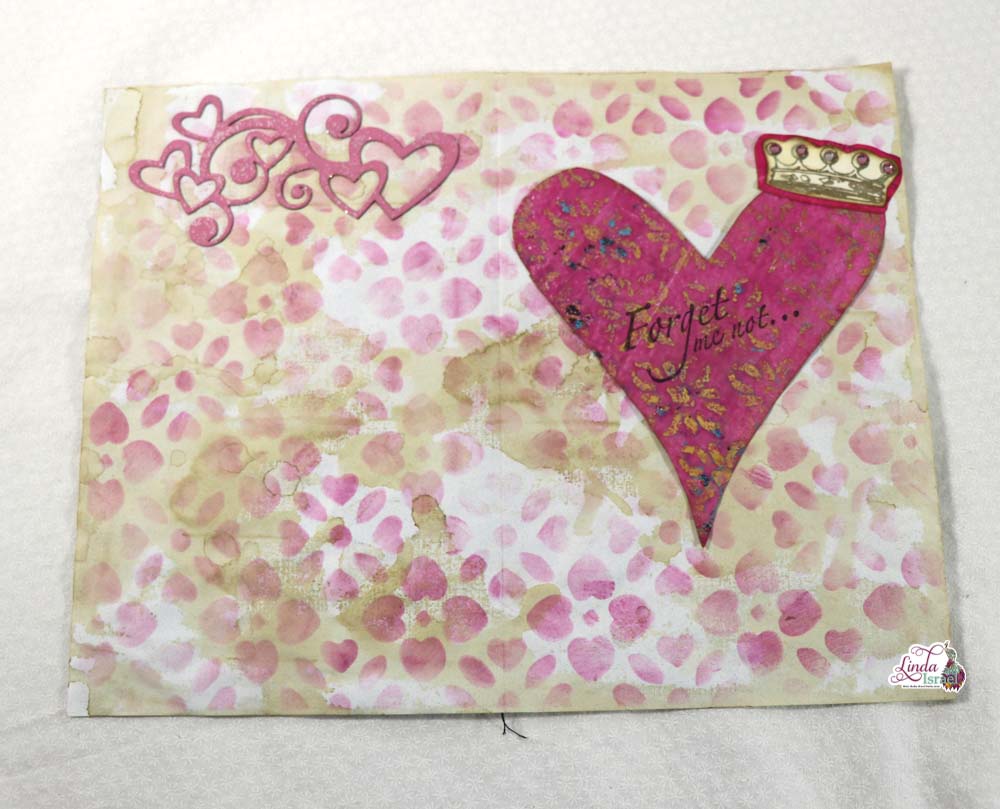
Use your imagination with your journal cards by using stamps and sewing the edges to a finished look Here you can see Linda has used butterfly stamps adhered to Gel Prints, which have been machine sewed on the journal cards.

Stamping the cover of the Gel Print envelope with Collage to give a classic look to the cover.
Tattered Angels sprayed on seam binding creates the colors to match your Gel Prints.
Use your imagination when creating your Gel Print Envelope. What acrylics colors do you love to use when creating your Gel Prints?
A #useitupjuly project. Check out the Facebook Event where you can enter to win prizes.
Remember that I have live streams on Monday’s at 3:45 pm Central Standard time on my YouTube Channel. Come join the chat, win prizes while I create.
Make sure to check out the Friendly Junk Journal People Facebook group. Of course, you are welcome to join the Friendly Junk Journal People Facebook group. The group is growing daily and we are a friendly group willing to help each other and encourage each other.

Interested in any of the journals I created? Please feel free to contact me through my Facebook Page. Here is my shop, I have a lot of items uploaded and add more weekly.
Keep updated on my posts by following me, add your email. Follow my Facebook Page or on Instagram for updates that may not be shared on my blog.
Thanks so much for stopping by my blog today to see the Gel Print to Envelope Tutorial.

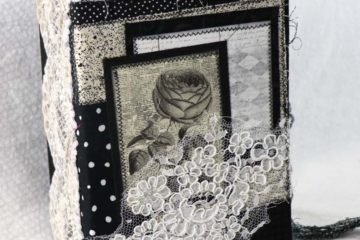
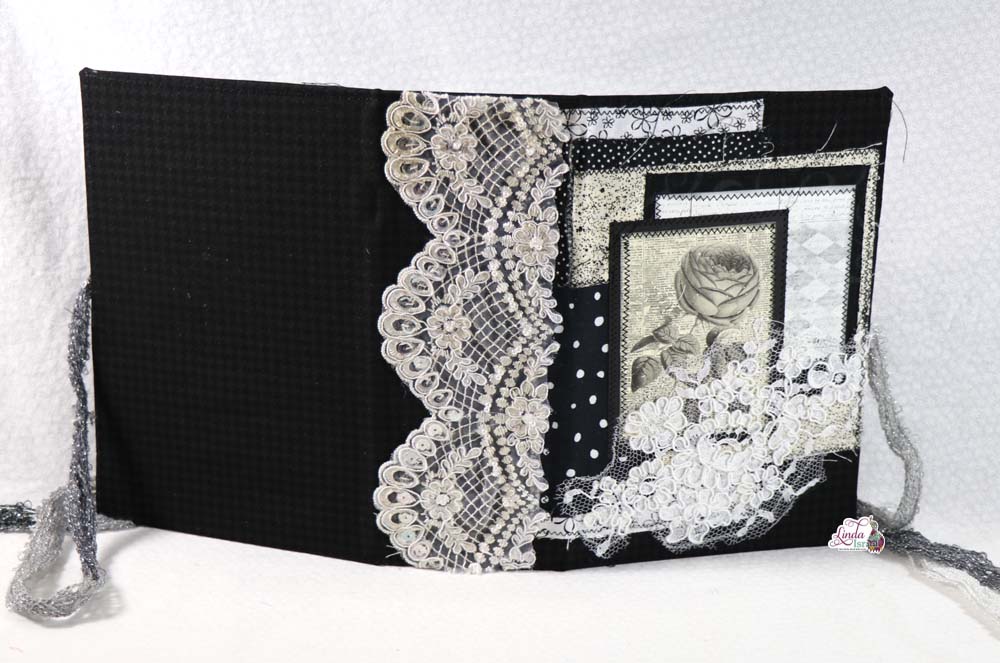

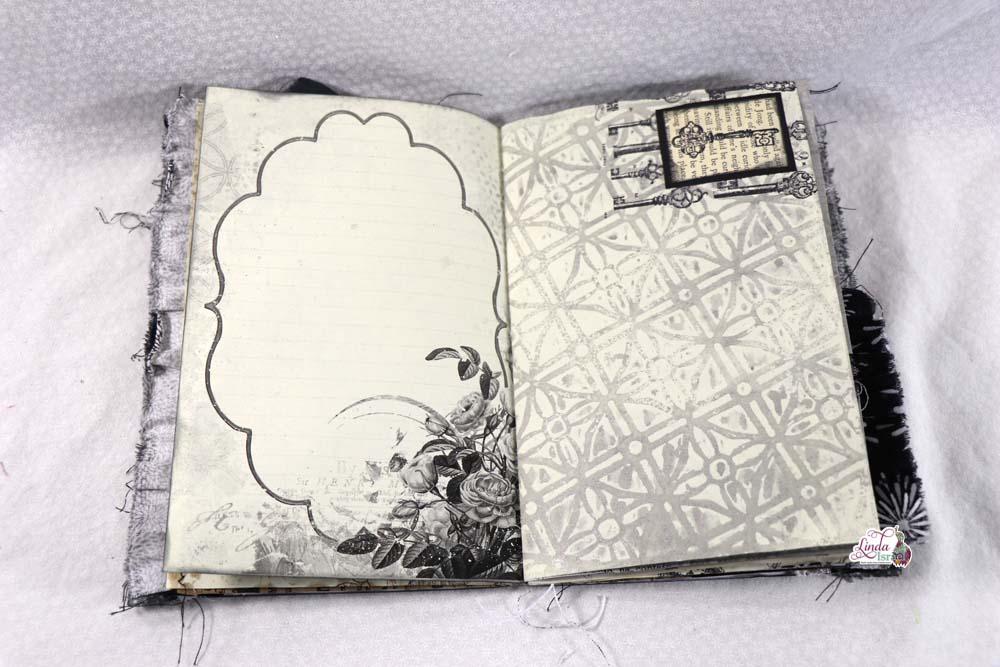
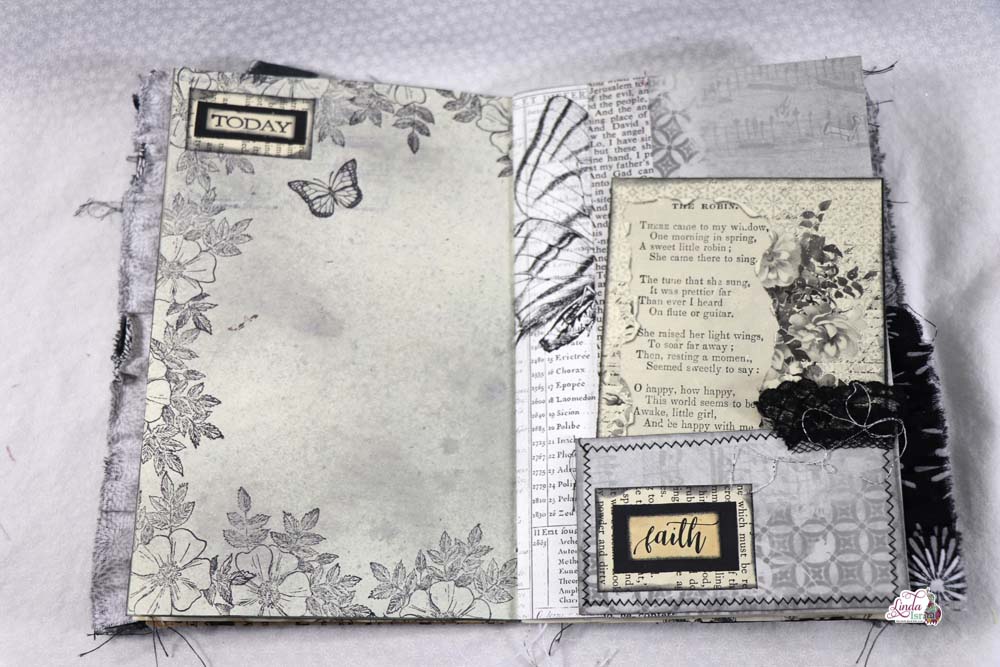
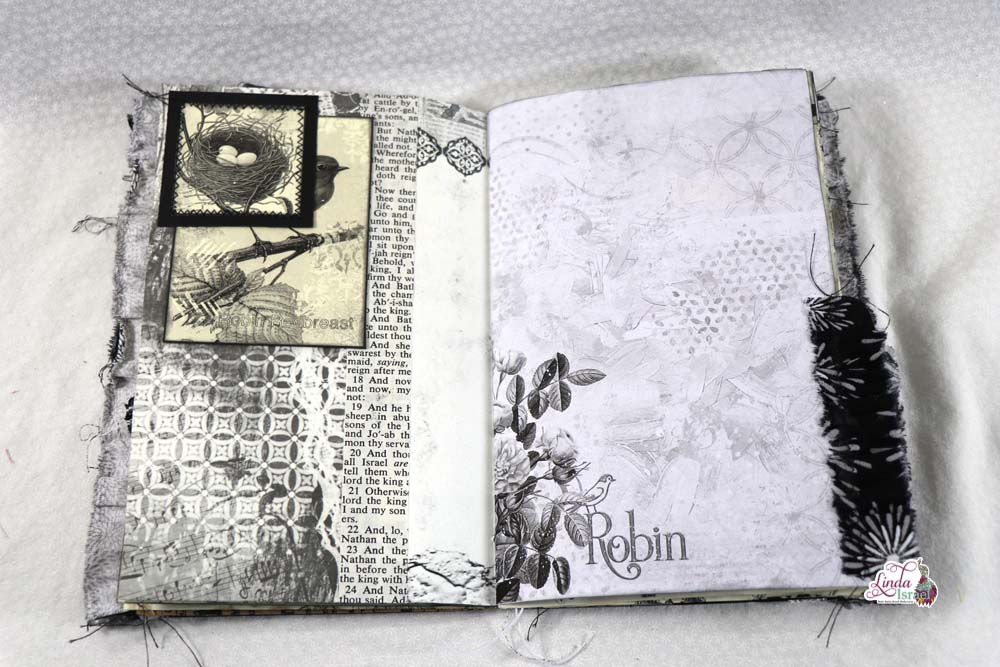
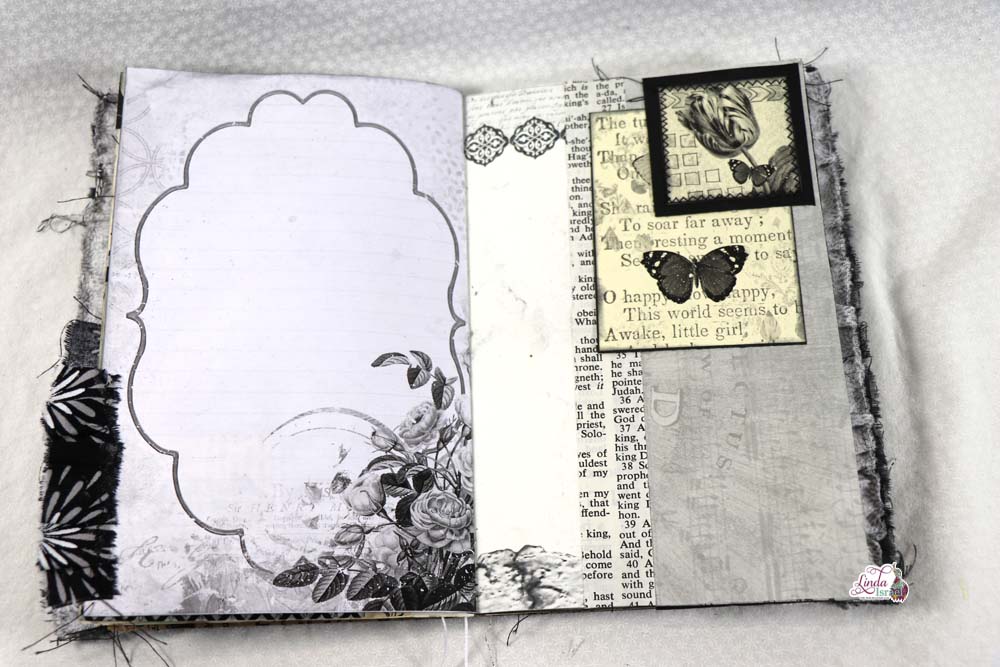
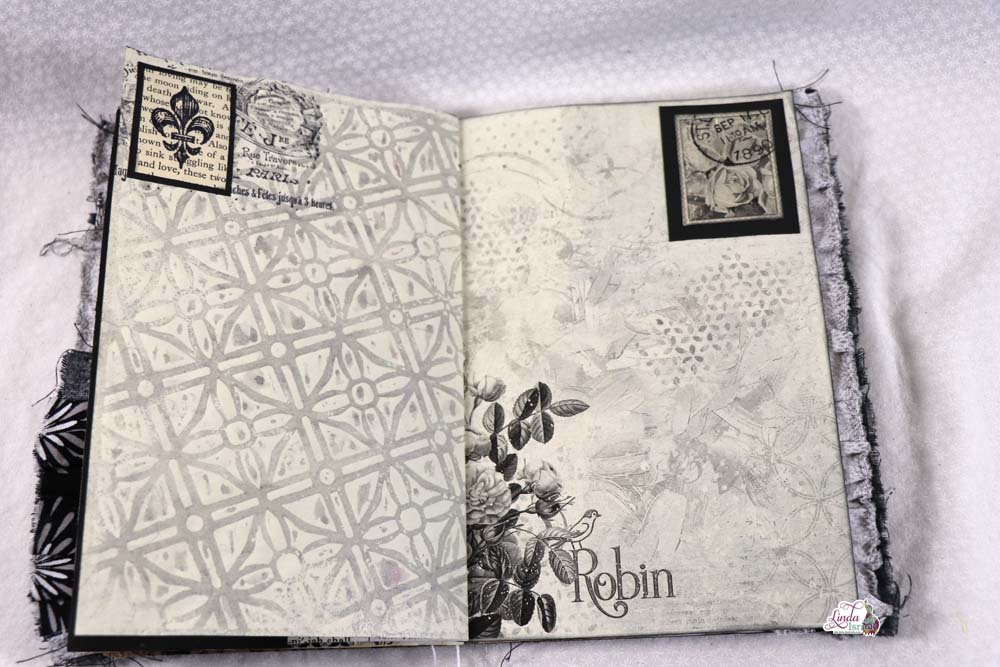
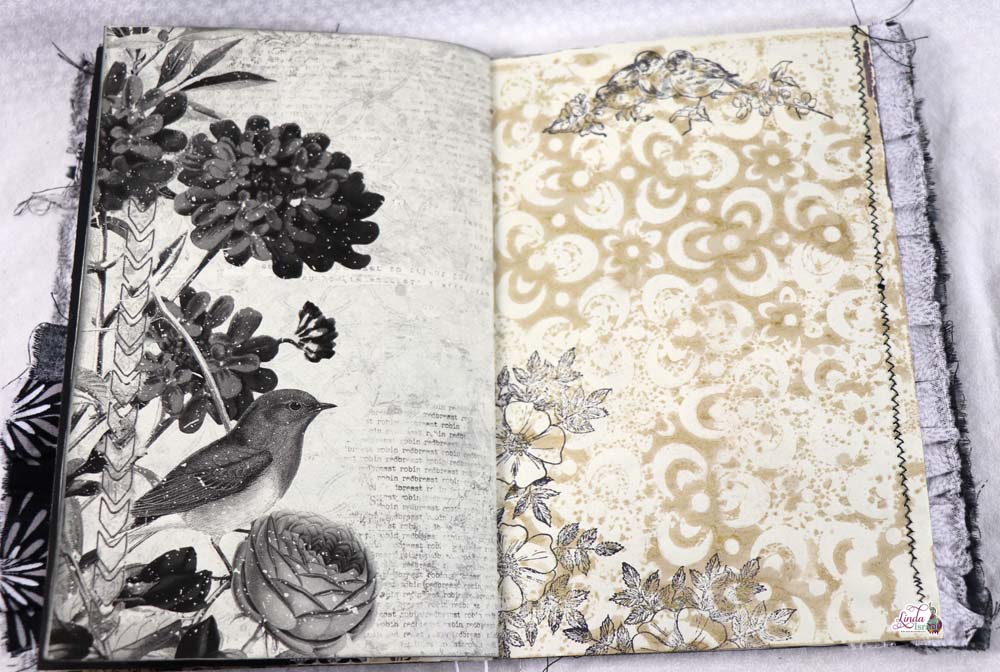
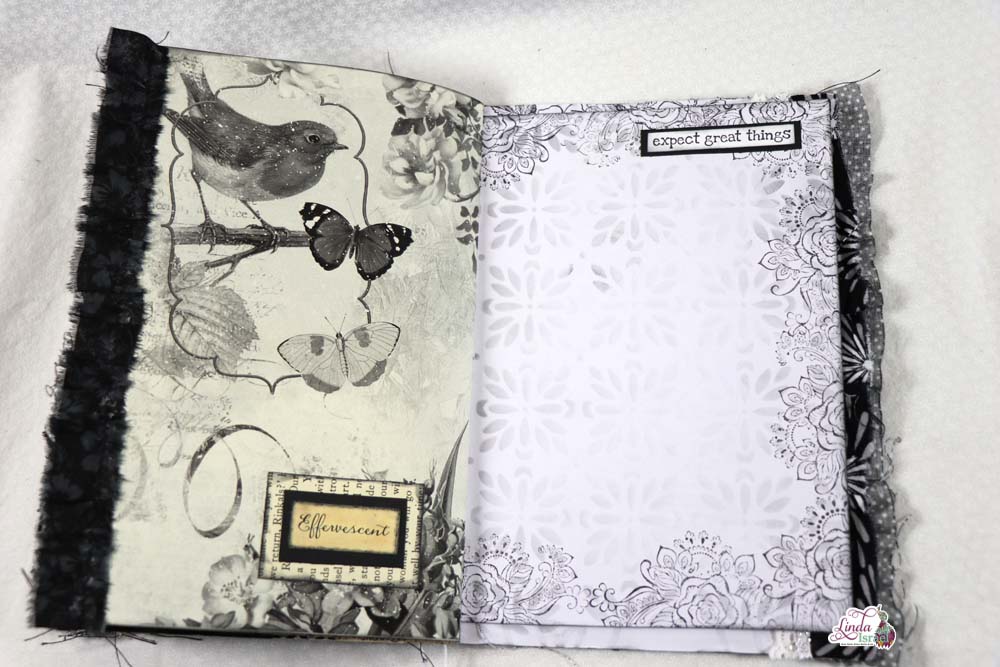
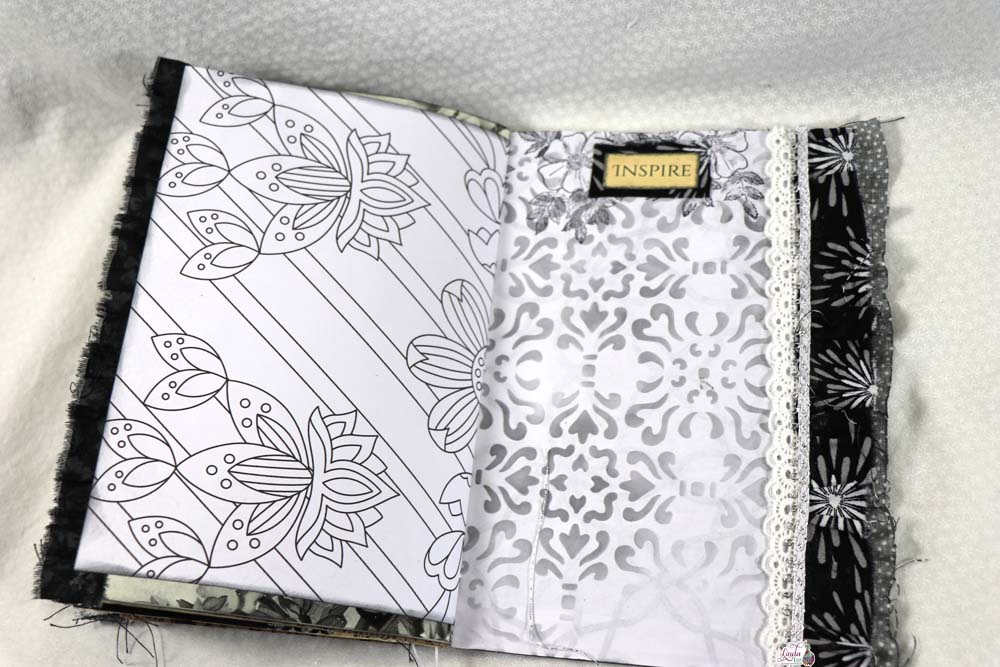
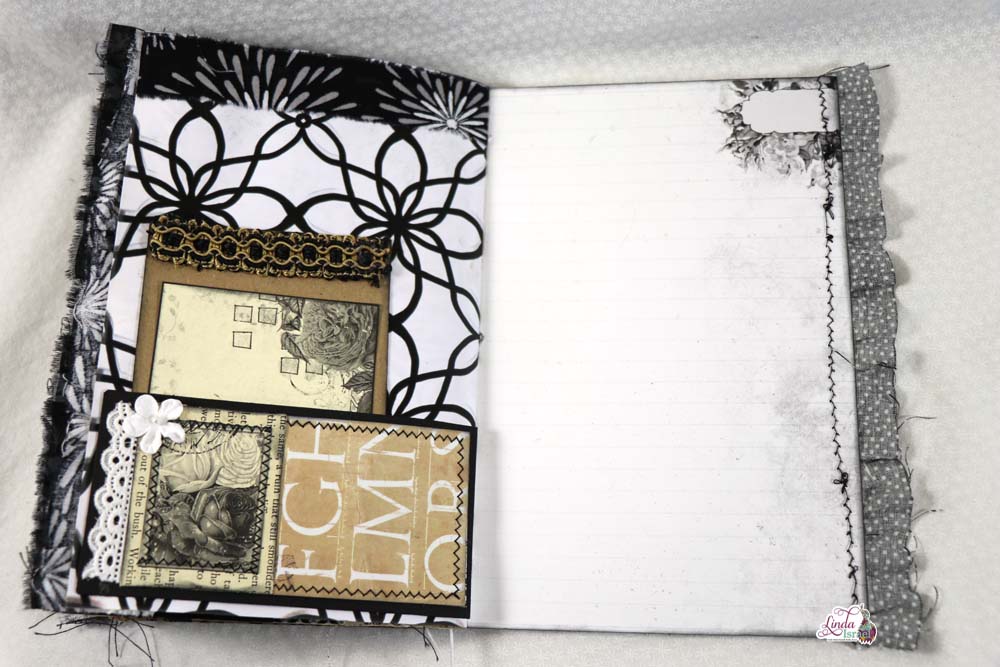
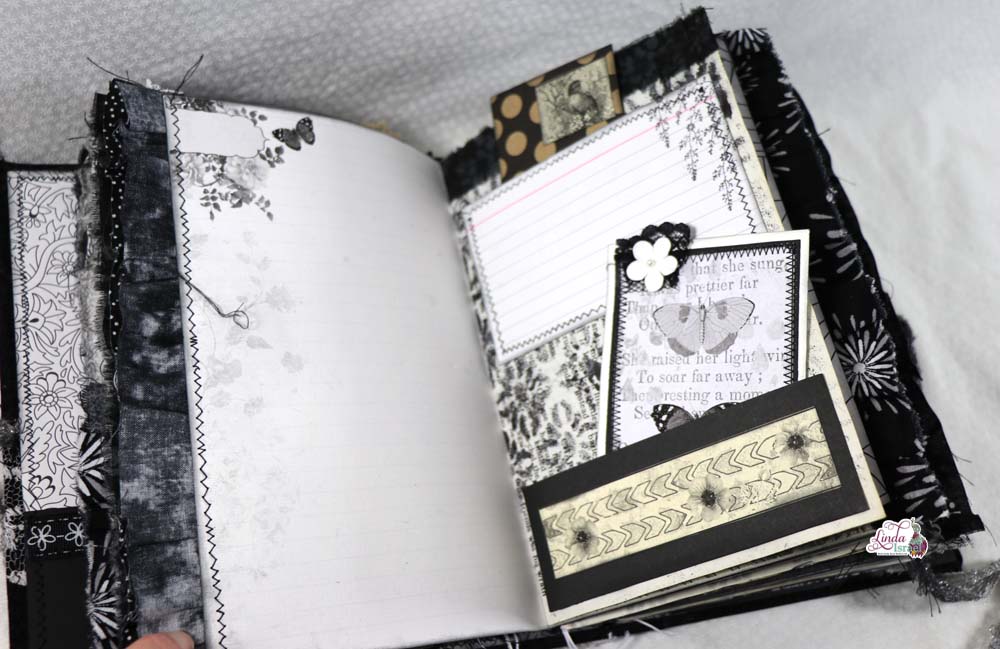
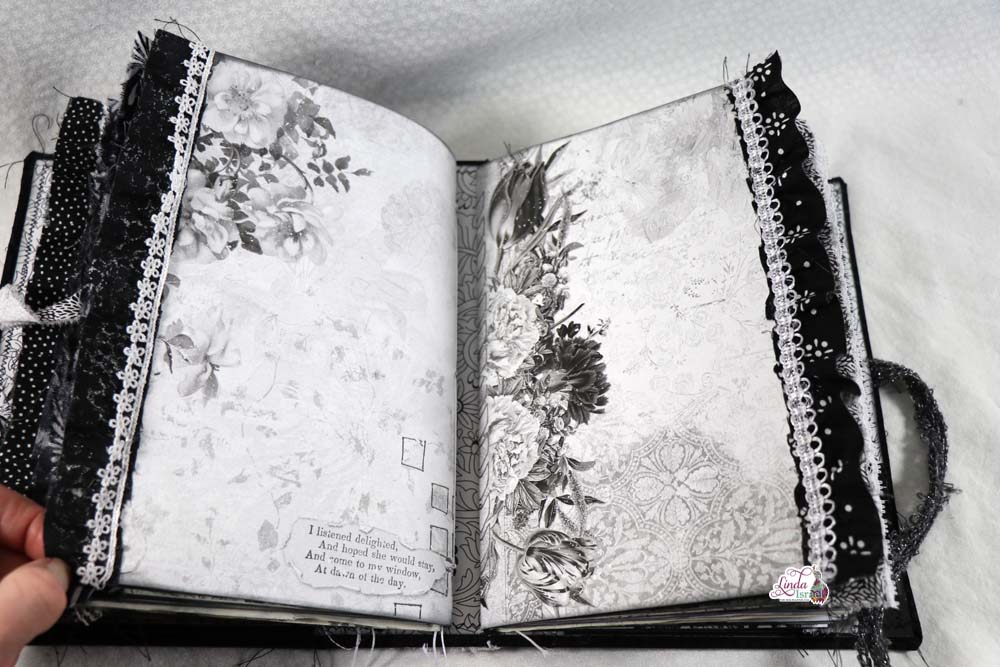
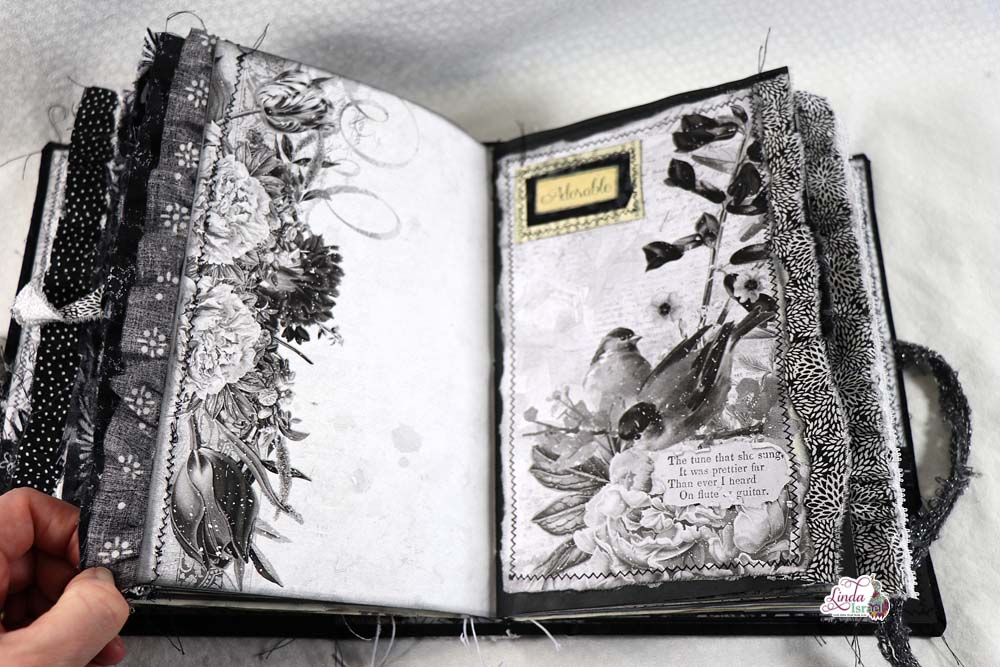
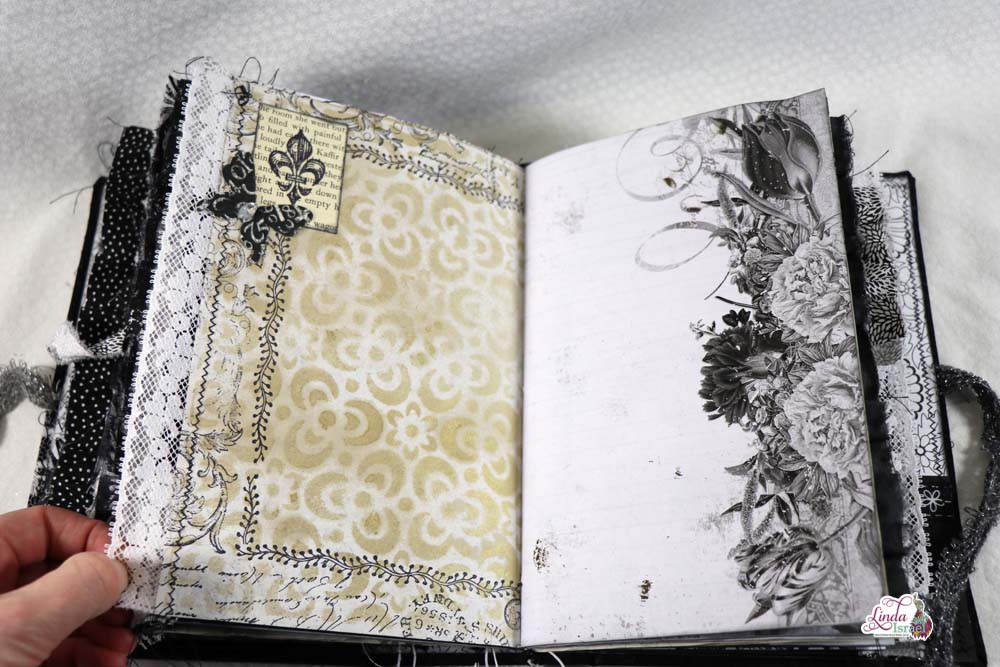
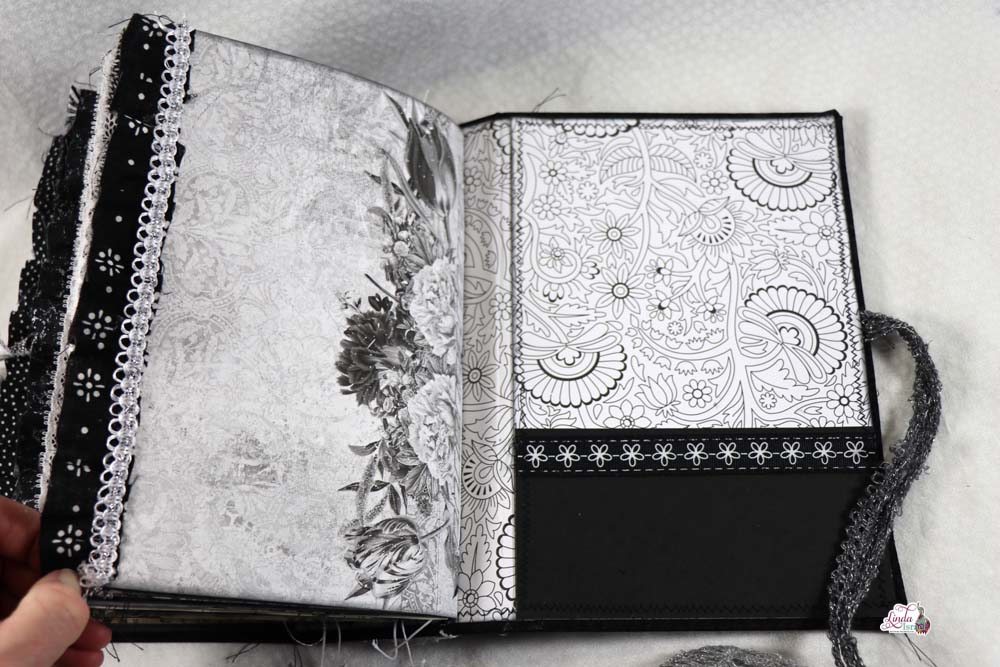
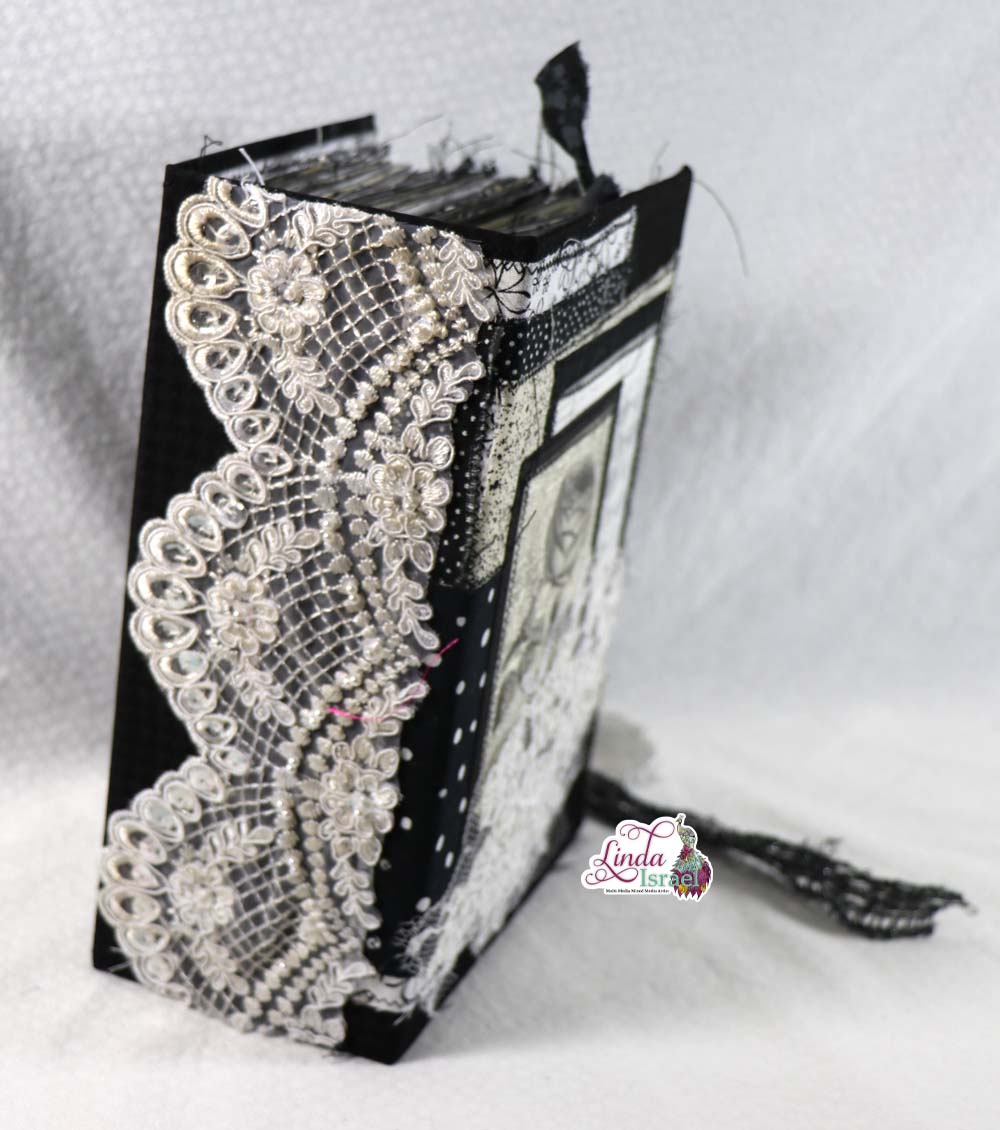
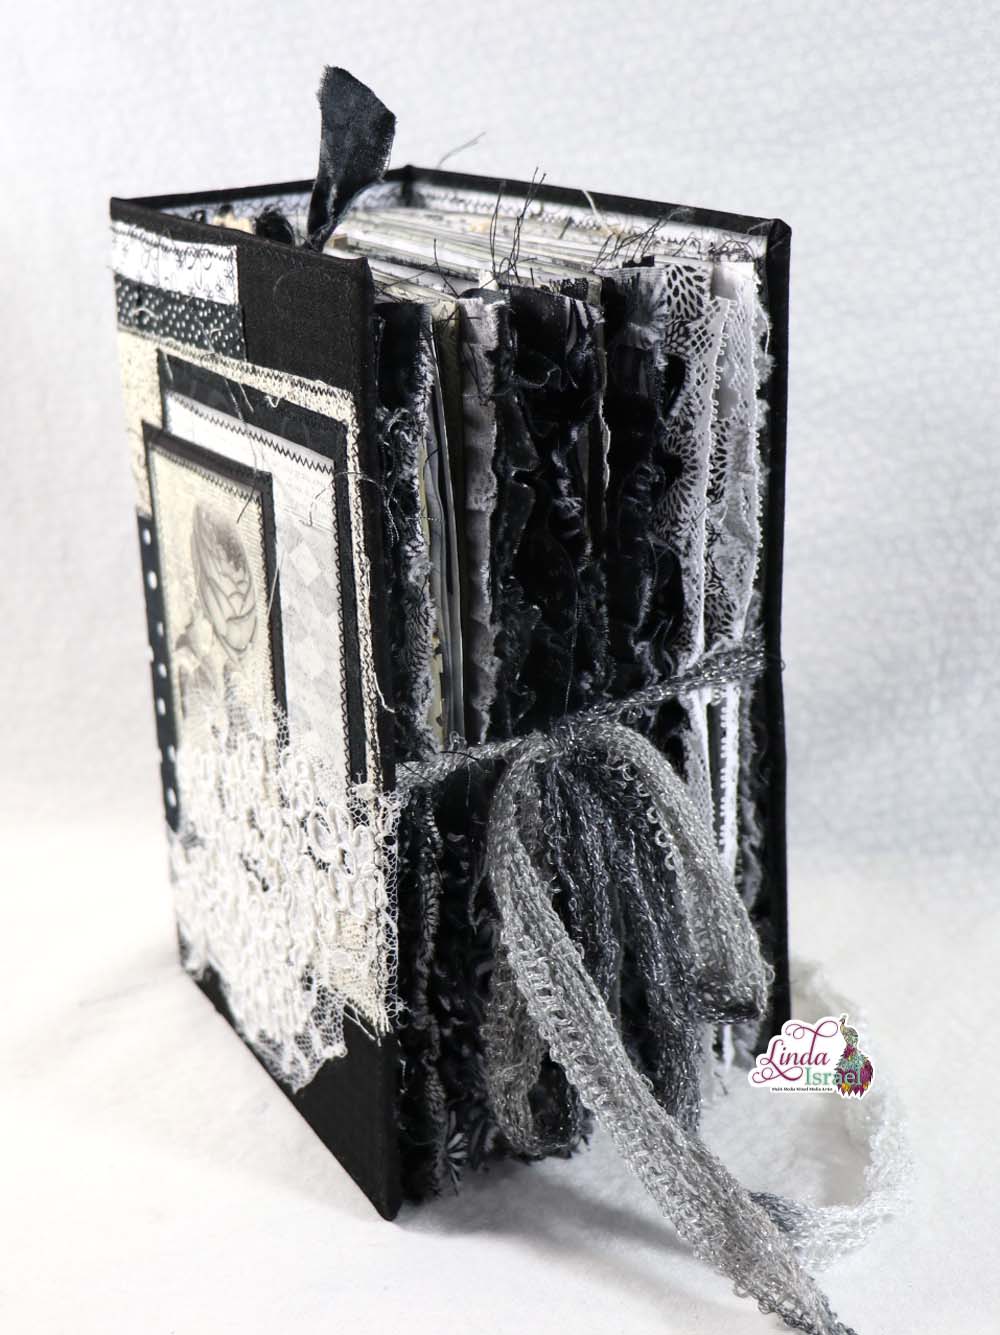
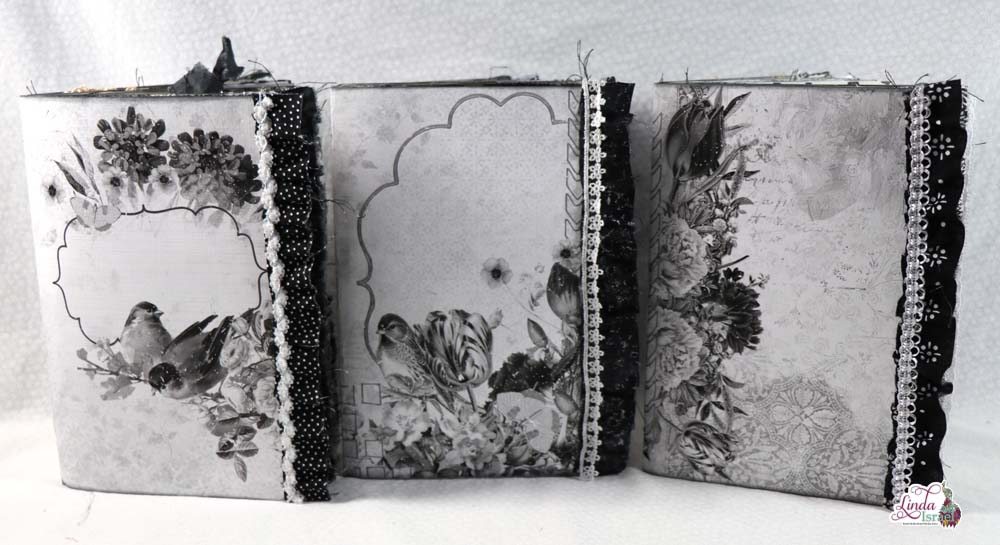 Preparing to create this monochrome journal, then deciding which digitals looked good when printing in black and white takes a lot of time.
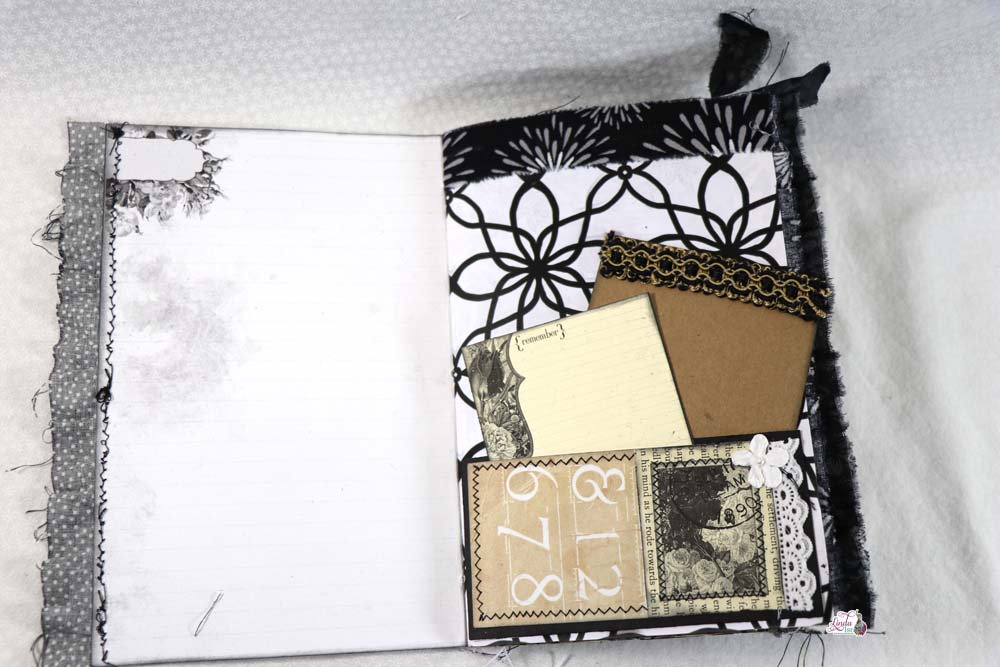
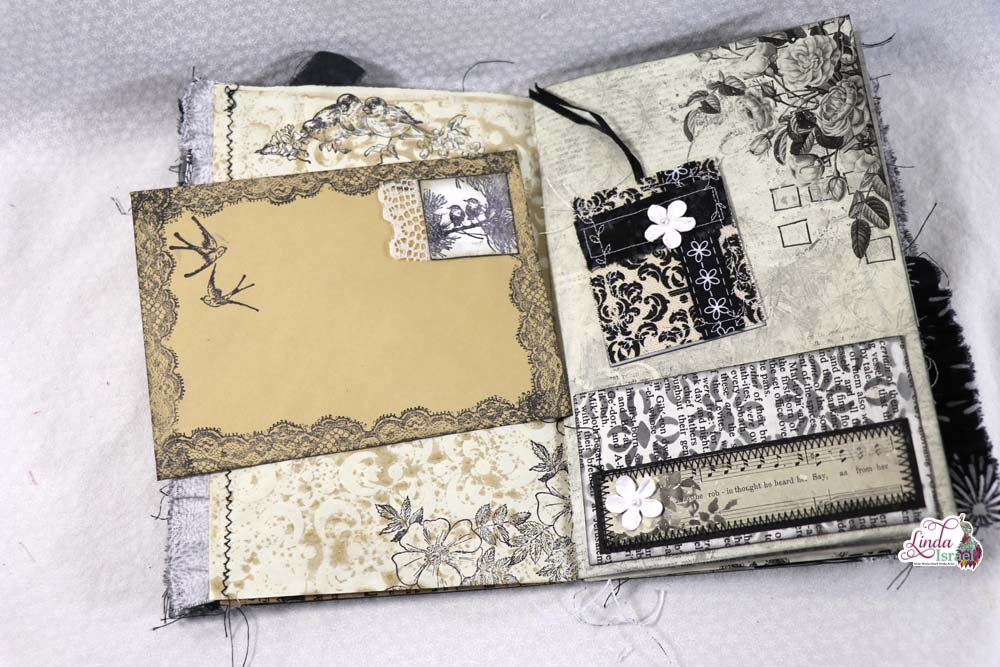
 Altering an envelope can be done easily with rubber stamps! One of the stamps from the Lace Duo was stamped around the edge. On a scrap of white paper the little birds were stamped and a real piece of lace was attached.