How to...
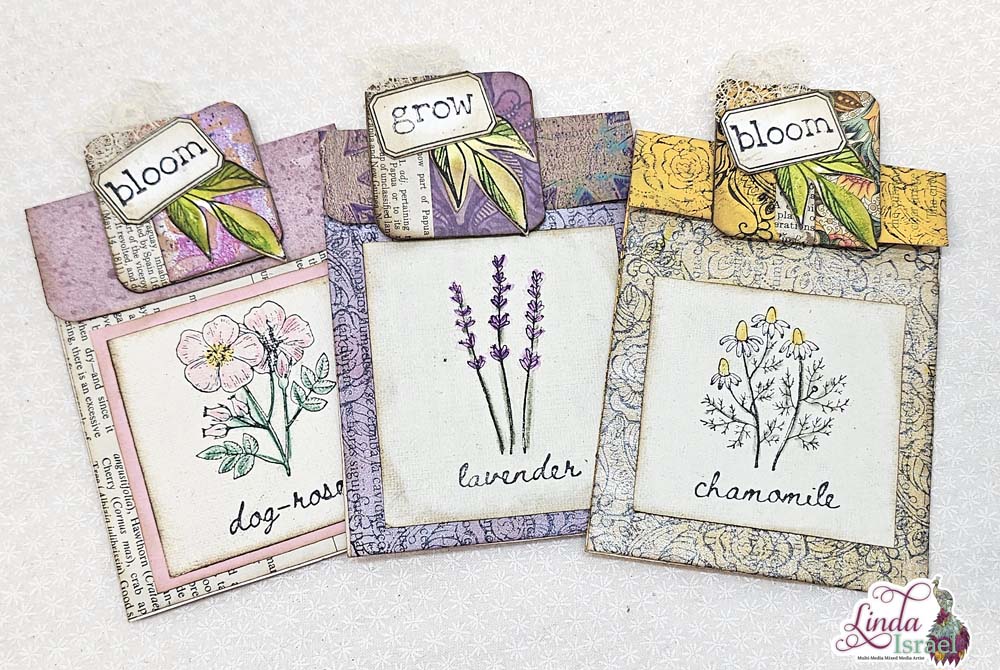
Faux Seed Packet and Altered Paperclip Tutorial using book pages, stamps and more I’ll show how to create a faux seed packet and an altered paperclip. Use up those left over bits of paper to create a fun seed packet, this design can also be used as a coin envelope.
Faux Seed Packet and Altered Paperclip Tutorial Video
Supplies Used.
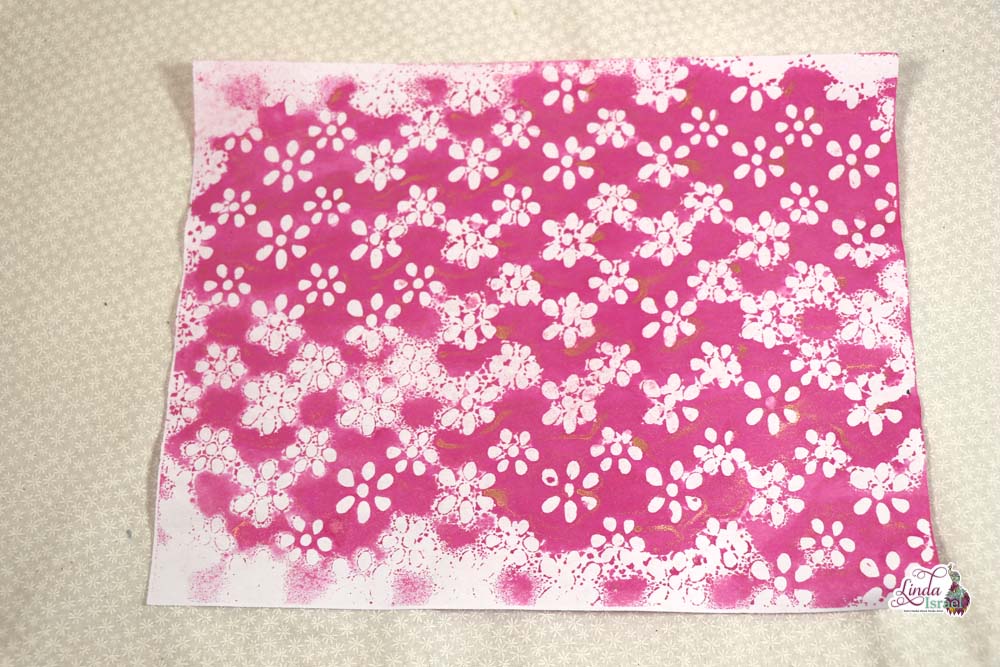
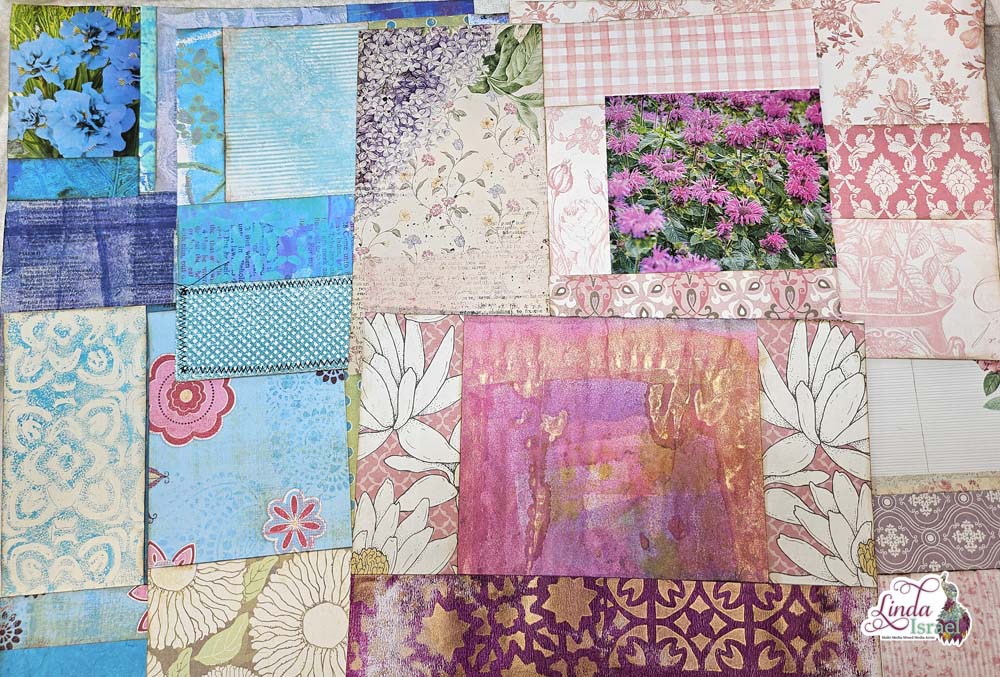
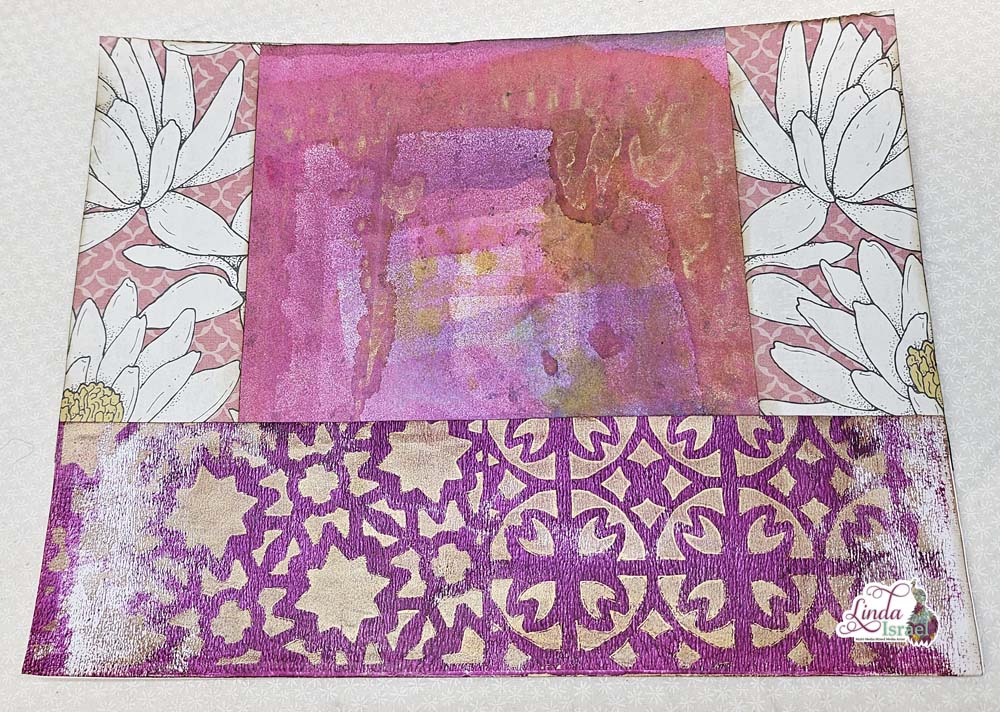
I’ve been planting seeds, getting ready for the spring planting season and was inspired to create a faux seed packet. Looking through my stash I found scraps that I felt would work for this project. Book pages and gel prints are great for this project. Even if the gel print wasn’t perfect, it can add a pop of color and pattern to the seed packet.
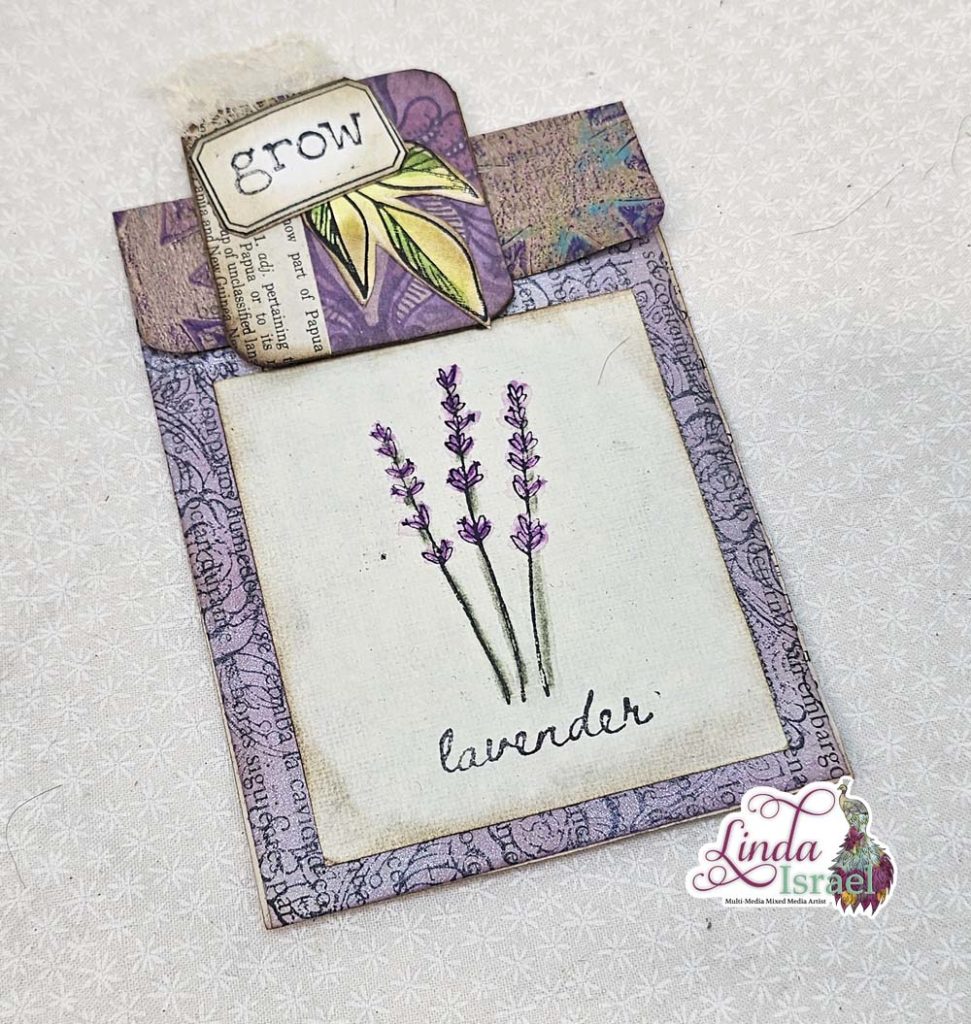
Don’t worry if the paper you have doesn’t have a crisp pattern, most of it will be covered with other bits. So use up those not so favorite pieces and make something beautiful.
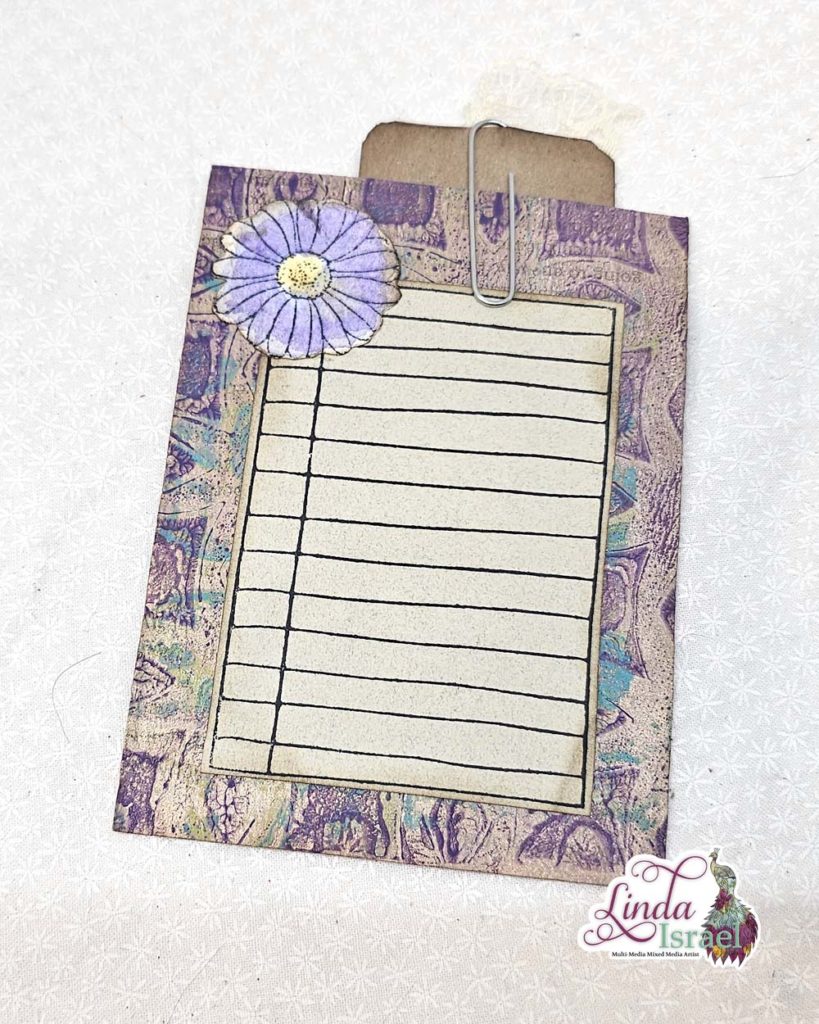
Once you get started making these, soon you will be lost in creating and have several to use in journals.
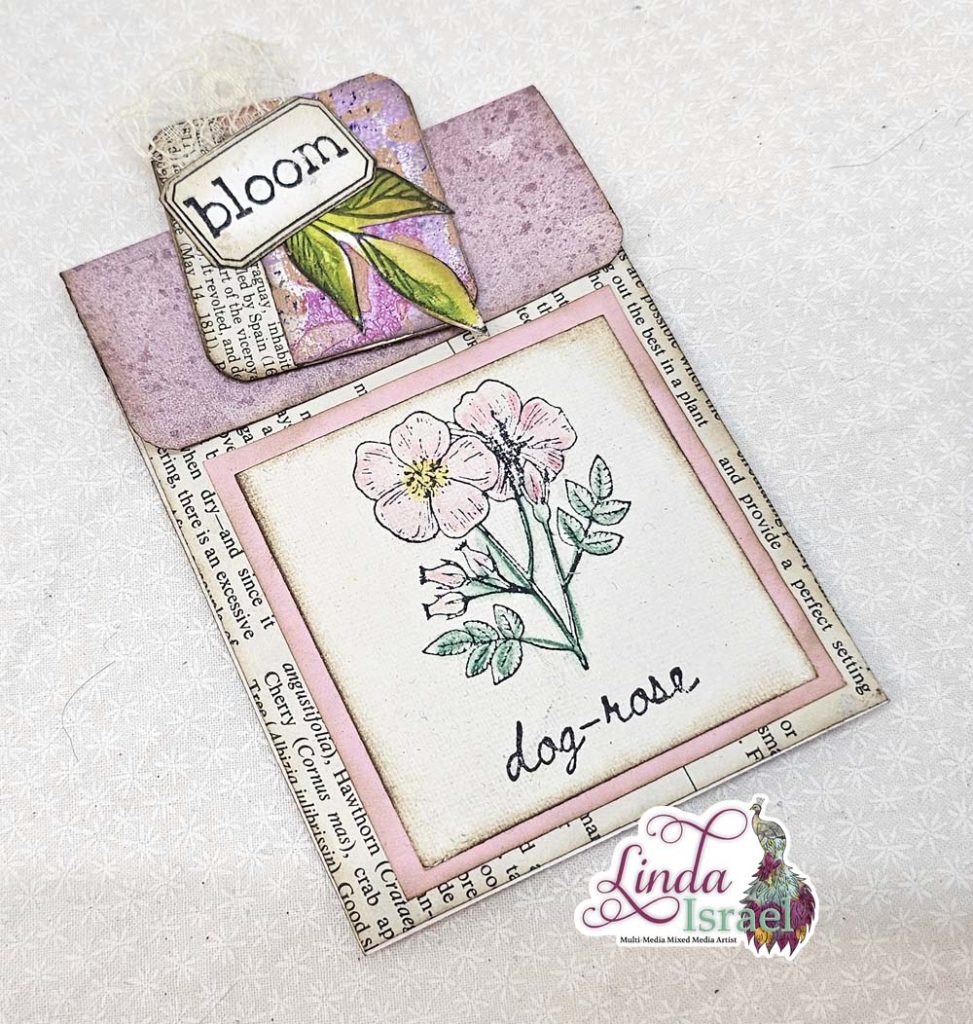
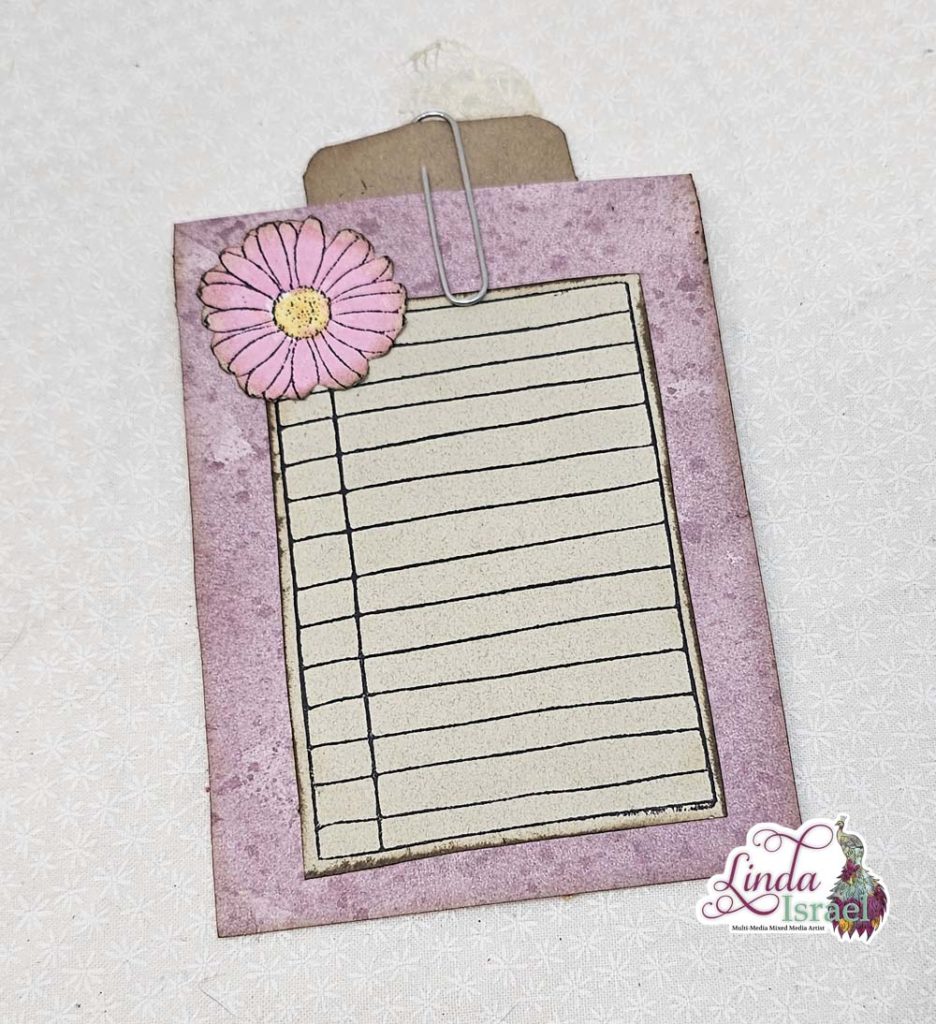
To get started with this Faux Seed Packet and Altered Paperclip Tutorial, select a book page and then score it and cut it down. The front of the seed packet measures about 3.25 wide by 4.25 once it has the sides and tops folded to the inside.
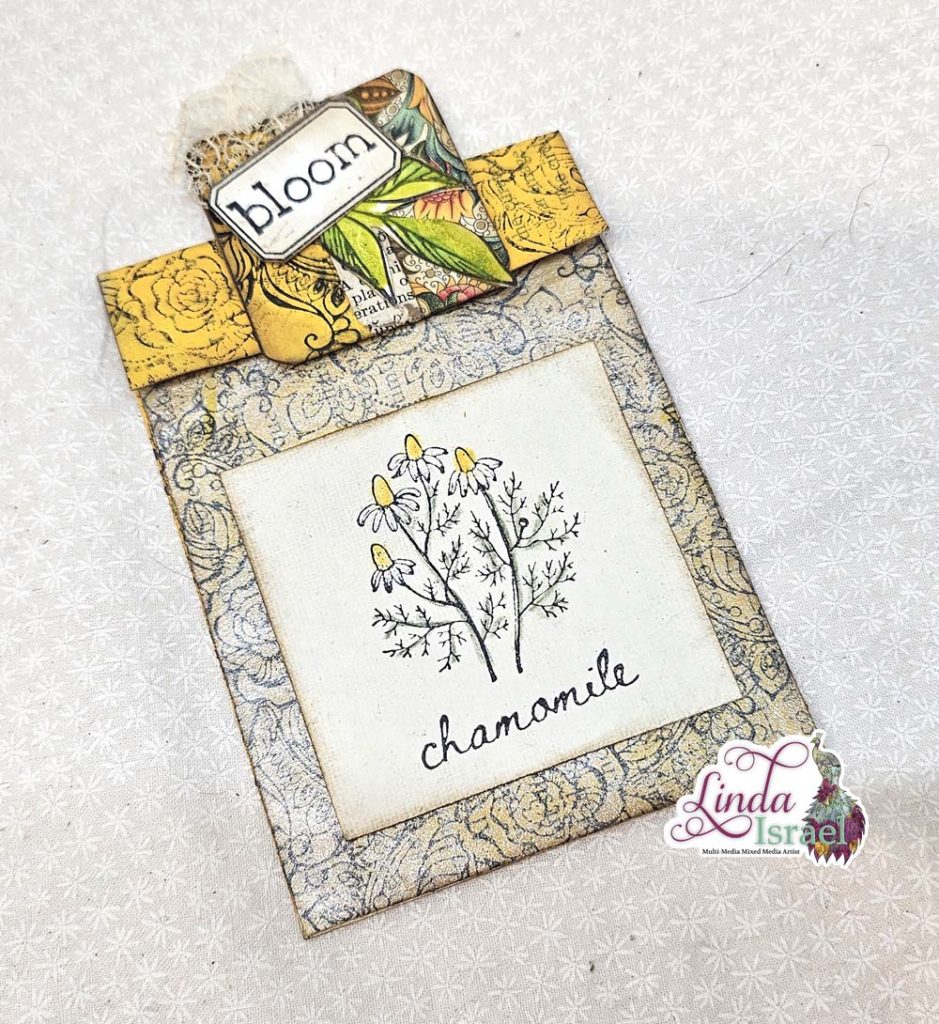
Cut another book page or gel print or any other paper to measure about 3.25 inches wide by about 5.75 to 6 inches tall, this will become the back of the faux seed packet.
Score from the bottom at 4.5 inches leaving the top portion to be the fold over part of the envelope. In the tutorial I trimmed the top down to 1 inch and then covered the inside of the envelope flap with another piece of paper.
Since I used a book paged that I painted with yellow acrylic paint I decided to stamp over the paint with the Henna Rose Stamp using Archival Ink Jet Black. Stamping over the book page helps obscure the text and adds a unique pattern to the paper.
Going back to the front plain book page using Mustard Seed Distress Oxide ink add color to the paper. Then add different shades of yellow Tattered Angels Glimmer Mists to deepen the color. Using the Henna Rose Stamp again add on top of the color for more pattern.
Fold in the tabs on the front of the seed packet and then adhere using Aleene’s Tacky glue, or your adhesive of choice.
Apply Distress Ink Walnut Stain around the edges both inside and out of the seed packet.
Decorate the front of the seed packet with the Chamomile Stamp set, colored with watercolor pencil on a piece of ivory scrap of paper.
For the back of the seed packet select a piece of coffee dyed paper and stamp the Hand Drawn Notebook paper, then fussy cut around the image.
Adhere the notebook paper on the back and layer the Little Daisy water colored flower in the corner.
For the altered paperclip use a piece of cardstock scrap and cover it with scraps left over from creating the seed packet. Round the corners with the corner chomper. Add a snippet of lace, the Stamped Leaves and bloom to decorate the front of the paperclip.
For the inside create a simple journal card that has coffee dyed paper on the back and stamped in the corner with the Henna Rose Stamp.
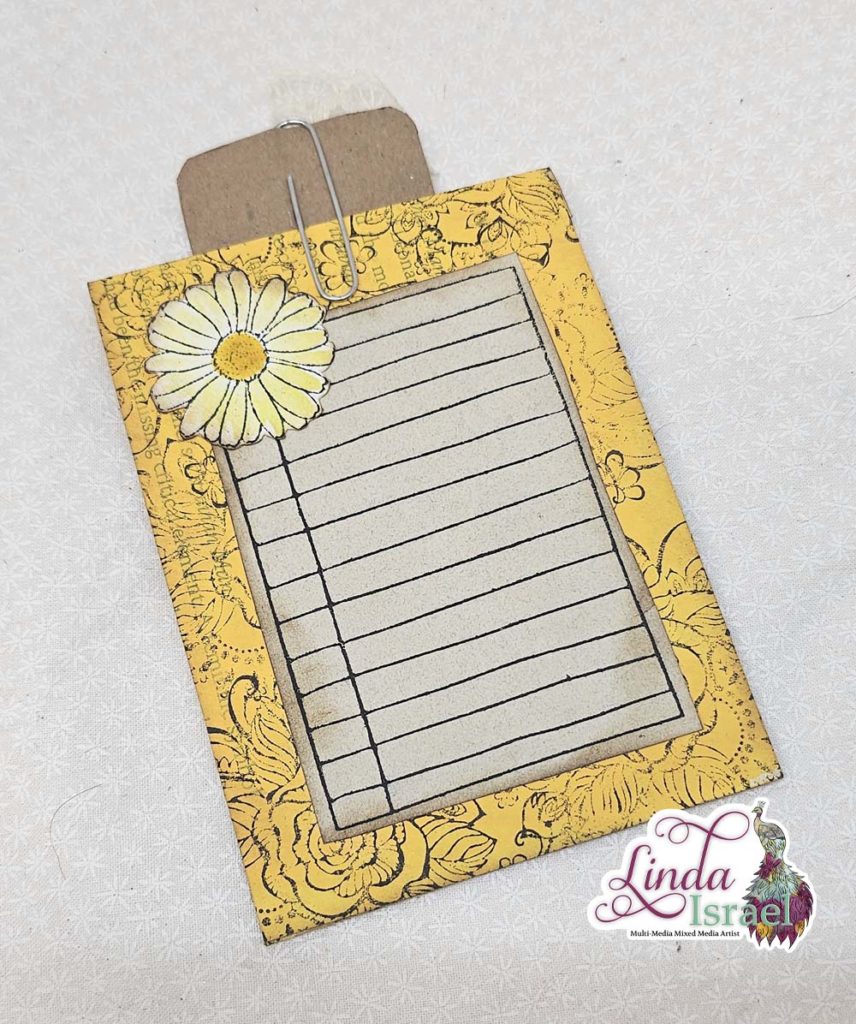
Look through your stash and see what you can use and create a few to use in journals or to give as gifts.
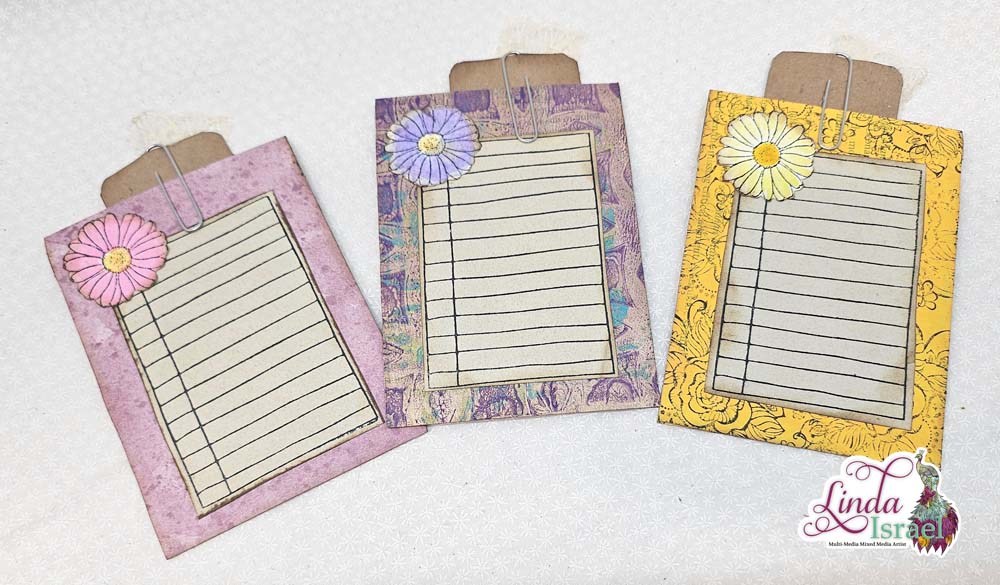
Make sure to check out the Friendly Junk Journal People Facebook group. Of course, you are welcome to join the Friendly Junk Journal People Facebook group. The group is growing daily and we are a friendly group willing to help each other and encourage each other.

Interested in any of the projects Linda has created? Please feel free to contact her through her website. Here is her shop, a lot of items featured and more added weekly.
Keep updated on her posts by following the blog by creating an account. Follow Linda on her Facebook Page or on Instagram for updates that may not be shared on the blog.
Thanks so much for stopping by the blog today to see the Faux Seed Packet and Altered Paperclip Tutorial.
