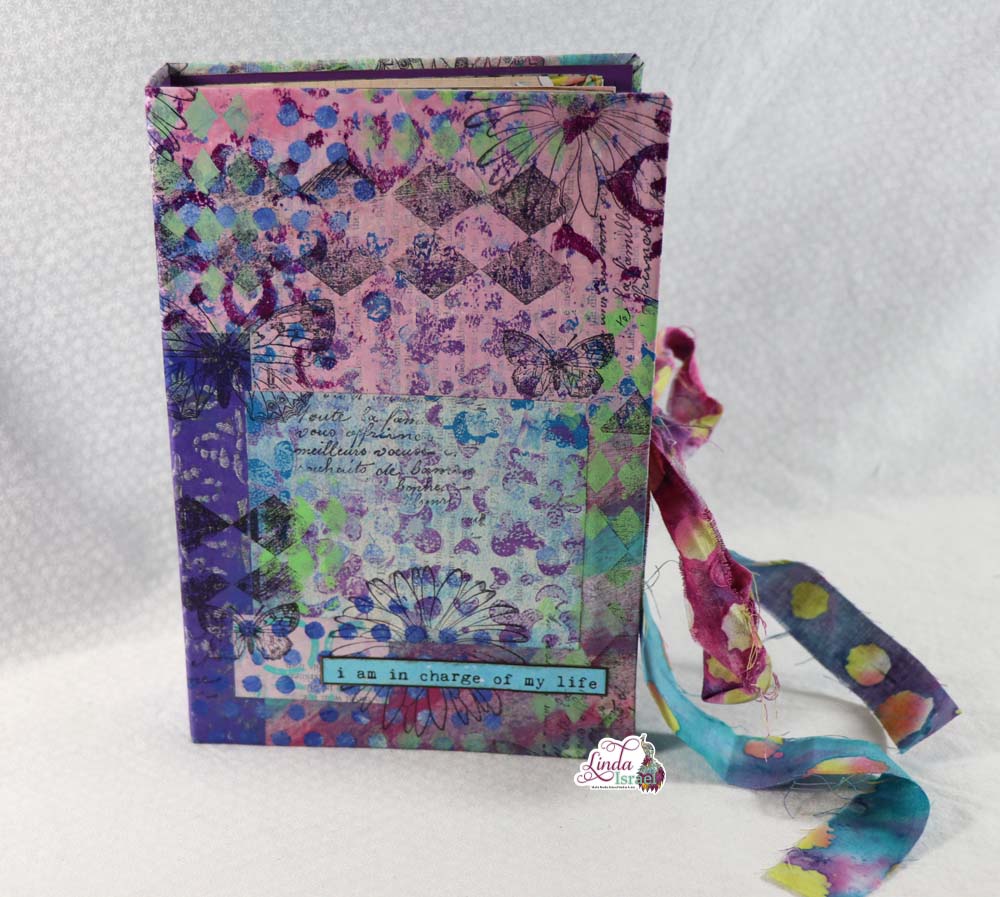
Sharing a Mixed Media Junk Journal Cover Tutorial with you today. Since I have created several gel prints and other mixed media papers it is time to create a journal for all of these elements. To make this journal extra special I decided to make a hard journal cover.
Mixed Media Junk Journal Cover Tutorial Video.
Supplies used for the Mixed Media Junk Journal Cover Tutorial
- Unbleached Muslin
- Acrylic Craft Paint
- Stipple or dry paint brush
- Paint Pallet
- Ken Oliver Mixed Media Mat
- Gel Prints and Painted Papers
- Gloss Gel Medium
- Quality paint brush
- Bone Folder
- Small Polka Dots Stencil
- Small Diamond Stencil
- Blending Tool
- Ranger Archival ink, Jet Black
- Daisy Stamp
- Butterfly Large and Small Butterfly Stamps
- Diamond Bar
- French Correspondence
- Chipboard Four pieces cut at 6 x 9 inches, Two Pieces cut at 1.5 x 9 Inches
- Aleene’s Tacky Glue
- Rotary Fabric Cutter
- Quilters Ruler
- Fiskars 24X36 Inch Self Healing Rotary Cutting Mat
- 12 x 12 cardstock cut two at 8.75 x 5.75 inches, cut the left over strip to 8.75 inches long
- Scrap of cardstock for pocket cut at 3 x 5.75 inches.
- Two Fabric strips 1 x 18 inches
- Packing Tape
- ScraPerfect Crafting Pouch
- Perfect Cleaning Cloth by ScraPerfect
To begin this Mixed Media Junk Journal Cover Tutorial, start with a piece of unbleached muslin, or any light colored fabric you might have on hand. Could even use an old sheet. Protect your work surface, I used the Ken Oliver Mixed Media Mat.

Select a few colors that you like and go with your gel prints or mixed media papers you created. In my case I chose a light turquoise, pink and purple. Use a stipple or dry brush to apply the lightest color directly onto the fabric. Clean off brush between applying the remaining paint colors. Allow the paint to dry or use a heat tool, make sure to keep the heat tool moving so you don’t scorch your project.
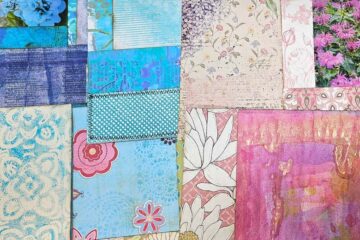
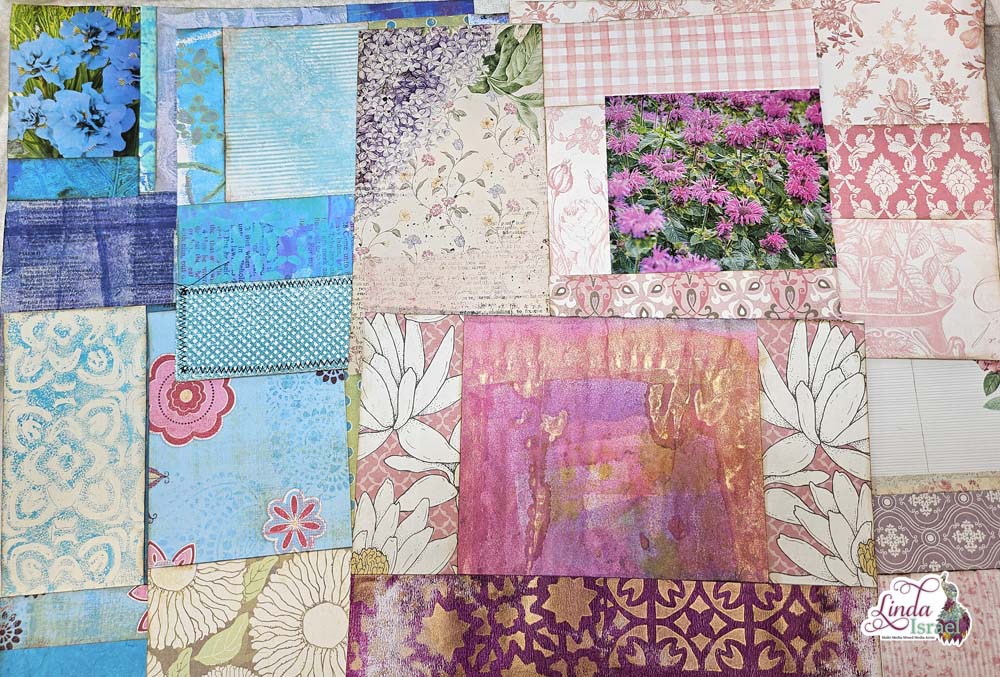
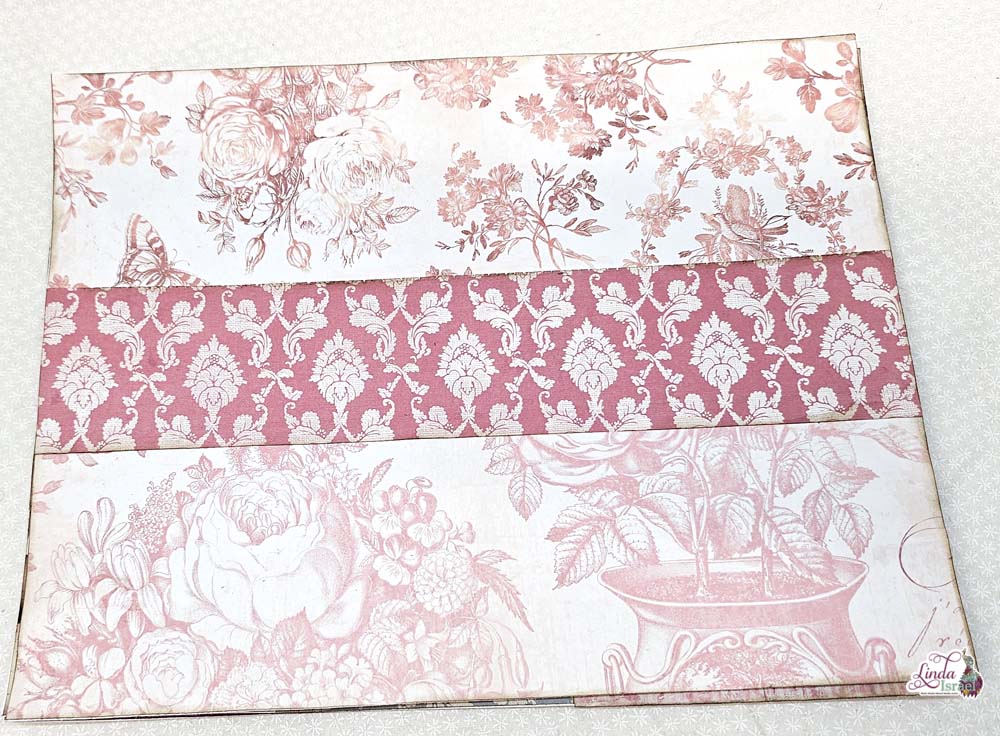
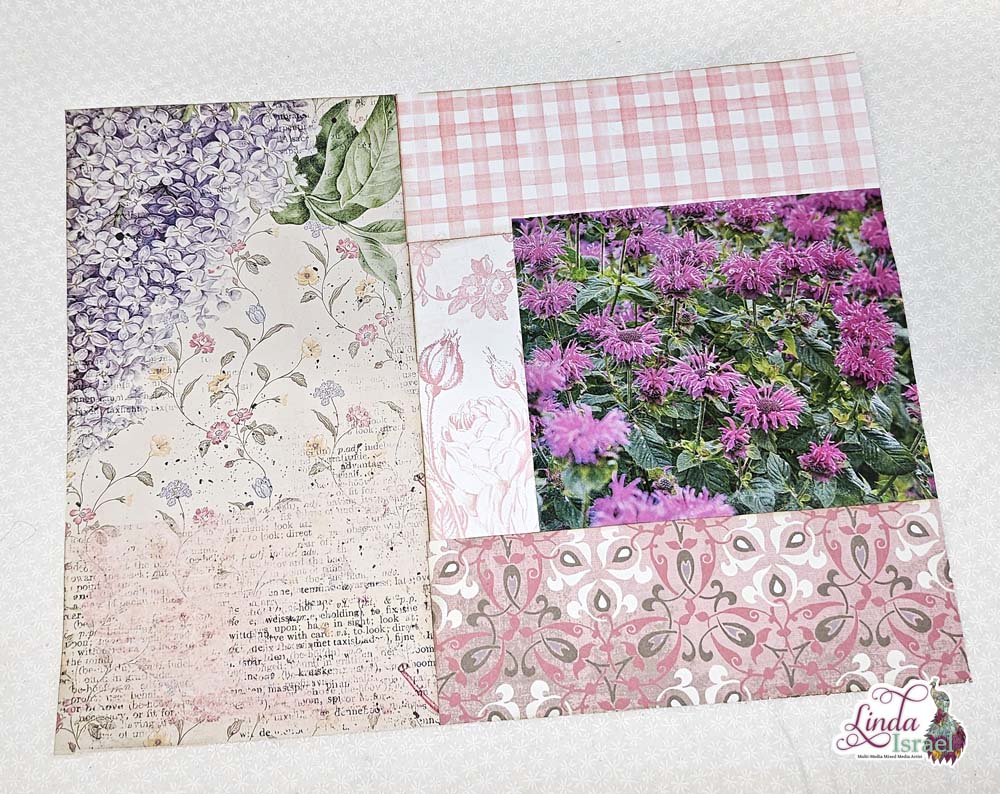
Select gel prints and mixed media papers and arrange on the painted fabric. Cut down larger pieces and use those scraps too. Once you have the layout adhere the paper to the fabric using Gloss Or Matte Gel Medium with a quality brush. Apply the gel medium to the fabric and to the back side of the paper. Layer papers in this manner until all the papers are adhered. Then apply a coat of gel medium over the whole piece and allow to dry. Drying time can vary, it depends on how humid it is where you live. You can place a fan near this or use a heat tool to dry.
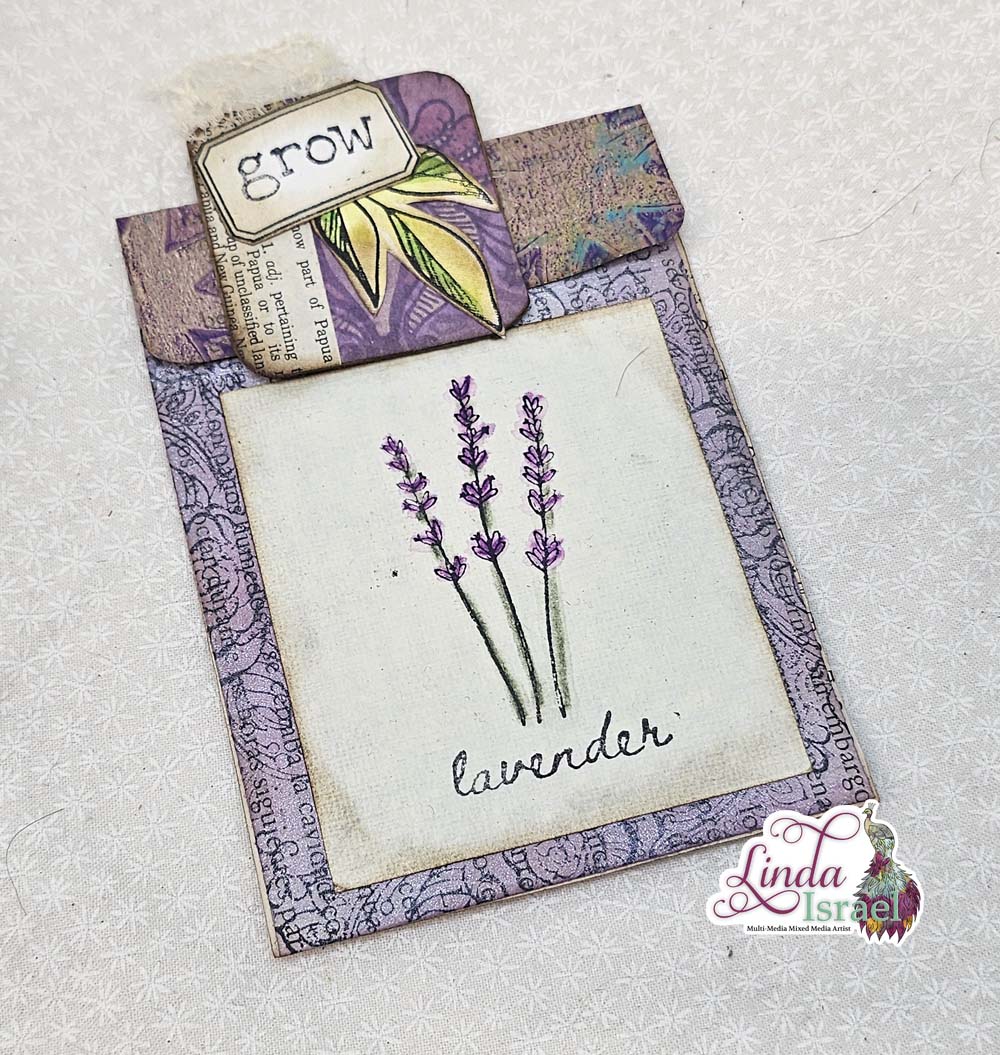
Grab some stamps. Bold stamps work the best, but you can use fine detail stamps too. Stamp using Archival Ink, Jet Black, a dye based ink is best for this project.
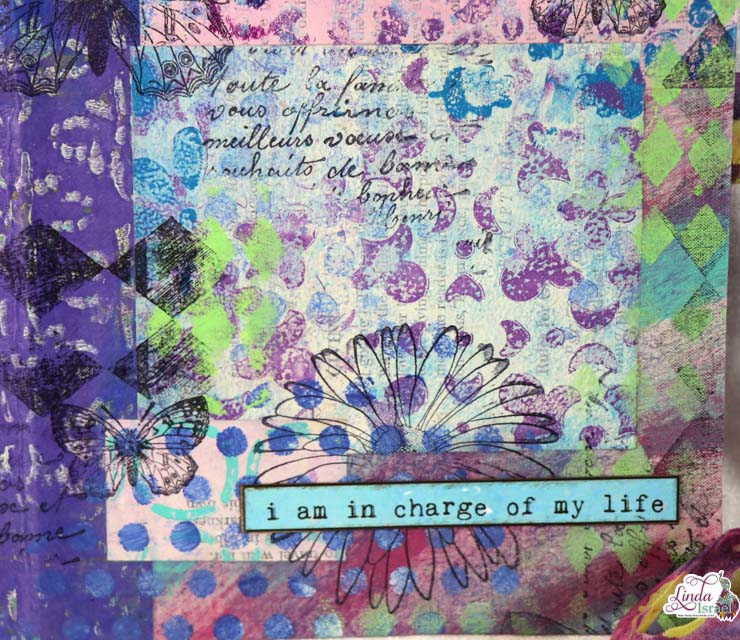
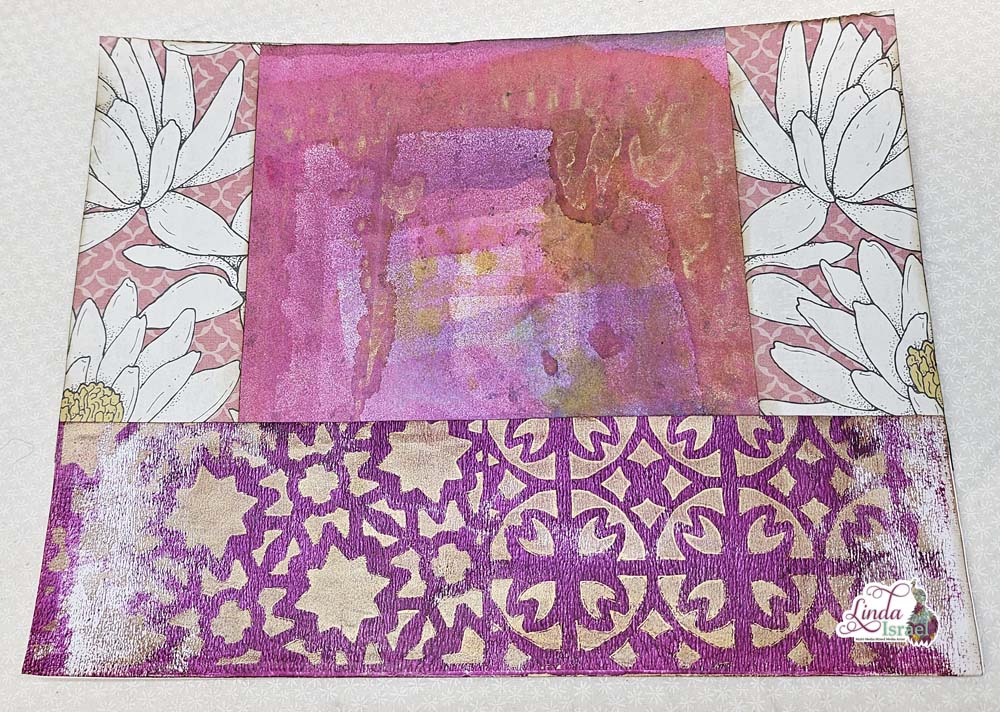
Using the Small Polka Dot stencil, acrylic paint and a blending tool apply paint in a few random spots on the fabric and paper. Switch out the stencil for the Small Diamond Stencil and a different color of paint and repeat. Allow the paint to dry.
Glue the chipboard pieces to the back side of the painted fabric. These pieces measure 6 x 9 and 1.5 x 9 inches. Adhere the center spine first, then leave a small 1/8 of an inch gap and adhere the front and back cover on either side of the spine.
Trim the fabric to be about .75 to 1 inch larger than the chipboard outside edge. Apply glue to the corners and fold to the inside. Adhere the sides with glue and fold to the inside.
For the inside I selected a piece of 12 x 12 purple cardstock. This was then cut down into three piece, two measuring 8.75 x 5.75 inches and one measuring 3.25 x 8.25 inches. For the pockets cut a piece of cardstock down into two pieces measuring 3.25 x 5.75 inches. Apply distress ink around all the edges of these pieces. Adhere the pocket to the bottom of the inside cover.
If a fabric tie is wanted cut strips 1 x 18 inches. Glue to the back side of the inside cover in the center, apply packing tape over the fabric so that it is secure. If you like sewing you could stitch around the outside of this piece for a decorative touch.
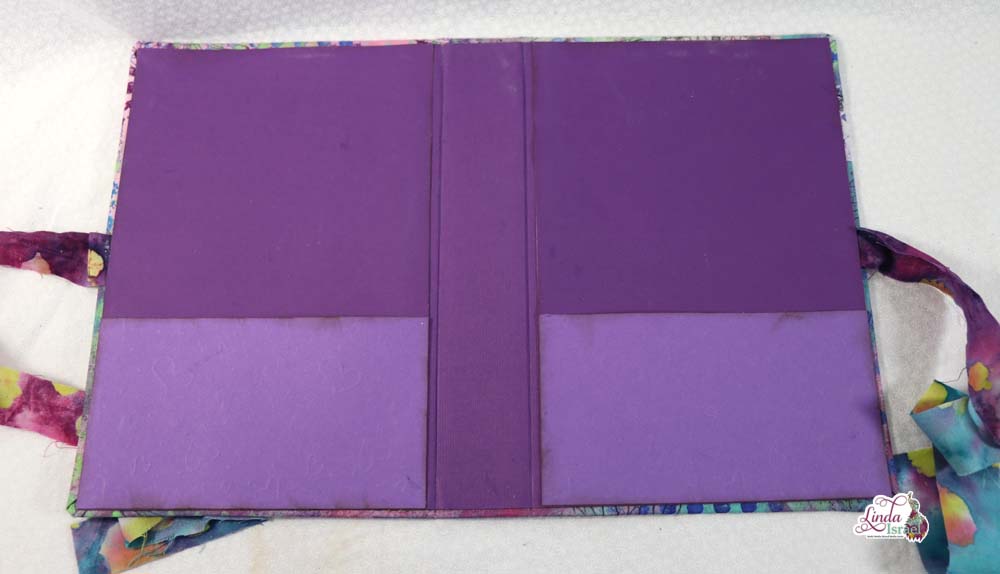
Adhere the center cardstock strip to the book cover. Smooth with a bone folder. Gently bend the cover to find the gap and gently press a bone folder into the gap, making sure not to tear the paper. Repeat for the other side.
Line up and adhere the inside front and back cover, making sure that the ties are sticking to the outside of the cover.
The cover portion is complete. At this time you can use traditional pamphlet stitching to attach the signatures or you can punch holes and thread elastic to create a Midori Style Journal.
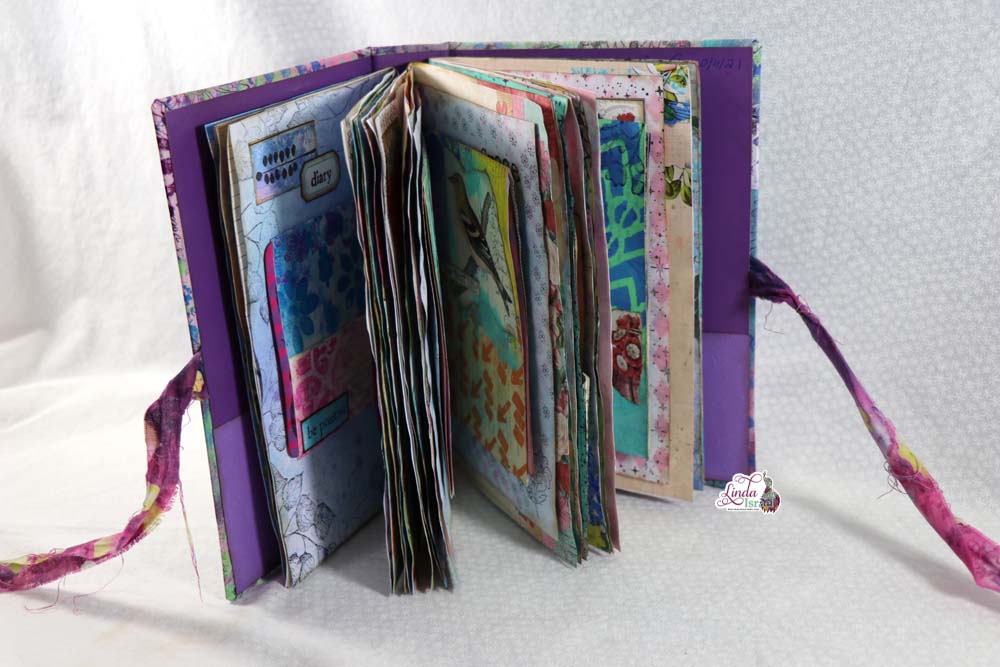
For this journal the pamphlet stitch method was used. There are three signatures with 7 fold pages in each signature, for a total of 84 pages.
Watch the Live Mixed Media Junk Journal video to see how many of the pages were made and then attached to the cover.
This video shows how some of the mixed media elements were made.
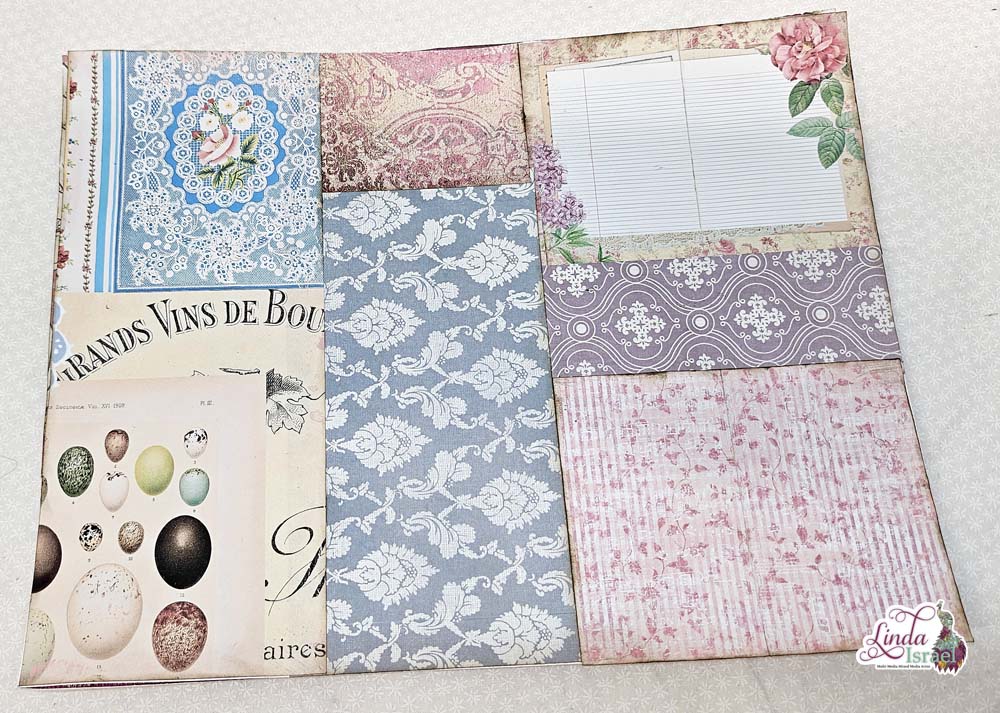
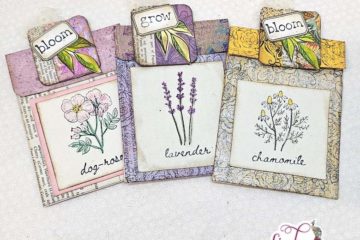
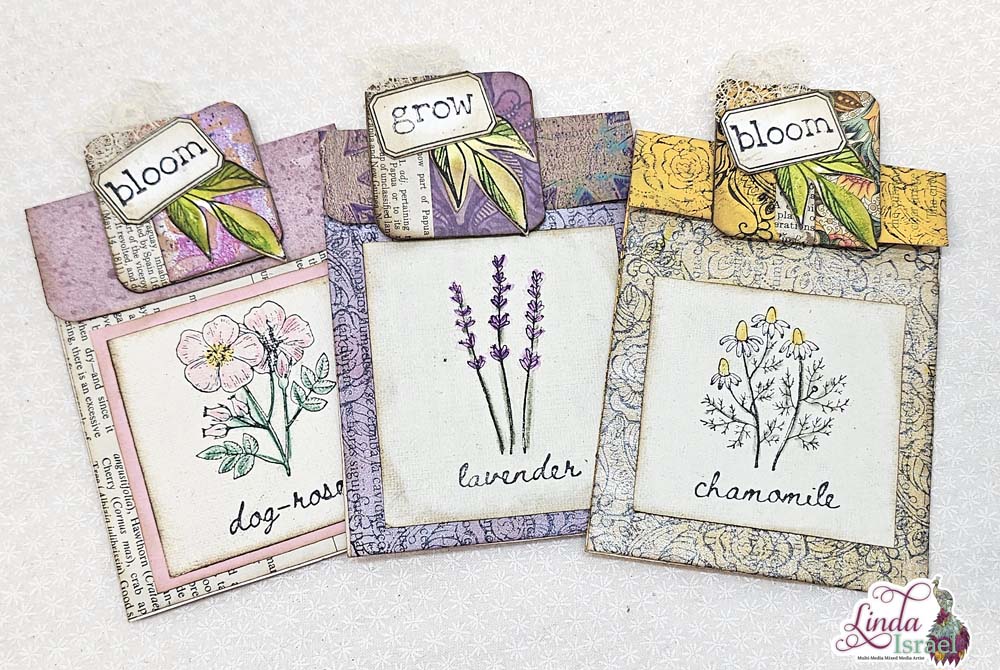
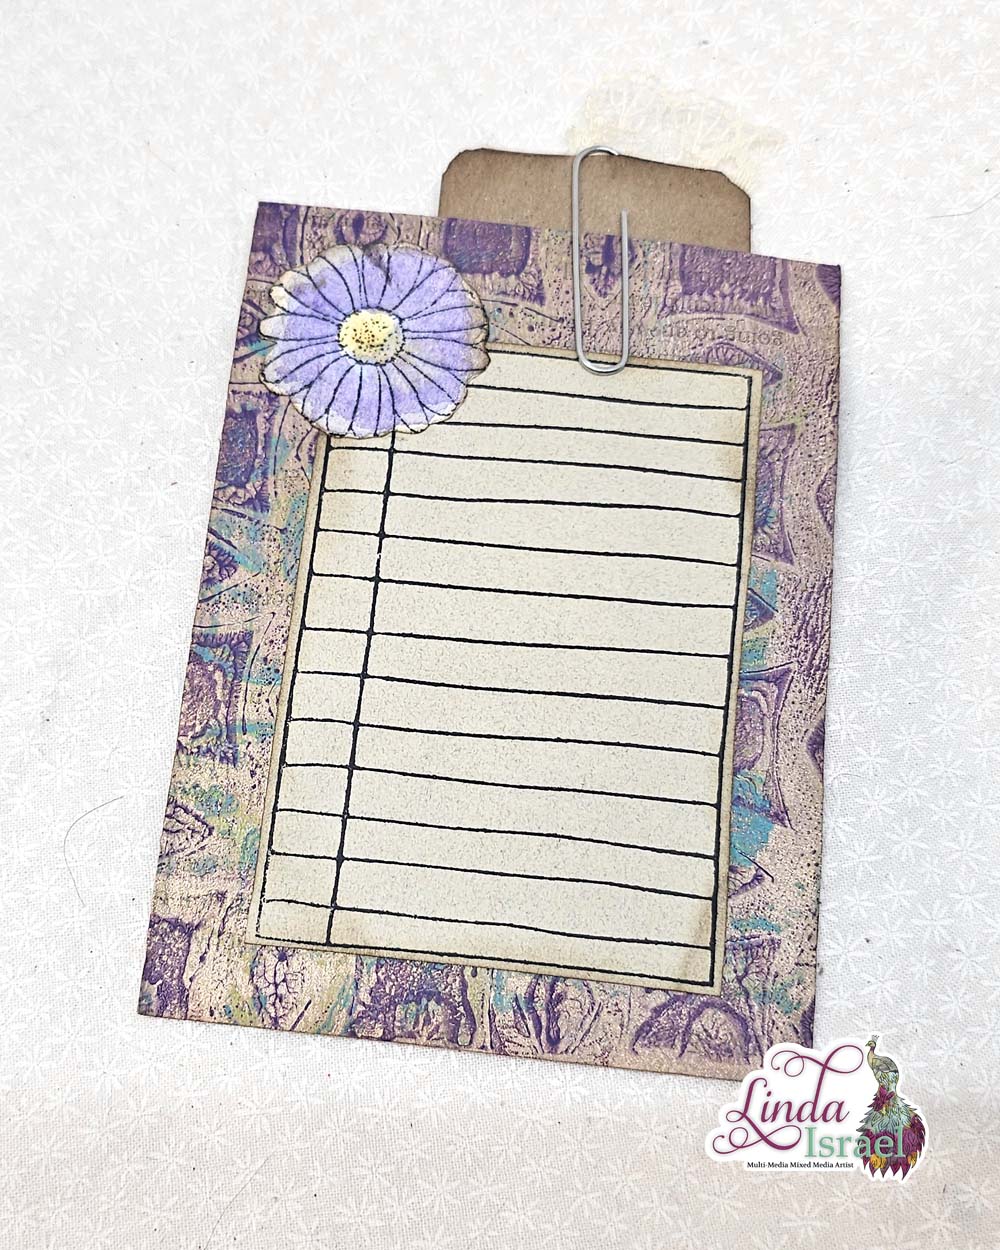
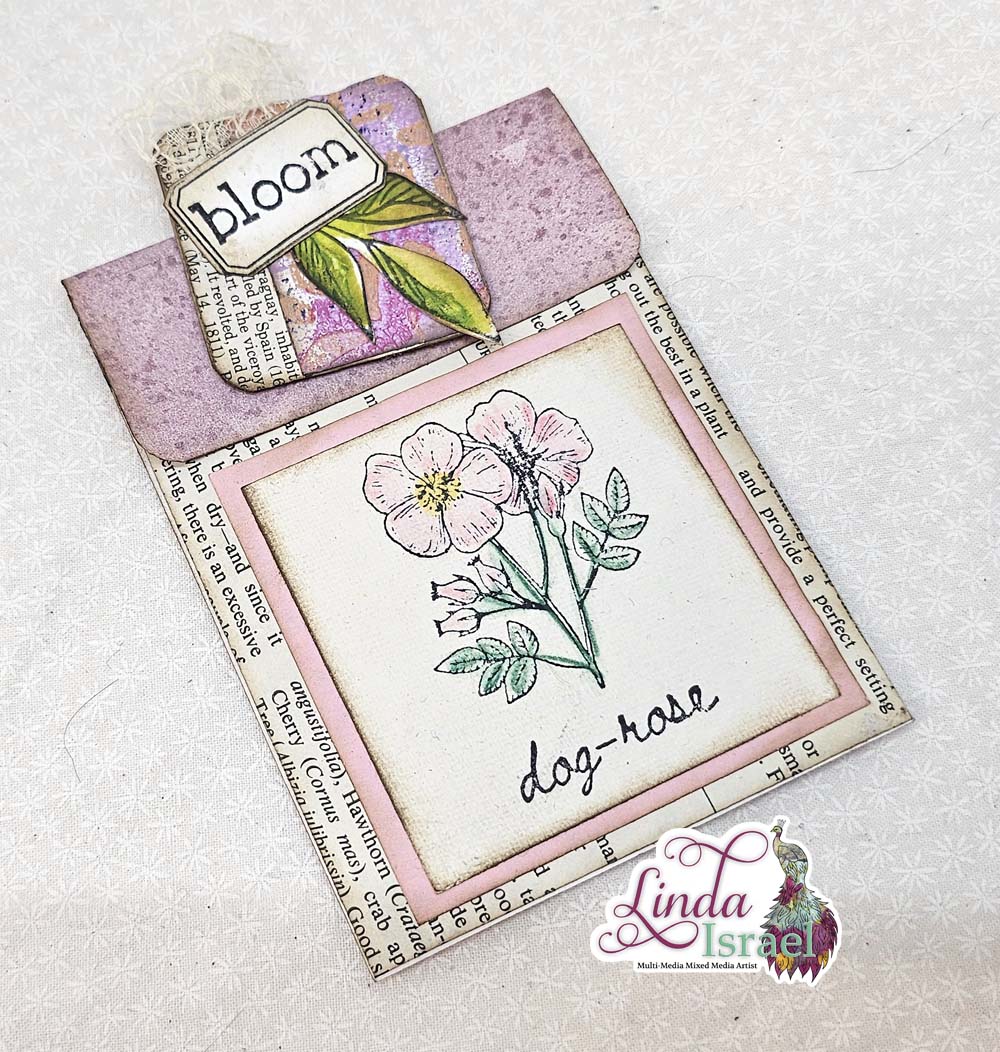
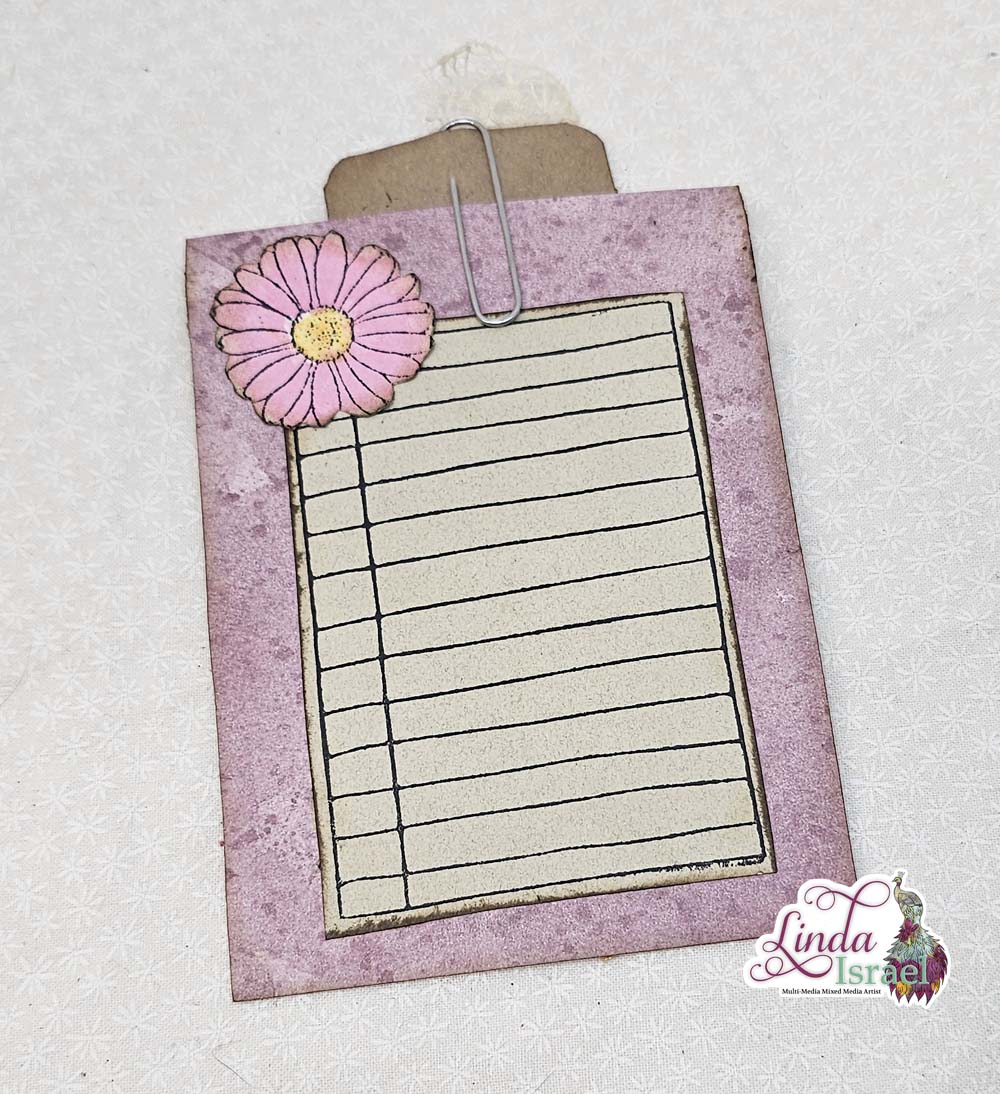
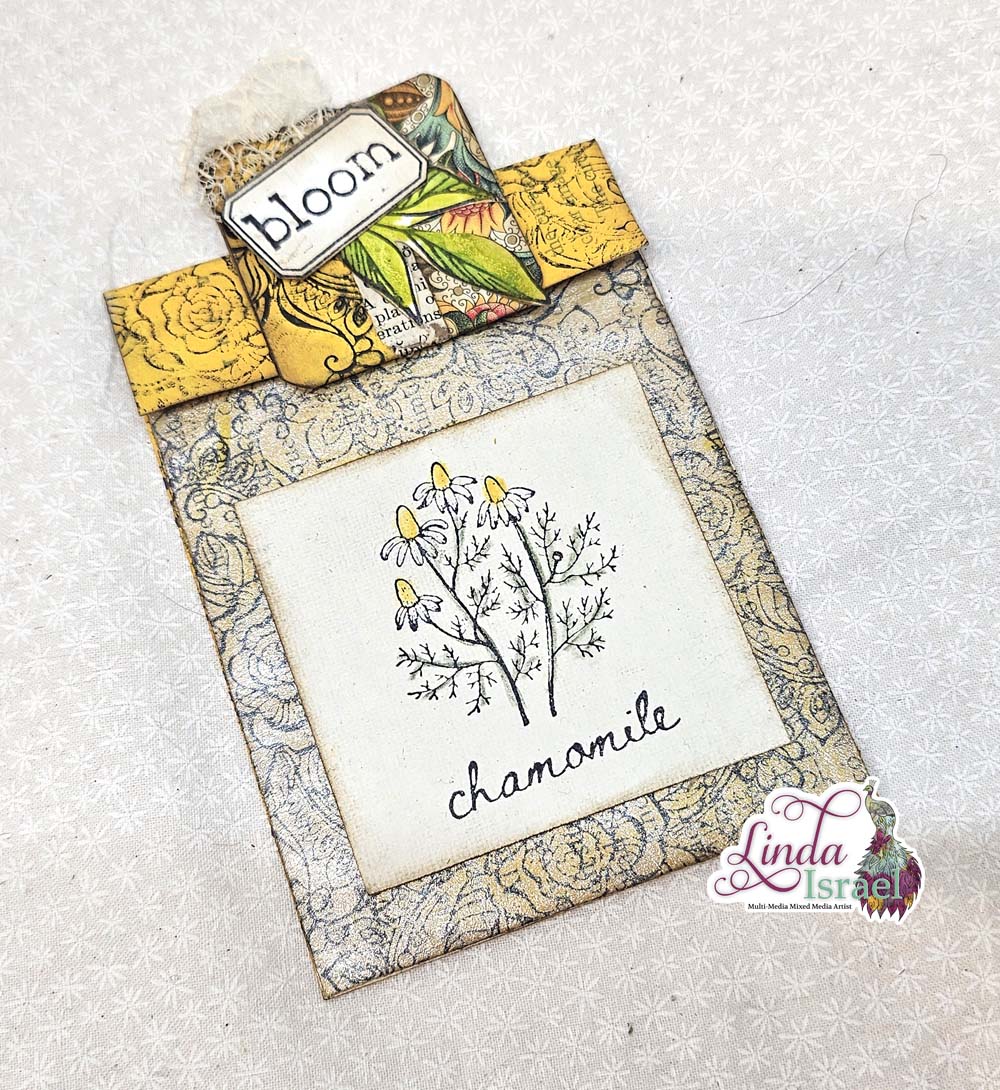
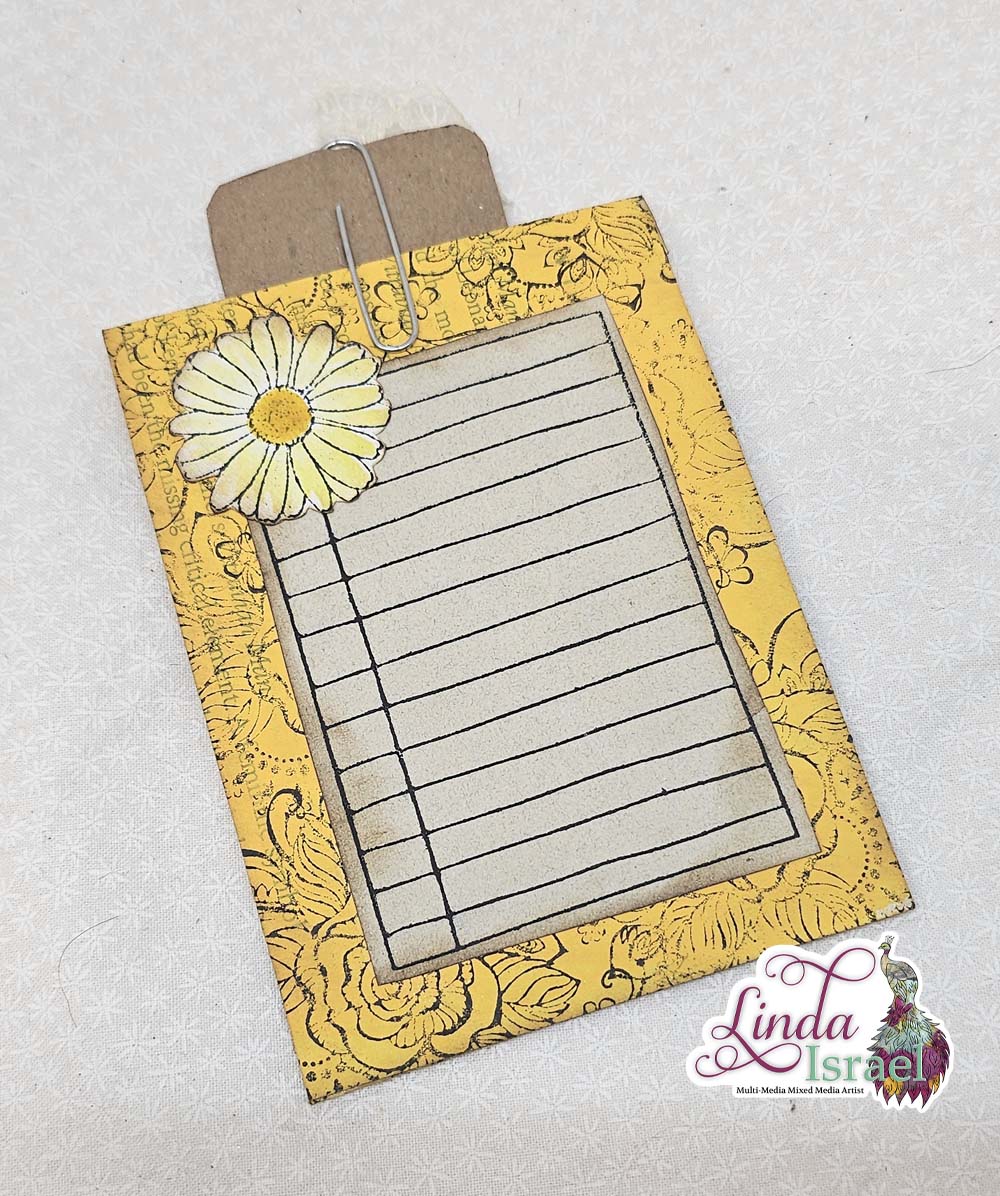
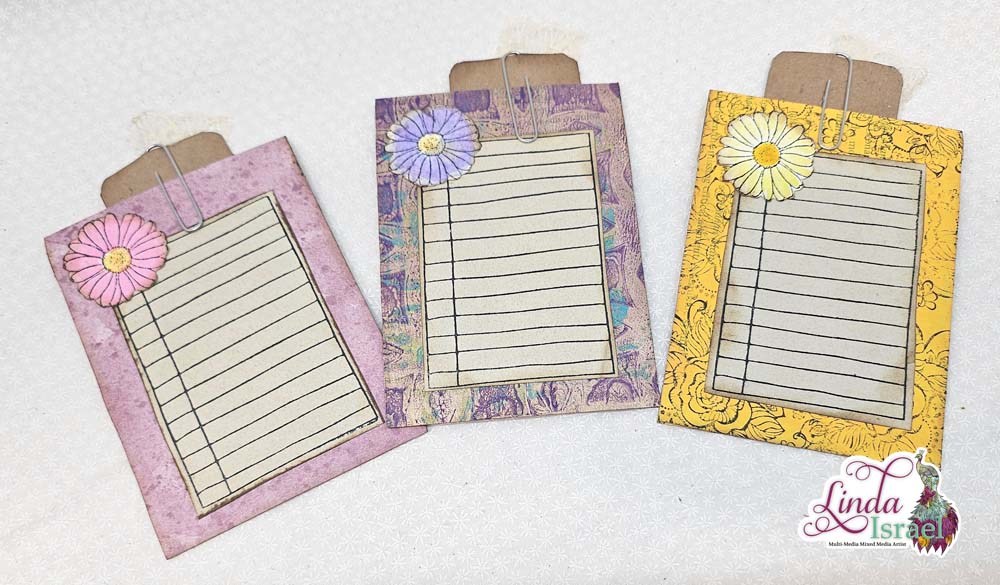
Here are a few photos of the pages inside this journal, hopefully these will inspire you to create.
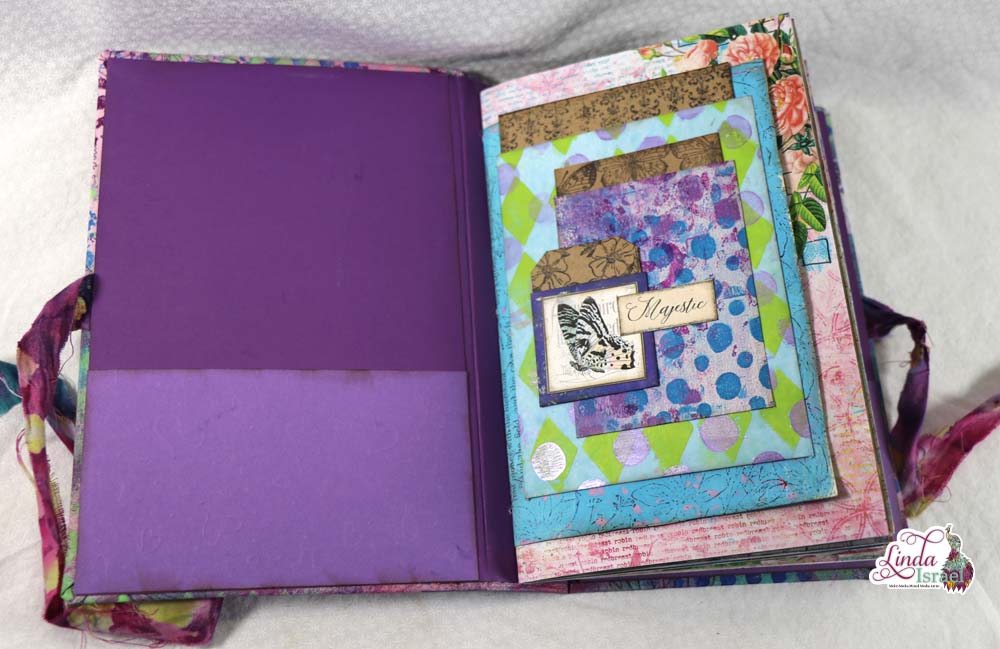
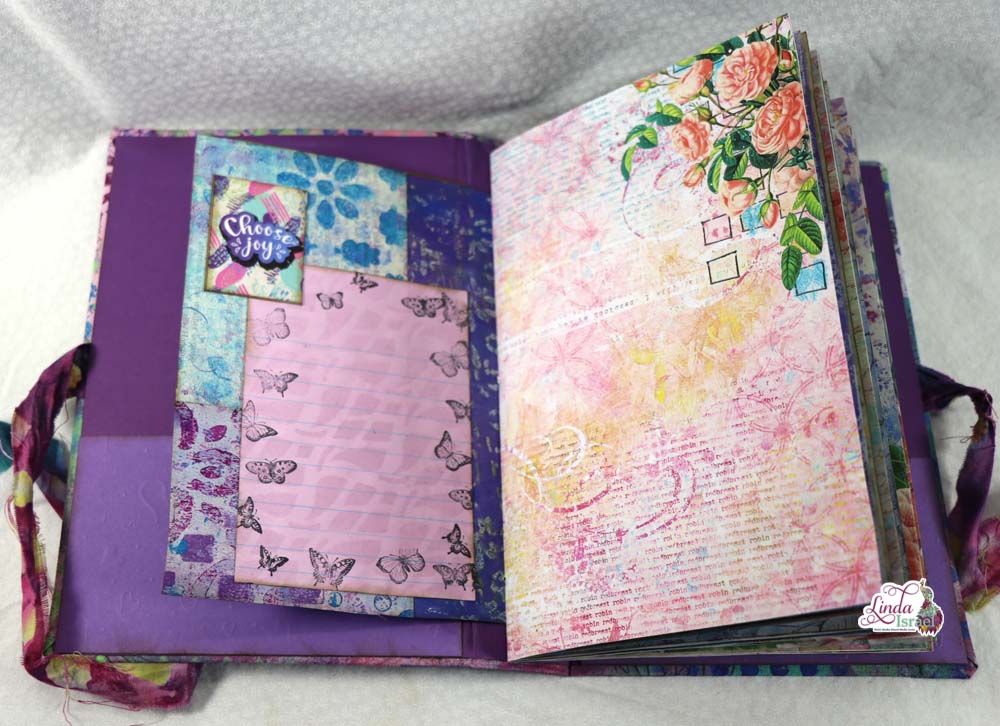
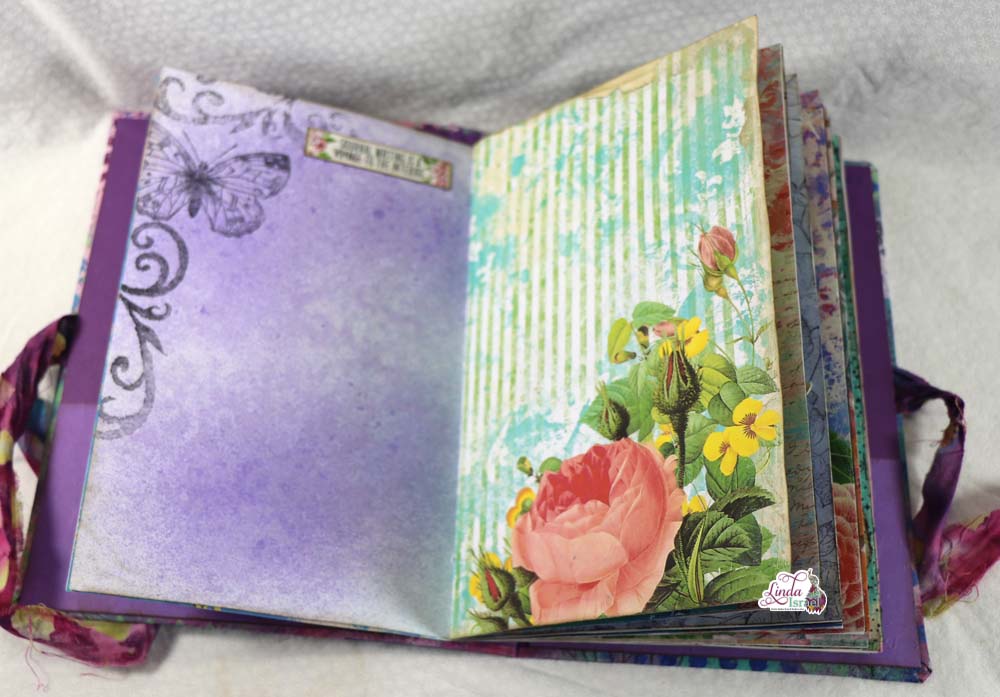
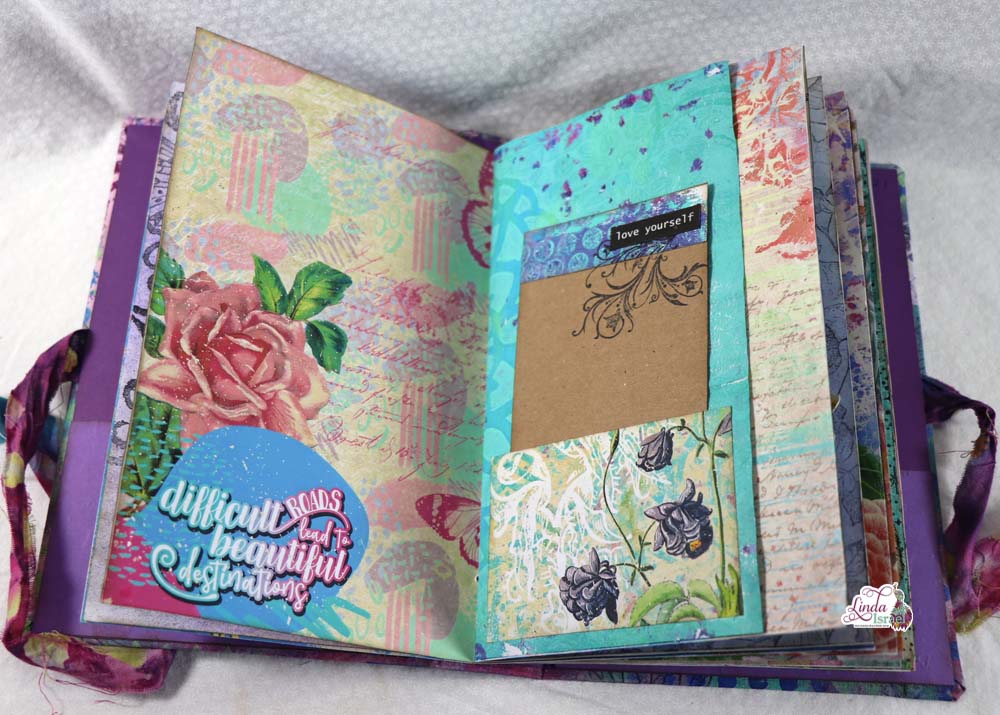
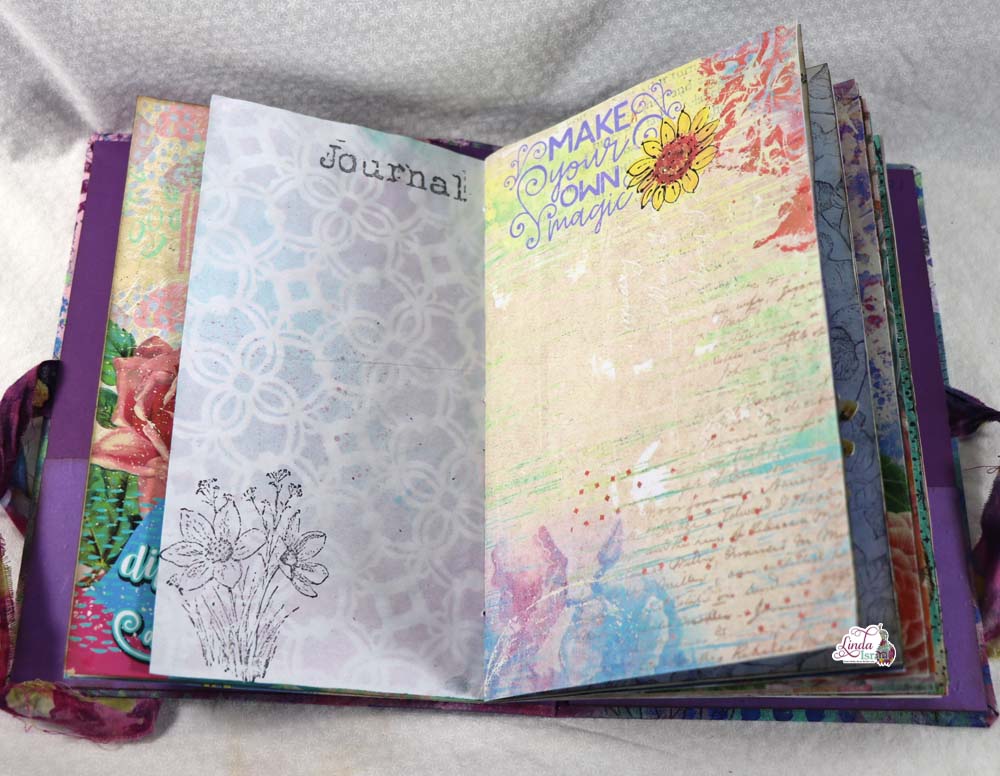
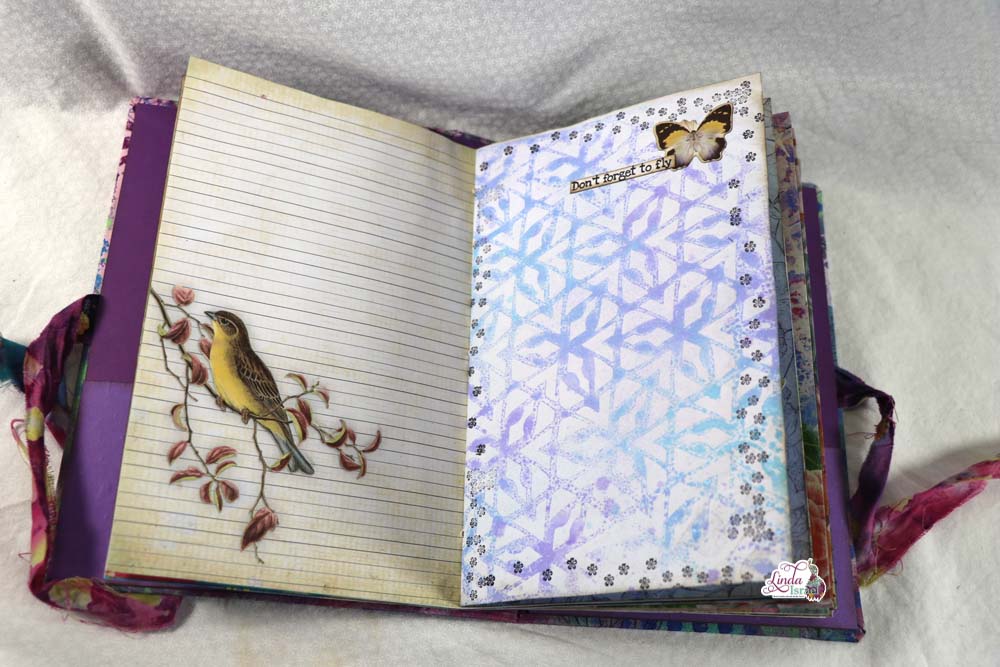
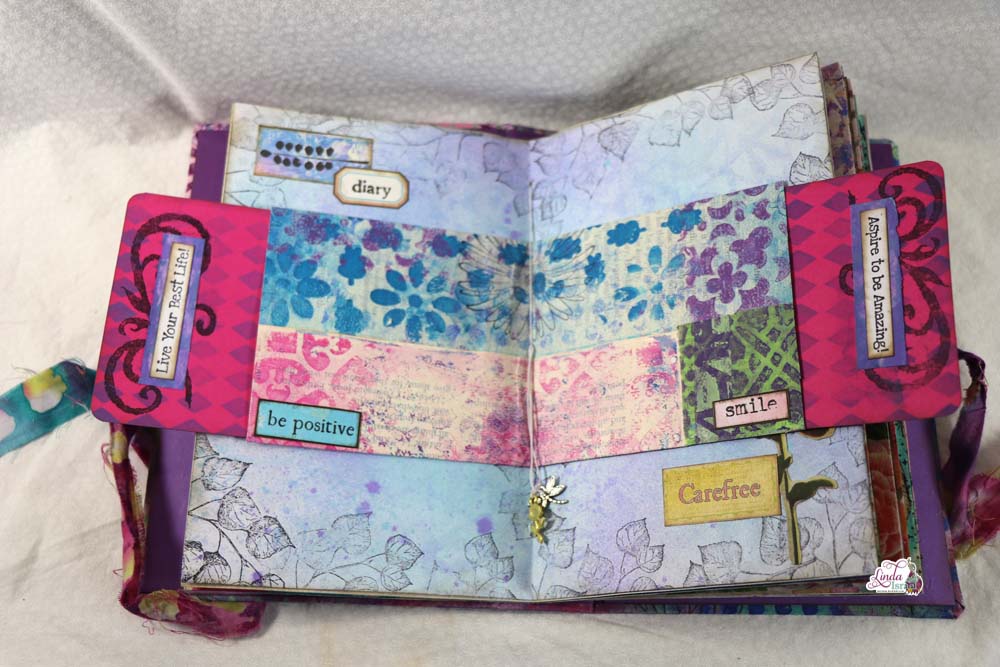
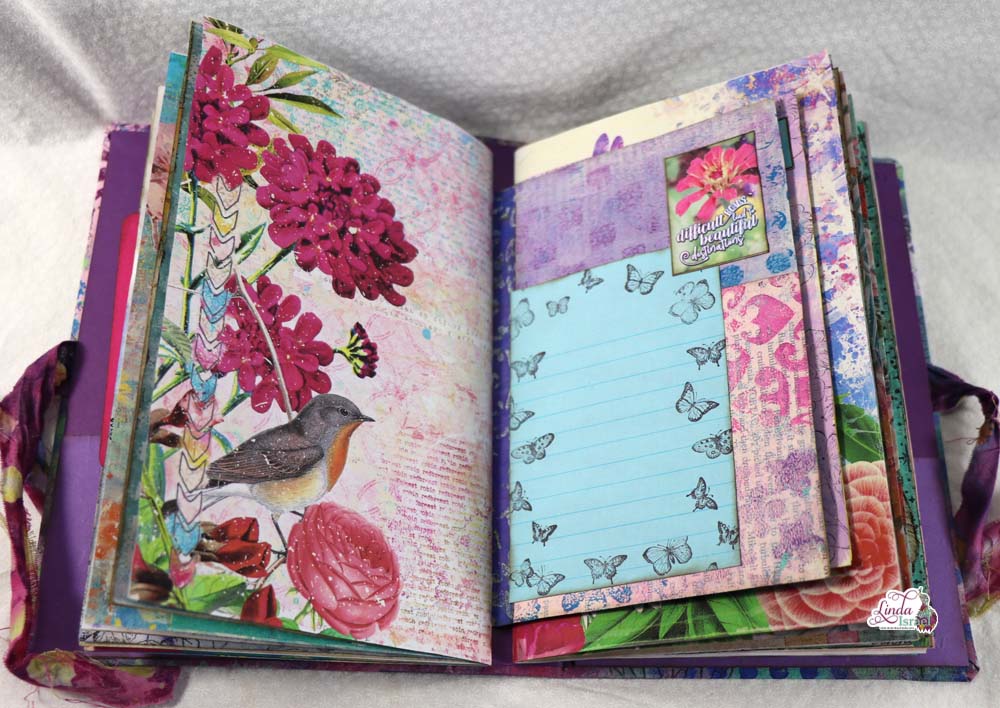
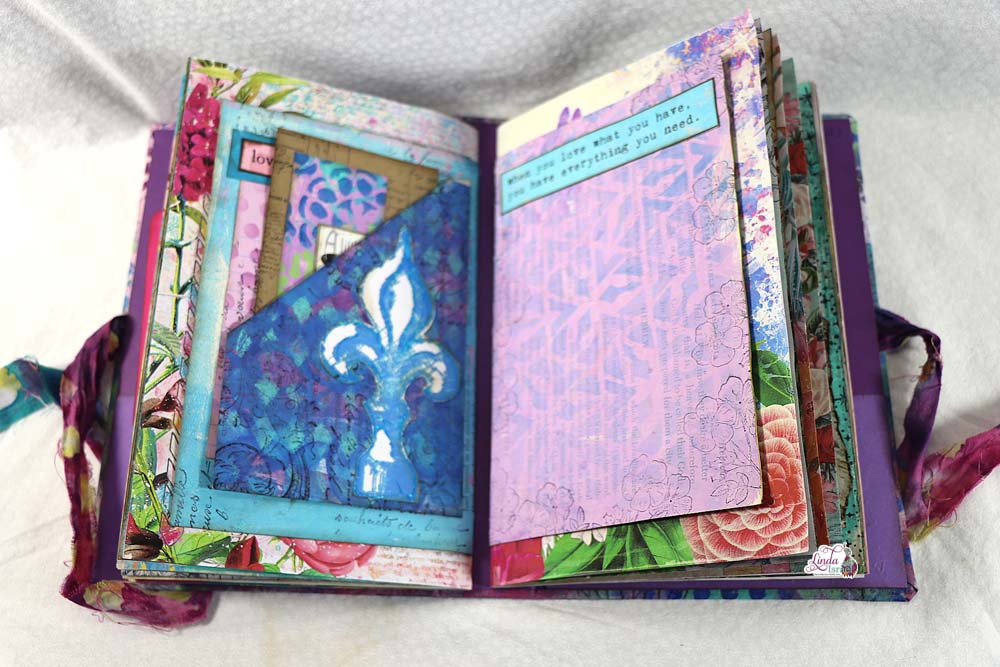
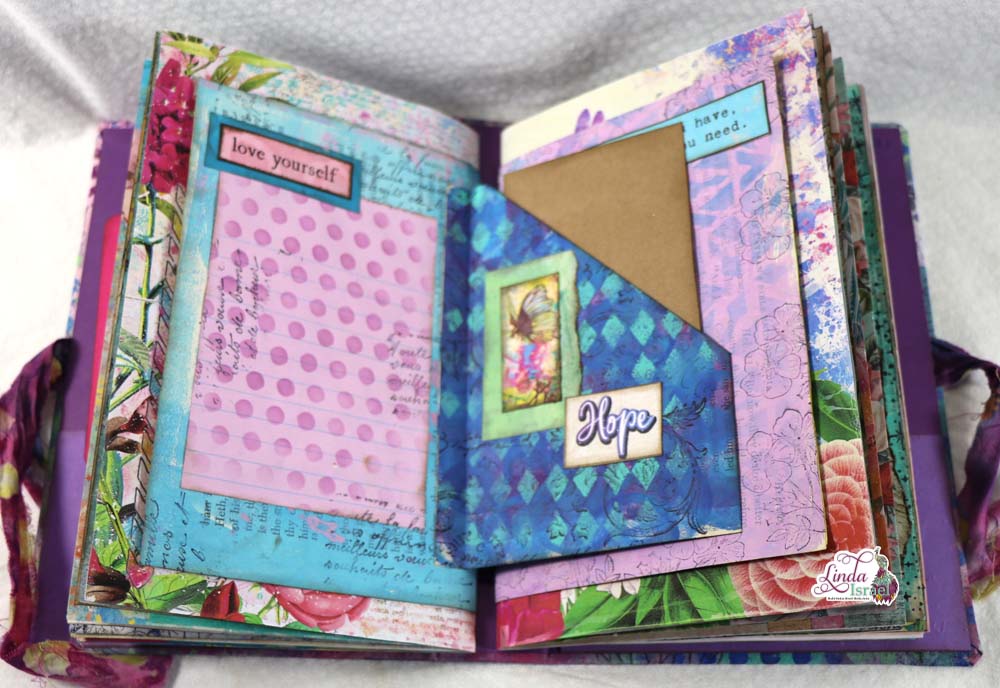
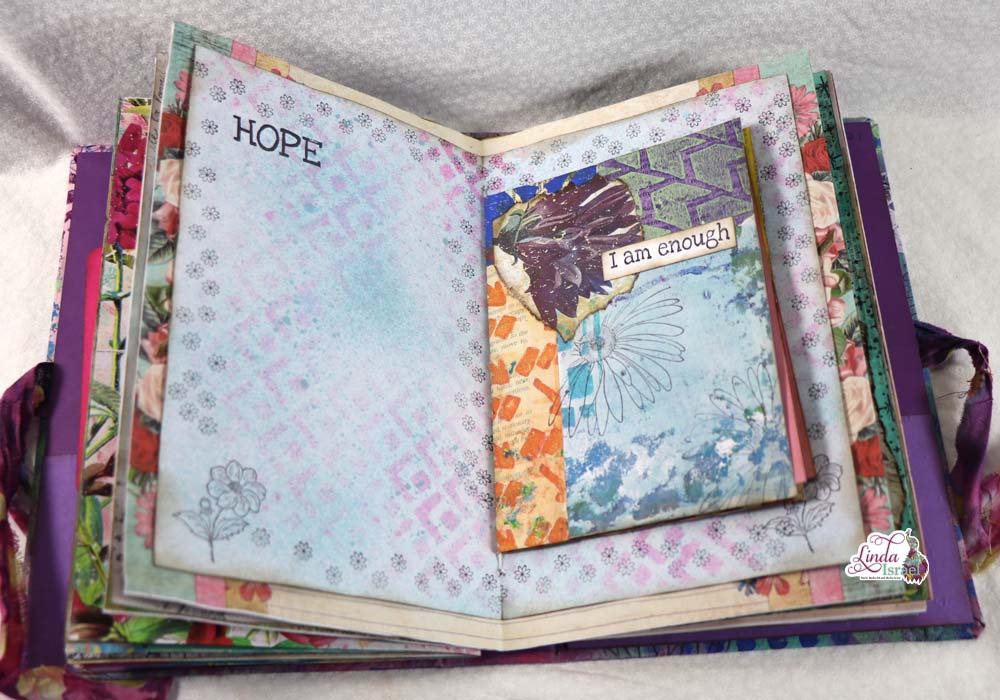

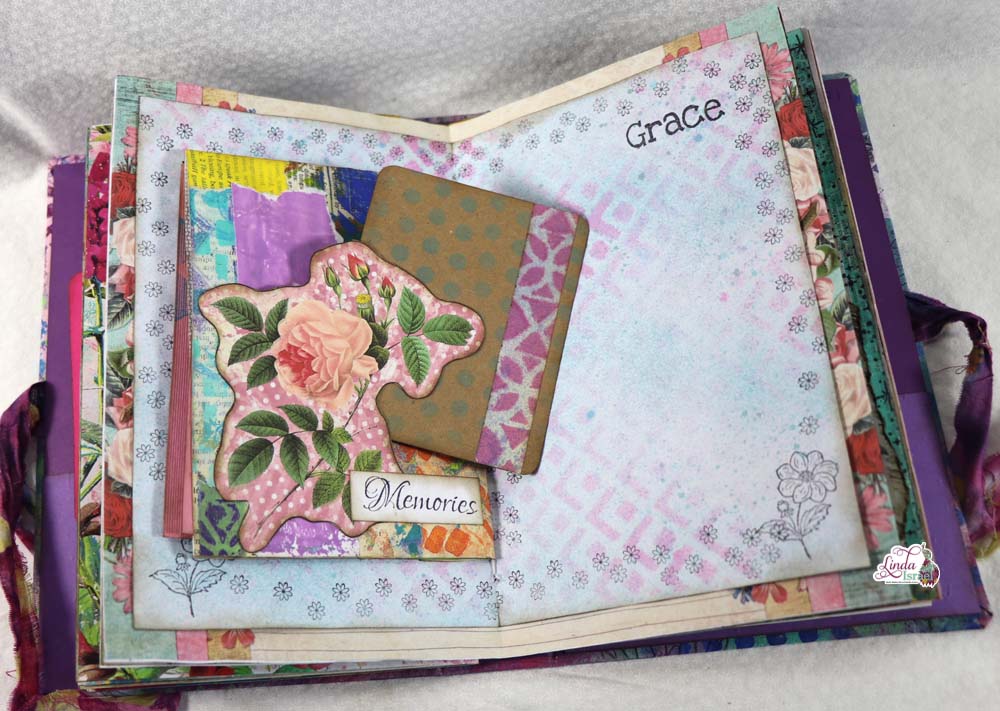
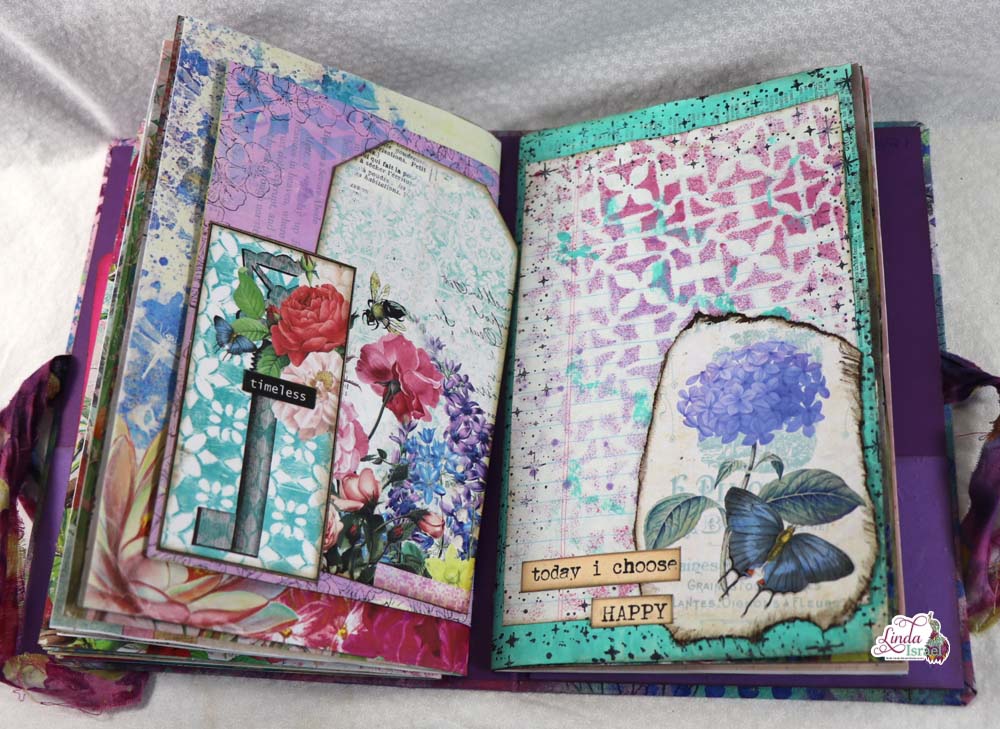
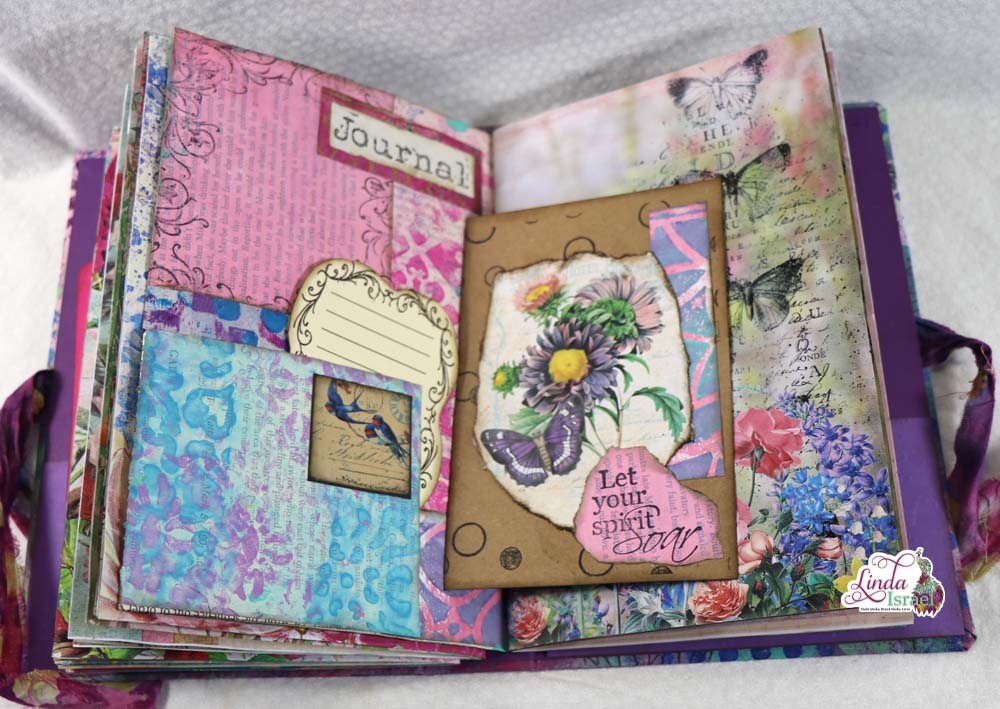
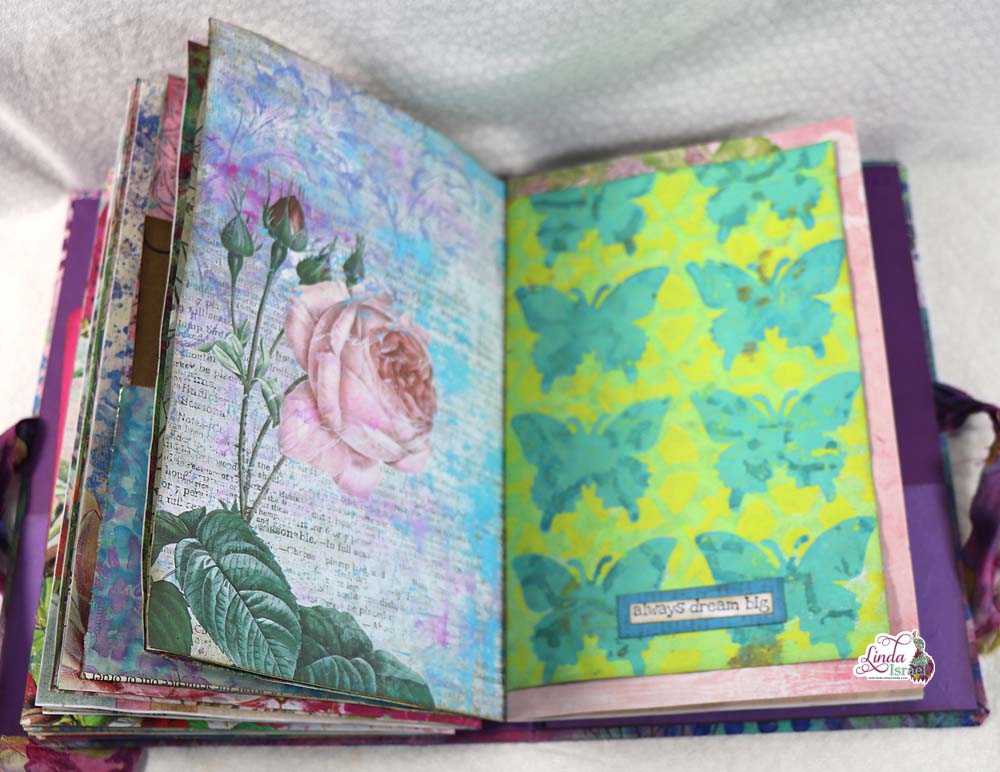
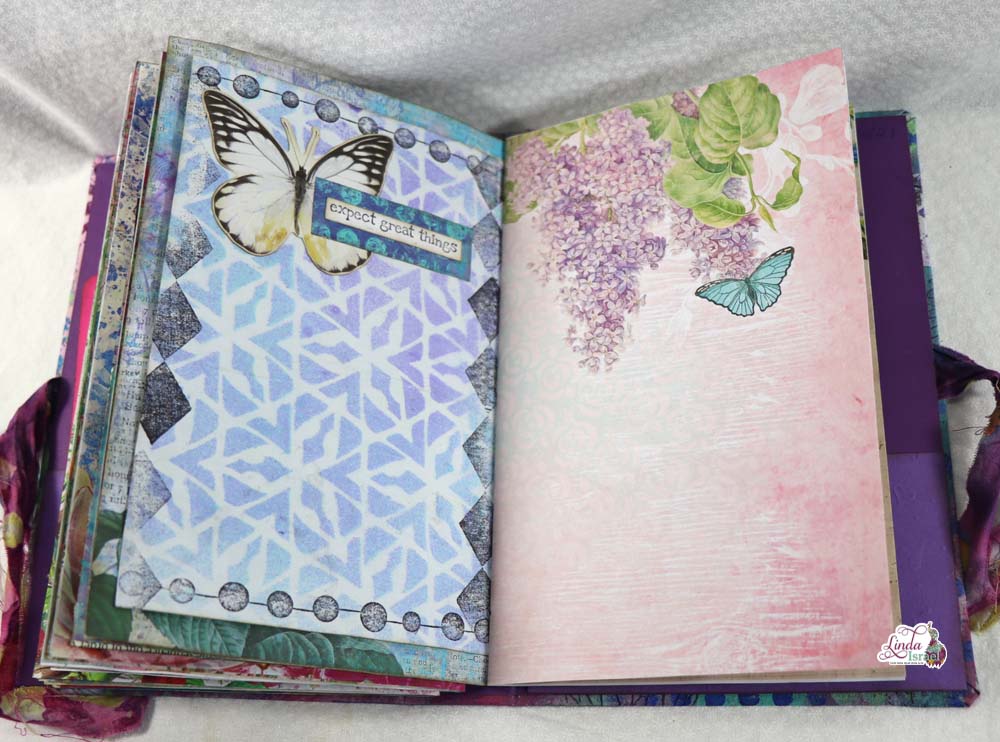
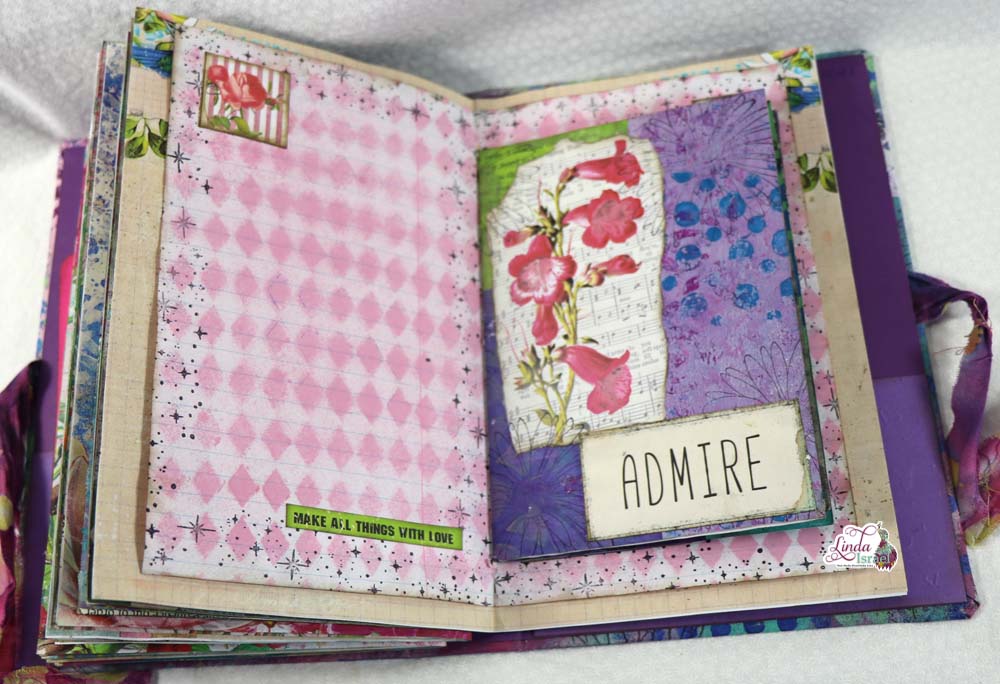
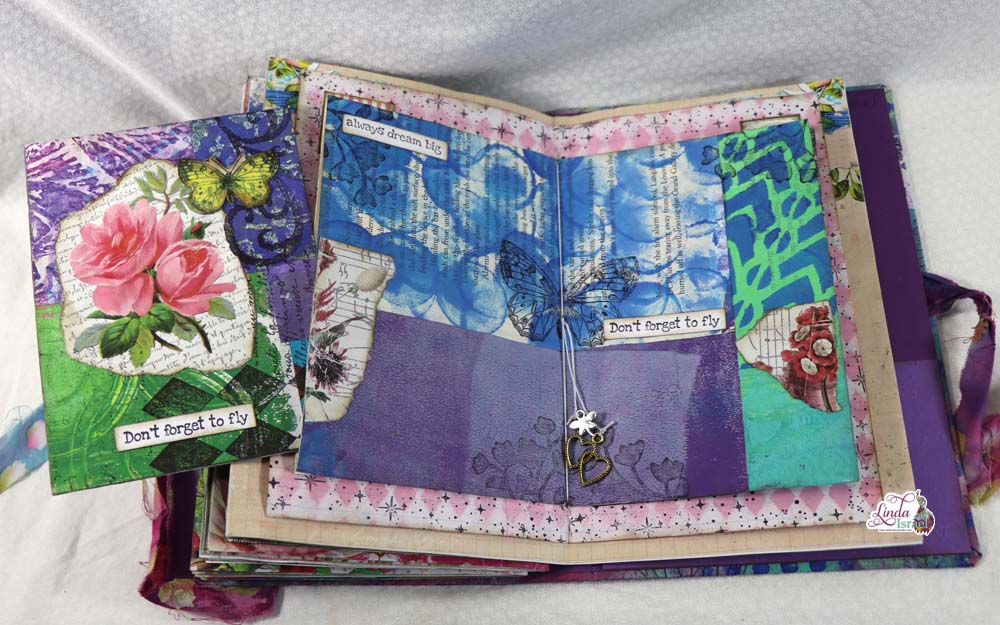
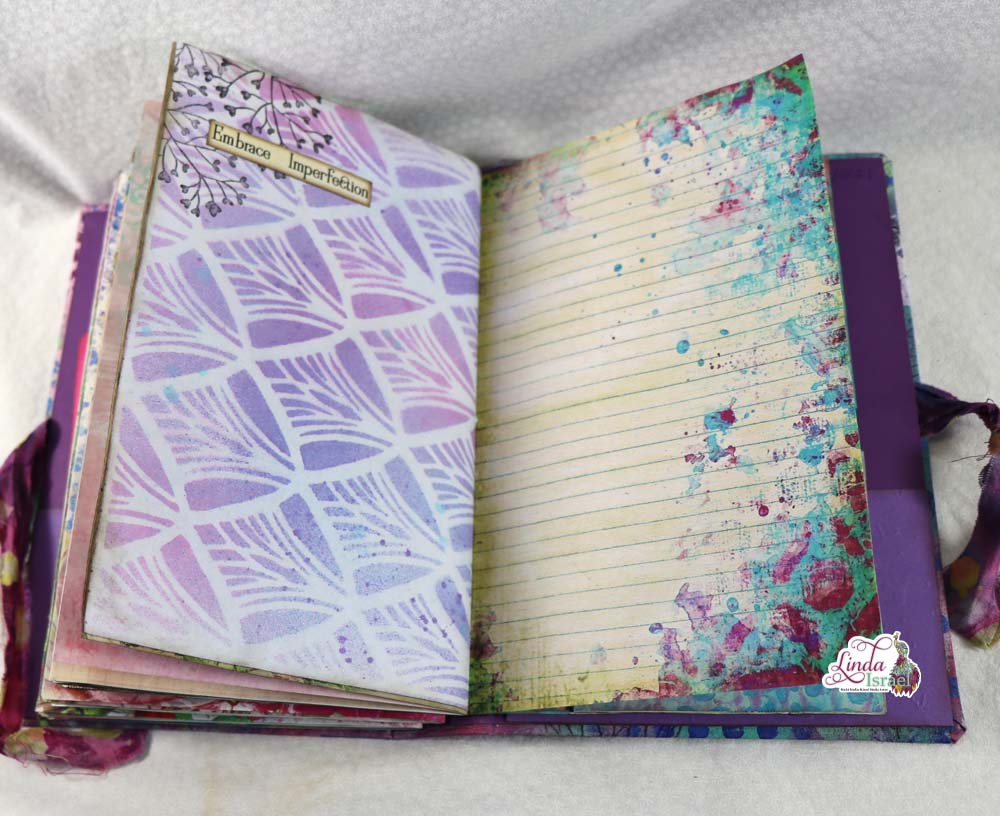
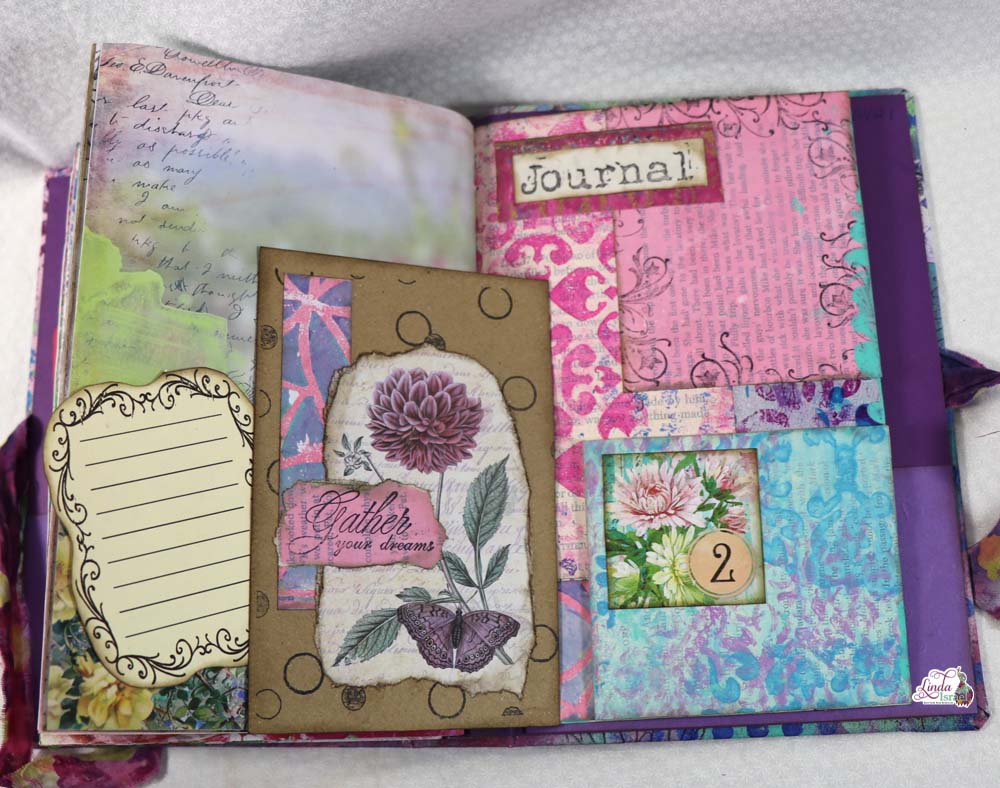
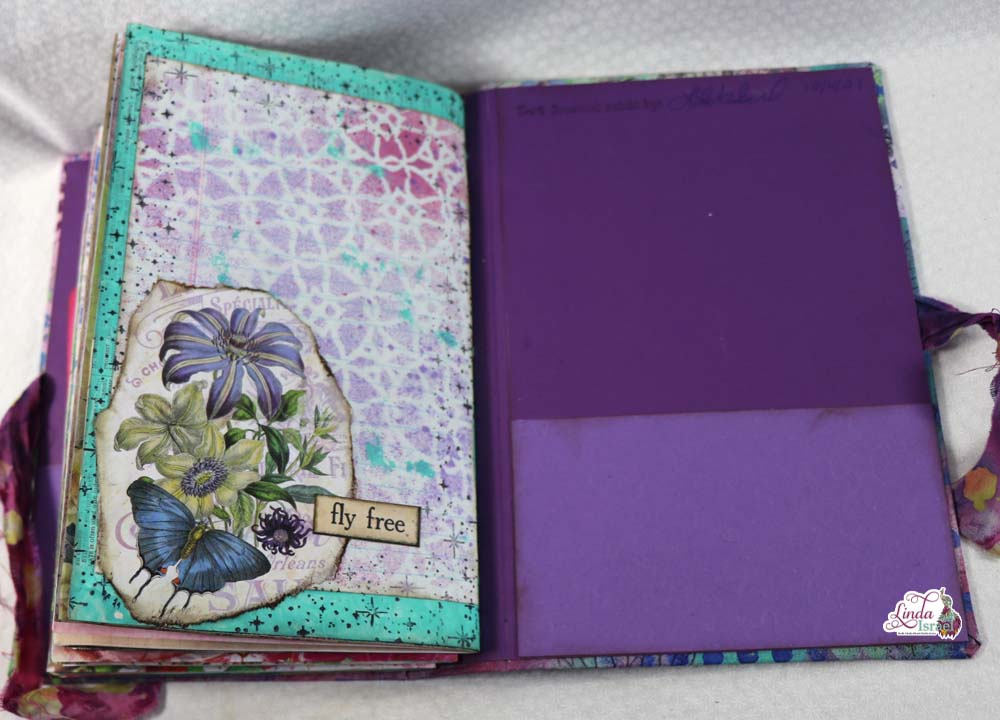
Use your favorite mixed media supplies to create your own Mixed Media Junk Journal. When you get the journal completed, please share what you created inside the Friendly Junk Journal People Facebook group. I love seeing what others create based on inspiration from my projects.

Interested in any of the projects Linda has created? Please feel free to contact her through her website. Here is her shop, a lot of items featured and more added weekly.
Keep updated on her posts by following the blog by creating an account. Follow Linda on her Facebook Page or on Instagram for updates that may not be shared on the blog.
Thanks so much for stopping by the blog today to see the Mixed Media Junk Journal Cover Tutorial.