This blog post is information about how I create my own Press On Nails. I thought it might be handy for others who want to create their own. I’ve included affiliate links to Amazon in this blog post.
One day I decided that I wanted to paint my own nails. So my first purchase was Beetles Gel Nail Polish Kit with 48W U V LED Nail Lamp that came a few other items.
Once I got the hang of using the gel polish I started looking at press on nails. There are so many options out there. After reading a bunch of reviews on Amazon I finally decided on the Makartt Squoval Nails 500Pcs Press on Nail Tips – Full Cover Nail.
After getting those nails I quickly discovered that I needed the MelodySusie Acrylic Nail Clippers. It makes it so much easier to cut the nails down to the length that I like.
When I first started doing my nails I would glue them directly to my nail. That meant I would have to soak the nails off when it was time to change them so I used these Nail Clips to hold the cotton balls soaked in acetone.
It would take me so long to soak them off that I did some research and found this Nail Drill and that helped speed up the process.
Since I was getting better at doing my nails it was time to buy new colors of Polish. The Beetles Brand had some good reviews and since I got the initial set from them, I decided to buy another set of their polishes. The Fantasyland colors appealed to me.
Glitter is so pretty and I wanted something gold so I found the VENALISA Gel Nail Polish and decided I must have it! I love how gold the glitter is in this polish.
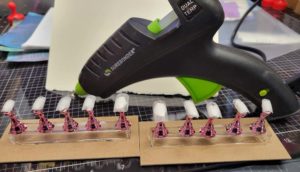
After watching a ton of tutorials I decided that I needed to get some nail stands to hold the nails so I could paint them a lot easier! This became a game changer for me. Before I would have to spend hours cleaning off my nails. Then I would glue a new set and shape them and then paint them. Now I can cut the nail down, press on the stand and paint a set. This nail stand set came with the putty.
After using the stands, I found that the stands kept falling over so I glued a piece of chipboard to the bottom and that made it work better for me.
Now that I had the stand and could make sets of nails up in advance I decided to research what adhesive to use with press on nails. After reading a bunch of reviews I decided on these adhesive tabs. Using these tabs allowed me the ability to change out my nails quickly as these are temporary adhesive! For me the tabs last about one week, with the amount of hand washing that I do.
To keep the nails on for a week I use the Beetles Base Coat gel polish. First I’ll clean and shape my real nail, cleaning up the cuticle is important. Then wipe down my real nail with alcohol to remove any oil. Paint one coat of the Beetles base coat gel polish and cure. Wipe the nails again with alcohol. Choose the correct size tab for each nail. Using a stylist (or dotting tool) I’ll lift the tab from the backer and position on my nail. Then using the stylist I’ll press the adhesive tab to my finger nail. Remove the tab from the top and then press the nail for 20 to 30 seconds. Don’t wash your hands for a couple of hours after putting on a new set. If possible put them on before you go to bed so that tabs have all night to set.
I forgot to mention that I use the Beetles Base coat and Top coat.
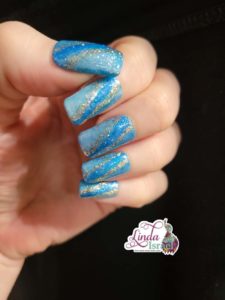
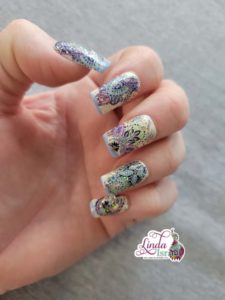
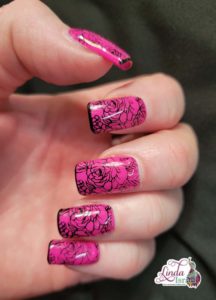
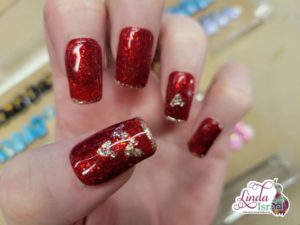
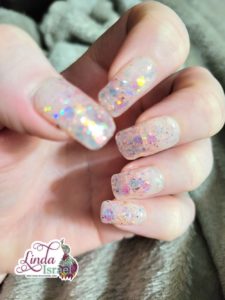
I didn’t take photos of all the nails I’ve made, but I did get photos of a few sets.
I’m learning so much while having fun creating my own press on nails. As I learn new things I’ll create another blog post. If you are interested in tutorials, please feel to leave a comment or contact me and I’ll see what I can do!
Thanks for checking out my blog today and I hope you are inspired to create your own press on nails.


