Today I’m sharing a Folio and Pocket Tutorial. Using some 12 x 12 scrapbook paper along with a few other supplies I’ll show you how to create a small folio and a pocket to use in a junk journal.
Folio and Pocket Tutorial Video – Join the live premier at 3:45 pm central standard time, Monday July 24th on YouTube.
Supplies Used
- 12 x 12 scrapbook paper
- Tickets
- Distress Oxide Ink Picked Raspberry
- Blending Brush
- Coffee Dyed Cardstock
- Fabric
- Calico Collage Digital Images
- Tear off note book paper
- Scrapbook Cardstock
- Be Extraordinary Stamp
- Be the light stamp
- Peacock note card
- Ribbon
- Aleene’s Tacky Glue
- Sewing Machine
- Magical Stamp
- Tiny Cosmos Stamp
- Dream Stamp
- Slot ID Punch
- Water Color Pencils
- Water Brush
- Altered Paperclip
- Mop Up Papers
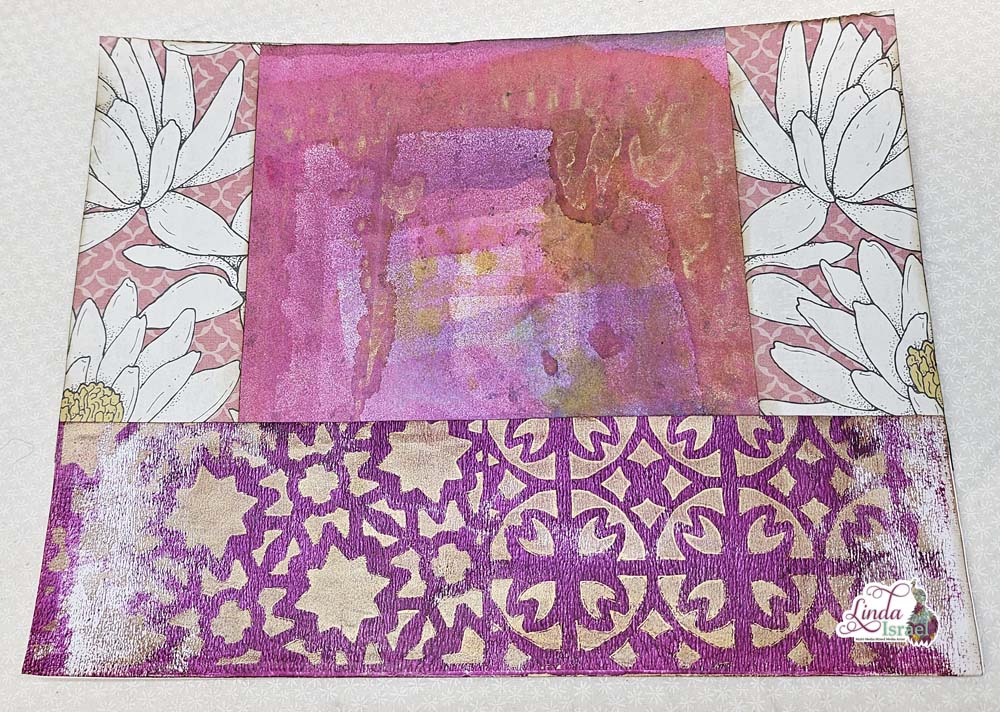
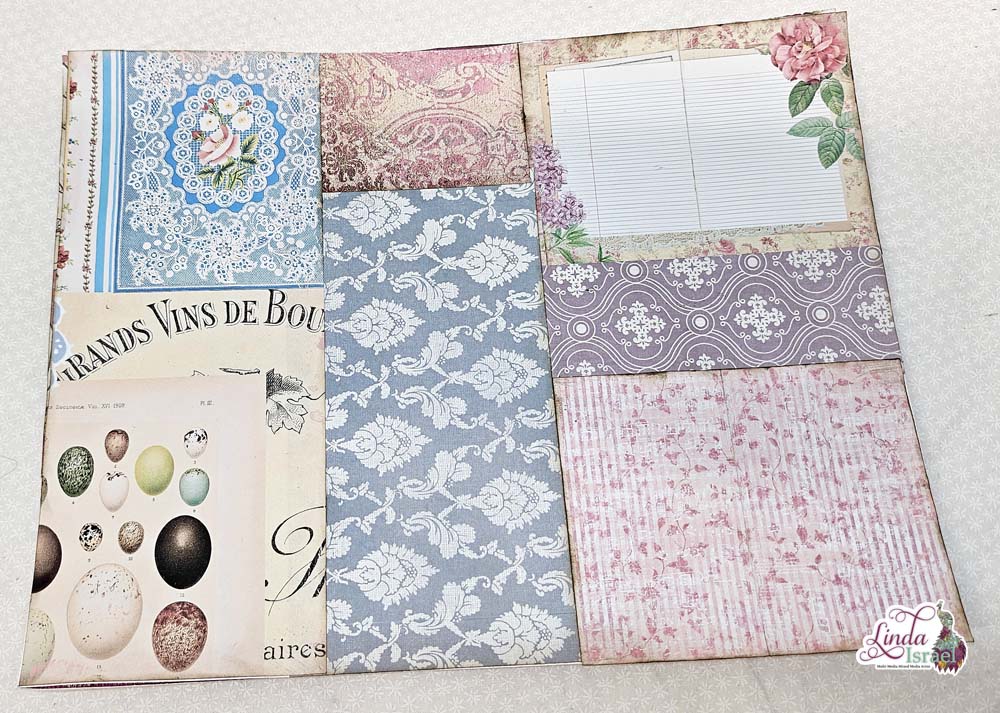
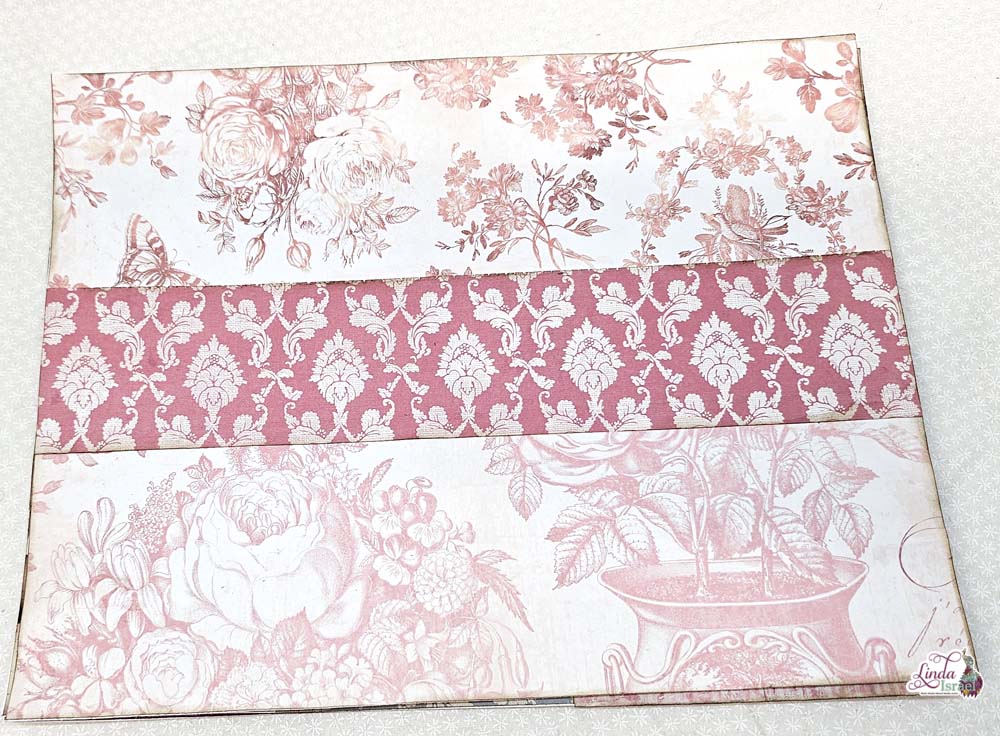
Let’s get this Folio and Pocket Tutorial started! Select at 12 x 12 piece of scrapbook paper. The one I used was single sided and somewhat on the thin side. If you don’t have scrapbook paper create a patterned paper using anything you like. Wallpaper is a great choice too.
Cut the 12 x 12 paper into two pieces, One that is 8 x 12 and the second is 4 x 12. Fold the 8 x 12 into a 8 x 6 inch piece. Then score at 2.25 from each edge on the 8 inch direction so that you have 2.25, 3.5 and then 2.25. Unfold the paper and apply glue on the inside and fold back to back again.
Fold the paper at the score lines and use a bone folder or other tool to burnish the paper. It should now look like a folio.
Select a couple rows of tickets and trim to be 3.5 inches wide, or as wide as you made the center of your folio, if you used a different size of paper. In my folio the tickets were adhered to a book page so that I could make tabs to adhere to the inside. This allows the ability to use the full width and depth of the pocket.
Change the tickets from white to pink using Distress Oxide Ink Picked Raspberry and a Blending Brush. I like to change the colors of items when they are plain to make it match my project.
Using a sewing machine stitch around the ticket and stitch around the outside edge of the folio.
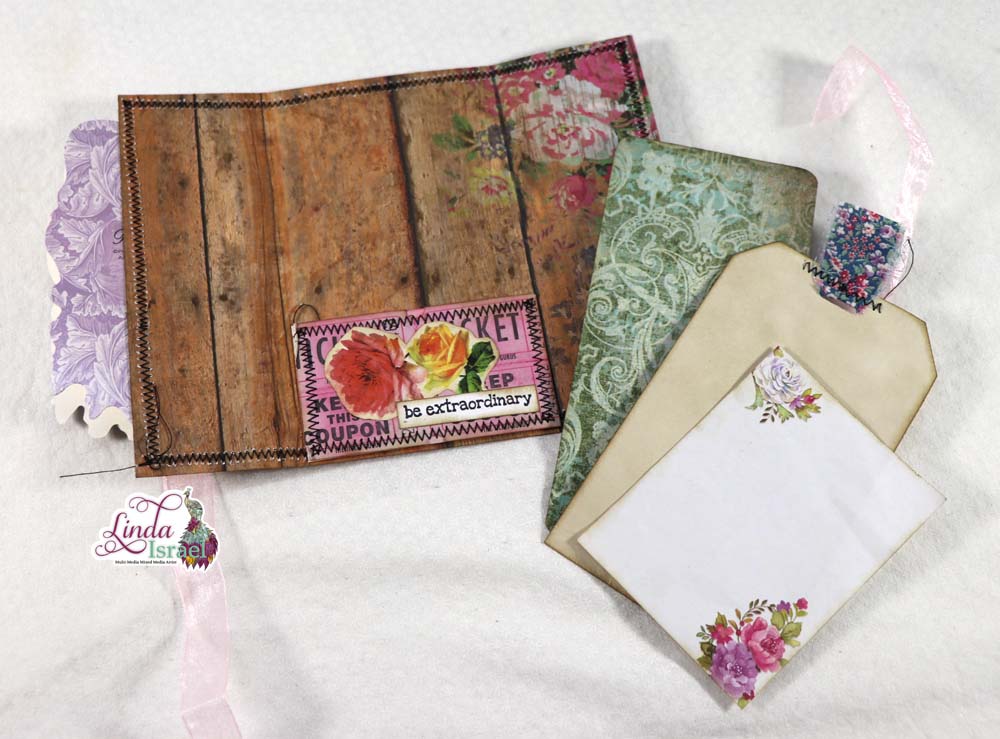
Adhere the ticket pocket to the center inside of the folio. Add a fussy cut flower from Calico Collage Digital Images. Norella has so many wonderful digital kits, it makes it easy for me to find what I need for my projects.

Add a stamped sentiment on the pocket. I chose be extraordinary, stamped with Ranger Archival Ink Jet Black.
Inside the pocket add a Coffee dyed tag journal card, a scrapbook paper journal card and a tear off notepad paper.
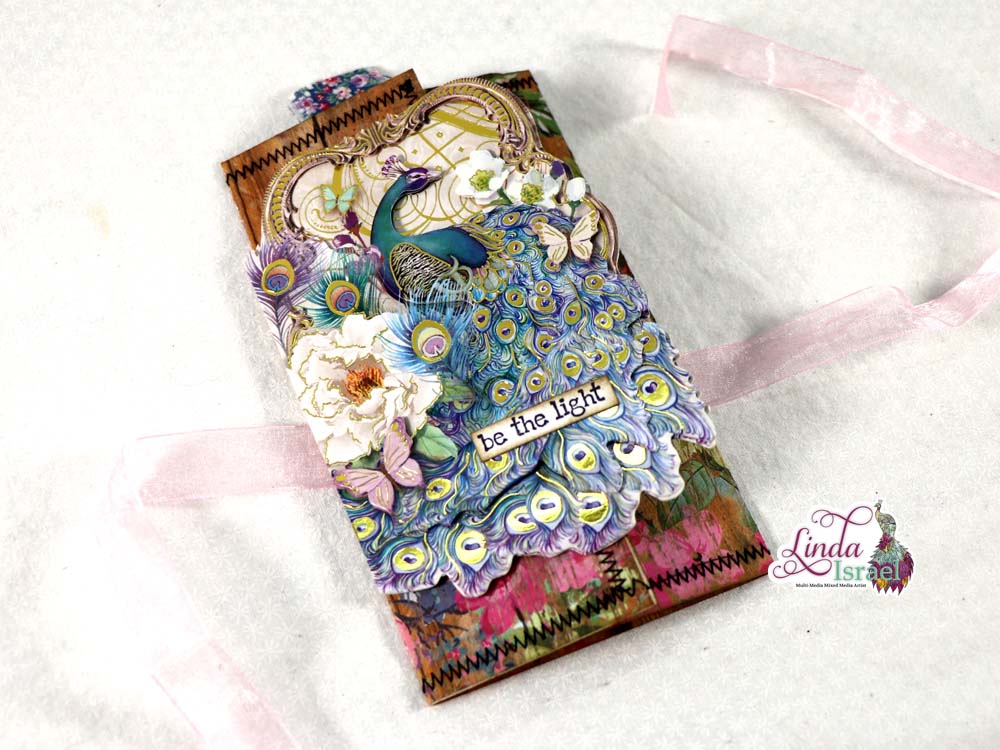
On the outside left flap adhere a commercial note card. This is a great way to use a pretty notecard you may have received from someone. Just adhere a piece of paper on the inside to cover up the note, or leave it if you like the message.
Add a stamped sentiment to the top of the note card, I chose be the light. Tie the folio closed with a piece of ribbon. The folio is now ready to be used anyway you like. Add to a pocket, adhere to a journal page or give it to a friend. The choice is yours!
Lets make an envelope pocket using the 4 x 12 inch piece of paper. Determine which end you want to be the top of your flap. If there is a design you may want to make sure it is right side up. On the opposite end of the paper fold to the inside about half an inch. This will give your pocket some strength so it won’t rip. Adhere the fold with glue.
Apply distress ink if you like the look of aged paper. Sew across the folded edge.
Fold up the sewn edge about 3.25 inches. Then make another fold about 3.25 inches from the top to form an envelop pocket.
Unfold and then fold up only the bottom and sew around the outside edge. I like to sew the envelope closed and I don’t sew where the paper is folded. This could also just be glued if you don’t want to sew, or don’t have a sewing machine.
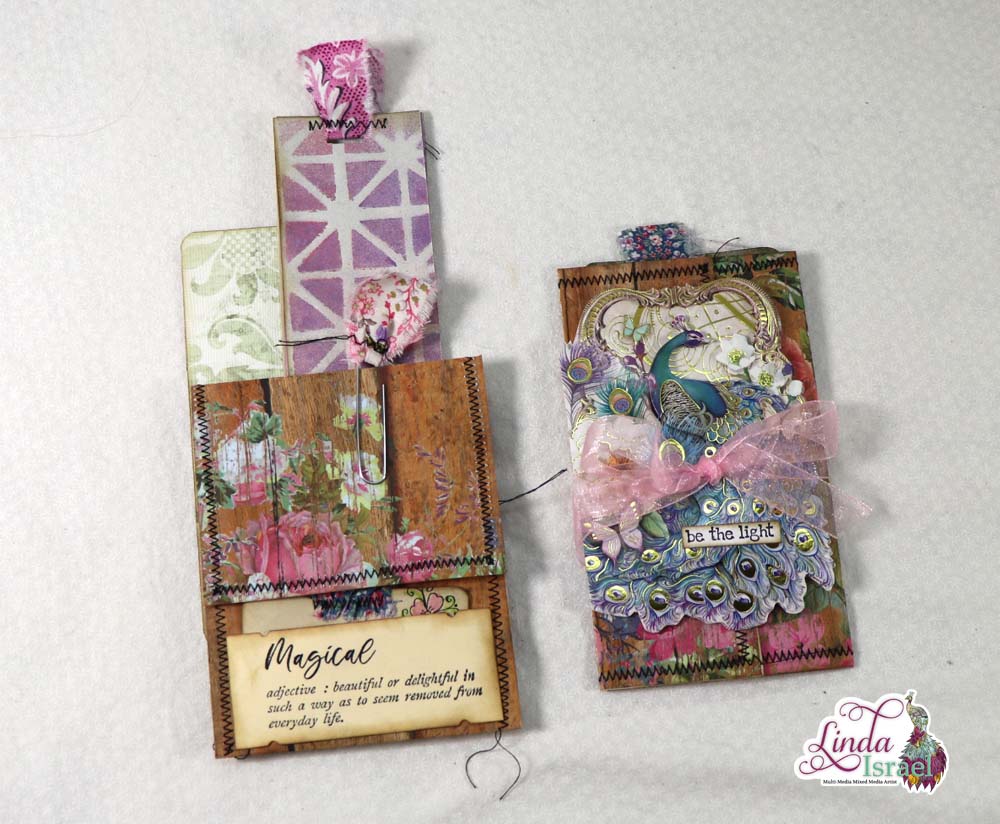
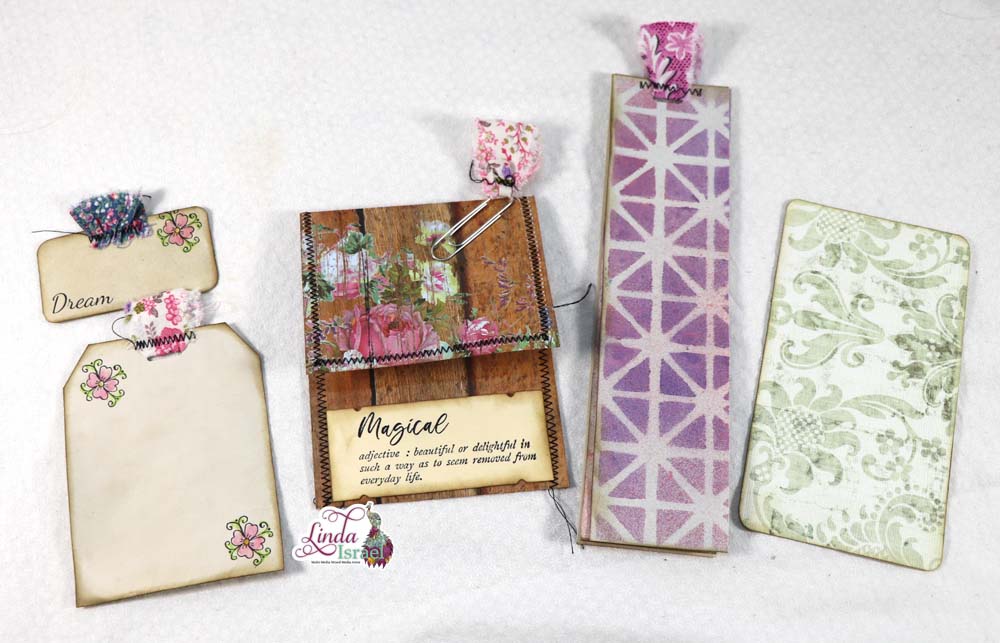
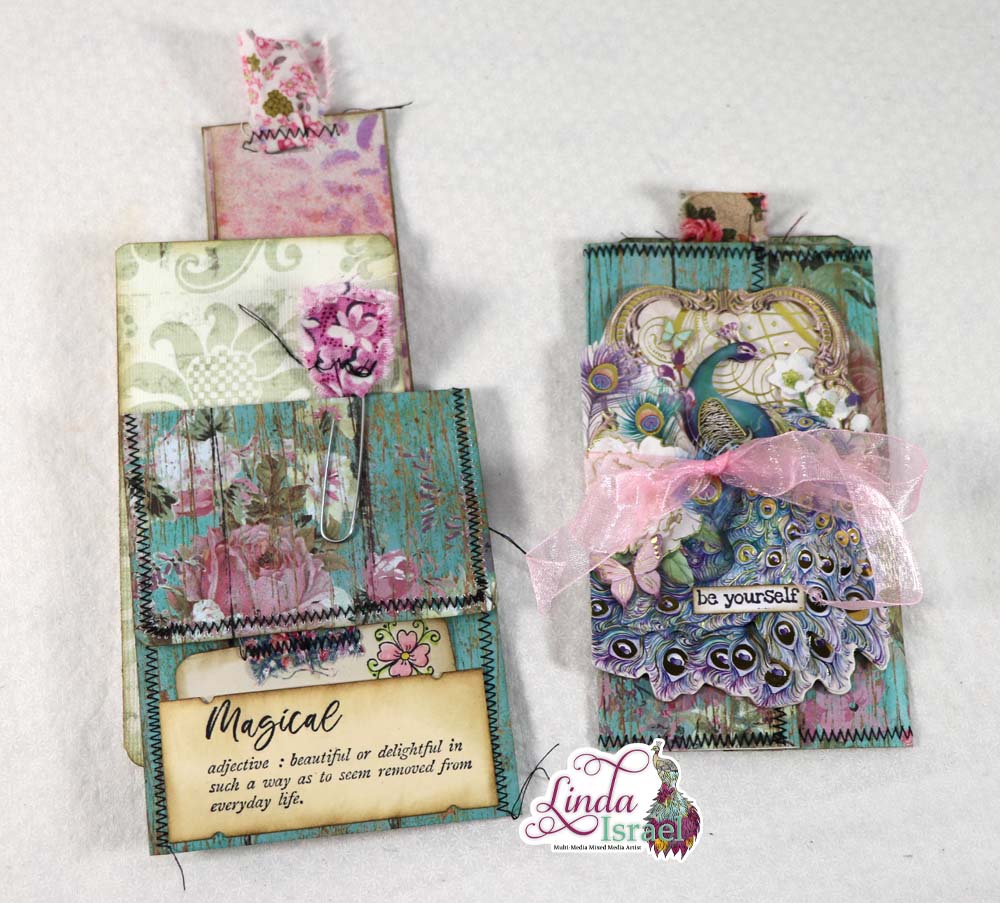
Stamp Magical Defined on a piece of 3.25 x 1.5 inch paper (or one of the paper tickets like I did). Adhere the ticket on the bottom of the pocket as another pocket.
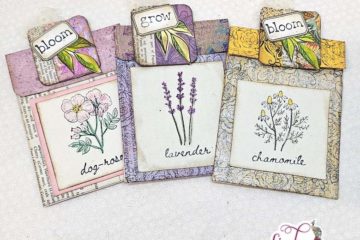
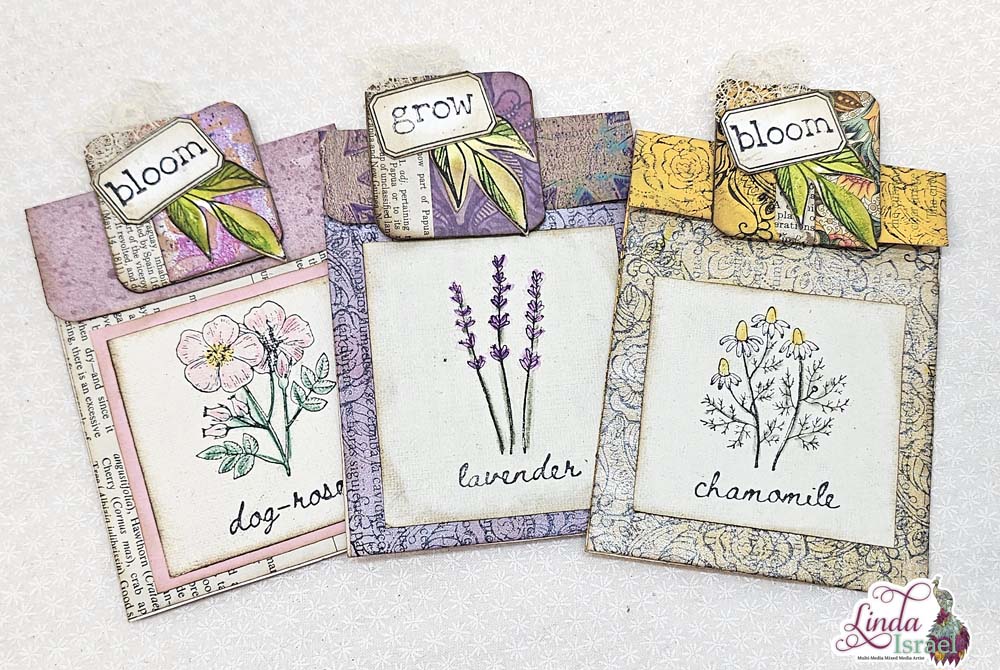
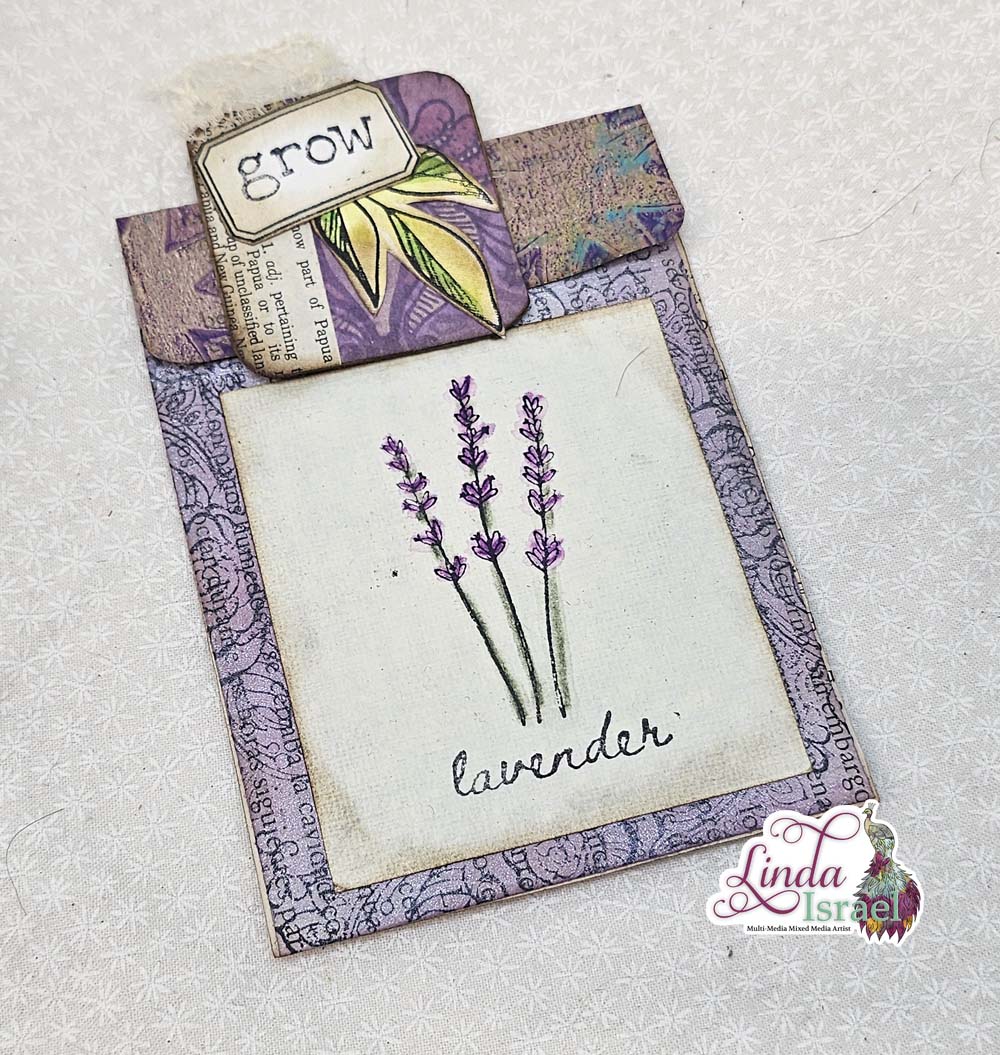
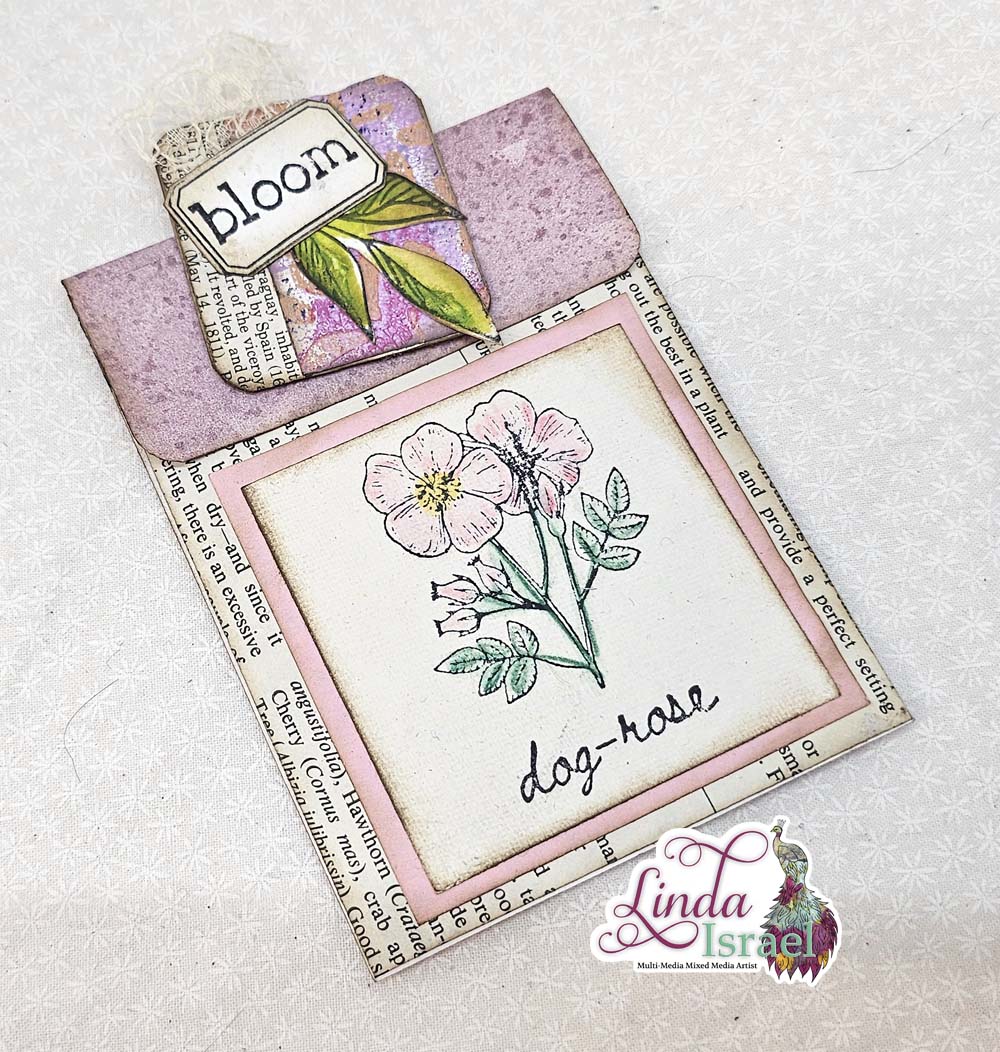
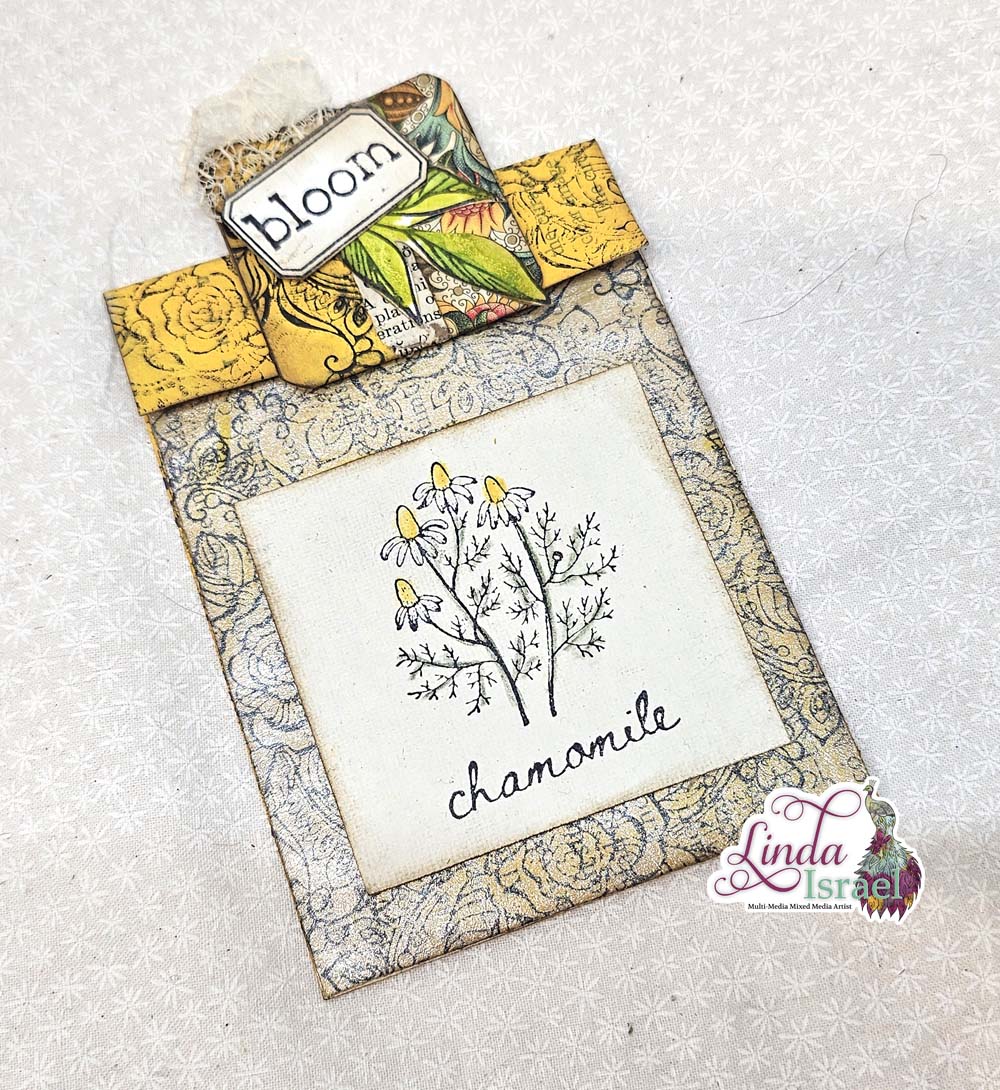
Cut a piece of coffee dyed cardstock 3 x 1.5 inches and round the corner. Glue a ruffle of fabric at the top center and sew into place once the glue is dry. Stamp with the Tiny Cosmos and Dream stamps.
Using watercolor pencils color the flowers and use a water brush to activate the watercolors. Add the tiny journal card to the Magical Pocket.
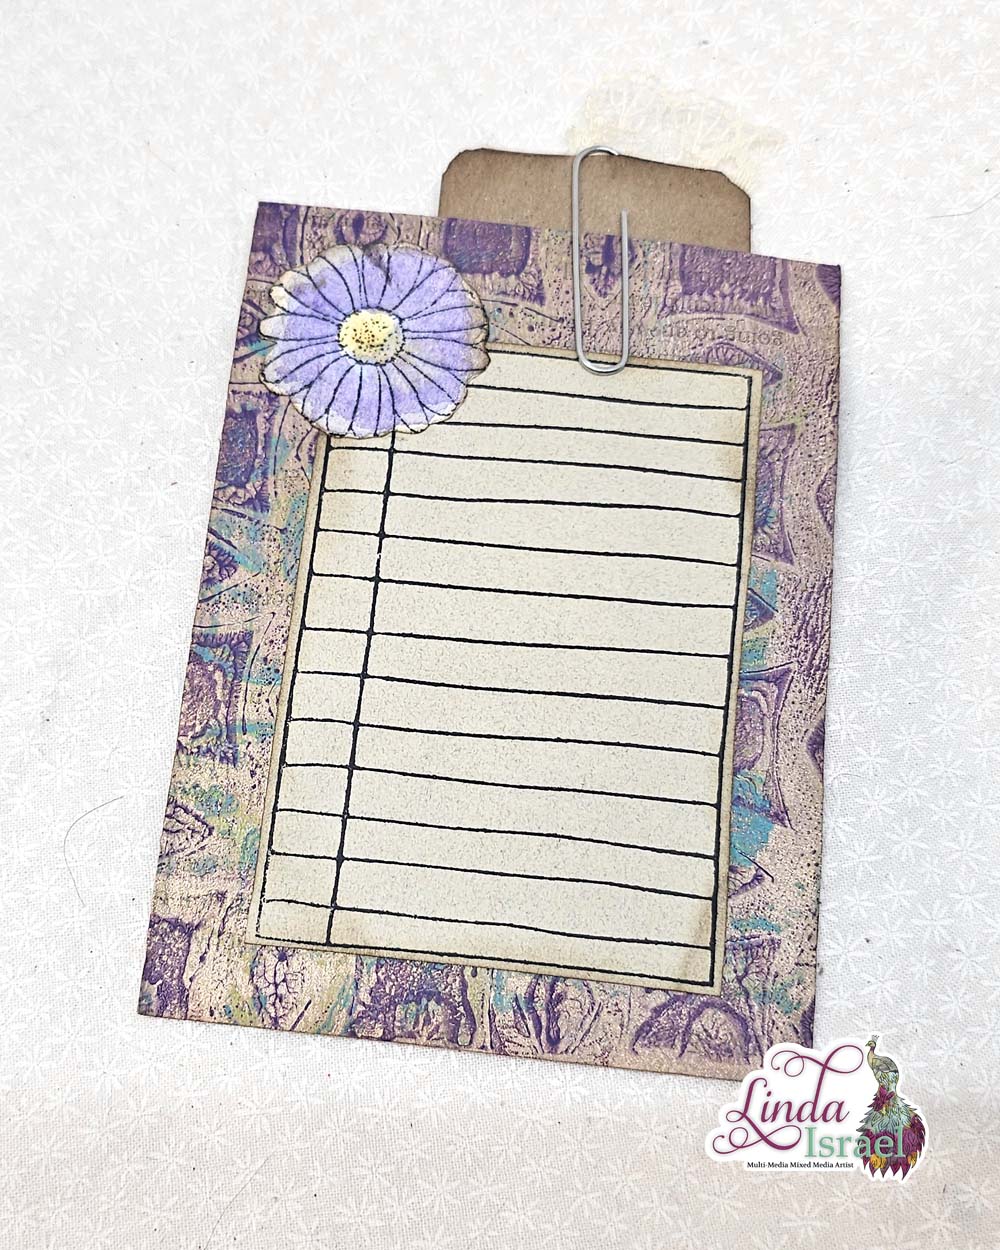
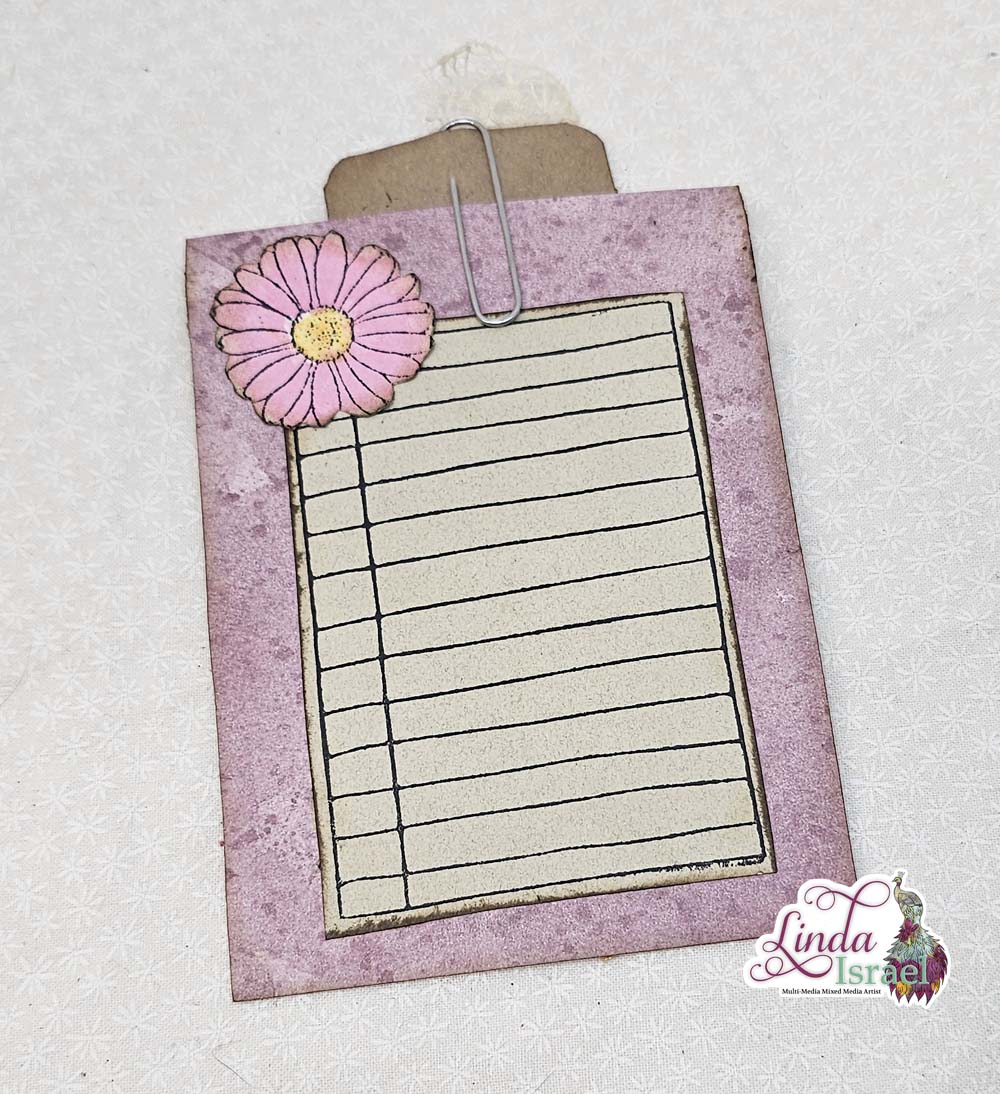
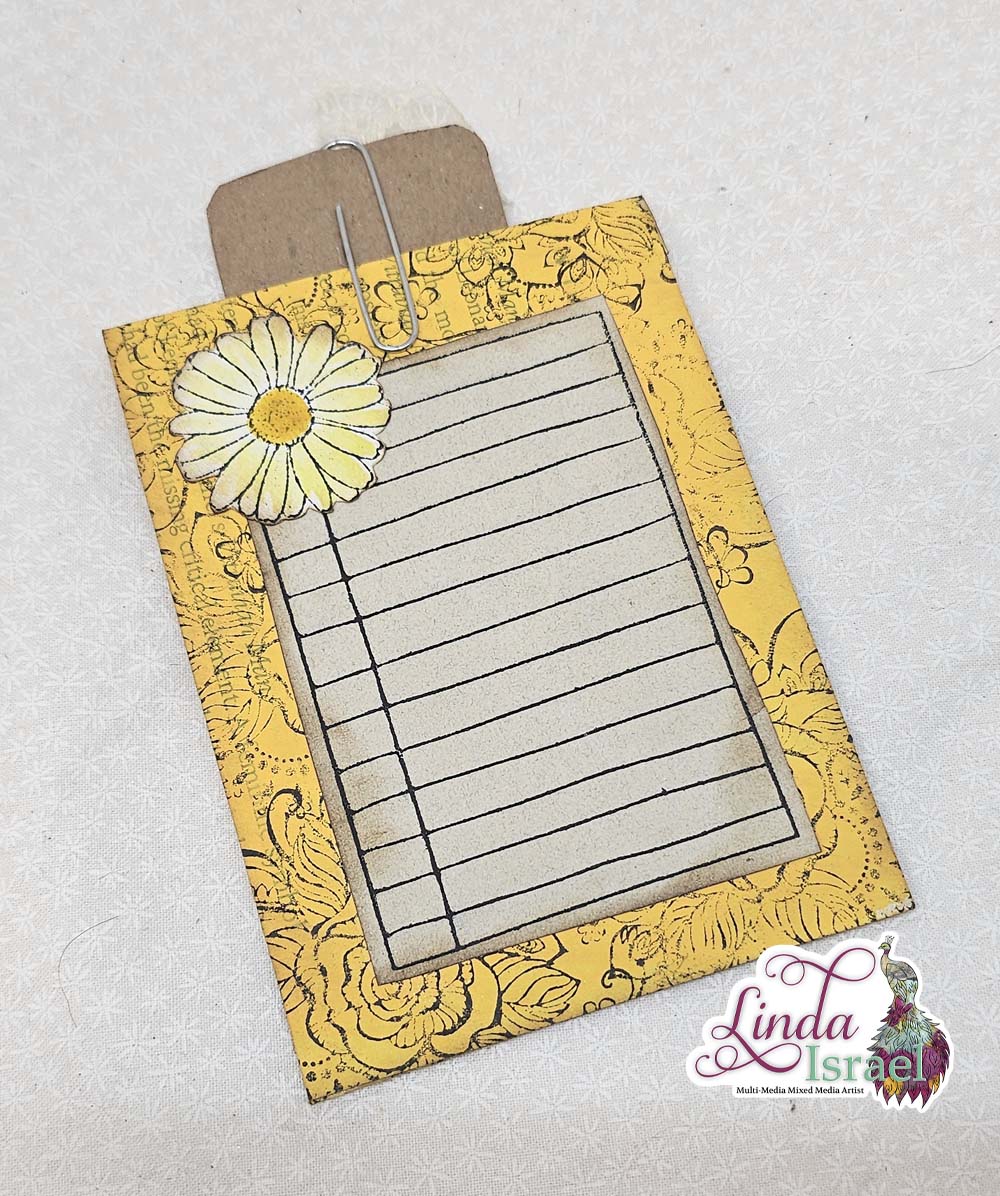
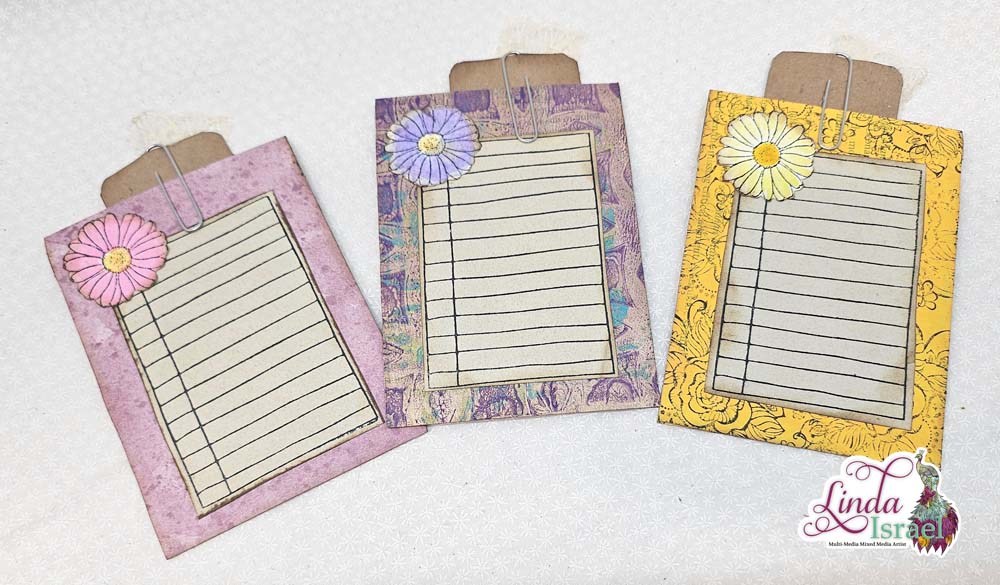
Cut a piece of coffee dyed cardstock into a tag shape measuring about 3.25 x 4.25 inches. Using the ID Slot Punch make a hole and then pass a piece of fabric through, sew into place. Stamp the Tiny Cosmos in the top left and bottom right corner. Color with watercolor pencils and place inside the pocket.
Make a simple altered paperclip, pass a piece of fabric through the closed single end of the paperclip and sew into place, make sure to sew just past the paperclip so you don’t break a needle. This could also be stapled, hand sewn or tie into a knot. I like to keep items like this as flat as possible so it doesn’t add too much bulk to my journal.
Attach the altered paperclip to the top flap of the envelope pocket.
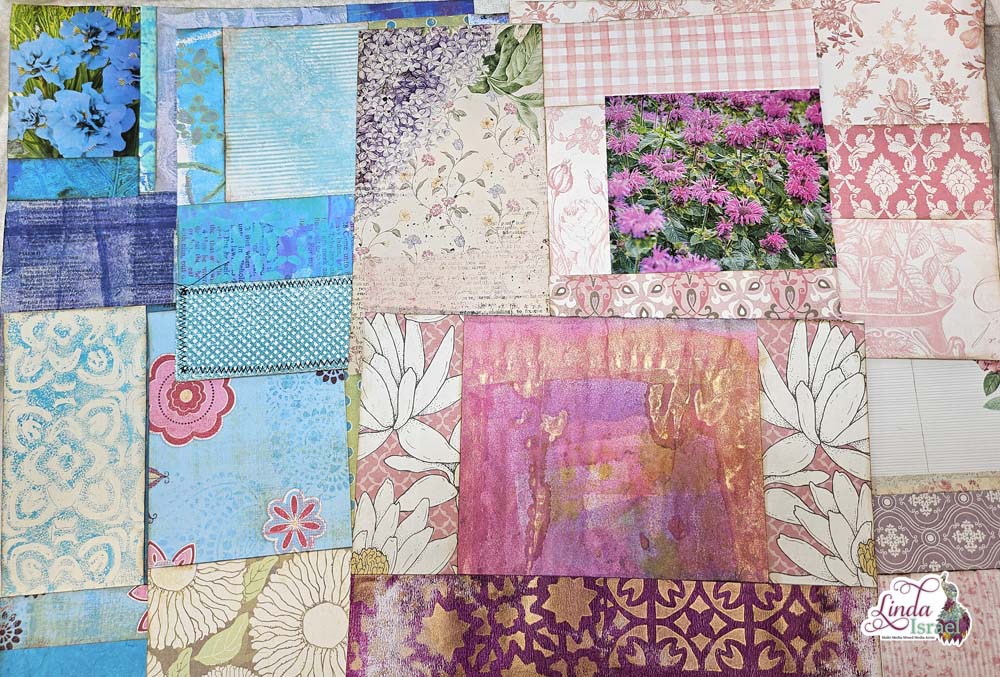
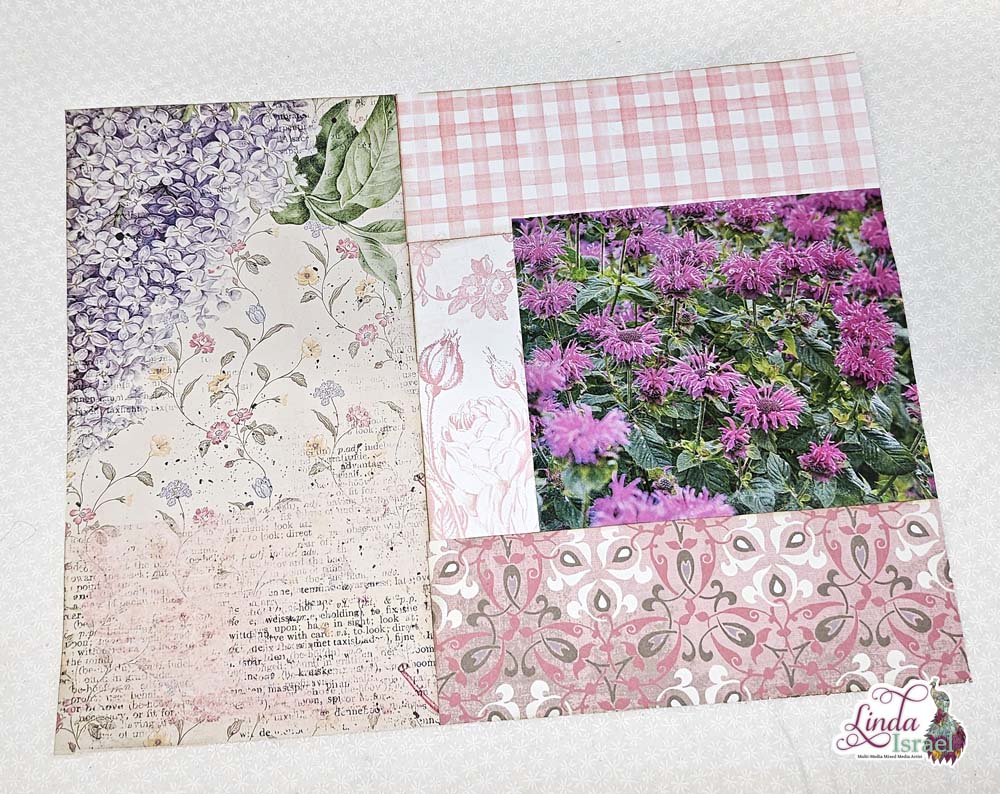
Create a tall skinny notepad out of scraps. Mine were about 2.25 wide and 8.50 long or tall. Stack four text weight decorated papers on top of a piece of coffee dyed cardstock. I made my papers by using a stencil and spraying Tattered Angels Glimmer Mists, check out my tutorial on how I create papers like these.
Use the Id Slot punch as before and add a piece of fabric sewn at the top. This can become a bookmark or used behind the envelope pocket in a journal.
Use your imagination and this Folio and Pocket Tutorial to create your own folios and pockets.
Make sure to check out the Friendly Junk Journal People Facebook group. Of course, you are welcome to join the Friendly Junk Journal People Facebook group. The group is growing daily and we are a friendly group willing to help each other and encourage each other.