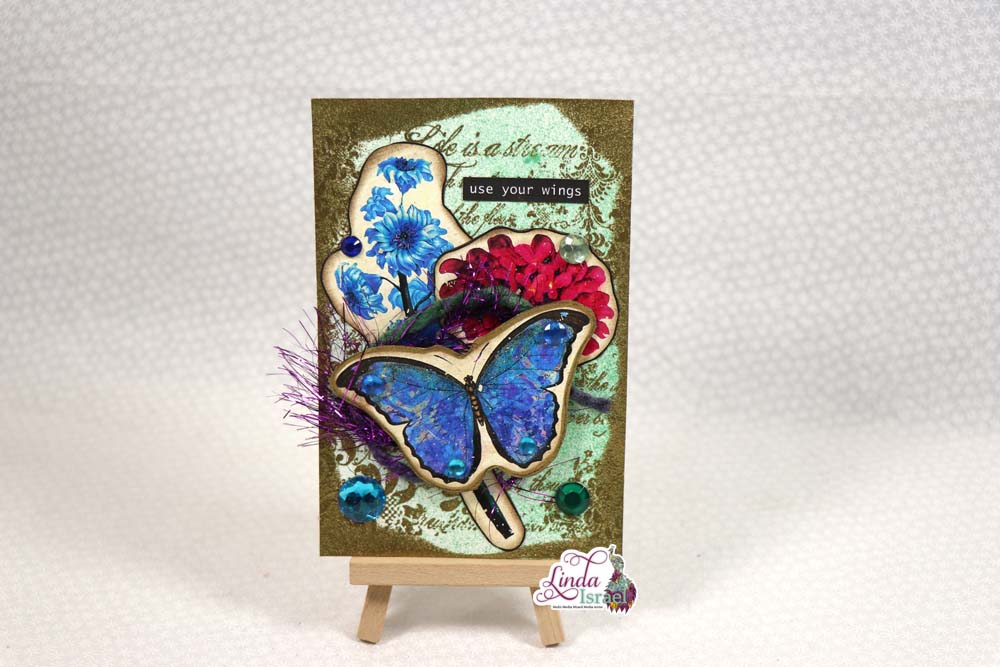
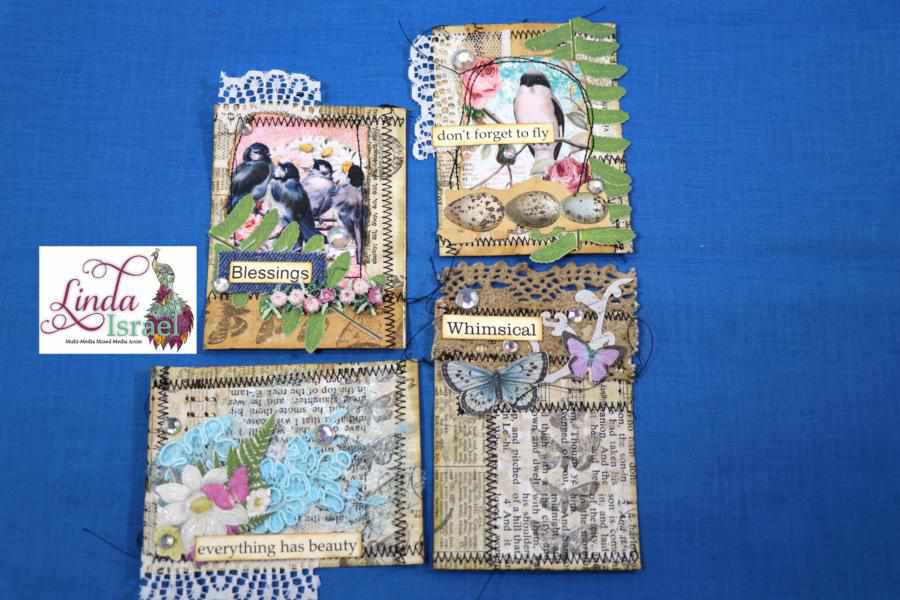
One of my followers asked if I would share a Collaged Journal Cards Tutorial. So, that is what I’m sharing today. How to create a foundation card and then collage on top to make a really pretty journal card or could be a greeting card too.
Collaged Journal Cards Tutorial Video.
Supplies used for the Collaged Journal Cards Tutorial.
- Scrapbook paper
- Various pieces of book pages and hymnal pages.
- Glue Sponge container
- Peg foam sponge brush
- Diamond Stencil and Lace Stencil
- Tattered Angels Glimmer Mist, Precious Metal, Walnut Gold, Kraft, Curious
- Various Rubber Stamps
- Brutus Monroe Detail Ink – Raven
- Brother Sewing Machine
- Fiskars Paper cutter
- Scrapbook embellishments – page borders
- Lace
- Calico Collage One Fine Day digital images
- Best Glue Ever by ScraPerfect
- No-Clog Writing Cap by ScraPerfect
- Distress Ink, vintage photo
- Ranger Blending Tool
- Heat tool
- Tulip Dimensional Glitter Paint
- Paint Brush
- Best Cleaner Ever
- Words created on Silhouette Cameo 3
- Flat back rhinestones
- Embellie Gellie by ScraPerfect
- Fiskars Scissors
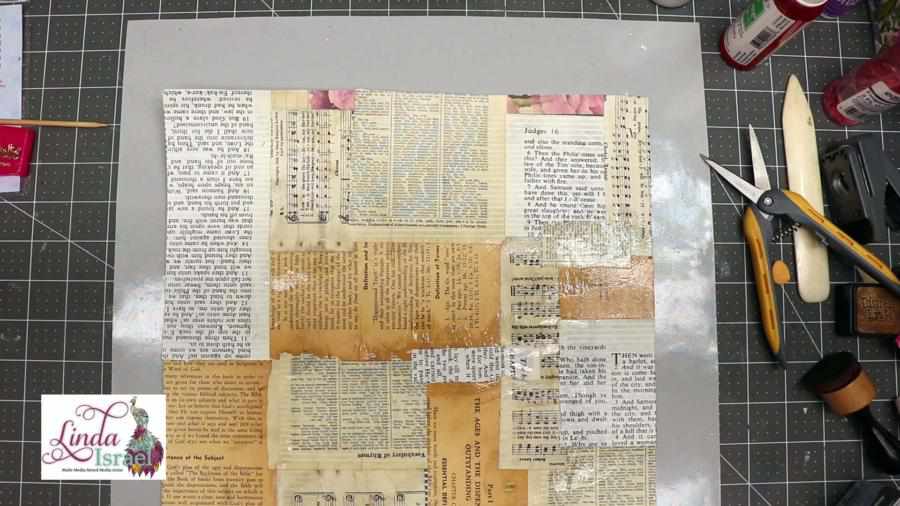
Begin by adhering scraps of book pages, hymnals etc to a 12 x 12 sheet of Scrapbook paper. Turn the pages in different directions, don’t worry about if it is upside down, just have fun adhering the paper. I used the Glue Sponge container and a foam brush. Use what you feel works best for you. This is my version of a Franken Page foundation.
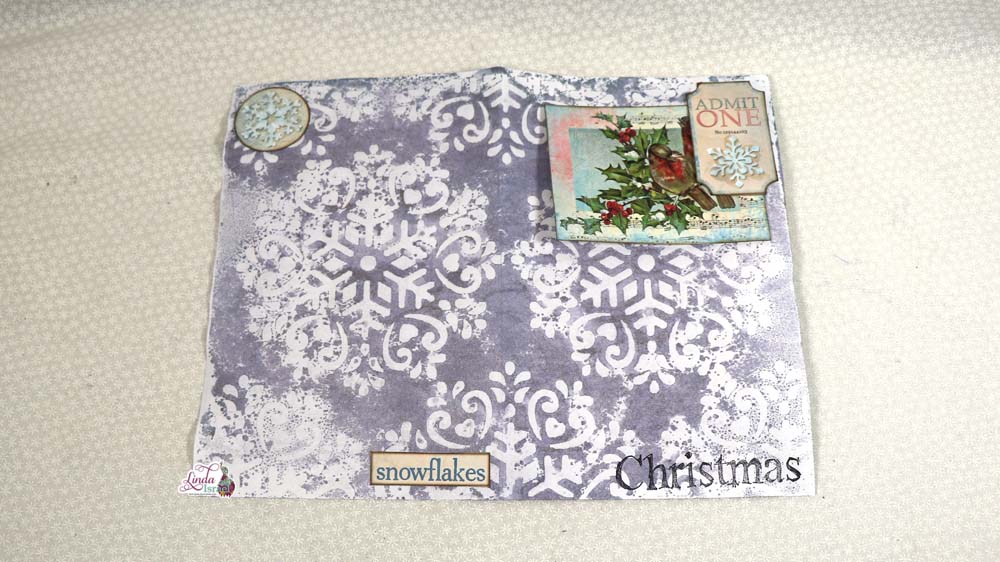
 Lay stencils over the new Franken page and add color with Tattered Angels Glimmer Mist.
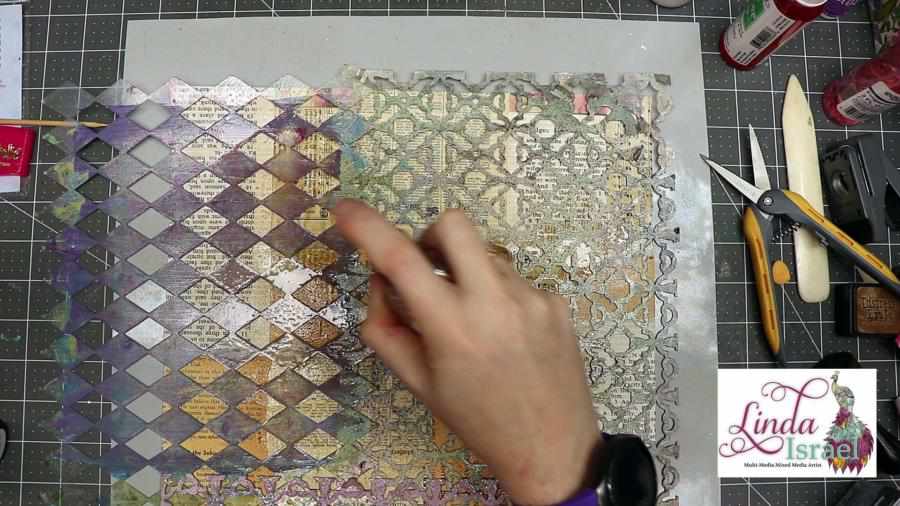
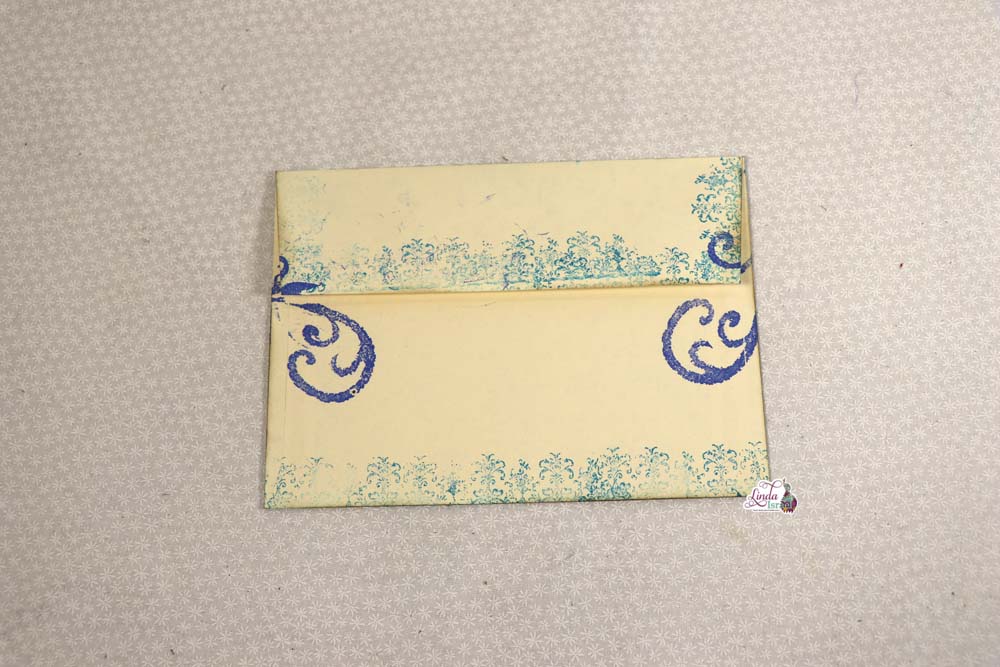
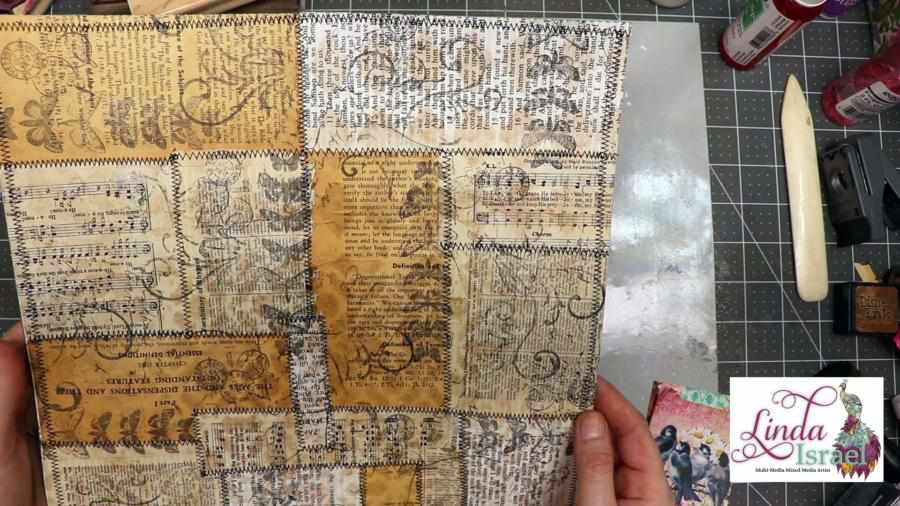
Stamp various images on top of the new Franken page base. Rotate the stamps so that these are going in different directions. It’s okay if the image doesn’t come out perfect, this is a background and we are just creating interest.
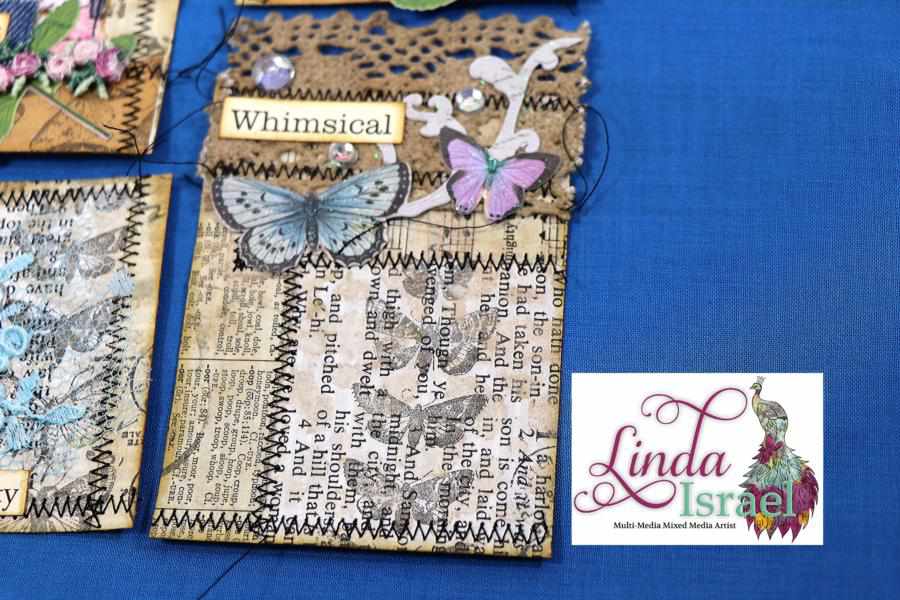
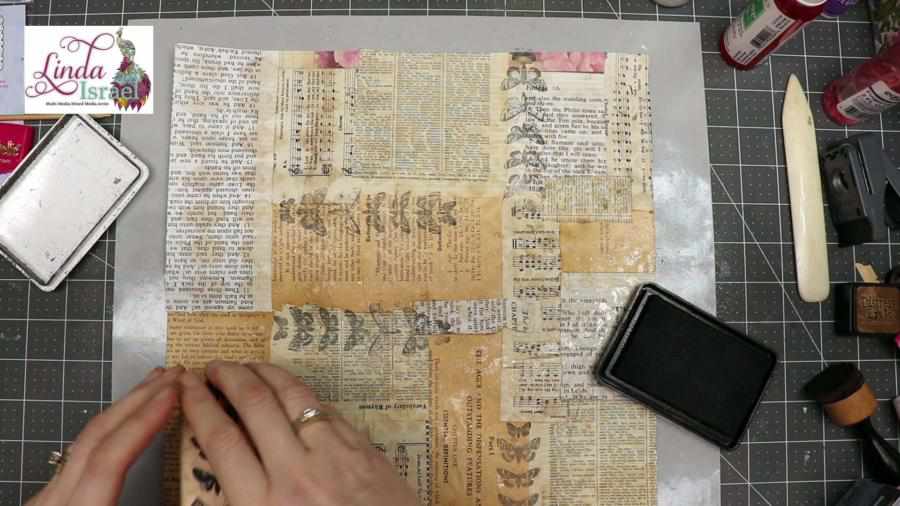 Once the stamping is done add stitches. For this session, I used a zig zag stitch, but you can use a straight stitch or other decorative stitches. Have fun adding stitches.
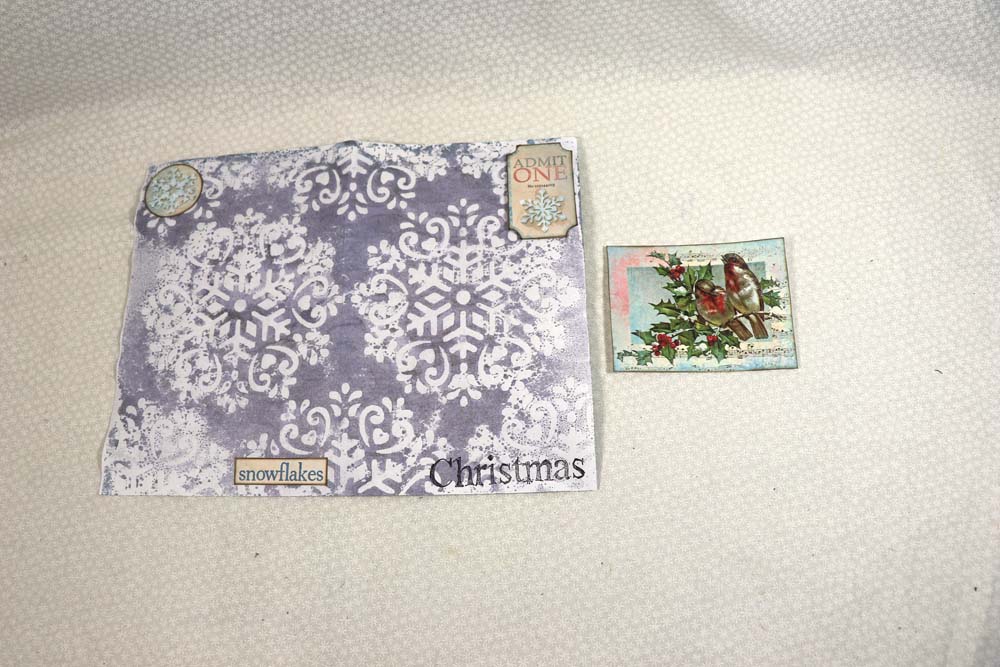
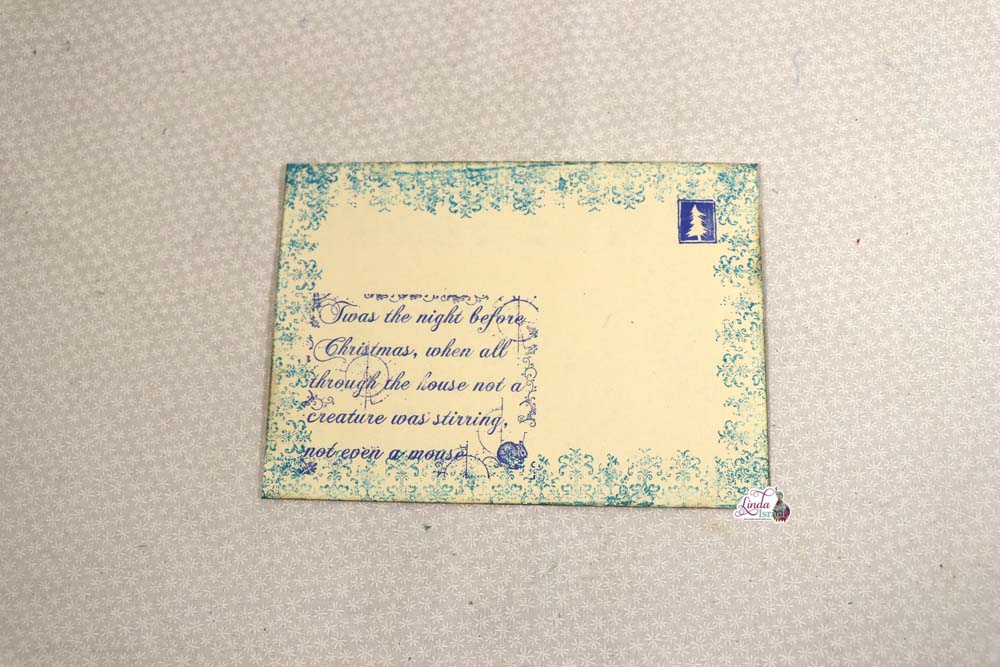
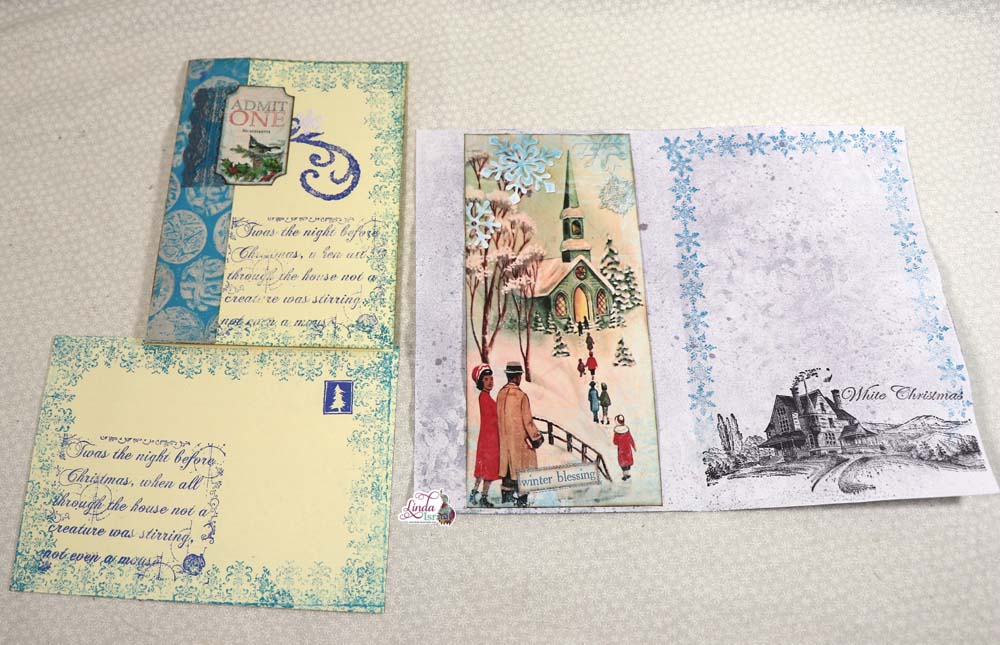
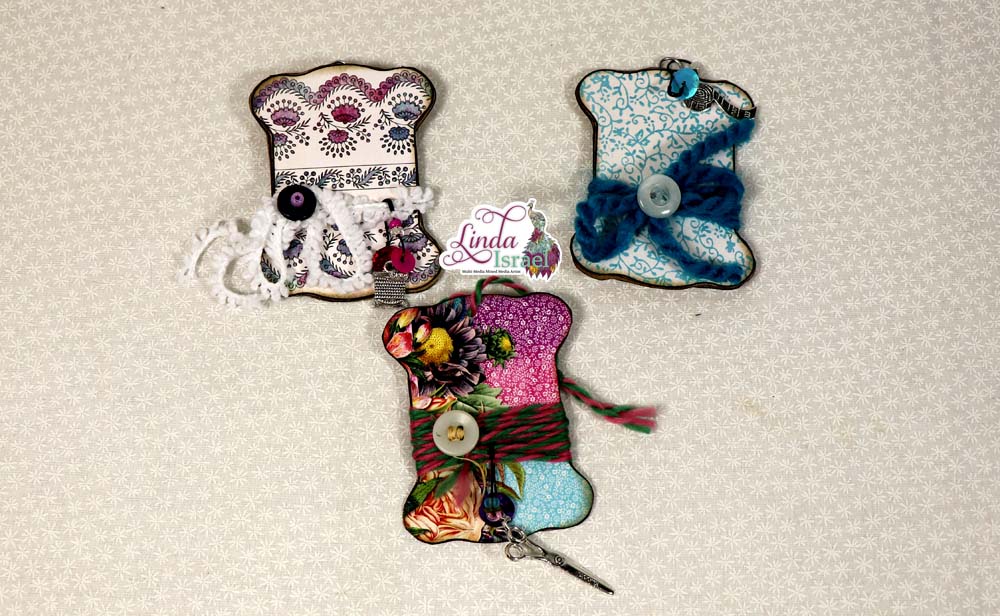
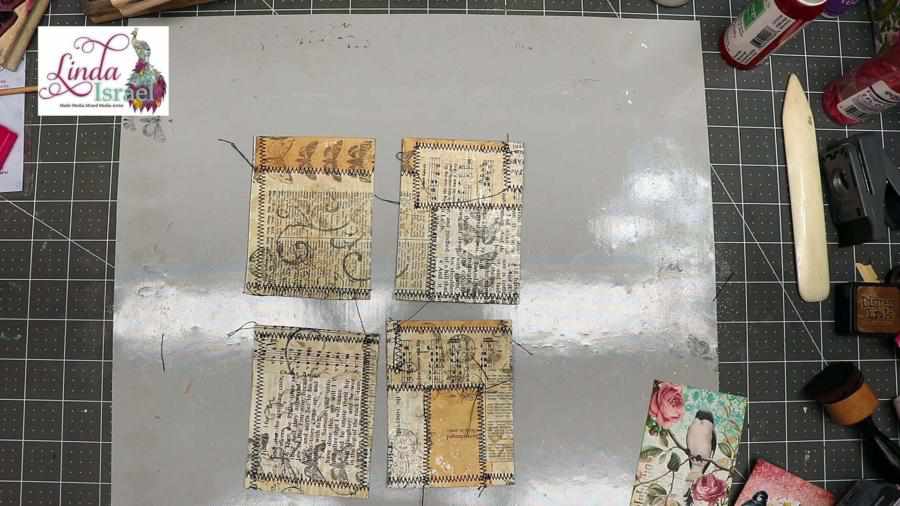
 Cut the Franken Page down for journal cards. In this case, I cut mine at 3 x 4 inches. If using a 12 x 12 sheet as the foundation there can be 12 journal card bases made.
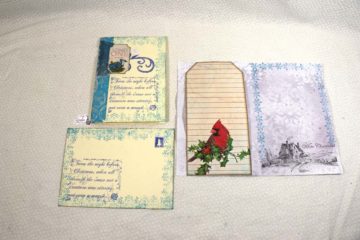
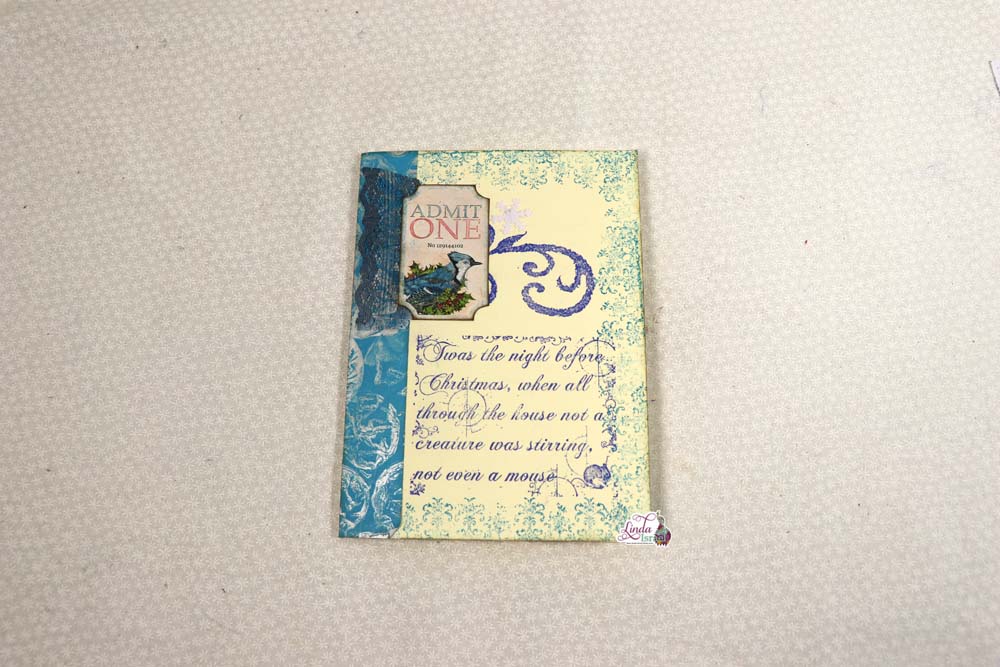
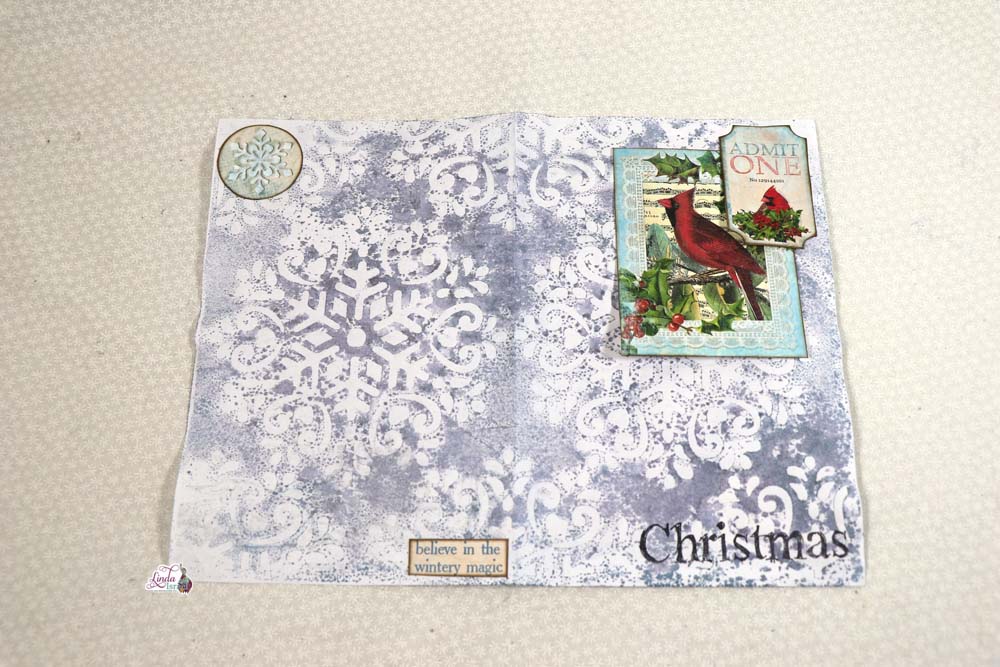
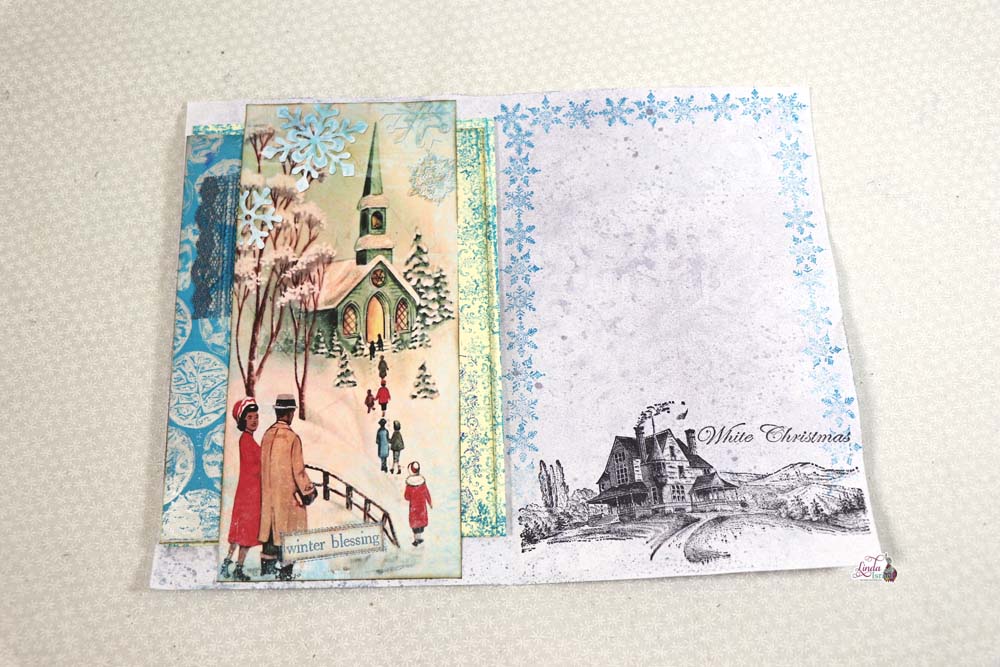
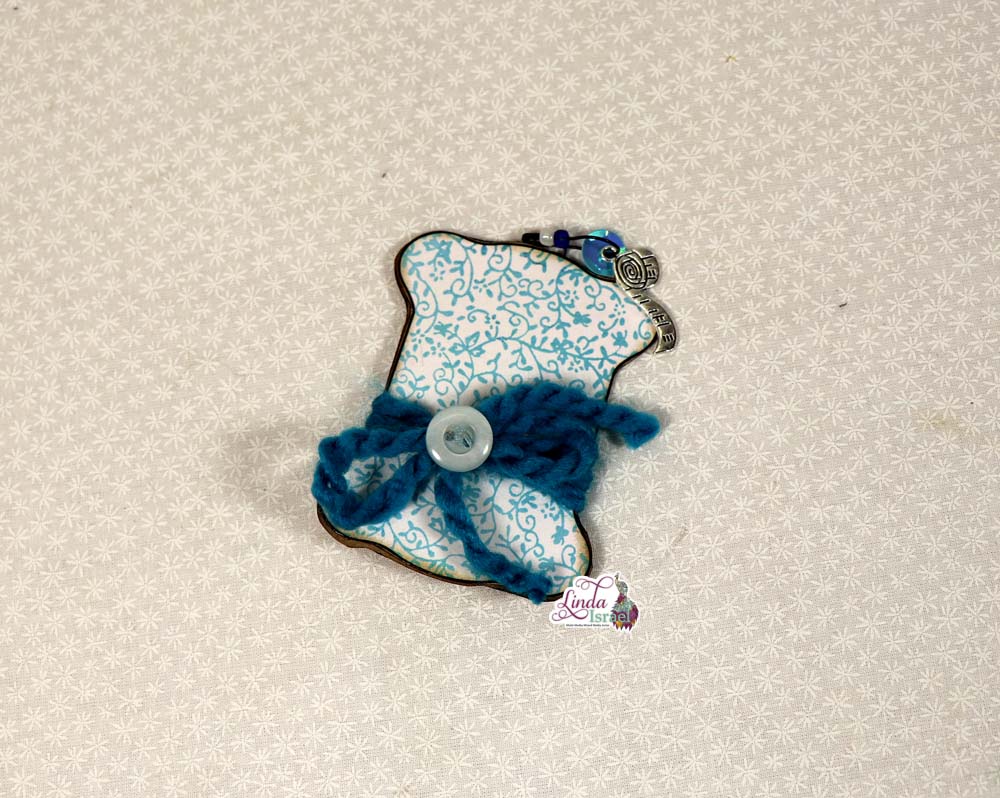
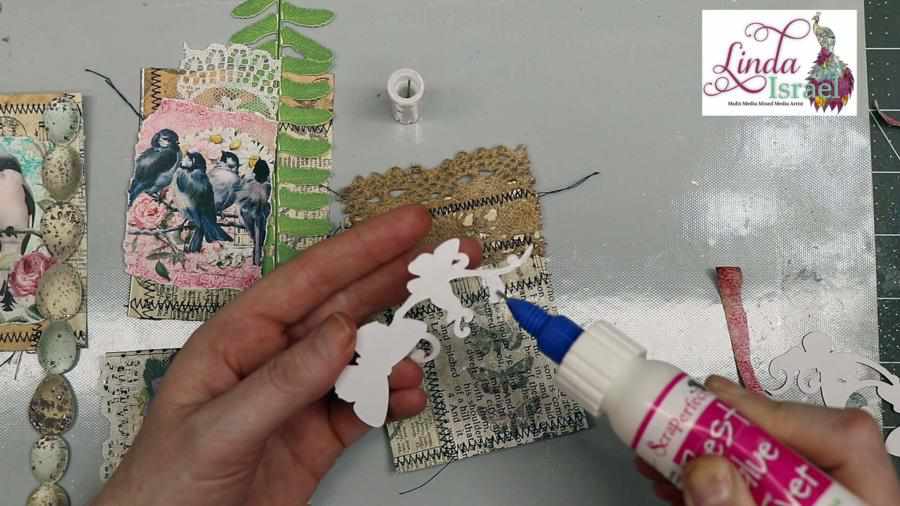
 Begin adding bits of lace and papers. I like to add color to ivory and/or white lace pieces with Tattered Angels Glimmer Mist. This way I don’t have to have a bunch of colors of lace I can keep that stash smaller and use the Tattered Angels as it has a wider variety of uses than a piece of colored lace.
 The Best Glue Ever is perfect when paired with the No-Clog Writing Cap for getting glue placed precisely. I like to add it to smaller bits so that they don’t lift from the project.
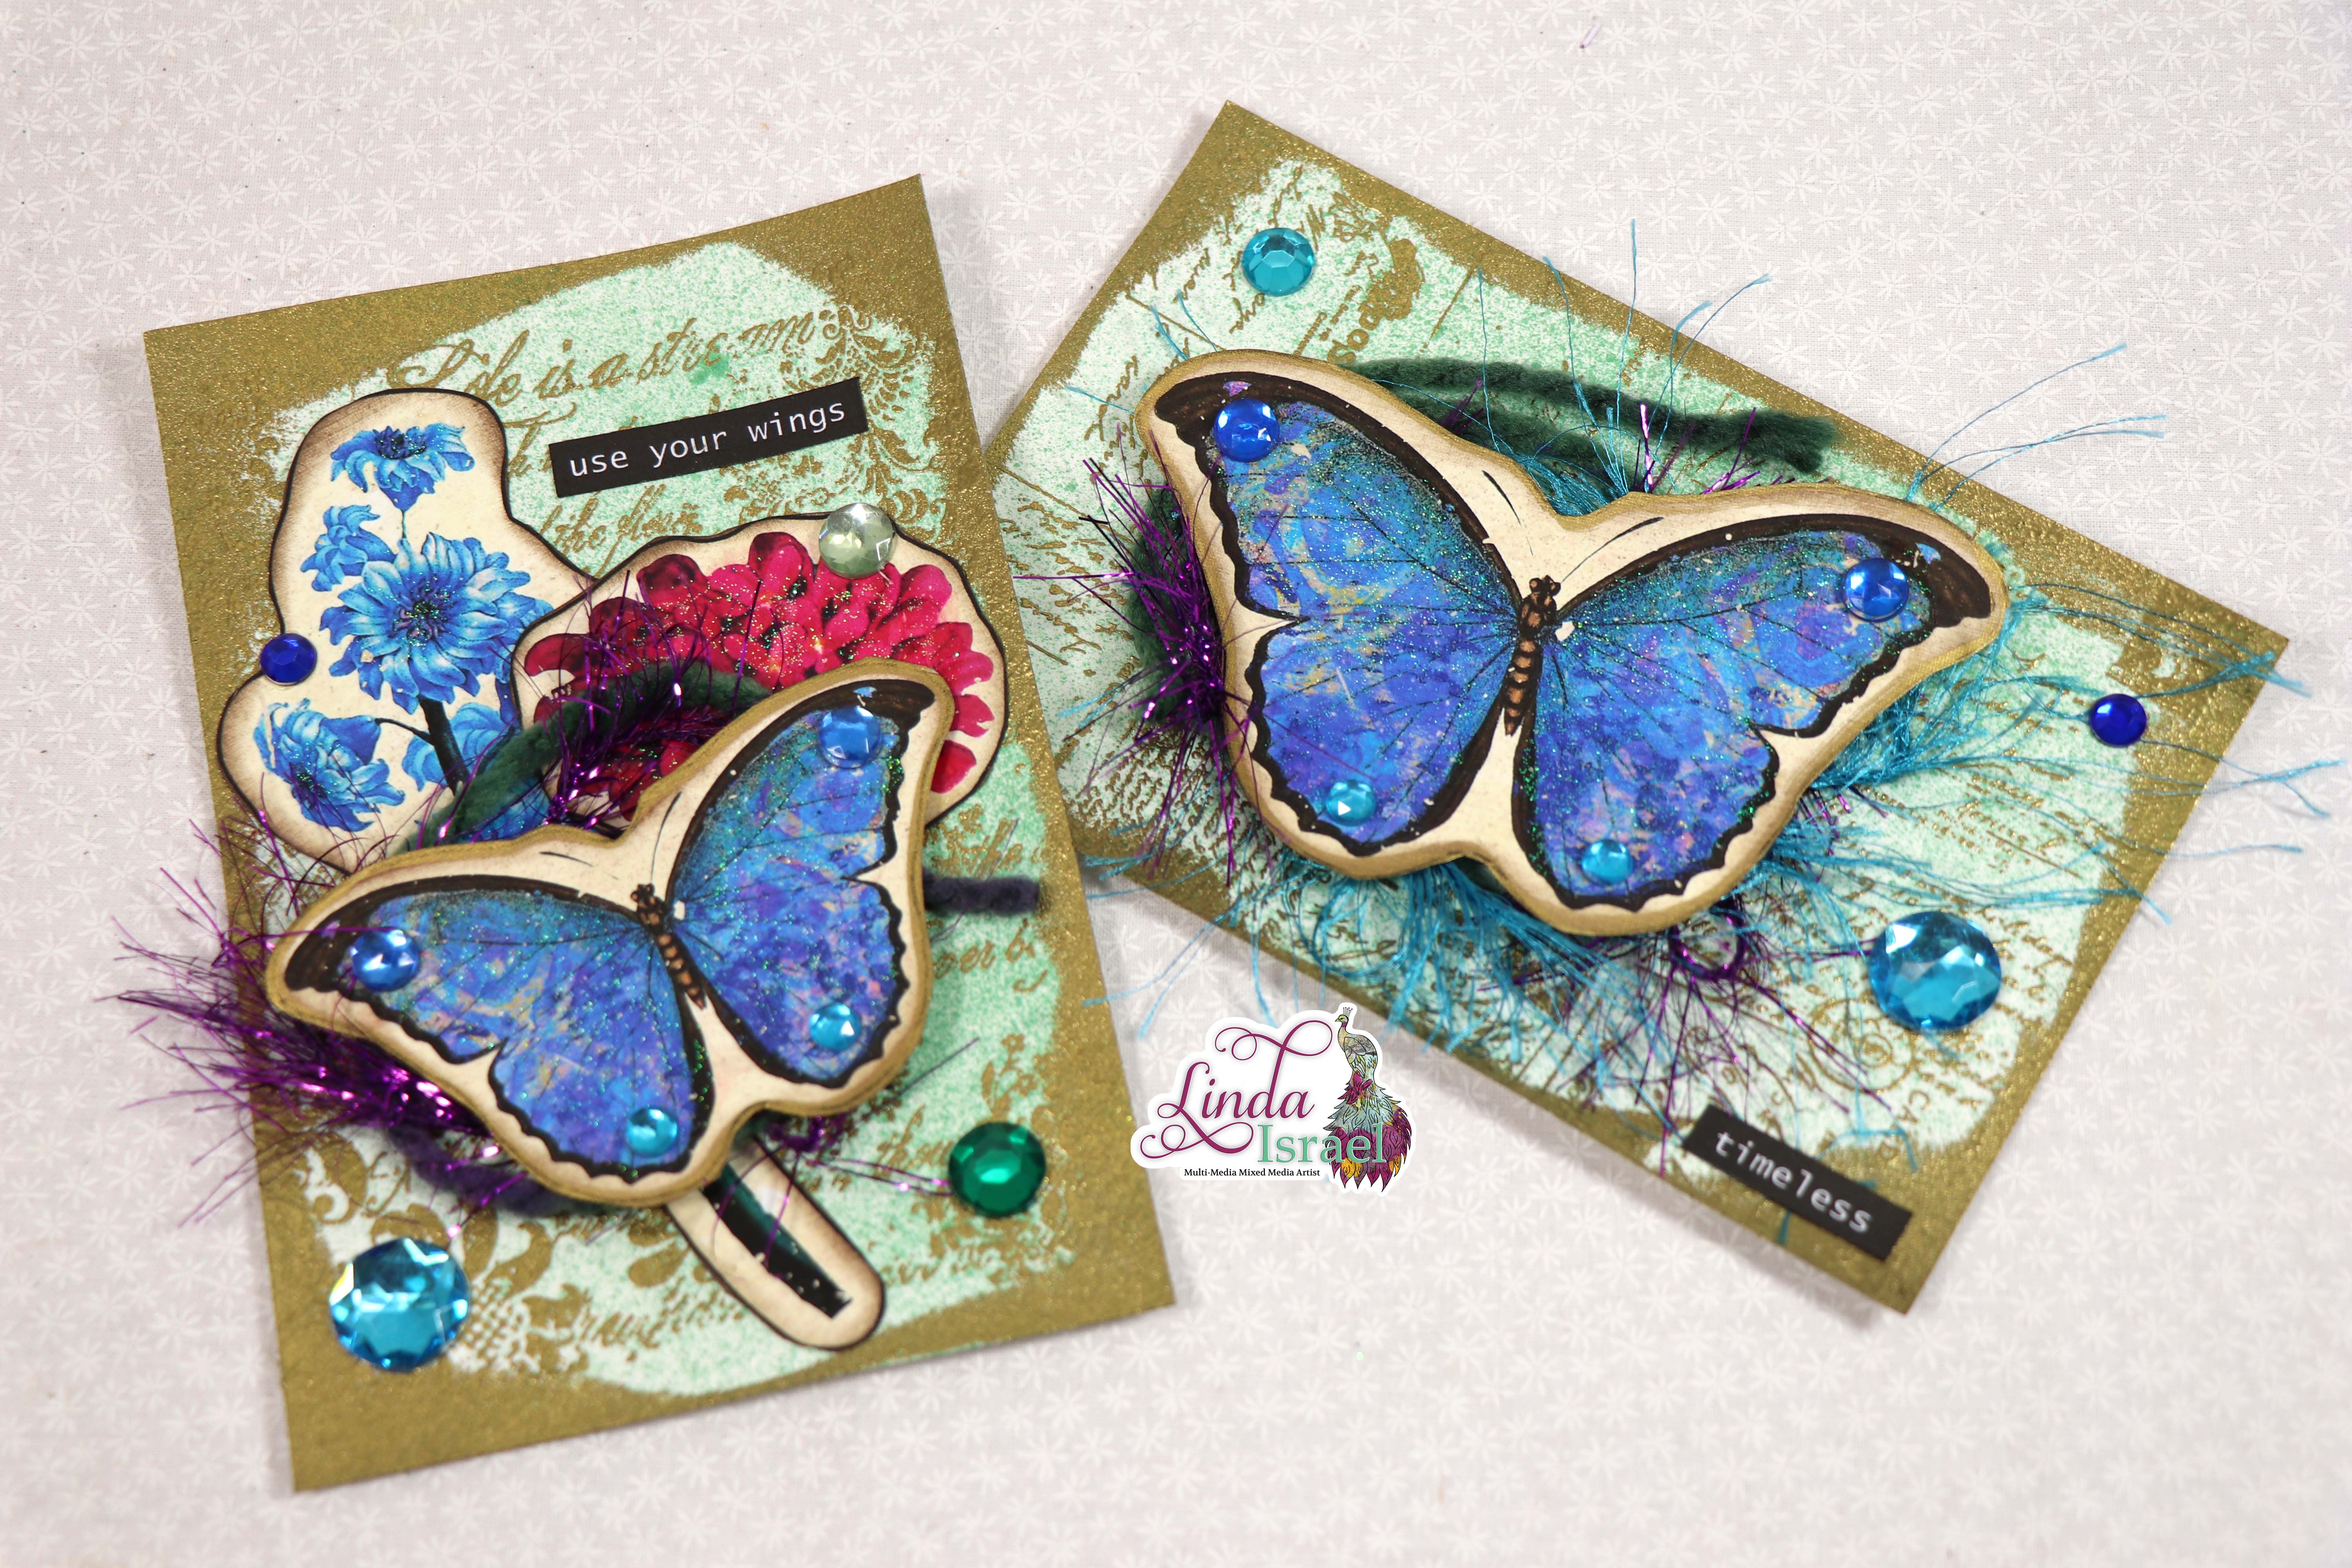
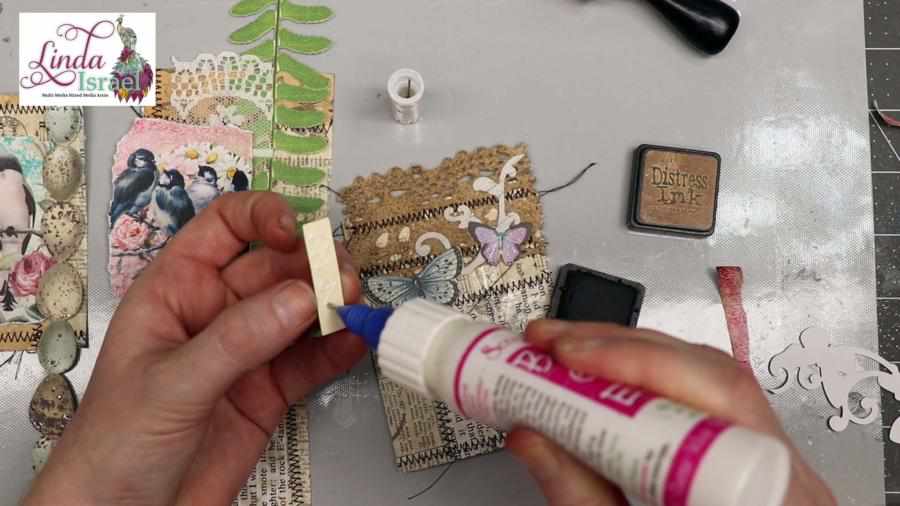
 Use Distress ink around the edges of the papers. It gives more depth to the project. Use those tools that you own. I’ve had my Silhouette Cameo 3 for almost two years and I love using it for a variety of projects. Like the little words, I add to my projects.
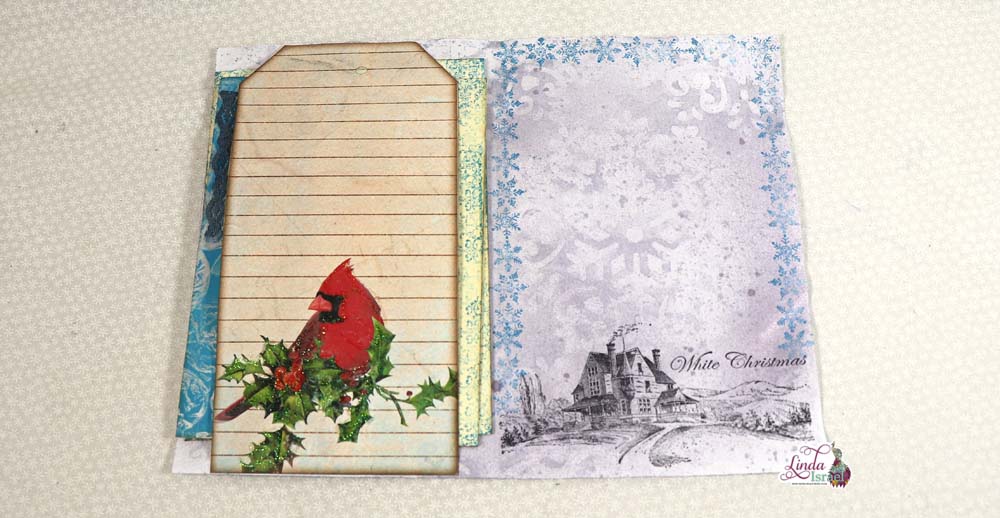
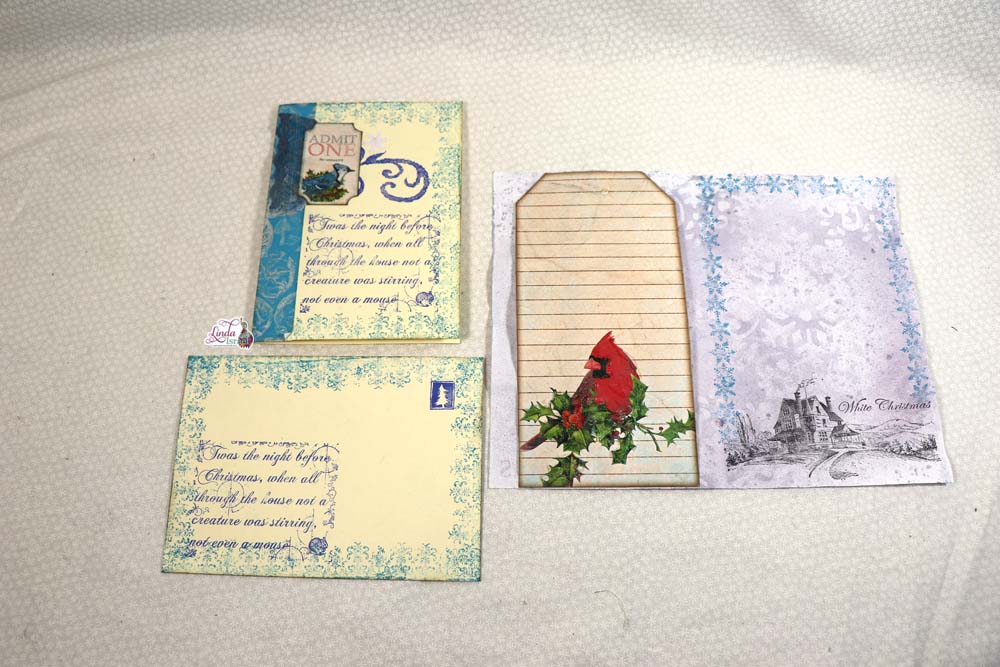
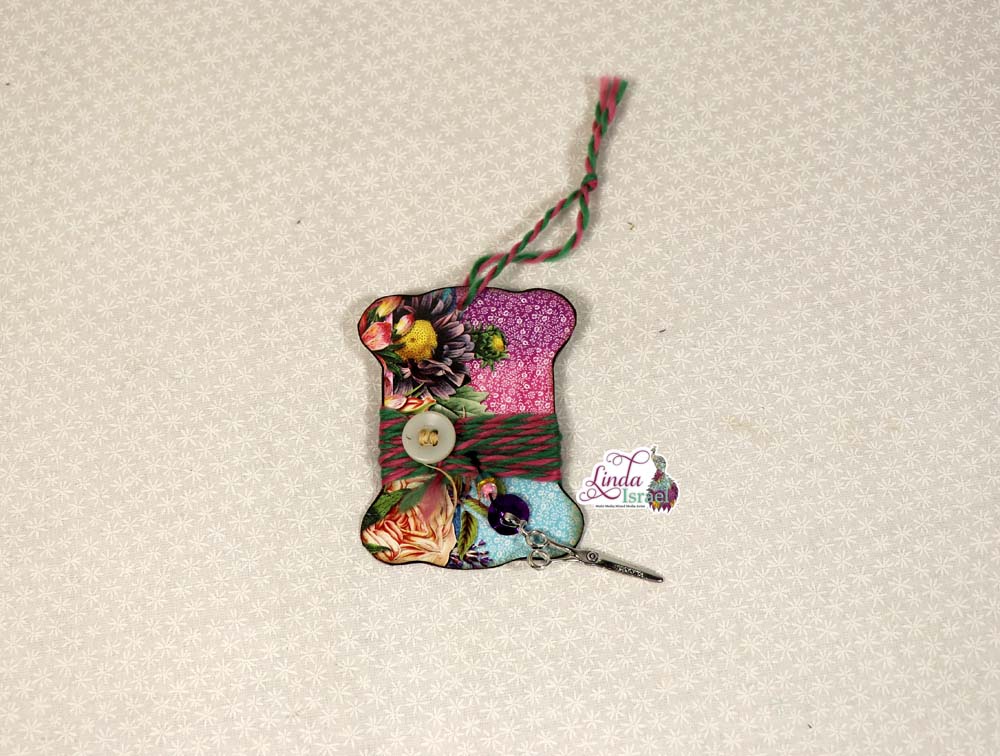
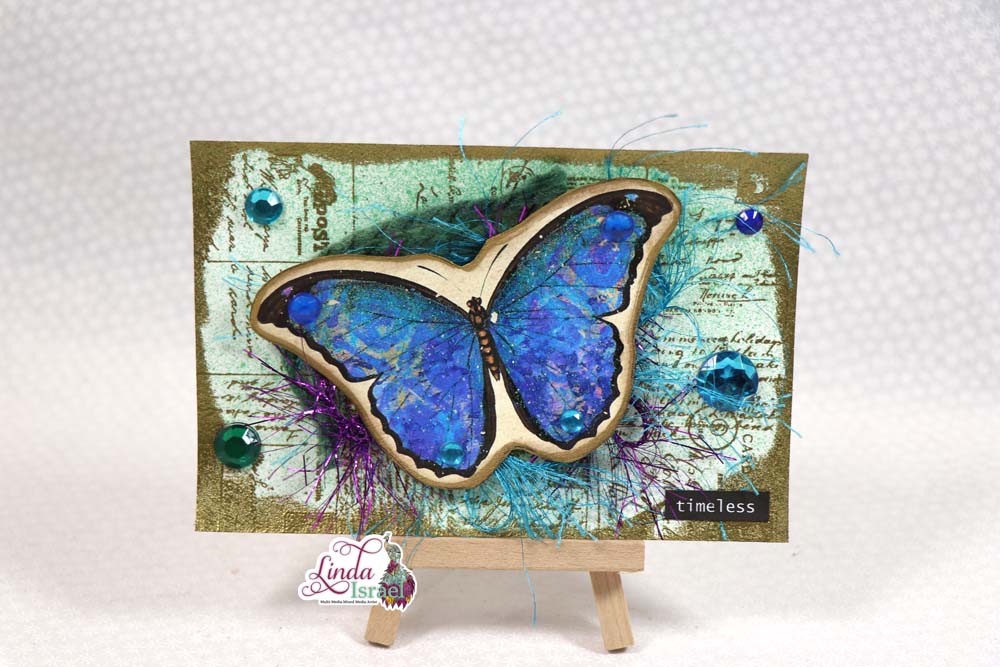
 Adding flat back rhinestones with Embellie Gellie makes it so easy. Before I would have rhinestones go flying when I used tweezers.
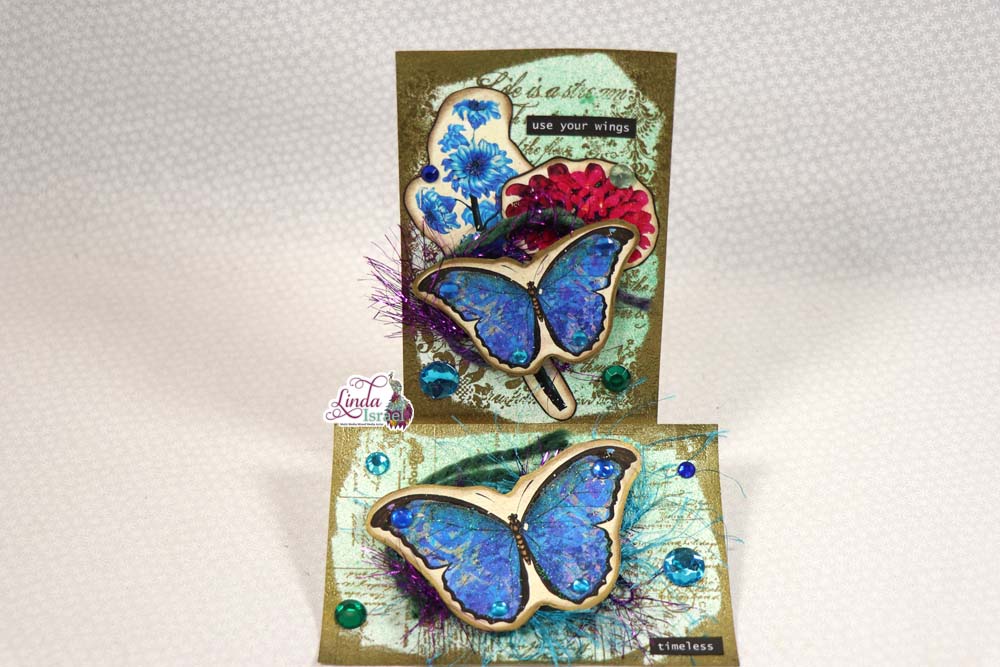
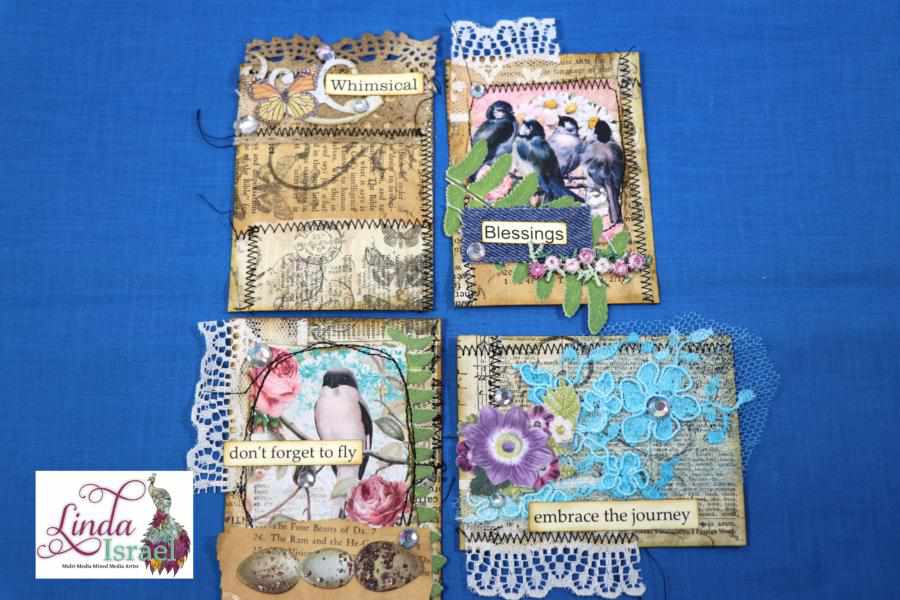
 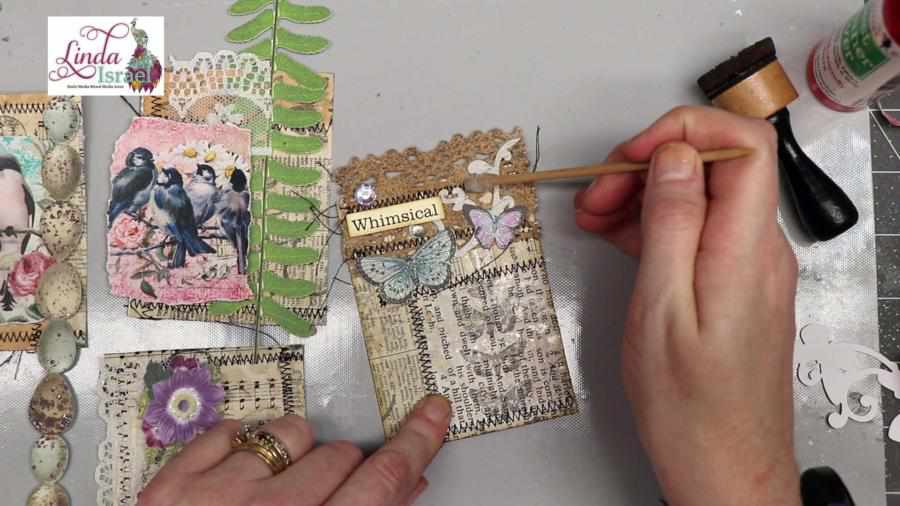 Did you enjoy the Collaged Journal Cards Tutorial? Making your own collaged journal cards is easy if you just relax and let things fall into place. Don’t over think. Lay out a few items and play around with placement. If you don’t like it then change it up. Sometimes I’ll lay things out and then walk away and do other things. When I come back it becomes clear how it should be put together. Have fun and don’t stress. 😉
I have a few sets in my shop if you want to have some as examples or to use in your projects. It is much appreciated to have support from my wonderful followers. Thank you so much!

Make sure to check out the Friendly Junk Journal People Facebook group. Of course, you are welcome to join the Friendly Junk Journal People Facebook group. The group is growing daily and we are a friendly group willing to help each other and encourage each other.

Interested in any of the journals I created? Please feel free to contact me through my Facebook Page. Here is my shop, I have a lot of items uploaded and add more weekly.
Keep updated on my posts by following my Facebook Page or on Instagram for updates that may not be shared on my blog.
Thanks so much for stopping by my blog today to see the Collaged Journal Cards Tutorial.