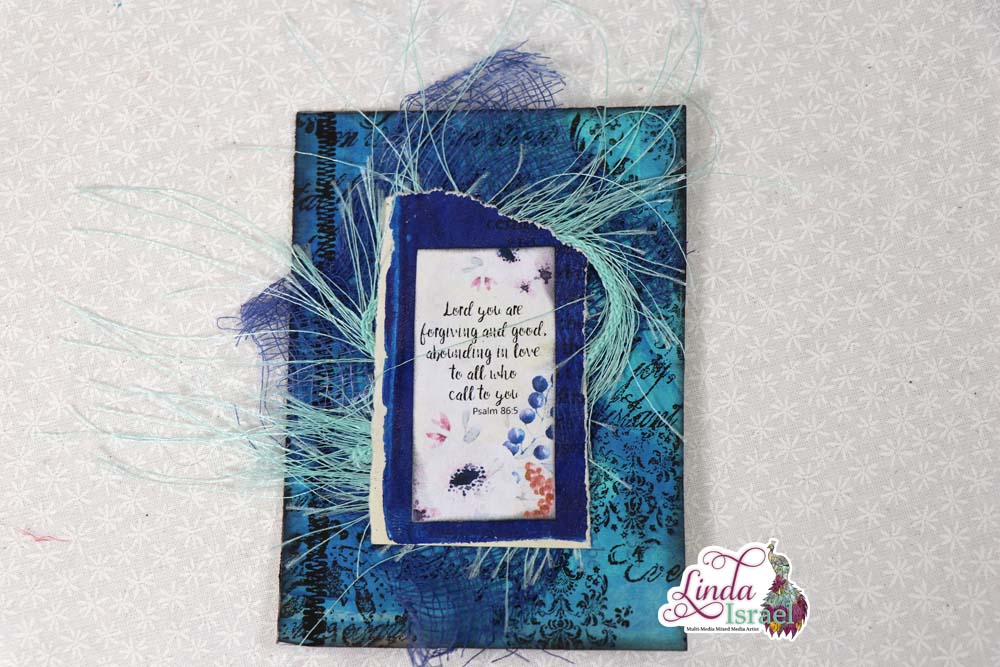
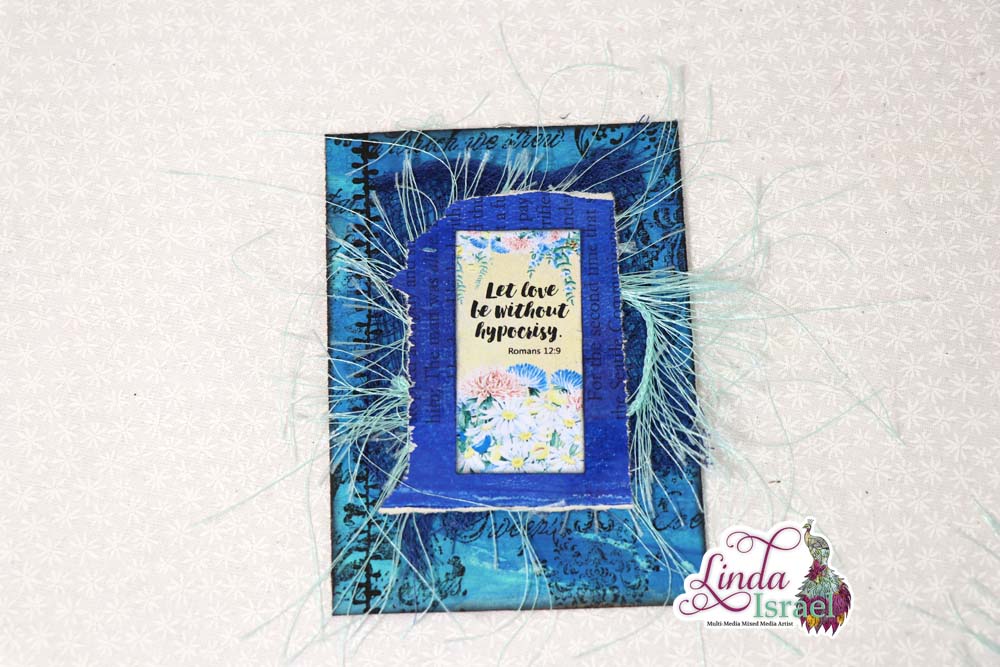
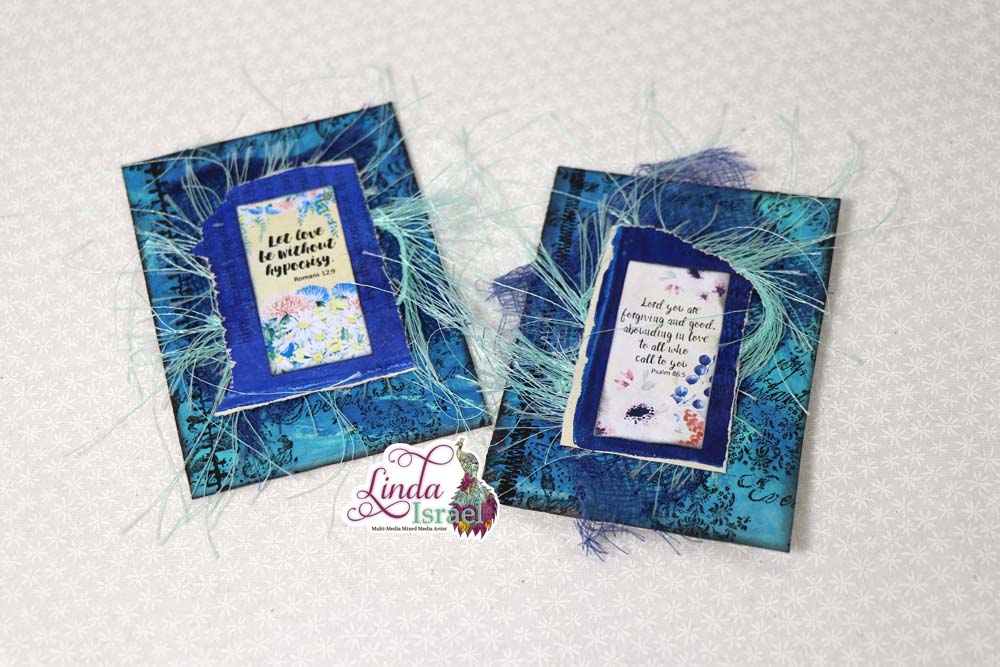
Altered Paperclip Tutorial Using Gel Prints and Stamps, Day 6 of 12 Days of Junk Journal Gift ideas. Today I’m sharing how to make an altered paperclip. This is a great gift to give as the person can use it to mark a place in a book or to hold something together and it is pretty.
Altered Paperclip Tutorial Using Gel Prints and Stamps Tutorial Video.
Supplies Used for making the Altered Paperclip Tutorial Using Gel Prints and Stamps.
- Calico Collage Bible Verses Domino Images
- Bline Designs Stamps, Damask Collage, Shabby Stitches
- Brilliance Graphite Black Ink
- Gel Prints
- Distress Ink, Black Soot
- Blending tool
- Eyelash yarn
- Tattered Angels Glimmer Mist
- Heat tool
- Aleene’s Tacky Glue
- Paperclip
- Cardstock
- Cheesecloth
- Scissors
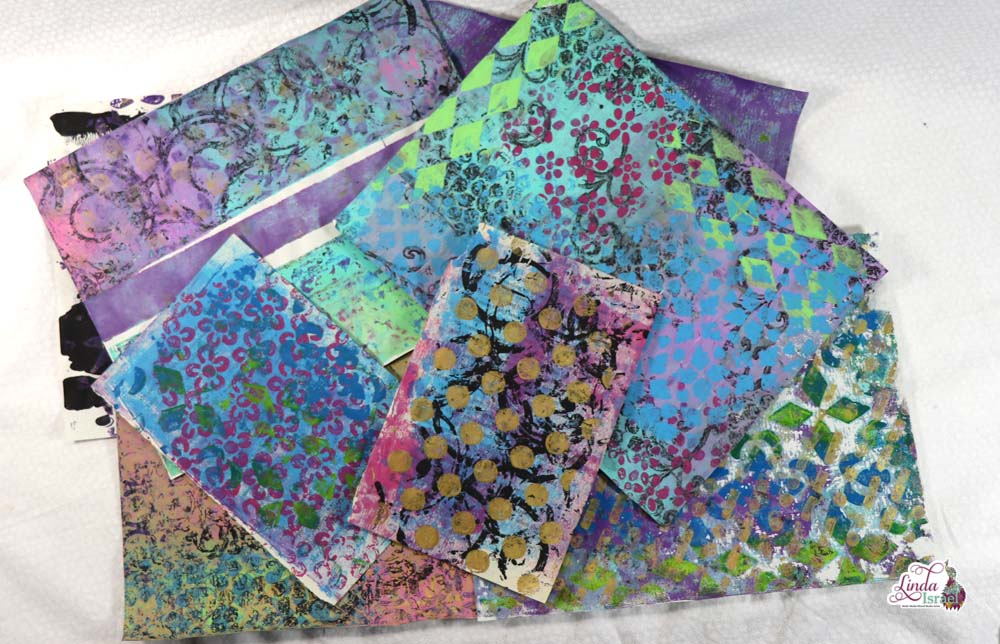
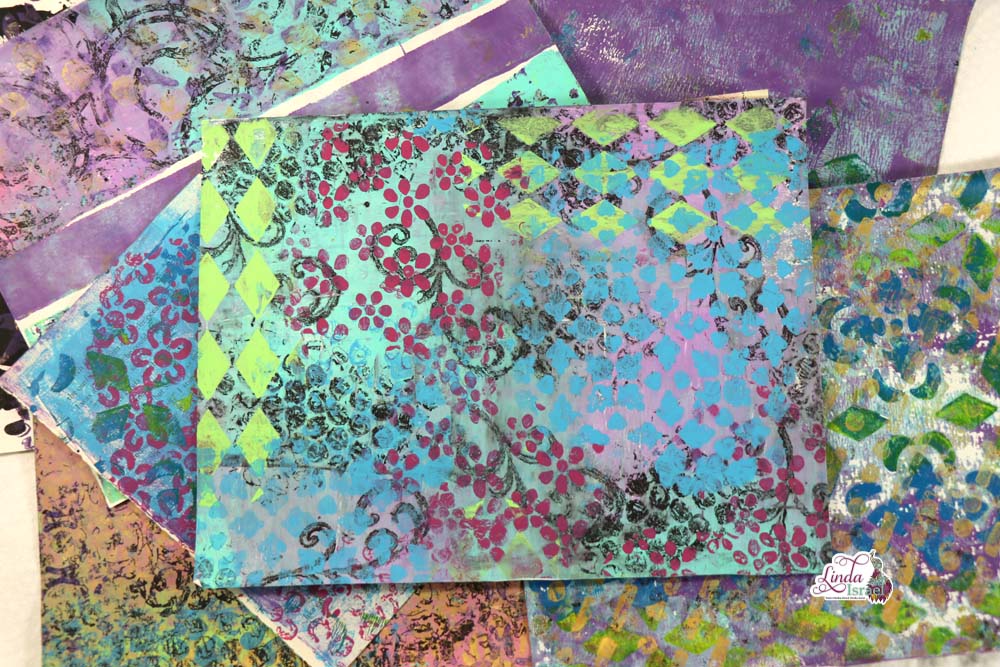
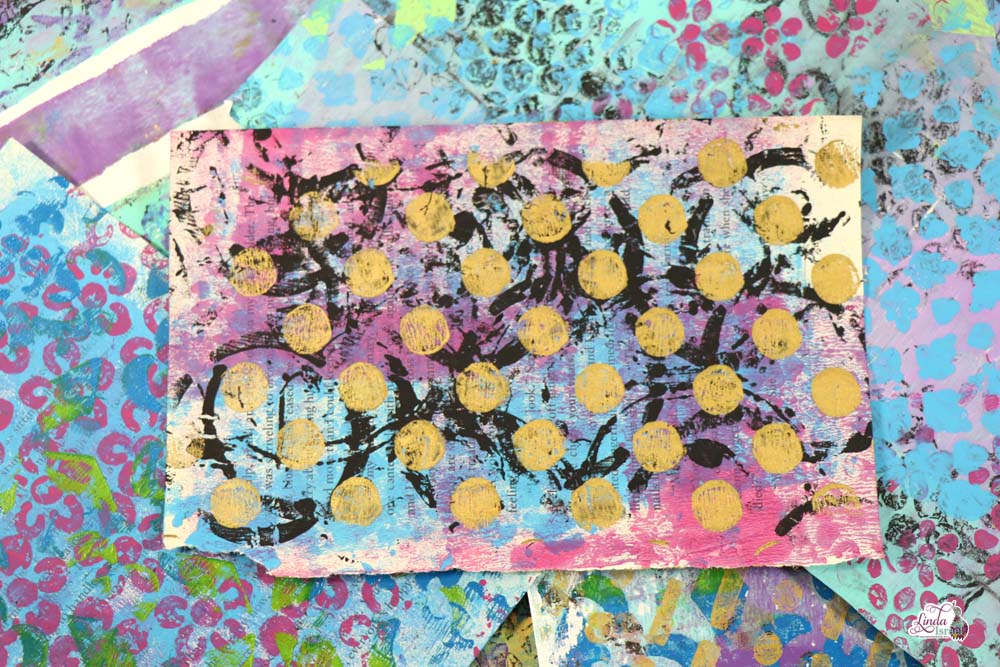
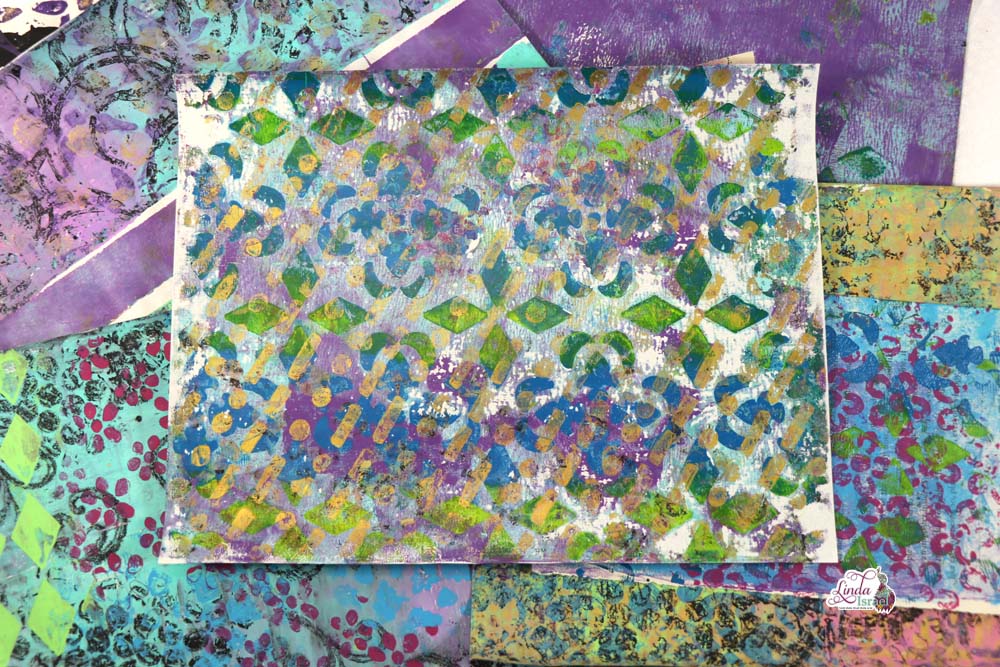
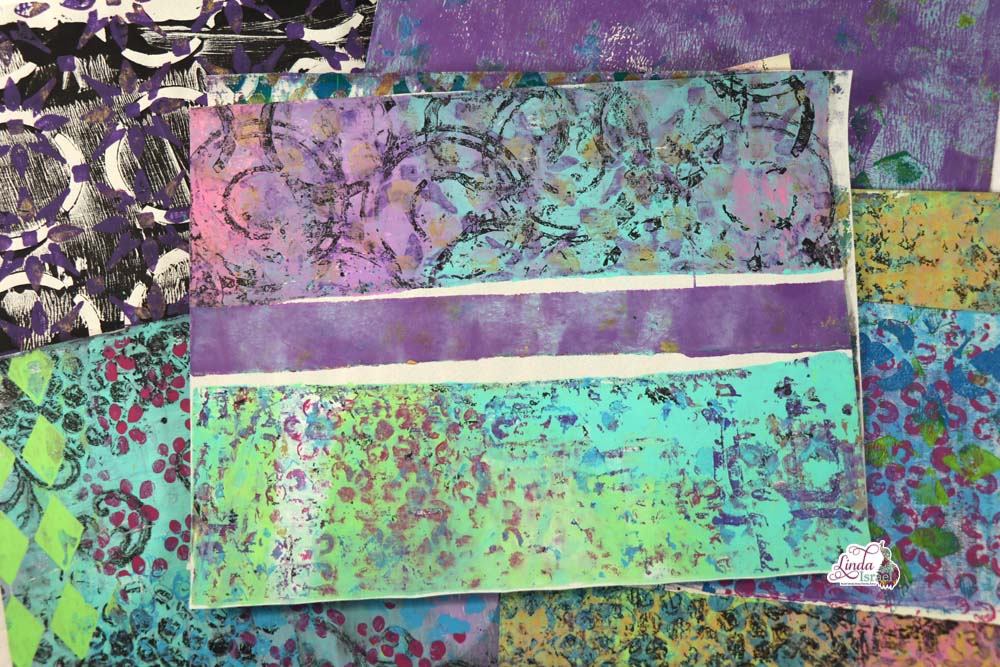
These Altered Paperclip Tutorial Using Gel Prints and Stamps are super fun and easy to make. Gel prints are perfect for this as they usually have lots of pretty colors.
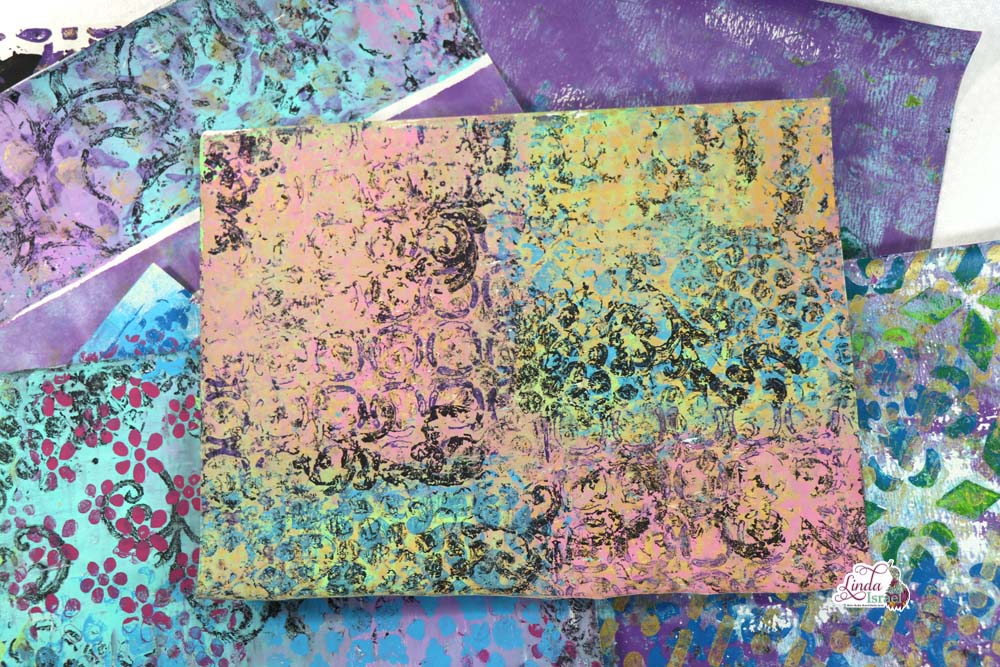
Begin by selecting a cardstock base, can be ATC size, mine were 2.75 x 3.75 as that was just what was on my desk. Trim a gel print to the same size as the cardstock base.
Ink up background stamp, Damask Collage with Brilliance Black Graphite ink and stamp on gel print. Stamp Shabby Stitches image on left side. Adhere to cardstock base and apply black soot distress ink around the edges.
Trim a piece of cheesecloth to about 2 x 3 inches. Spray with Tattered Angels Glimmer Mist, dry with heat tool.
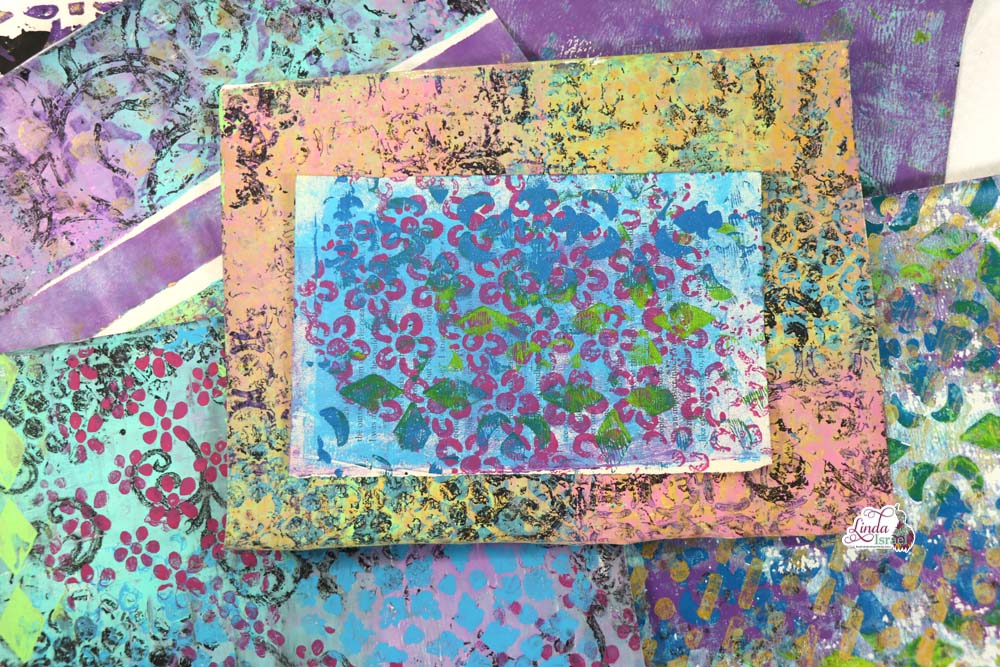
Select one of the Bible Verse domino images from the Calico Collage digital sheet and trim. Apply black soot distress ink around the edges. Choose another gel print and tear into to a piece that is slightly larger than the domino image. Adhere these together, domino image on top of gel print.
Apply a small amount of glue in the center of the gel print/cardstock base, layer cheesecloth on top. Cut a piece of eyelash yarn and lay on top of cheesecloth. Adhere gel print/domino image on top of cheesecloth and eyelash trim. Allow drying.
Place a paperclip on second cardstock base, apply glue around paperclip and the whole piece of cardstock. Sandwich the paperclip between the two pieces of cardstock. Press well and allow to dry.
See how easy it was to make an Altered Paperclip Tutorial Using Gel Prints and Stamps? Of course, think outside the box if you don’t have the same supplies as I do. Paint some papers, Stamp whatever you have, Find scraps of fabric instead of cheesecloth. I’m sure you can find something that will work great.
Make sure that you visit the other artists that have created tutorials. Look for other posts using the tag: #12daysofjunkjournalgiftideas.
- Lillian Reyes
- Luise Heinzl
- Liz Clifford
- Cara Brandon
- Angelika Menzel (1)
- Angelika Menzel (2)
- Julie Freeman Fischer
- Tinisha Denise
Support me so that you continue to see more tutorials and inspirational projects Become a Patron! When you give me your patronage you will get an exclusive digital download featuring art I created that has now been made into a digital journal kit.
Make sure to check out the Friendly Junk Journal People Facebook group. Of course, you are welcome to join the Friendly Junk Journal People Facebook group. The group is growing daily and we are a friendly group willing to help each other and encourage each other.
Interested in any of the journals I created? Please feel free to contact me through my Facebook Page. Here is my shop, I have a lot of items uploaded and add more weekly.
Keep updated on my posts by following me. Follow my blog with Bloglovin. Or Follow my Facebook Page or on Instagram for updates that may not be shared on my blog.
Thanks so much for stopping by my blog today to see Day 6 of 12 days of Junk Journal Gift Ideas an Altered Paperclip Tutorial Using Gel Prints and Stamps..


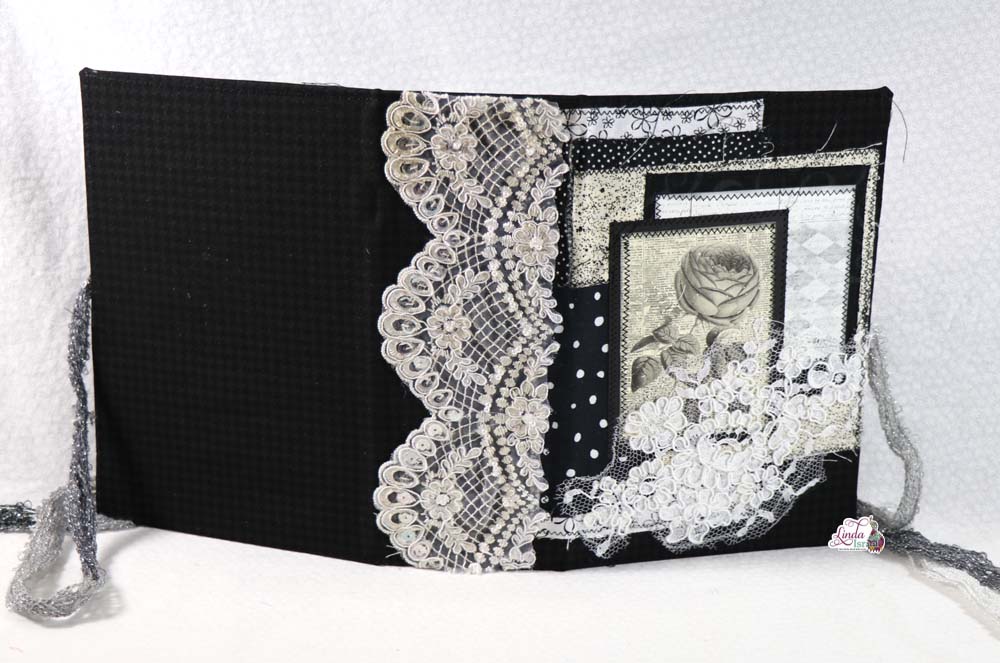
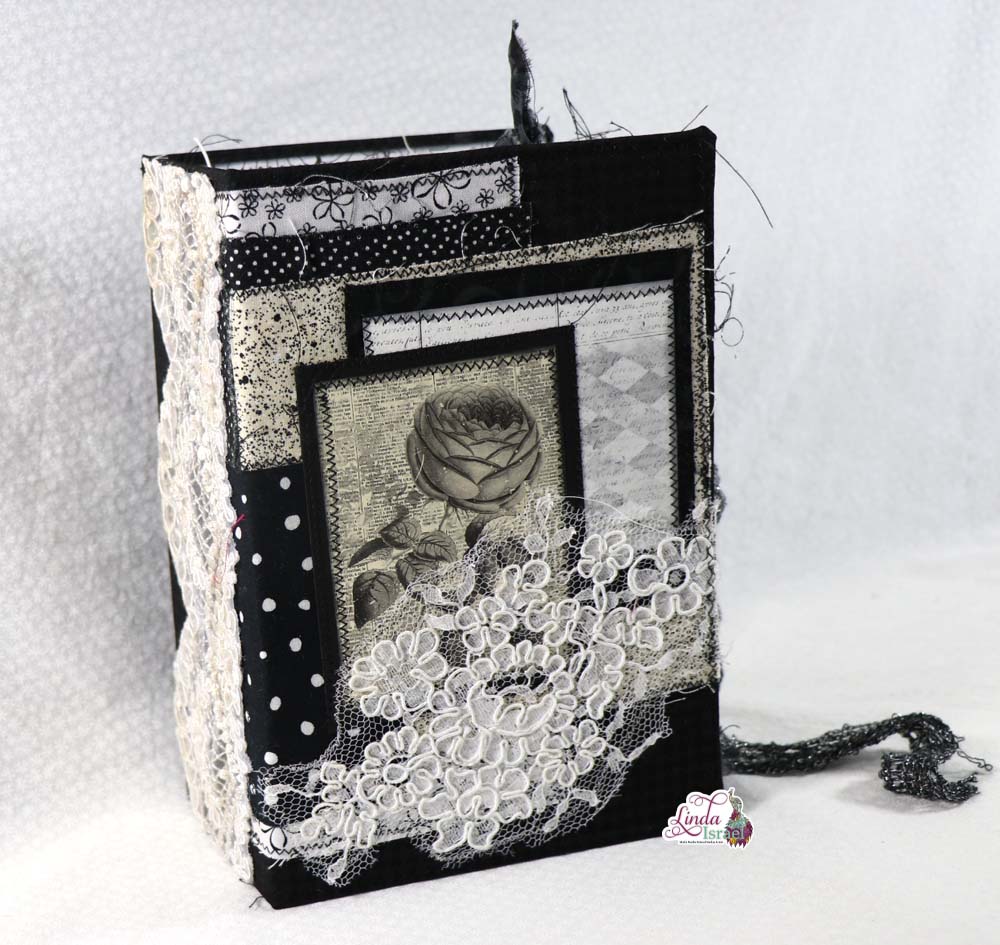
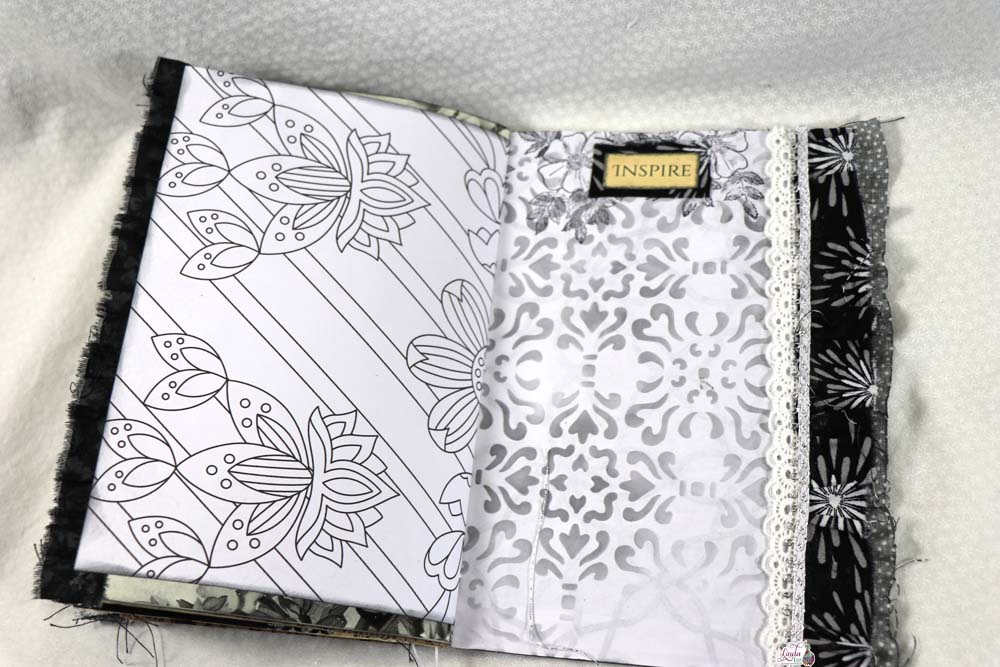
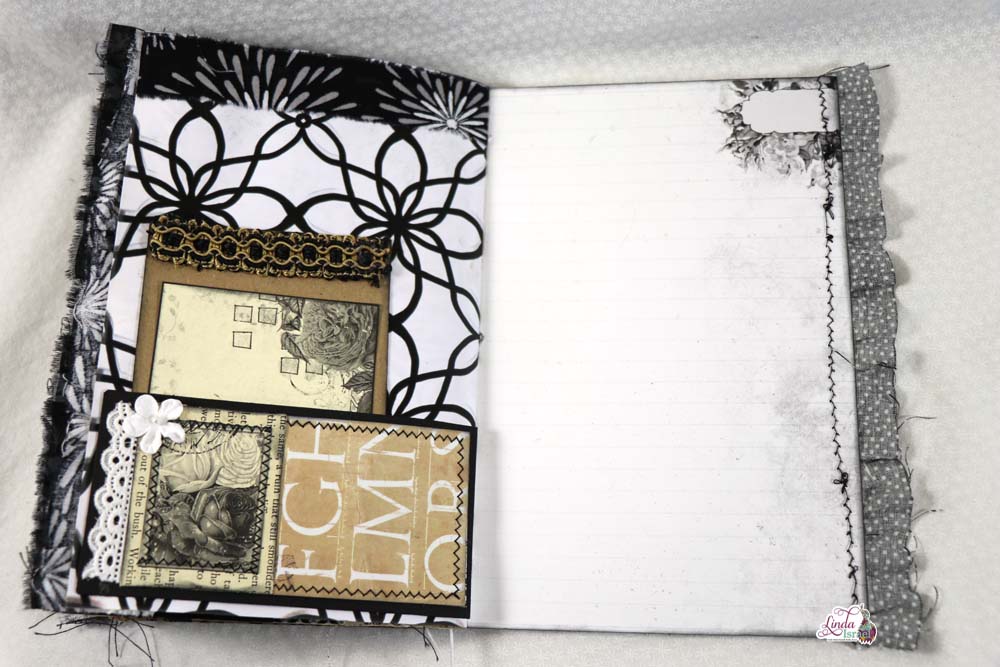
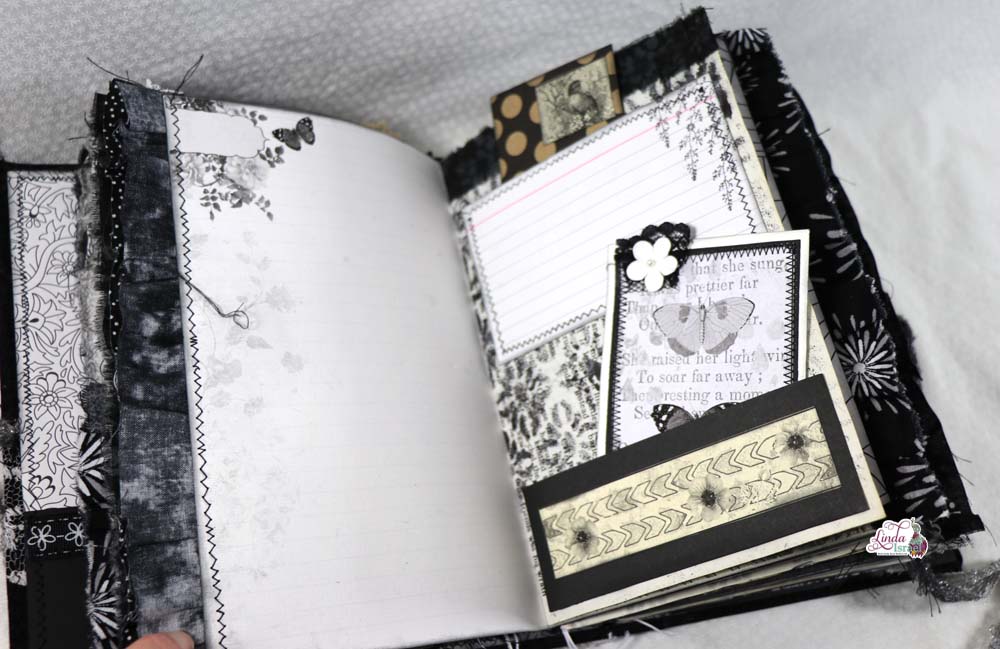
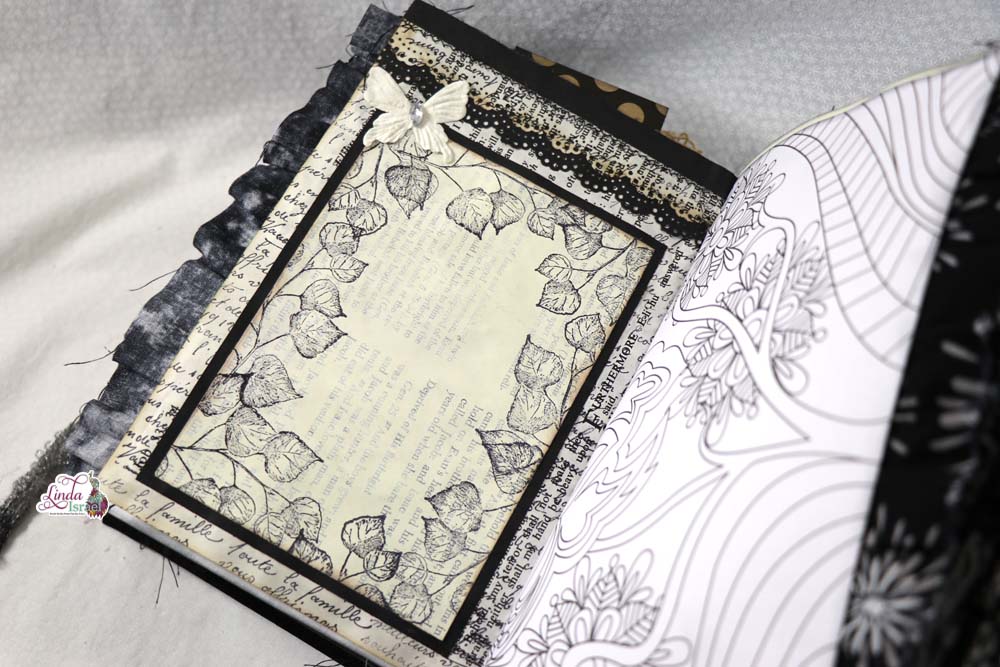
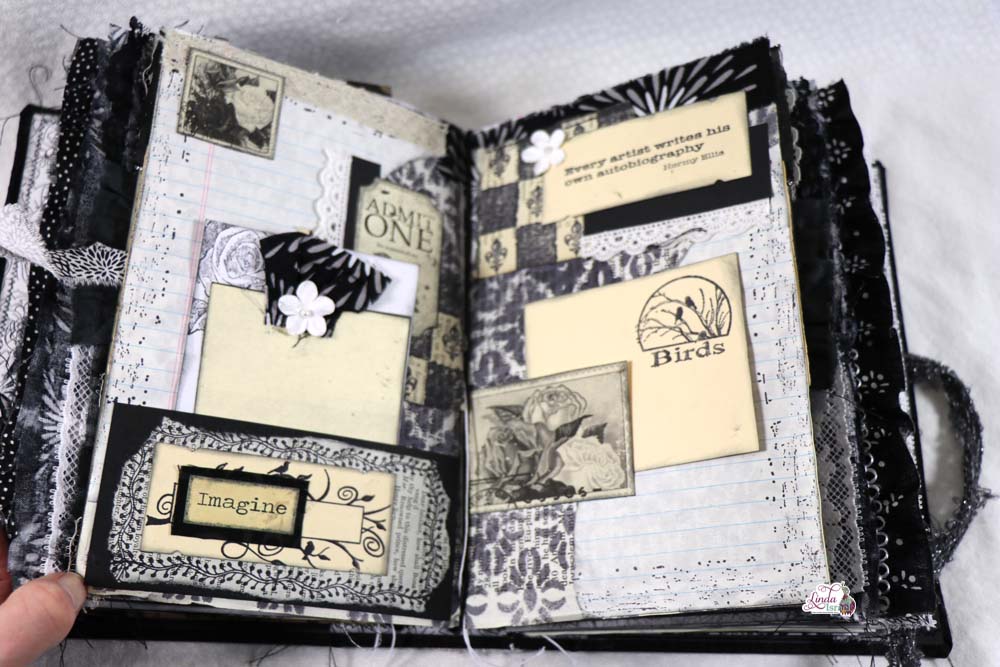
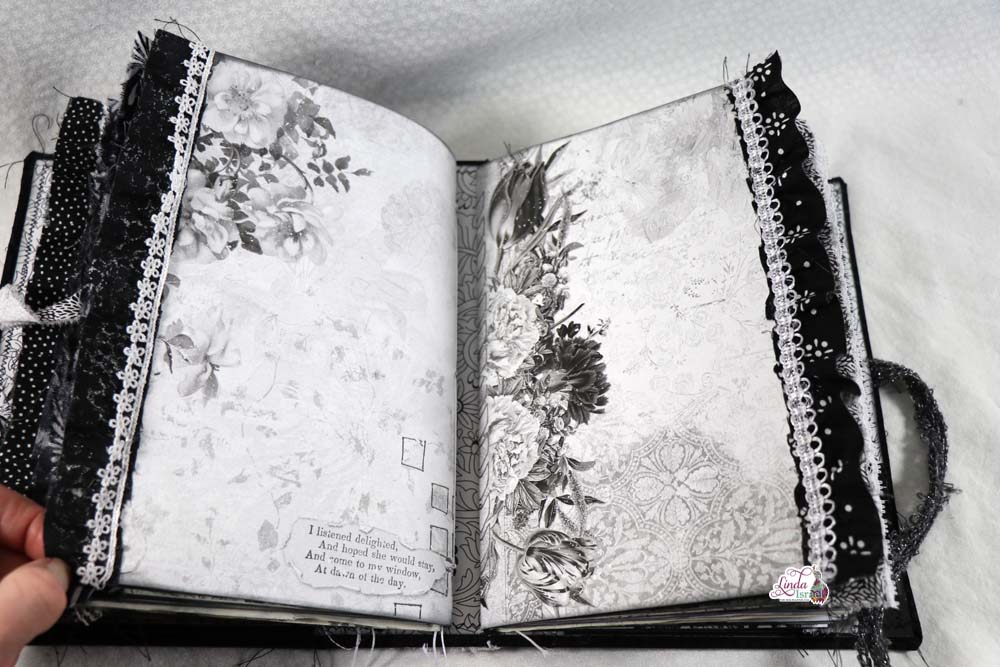
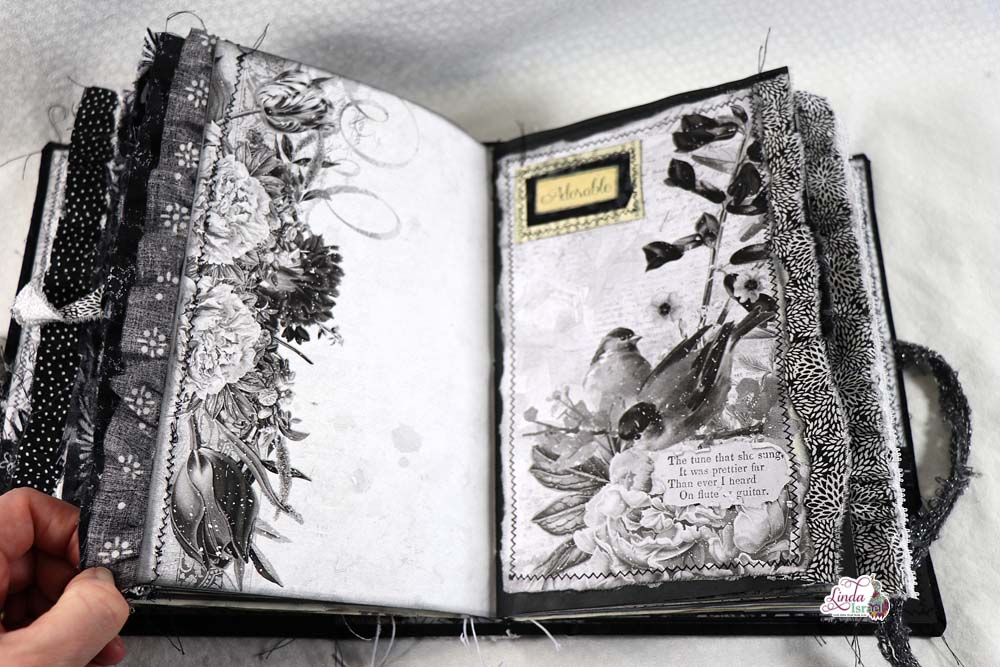
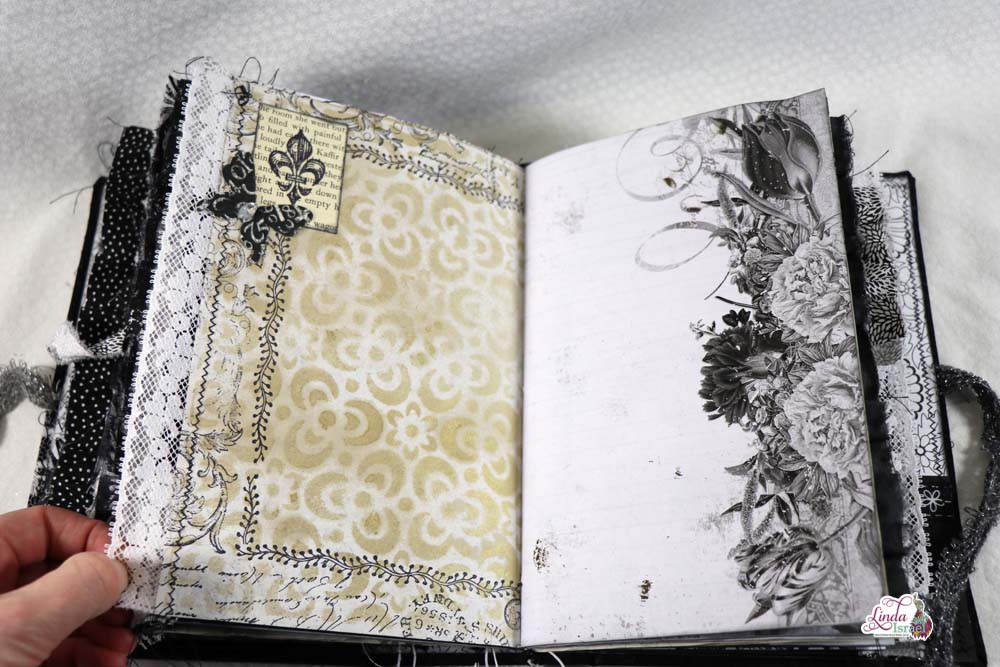
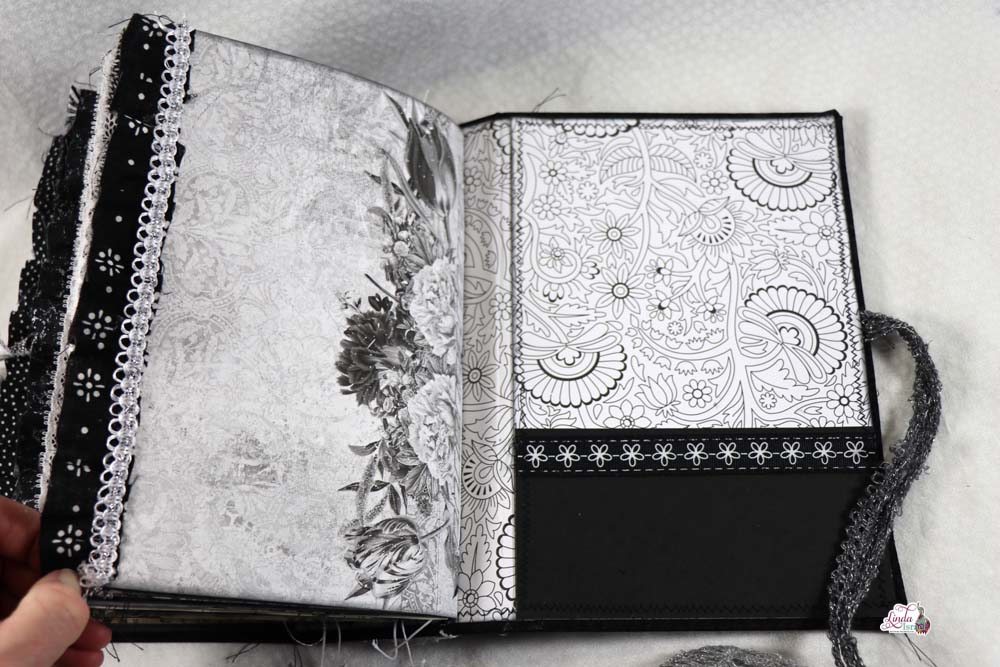
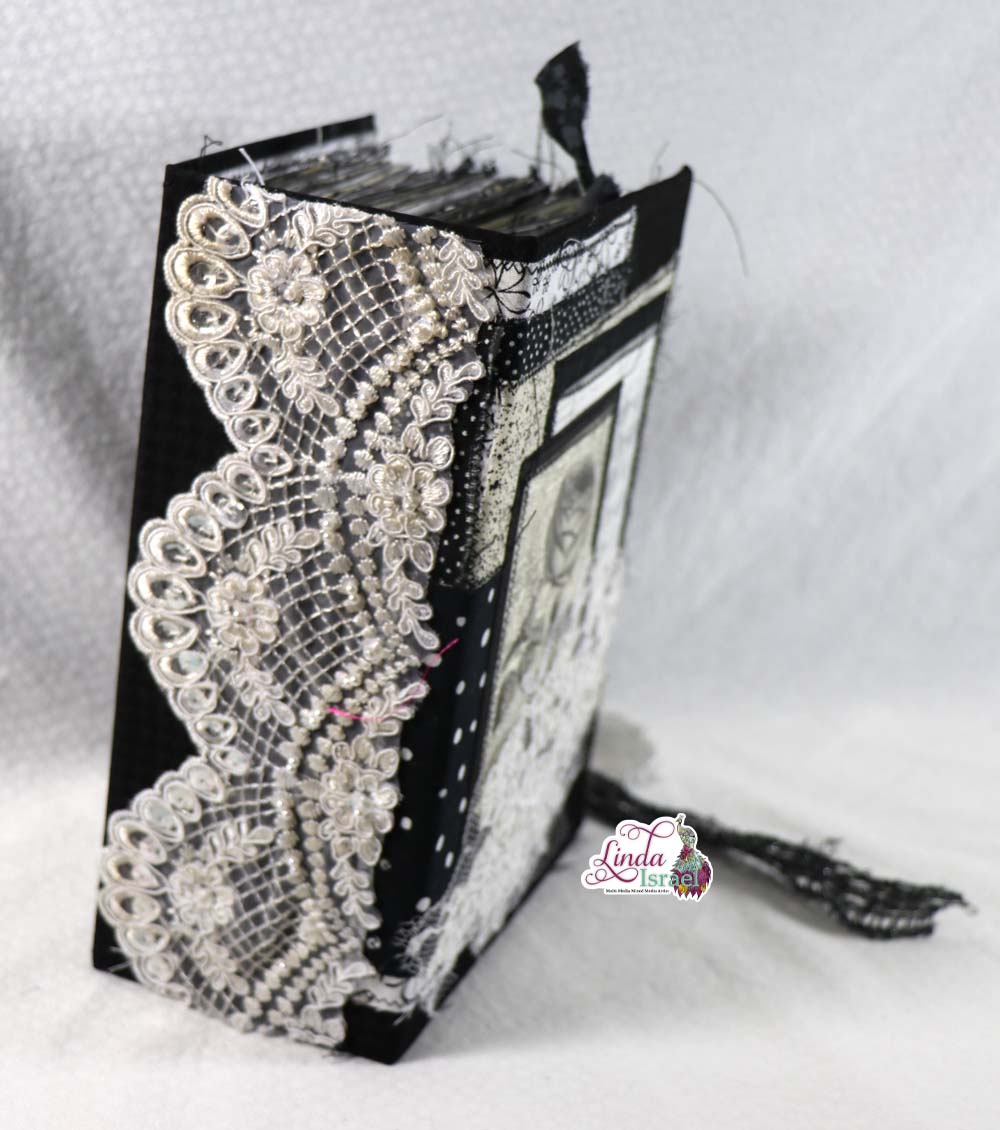
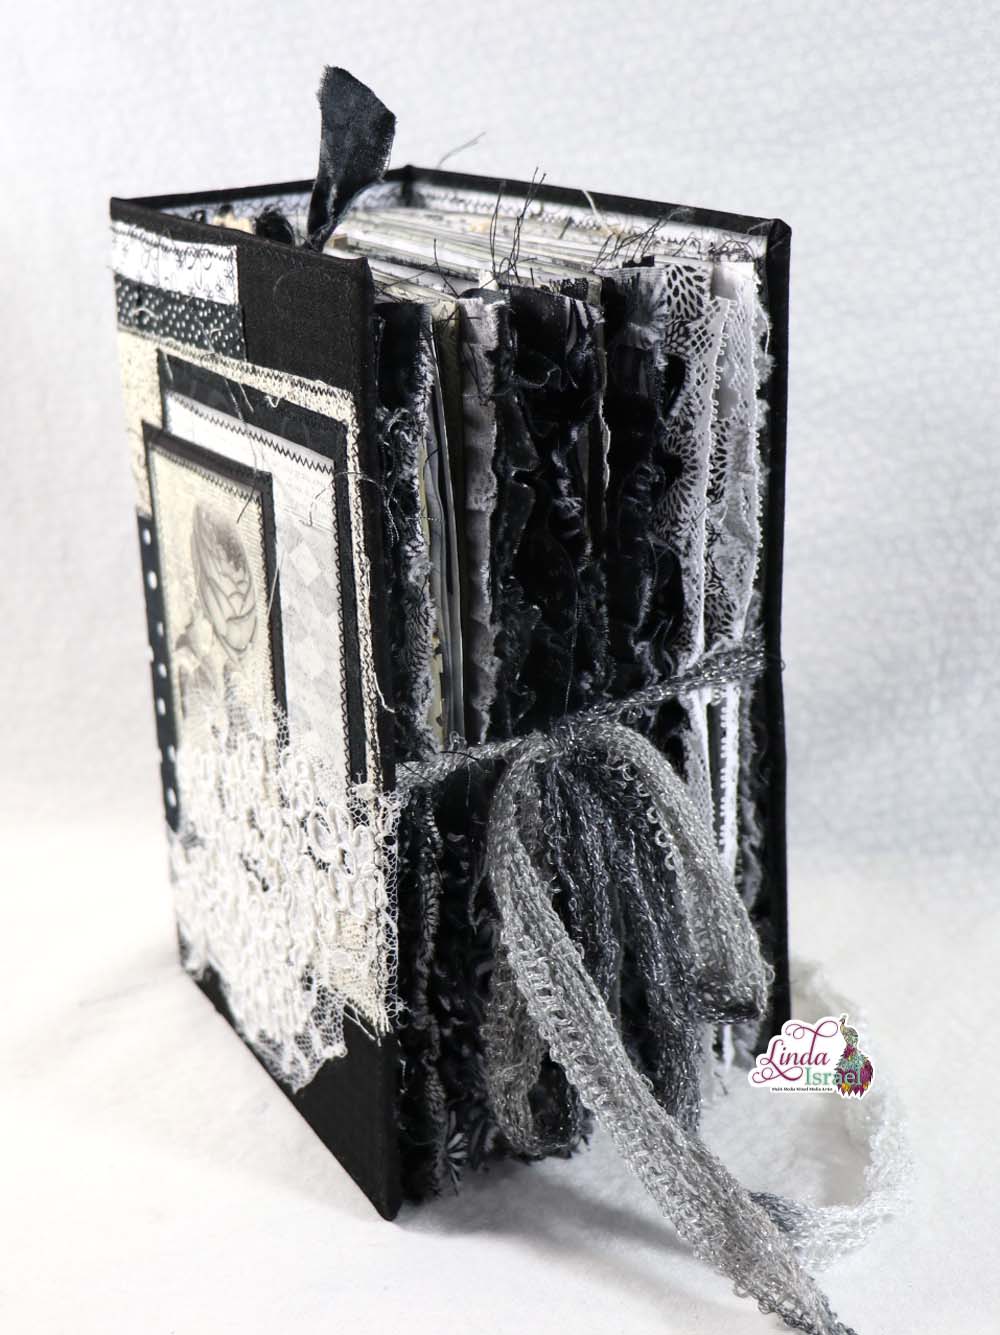
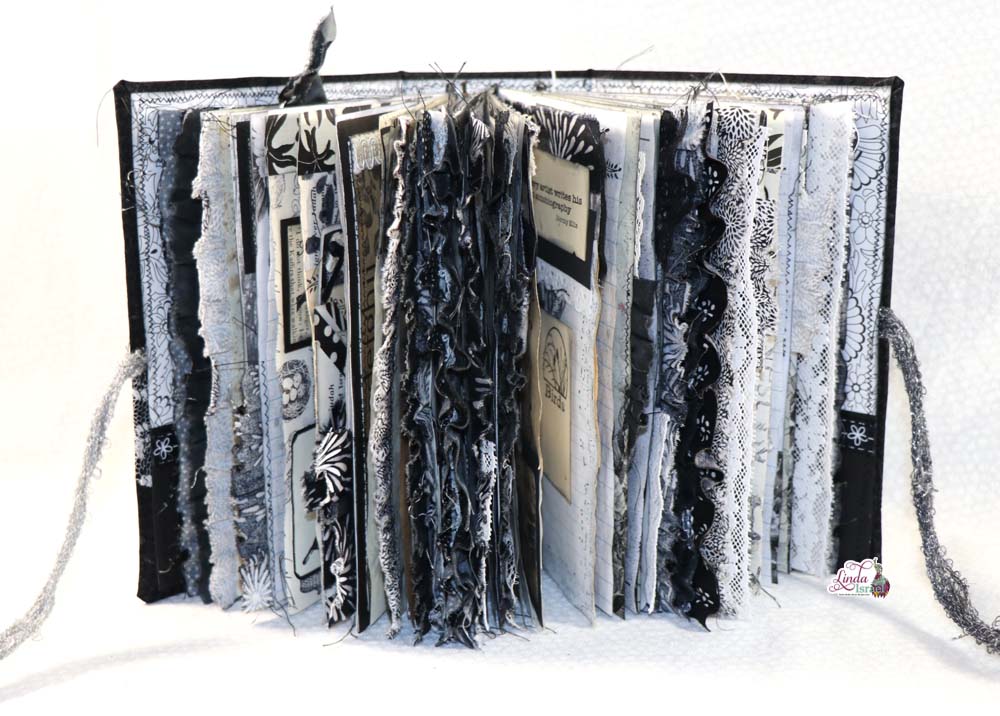
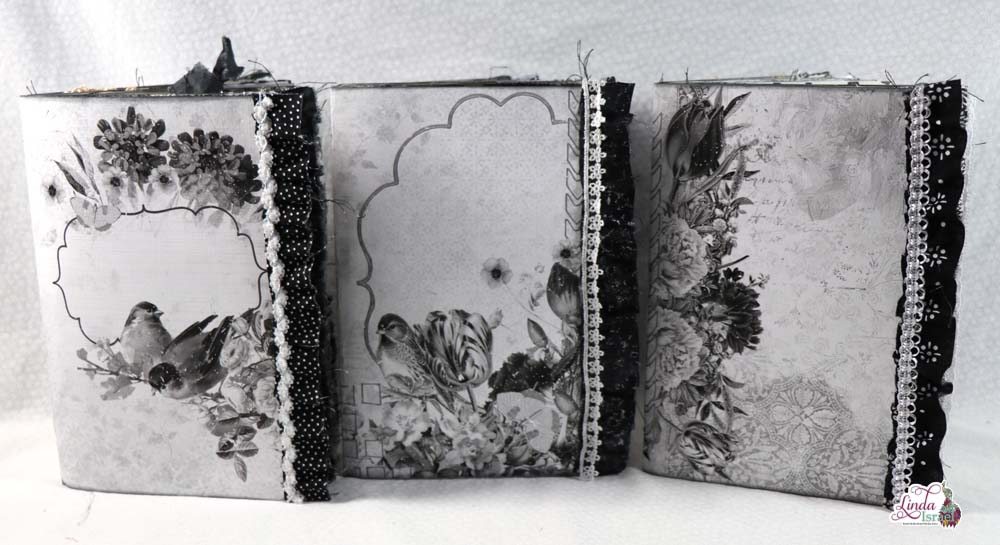 Preparing to create this monochrome journal, then deciding which digitals looked good when printing in black and white takes a lot of time.
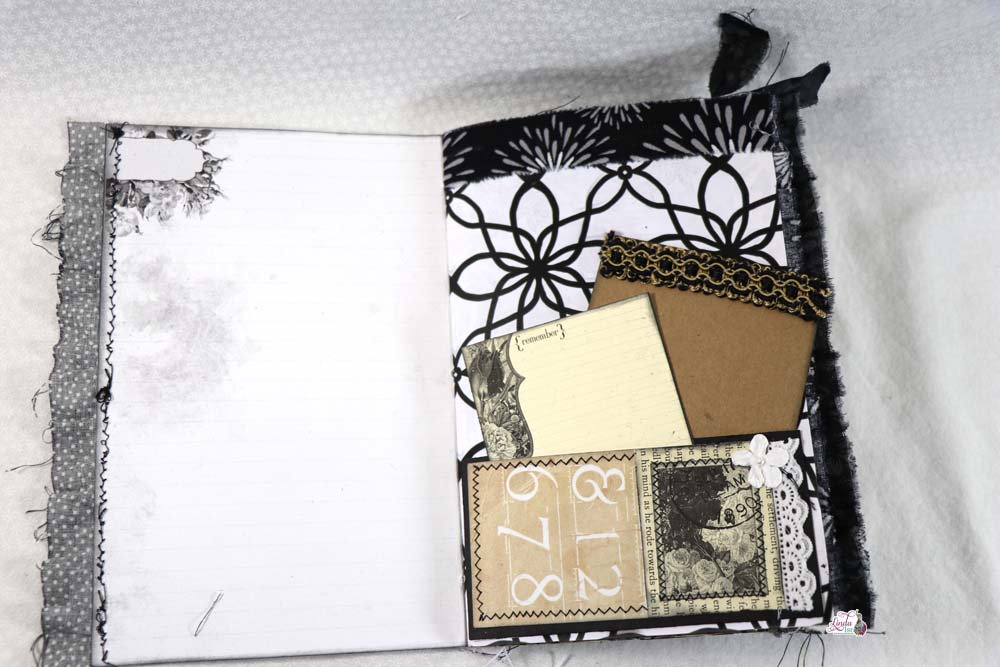
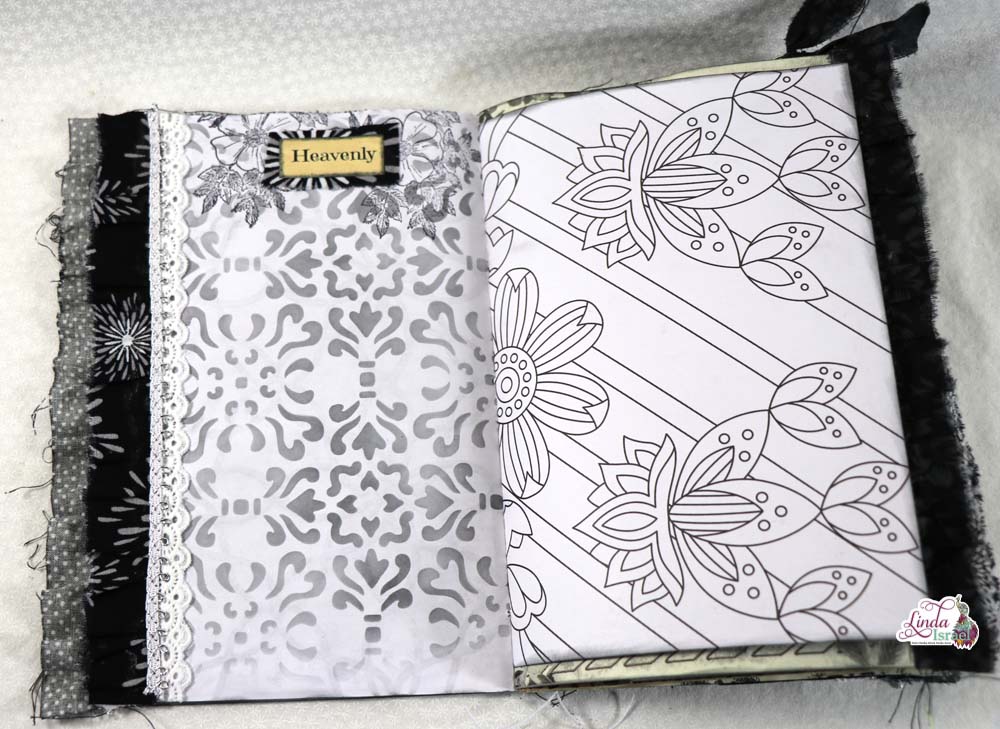
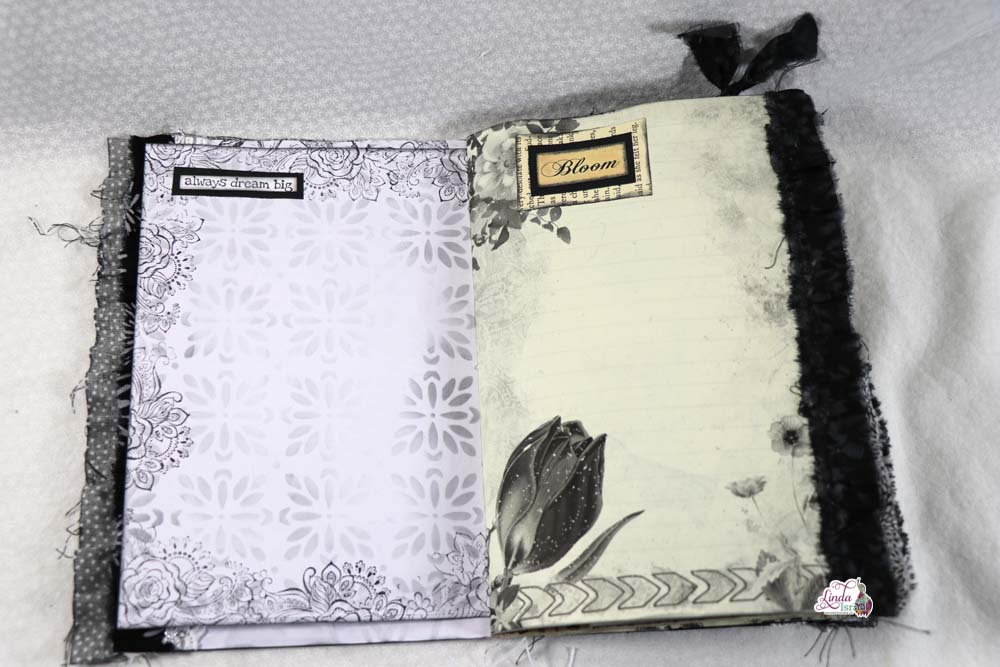
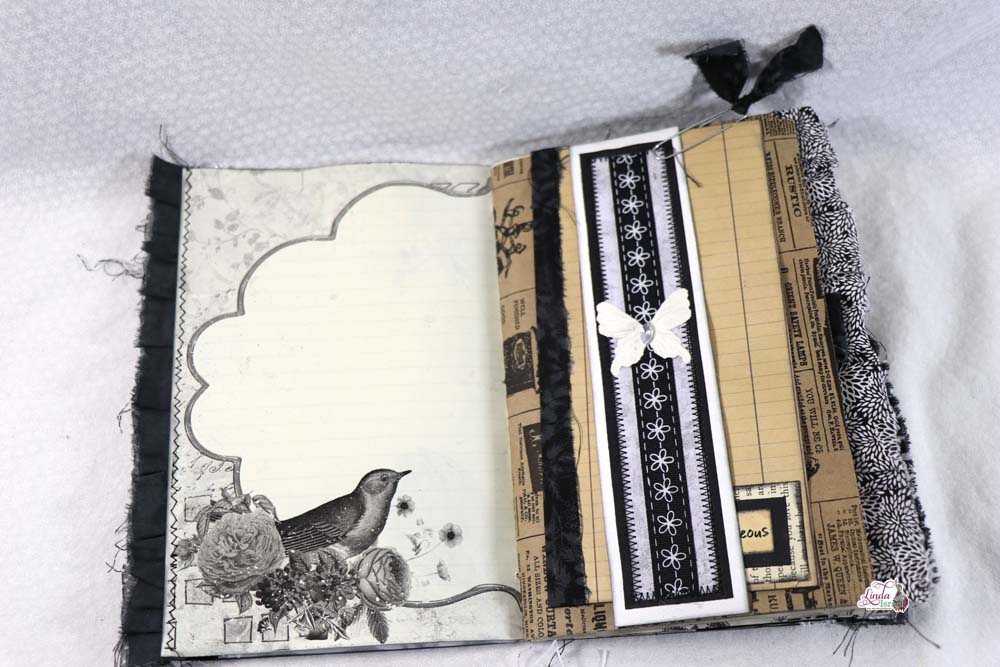
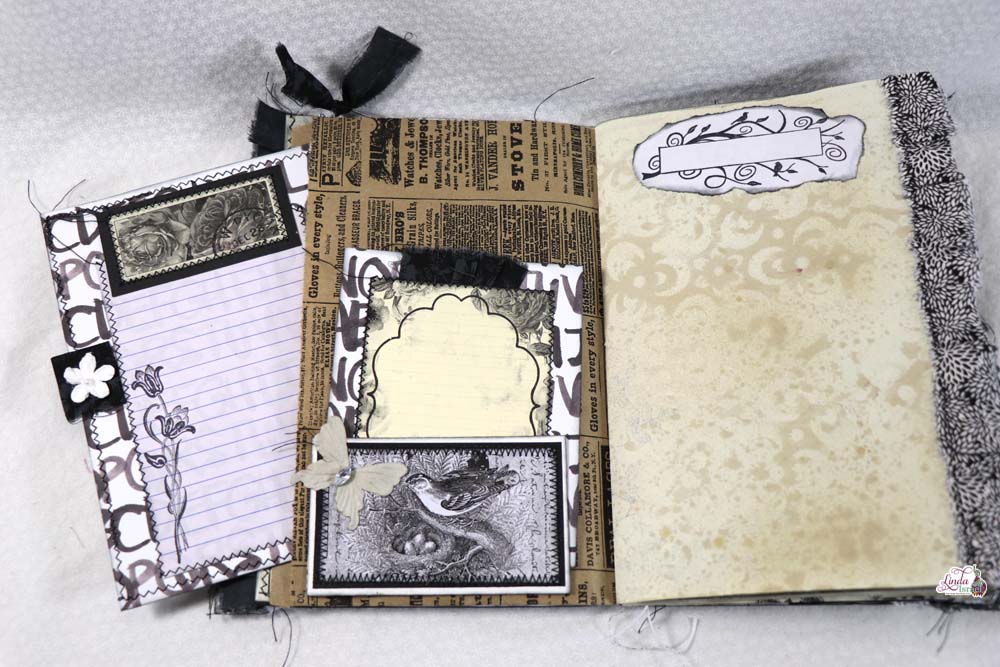
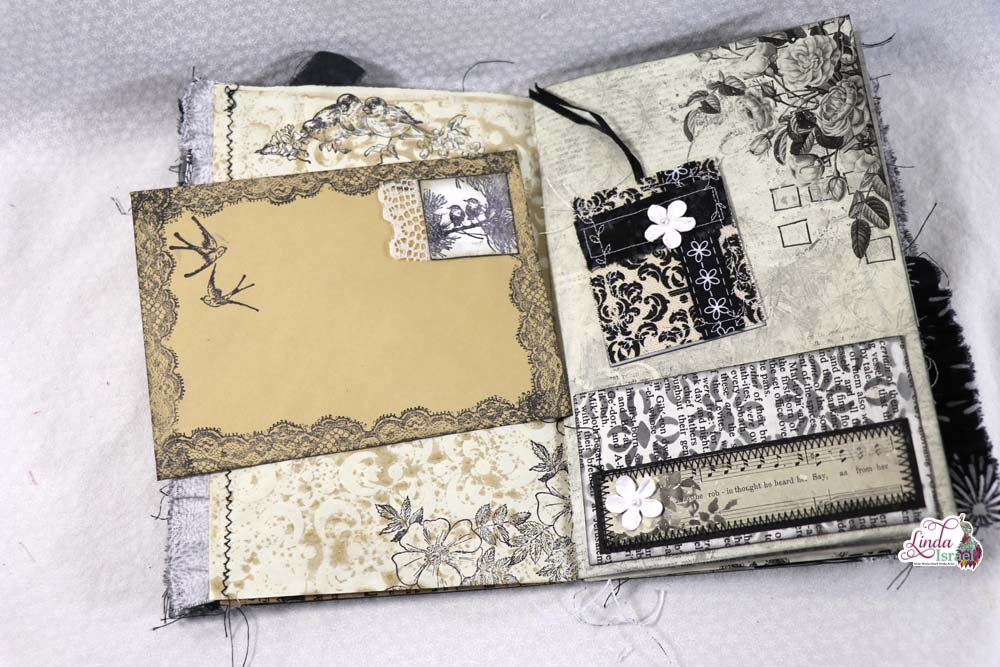
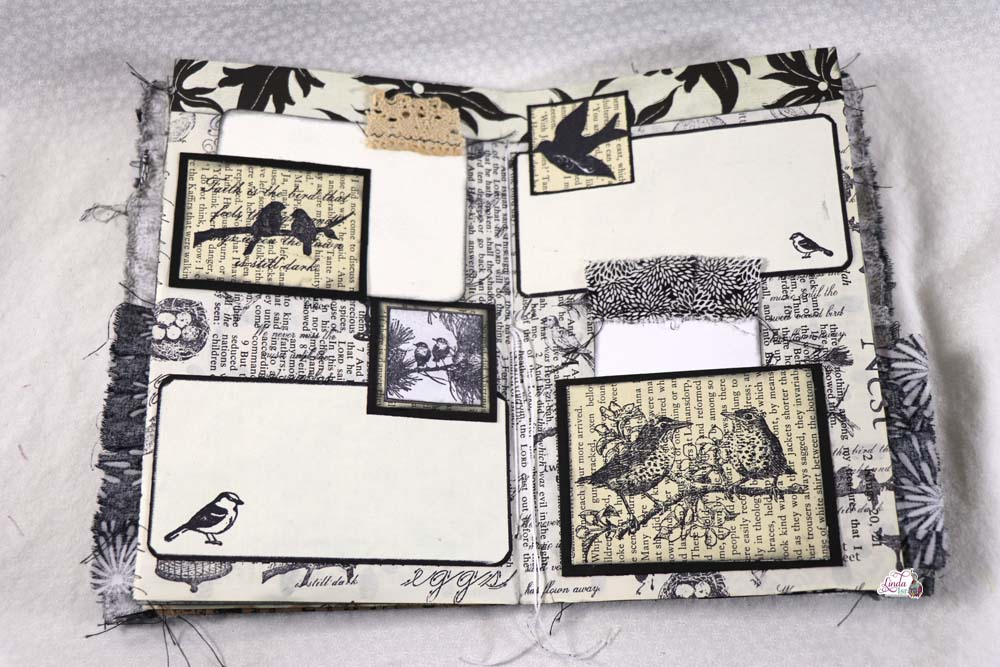
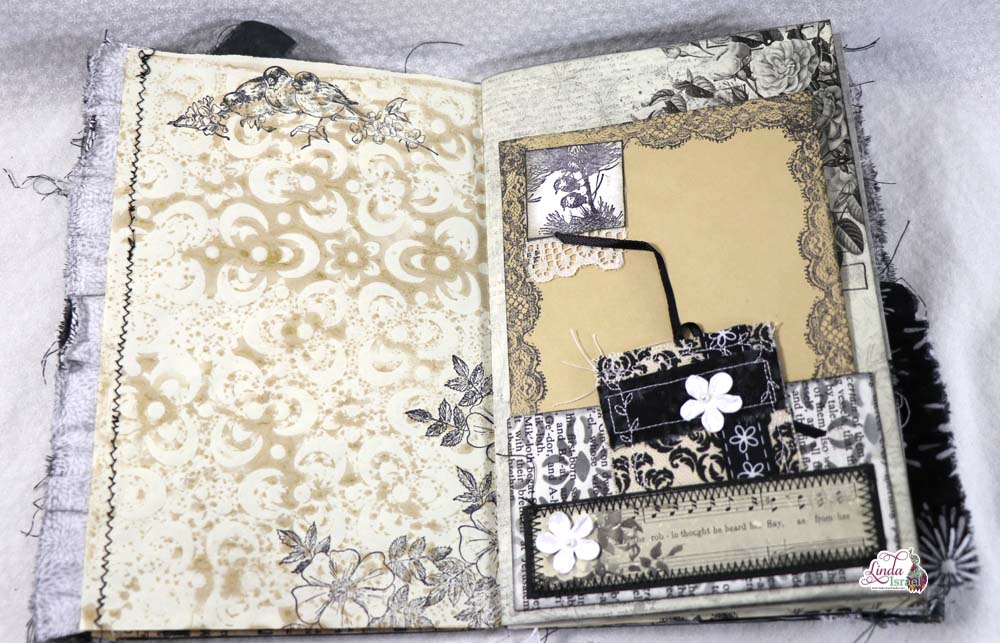 Altering an envelope can be done easily with rubber stamps! One of the stamps from the Lace Duo was stamped around the edge. On a scrap of white paper the little birds were stamped and a real piece of lace was attached.