Sharing a Handmade Paper Tutorial with you today. Upcycling or recycling papers into handmade papers is a great way to reduce waste. Instead of throwing out those papers save a batch to make your own papers.
Handmade Paper Tutorial Video.
Supplies used for the Handmade Paper Tutorial
- Shredded papers, These can be junk mail, old bills, misprinted papers, scraps of paper, scrapbook paper, if it is paper you can use it to create new paper.
- Purex Sta-Flo Liquid Starch is good to use if you plan to use other than recycled paper.
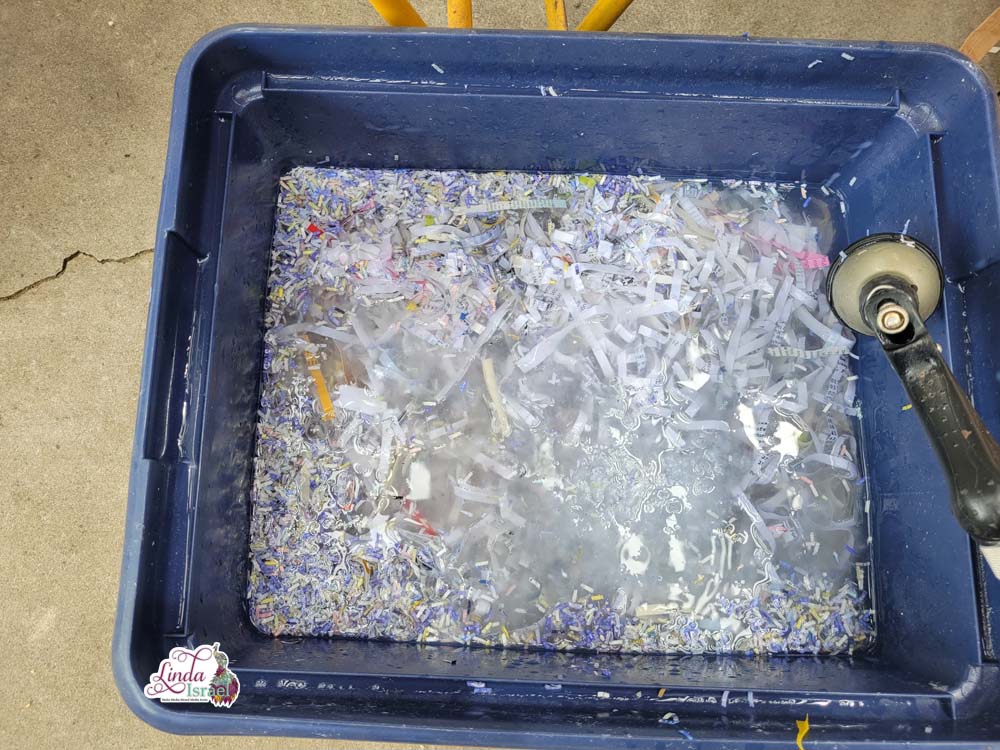
- Tub to hold water I use two one for soaking the shredded paper and the second for the pulp bath.
- Blender, Mine is from a thrift store.
- Paper Deckle frame set. Mine is handmade by me and the inside measurement is 8.5 x 11 inches and I’m working with a local contractor to create more to offer in my shop.
- Cotton Fabric cut or torn into 10 x 15 inch pieces – big enough to cover the deckle and use to hold the new handmade paper
- Towels and sponges to soak up excess water.
- Iron or Garment Press. I happened to use a commercial garment press that we no longer use at our shop WeEmbroider.com.
- Pressing cloth or Craft Sheet
The method I used for this Handmade Paper Tutorial was first I shredded paper. Some of the papers were already shredded and some I did myself. If you want to start with more white papers, then be selective in your paper shredding.
Many years ago I worked for the IT department at a large insurance company. We used pin fed paper and the team saved the edges that were torn off of the paper once it was printed. These were pure white so I save those for when I want to make white papers.
Once the paper is shredded place in a water bath to soften the paper fibers. The longer the better, so I usually put mine in water the day before, but don’t worry if you didn’t get that done, soaking it for even a few minutes you will still get great results.
Grab a handful of the paper and put in a blender with lots of water. More water than paper so that the blender can chop up the paper. The less you blend the chunkier the paper. If you want smooth paper, blend longer.
Pour the new paper pulp into a large tub that is big enough for the deckle frame. Add about 1/4 cup of liquid starch At this time you can add additional items like thread fibers, or even plant material. If your items are chunky then your paper will have a bumpy texture. I like to blend some flower petals or used pressed flowers so that my paper will be flat when dry. If thick paper is desired then add two or three batches of paper pulp for each page.
Dip the paper deckle frames into the paper pulp water and swish a little to get the fibers stirred up and then gently lift the deckle out of the water, keeping it level.
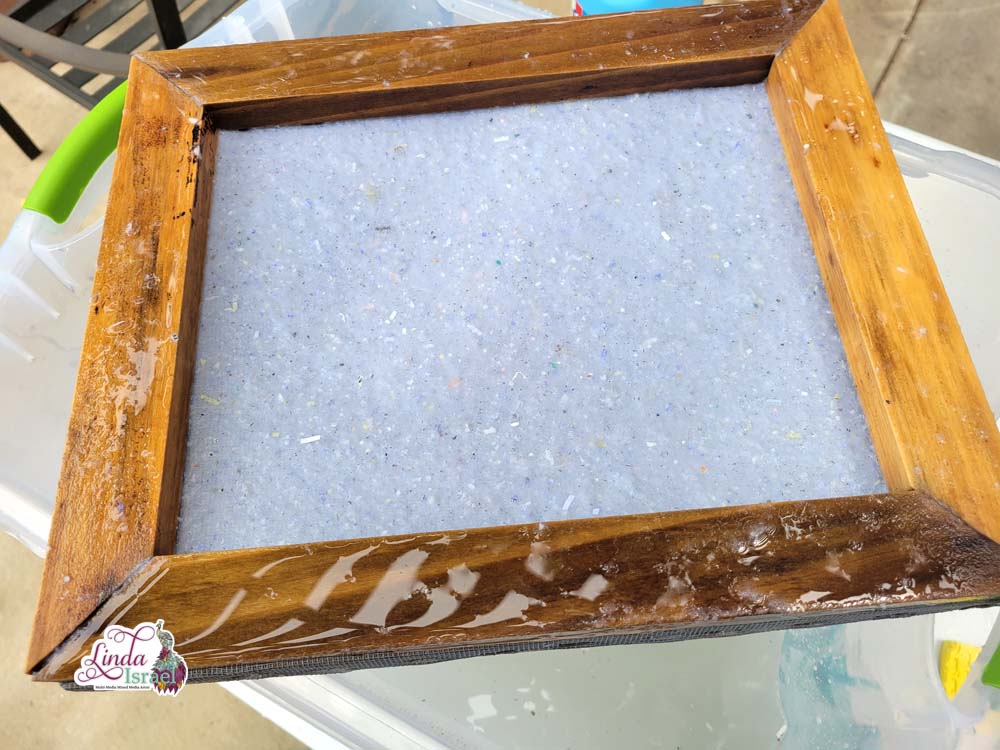
Remove the top frame exposing the screen and new paper. Place a piece of cotton fabric over the new sheet of paper and then flip the frame over onto a towel. I try to lay this piece on as flat as possible. If there are wrinkles then you will get wrinkles in the paper.
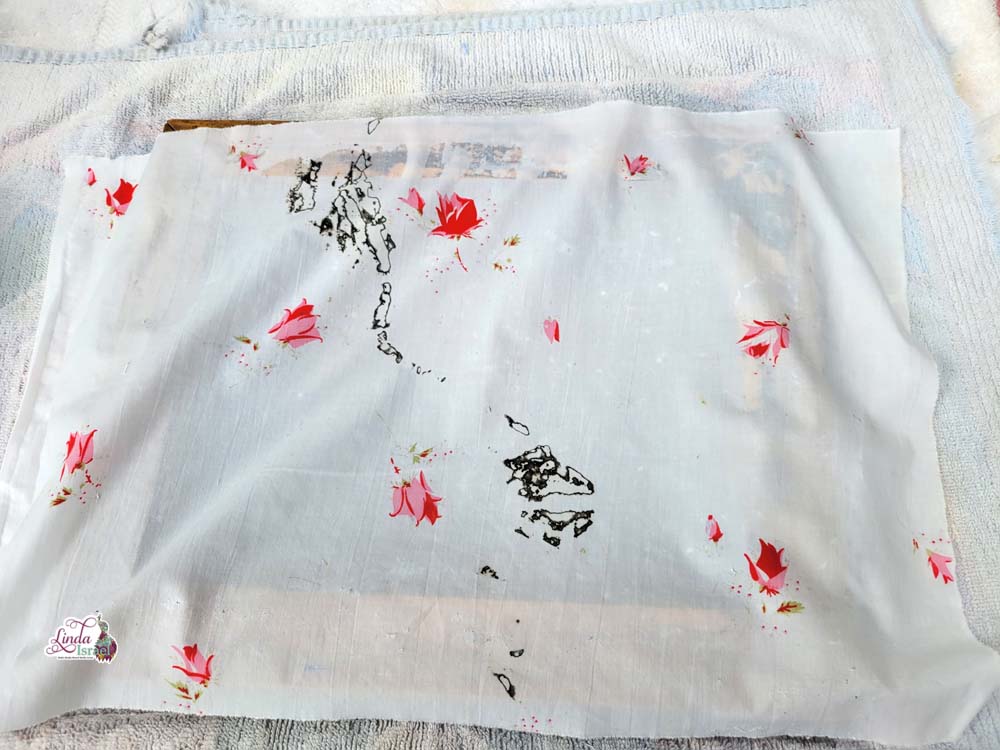
Press the back of the paper with rags or sponges to remove excess water. Gently remove the frame from the new sheet of paper.
At this time you can lay the new paper out to air dry, or use heat to dry the paper. If using an iron make sure you are on a heat safe surface and that you press, pick up and press the iron. Don’t slide the iron over the paper when it is wet as it will cause the paper to wrinkle. To get flat pages you may need to put inside a heavy book or create a paper press using boards and bolts with wingnut screws.
Or you can use a garment press. Lay the new paper on the cotton fabric on the platen, layer one or two more pieces of cotton fabric on top and then use a pressing sheet on top of the layers. Heat press at 350 degrees and press for about 1 or two minutes. Check the paper to see if it is dry, may need to press again if it is still wet.
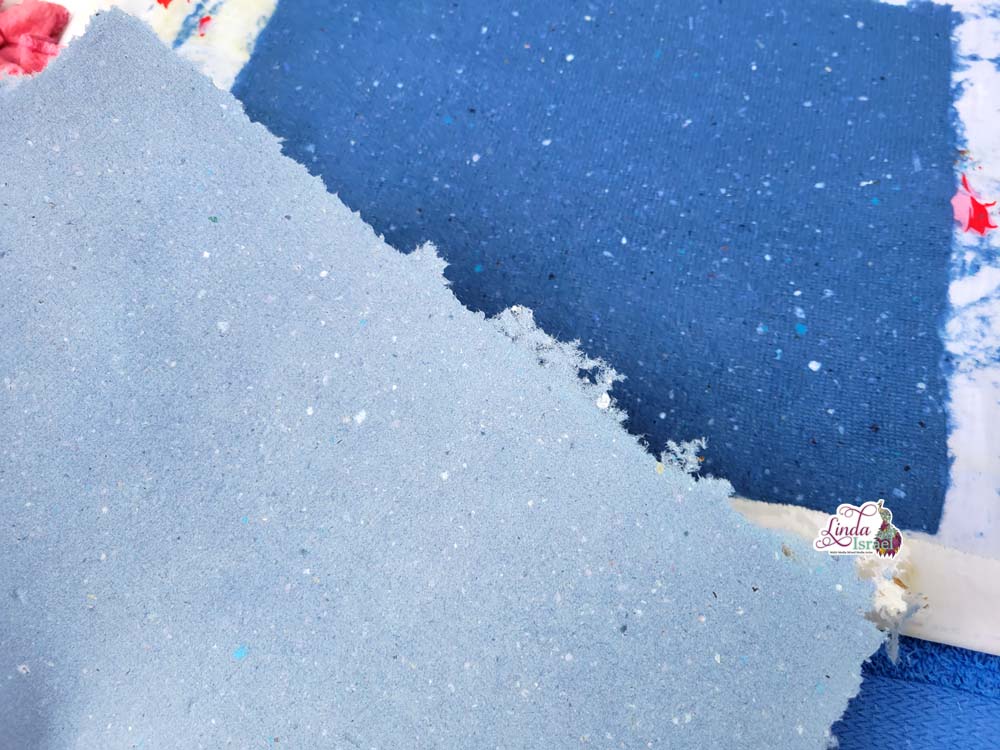
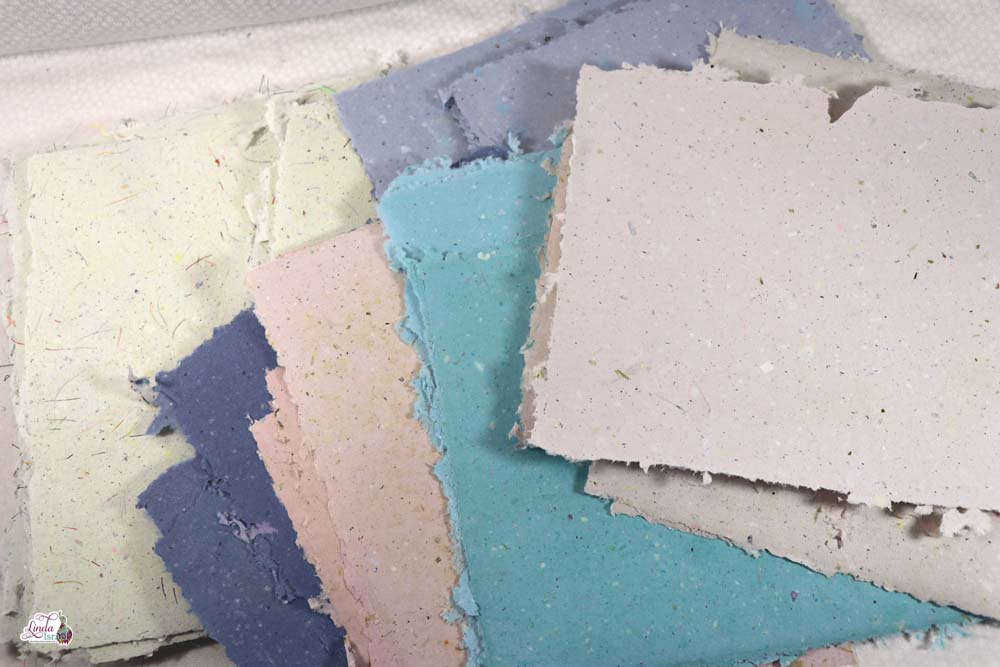
The paper in front was dried but was from the same batch as the wet dark blue paper in the back.

Now that you have used this Handmade Paper Tutorial to make your own beautiful papers how will you use them?
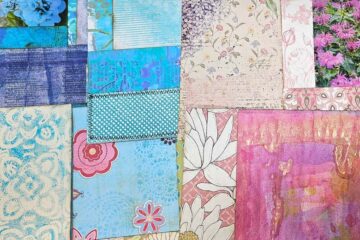
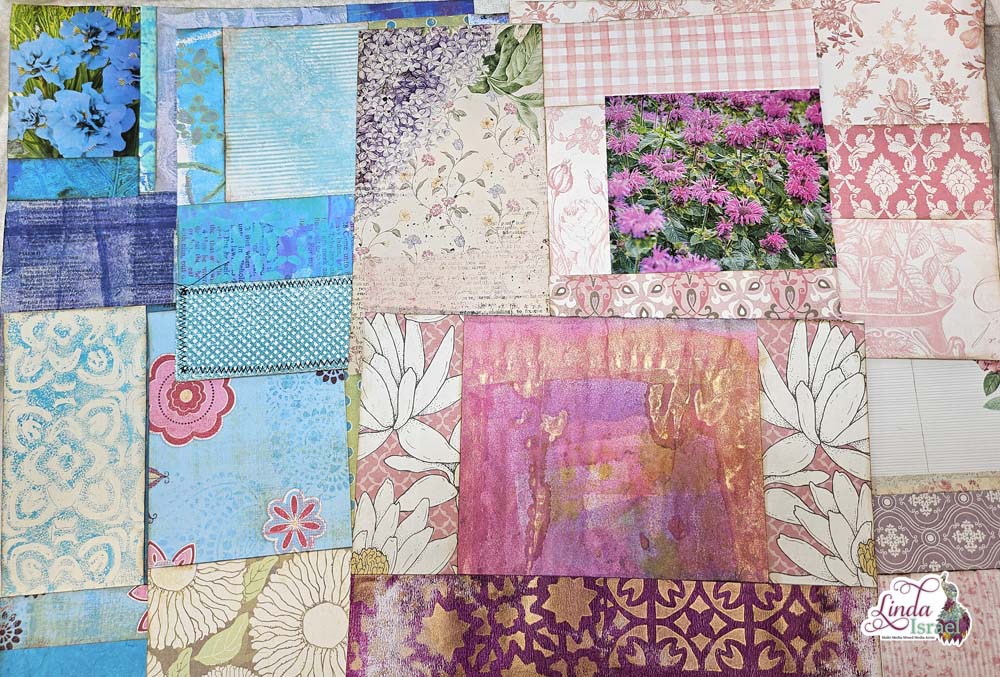
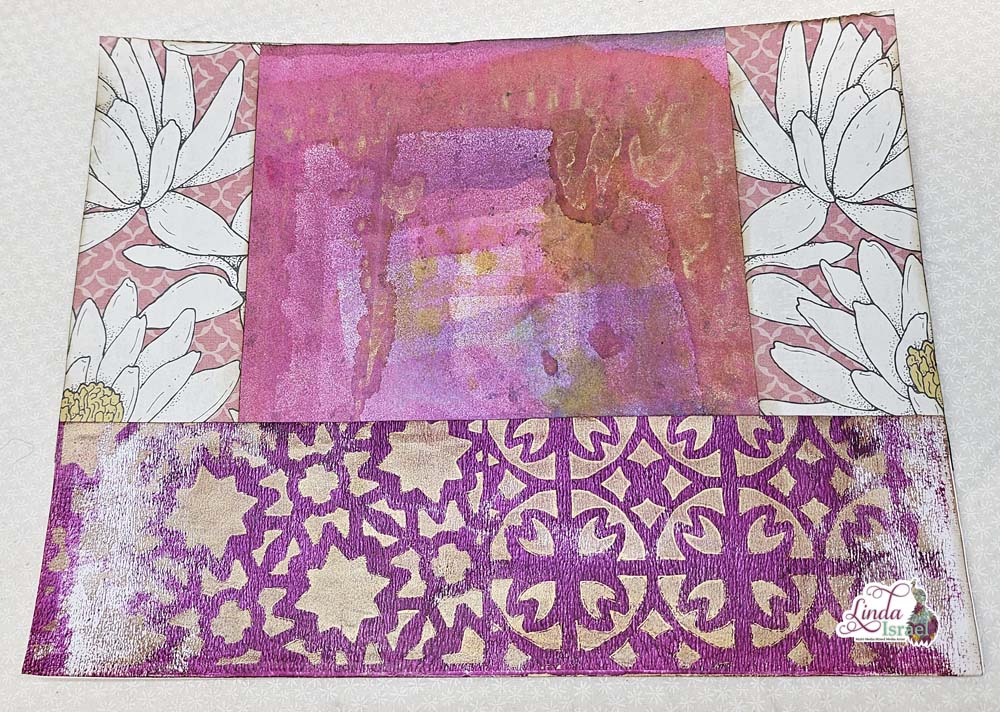
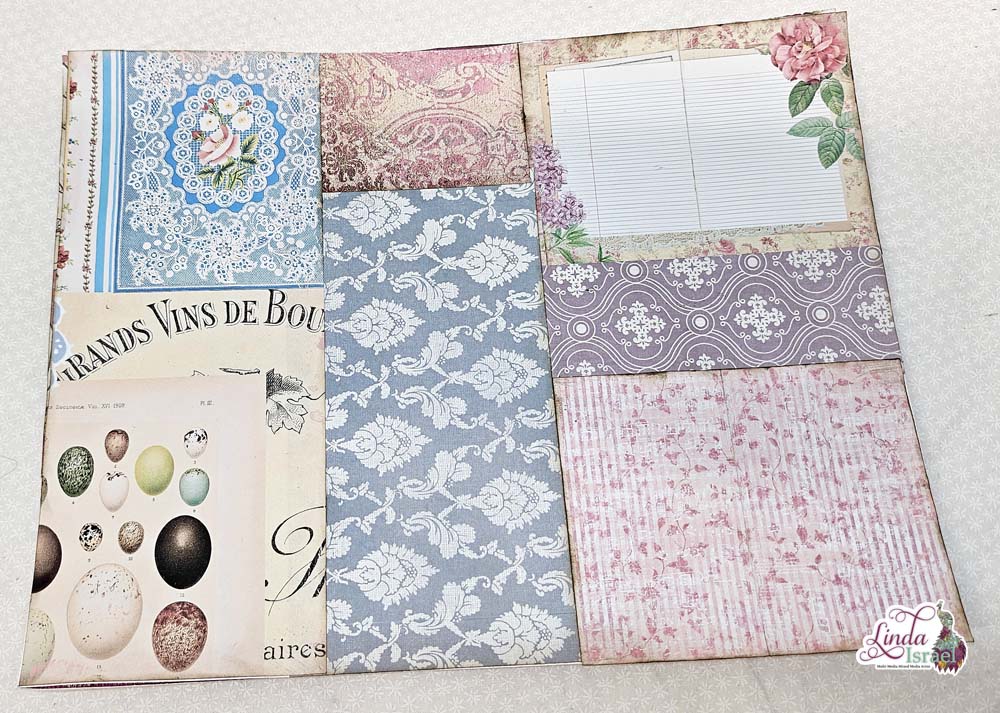
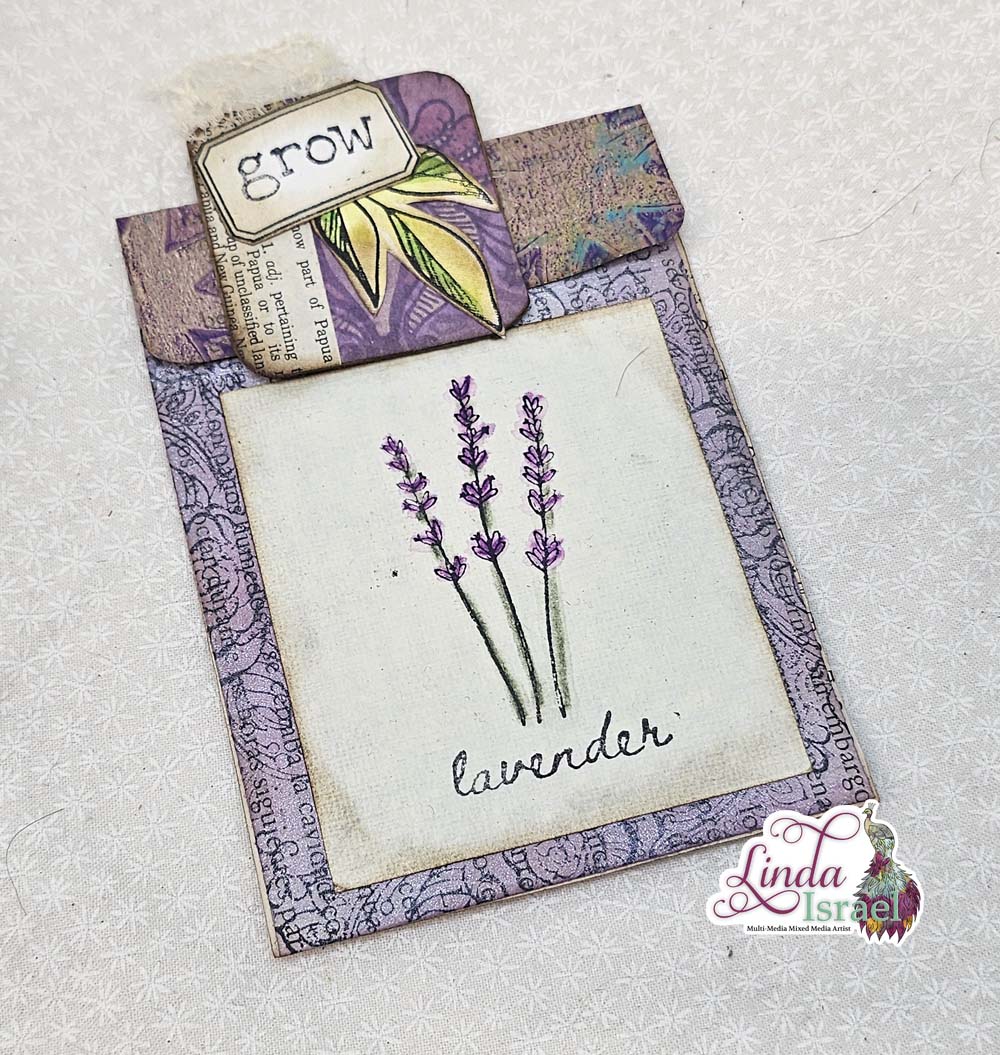
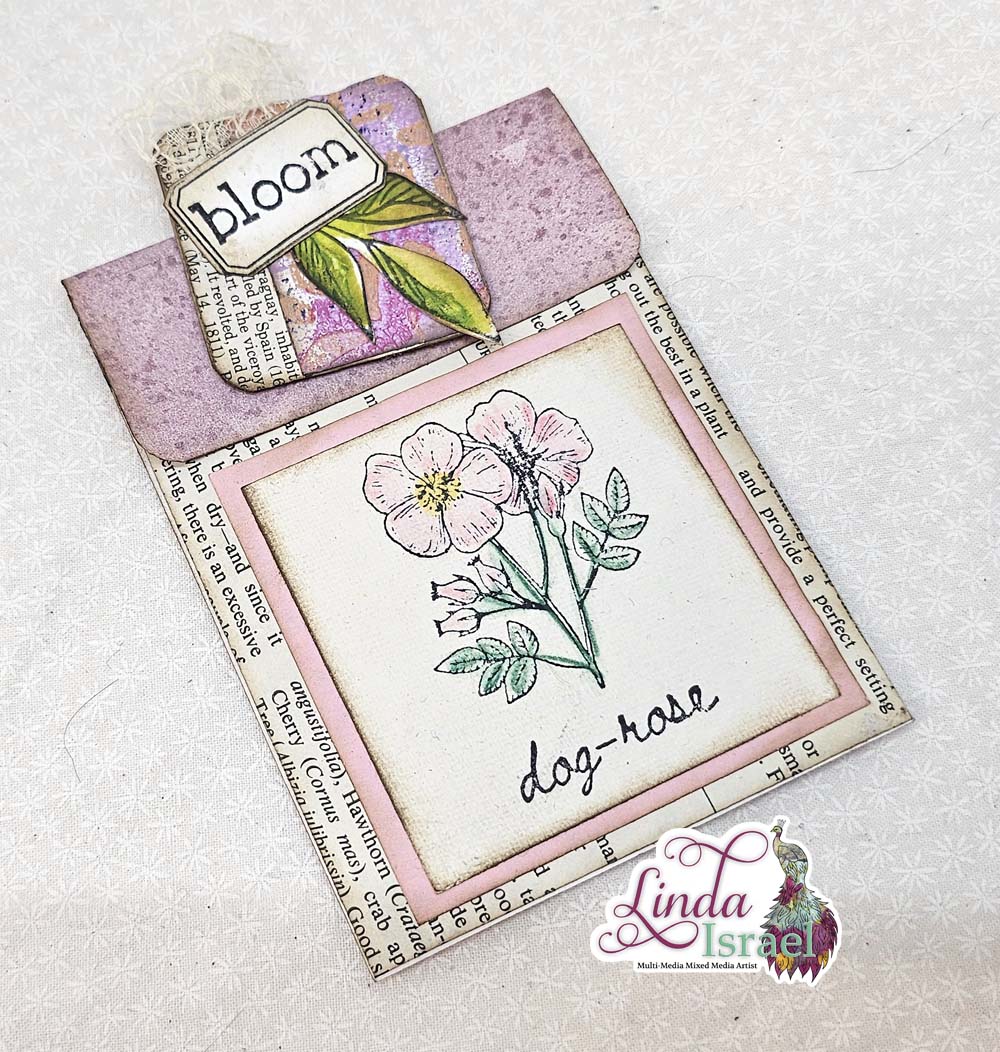
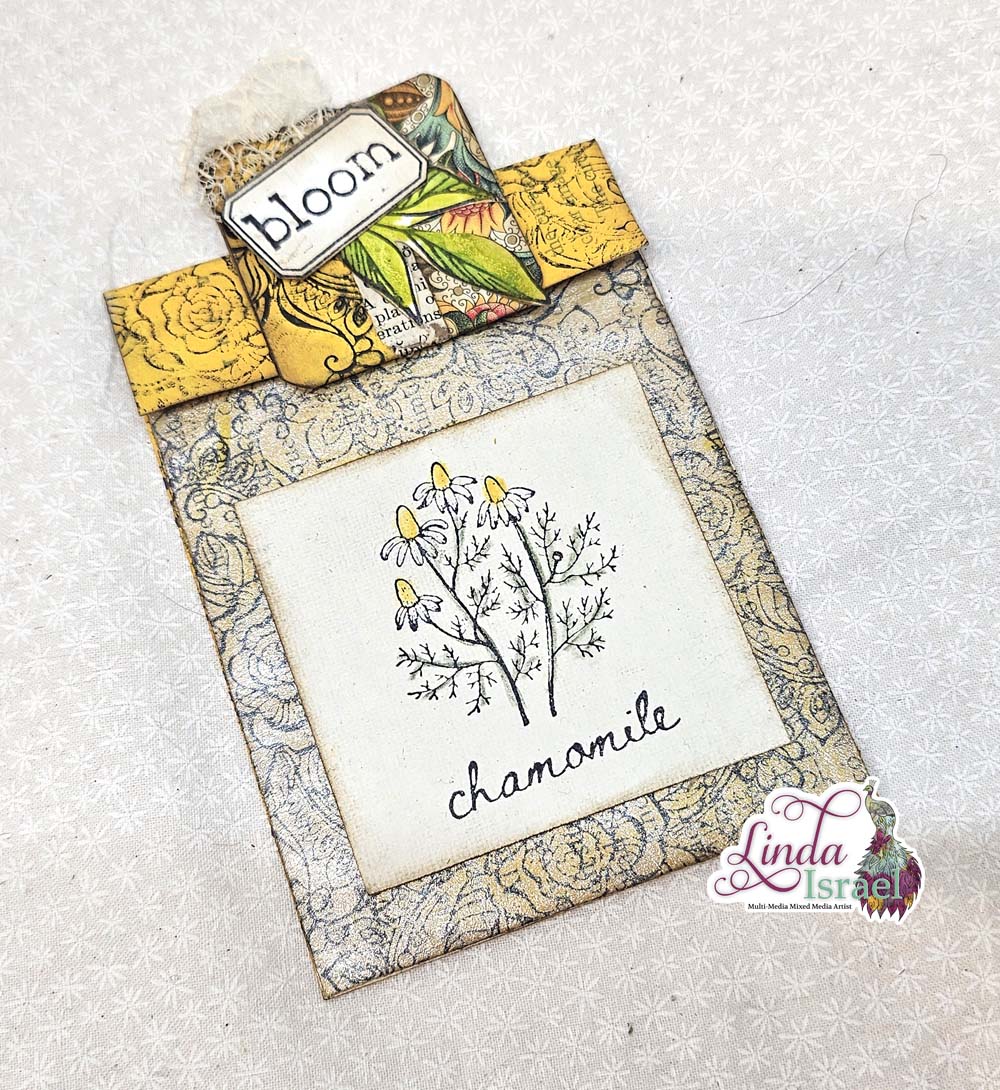
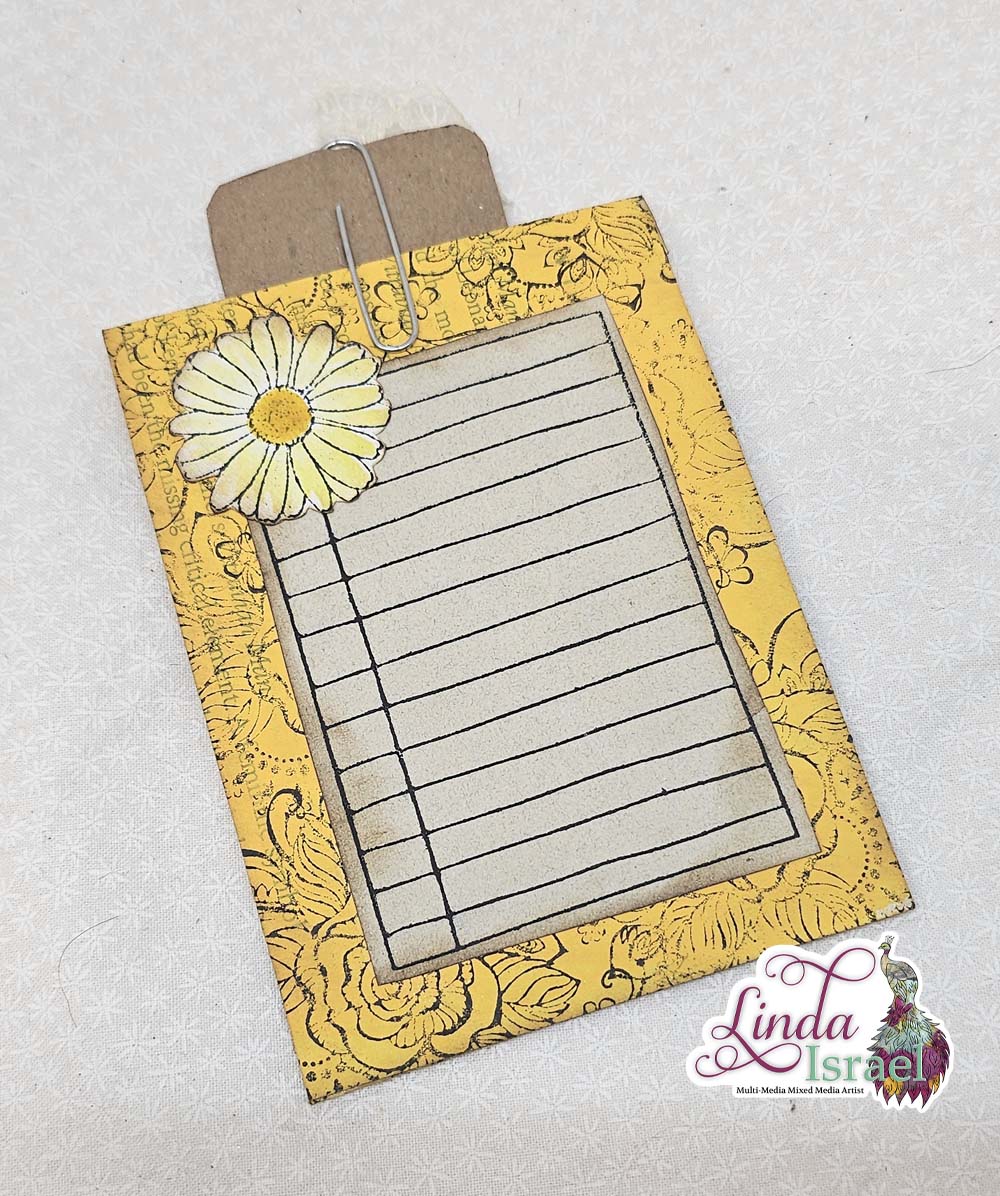
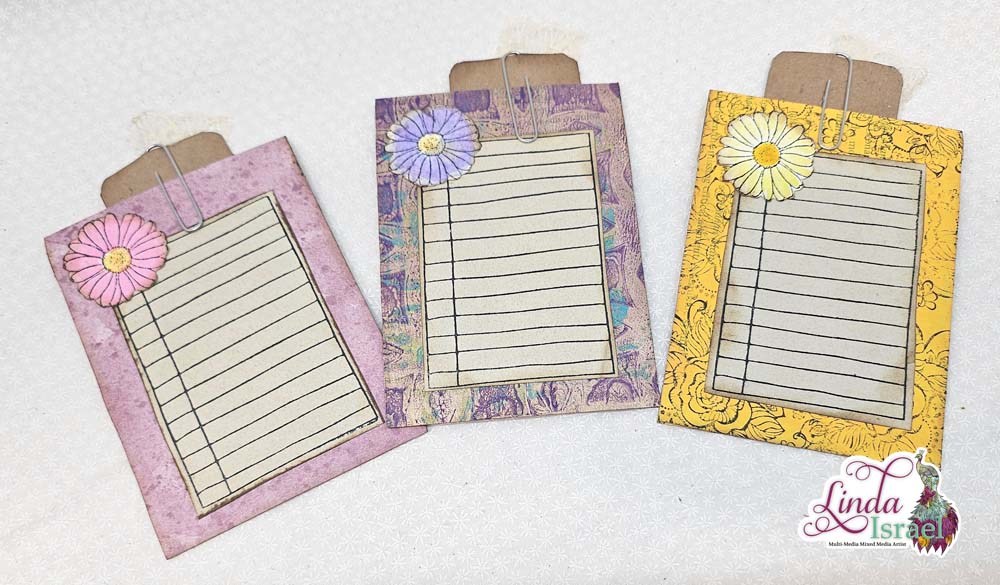
My papers will be used inside junk journals as pages and elements.
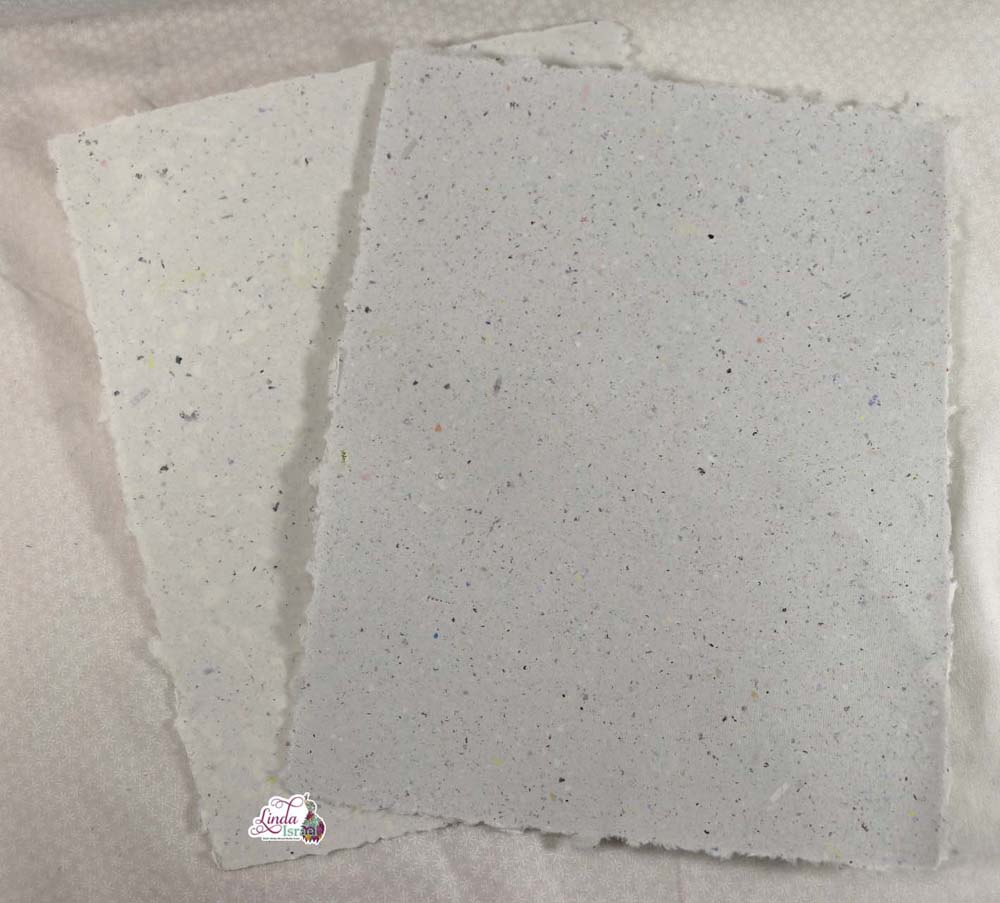
Light Grey paper with specks. The specks are from the printed papers. I try to add a variety of papers so that the paper has interest.
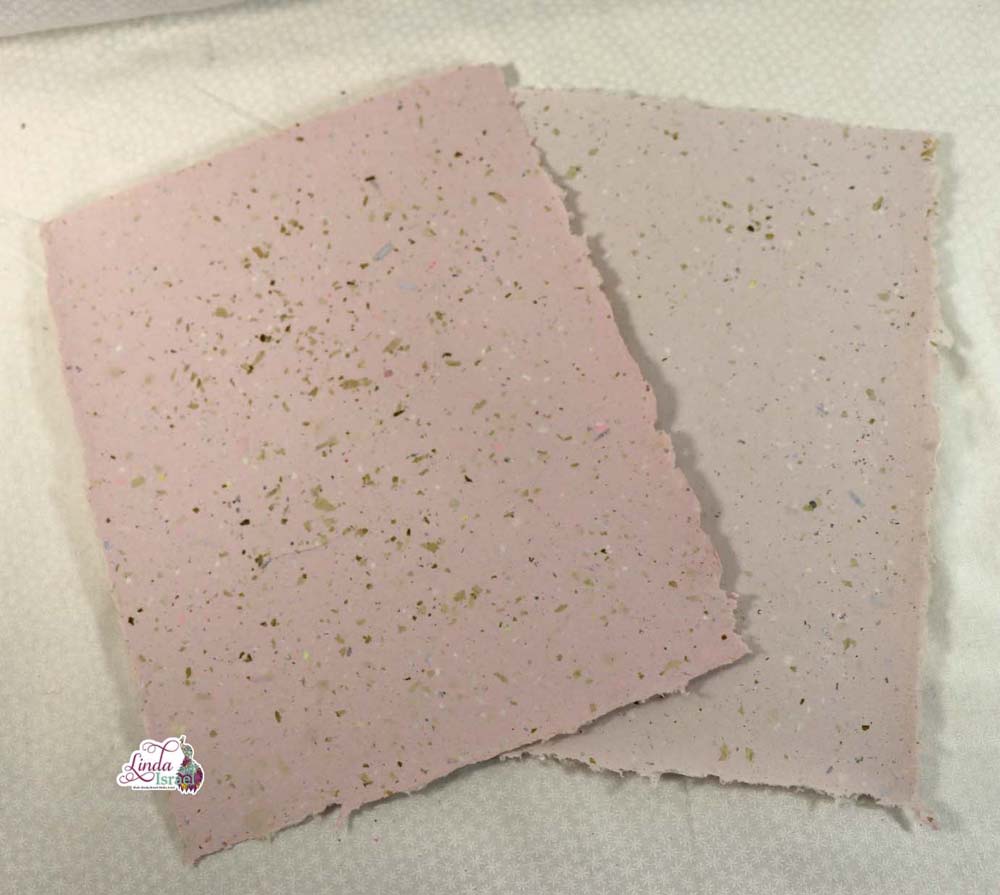
This Pale Pink paper was made using some scraps of pink cardstock and text weight papers from my stash along with a few flower petals.

The teal paper was made using some scraps of teal cardstock mixed with the shredded paper.
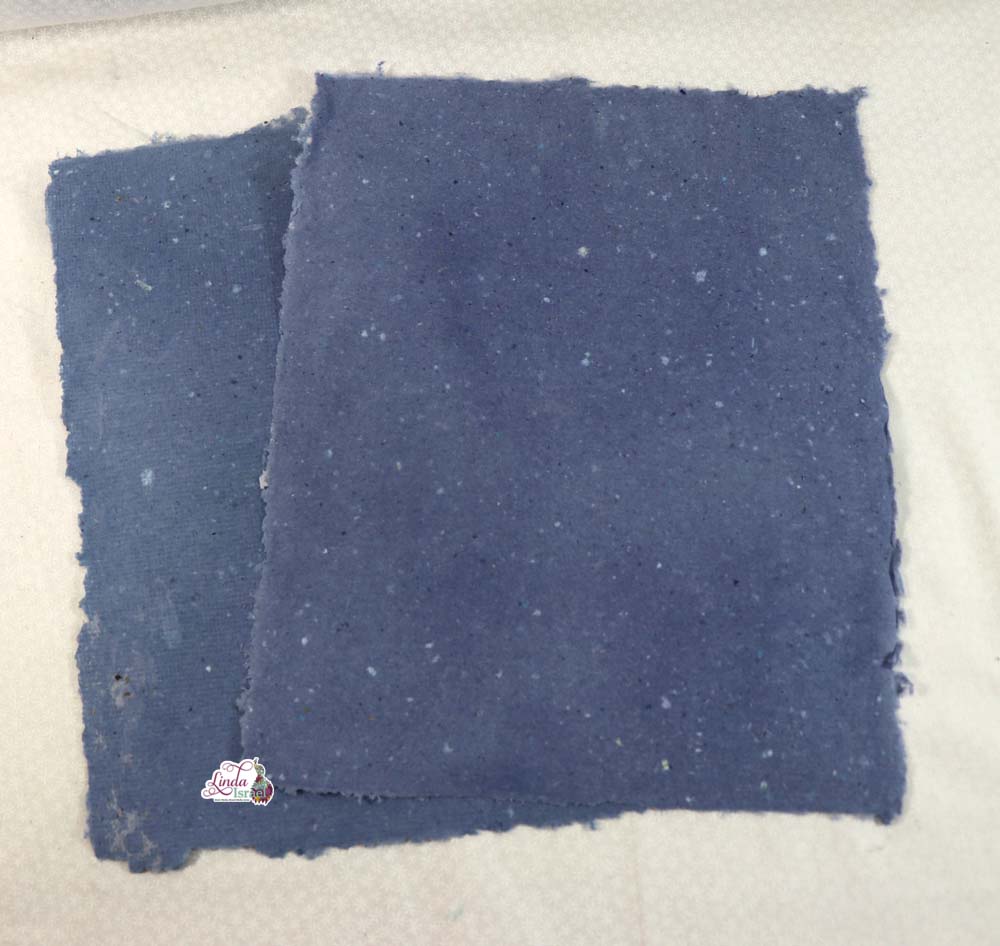
The Dark Blue paper was made using scraps of dark blue cardstock and the shredded paper mix.
This light grey paper was made using the random shredded paper with thread fibers added.
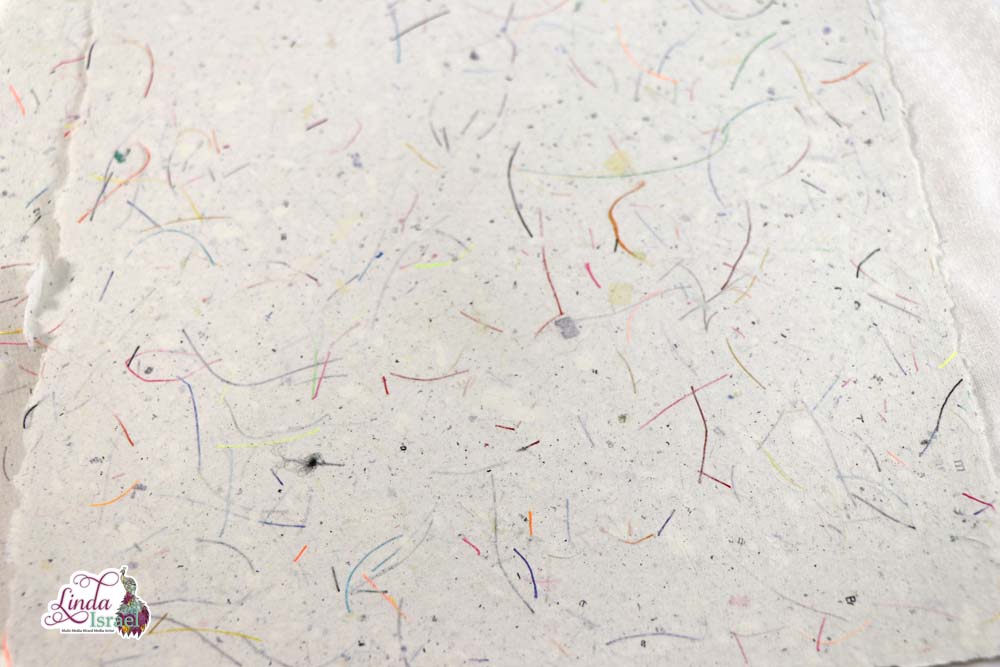
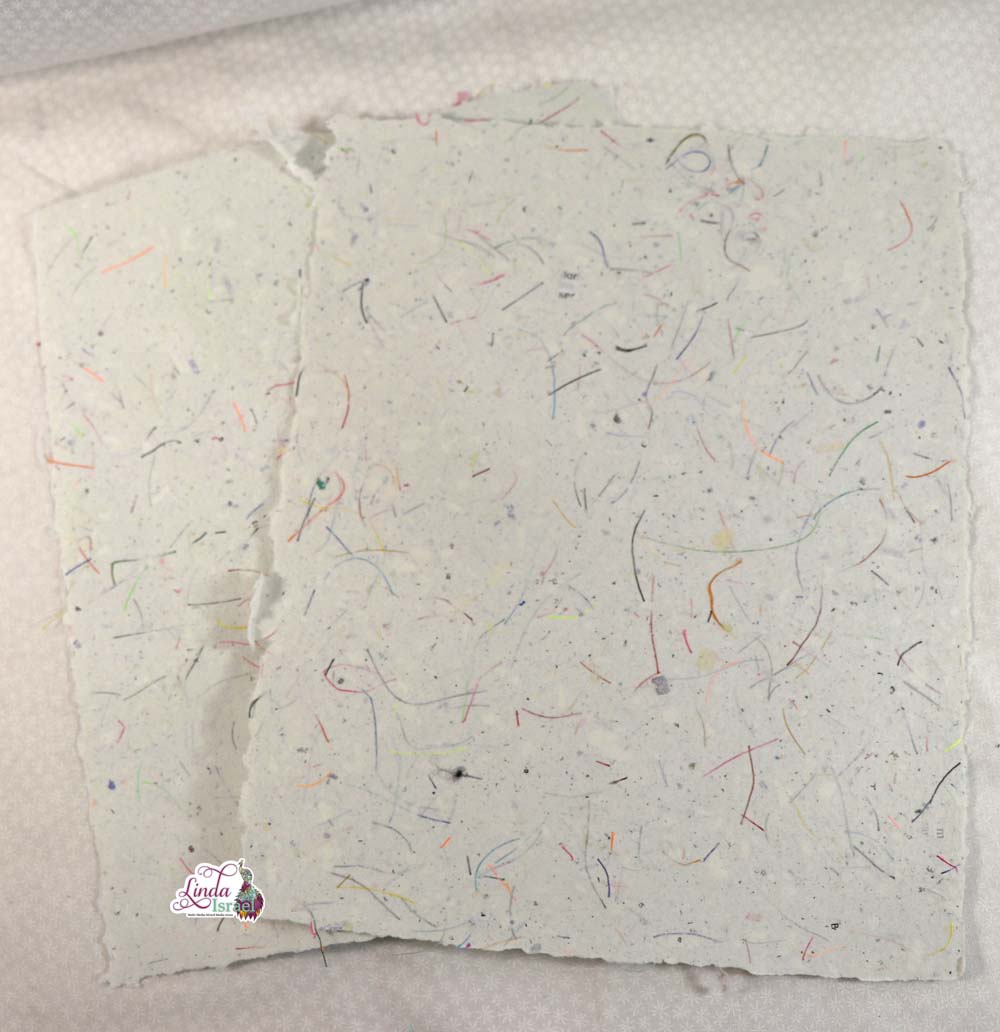
Close up of the threads in the paper.
Want to bypass making your own? Then head over to my shop and order some of the handmade papers I created.
Make sure to check out the Friendly Junk Journal People Facebook group. Of course, you are welcome to join the Friendly Junk Journal People Facebook group. The group is growing daily and we are a friendly group willing to help each other and encourage each other.

Interested in any of the projects Linda has created? Please feel free to contact her through her website. Here is her shop, a lot of items featured and more added weekly.
Keep updated on her posts by following the blog by creating an account. Follow Linda on her Facebook Page or on Instagram for updates that may not be shared on the blog.
Thanks so much for stopping by the blog today to see the Handmade Paper Tutorial.