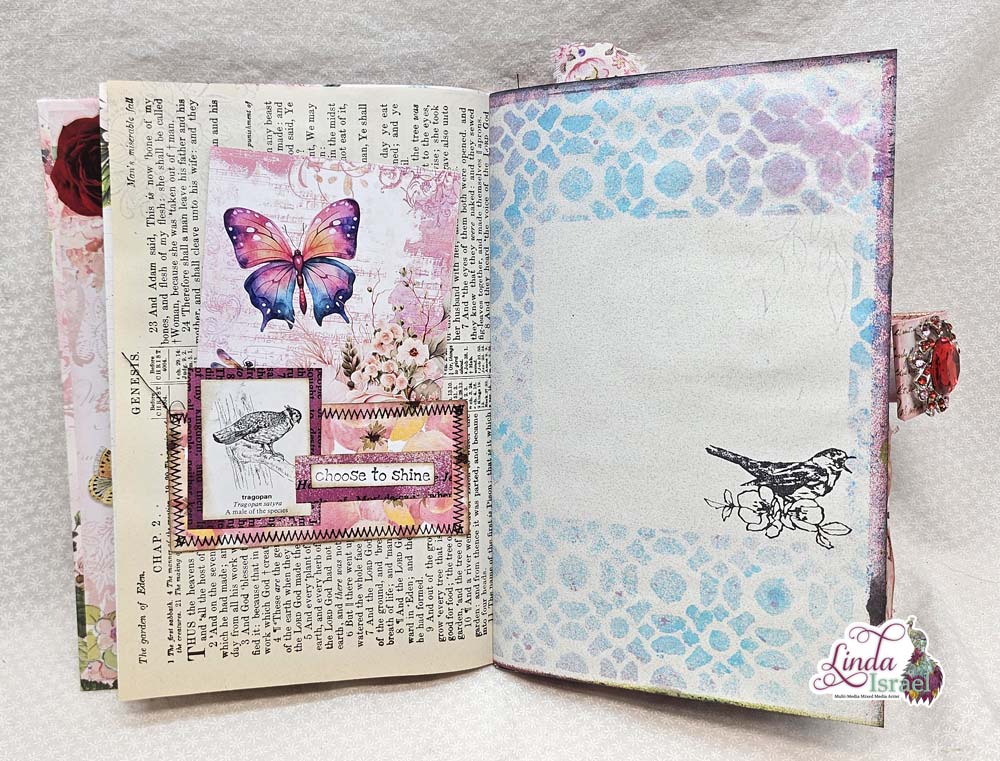
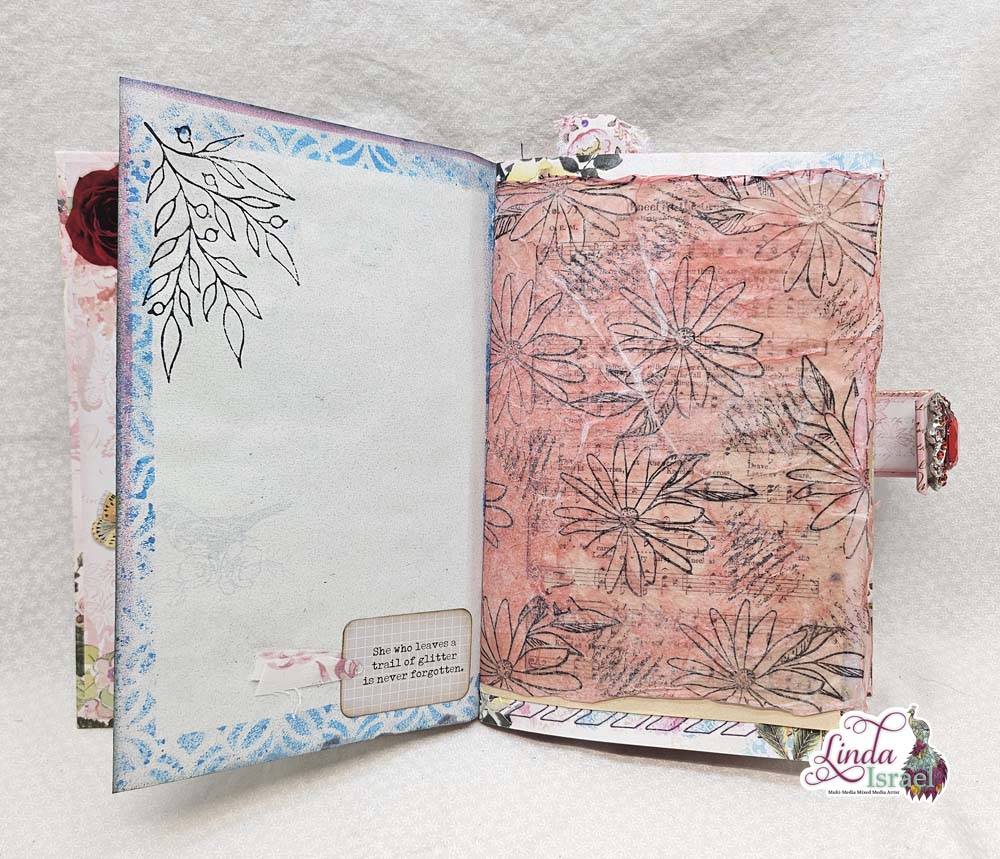
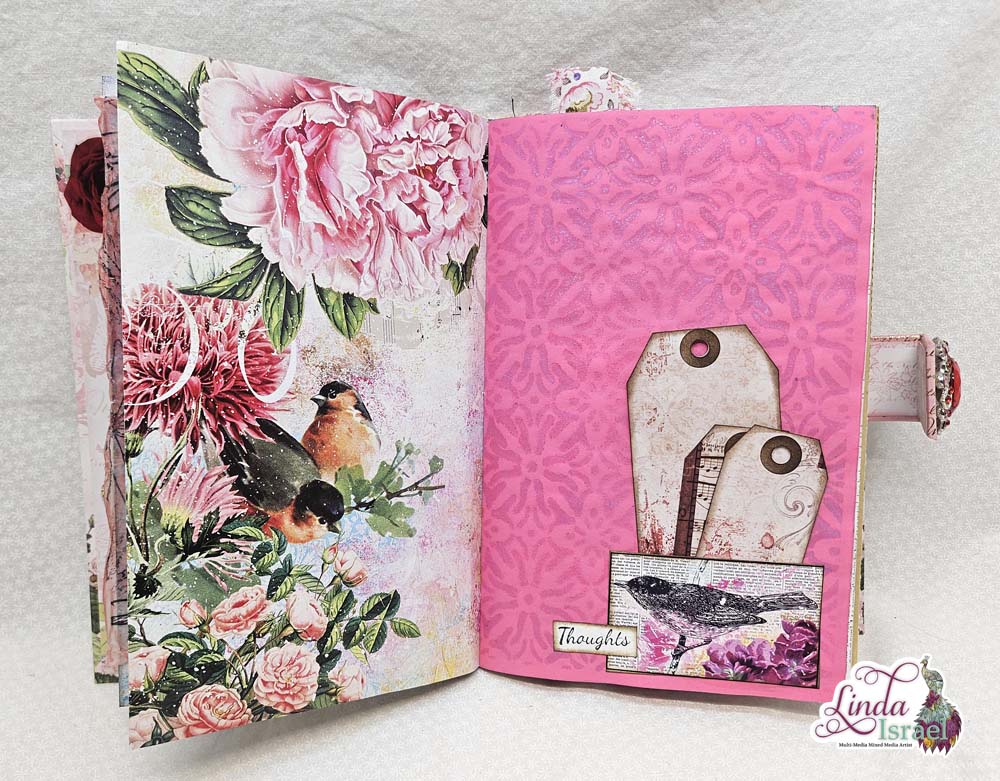
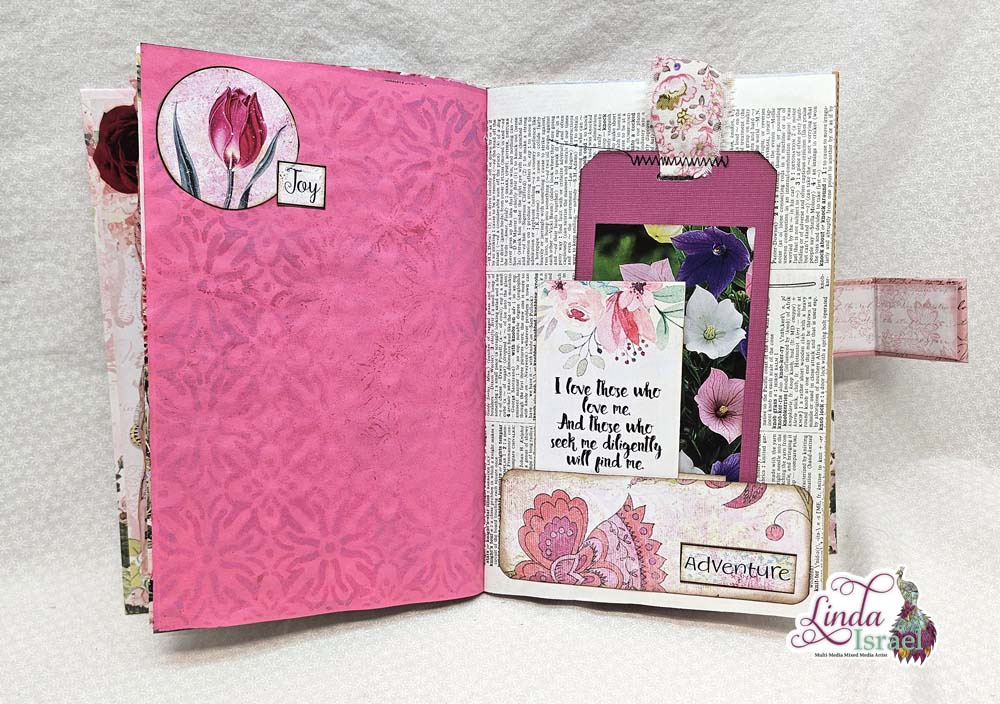
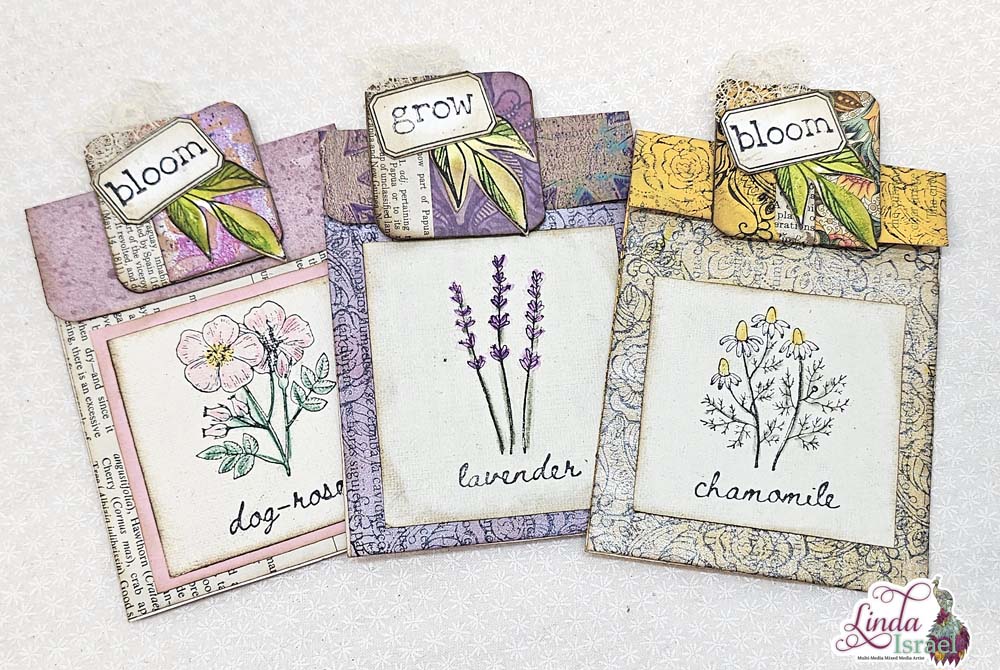
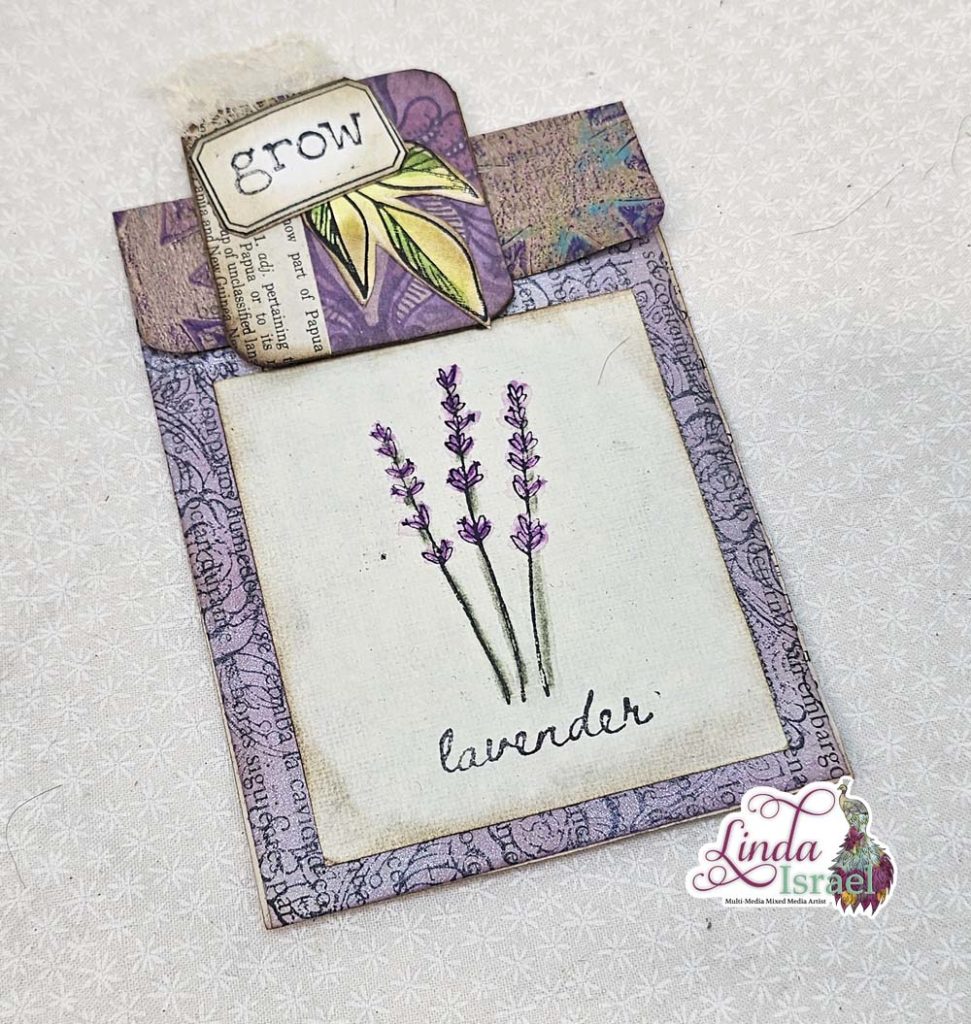
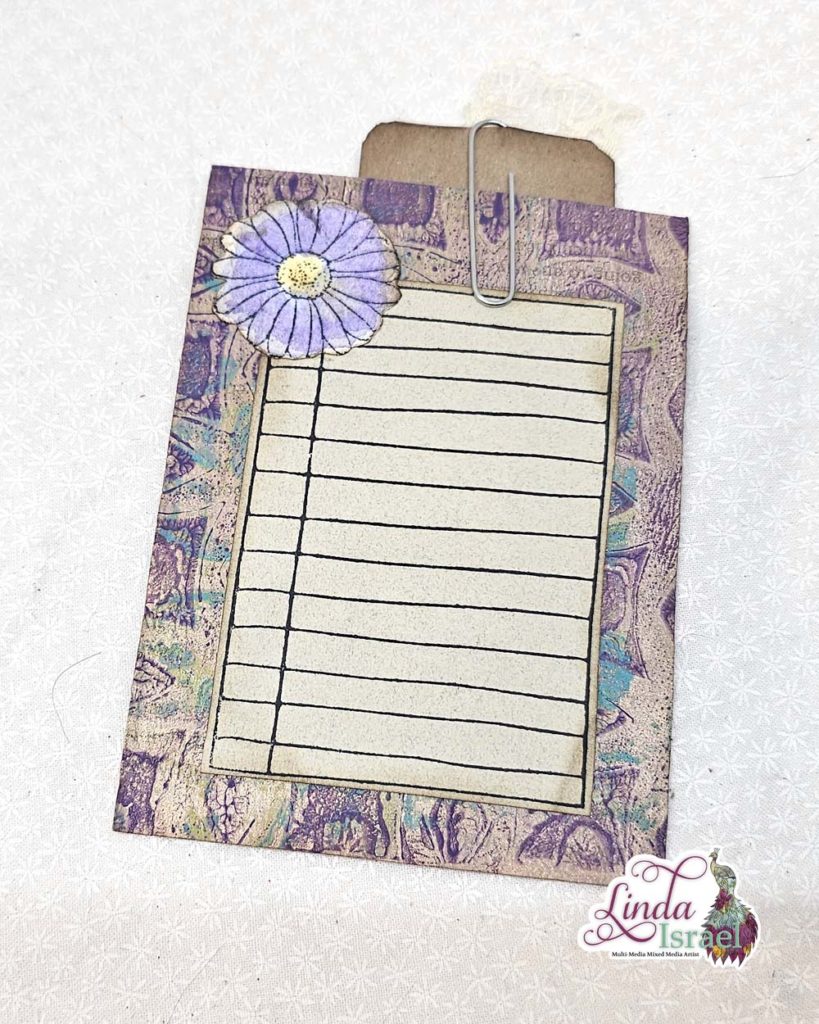
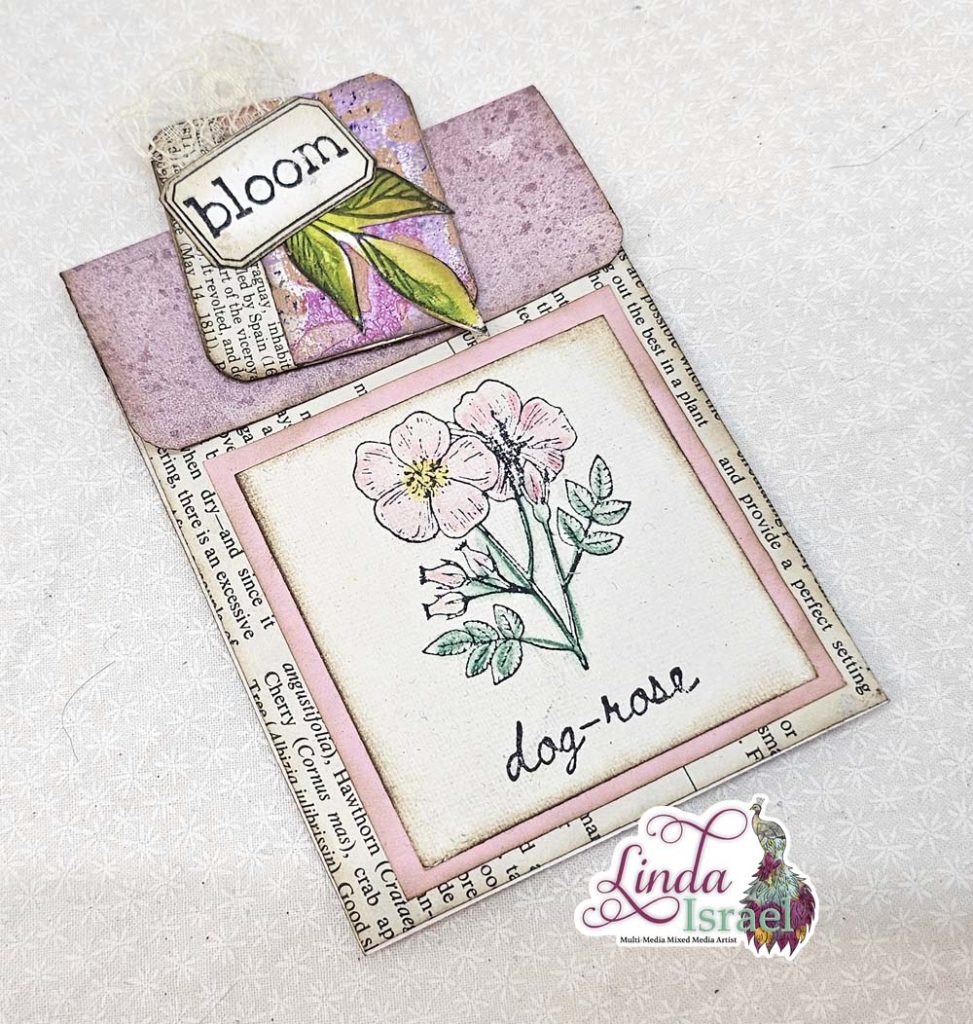
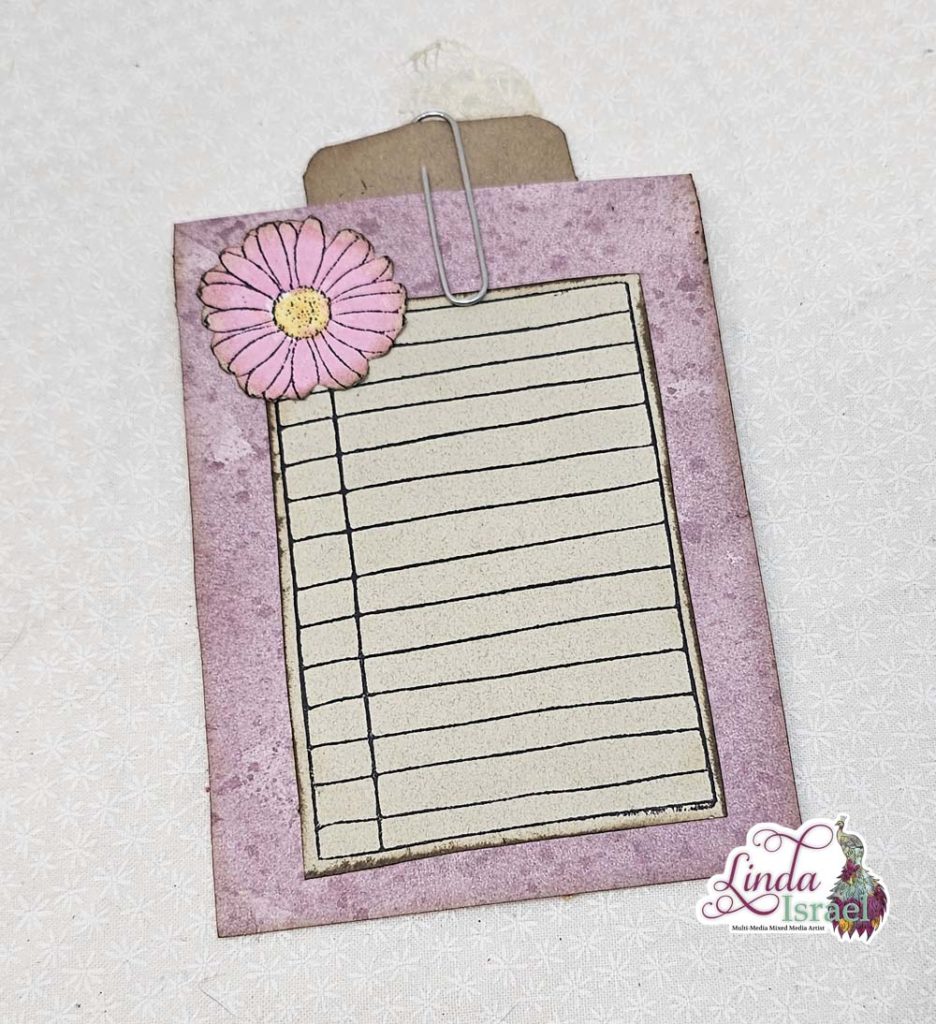
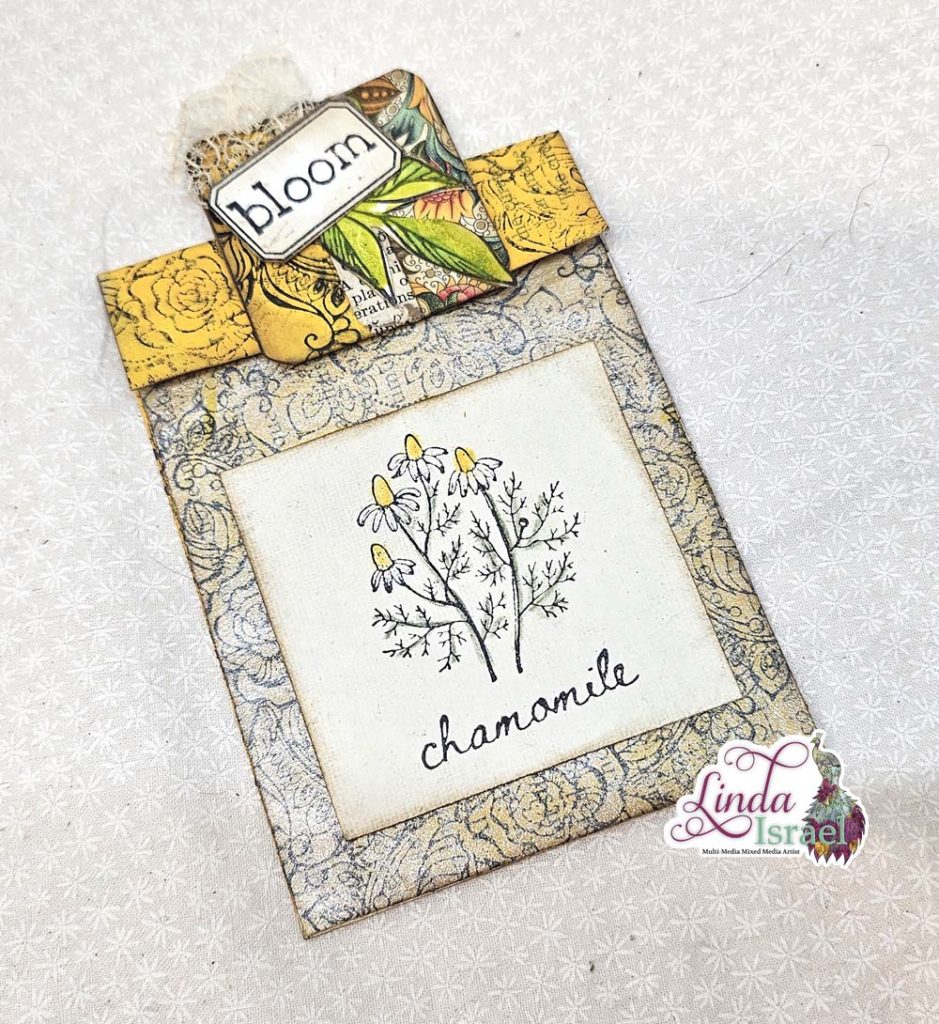
January 2022 creative prompt Paper Sack Envelope Pocket Tutorial. As requested I have created a stand alone tutorial showing how to make this super easy and cute envelope pocket using a paper sack. Make sure to head over to the Friendly Junk Journal People Facebook Group and share your make in the event.
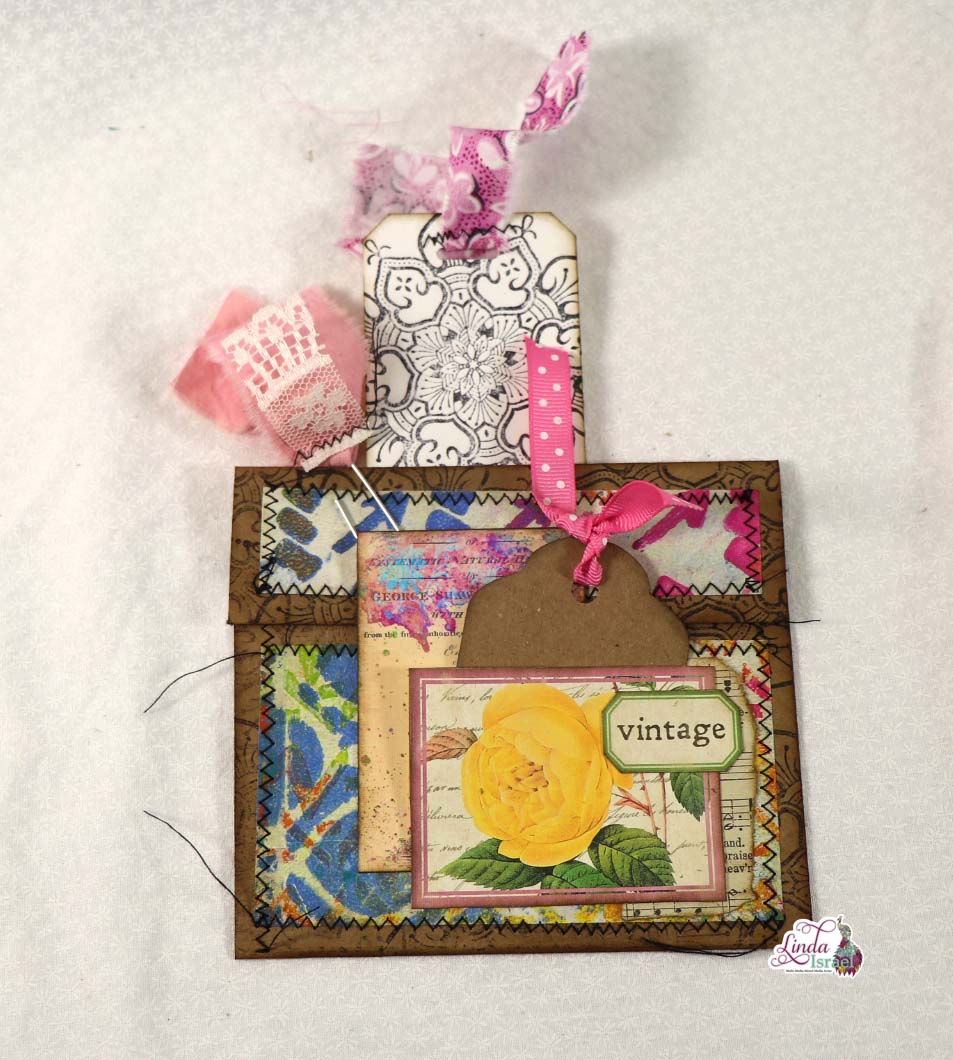
Paper Sack Envelope Pocket Tutorial Video.
Supplies used for the Paper Sack Envelope Pocket Tutorial.
- Grocery Paper Sack 17 x 12 inches cut into 5 x 9 inches.
- Paper Cutter
- Bone Folder
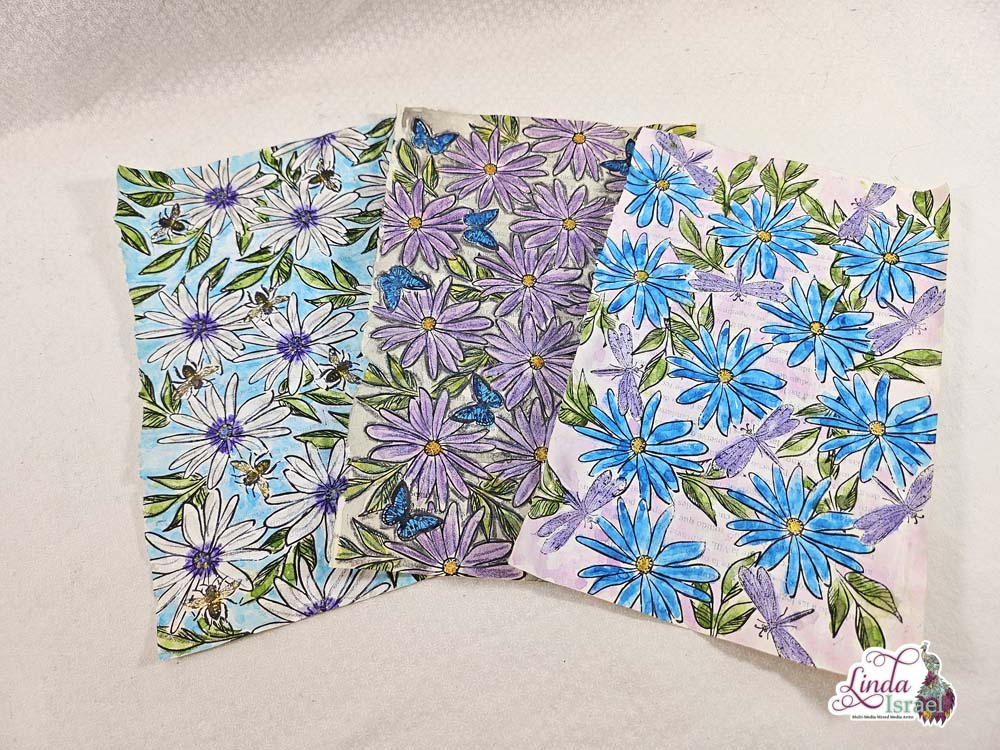
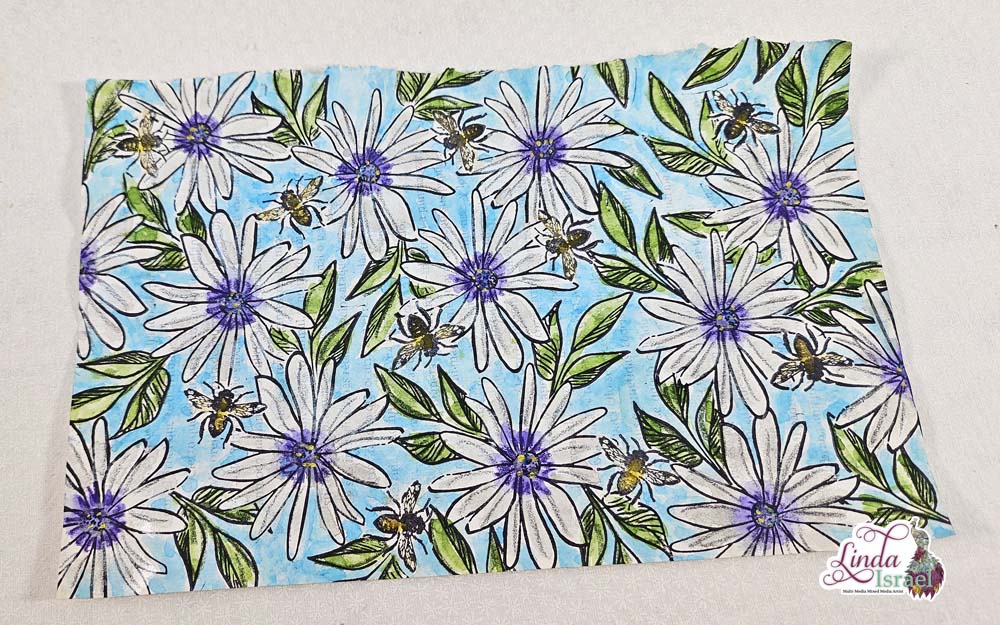
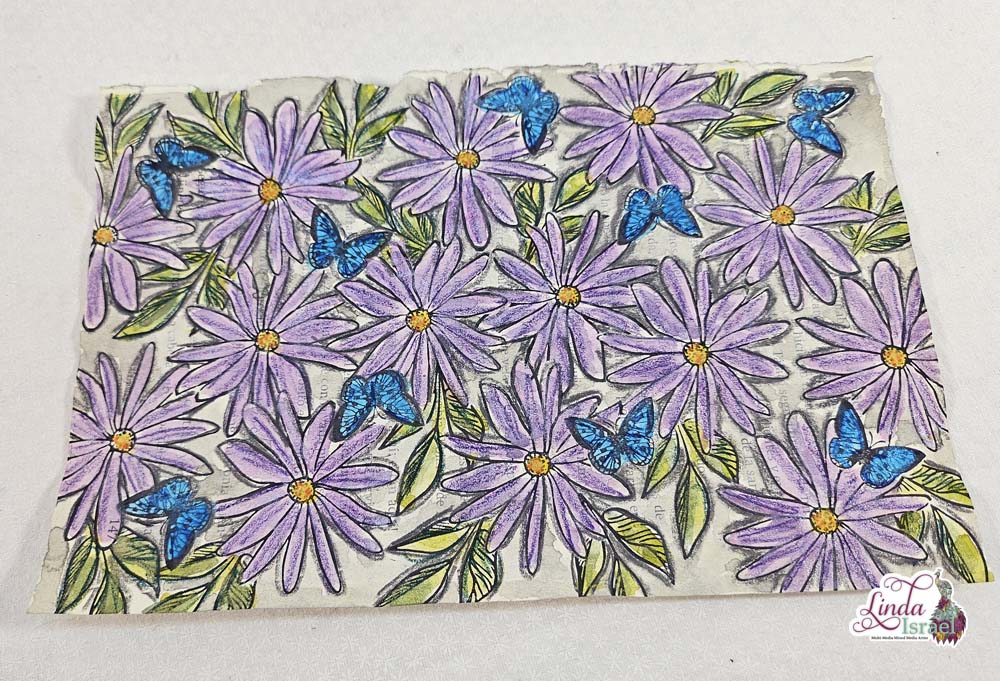
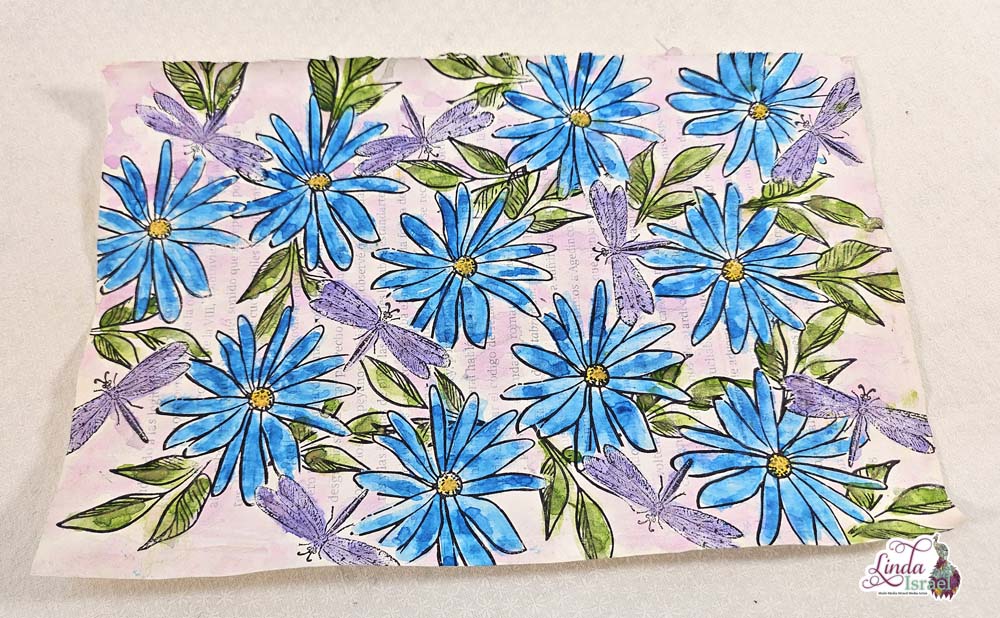
- Gel Prints
- Distress Ink, Walnut Stain
- Blending Tool
- White Journal card and tag
- Henna Mandala Stamp
- Archival Ink, Jet Black
- Aleene’s Tacky Glue
- Sewing Machine
- Shabby Floral Small Ephemera by Calico Collage
- Hymnal scrap
- Slot or Badge Punch
- Fabric Scrap
For this Paper Sack Envelope Pocket Tutorial I picked up a grocery sack. My store you have to ask for paper or they put your groceries in a plastic bag. I’m lucky that the bags they provide don’t have any printing, however, you can use printed bags, just turn them inside out.
Cut down a paper sack to 5 x 9 inches, or use other papers. This is a great project for junk mail, old book pages, wall paper, wrapping paper and more. Fold the bag so that there is about a 3 inch fold at the bottom and then about 1.5 inch fold at the top to resemble an envelope.
Stamp around the edges for a pretty pattern, or even paint if you like. Stamp the inside flap too. Layer gel prints or other decorative papers on the flap and bottom of the envelope. I like to sew with my sewing machine, but you can create faux stitches using rubber stamps or even hand draw if you like.
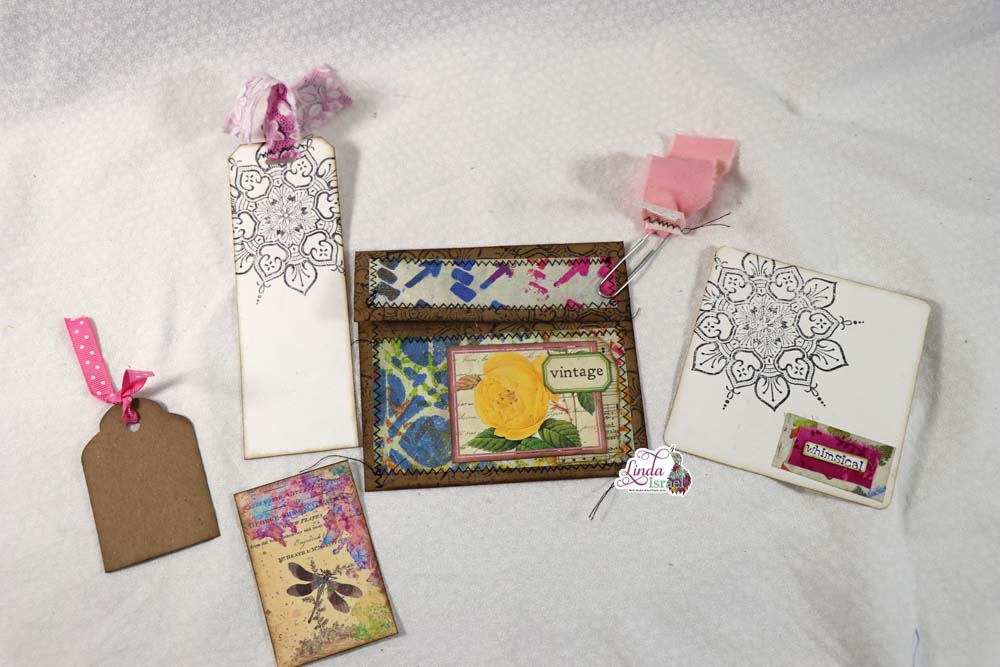
Seal up the sides with either stitches or glue.
Decorate the envelope with ephemera from Calico Collage, rubber stamps or fussy cut elements you picked up.
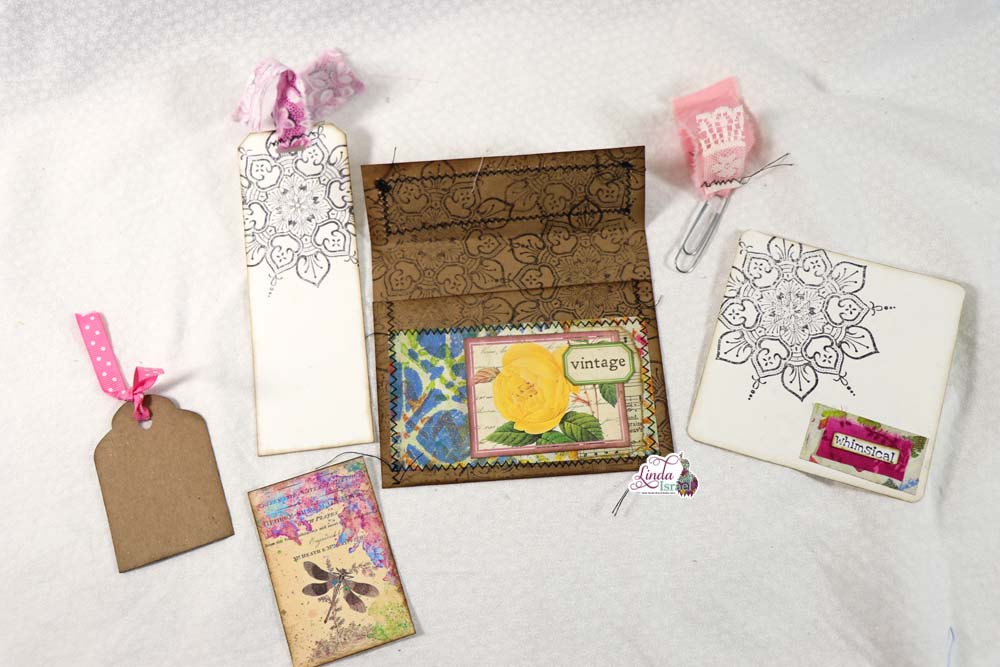
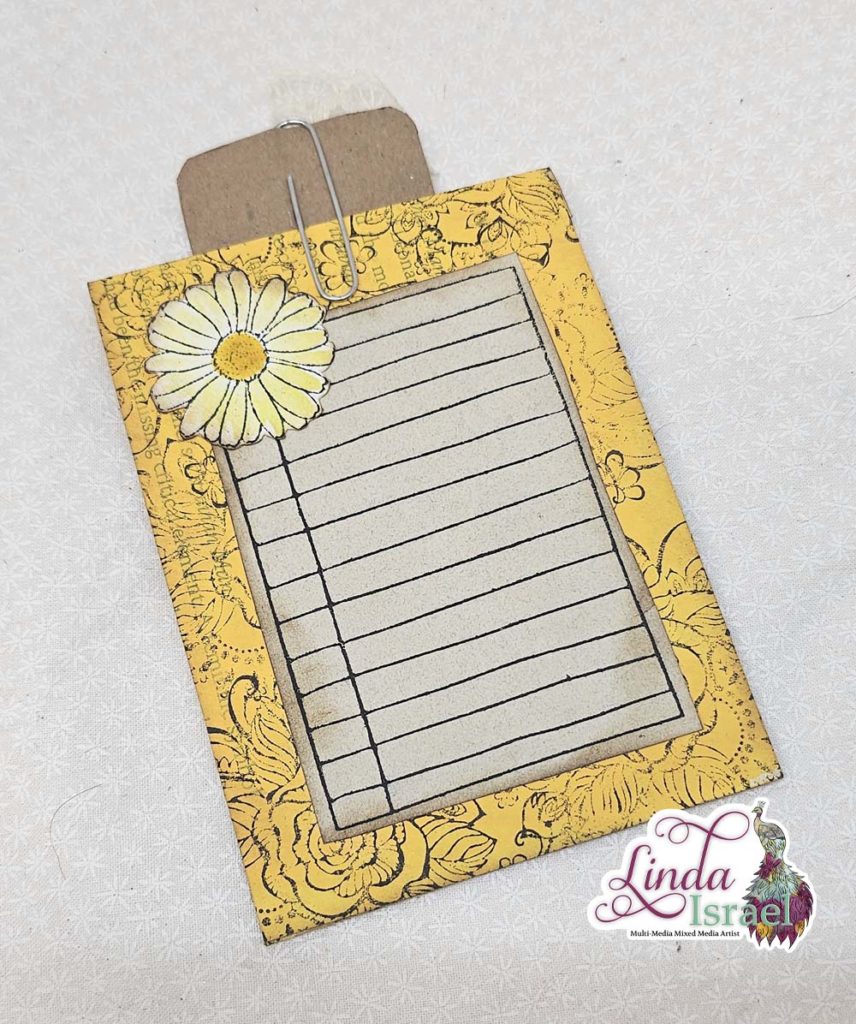
Create a journal card to fit inside the envelope, mine was about 4 inches square.
The Henna Mandala Stamp was a great embellishment to add to the journal cards and to the envelope.
If the flap of the envelope won’t stay down, create an altered paperclip. I like using scraps of fabric sewed so that it stays flat.
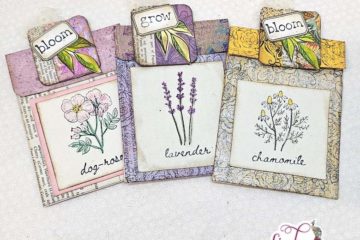
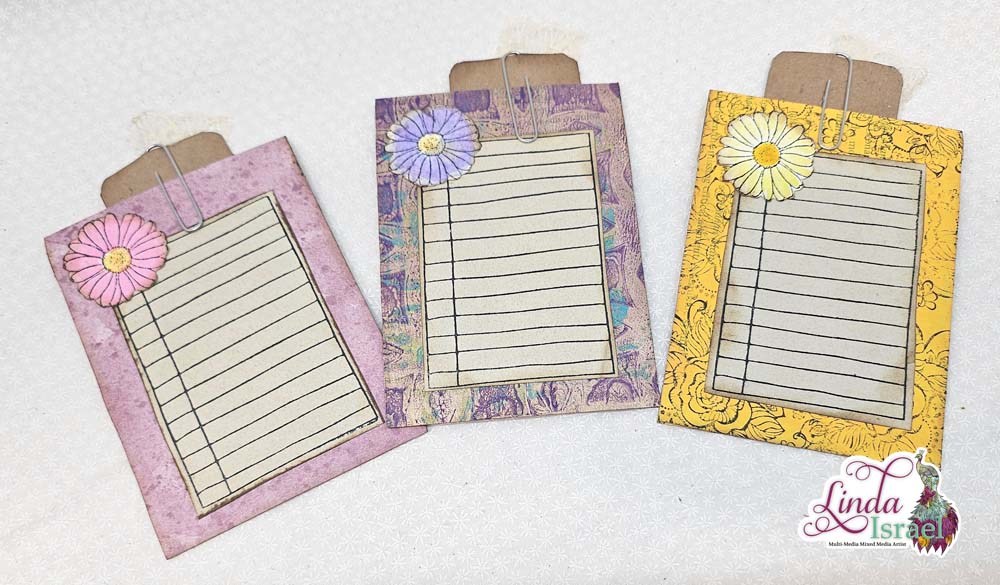
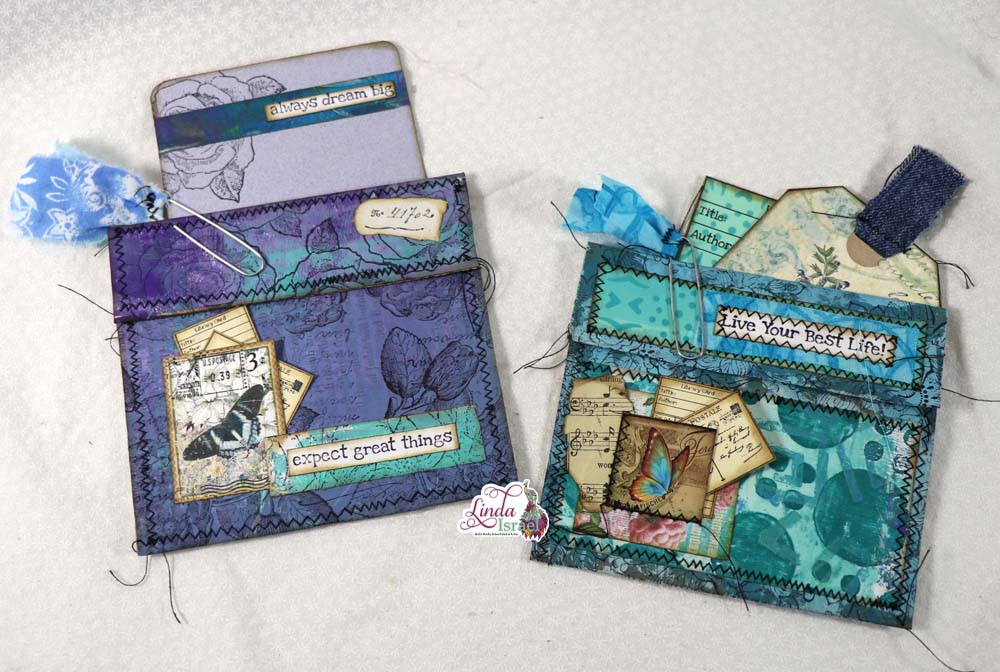
More examples of creating these Envelope Pockets.
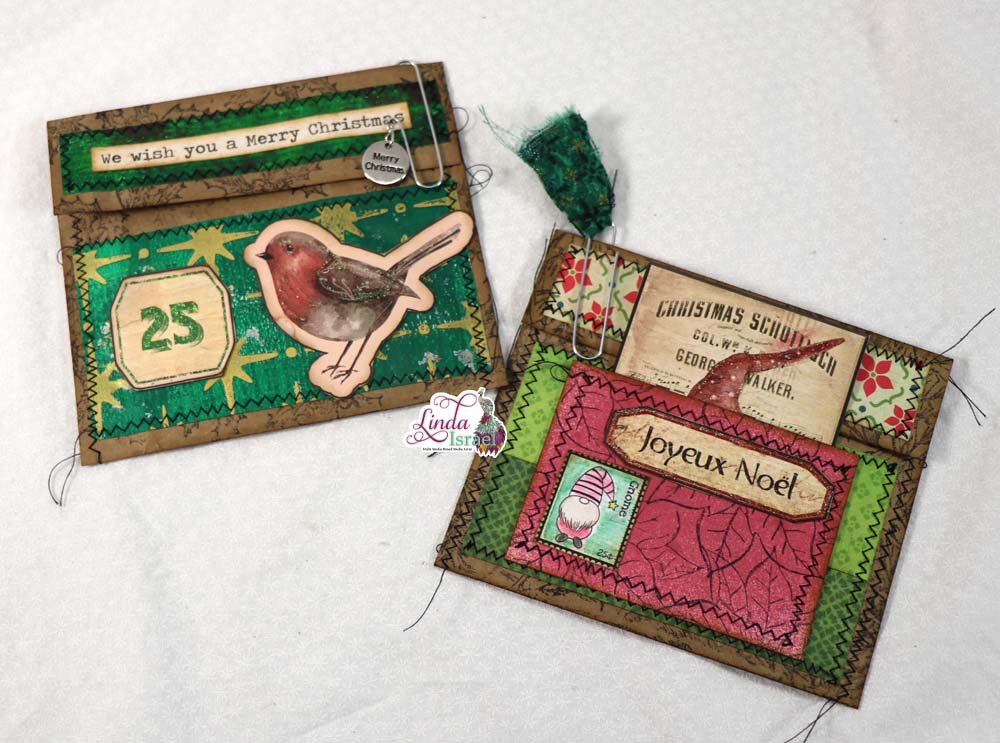
Check out the Friendly Junk Journal People Facebook group to join the challenge and to enter to win a prize. I’ll be picking a couple of winners around Feb 8th when I return from vacation. So you have plenty of time to create your version and share it in the group event.
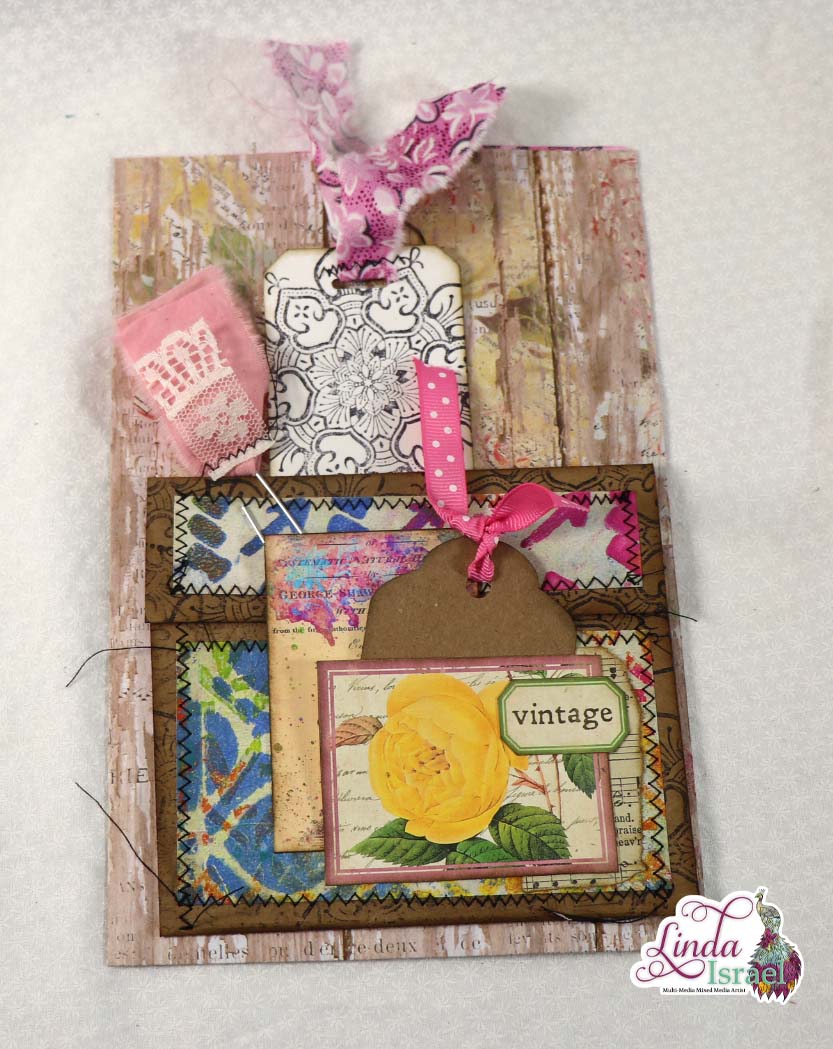
Check out the Friendly Junk Journal People Facebook group. Of course, you are welcome to join the Friendly Junk Journal People Facebook group. The group is growing daily and we are a friendly group willing to help each other and encourage each other.
Interested in any of the projects Linda has created? Please feel free to contact her through her website. Here is her shop, a lot of items featured and more added weekly.
Keep updated on her posts by following the blog by creating an account. Follow Linda on her Facebook Page or on Instagram for updates that may not be shared on the blog.
Thanks so much for stopping by the blog today to see the Paper Sack Envelope Pocket Tutorial.

