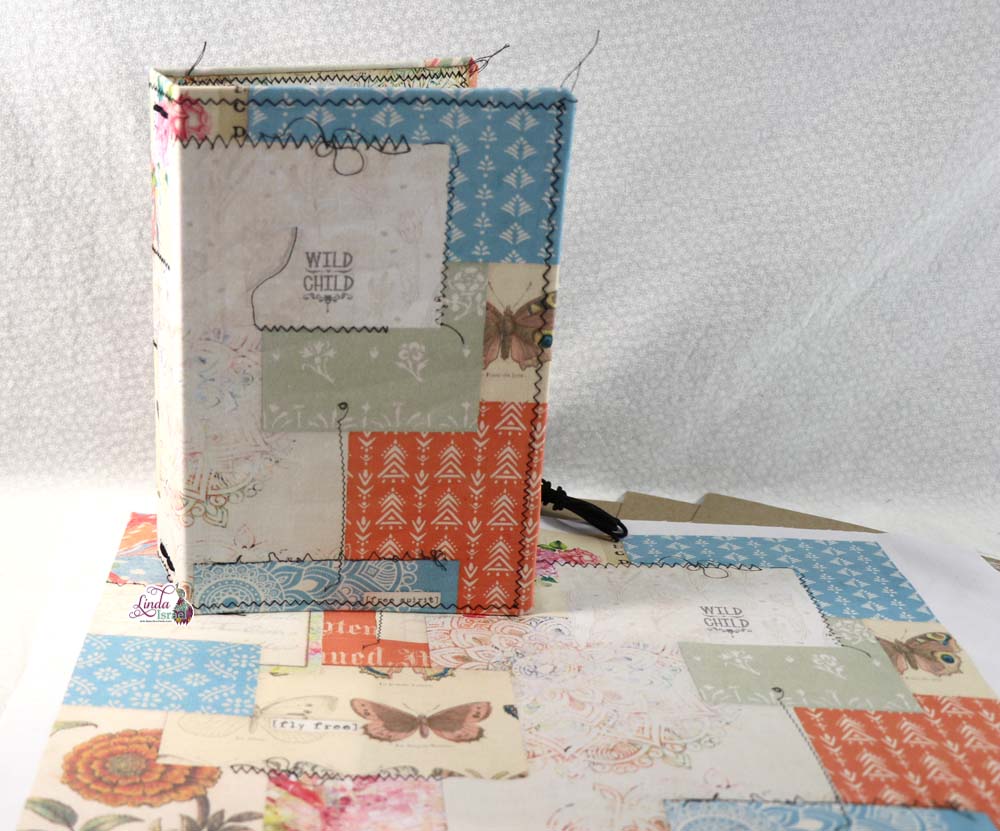
Today I’m sharing a Midori Cover Tutorial – Wild and Free. Using the Wild and Free Midori Cover Kit I’ll show how to create a very easy cover that allows removable journal inserts.
Midori Cover Tutorial – Wild and Free Video
Supplies Used for the Midori Cover Tutorial – Wild and Free.
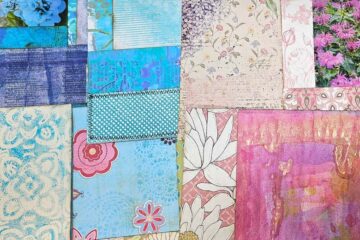
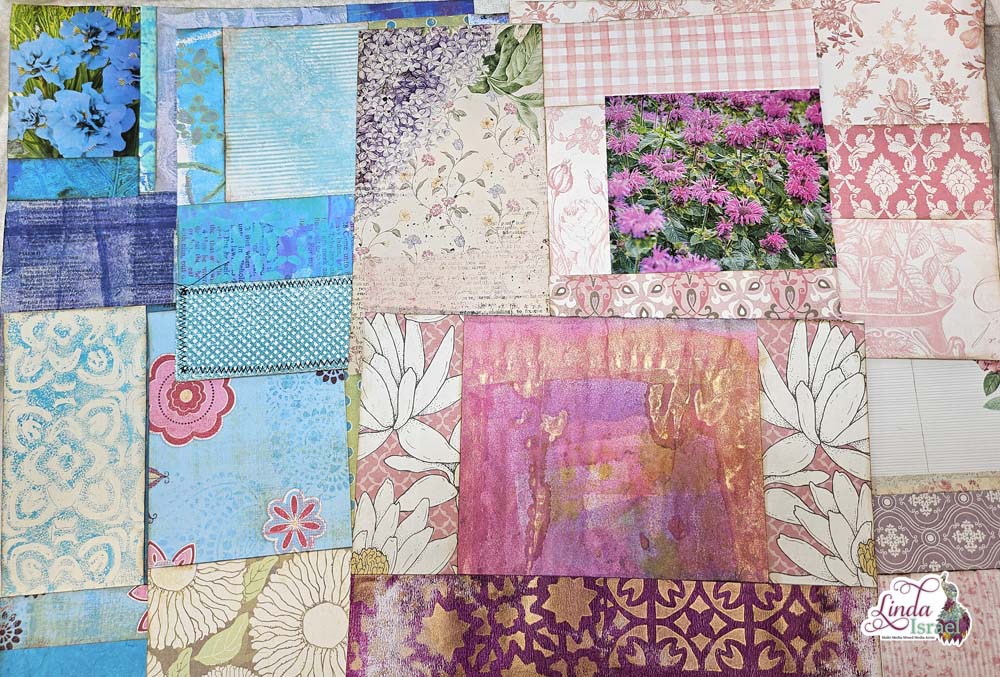
- Wild and Free Midori Cover Kit
- Aleene’s Tacky Glue
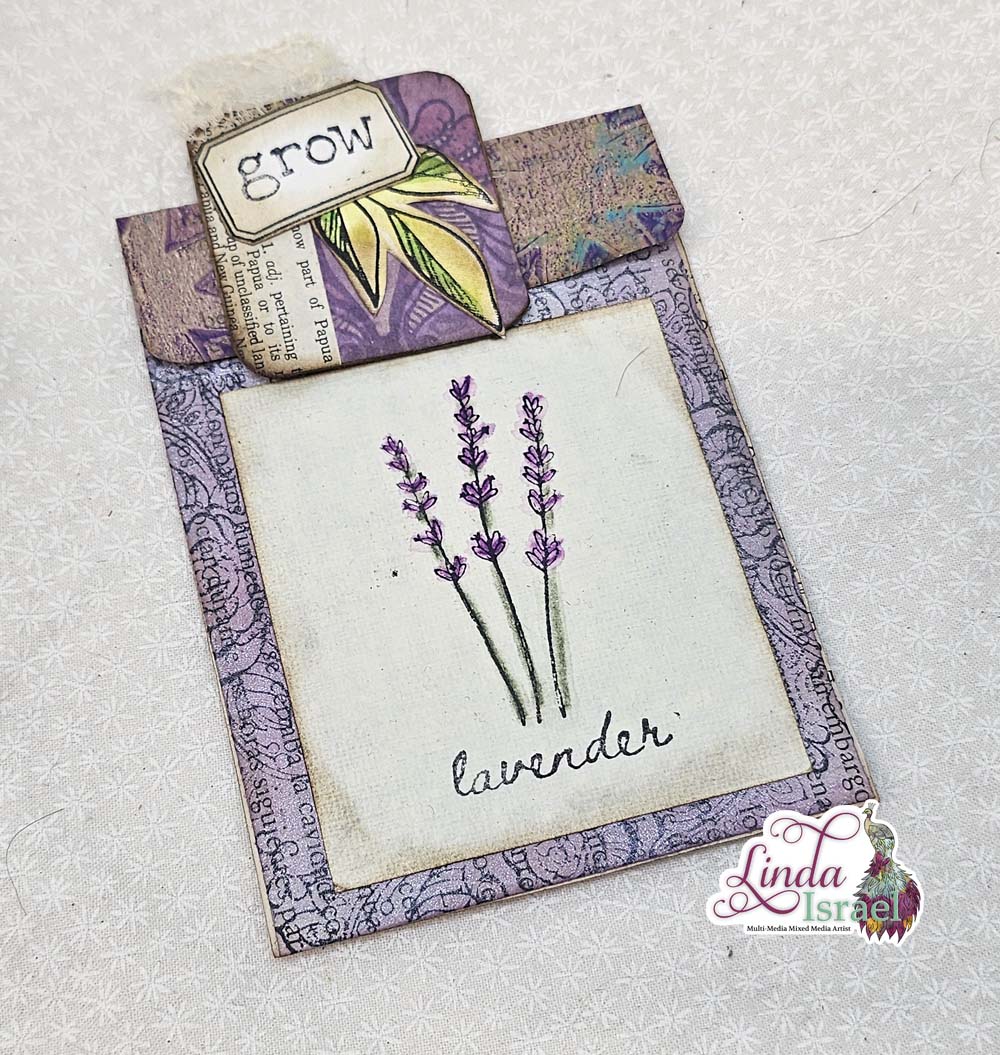
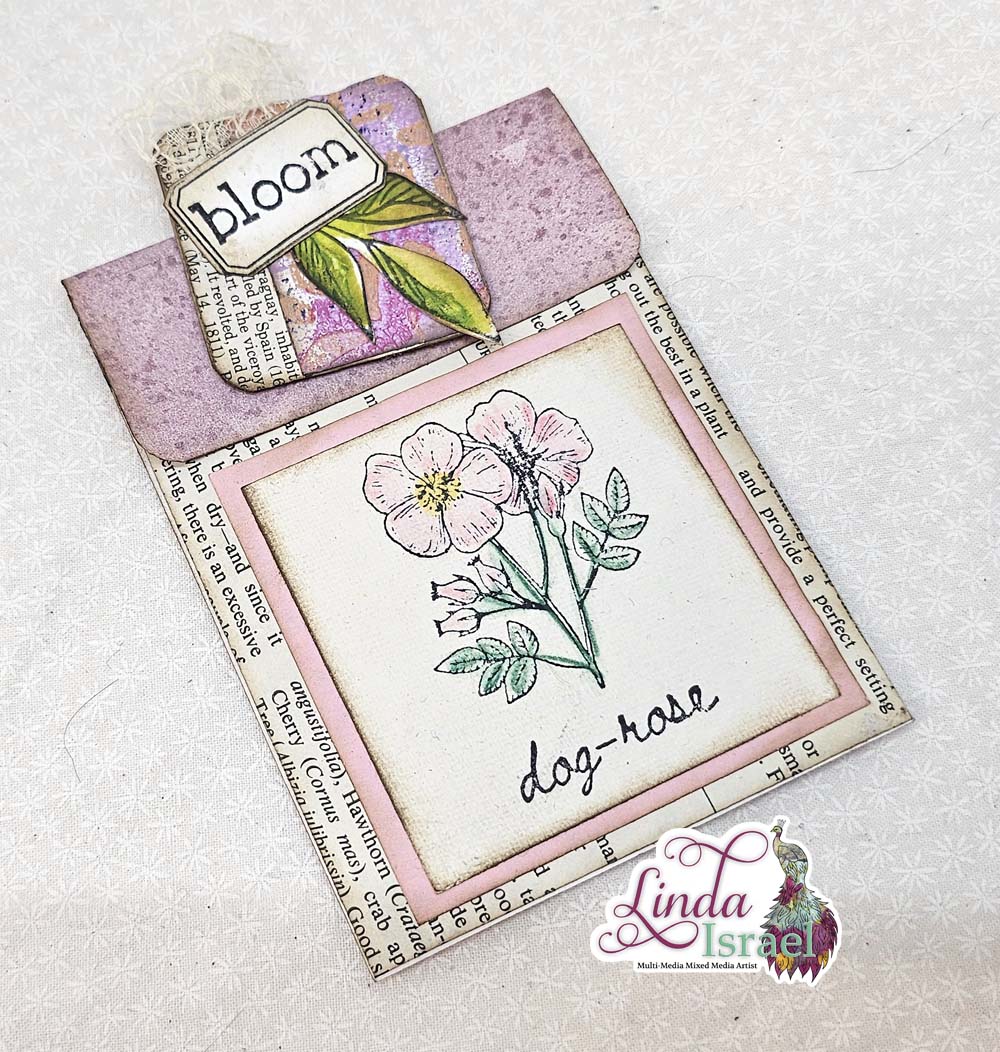
- Printed Cardstock Journal Page from Wild and Free Large Journal Kit
- Scissors
- Sewing Machine
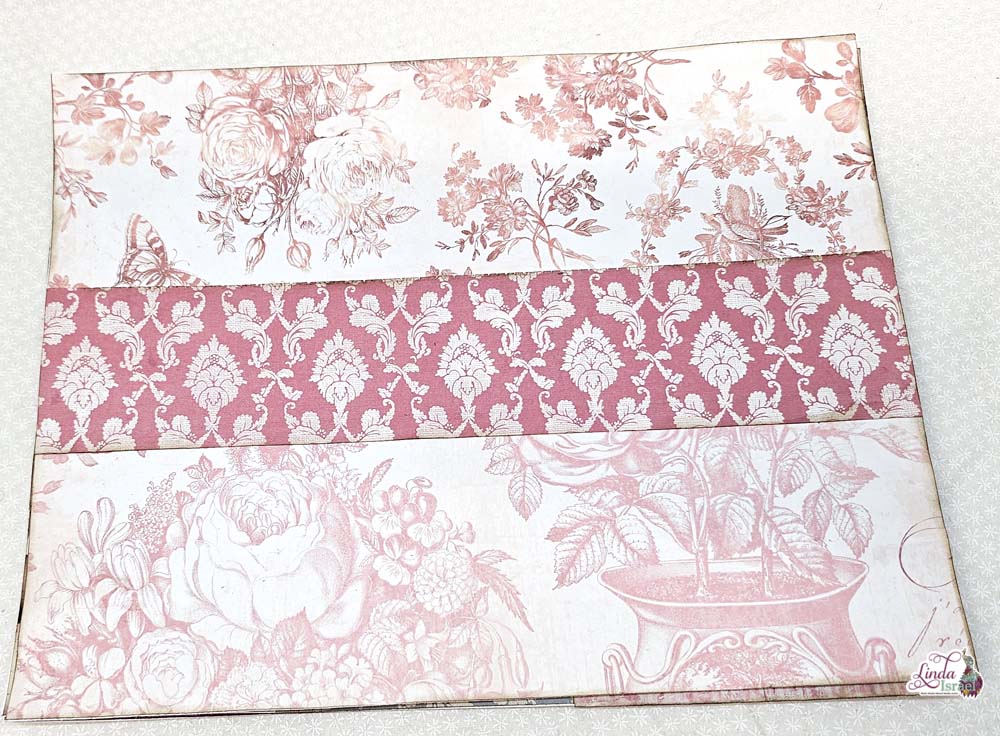
Since I’m staring with the Wild and Free Midori Cover Kit it makes creating a cover super easy. However, you can create your own outer fabric cover from your stash. The basic size of fabric is 15 inches wide by 10 inches tall. Just create that portion and then follow along to see how to create your own cover.
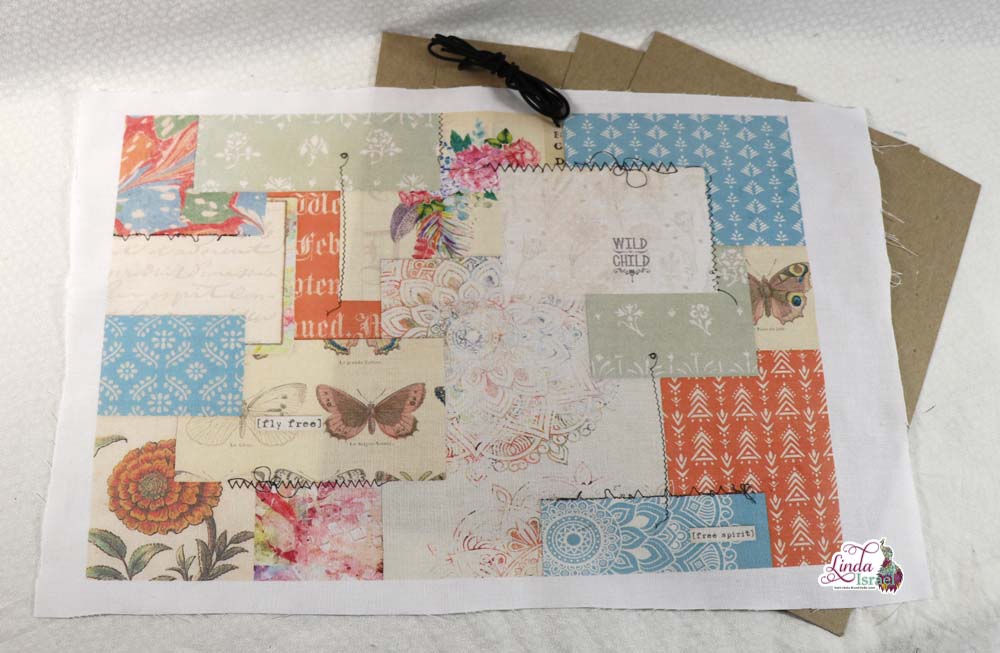
Chipboard was used for the foundation of the journal cover guts. I’m using thinner chipboard as most people don’t have a heavy duty cutter for thicker chipboard. In this case four sheets of 8.5 x 11 chipboard is used. If you need chipboard I offer some in my shop.
Cut the chipboard, Four pieces at 6 x 9 and two at 2 x 9 (or as wide as you want the spine to be). Adhere sets of two chipboard pieces together, this will give strength to the cover.
Lay out the outer fabric face down on the work surface. If the fabric is somewhat see through cut a second piece of fabric the same size as the outer piece. Apply a small bead of glue between the two pieces around the outside edge. This helps hold the two together and makes them one piece.
Center the chipboard pieces on the fabric. Spine in the center and the front and back on either side. Leave about an 1/8 of an inch gap between the spine and the covers. Adhere the chipboard to the fabric using your favorite glue. I use Aleene’s Tacky glue for almost everything.
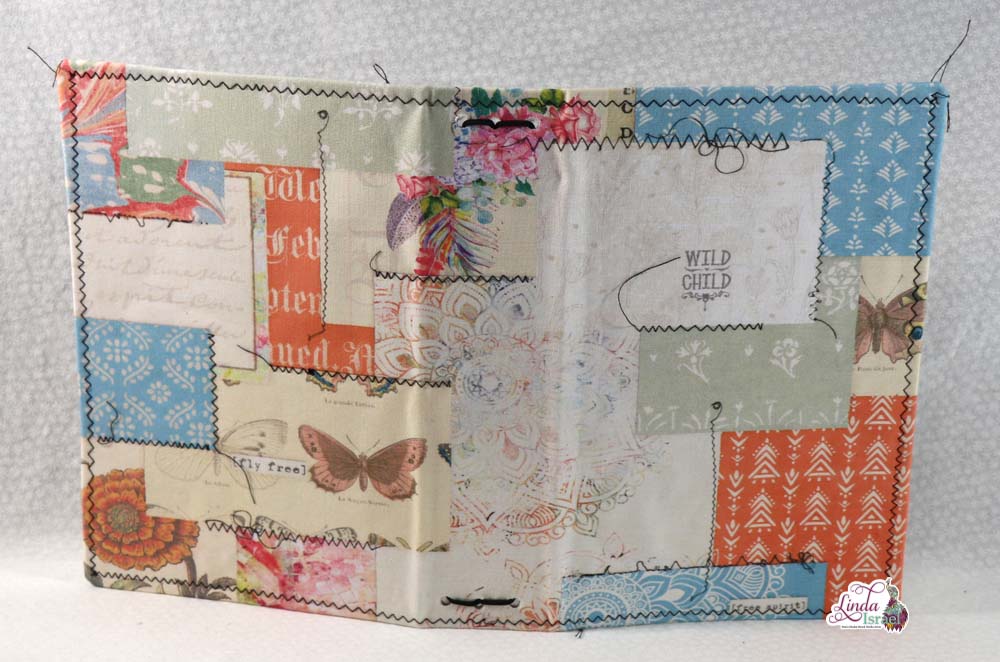
Fold in the corners and adhere to the inside cover. Then fold the edges to the inside and adhere.
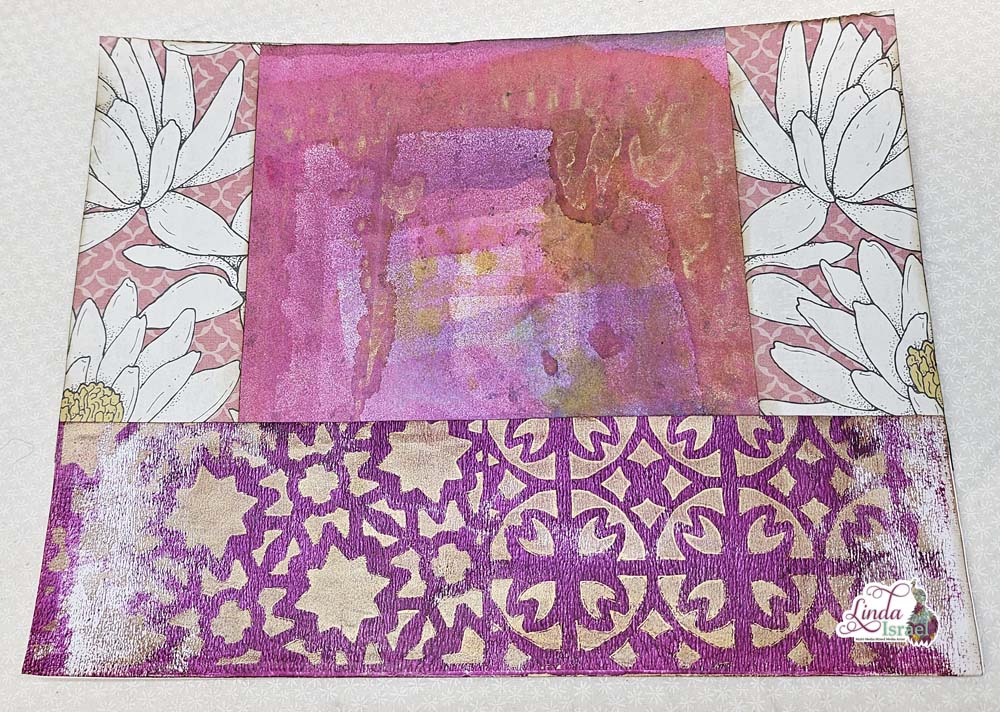
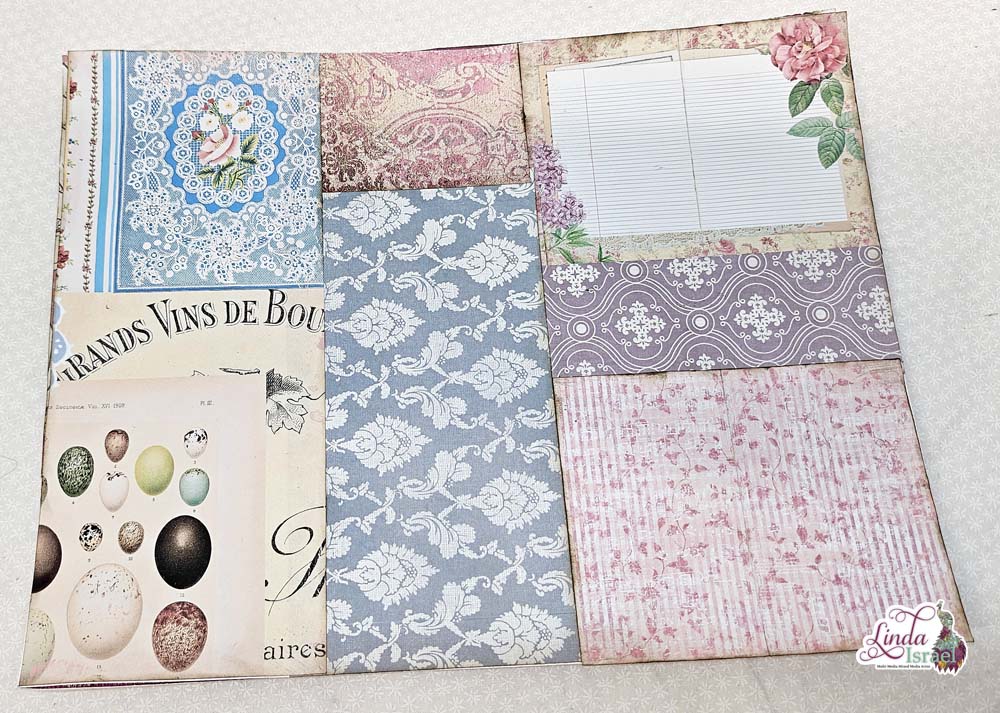
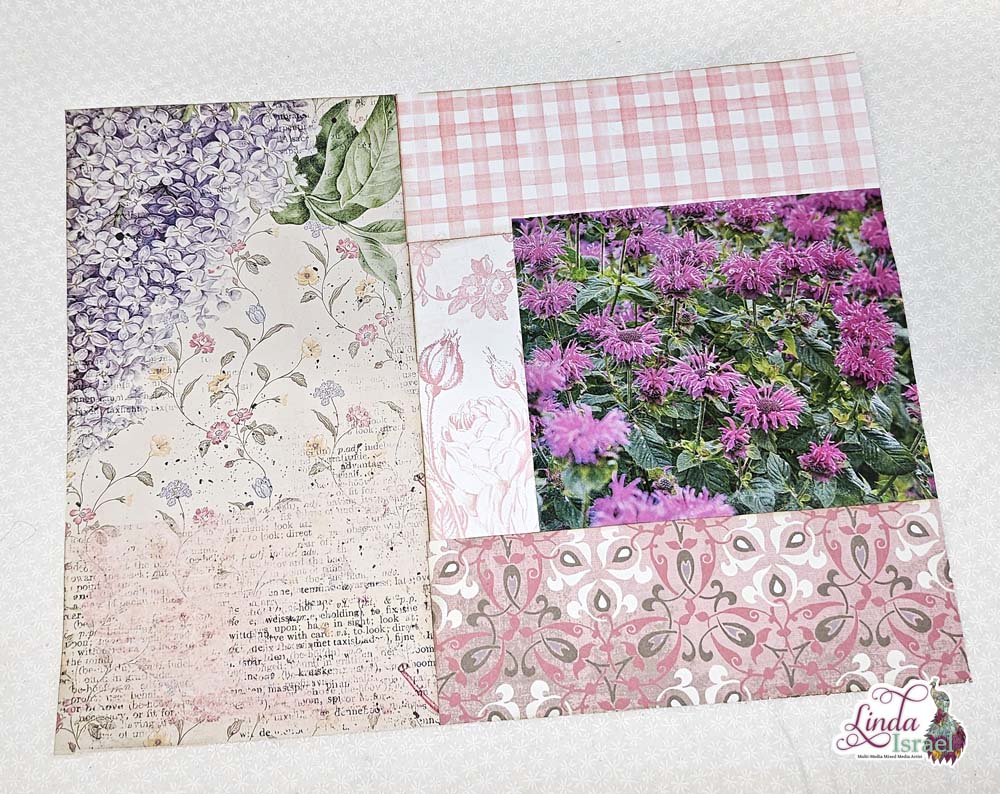
To create the inside of the journal cut cardstock, two pieces at 5.75 x 8.75 and one at about 2.5 x 8.75. Normally when I cut the side panels what ever is left over is wide enough for the spine. If your spine is really wide you may need another sheet of cardstock. For the inside of my journal cover I used a page from the Wild and Free Large Journal Kit Digital download.
Apply distress ink around the edges of the cardstock. I feel this gives it a finished look. However, you do you! If you prefer the clean look then leave them.
When I create covers I prefer to use my sewing machine. But you don’t have to. I have a tutorial here where I made a Mixed Media Journal Cover and I didn’t sew any of the cover. For this cover I sewed around the edges of the cardstock and then around the outside edges of the fabric and chipboard portion.
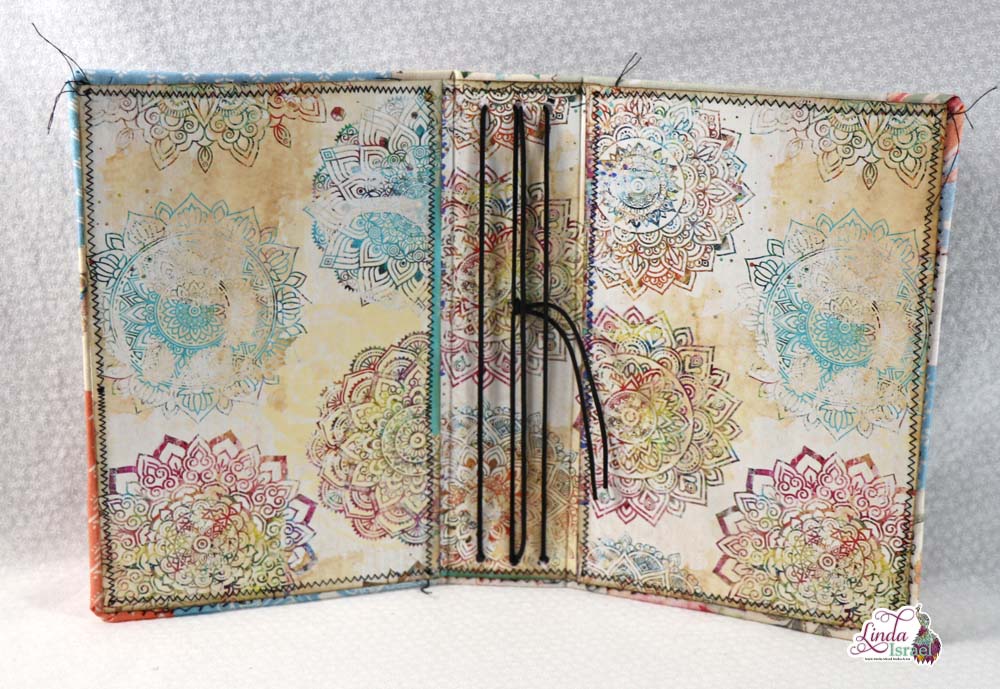
Once the items have been sewn adhere the inside cardstock to the cover. Start with the center piece. Use a bone folder or other item to push the cardstock in the gap between the spine and cover. Give the glue some time to dry before bending the cover as this will cause the paper to move and it will not be pretty. Adhere the side panels to the cover.
At this time you can choose to create a midori style cover or a traditional sewn signature journal. Mark where you need the holes. In my case I marked three holes at the top and bottom of the spine. Punch holes that are about 1/4 to 1/2 of an inch from the edge.
Thread the elastic through the holes. Then tie off in the center. When I create covers like this there are four elastic bands that can be used for journal inserts.
See wasn’t that a super easy Midori Cover Tutorial – Wild and Free. I hope you enjoy this tutorial and use it to create your own cover.
Visit the Friendly Junk Journal People Facebook group. Of course, you are welcome to join the Friendly Junk Journal People Facebook group. The group is growing daily and we are a friendly group willing to help each other and encourage each other.

Interested in any of the projects Linda has created? Please feel free to contact her through her website. Here is her shop, a lot of items featured and more added weekly.
Keep updated on her posts by following the blog by creating an account. Follow Linda on her Facebook Page or on Instagram for updates that may not be shared on the blog.
Thanks so much for stopping by the blog today to see the Midori Cover Tutorial – Wild and Free.