Bellyband with Flip and Pockets Tutorial, showing how to use up scraps of gel prints and other papers to create a beautiful interactive belly band.
Bellyband with Flip and Pockets Tutorial Video
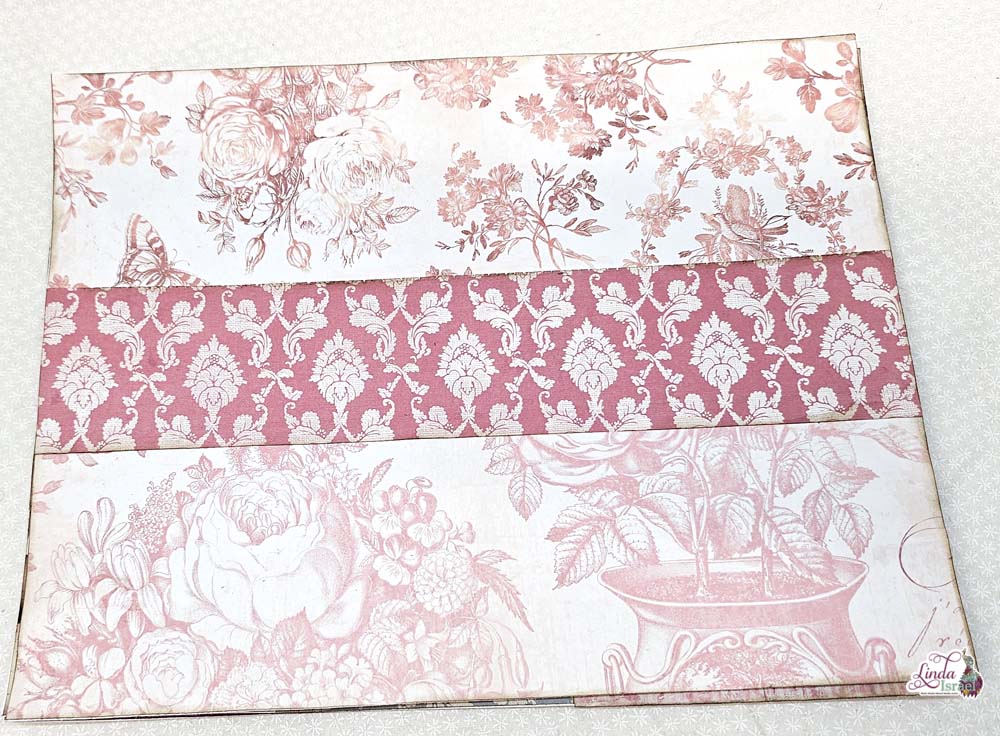
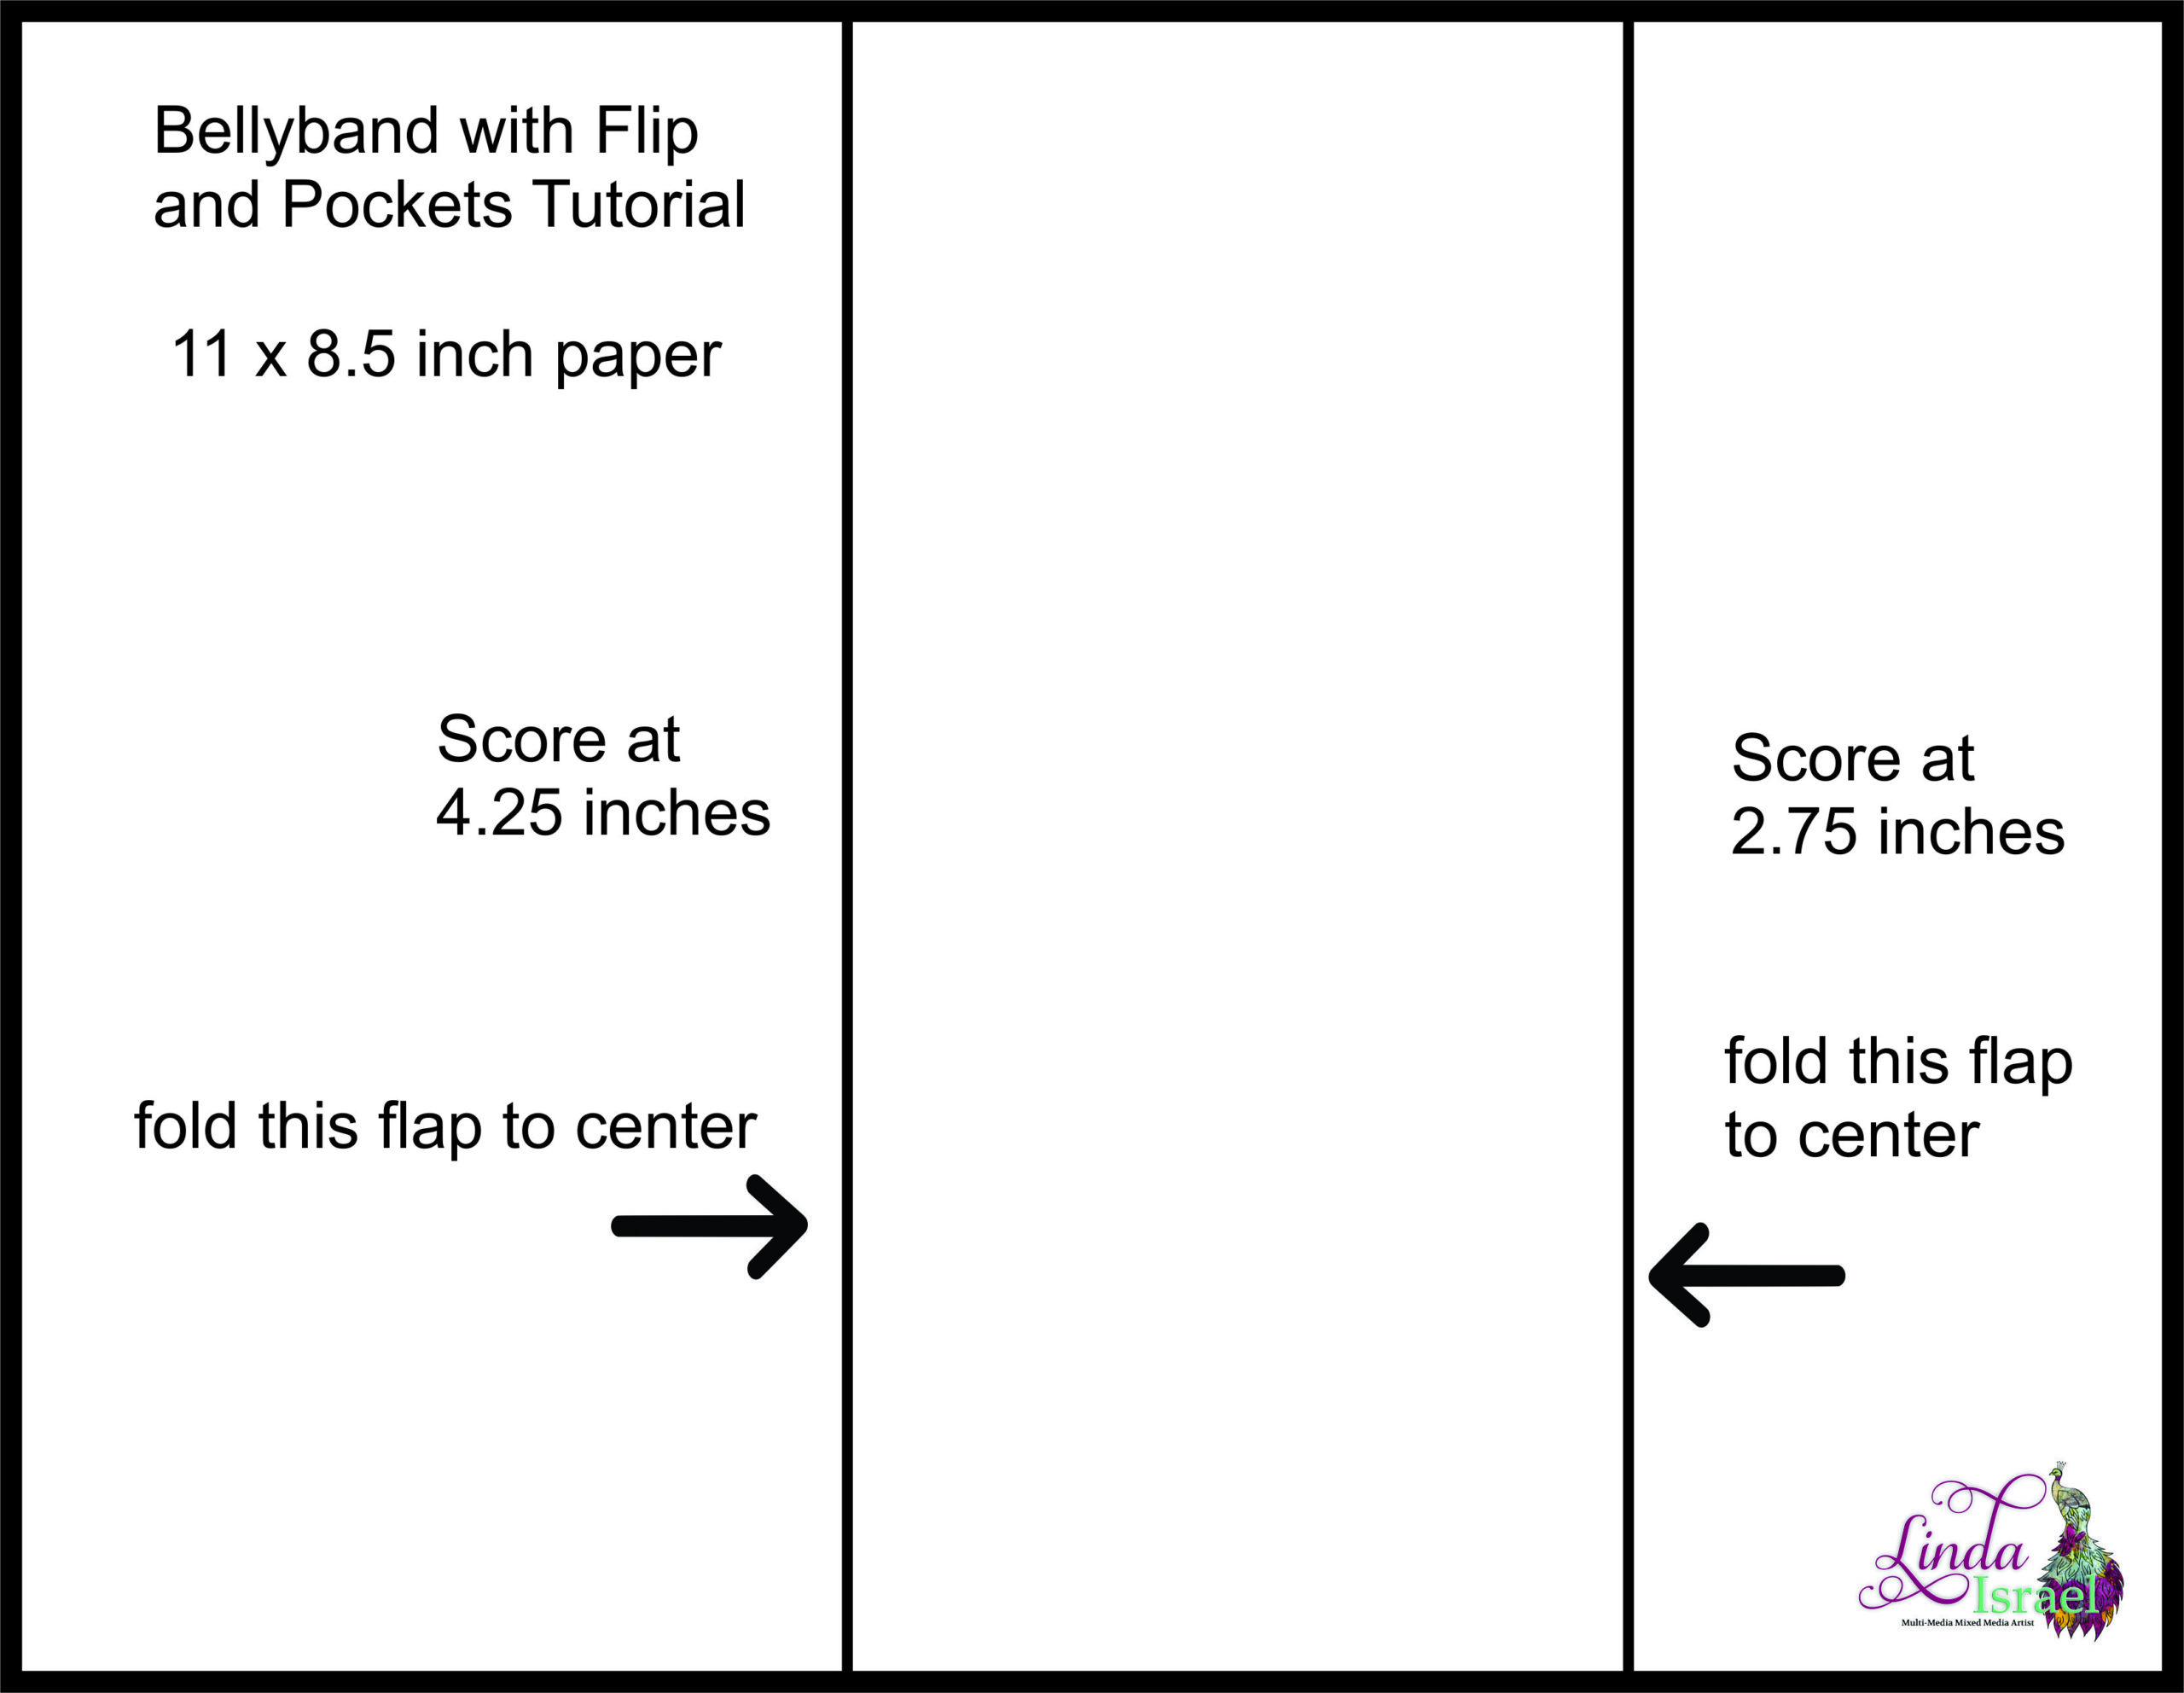
To begin the Bellyband with Flip and Pockets Tutorial, start with a sheet of paper that measures 11 x 8.5 inches. This can be any paper, in my case it was a sheet that my mother in law gave me and it was a dark manila.
Score at 4.25 inches and again about 2.75 inches from the other end. Look at the diagram below to see where to score. You can also make it any size you like. If your journal card is smaller then you can make a smaller space for the pocket.
Fold over the first flap at the score line. Next, fold over the second flap. It may need to be adjusted depending on how deep you made the first score line.
Since I wanted my first flap to be able to hold a card that measured 4 x 8 inches I added a strip of paper. Cut a strip 1 inch by 8.5 inches and glue it from top to bottom about half an inch in to create a tab for the pocket.
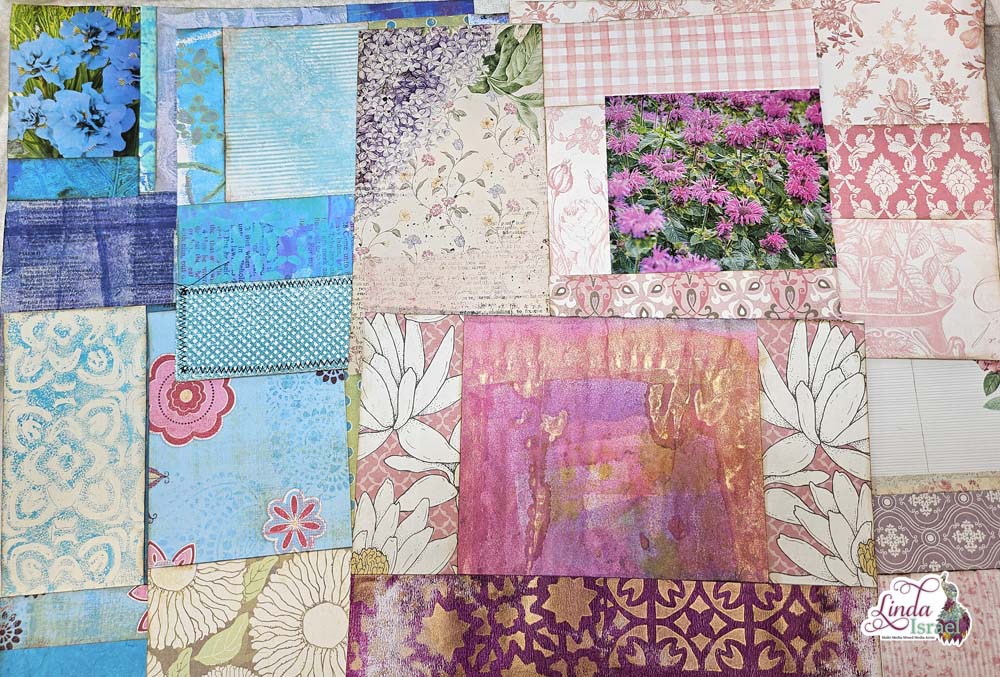
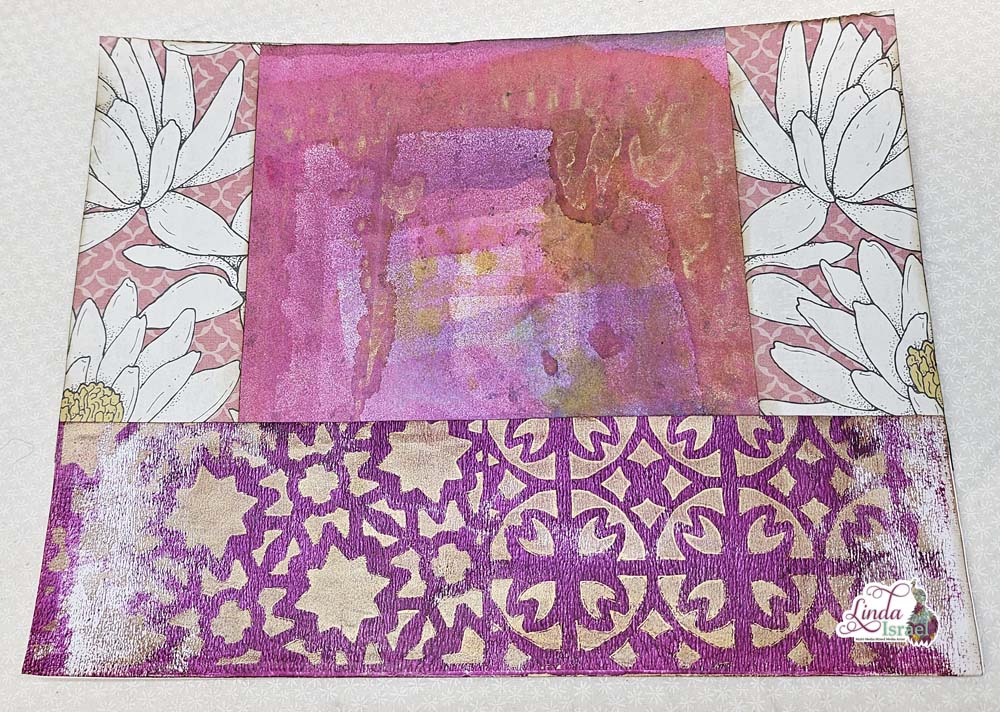
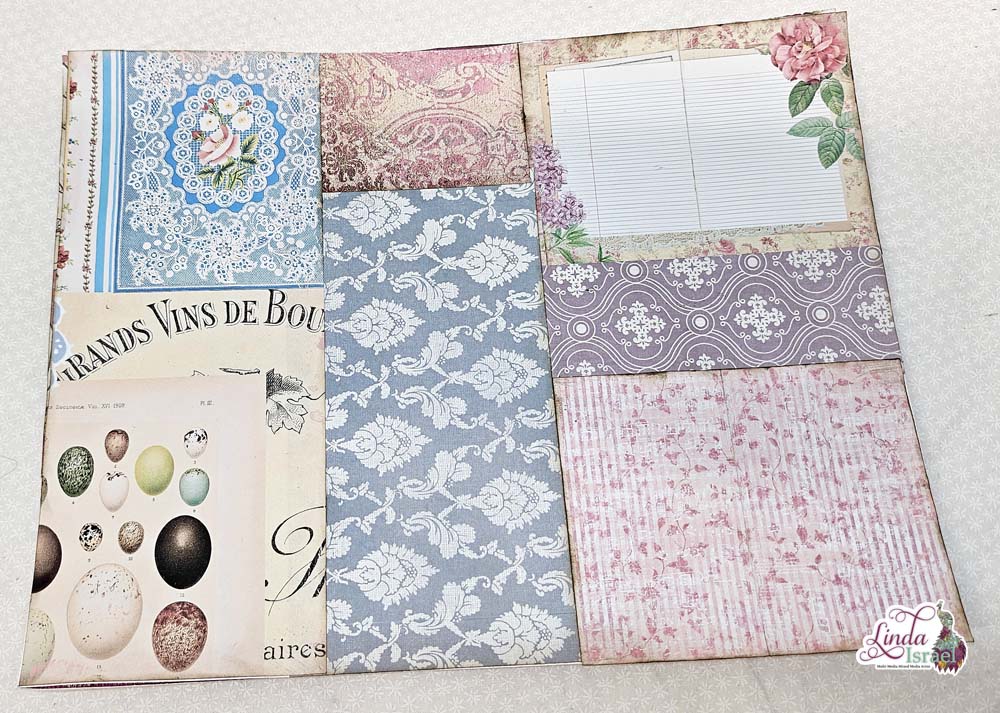
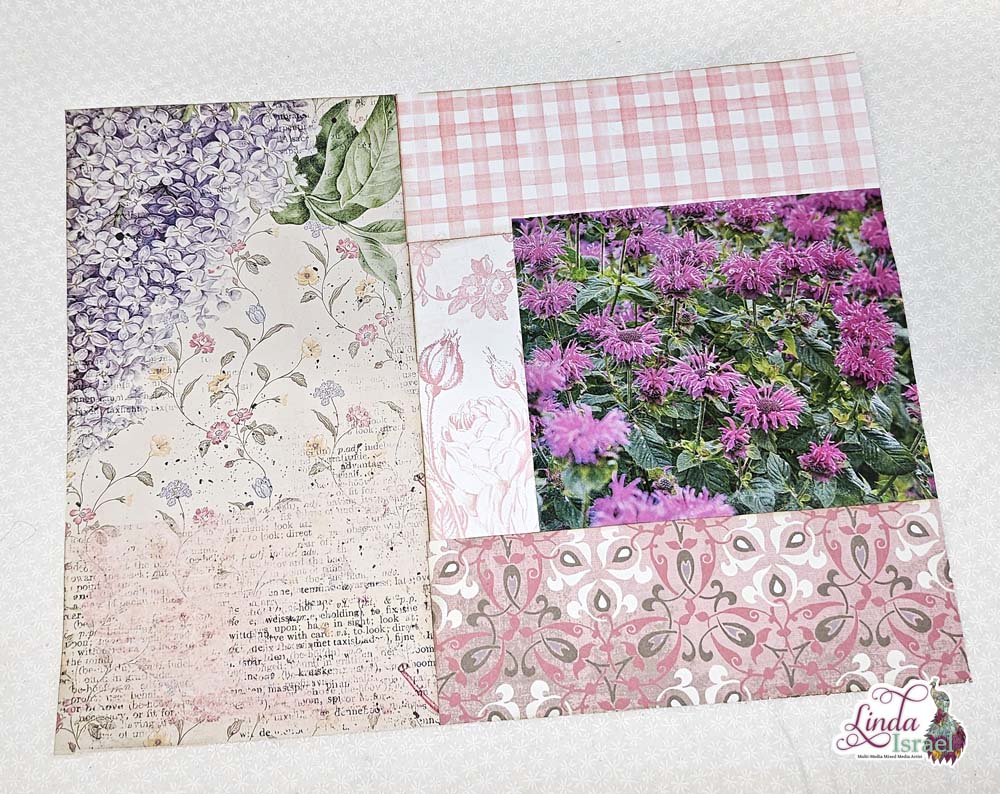
Now you have a base to decorate. Cut pieces of paper to decorate and create pockets. In the video I created two pockets for the smaller flap and one for the wider flap.
Once all the pockets have been created adhere to the base. Now you can fill the pockets.
Supplies used:
- 8.5 x 11 inch piece of paper for base
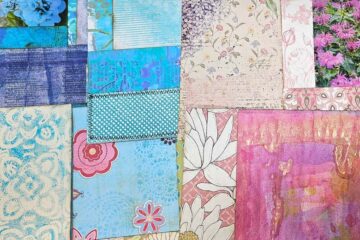
- Gel Print Scraps
- Dancing Dragonflies Digital Download
- Polaroid Images by Calico Collage
- Sewing Machine
- Circle Hole punch
- Henna Rose Stamp
- Alene’s Tacky Glue
- Paint Chip
- Lavender Stamp Set
- Tiny Postcard stamp
- Butterfly Stamp
- Don’t forget to fly stamp
- Jet Black Archival Ink
- Crop a dile Corner Chomper
- Slot punch or ID Tag punch
- Vine with Curls Stamp
- Mowed Lawn Distress Oxide Ink
- Walnut Stain Distress Ink
- Blending Tool
- Little Daisy Stamp
- Fabric Scrap
- Scrapbook paper scraps
- Label Stamp
- Butterfly Postage Stamp
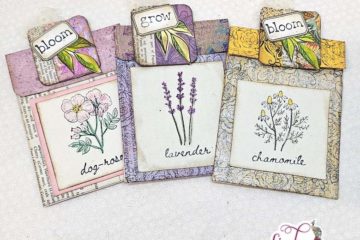
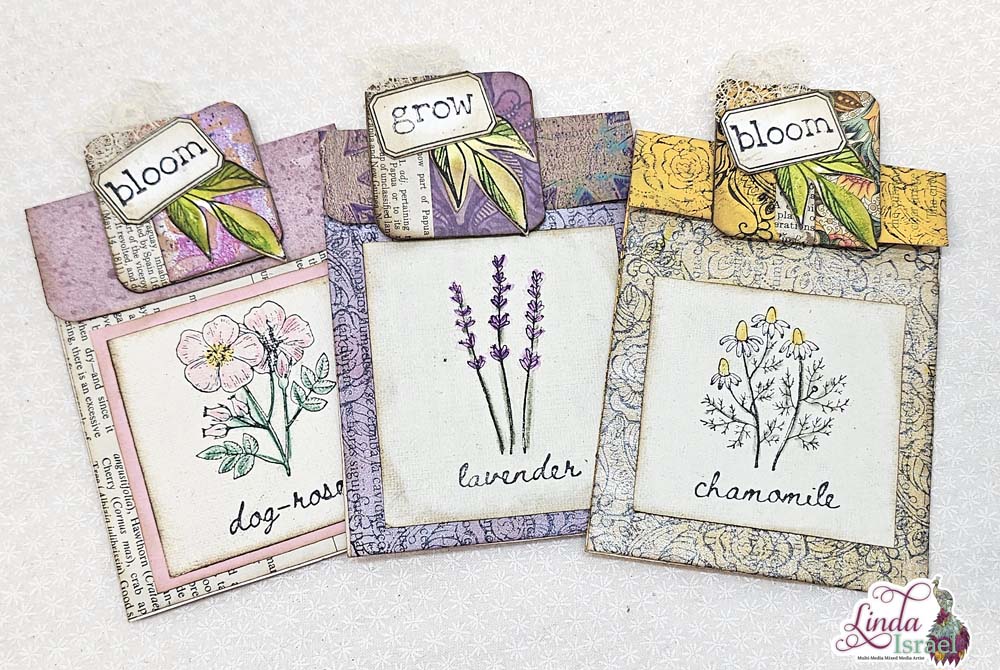
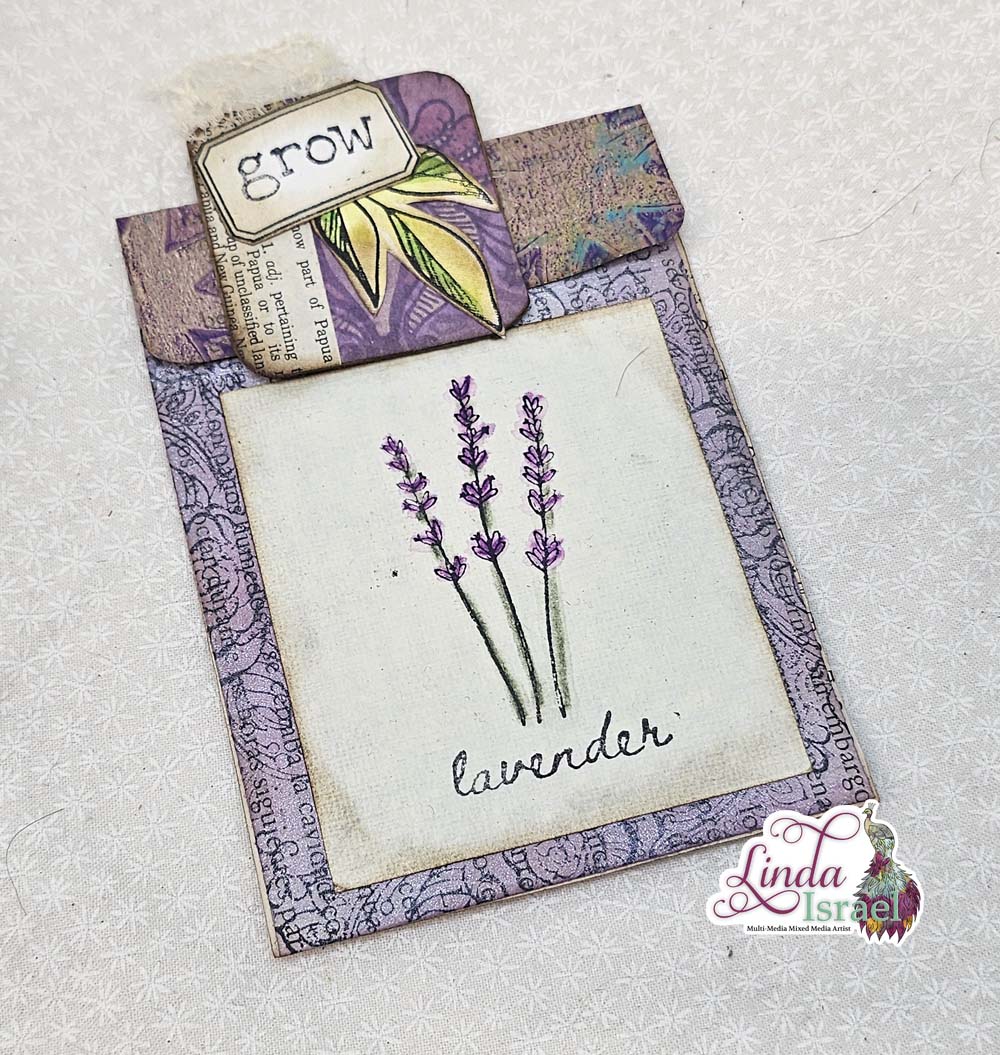
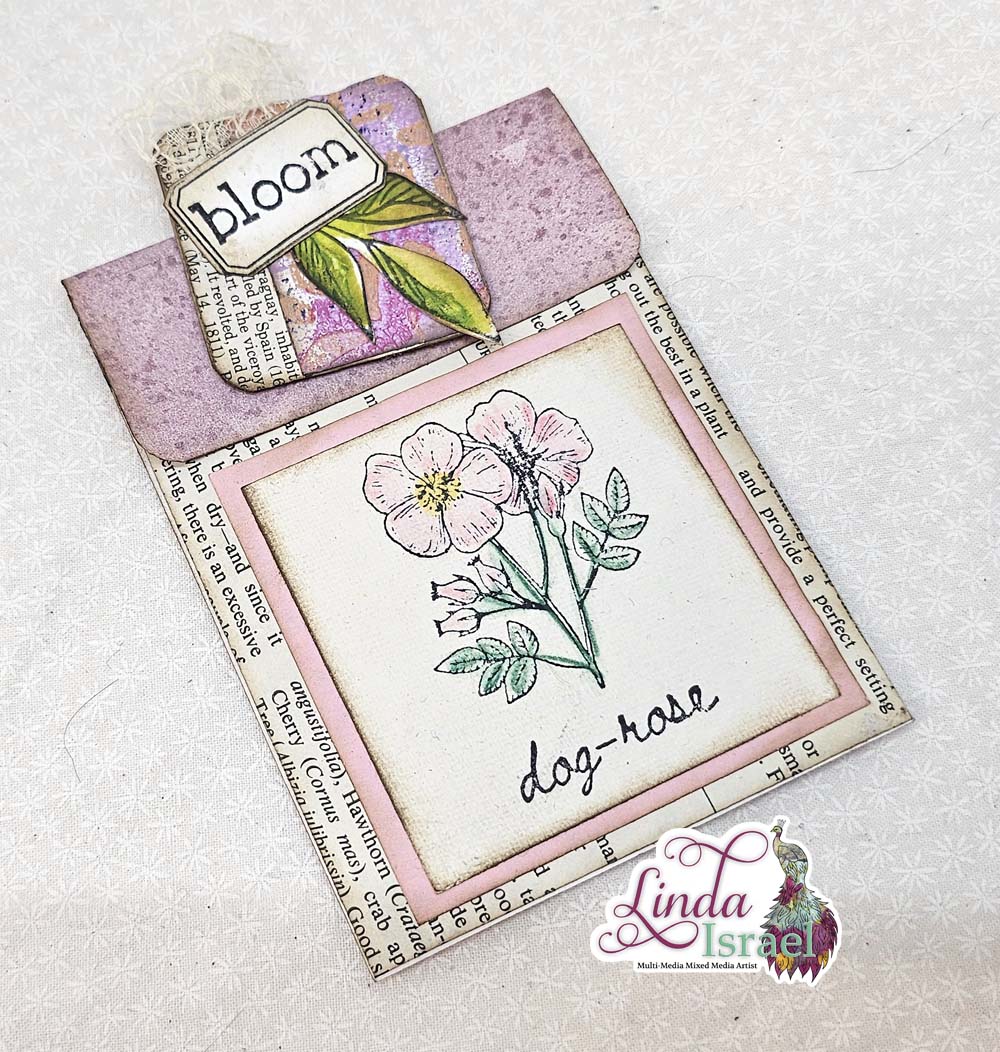
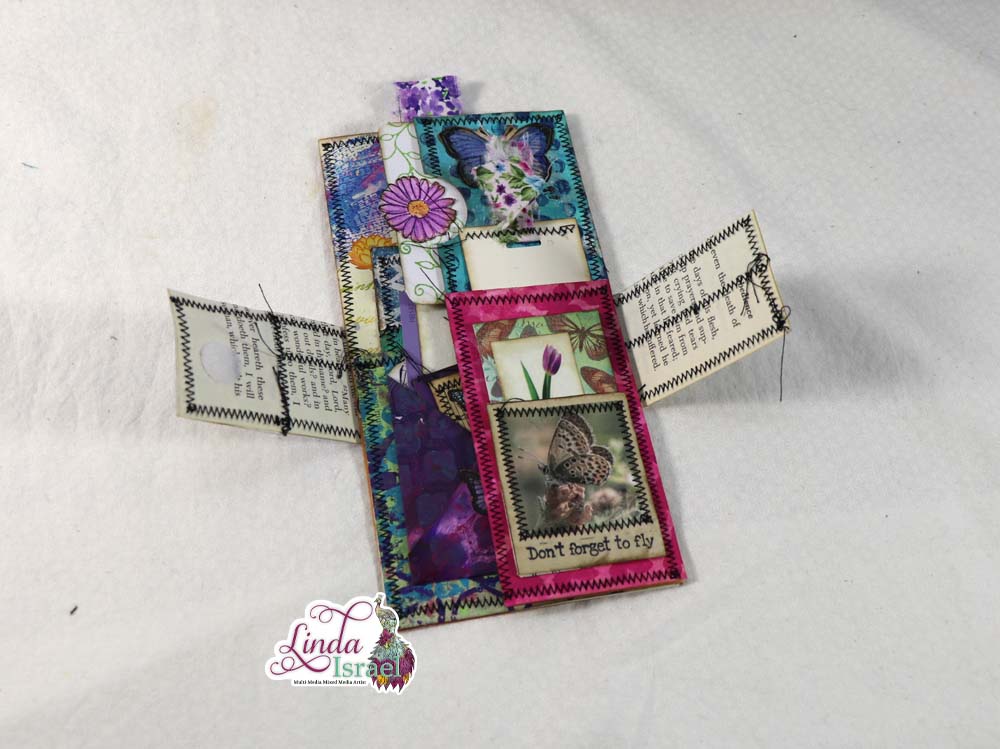
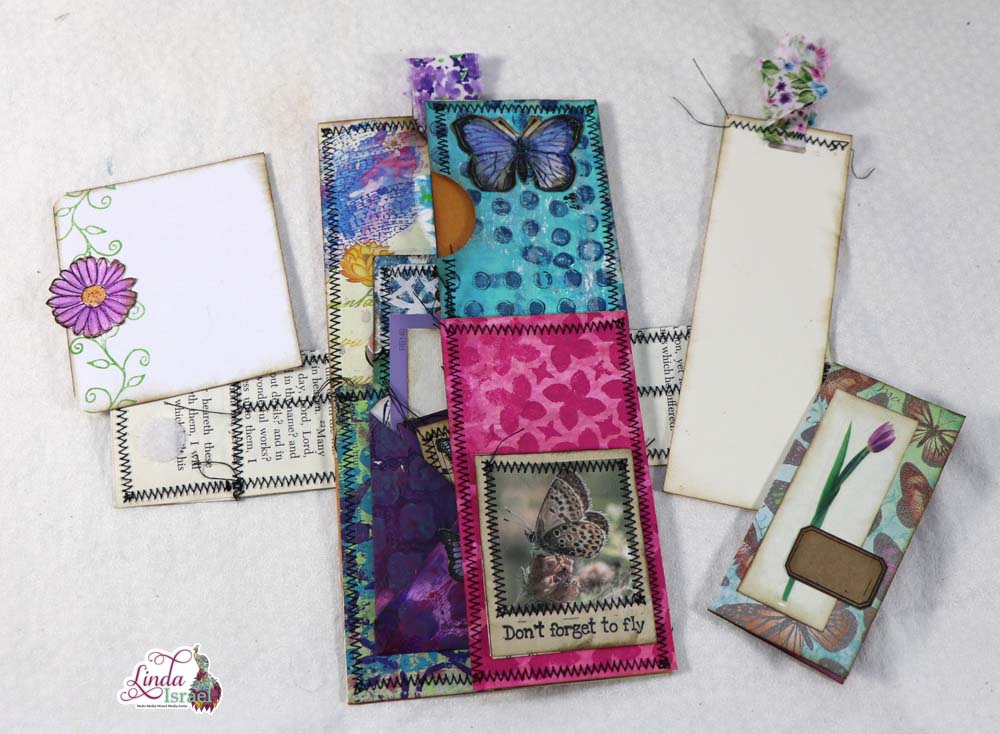
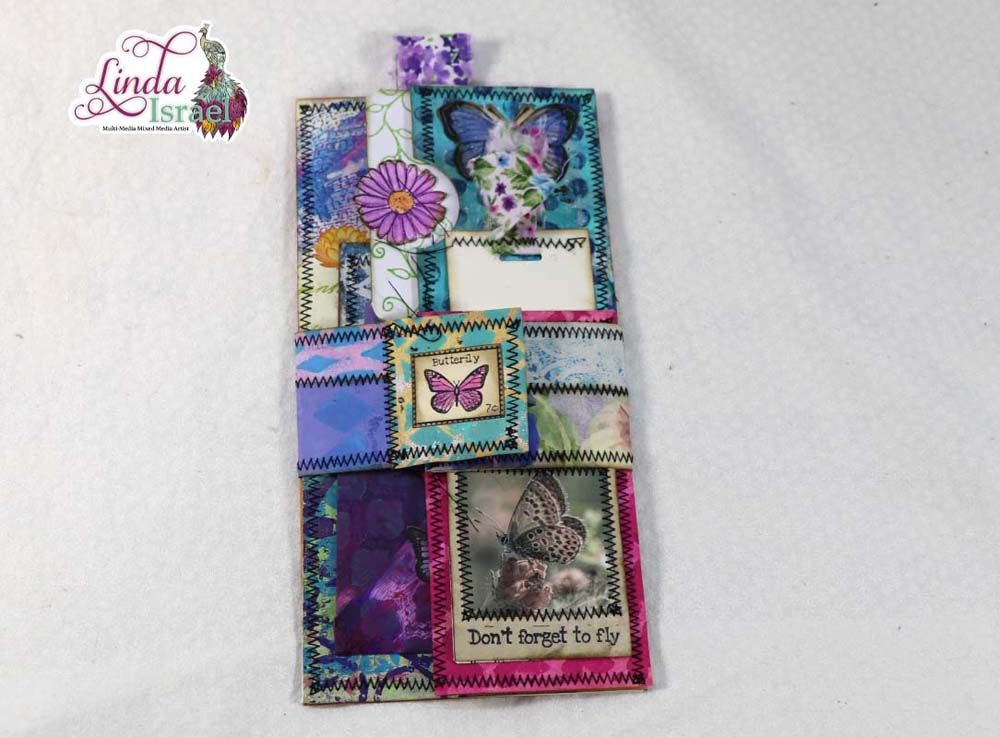
In the image below you can see all the goodies I added to the top pockets.
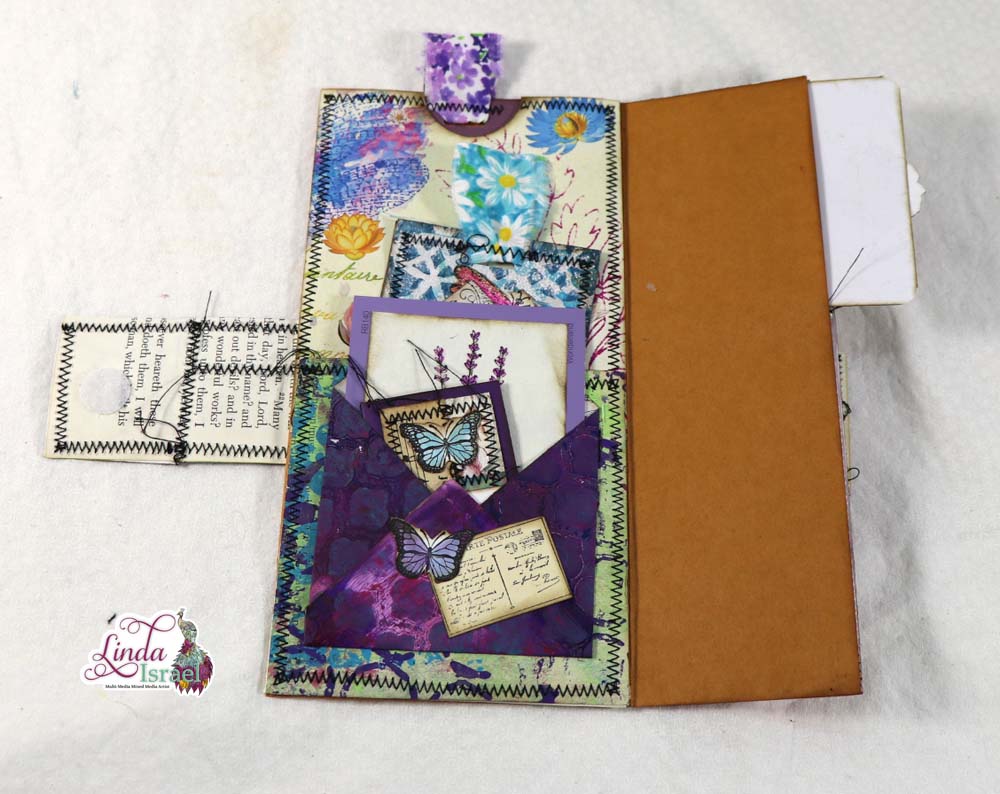
For the inside of the flap I decided not to decorate it, but you can add anything you like.
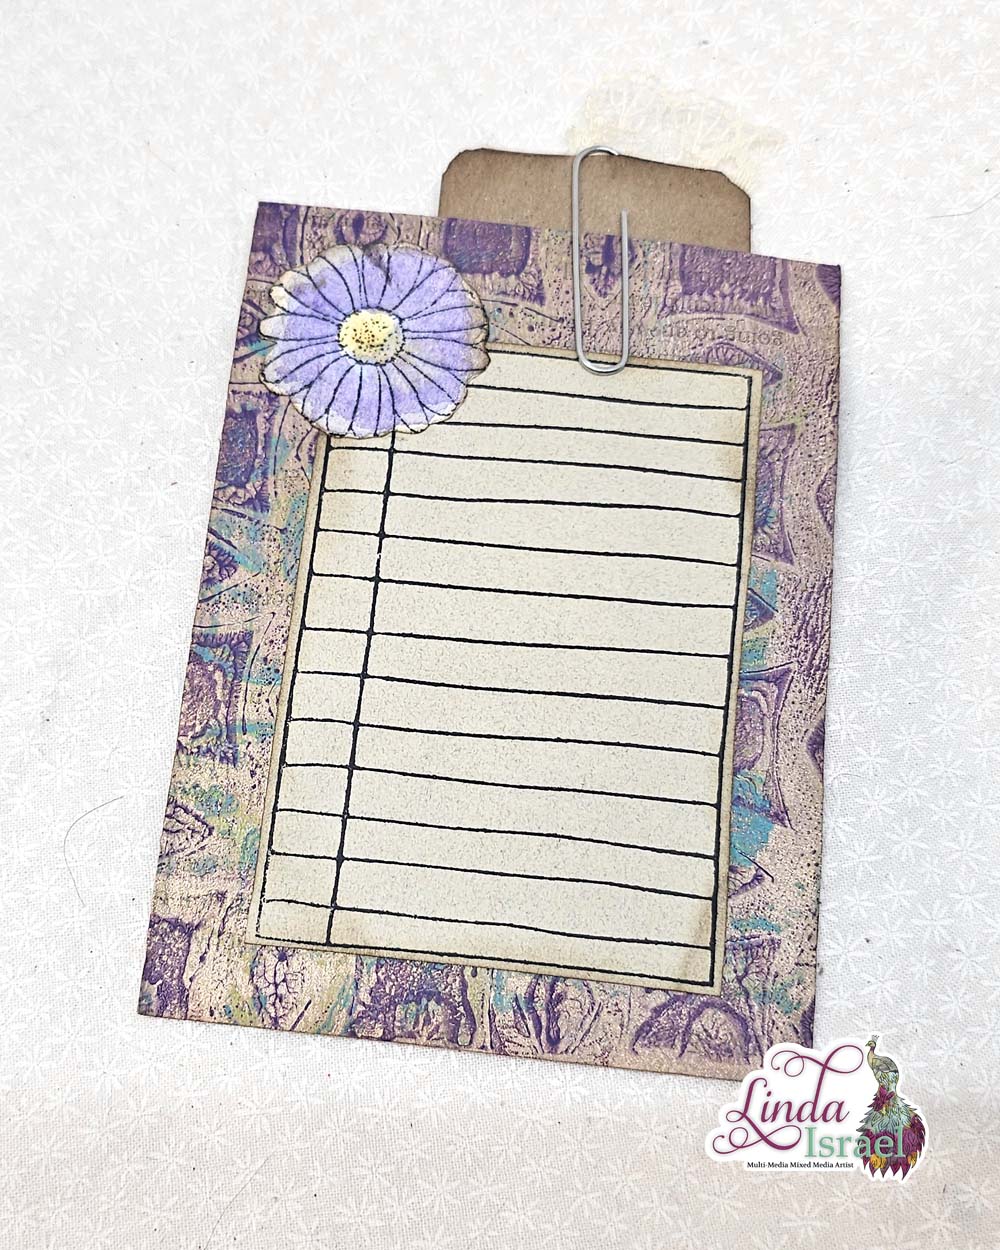
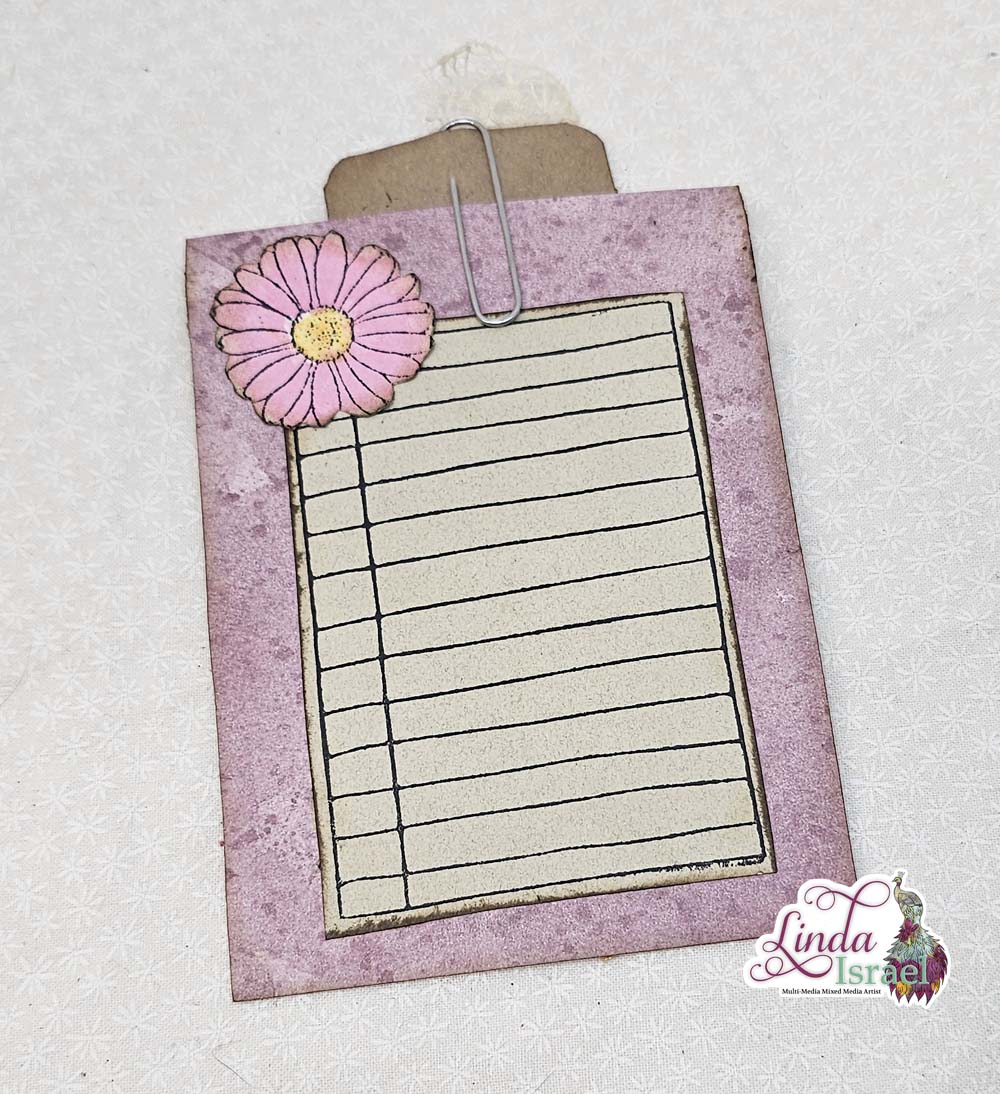
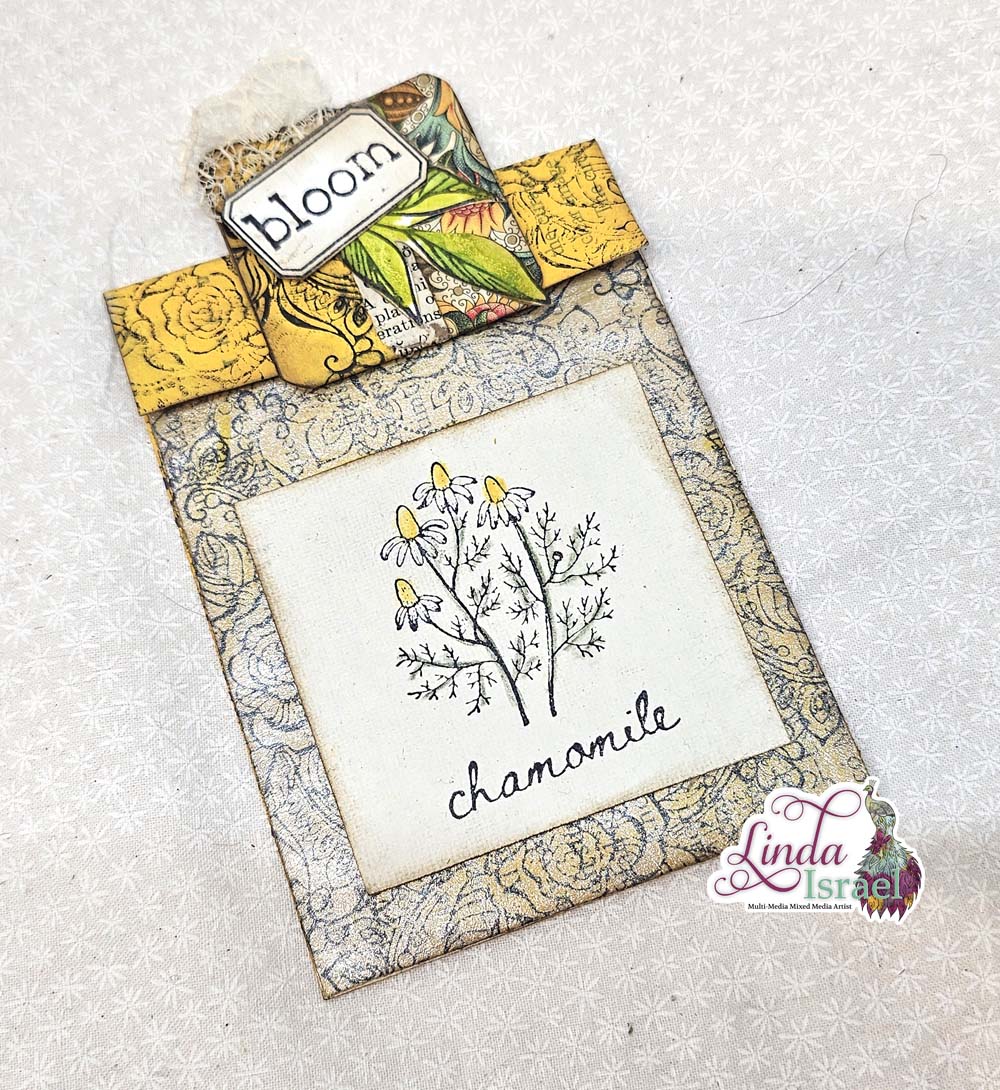
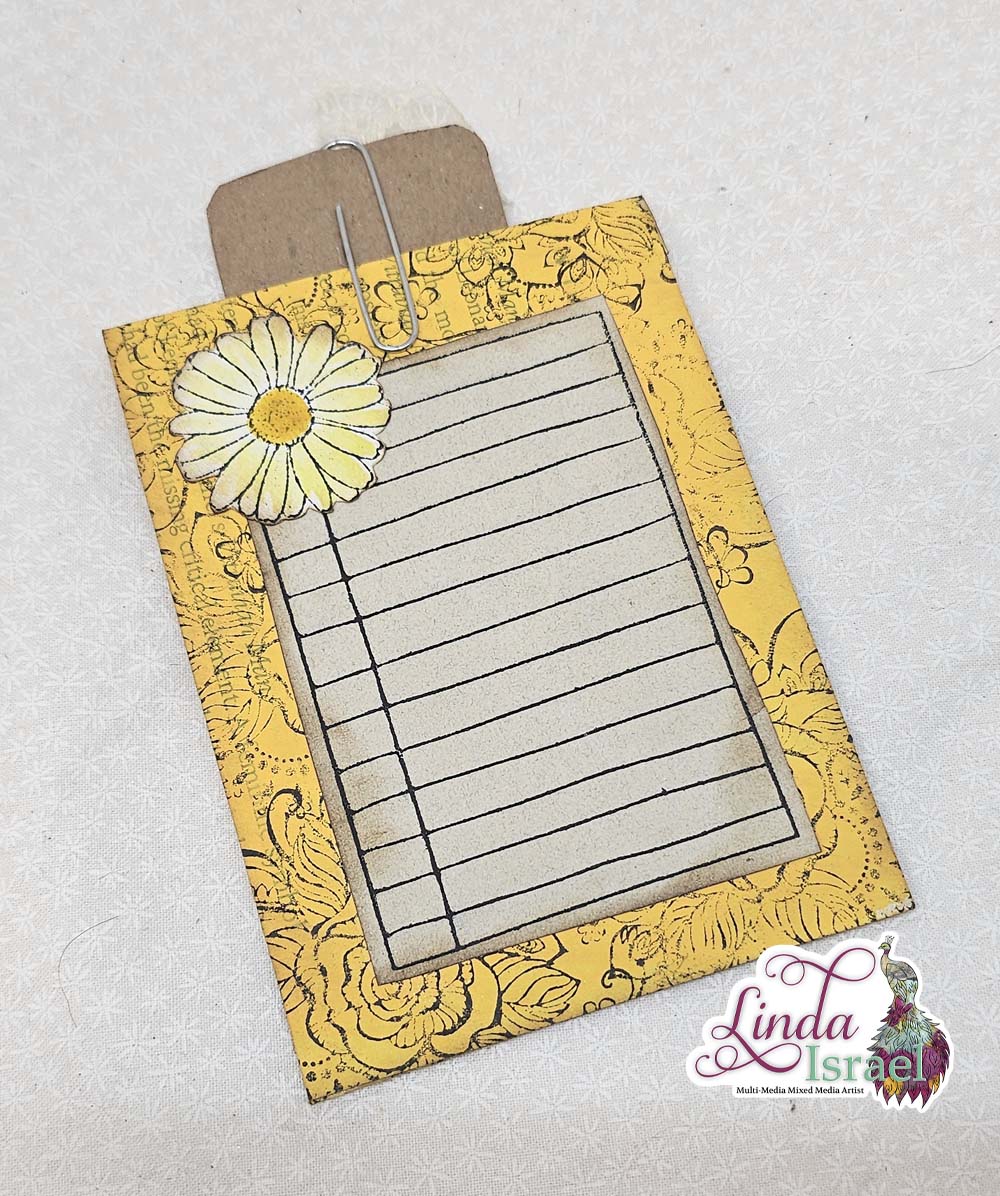
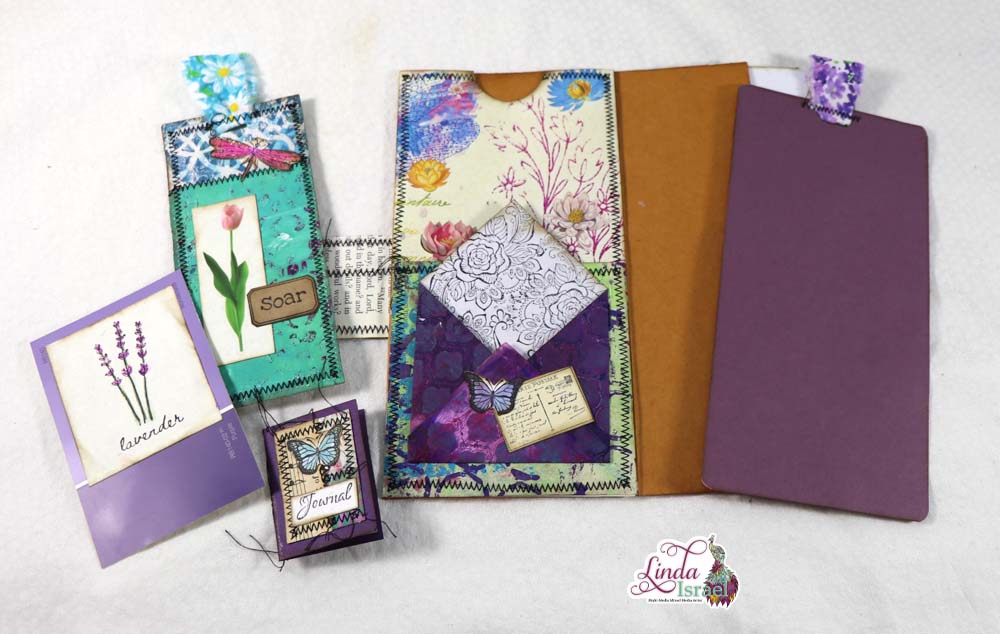
Lots of goodies for the pockets here. A mini journal, tag and an altered paint chip.
The band that holds the flip out is a two inch strip of paper that I attached scraps to and then sewed around each scrap. It measures 4.25 inches on each side.
Using Velcro I attached the strips together and then folded the excess around to the back. Then I glued the pieces on the back and to help keep it smooth I applied a piece of packing tape.
Have fun creating your own version and then join the April Challenge inside the Friendly Junk Journal People Facebook group. I love seeing what people create using an idea I share.
Visit the Friendly Junk Journal People Facebook group. Of course, you are welcome to join the Friendly Junk Journal People Facebook group. The group is growing daily and we are a friendly group willing to help each other and encourage each other.

Interested in any of the projects Linda has created? Please feel free to contact her through her website. Here is her shop, a lot of items featured and more added weekly.
Keep updated on her posts by following the blog by creating an account. Follow Linda on her Facebook Page or on Instagram for updates that may not be shared on the blog.
Thanks so much for stopping by the blog today to see the Bellyband with Flip and Pockets Tutorial.