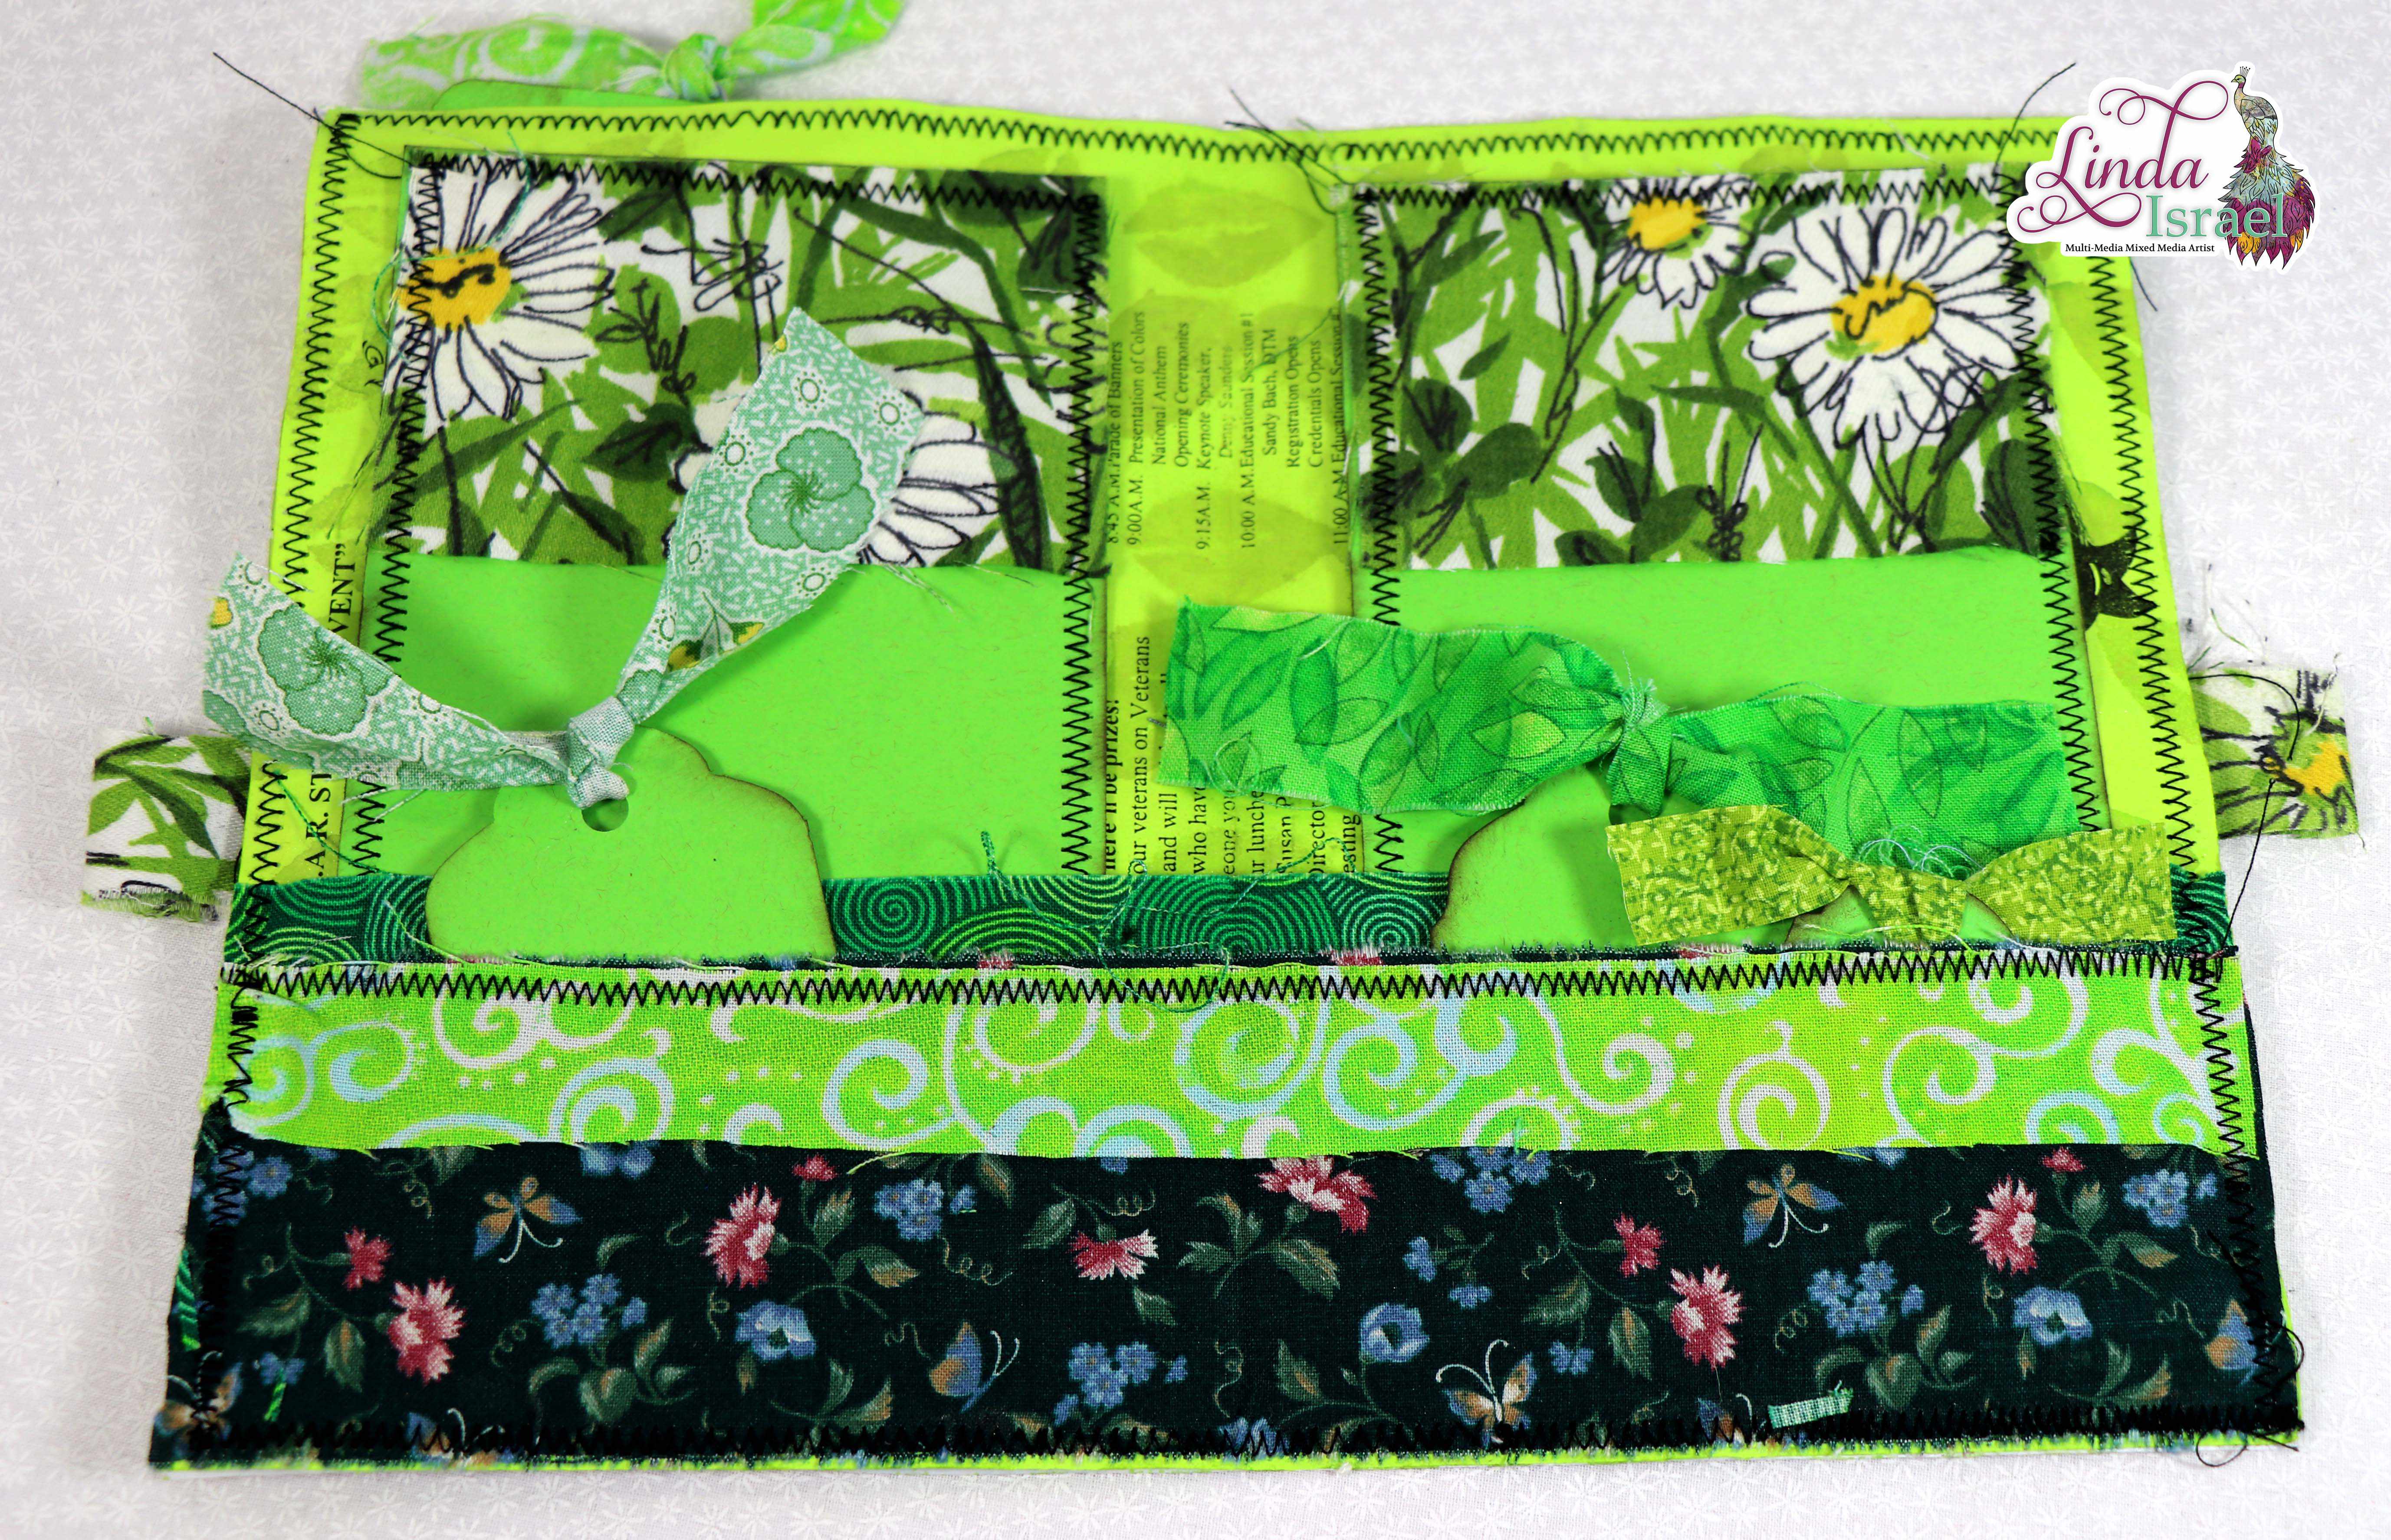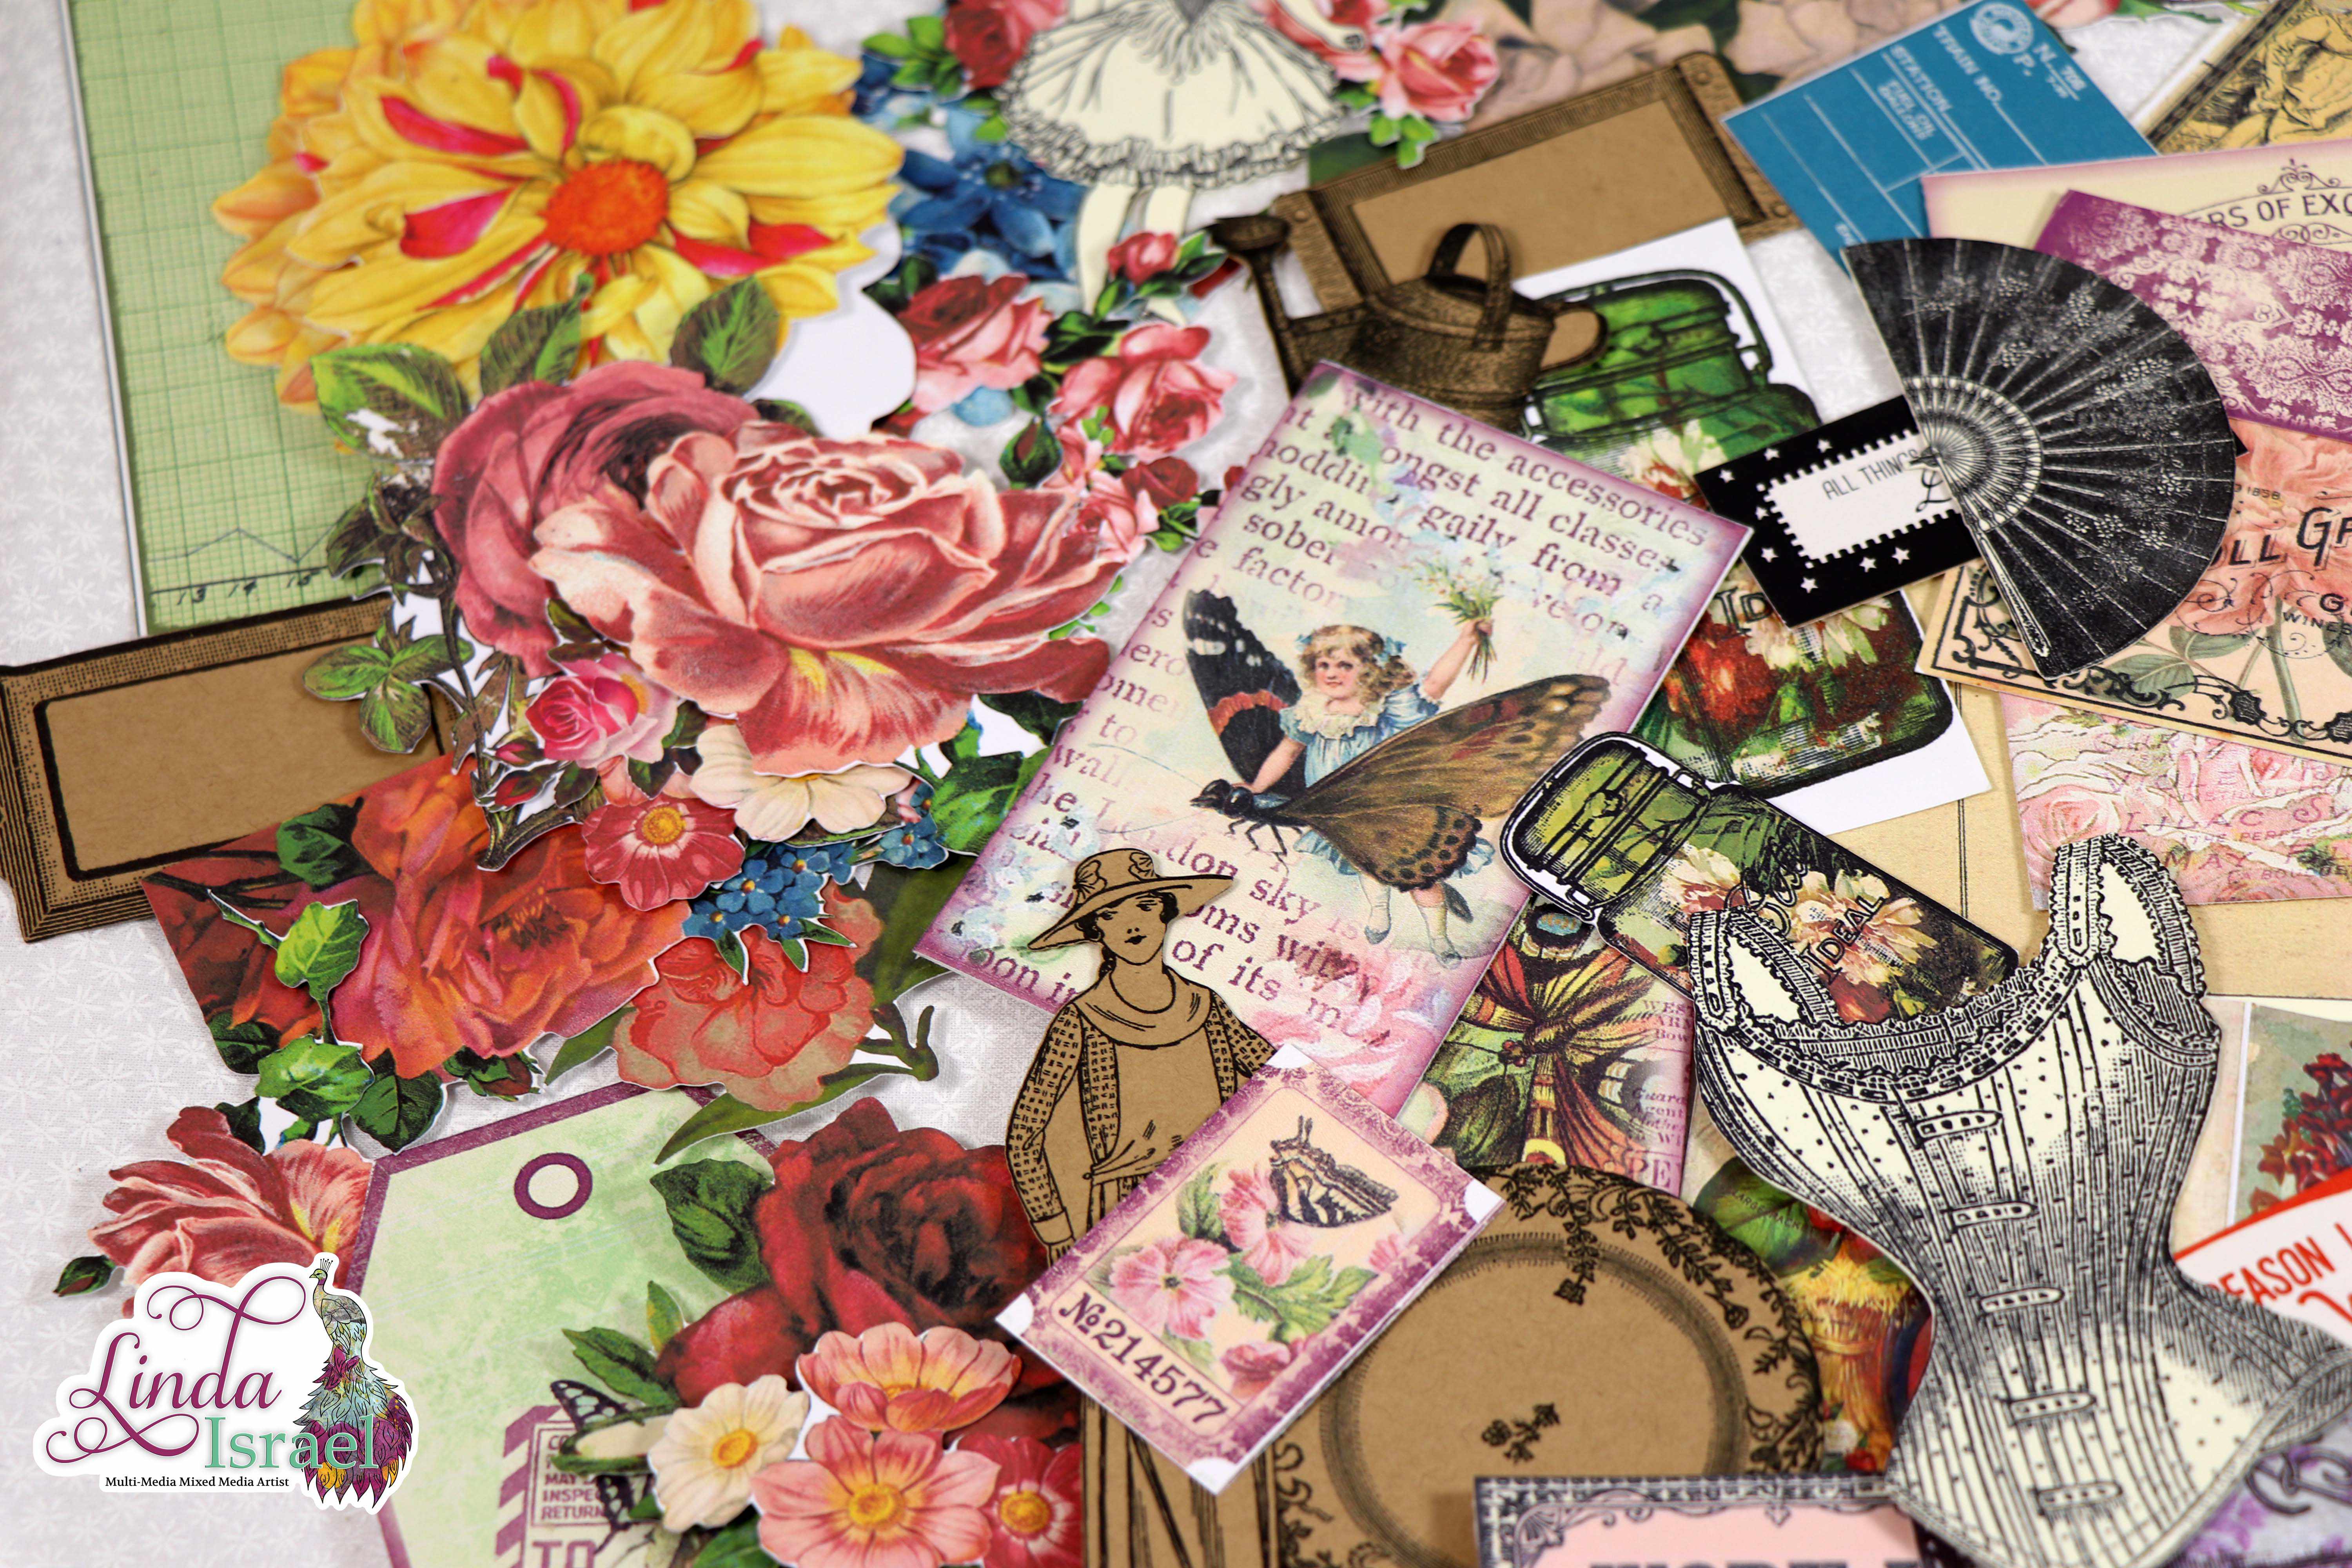
Calico Collage
Shabby Chic Cat Tag Tutorial
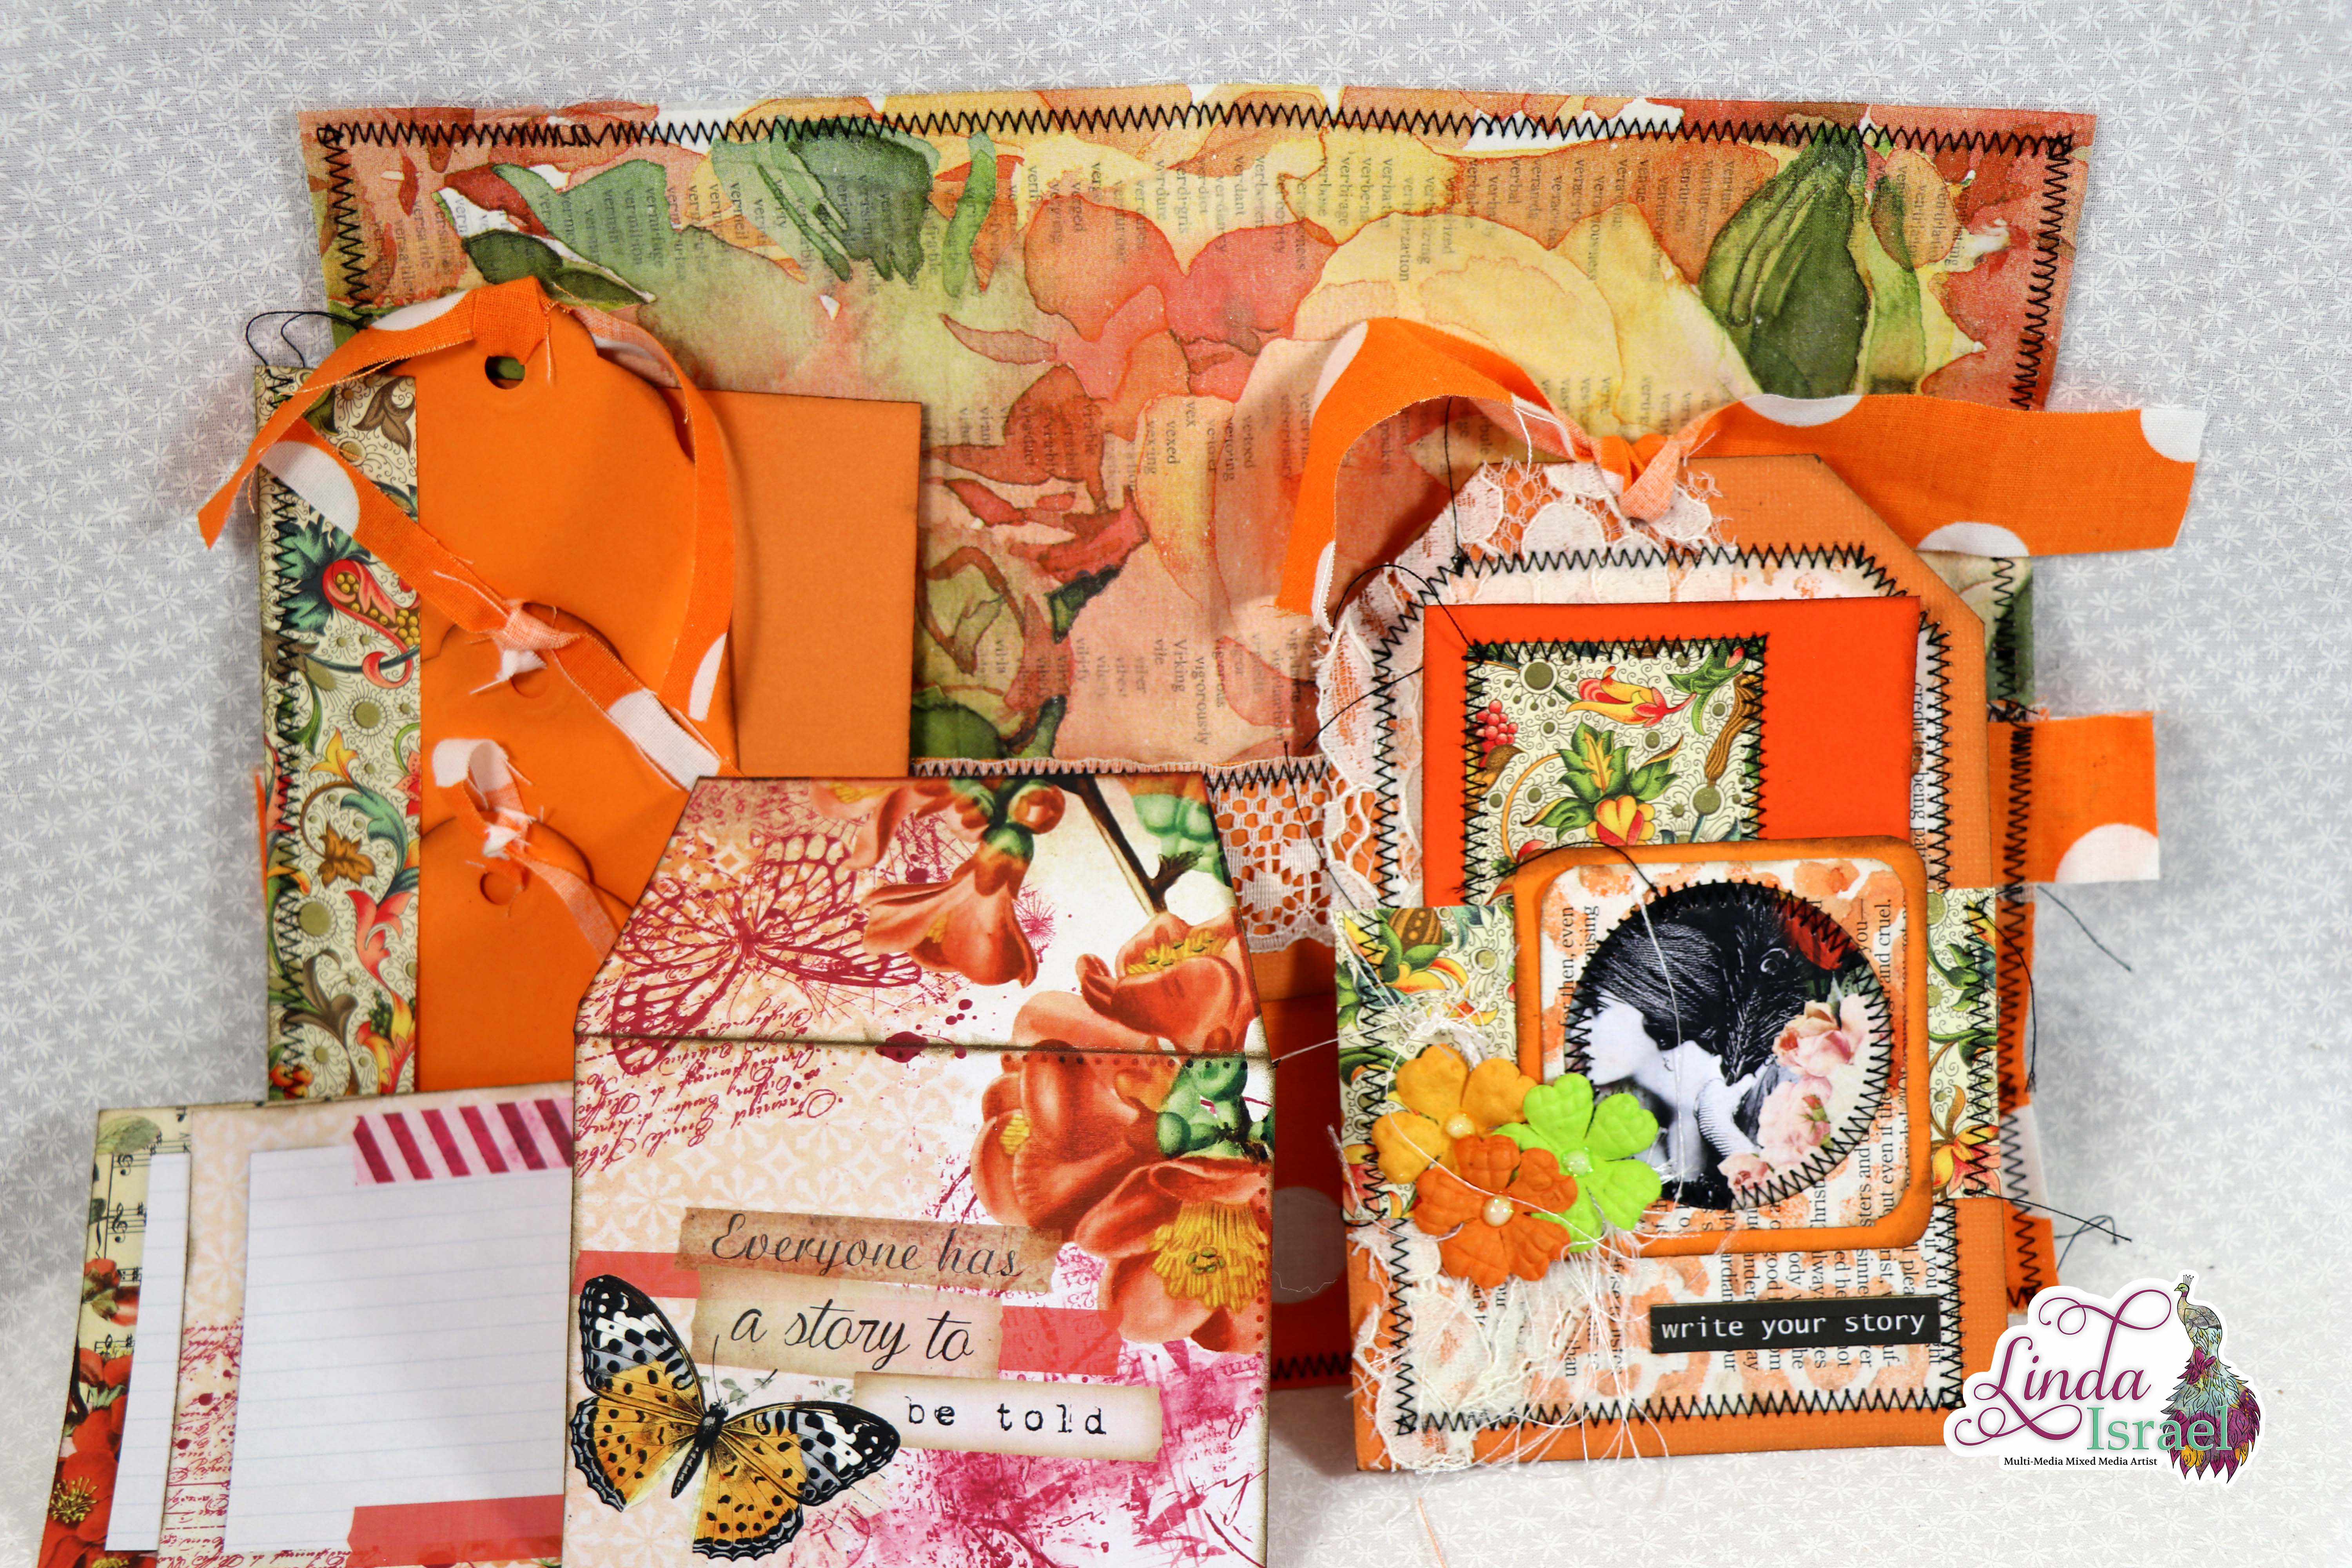
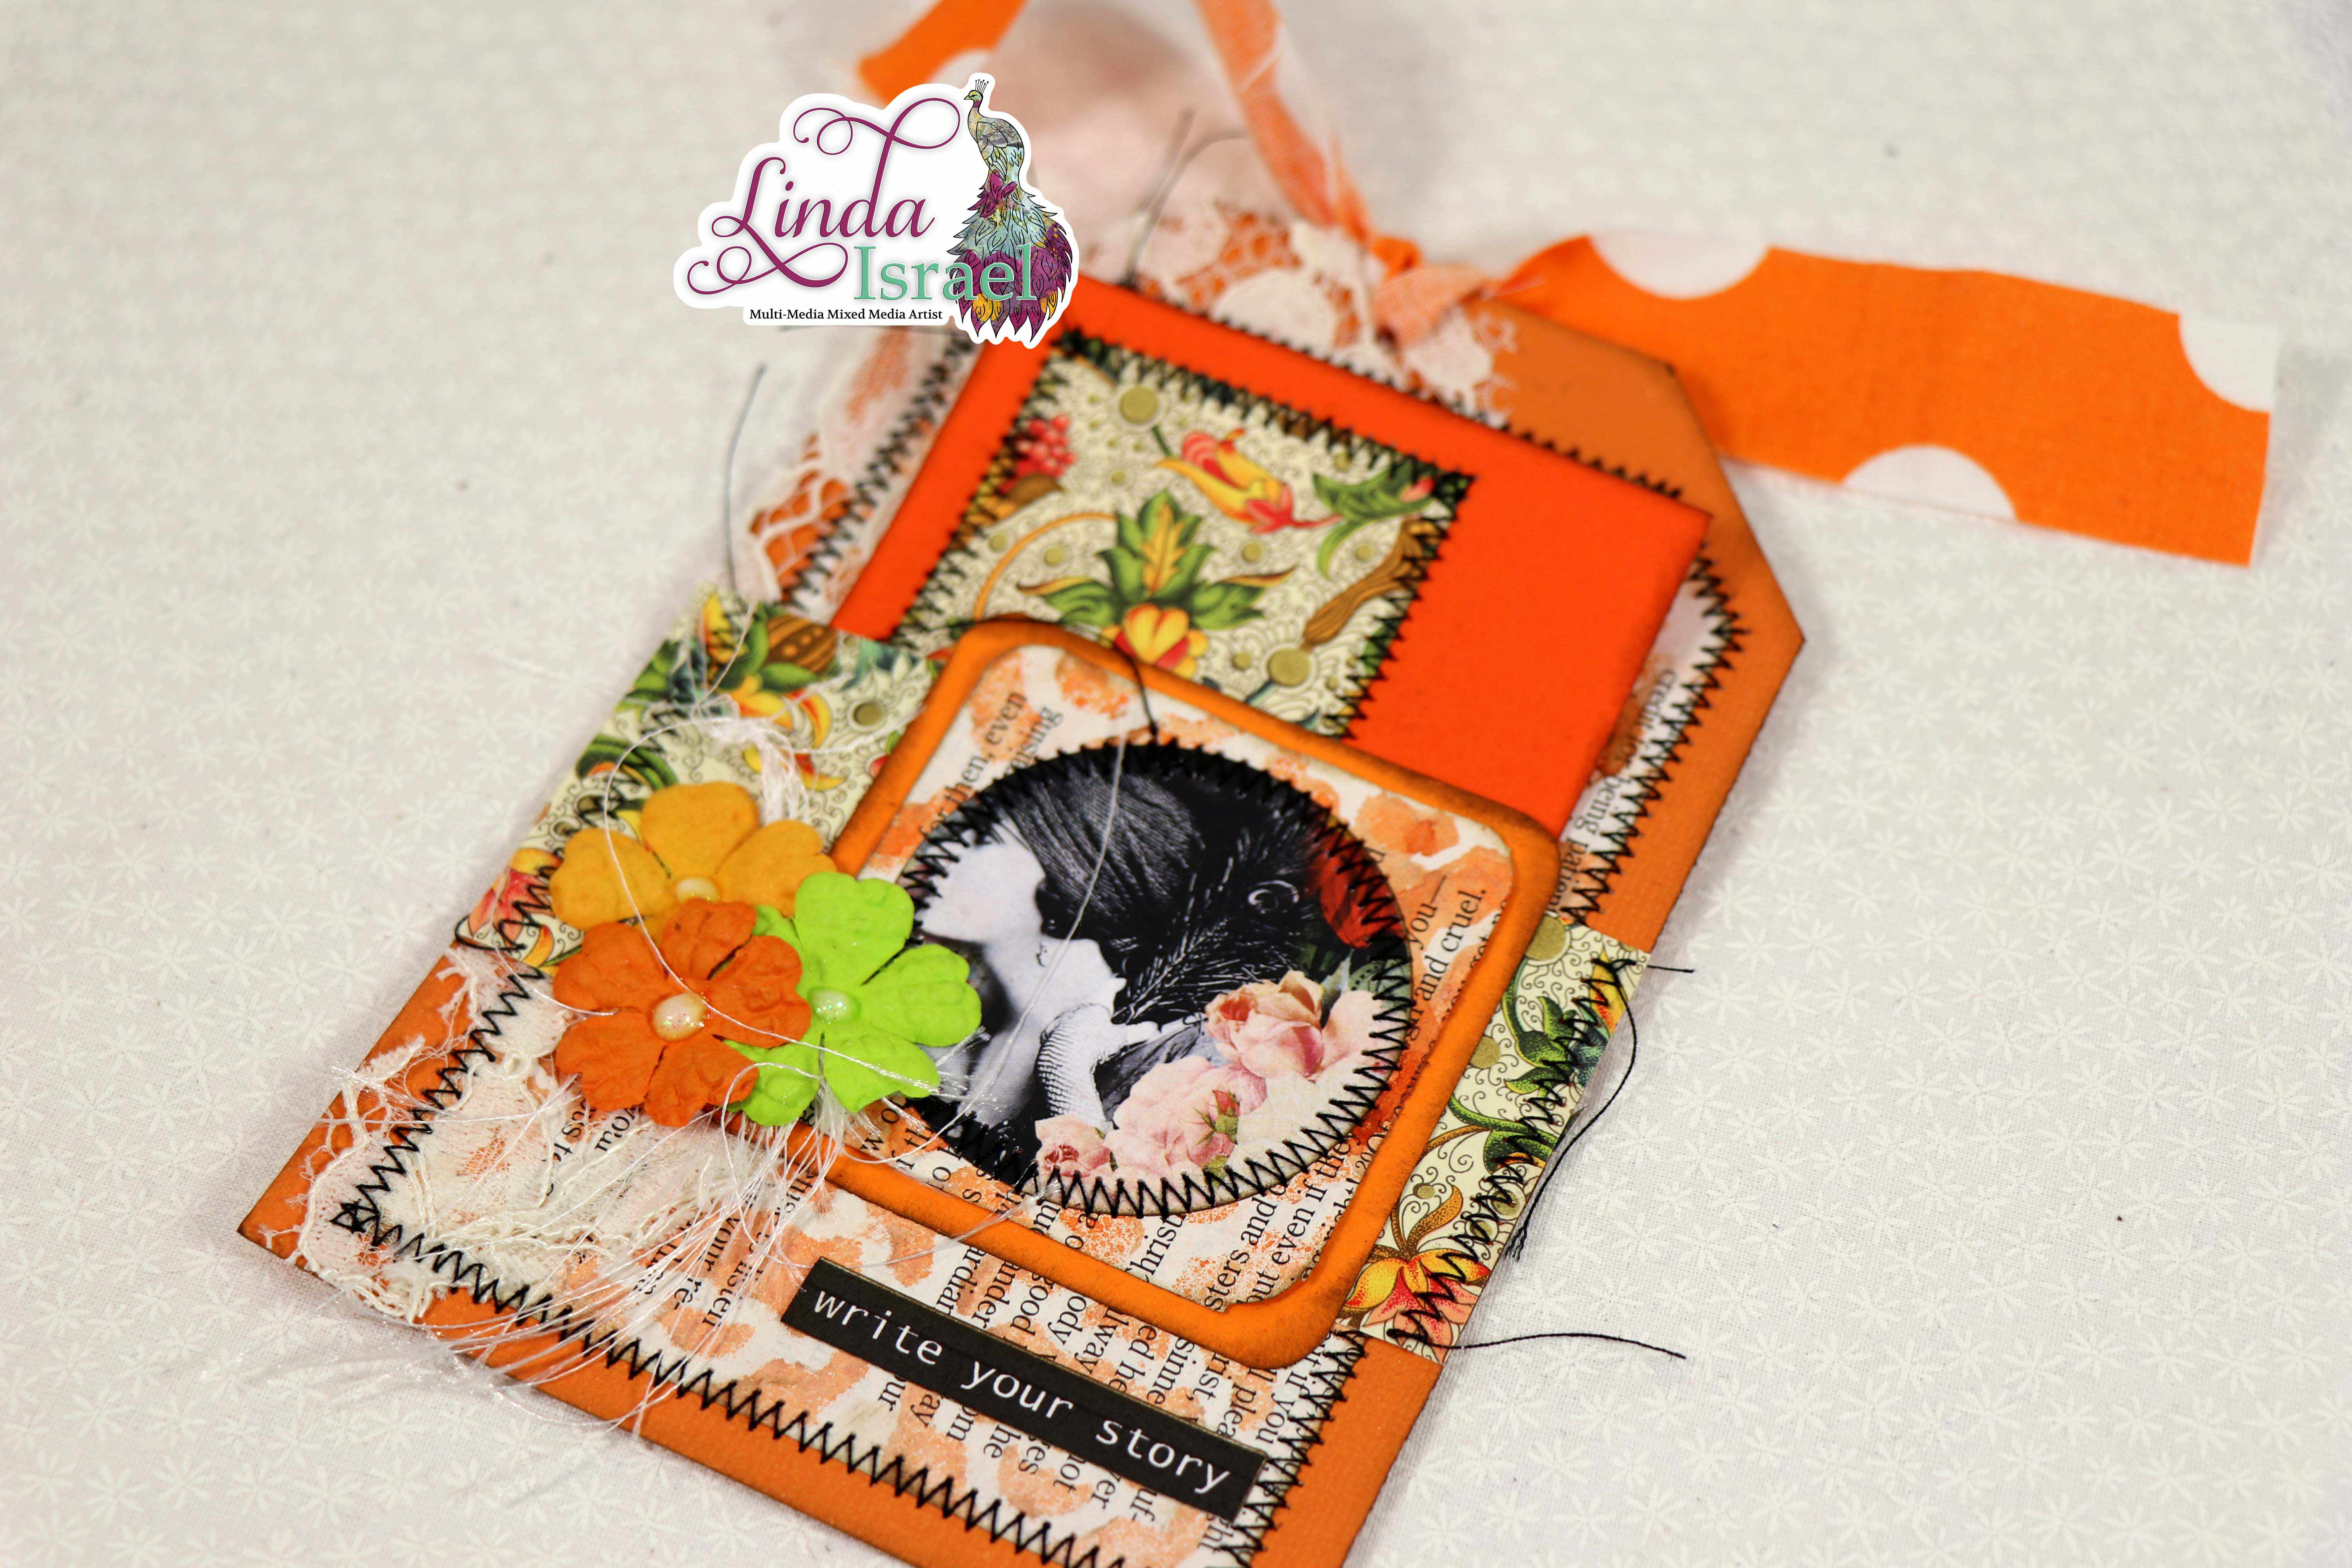
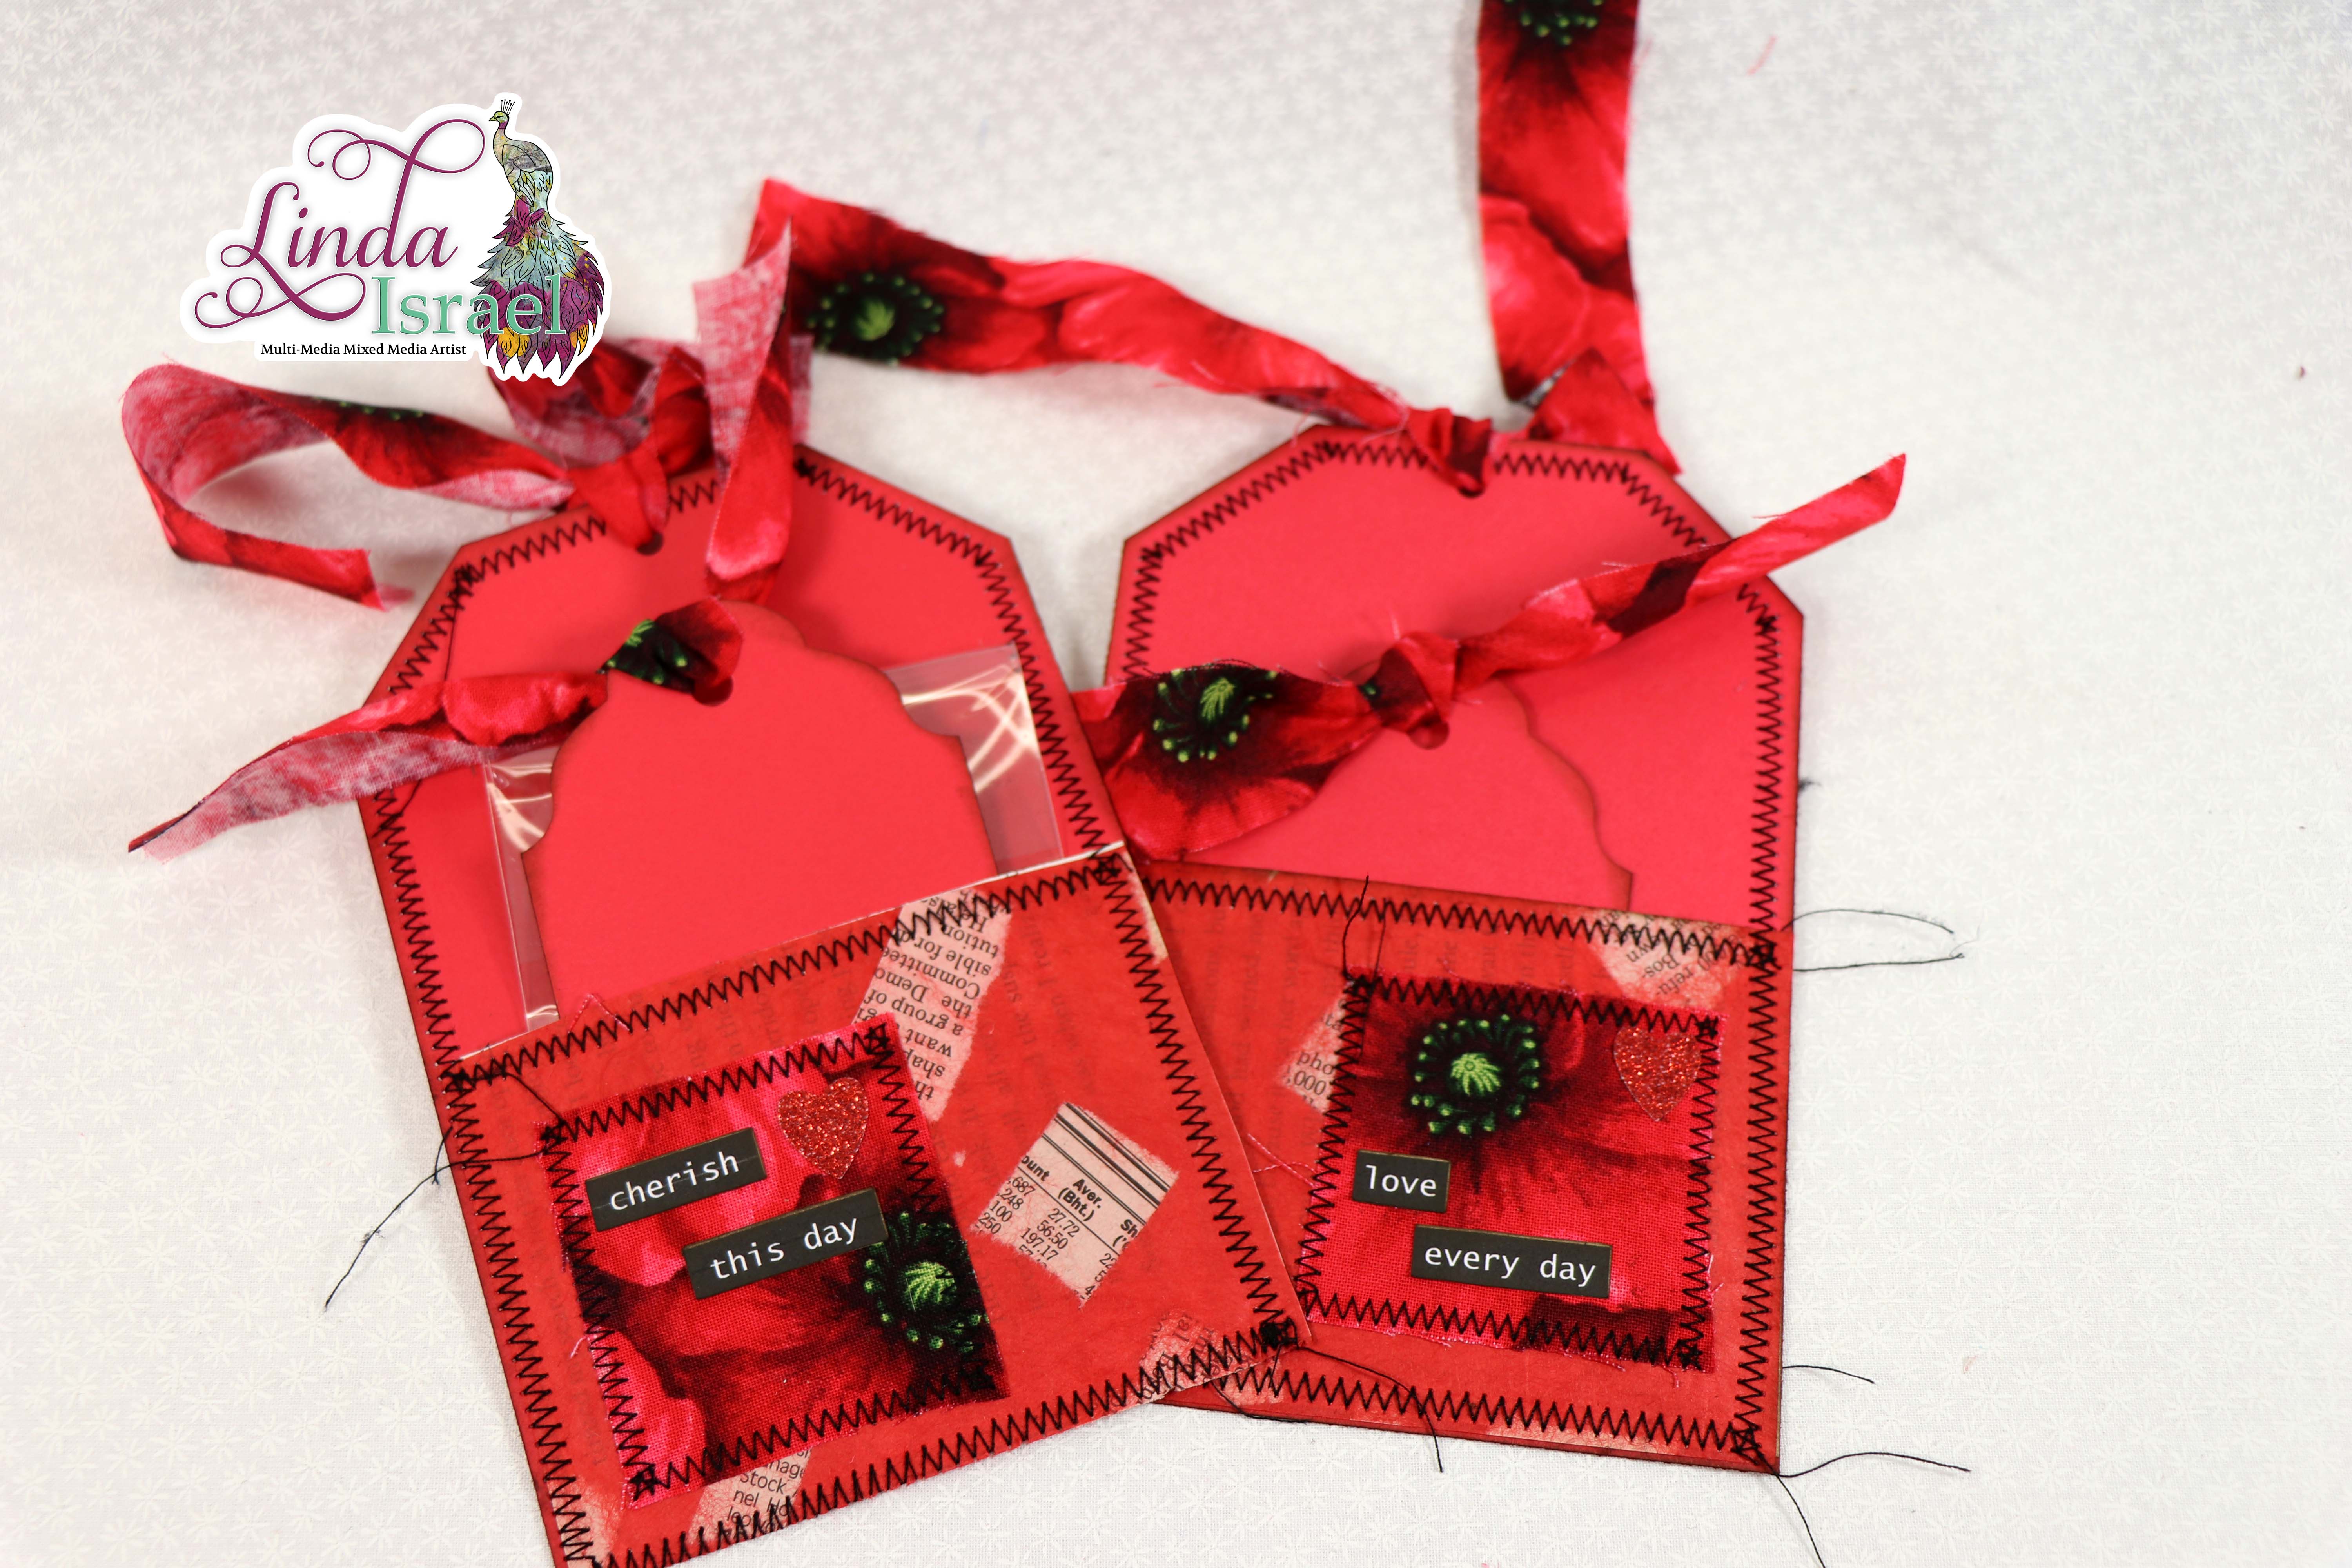
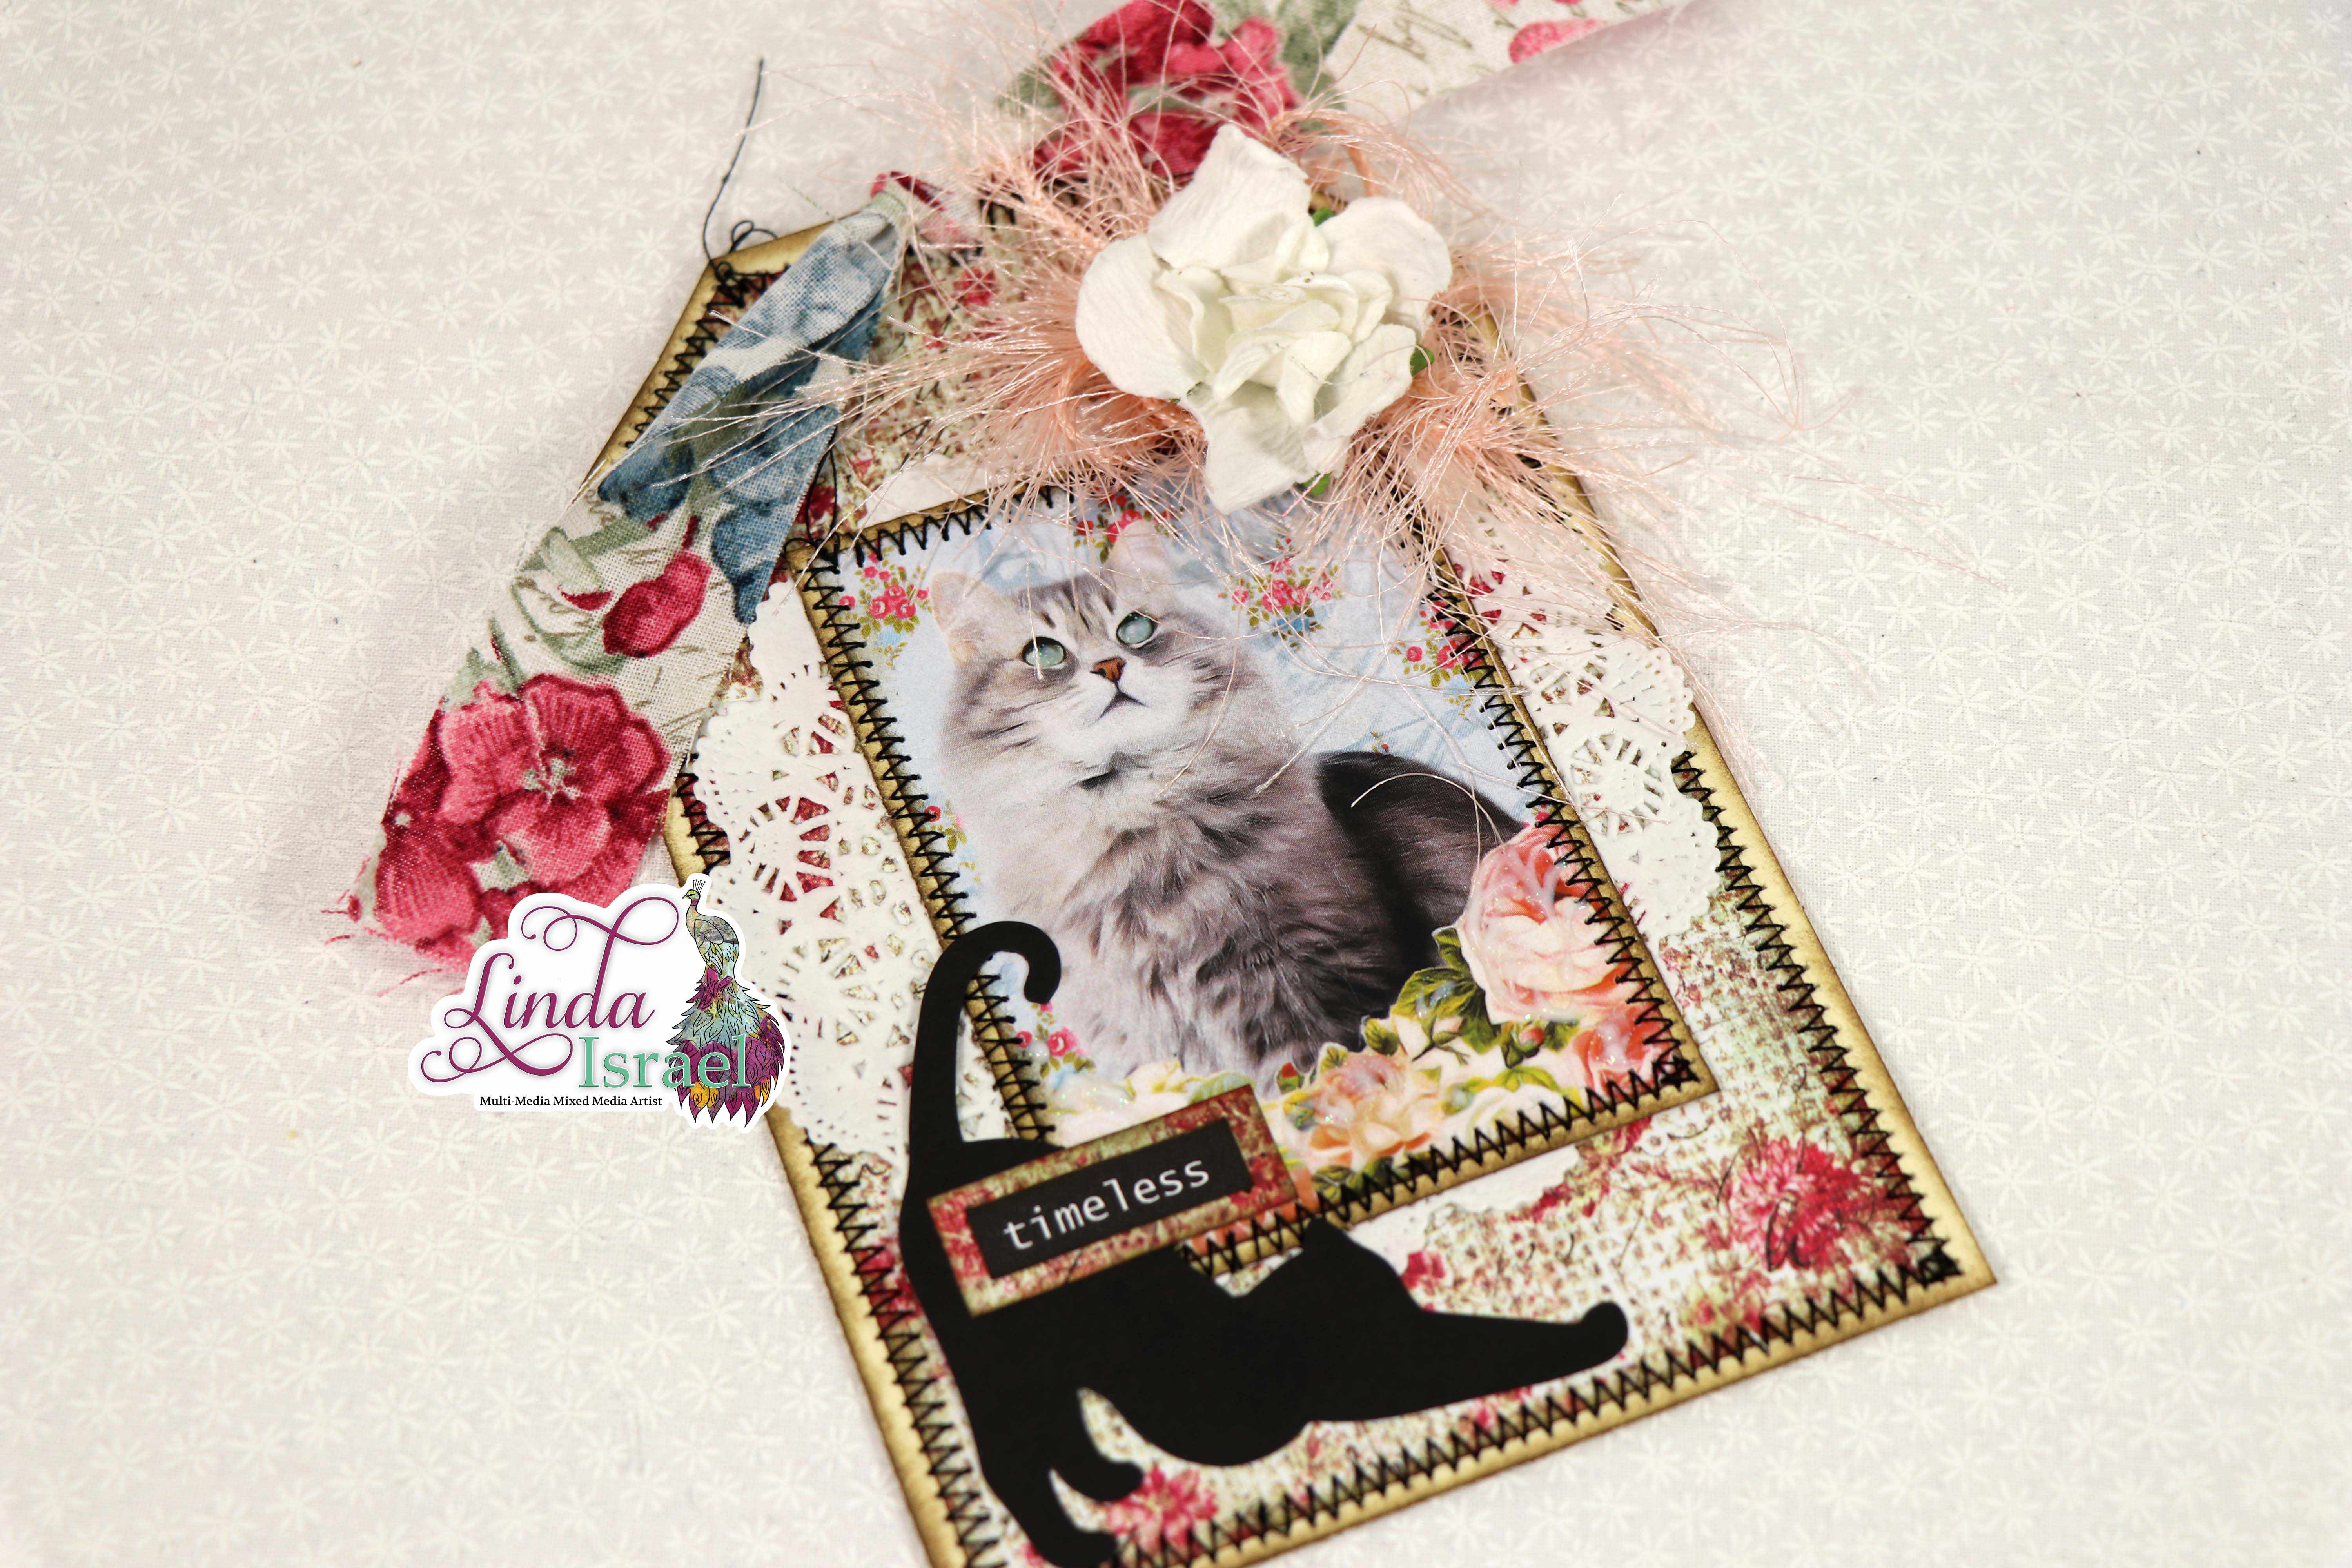
Today I’m sharing another tag tutorial this one is a Shabby Chic Cat Tag Tutorial made for a swap. Using Calico Collage digital images, scrapbook papers, die cut shapes, flowers and more I share how to create a super cute cat tag.
Shabby Chic Cat Tag Tutorial video.
Supplies used in the Shabby Chic Cat Tag Tutorial.
- Calico Collage Painted Kittens/Cats digital download
- Doily 4 inch
- Scrapbook paper cut 3.75 x 5.75 inches
- Die cut cat shapes
- Words
- Distress Ink, Walnut Stain
- Blending Tool
- Best Glue Ever
- Eyelash yarn
- Prima French Riviera Flowers 1.5″ To 2.25″, 8/Pkg-Marseille
- Tulip Dimensional Glitter Paint
- No-Clog Writing Cap
- Sewing Machine
- Ivory Cardstock cut 4 x 6 inches and 2.5 x 3.5 inches
- One inch fabric strip about 8 inches long
- Glue Gun
To begin this Shabby Chic Cat Tag Tutorial we start with cutting a 4 x 6 ivory cardstock for the tag base. Make the tag by cutting the top corners off to make a tag shape.
Choose