One more page for the rainbow junk journal. Today I’m sharing an Orange Junk Journal Page Tutorial. Only two more to make for my junk journal. In this tutorial, I’ll share how to apply a napkin to a page and how to attach paper for additional writing space.

Orange Junk Journal Page Tutorial Video.
Supplies used for the Orange Junk Journal Page Tutorial.
- Calico Collage Natures Glory digital journal kit
- Fabric
- Napkin
- Clear tape
- Glue Stick
- Lace
- Scraps of paper
- Distress Ink, Walnut Stain
- Blending Tool
- Dictionary page
- Tattered Angels Glimmer Mists, Safety Orange, Italian Sunset
- Fiskars Scissors
- Lace Stencil
- Sewing Machine
- Fiskars Paper Cutter
- Washi Tape
- Orange Tag Tutorial

Let us begin the Orange Junk Journal Page Tutorial. Starting with a napkin, separate the layers by using a piece of clear tape on the back side to peel the layers from the printed design.
Next, select a dictionary page and cut to 8 x 10.5 inches in size apply glue stick all over one side of the page. Carefully lay this page on the smooth napkin. Gently smooth the two together. Flip the dictionary page over and apply glue stick on that side and smooth the napkin on top.
Trim off the excess napkin with a paper trimmer or scissors. We want clean edges.
Since the napkin didn’t cover all of one side of the page, let’s make a pocket using a scrap of fabric measuring 4 x 10.5. Cut a piece of cardstock at 1.25 x 10.5 and a pretty lace at 10.5 inches long.
Apply distress ink on the side and bottom edge of the strip of cardstock. Make a sandwich with the Fabric, Cardstock Strip and Lace on top and sew these layers together.

Sew the pocket on the page and around the edges. Doing this attaches the pocket to the page and gives a decorative element around the edges too. Use a strip of a 1-inch x 3-inch piece of orange fabric to make tabs on the sides.
Select a page from the Calico Collage Natures Glory Digital journal kit and print lines on the back side. Trim page, removing the white edges around the page measuring 10.45 in width.

Spray the back side of this page through the lace stencil using the two orange colors of Tattered Angels Glimmer Mists.

Fold the page and apply distress ink around the edges. Attach the printed image to the napkin side of the page without a pocket using washi tape.
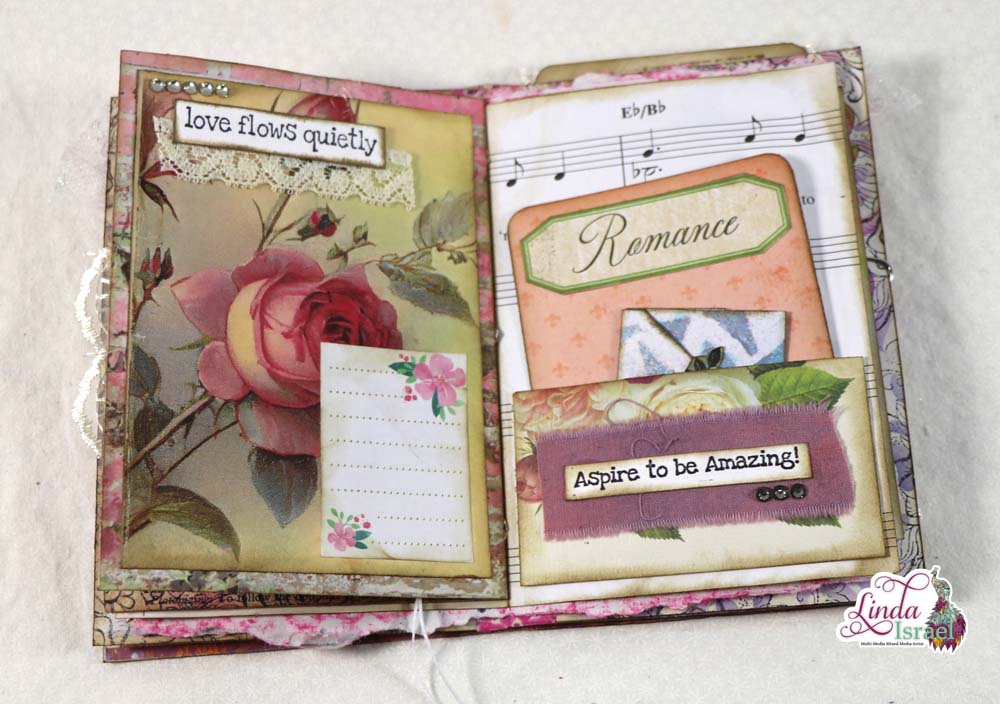
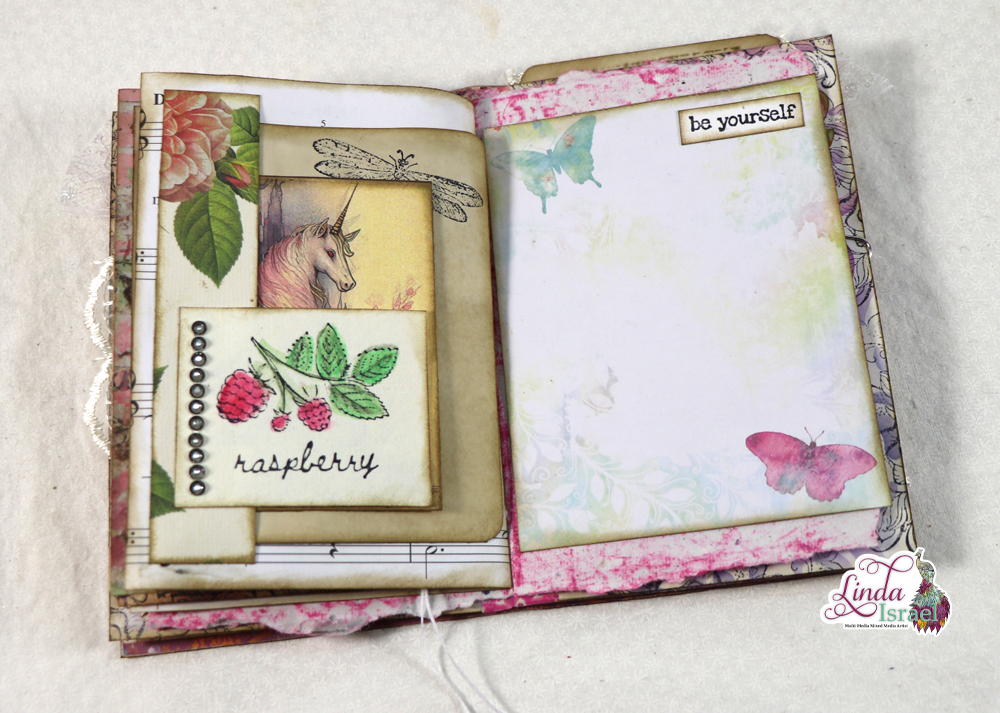
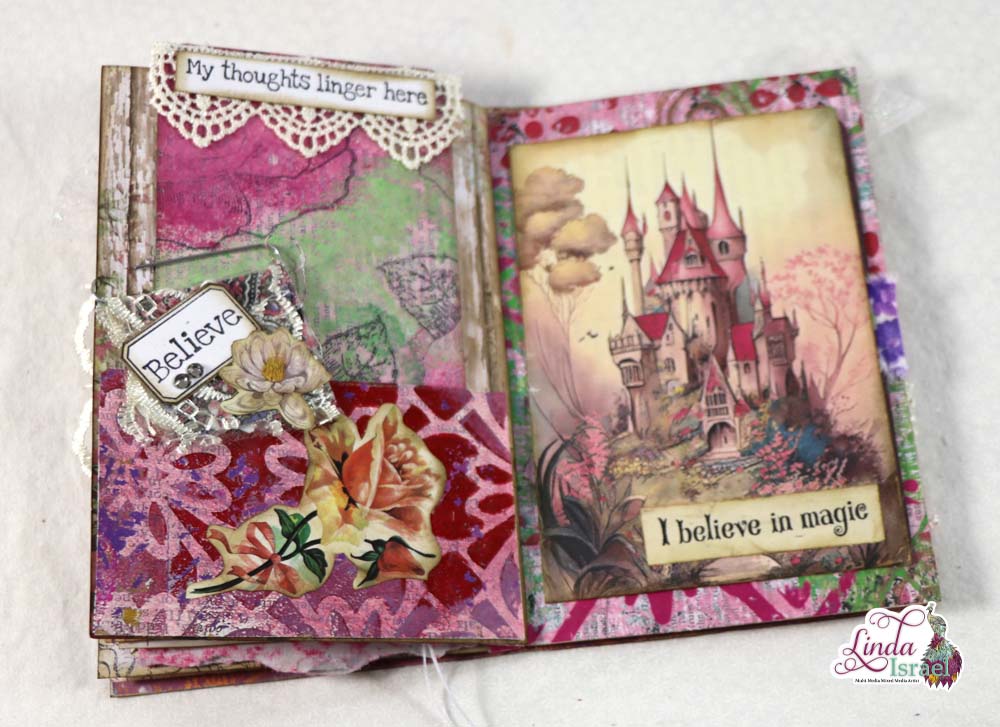
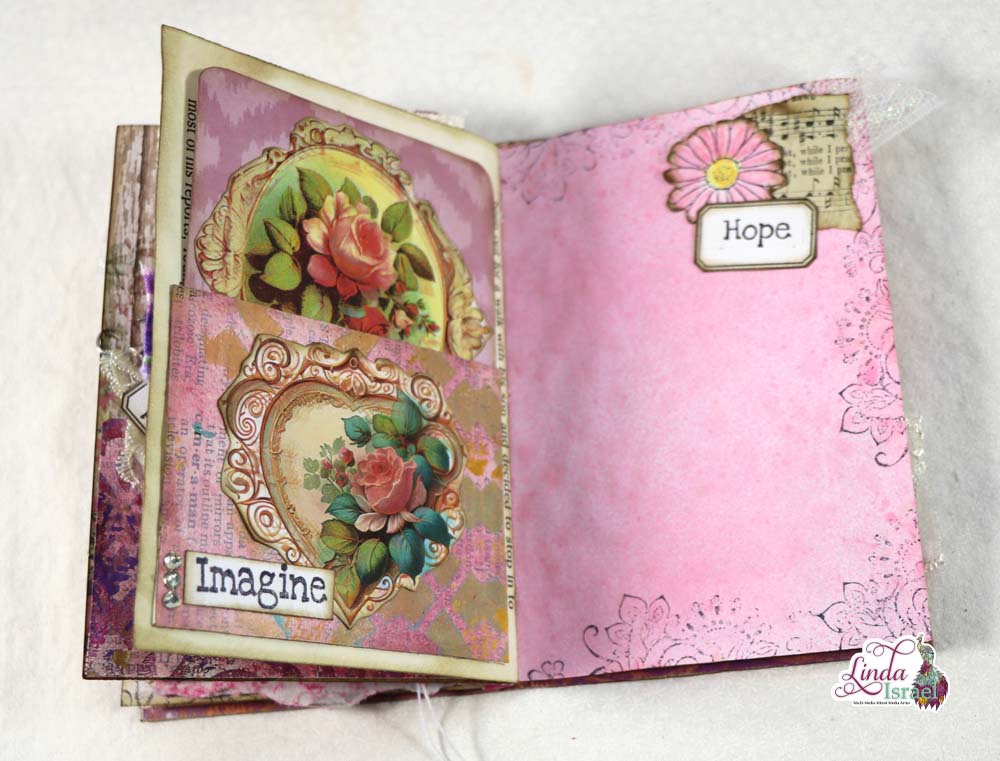
Add Journal cards, envelope and tags to the pockets and the Orange Junk Journal Page Tutorial is complete.

Make sure to check out the Friendly Junk Journal People Facebook group. Of course, you are welcome to join the Friendly Junk Journal People Facebook group. The group is growing daily and we are a friendly group willing to help each other and encourage each other.

Interested in any of the journals I created? Please feel free to contact me through my Facebook Page. Here is my shop, I have a lot of items uploaded and add more weekly.
Keep updated on my posts by following me. Follow my blog with Bloglovin. Or Follow my Facebook Page or on Instagram for updates that may not be shared on my blog.
Thanks so much for stopping by my blog today to see the Orange Junk Journal Page Tutorial.