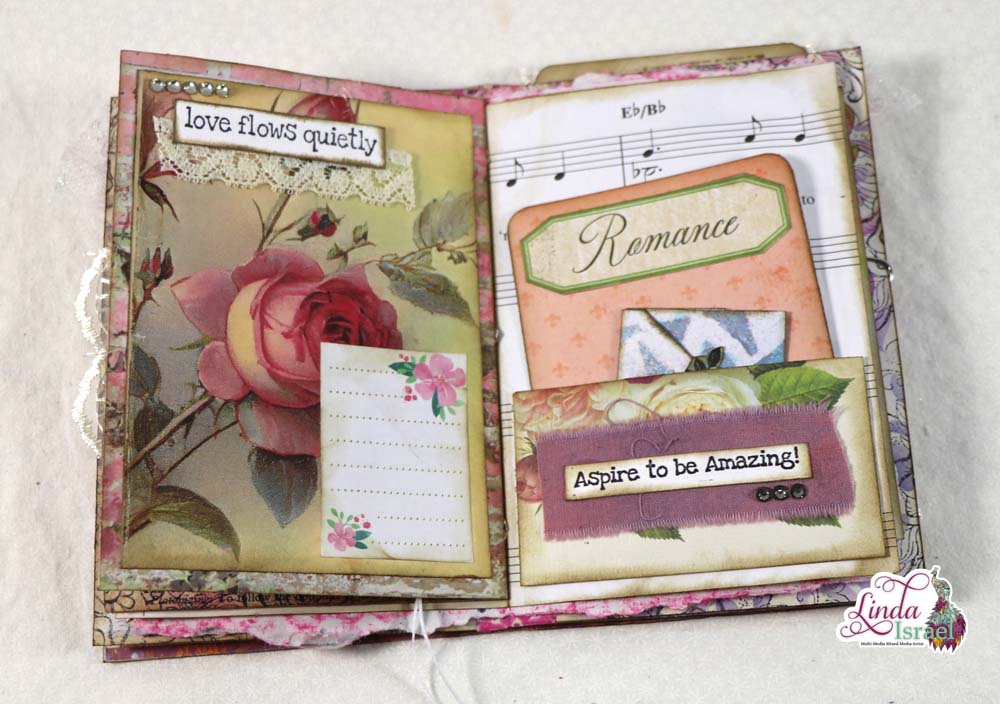
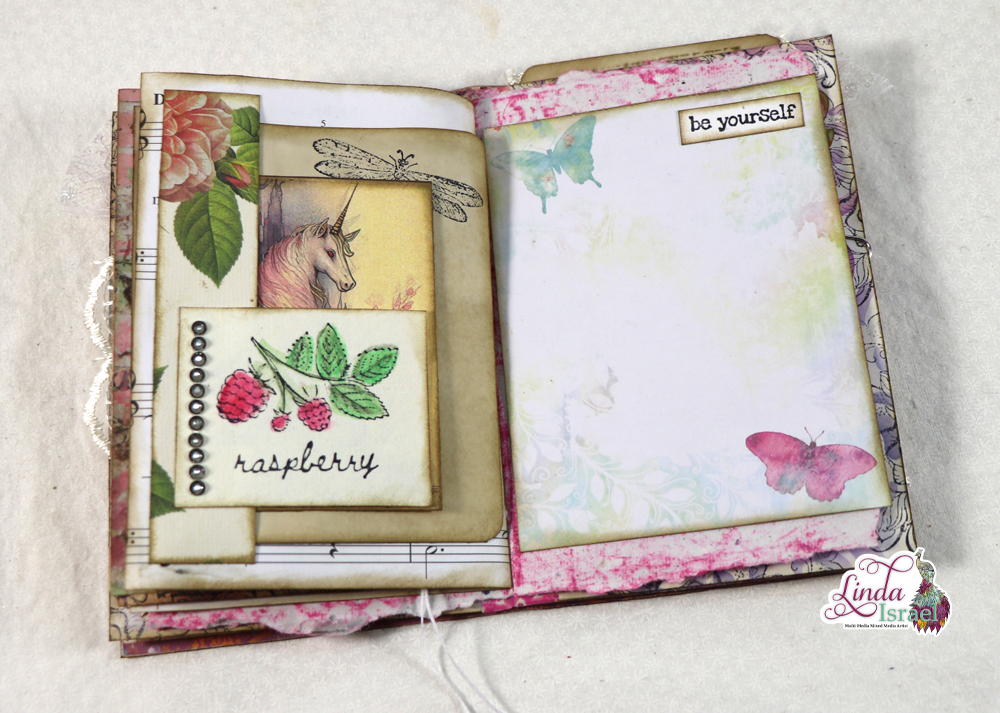
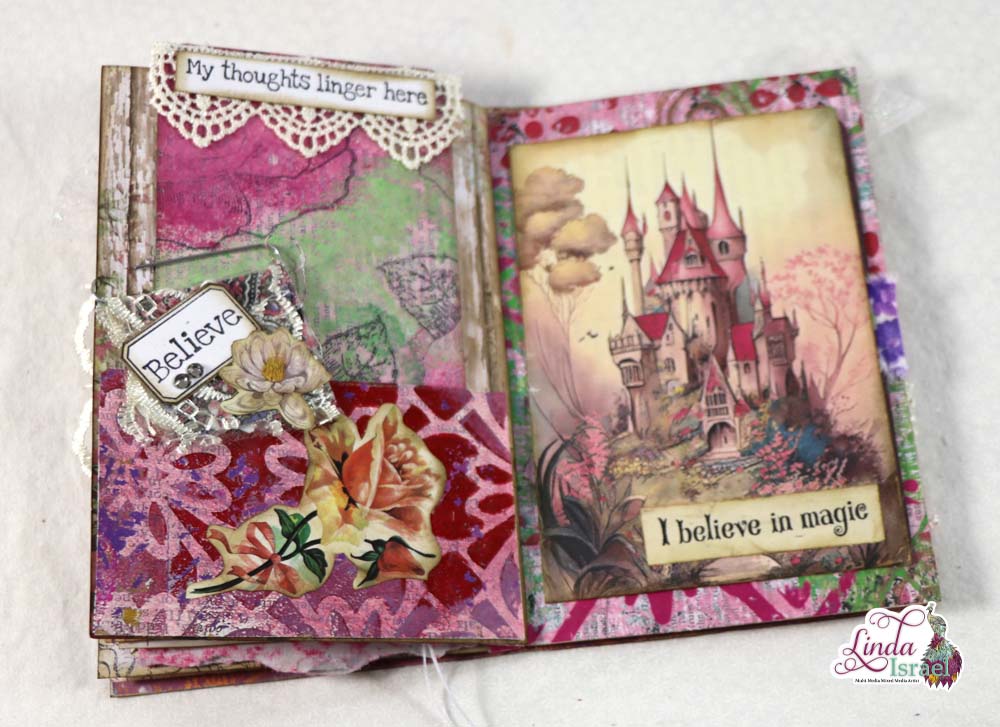
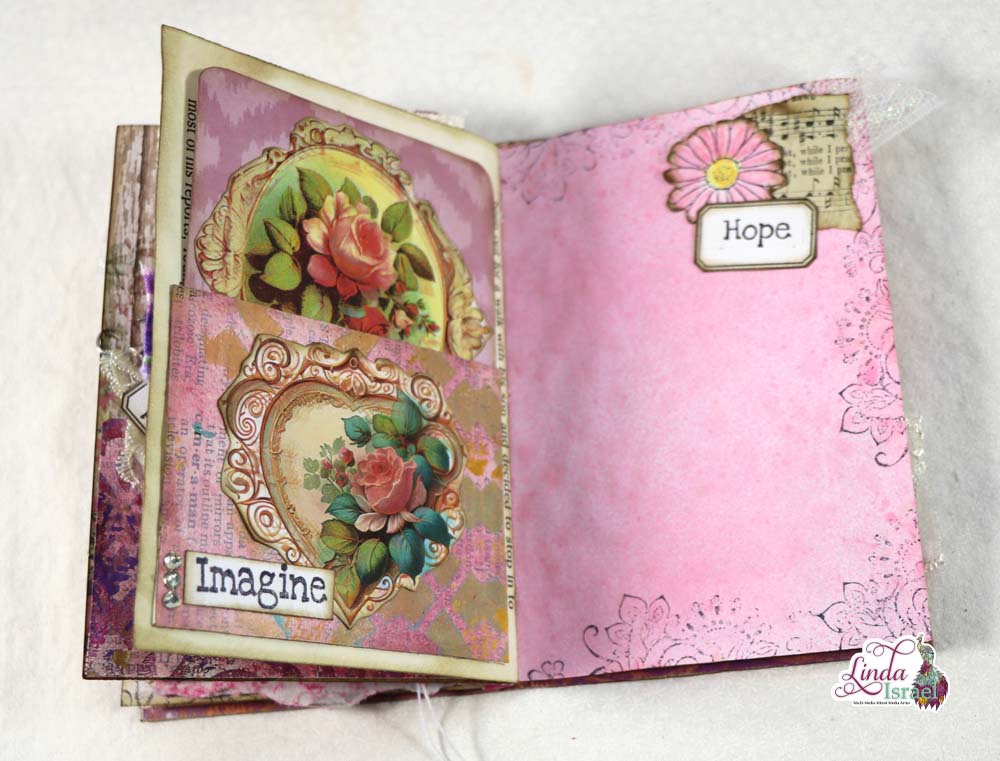
Today I’m sharing an Orange Tag Tutorial with you. The tag will be a part of my Orange Junk Journal Page Tutorial and I wanted to give more time to make the tag so that it was easy to follow along. There are two more pages to complete and then I’ll have a rainbow done for my junk journal.
Orange Tag Tutorial Video
Supplies used for the Orange Tag Tutorial.
- Calico Collage Beauty in Roses 2.5 inch circle images
- Orange 4 x 6 inches tag base from cardstock
- Book page cut at 3.75 x 5.75 inches.
- Lace Stencil
- Fiskars Scissors
- Tattered Angels Glimmer Mists, Safety Orange, Italian Sunset
- Copy Paper
- No-Clog Writing Cap
- Best Glue Ever by ScraPerfect
- Lace
- Sewing Machine
- Heat tool
- Distress Ink Walnut Stain
- Crop a dial corner chomper
- Scraps of paper
- Eyelash trim/yarn
- Words
- Paper Flowers
- Tulip Dimensional Fabric Paint
- Crop a dial eyelet setter and hole punch
- Fabric cut into a one-inch strip by 8 inches long
Let’s get started on this Orange Tag Tutorial. Begin with cutting a scrap of orange cardstock at 4 x 6 inches. Then cut a book page about 3.75 x 5.75 inches. Add distress ink around the edges.
Spray Tattered Angels Glimmer Mists on a scrap of book page measuring 2.25-inch square and the book page topper through the Lace stencil. Mop up the excess Tattered Angels Glimmer Mists with a sheet of copy paper or book page. These make great backgrounds.
Adhere the book page using the No-Clog Writing Cap on the Best Glue Ever. A small bead of glue is all that is needed. Select a scrap of lace and adhere on top mostly on the left side of the tag.
Select a patterned paper that is 4 inches wide by 2 inches tall this will become a pocket on the tag. Cut a 2.5-inch square out of a scrap of orange cardstock. Select an image from the Calico Collage Beauty in Roses. Apply distress ink, Walnut Stain around the edges of all of these pieces.
Adhere the Circle image on top of the book page, then the book page on top of the cardstock. Next, adhere these on top of the 4 x 2-inch strip on the right side.
Take the tag base and the pocket pieces to the sewing machine. Add stitches around the perimeter of the tag, attaching the lace to the base. Ad stitches around the perimeter of the circle image and then down the sides of the pocket.
Adhere the pocket to the tag with the Best Glue Ever, making sure to only glue on three sides.
Lay down a snippet of eyelash yarn. Then, select a few paper flowers to match and adhere on the left side of the pocket over the yarn. Apply Tulip Dimensional Glitter Paint in the centers of the flowers.
Punch a hole in the top of the tag using the Crop a Dial Eyelet Setter and Hole Punch tool. Use a strip of 1 x 8-inch orange fabric and tie through the hole on the tag.
Wasn’t that an easy Orange Tag Tutorial? What color will you make for your tag?
Make sure to check out the Friendly Junk Journal People Facebook group. Of course, you are welcome to join the Friendly Junk Journal People Facebook group. The group is growing daily and we are a friendly group willing to help each other and encourage each other.
Interested in any of the journals I created? Please feel free to contact me through my Facebook Page. Here is my shop, I have a lot of items uploaded and add more weekly.
Keep updated on my posts by following me. Follow my blog with Bloglovin. Or Follow my Facebook Page or on Instagram for updates that may not be shared on my blog.
Thanks so much for stopping by my blog today to see the Orange Tag Tutorial.


