At long last, I’m here to share a Garden Stencil Tutorial with everyone. There have been lots of requests from followers, on how to make stencils with the Cricut Explore Air. Also asked is if I will sell stencils. The answer is yes I will have some for sale in my shop. More will be added as I create new stencils in different designs.

Here is a video showing the Garden Stencil Tutorial.
For this Garden Stencil Tutorial, I started by opening Cricut Design Space and selecting the Gardening Tools Boarder. Next Right click on the image once it is on your canvas and select weld. This will weld all the layers and color together.

Duplicate the image and move to the right side of the first image. Line up and overlap with the first image. Select both images and then aline to the top. This will match these up nicely. Weld the two images together.

This is the first row of the stencil. Duplicate this row about four times. Position the second row under the first with a little overlap. Select both images and aline Left. Next Weld the two images together.

Take the third image and move up and overlap with the first two. Aline Left and Weld.

Now that there are three stacked together It might be possible to duplicate this layer and be done. Duplicate the layer, position just below the first set, aline and weld.

It wasn’t enough so I then took the orphaned image and moved it up to the bottom, aligned left and then weld.
Save your work! It isn’t fun to have a computer glitch and lose all your hard work. Set the software to cut. On the Cricut Air Explore choose Bonded Fabric for the cut setting. I found that this works the best for Transparency film.
Position the “write on” transparency” on the Cricut Mat. On a previous project, I told the Cricut to cut an 8.5 x 11 rectangle on 12 x 12 paper. It was set to cut deep and scarred the mat a little. This is the perfect place to put the transparency, using the scar marks to line up the transparency.
Cut the design. Each design takes a while to cut. I think this one took about 8 minutes.
Remove the finished design from the machine and then from the mat and enjoy! Don’t have a Cricut Explore Air but want a stencil? Check out my shop. I have added a few to purchase. Don’t see something you want, send me a message and I’ll see if I can make something for you.


Make sure to check out the Friendly Junk Journal People Facebook group. Of course, you are welcome to join the Friendly Junk Journal People Facebook group. The group is growing daily and we are a friendly group willing to help each other and encourage each other.

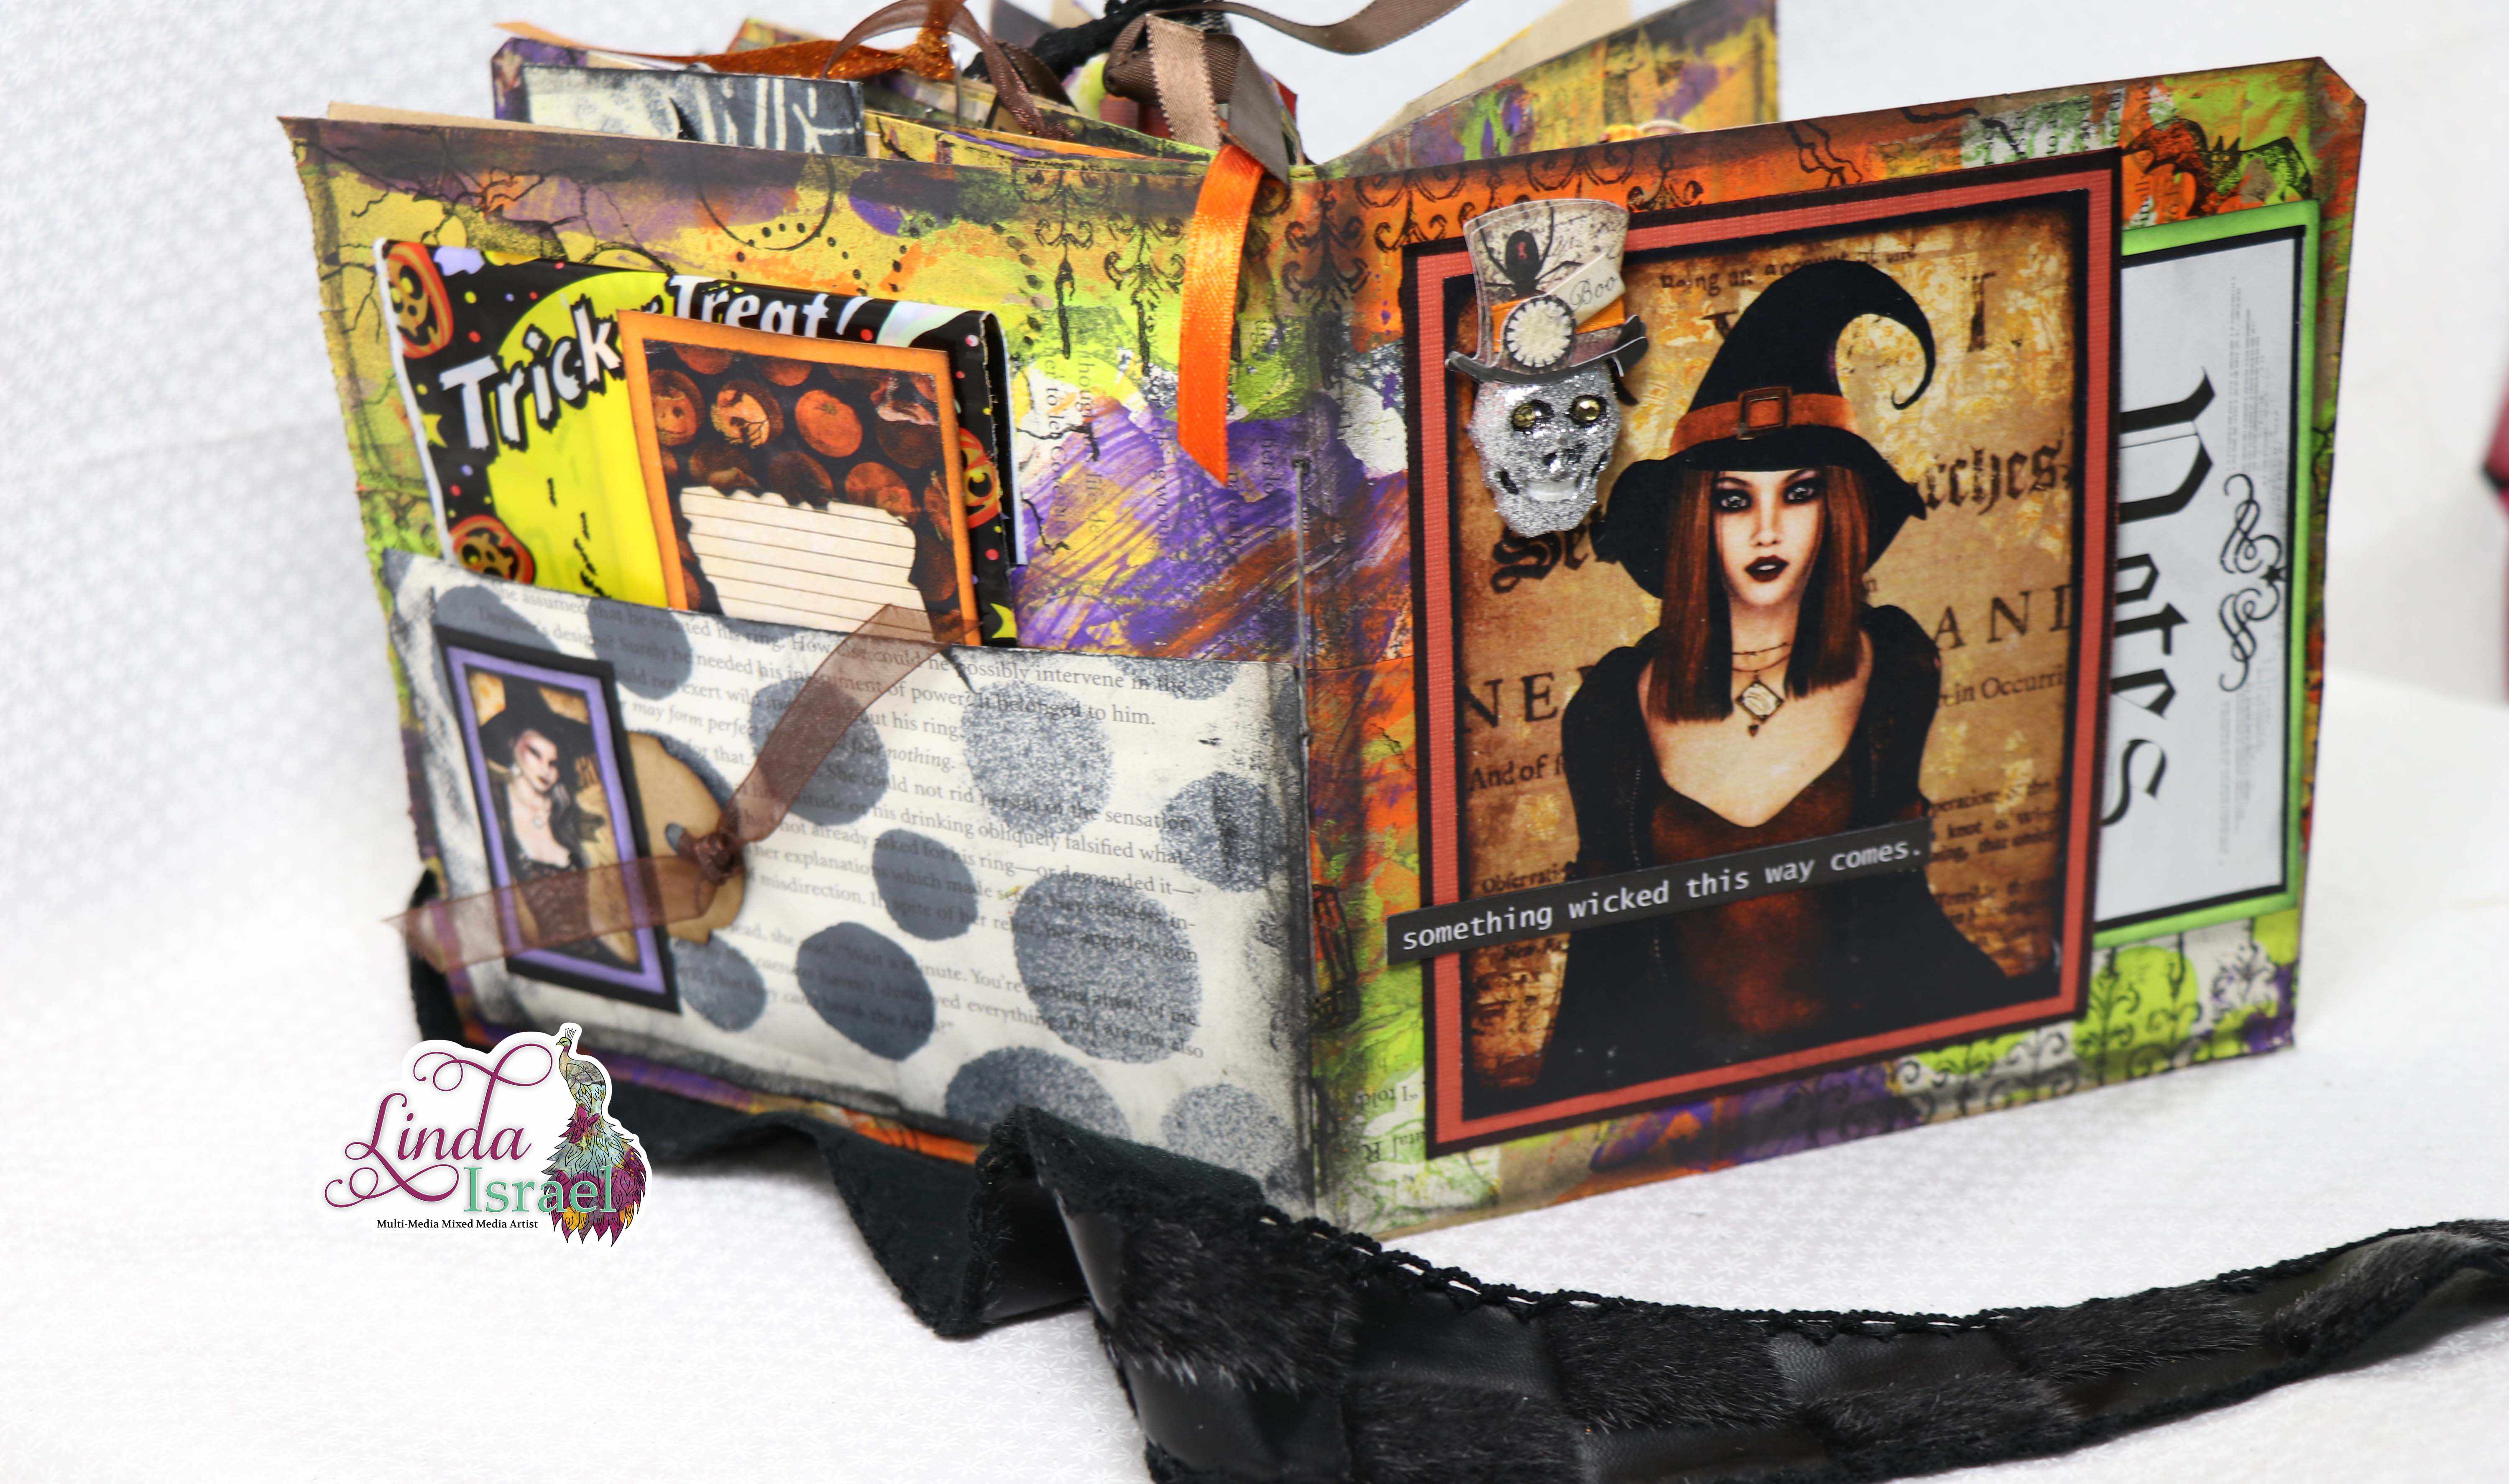
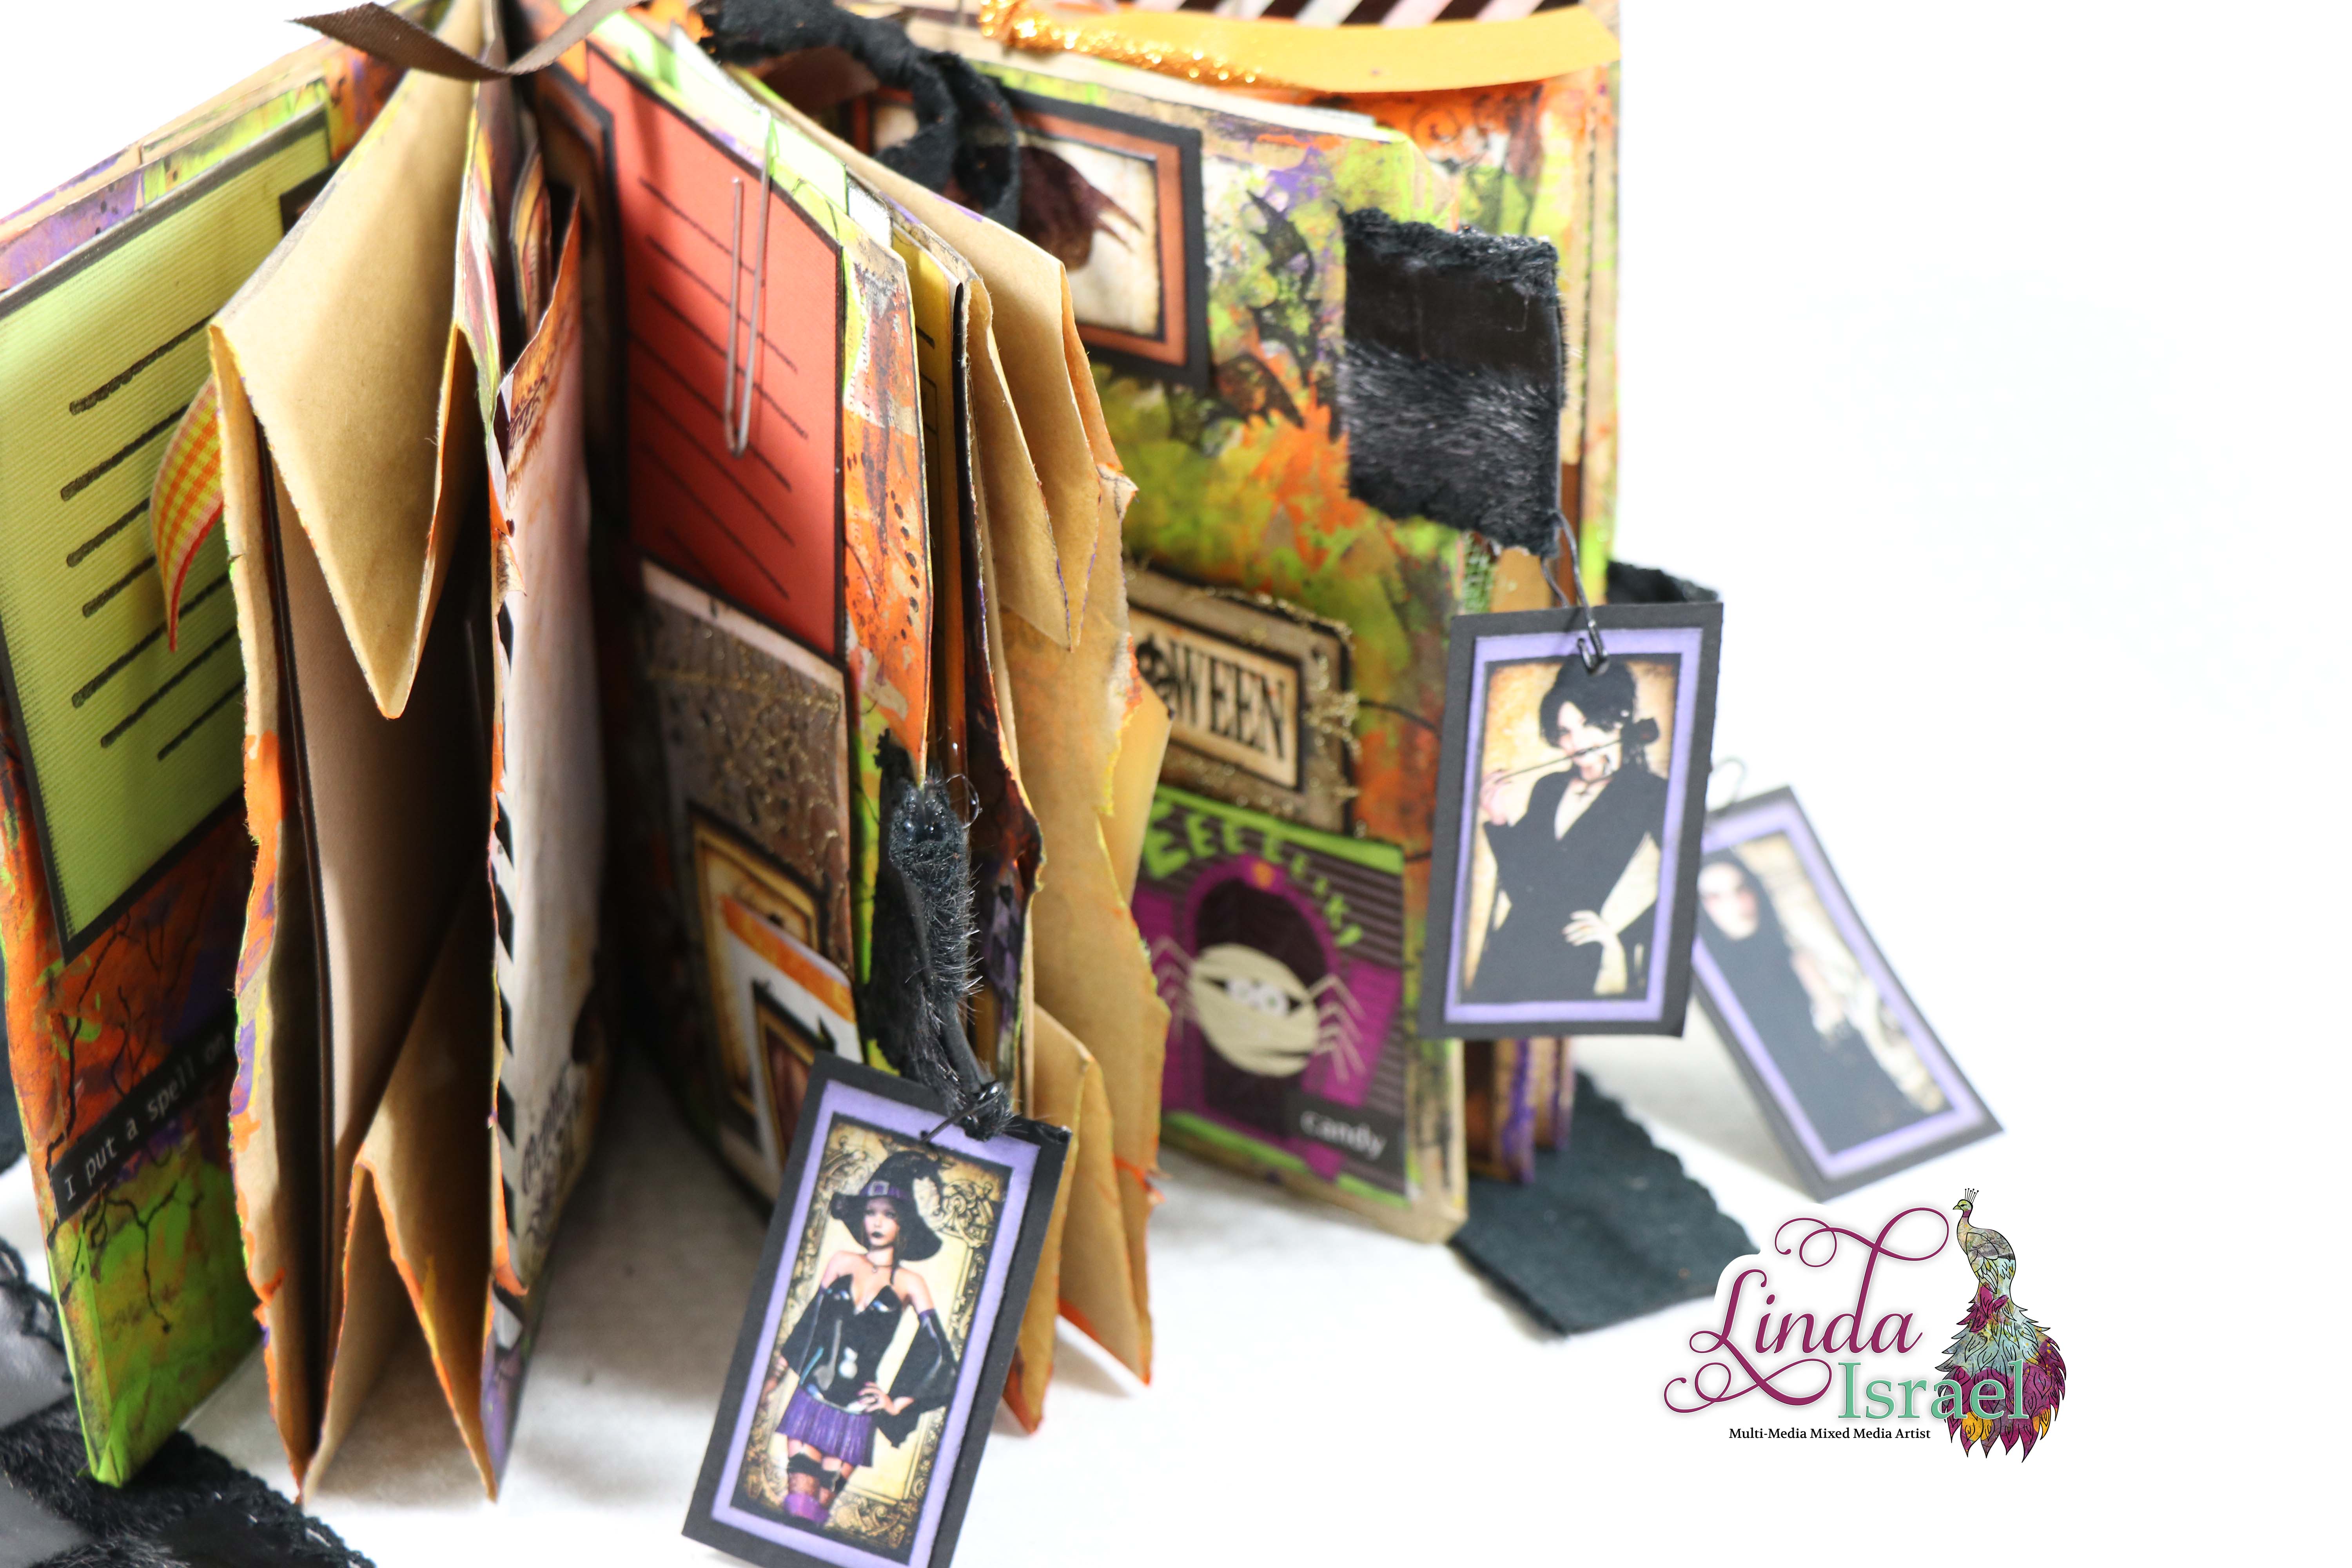
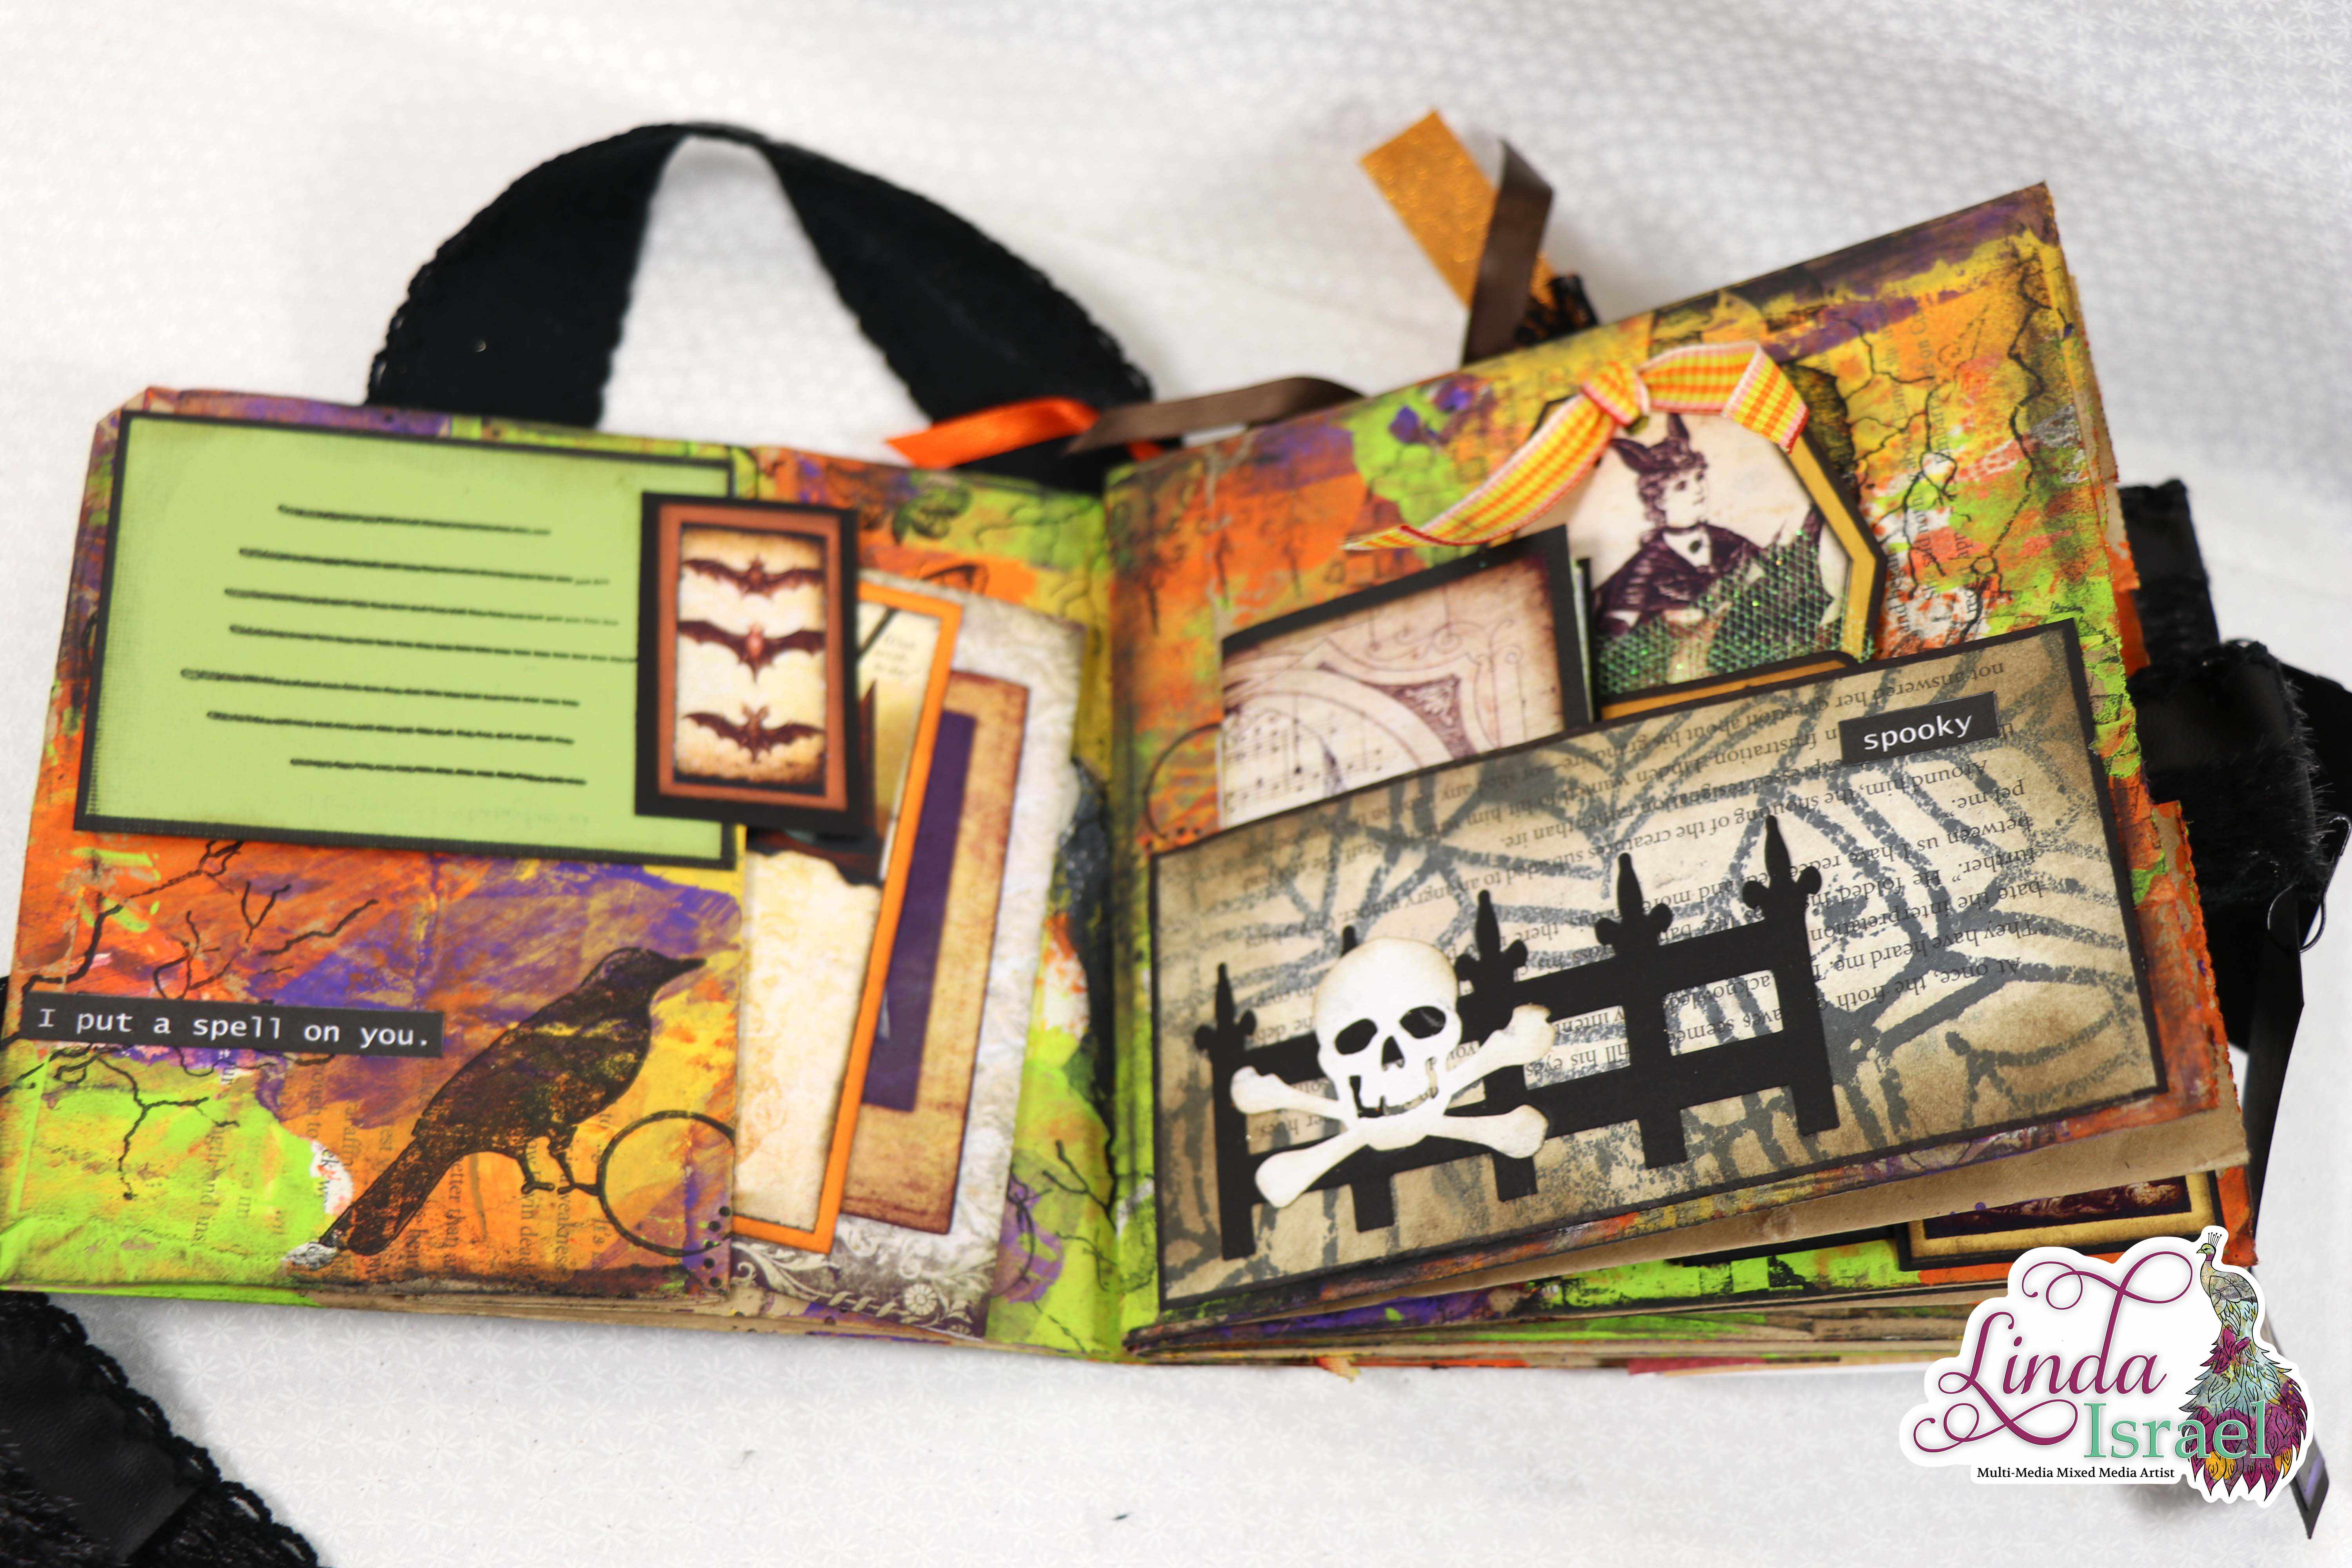
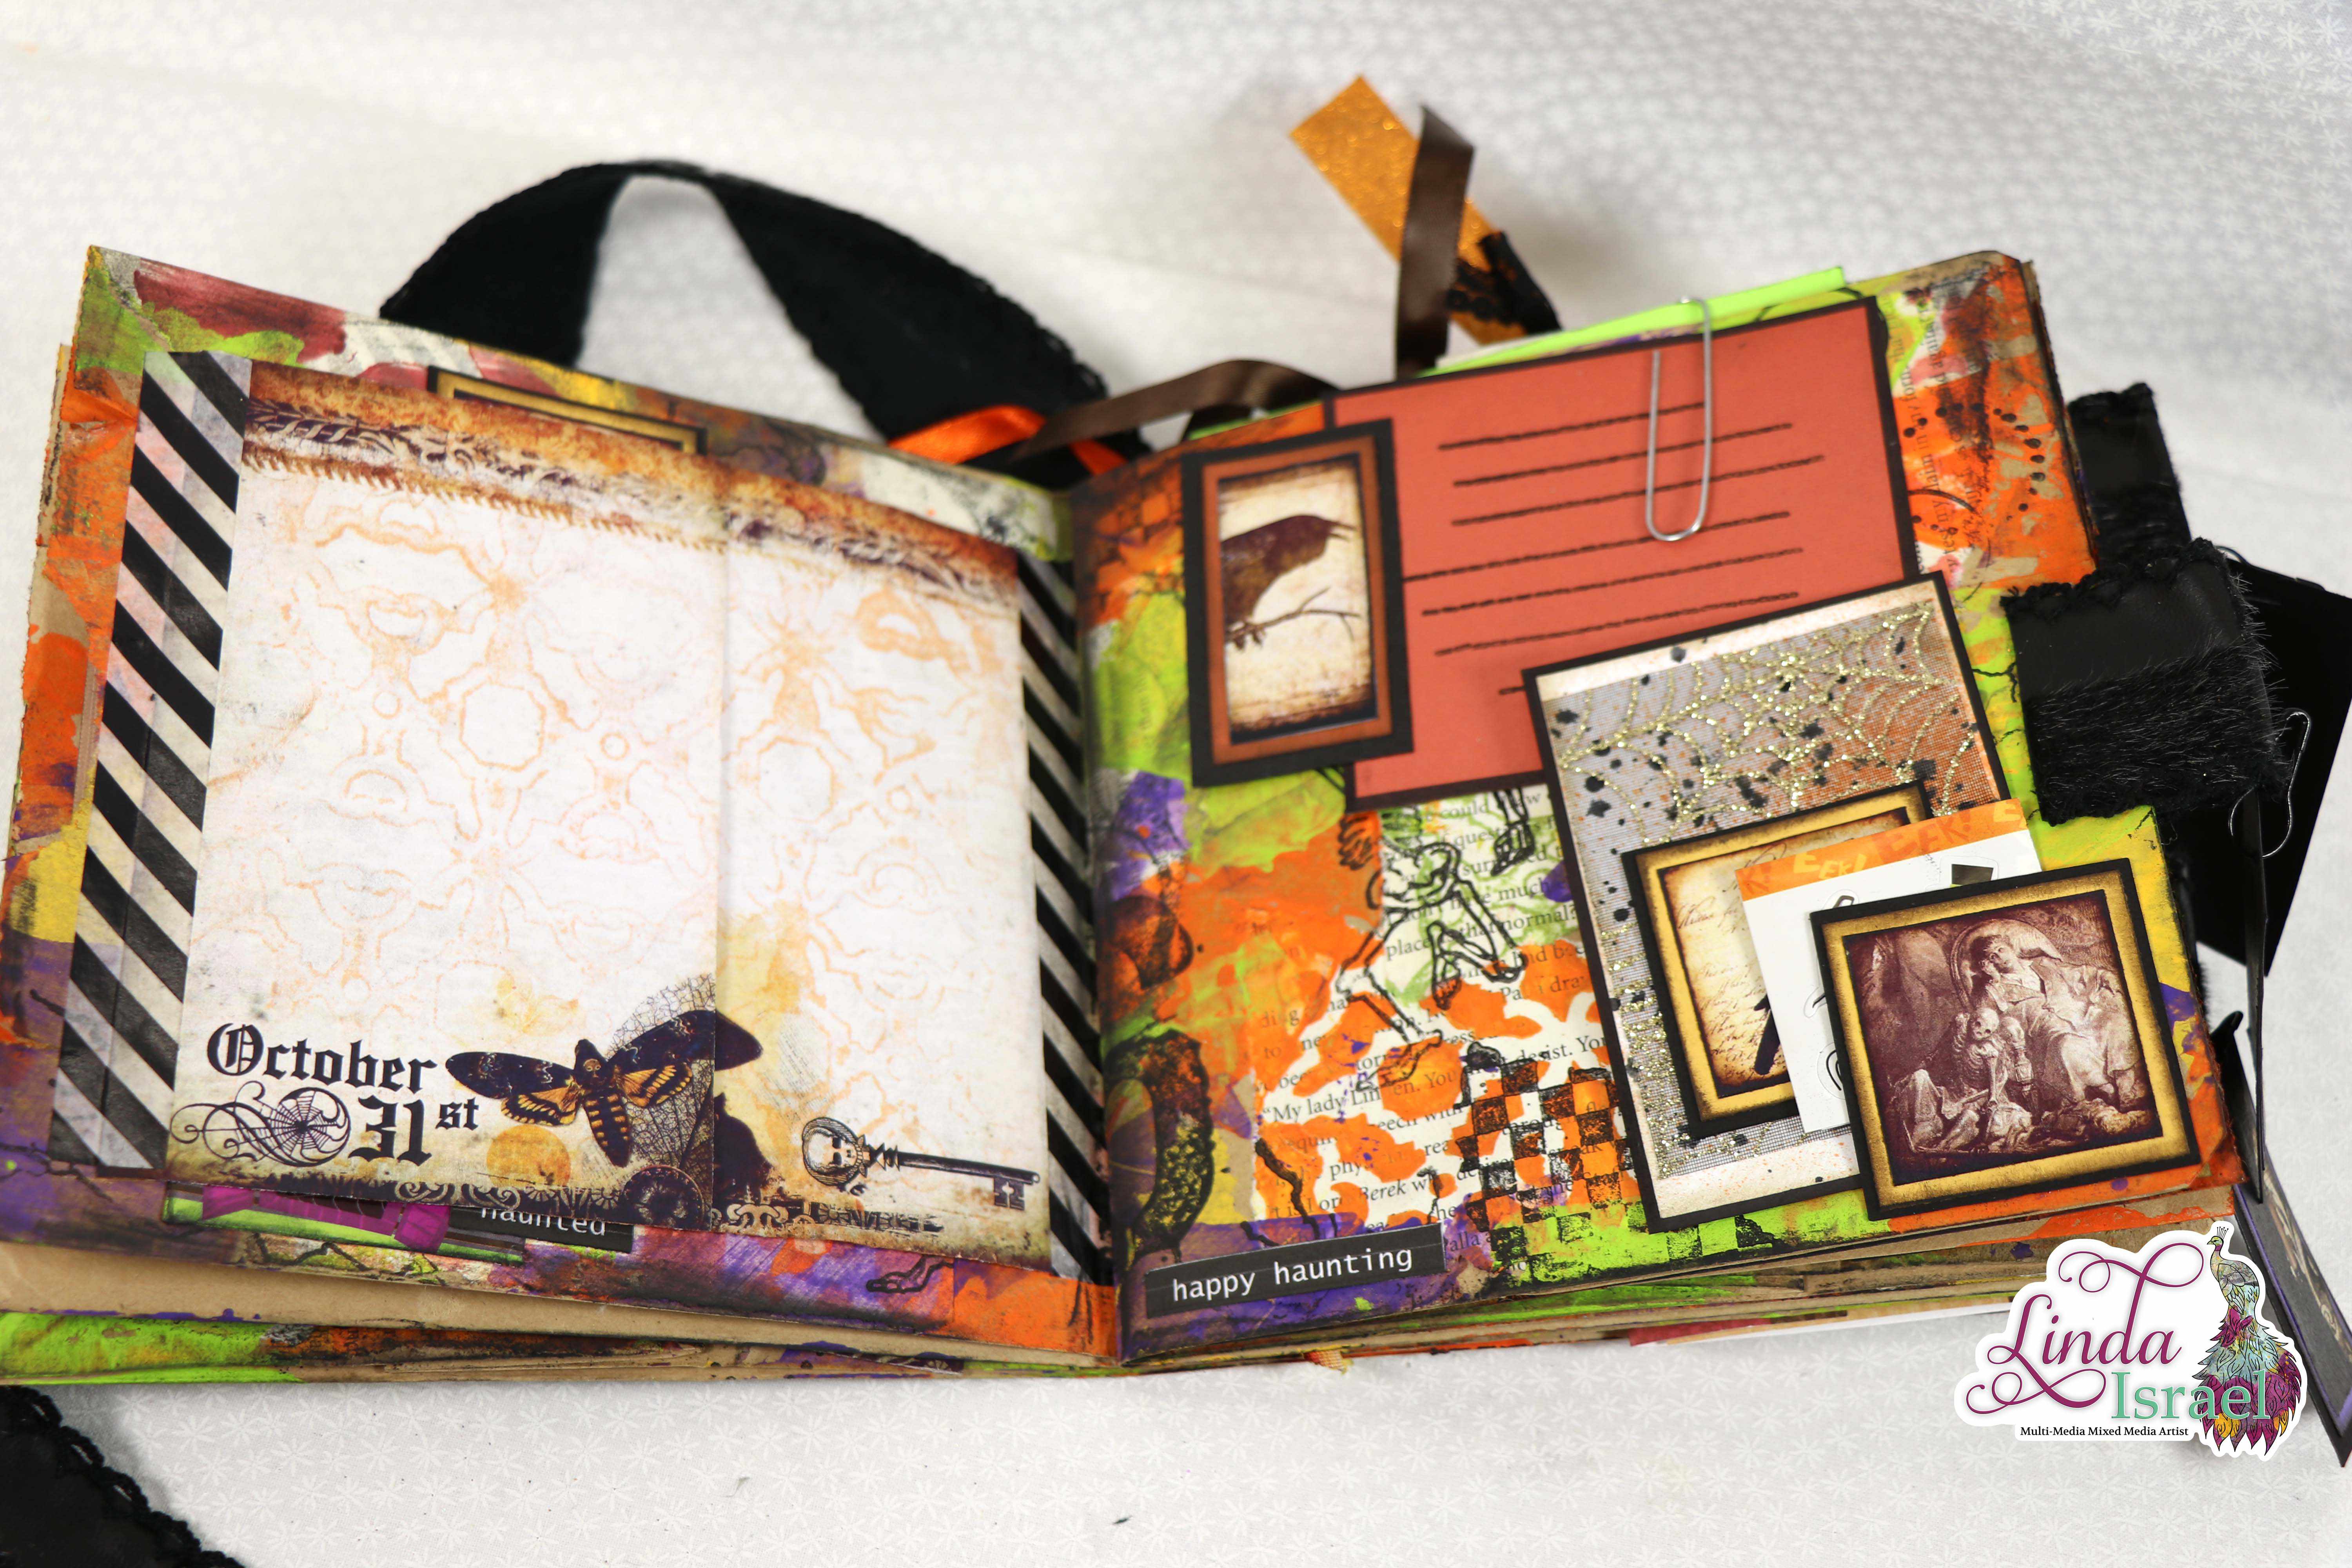
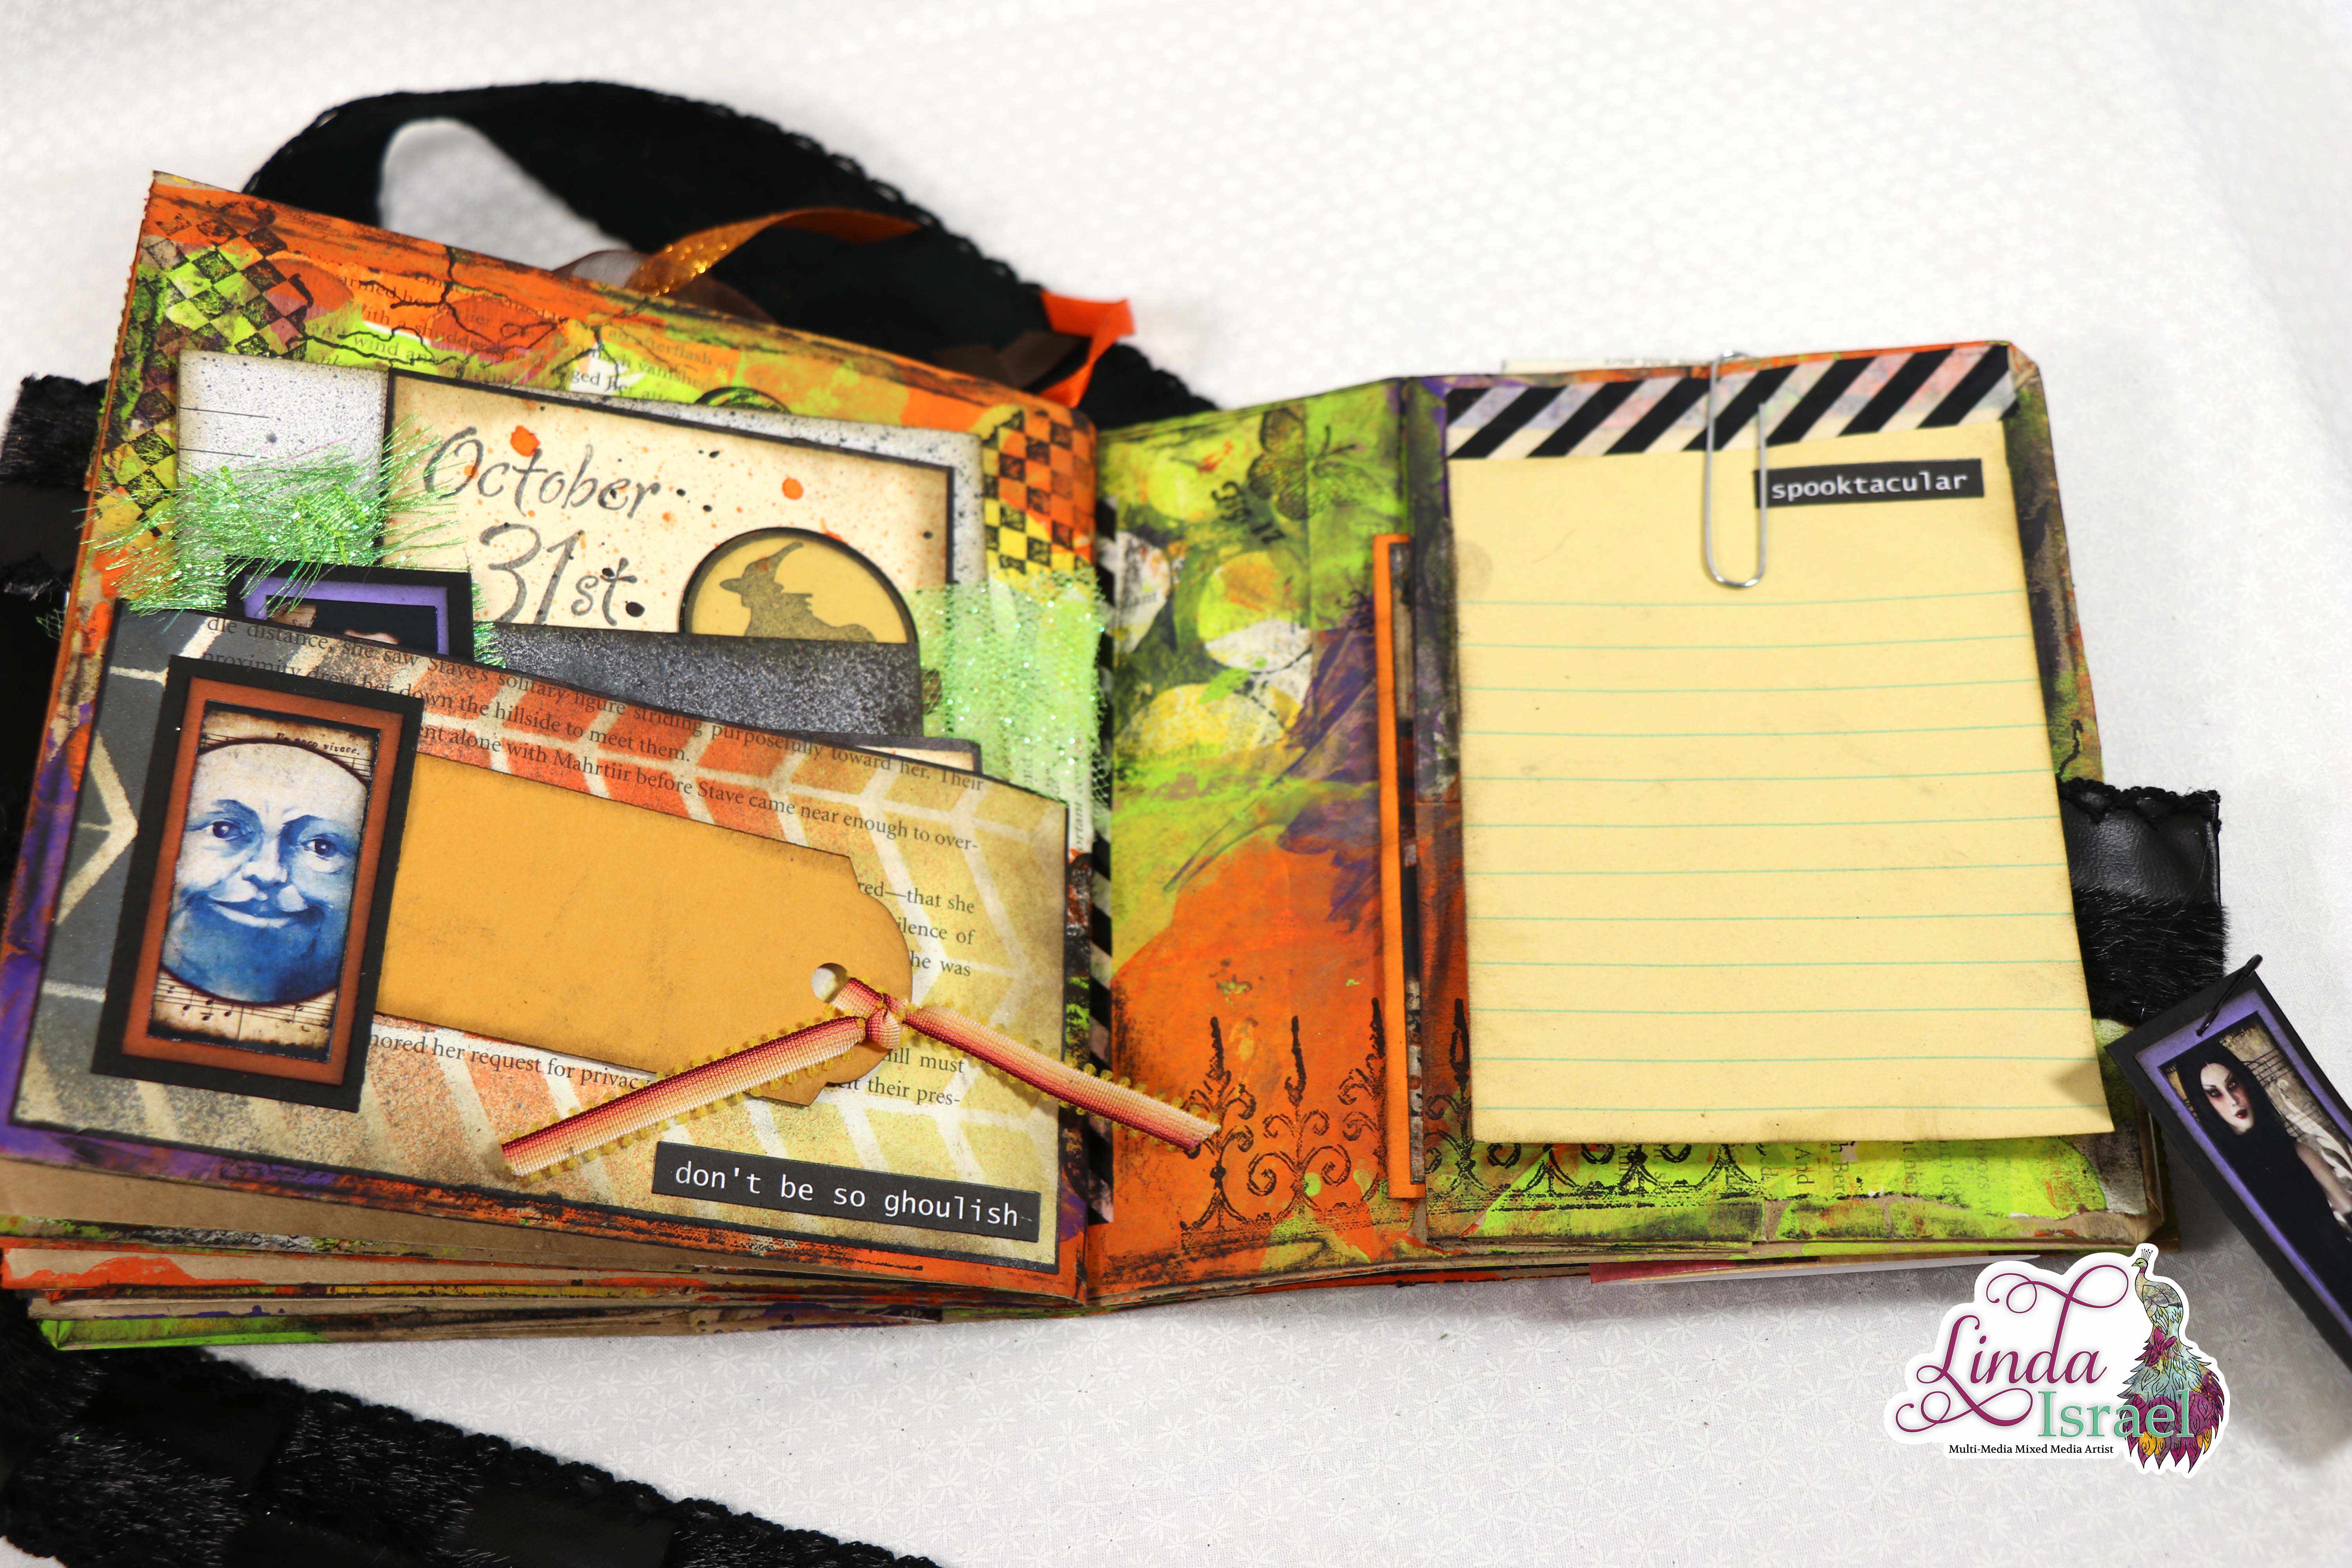
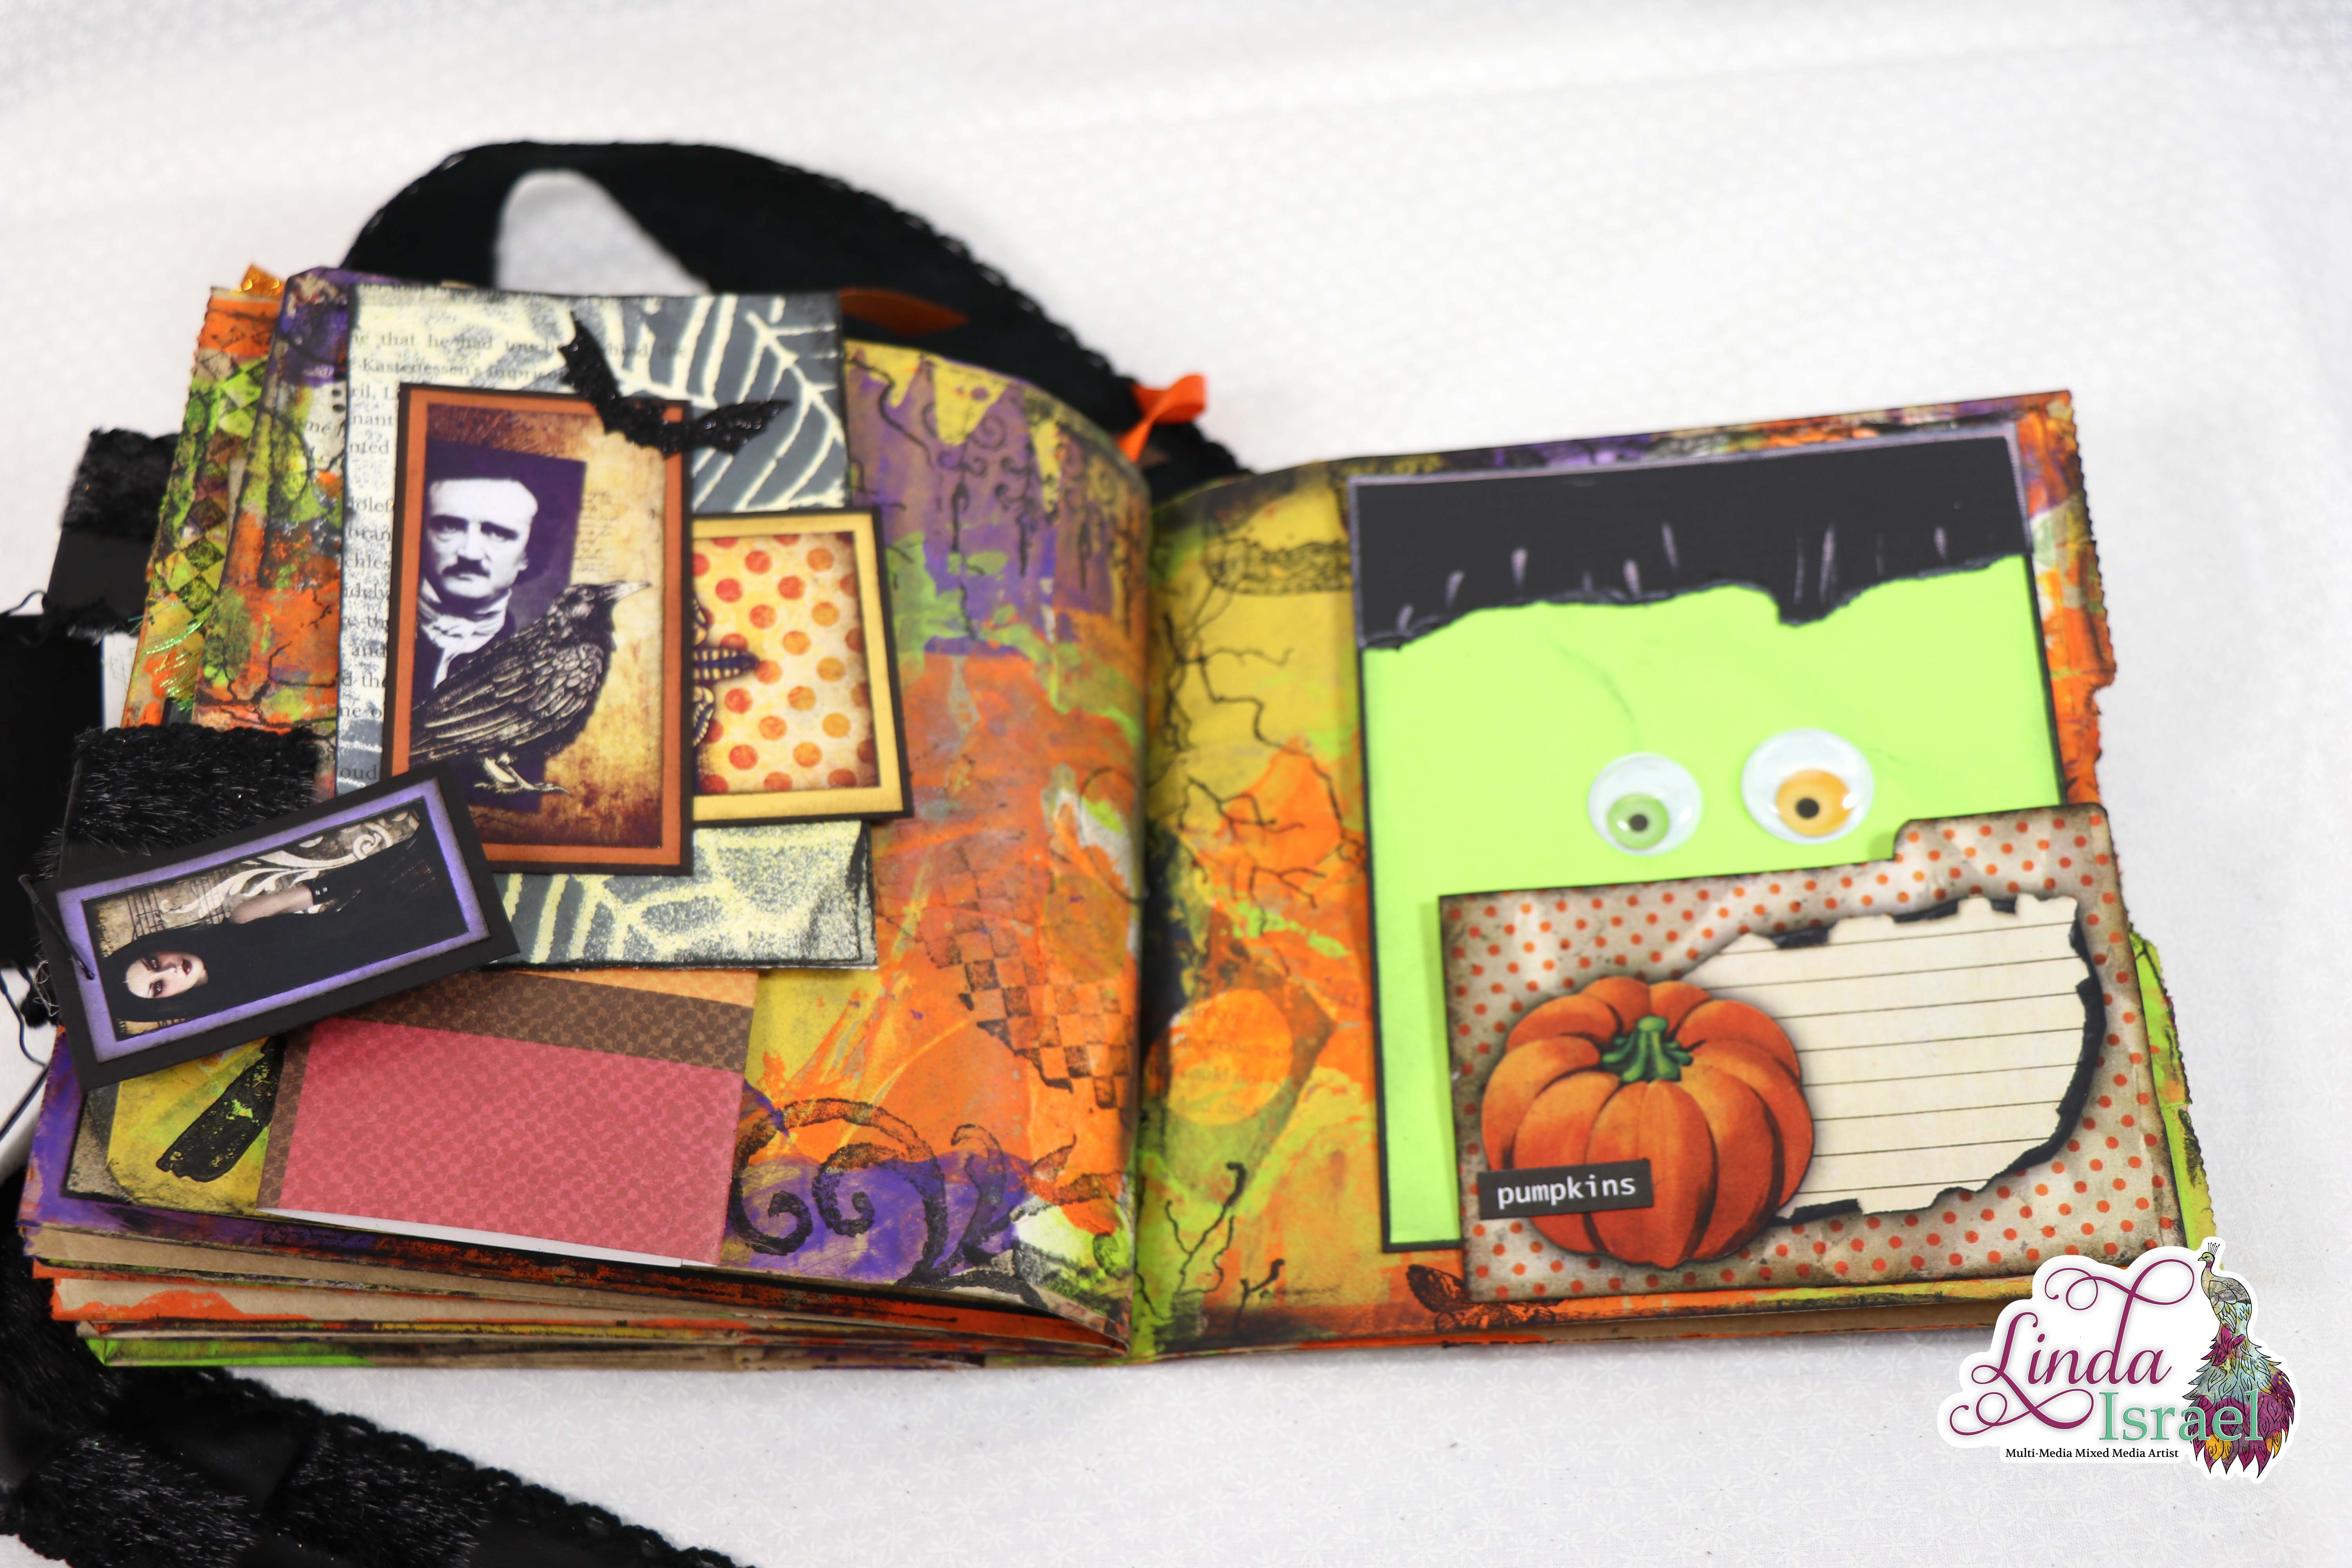
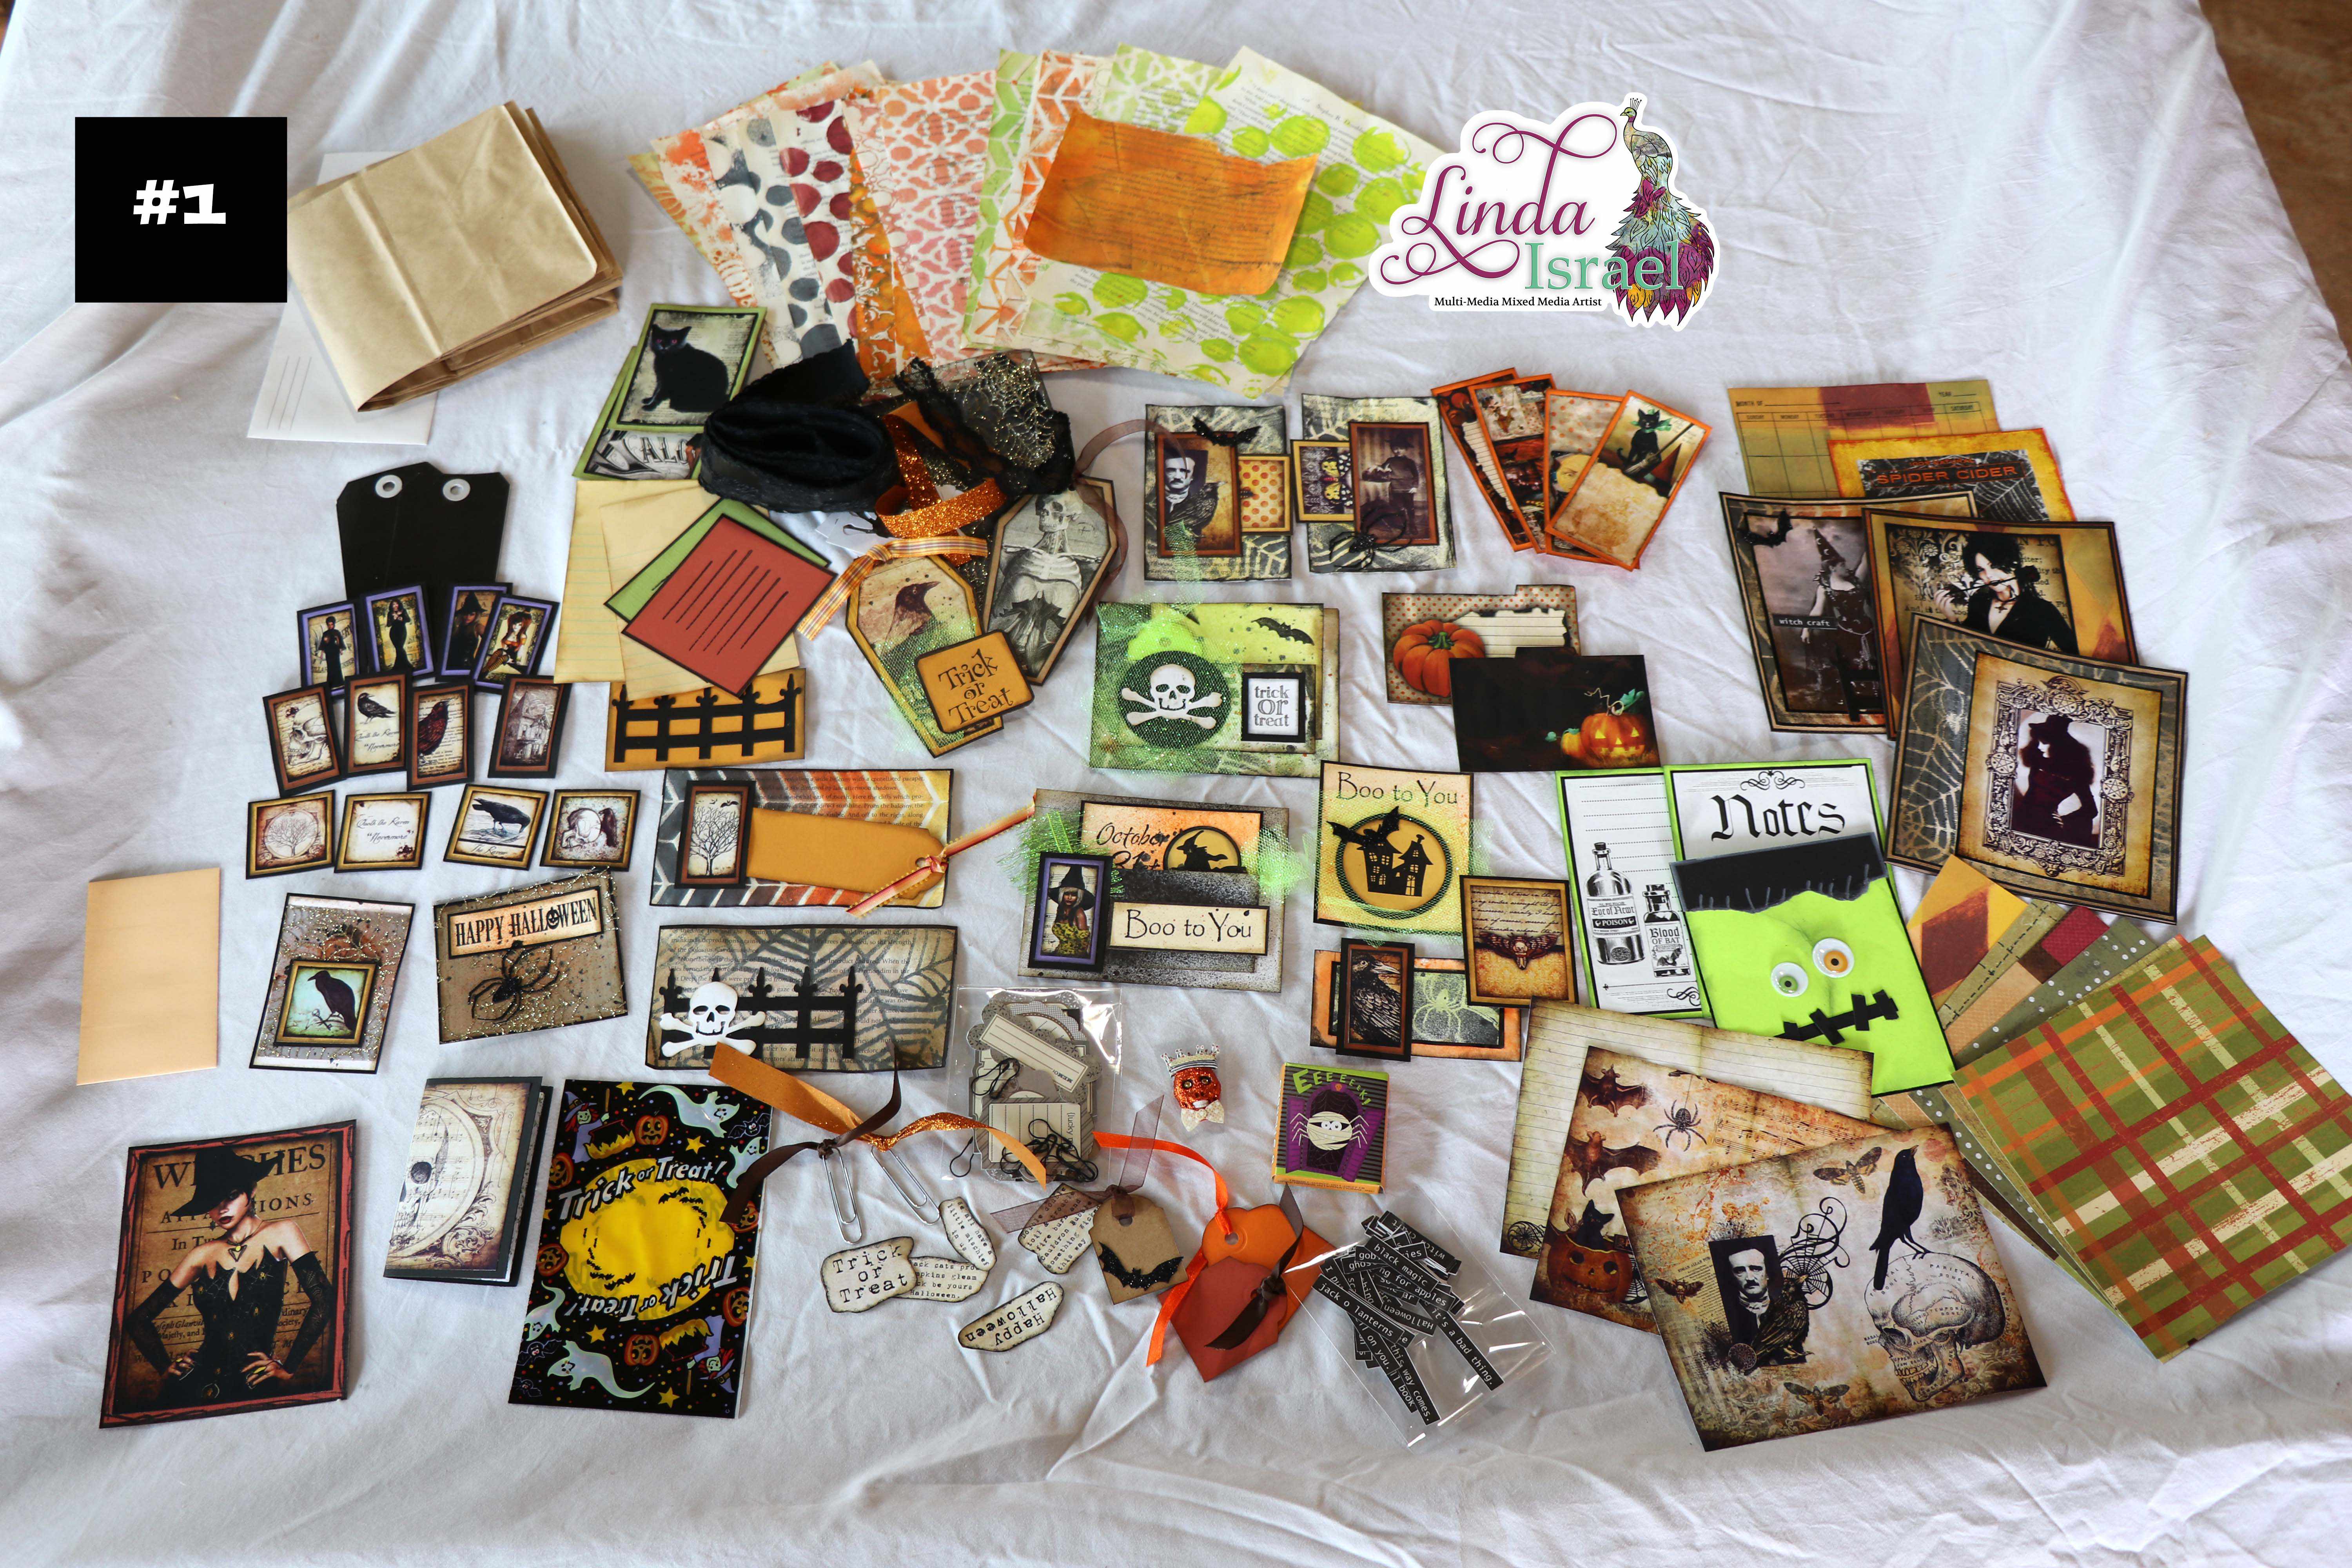
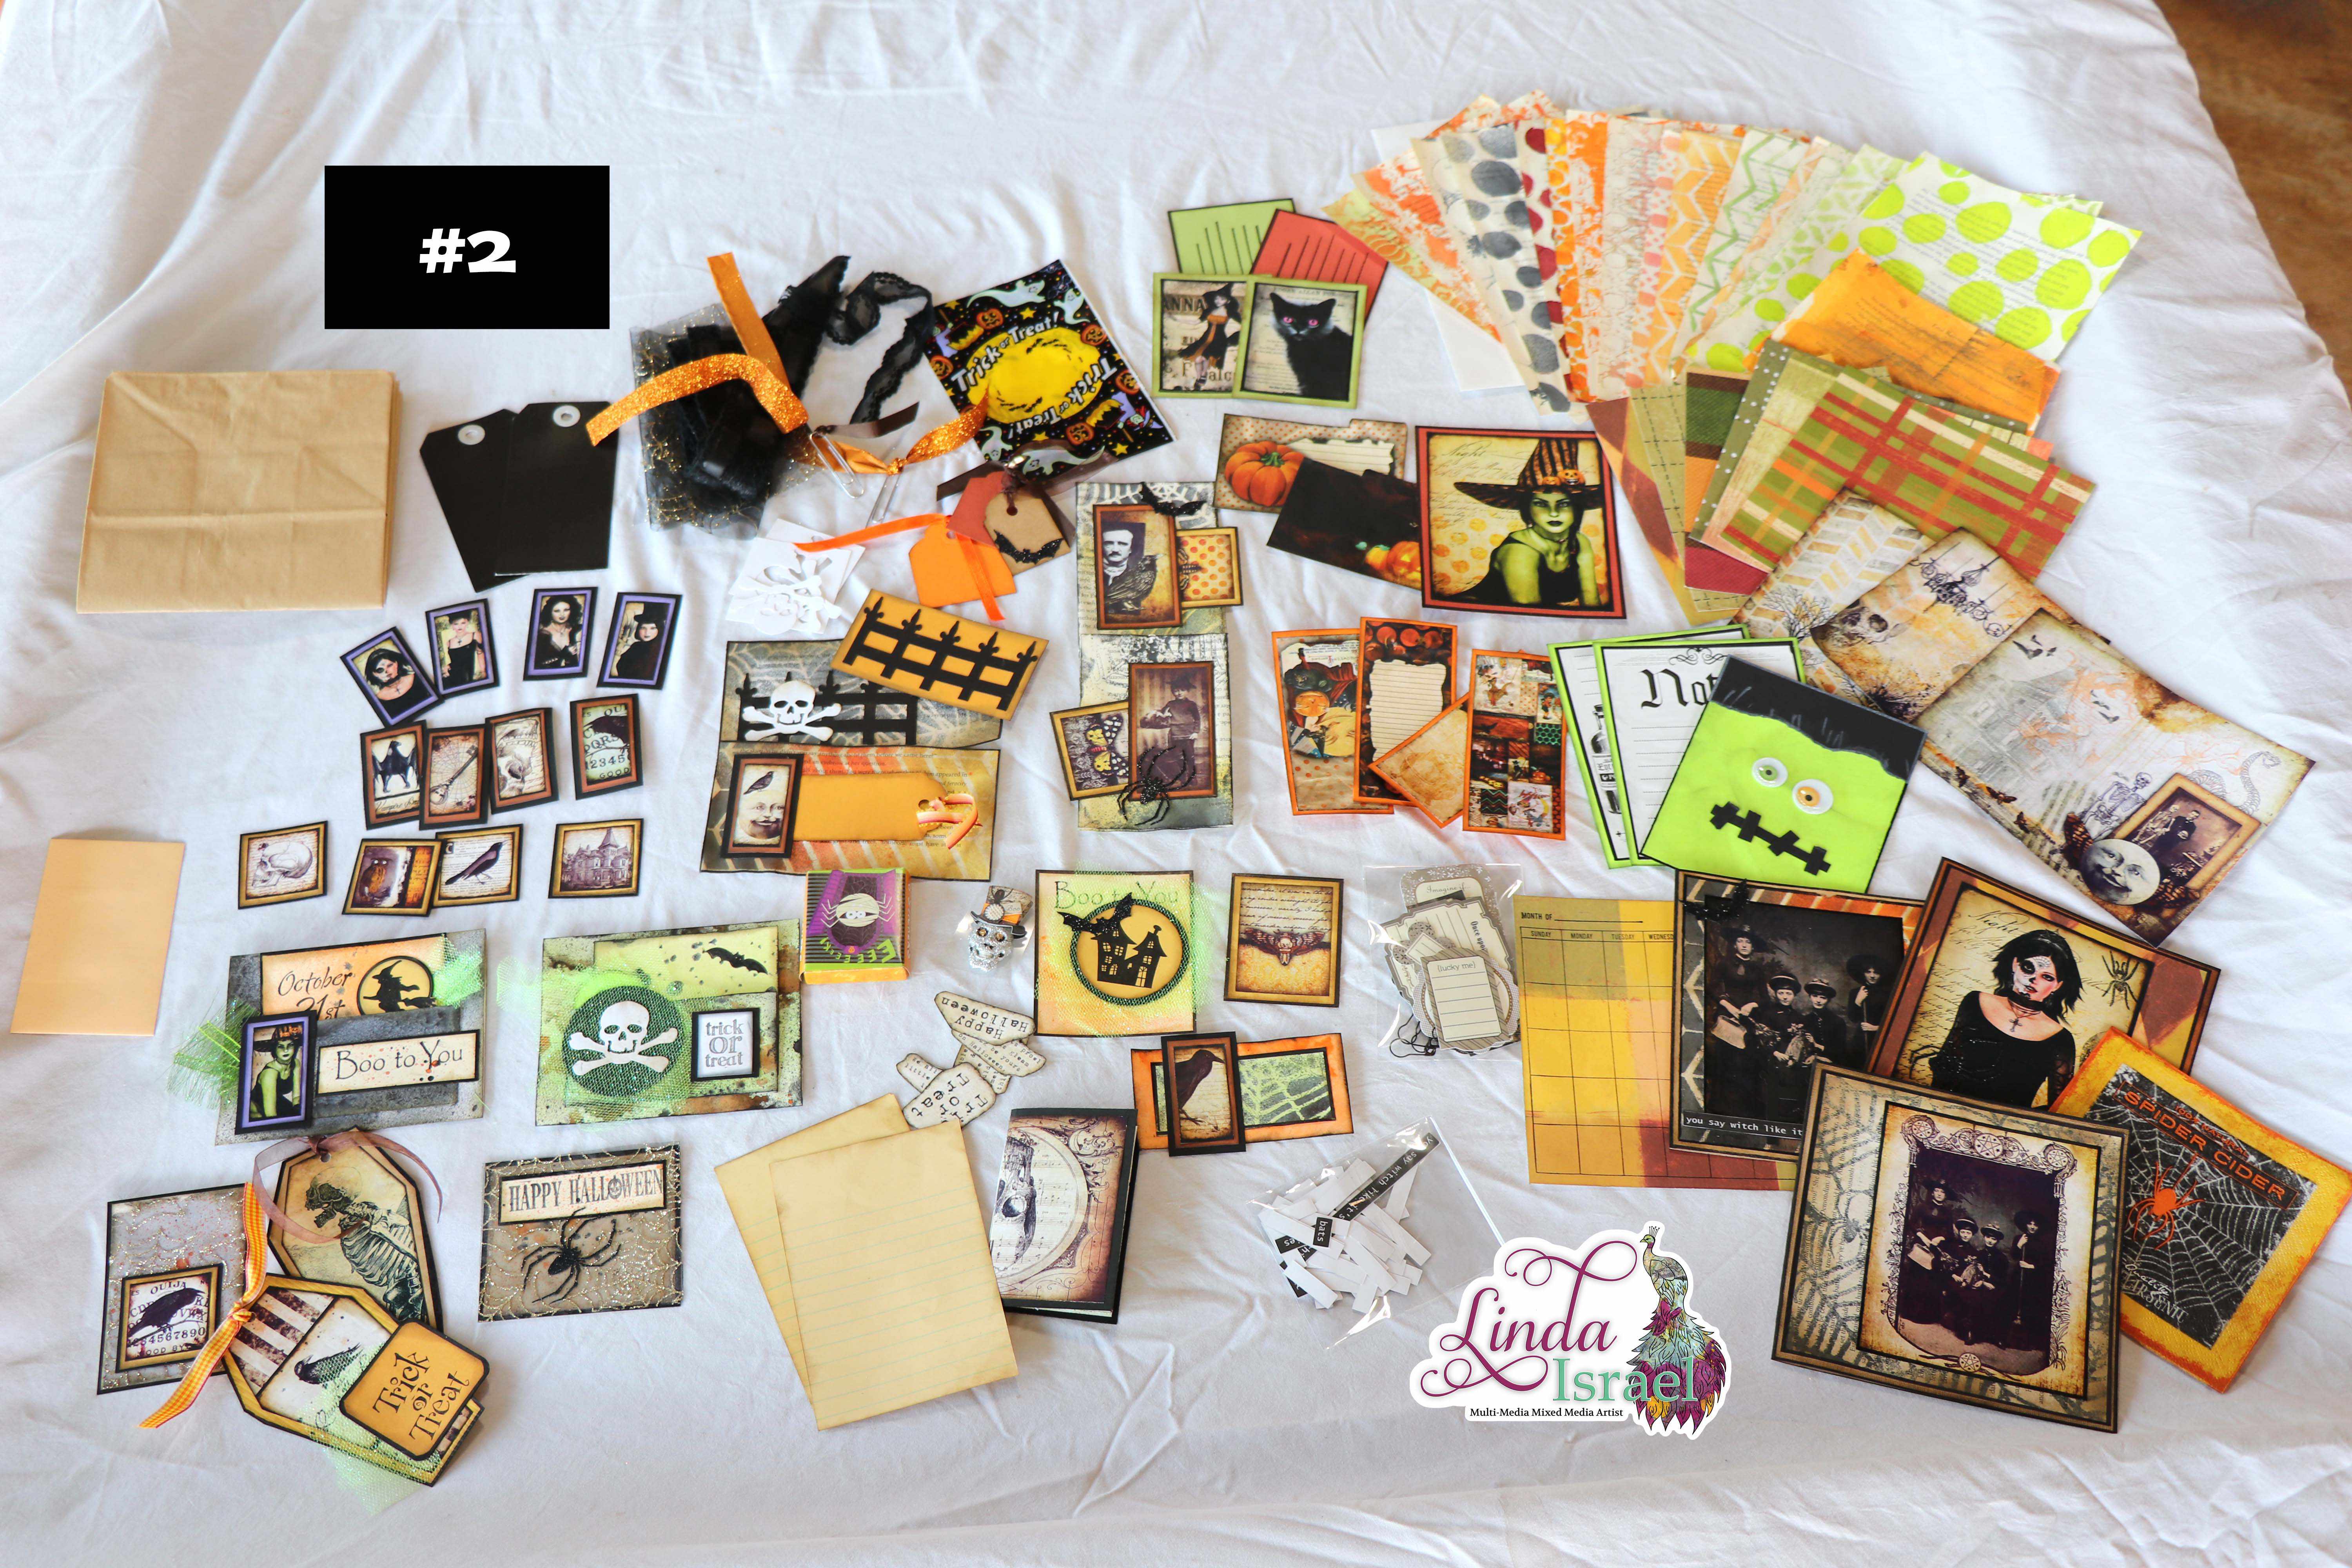
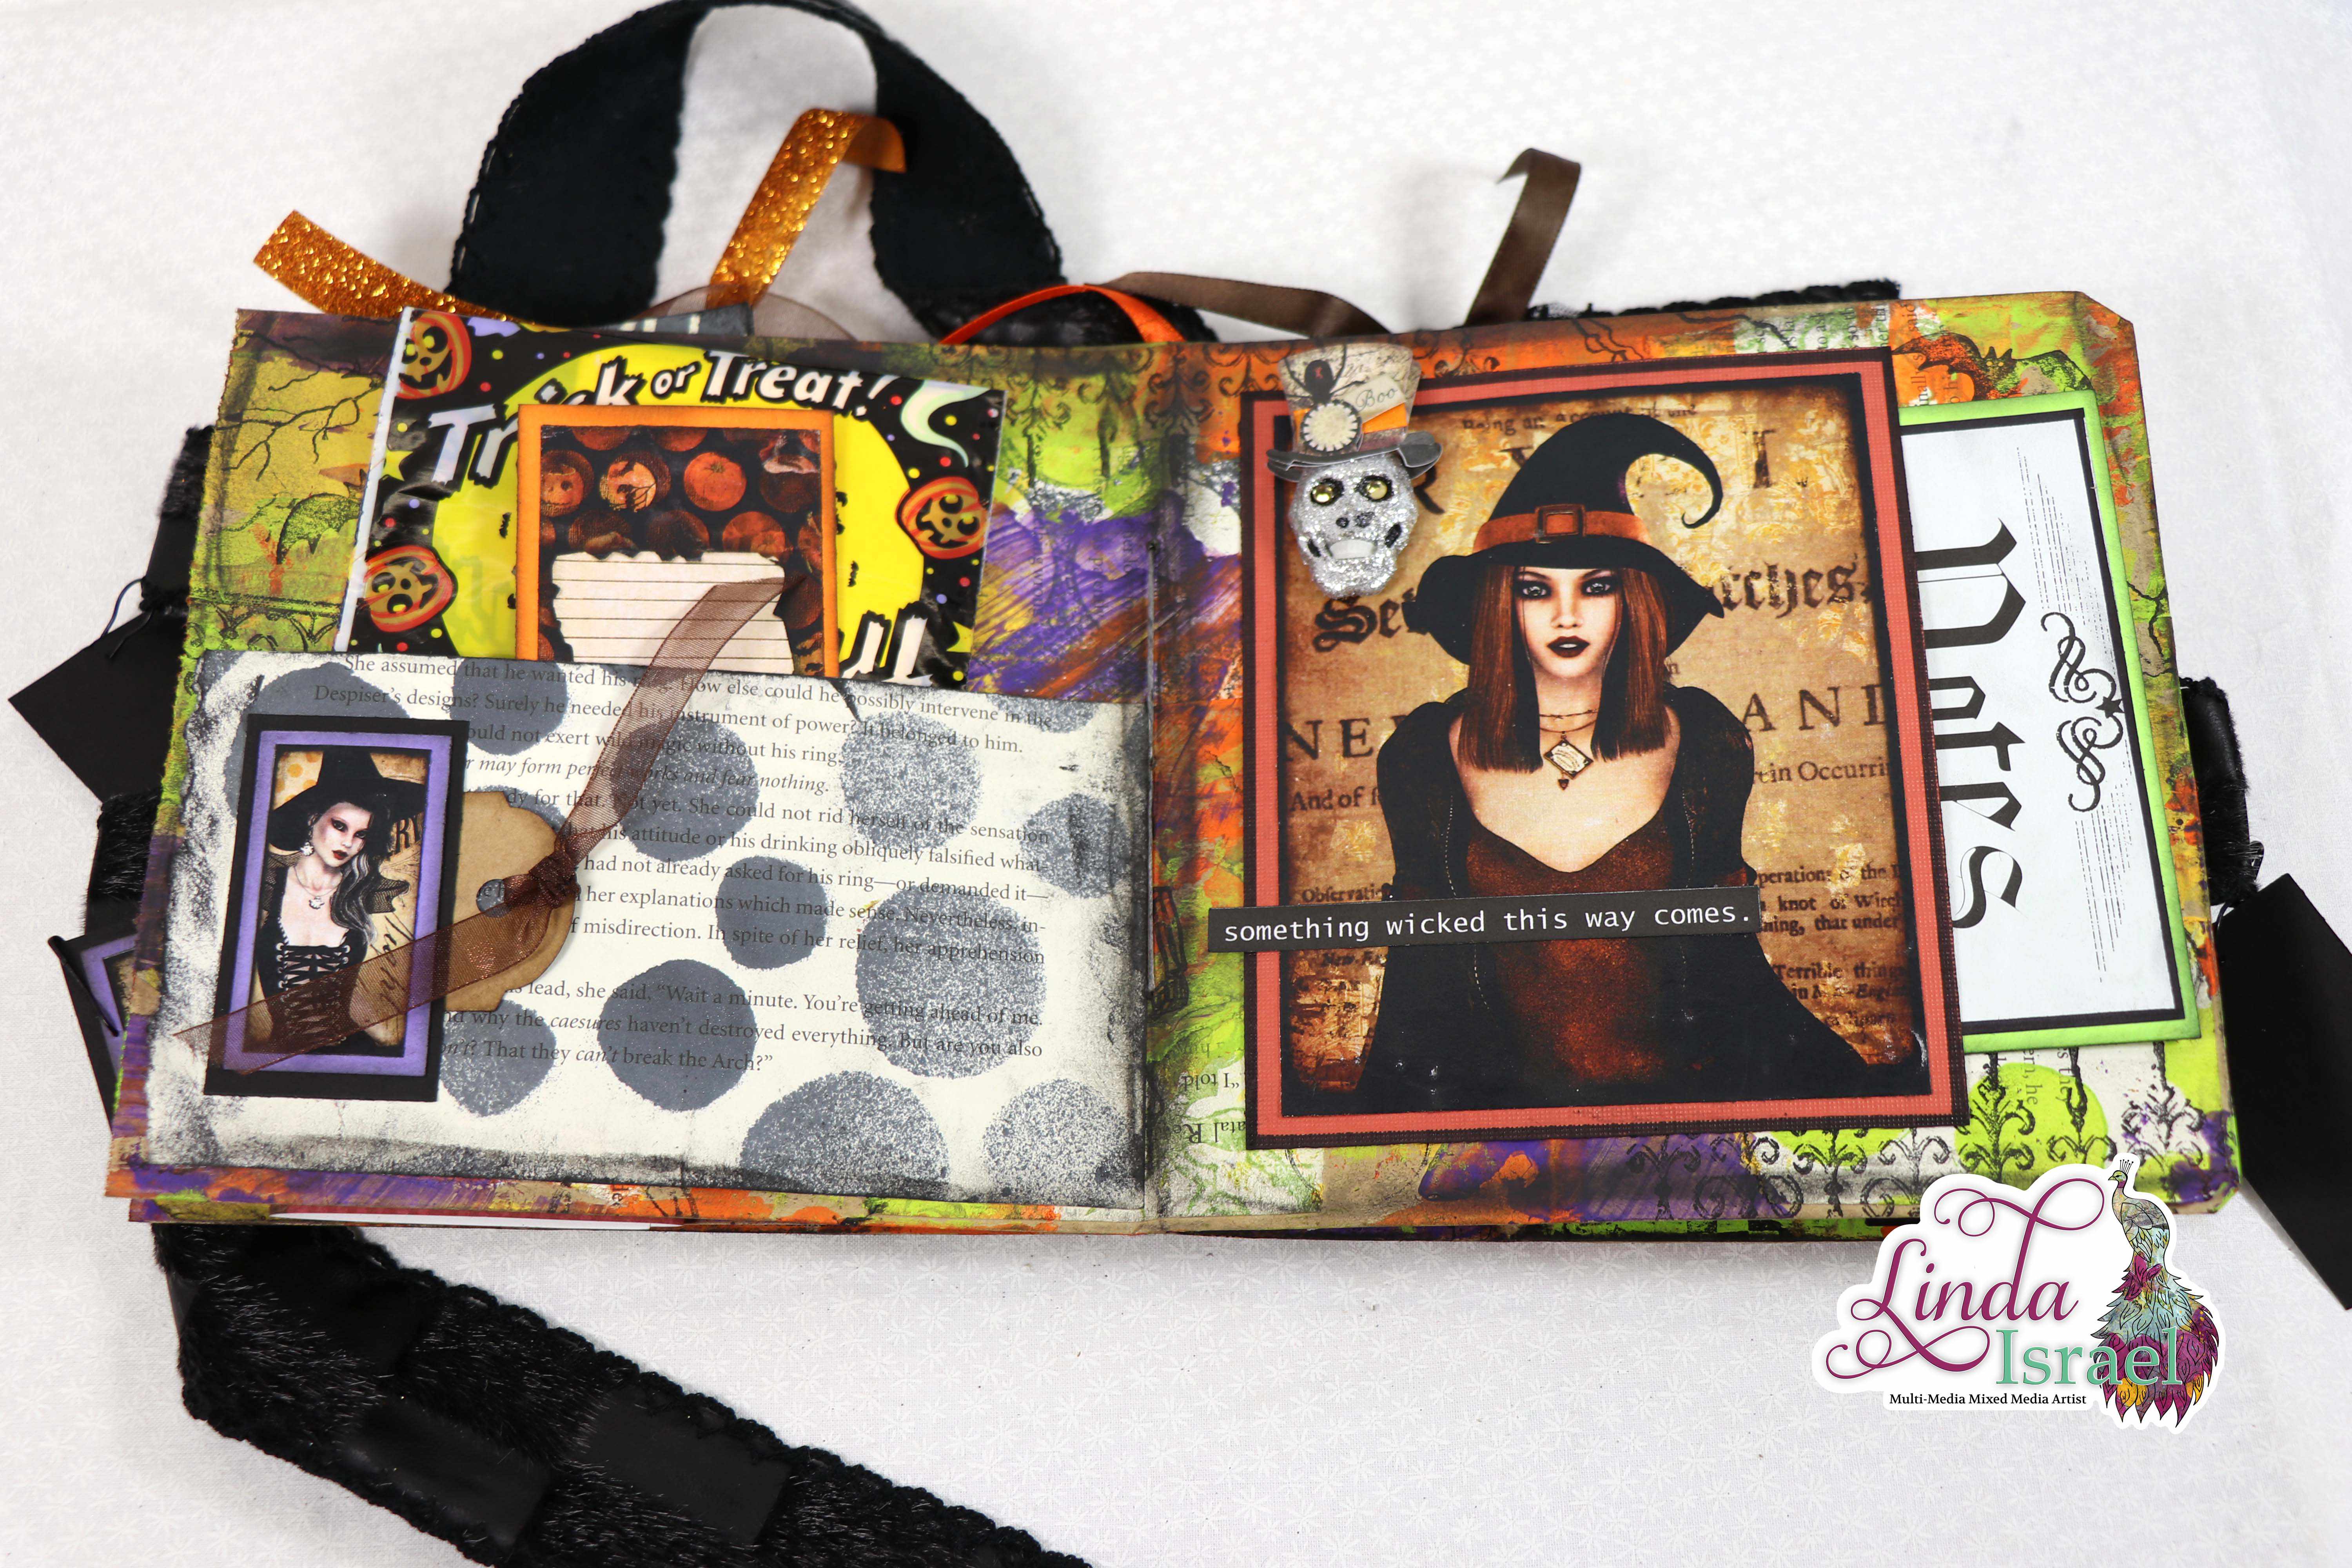
Interested in any of the journals I created? Please feel free to contact me through my Facebook Page.
Here is my shop, I have a lot of items uploaded and add more weekly.
My hope is that I have inspired you to look at those papers in your stash and make your own junk journal.
Keep updated on my posts by following me. Follow my blog with Bloglovin.
Or Follow my Facebook Page or on Instagram for updates that may not be shared on my blog.
Thanks so much for stopping by my blog today for the Garden Stencil Tutorial.