Creative Kit
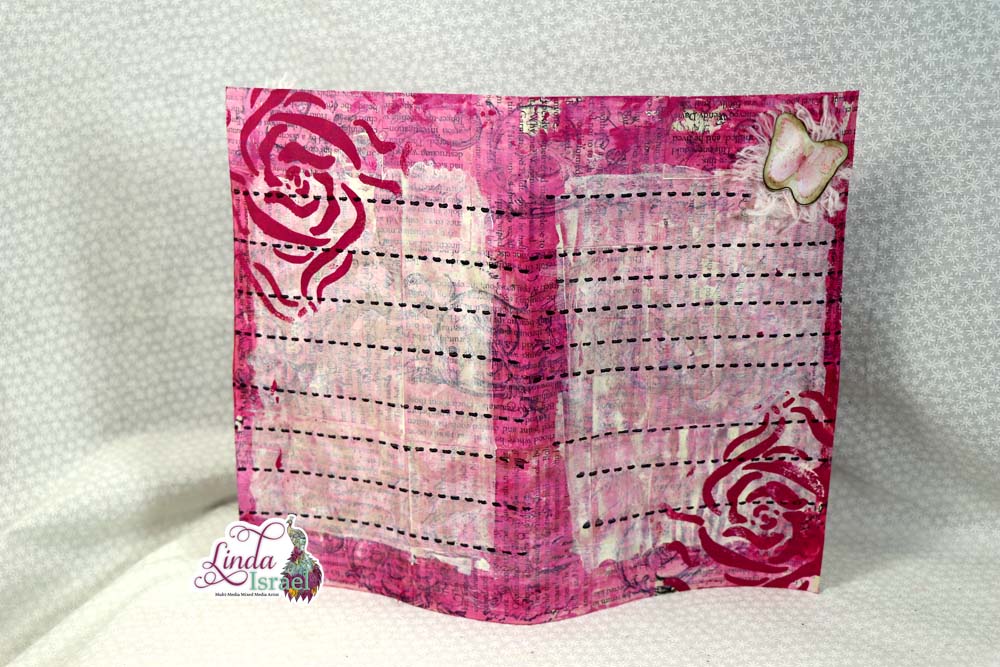
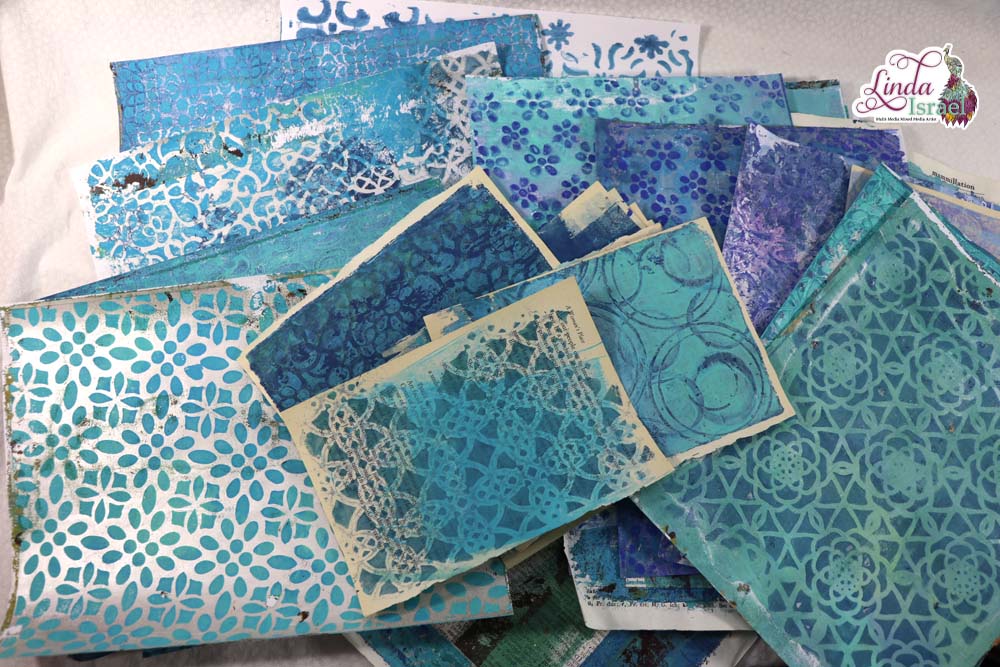
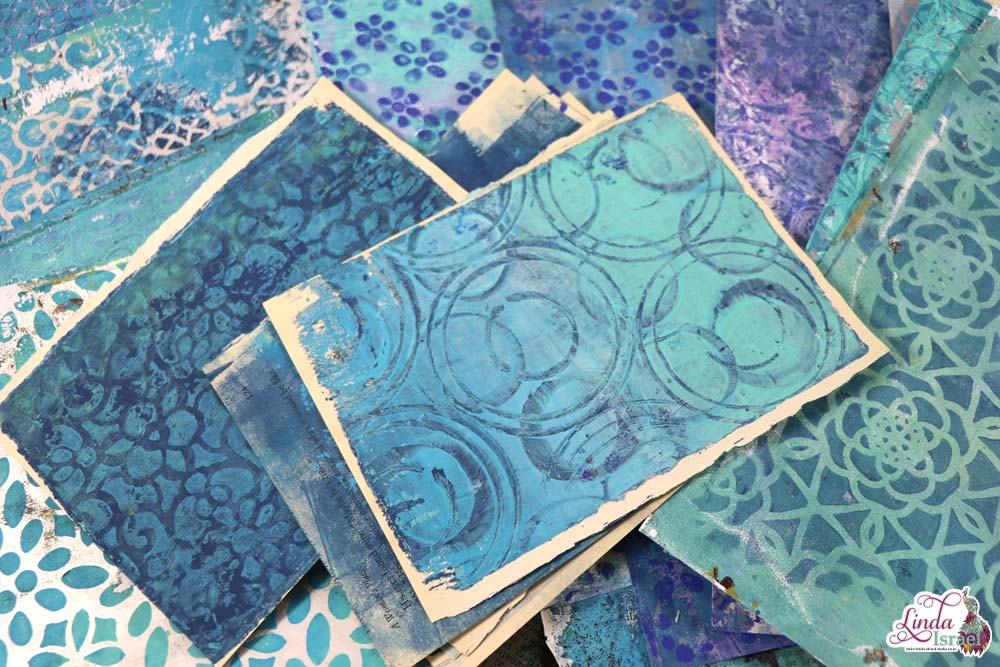
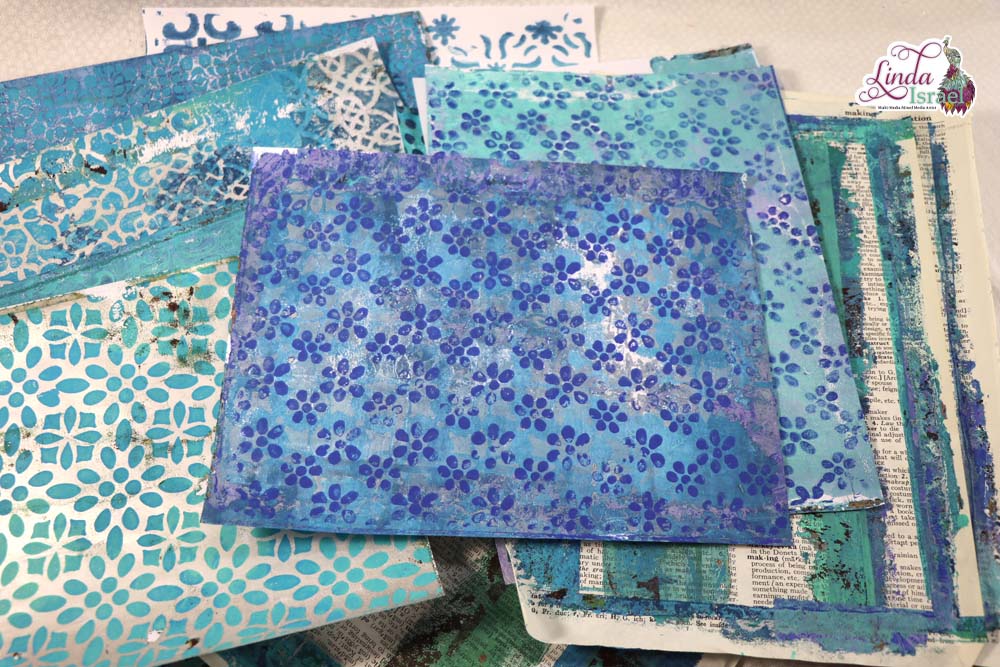
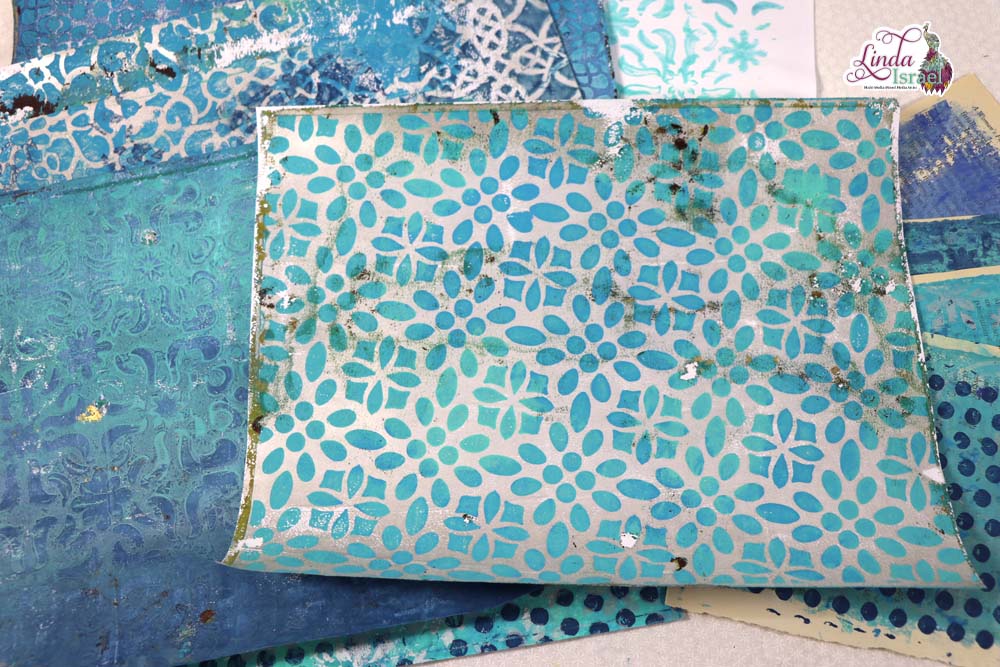
During the Live Creating a Music Themed Mixed Media Folio on November 27 I show how to create mixed media papers and then create a folio. Using book pages as a base for decorative papers is so easy and these turned out beautiful.
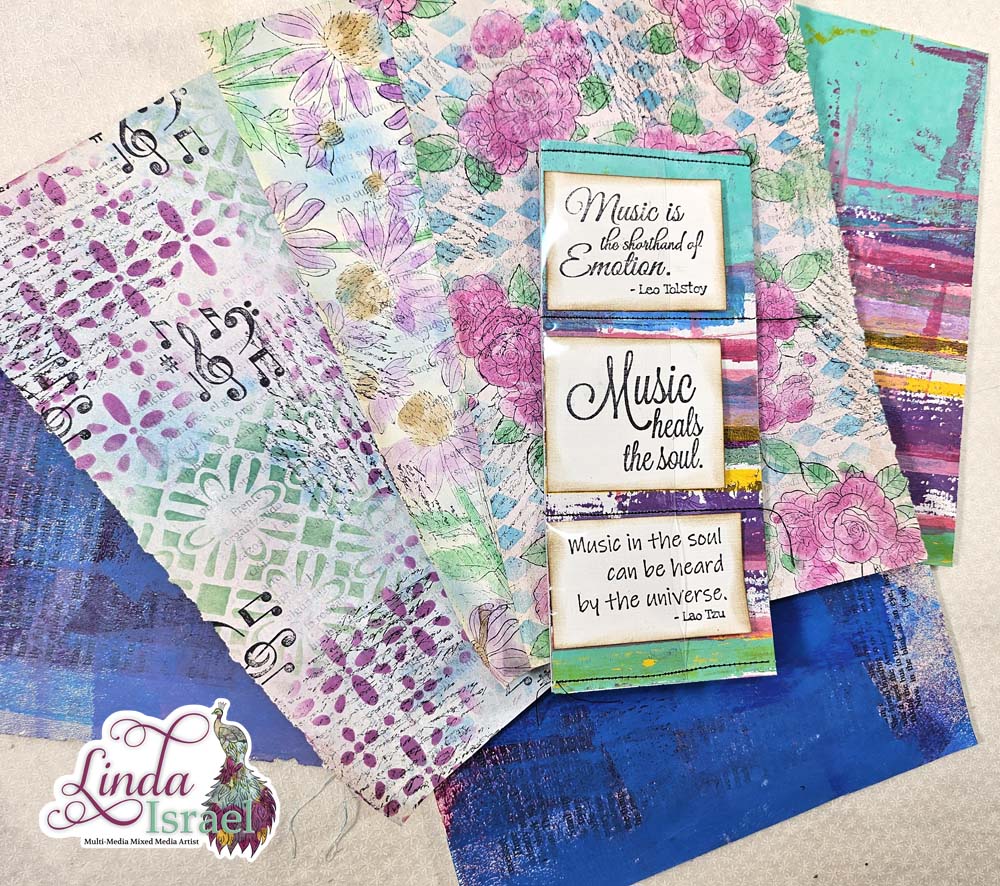
Live Creating a Music Themed Mixed Media Folio Video
Supplies Used
To begin this Music Themed Mixed Media Folio Tutorial I started by painting book pages with White Acrylic Craft Paint. Use up those book pages that you have removed from books. If you don’t have decorative papers, make your own using book pages.
Allow the paint to dry on the book pages. I like to do several and stack them around until these are dry. That way I can just jump right into decorating the pages and I don’t’ have to stop to paint new ones.
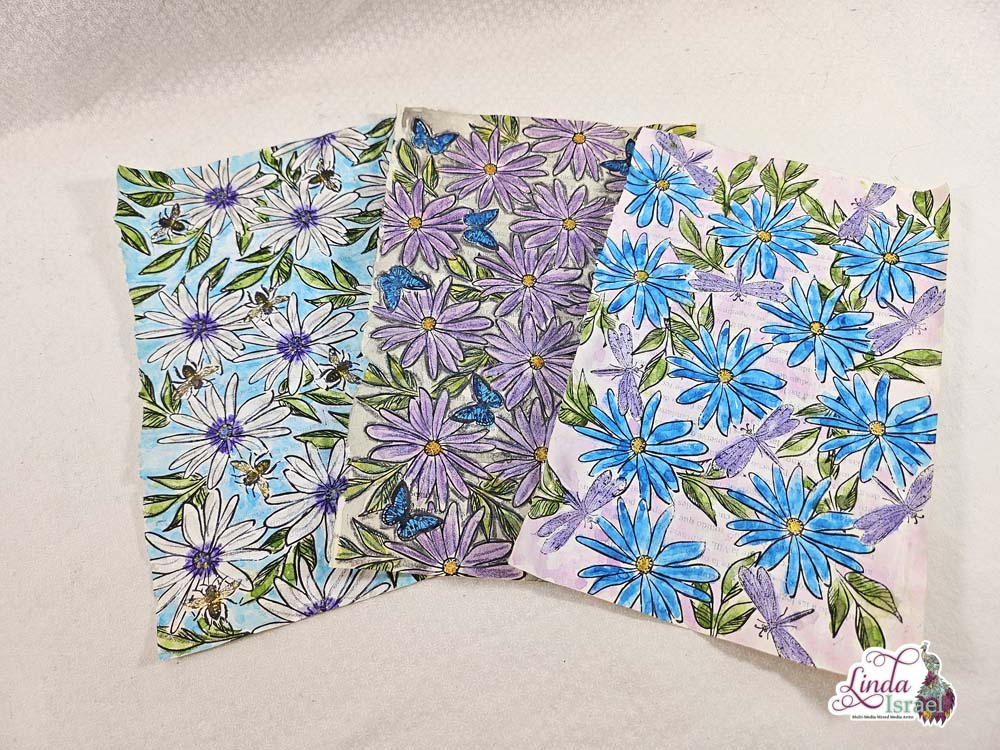
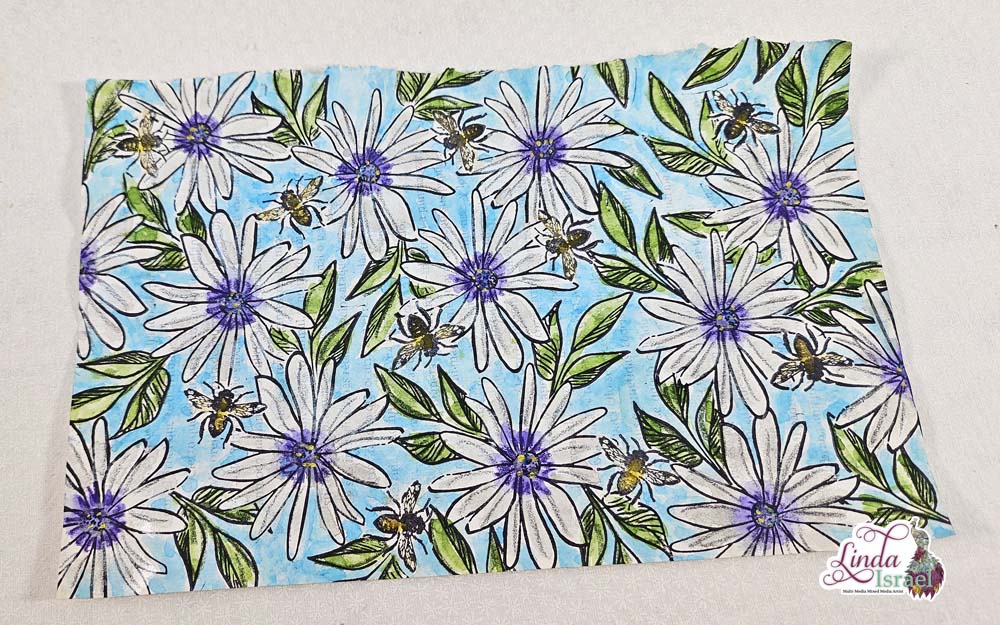
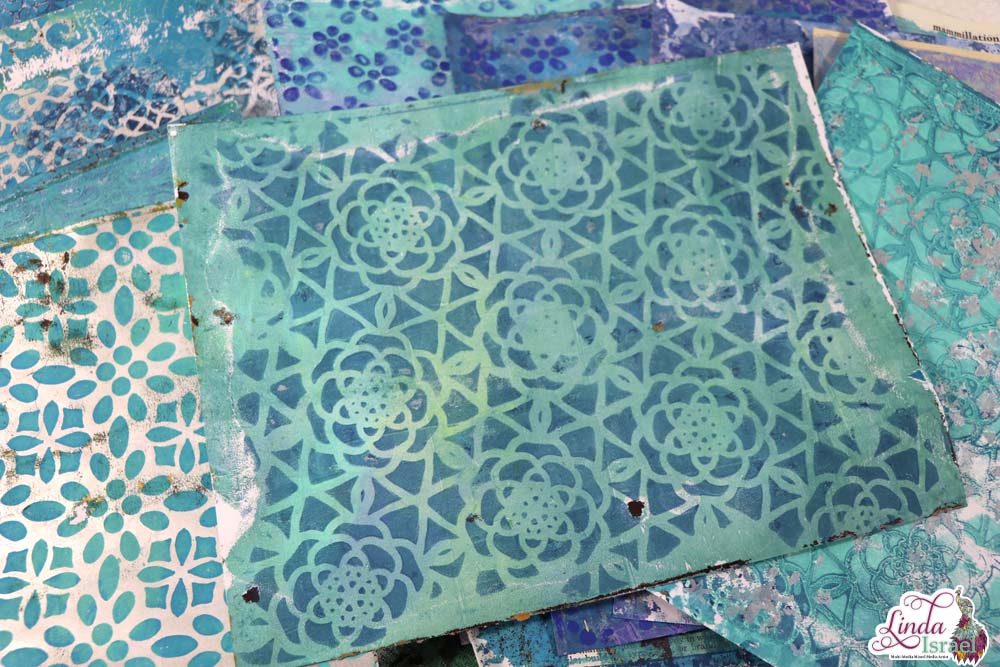
Using a stencil like the More Little Daisies and Distress Oxide Inks apply color all over the book page. I love using oval blending brushes, they are sold out of the ones I have but I saw these colorful ones and think I will order a set for myself.
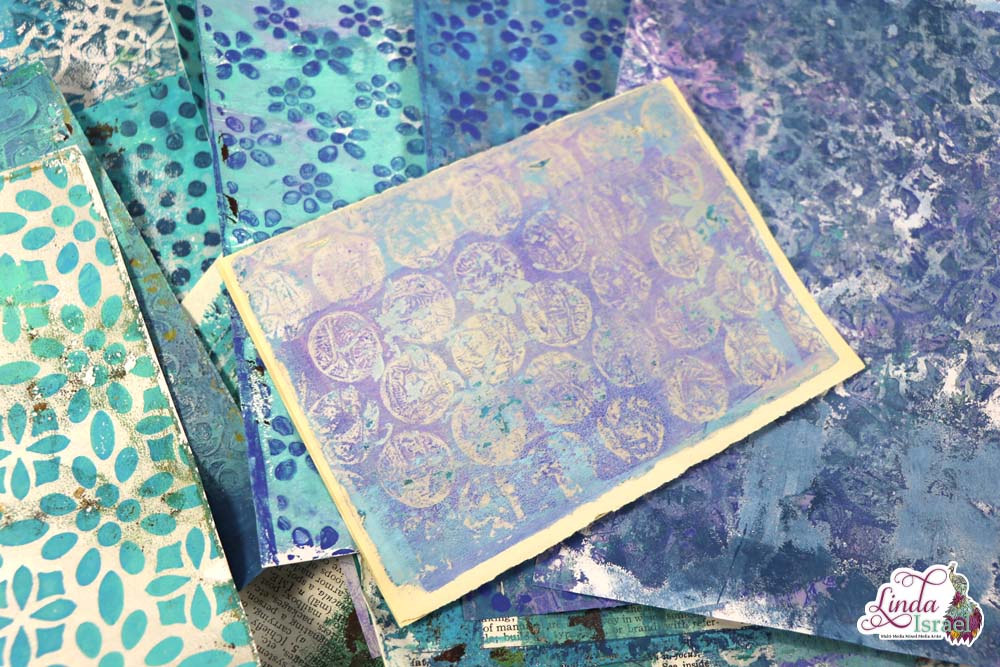
Add a layer of stamping over the stenciled book page. Using Archival Ink Jet Black I randomly place stamped images all over. Since I’m not sure which direction the paper will be used I like to rotate the images so that there isn’t just one direction. Feel free to stamp anyway you wish. You may want to have a direction paper for your projects.
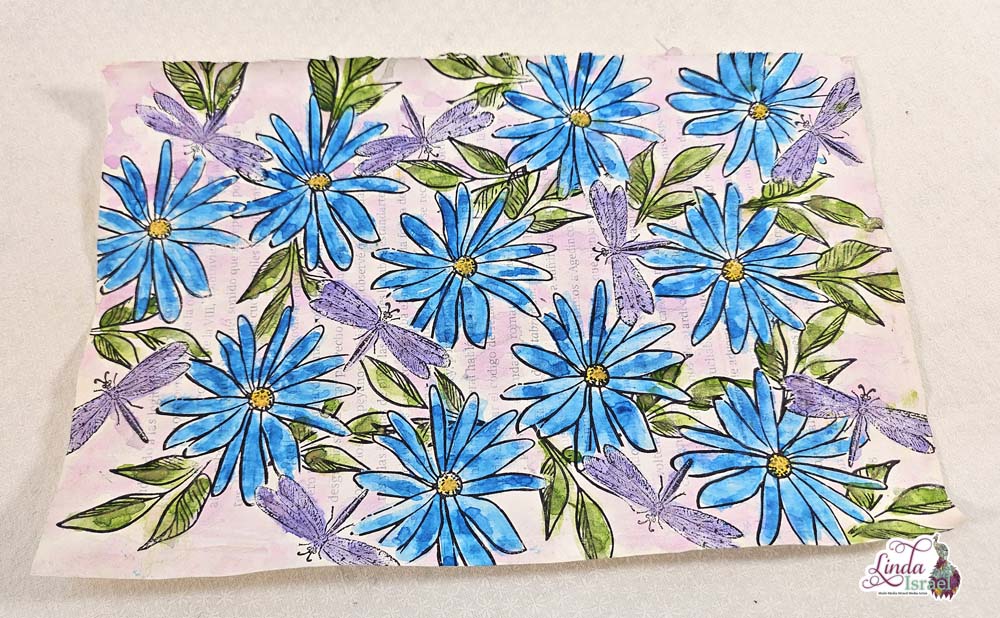
Another way to decorate these book pages is to use watercolor paint. Add spots of color all over the page, Or paint the whole page one color. Have fun choosing different colors. Then add some stencil patterns over the top. I used similar colors of distress oxide ink that matched the watercolor paint. Doing so adds depth to the page.
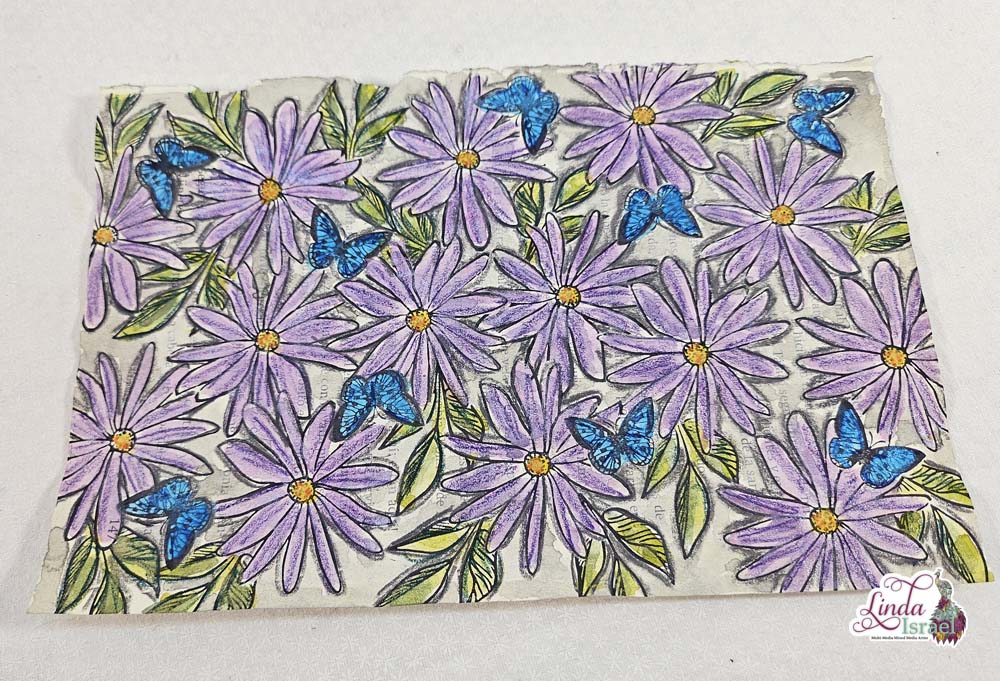
Creating these decorative papers has no limit! Stamping directly over the painted paper and then coloring in the images is another way to add patterns. Take a look at the supplies and tools you already have and see how you can make your own decorative papers.
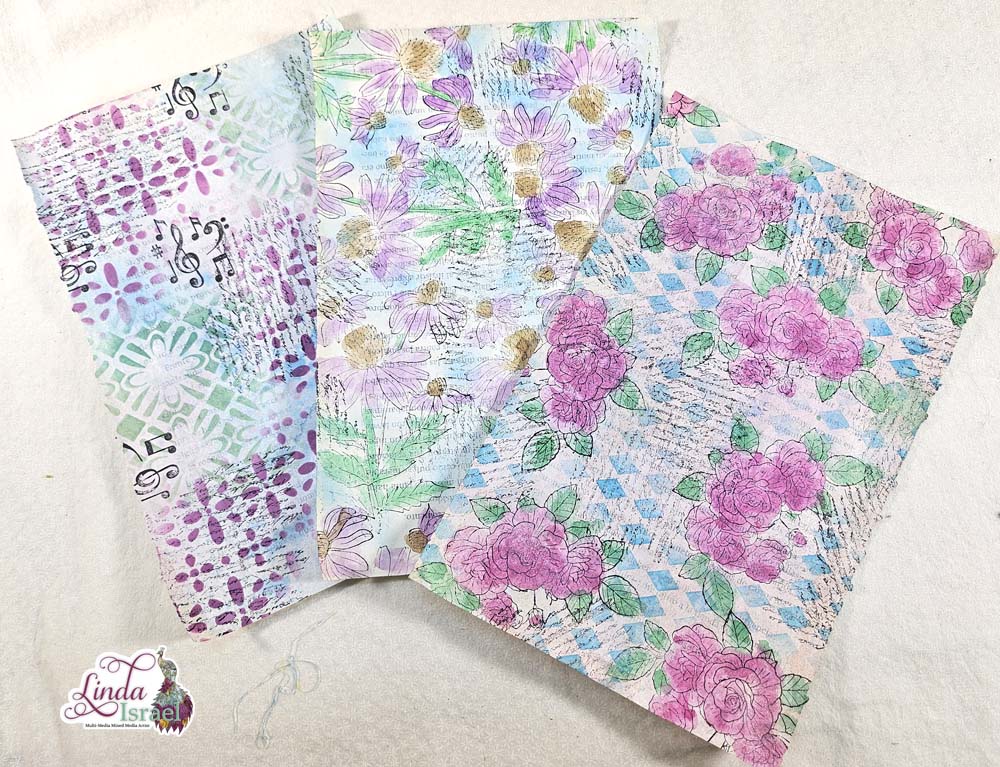
Once you have a section of decorative papers it is time to create the base to attach all the papers. If you don’t have 12 x 12 scrapbook papers you can make your own decorative papers. I choose to use a few book pages to create a 12 x 12 base for the folio. Just glue the edges together until you get the size of paper you want.
Cut down the new papers you created into smaller pieces, Or leave them whole. Adhere the papers on the 12 x 12 paper until the whole thing is covered front and back.

To create the folio base cut the 12 x 12 paper. Cut off a 4 inch by 12 inch strip. Then cut the 4 inch strip: one 4×4 inch square, which will leave a 4 x 8 inch rectangle. Trim the 4 x 4 to 3 3/4 x 4 inches and then cut it in half making each piece 3 3/4 x 2 inches, set aside. Cut the 4 x 8 inch piece in half to create two 2 x 8 inch strips. Set one strip aside, this will become a long pocket or it could be a belly band. Cut the other strip into two pieces that measure, 3 3/4 x 2 inches.
Score the 12 x 8 inch piece to create a 3 panel folio. Score at 4 inches and then back up 1/8 of an inch and score again. I like to rotate my paper so that I can do the other side the same Score at 4 inches and back up 1/8 of an inch and score again – or you can go out to the 8 inch mark and score on the other side closest to the outside edge. Watch the video to see what I mean.
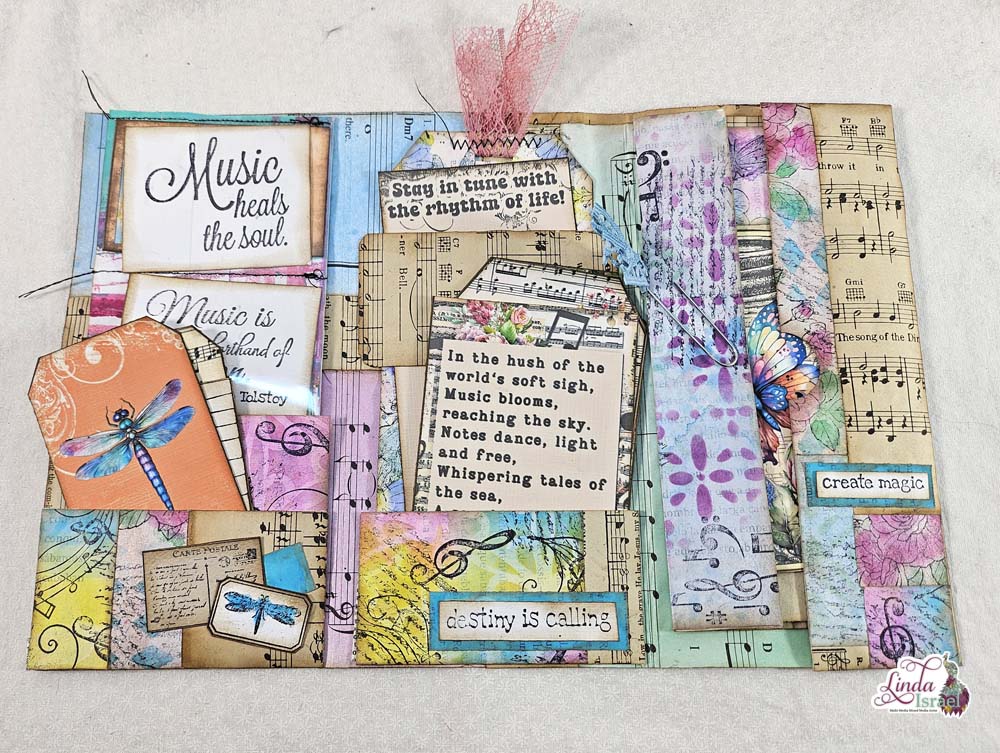
Apply distress inks to the edges of all the pieces. If you like to have thumb holes on your pockets now is the time to do that! Rounding the corners of some of the pieces is also something that can be done. I only did it on the small belly band.
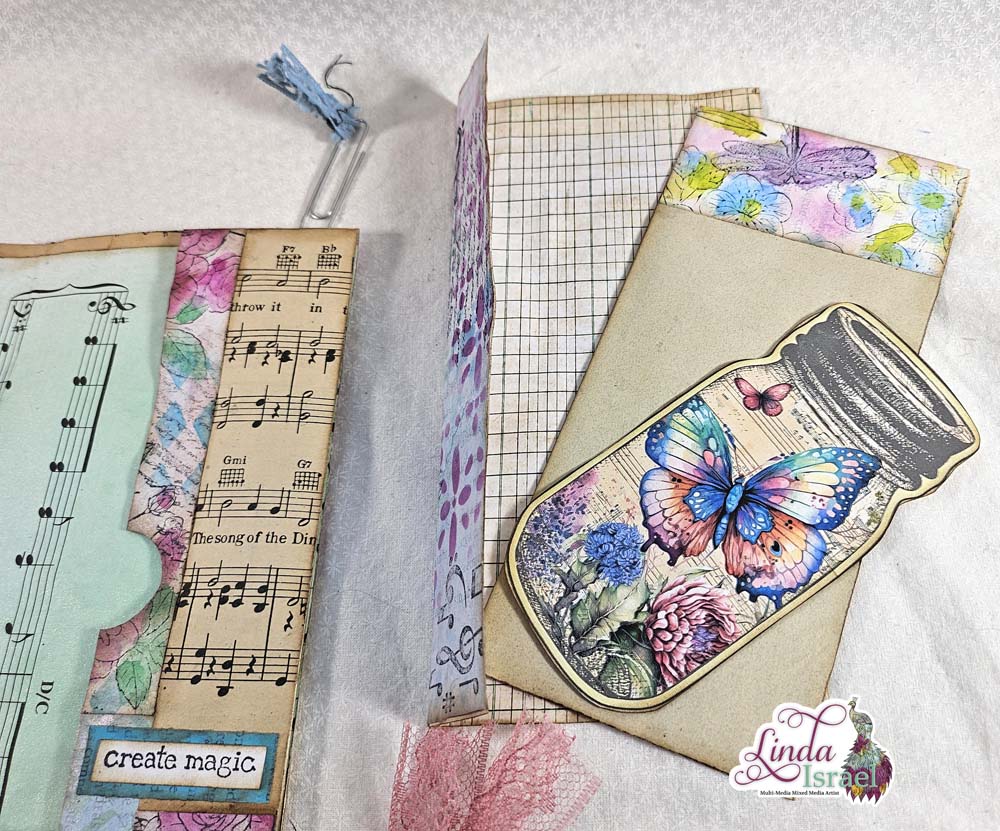
Because I knew that I wanted the full width and depth of each pocket to be utilized I added 1 inch wide strips of paper to the backs of my pocket elements. Basically adding tabs all the way around so that when those are folded in and glued the full pocket can be used.
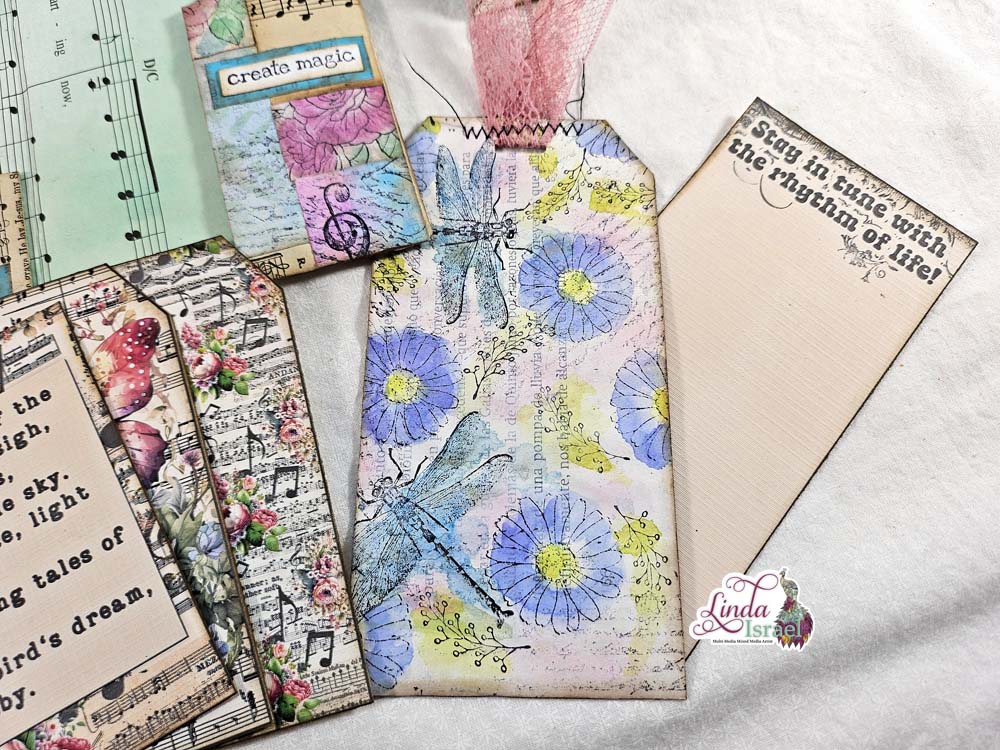
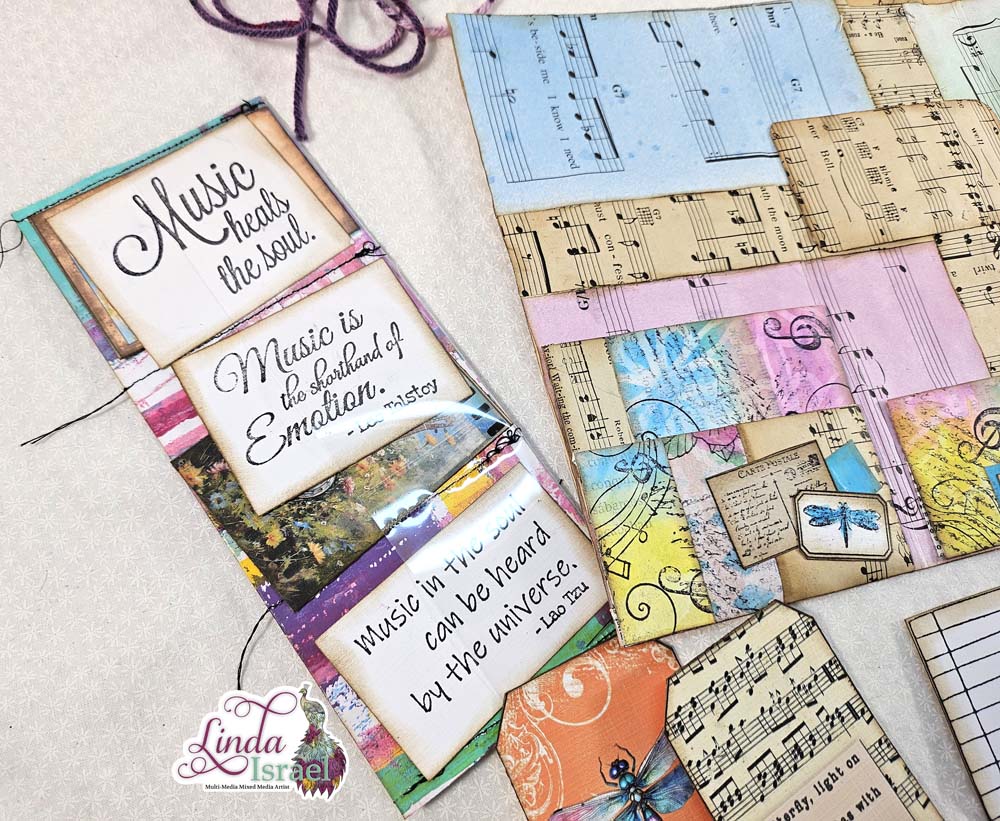
Adhere the pocket pieces to the inside of the folio. Have fun with the patterns and choosing which ones you want to be able to see more of inside the folio.
Once all the pockets are in place then choose items to put in the pockets. I made a journal card during the live stream. After the live I created a tag using one of the painted papers.
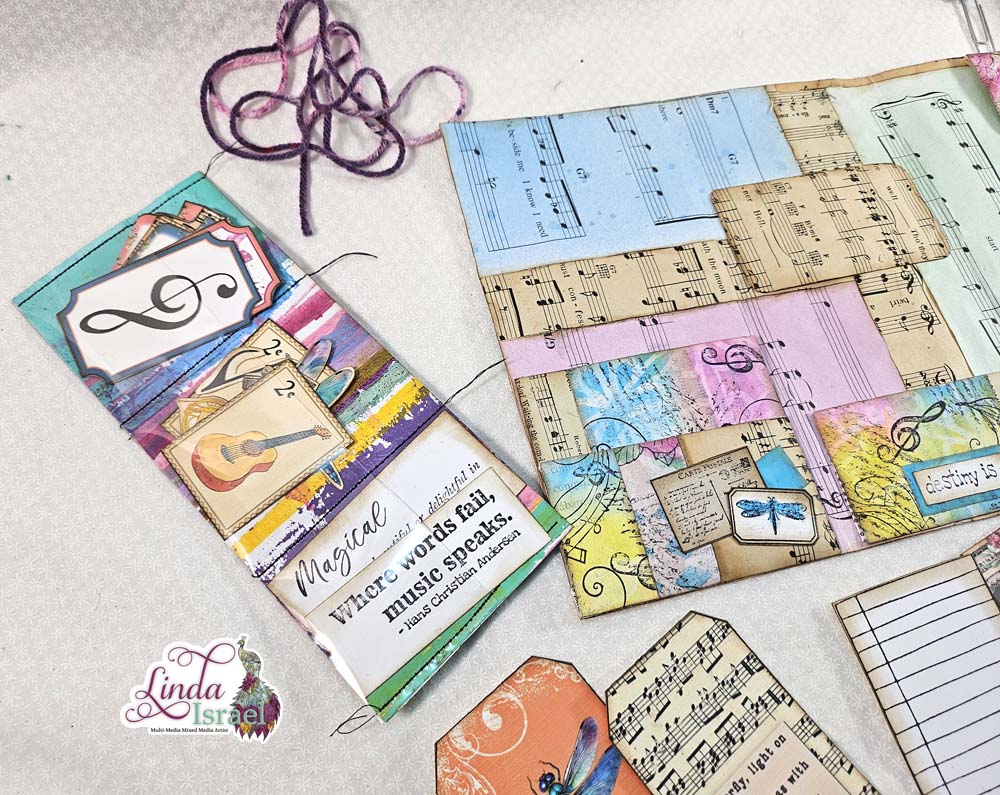
This is one of those projects where you could spend a session creating lots of pattern papers and then sit down and make a bunch of folio bases. So many wonderful goodies can be added to this folio. What a great gift this would be! Or you can make one to match the theme of a journal and it can hold extra supplies to decorate the journal and blank journal space items.
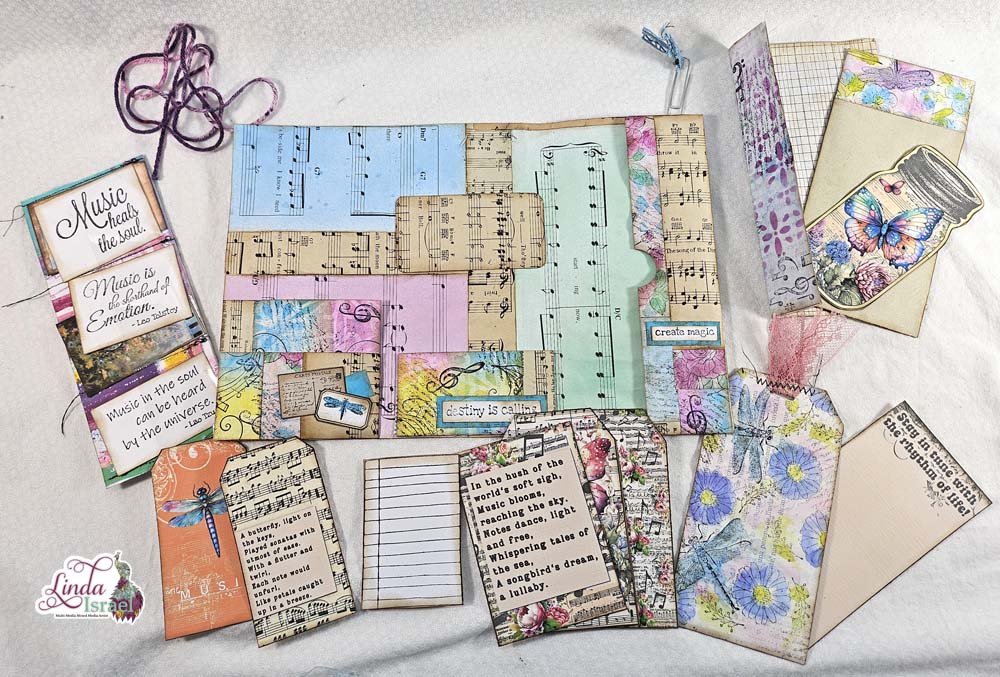
What colors and patterns will you use on your Music Themed Mixed Media Folio?
Make sure to check out the Friendly Junk Journal People Facebook group. Of course, you are welcome to join the Friendly Junk Journal People Facebook group. The group is growing daily and we are a friendly group willing to help each other and encourage each other.

Interested in any of the projects Linda has created? Please feel free to contact her through her website. Here is her shop, a lot of items featured and more added weekly.
Keep updated on her posts by following the blog by creating an account. Follow Linda on her Facebook Page or on Instagram for updates that may not be shared on the blog.
Thanks so much for stopping by the blog today to see the Music Themed Mixed Media Folio tutorial.
“We are a participant in the Amazon Services LLC Associates Program, an affiliate advertising program designed to provide a means for us to earn fees by linking to Amazon.com and affiliated sites.”
