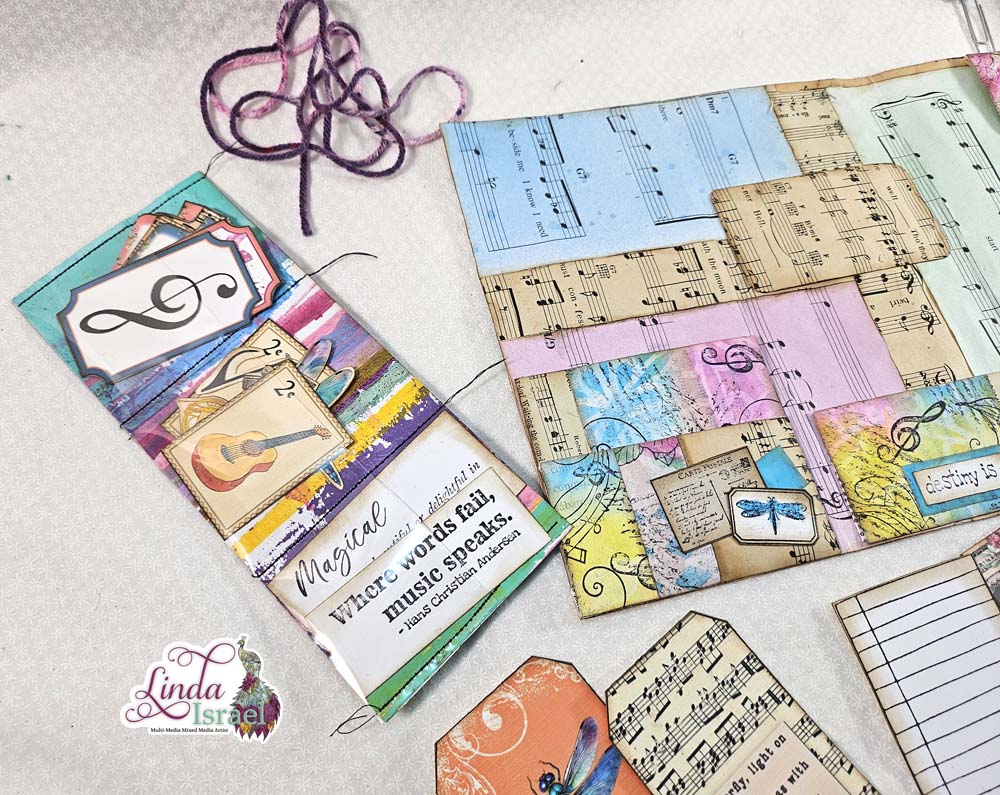
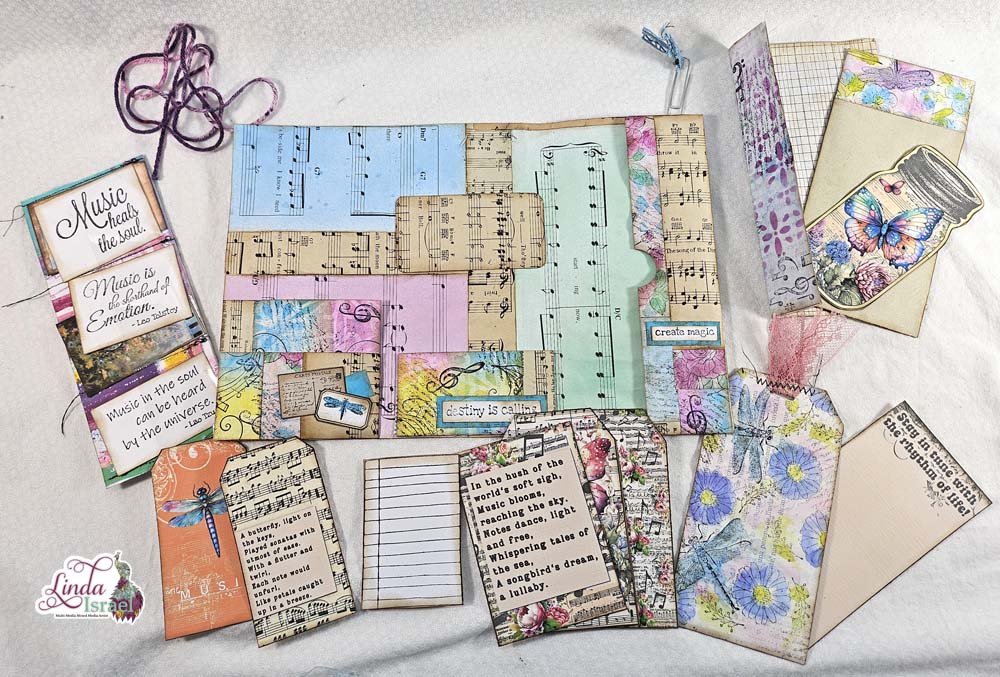
In this Layered Paint Gel Print Tutorial I’ll show how to layer different colors of paint using stencils, stamps and other objects to create a unique gel print. In fact I turned this gel print into a digital download.
Layered Paint Gel Print Tutorial Video
Supplies used for the Layered Paint Gel Print Tutorial
- 12 x 12 Gel Plate
- Soft Rubber Brayer
- Acrylic Paint
- Wild and Free Creative Kit Stencils
- Tub with water to clean stencils
- Flowers and Vines Stencil
- Diamond Bar Stamp
- Bubble Wrap
- Spool from thread
- Sea Sponge
- Book pages
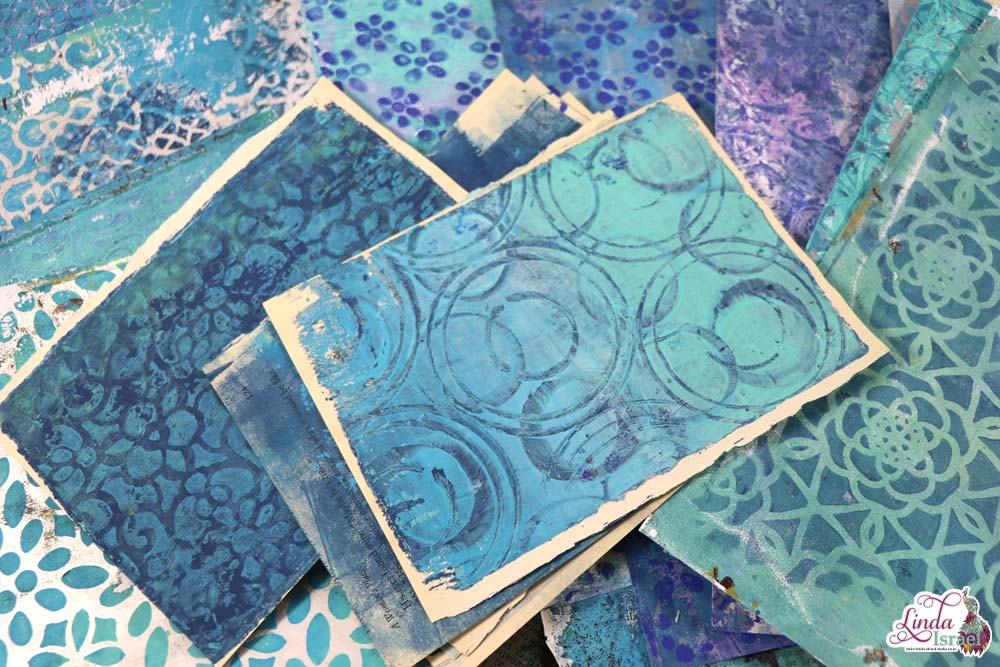
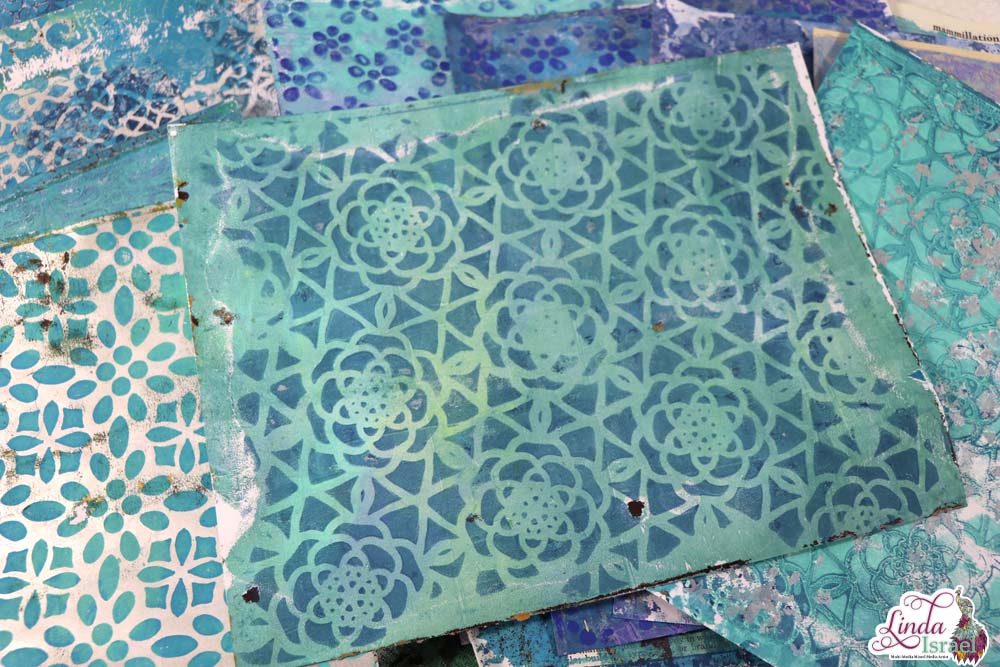
When wanting a layered look in a gel print it is important that you let each layer of paint dry before adding the next layer. Sure you can keep going in the wet paint, but it will blur the images and could blend into mud.
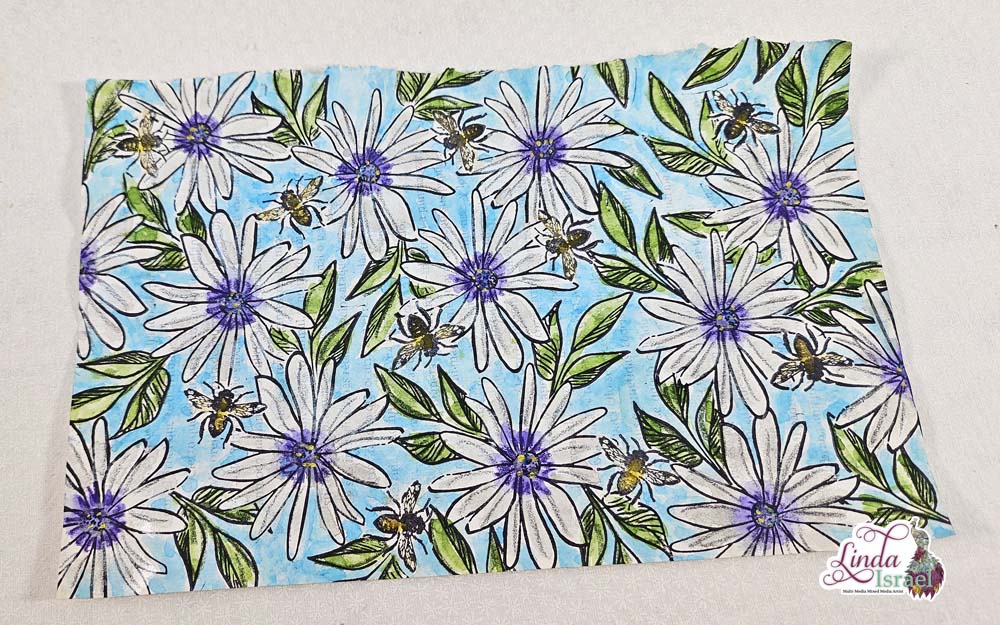
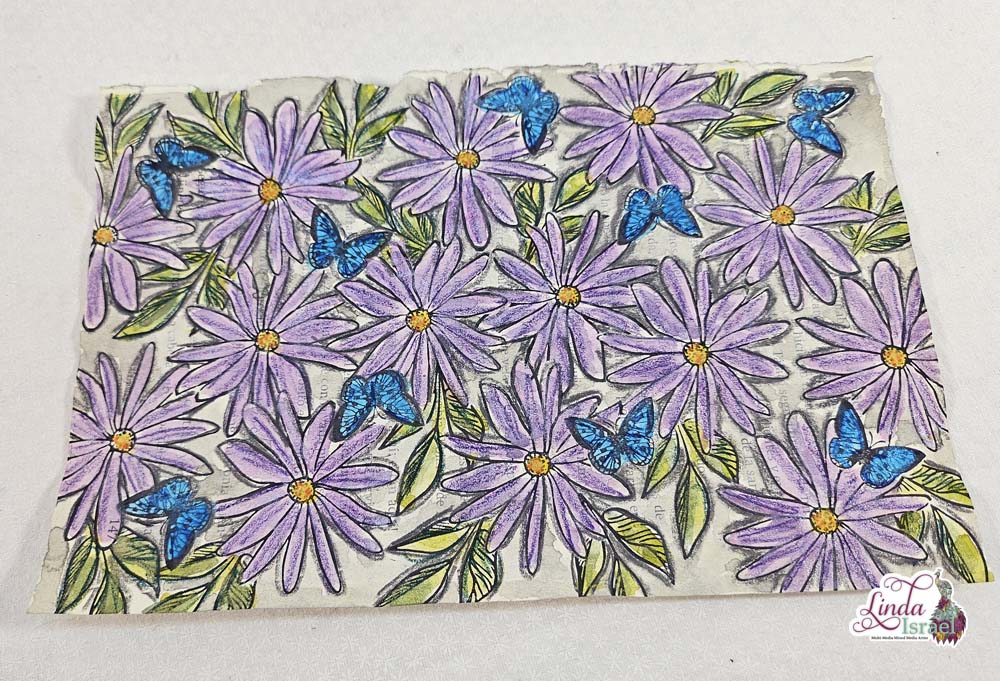
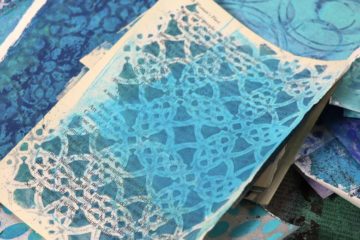
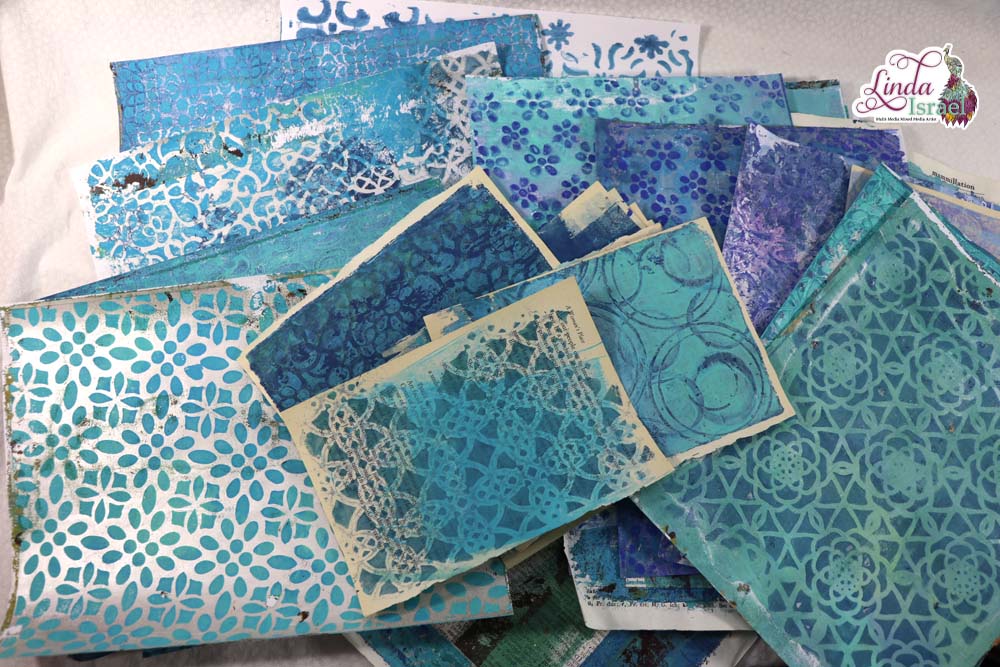
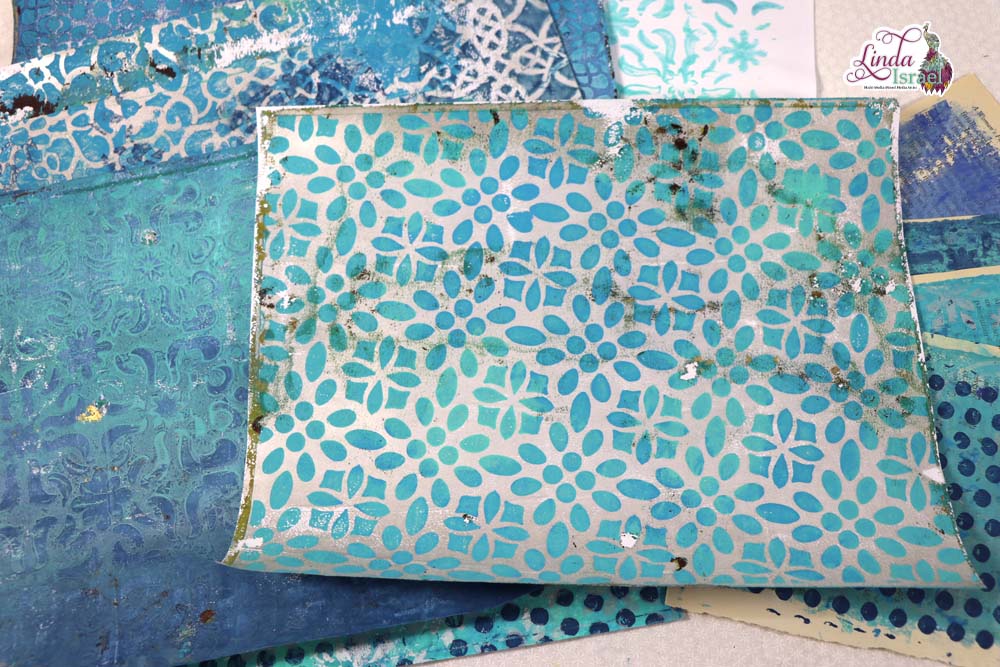
The first stencil is from the Wild and Free Creative Subscription Box. I used it with a turquoise green paint in a random fashion. Pick up the stencil and move it to a different section if using a large gel plate. If you use a smaller gel plate you can lay the stencil over the whole gel plate and then add paint where you want it to show.
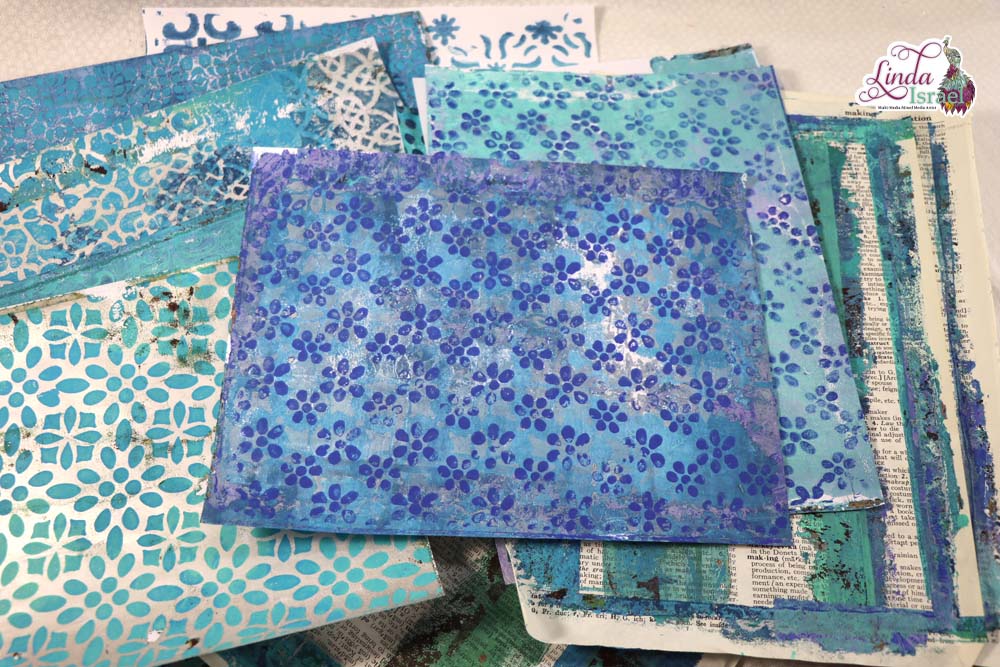
Repeat the stencil process using the Flowers and Vines stencil. Allow the paint to dry before moving on to the next layer.
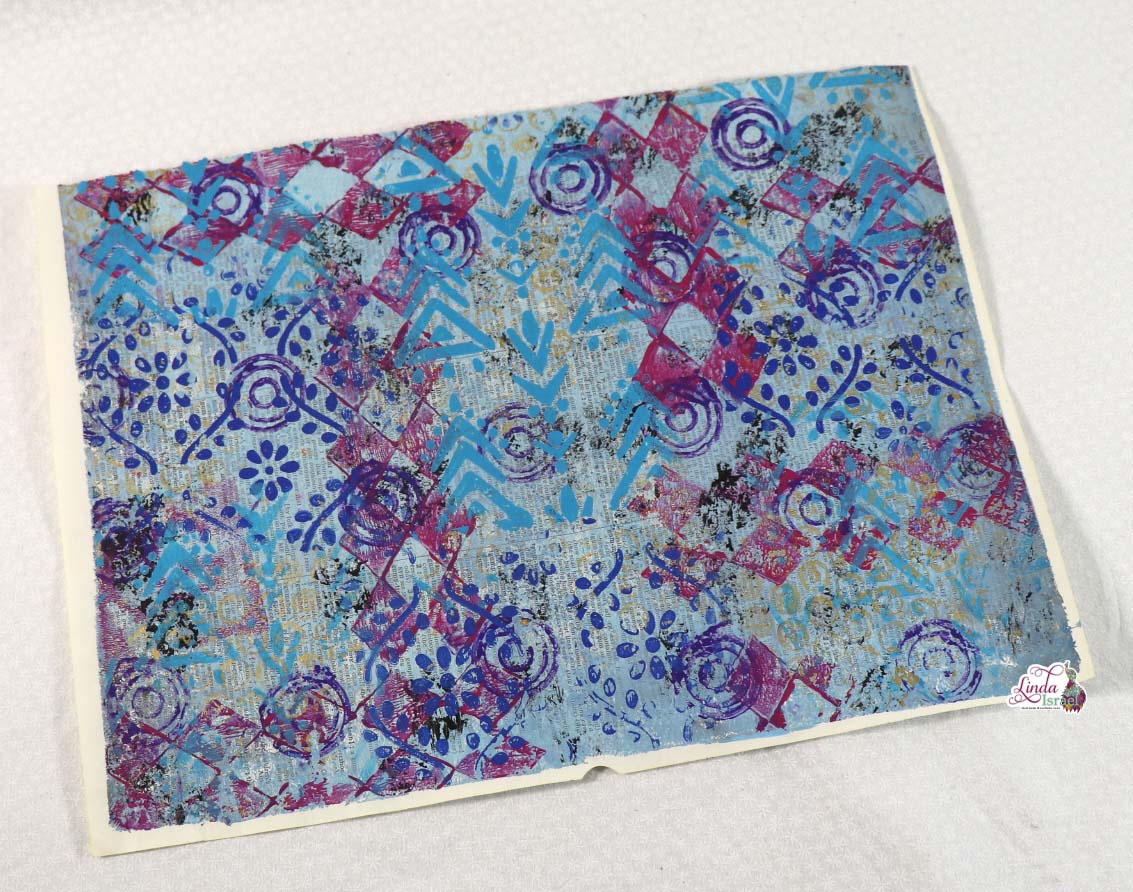
For the next layer I used the Diamond Bar Rubber stamp. It is easier to load the stamp with paint using a brayer. If you don’t have a second gel plate like I used, then grab some book pages and brayer the paint out to use as a paint pallet. When you are done using the stamp clean it so that the paint doesn’t dry on the stamp image.
Objects are great for adding texture to a gel print. Look around at what you might have on hand. Good rule of thumb, if it can cut or gouge your gel plate, don’t us it to make marks. Bubble wrap, empty thread spools and more make great items to use.
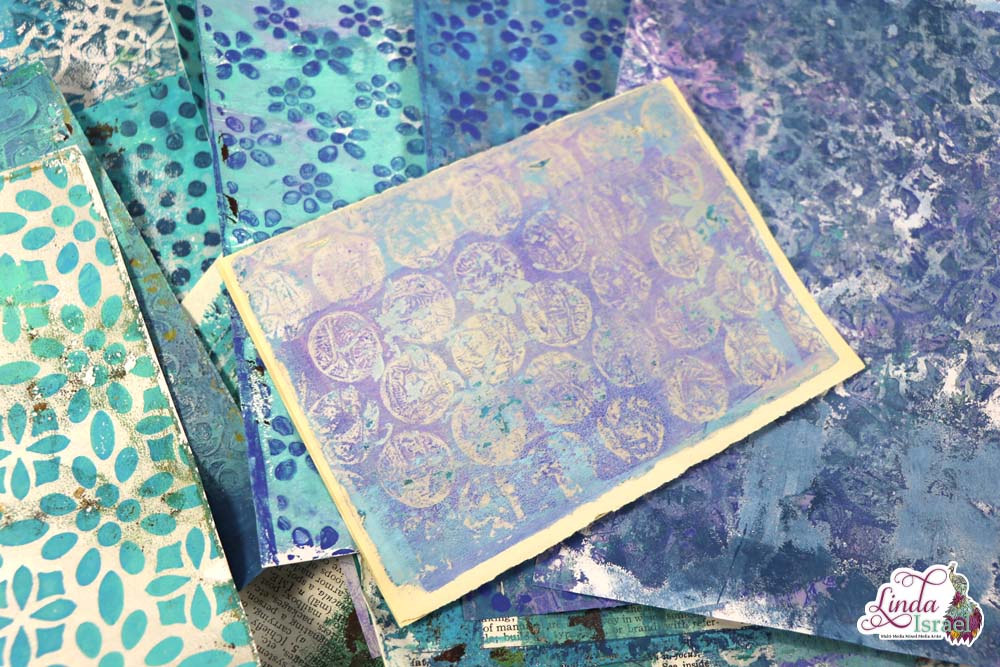
Once all the marks have been added to the gel plate allow the paint to dry. This may take a few minutes or longer. It depends on how dry your studio is or how much paint you used.
When the paint is dry load the gel plate with the lifting color(s). In my case I used two colors and blended these together.
Use a book page or your favorite paper to lift the gel print. Smooth the paper with your hands or a brayer. Then carefully lift the paper from the gel plate.
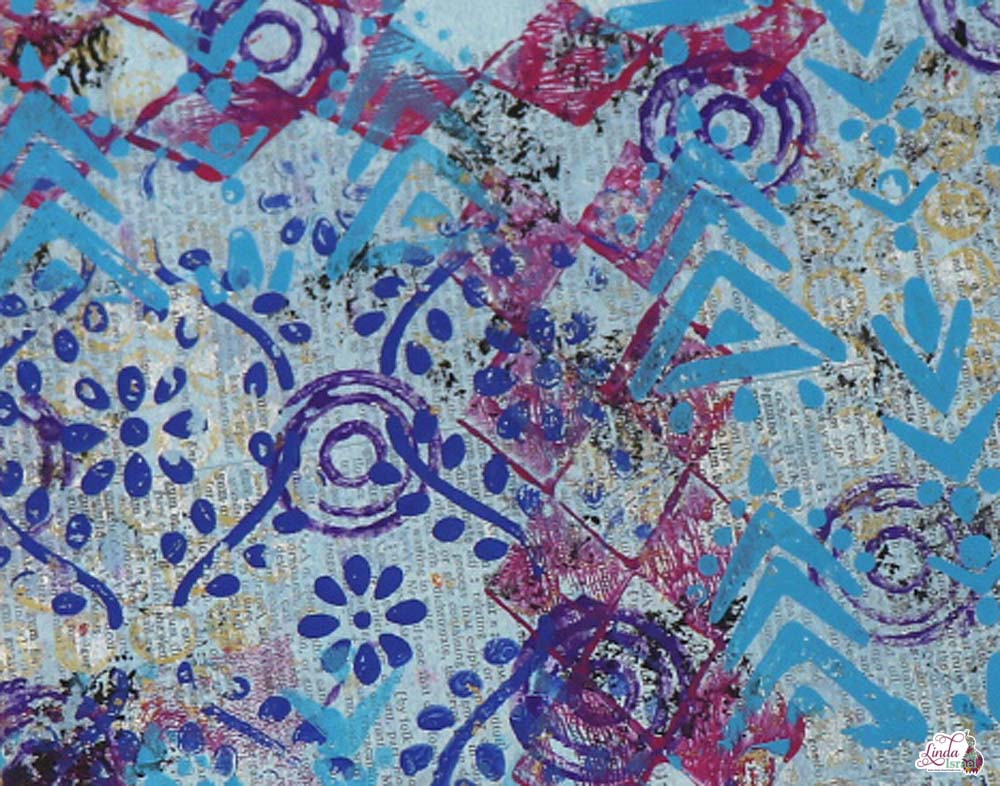
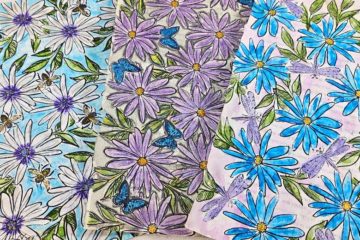
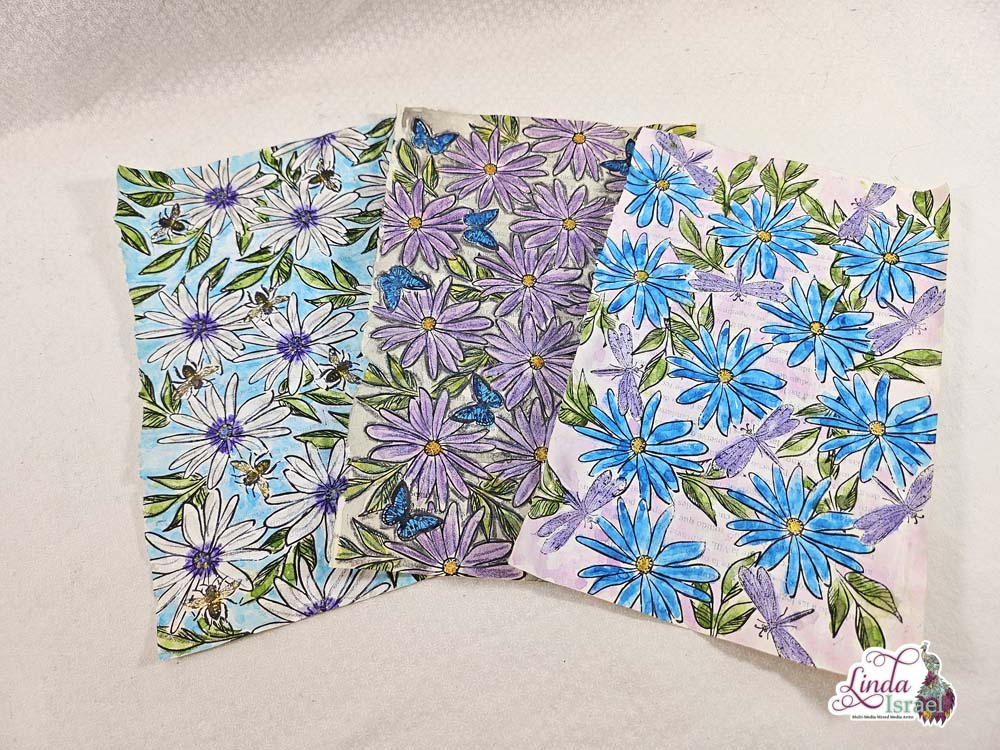
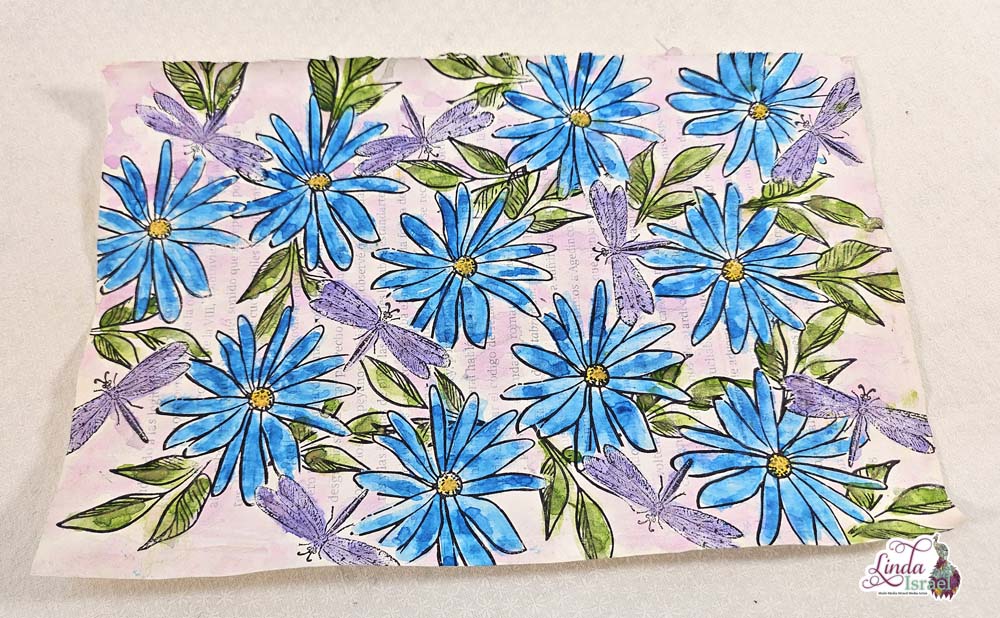
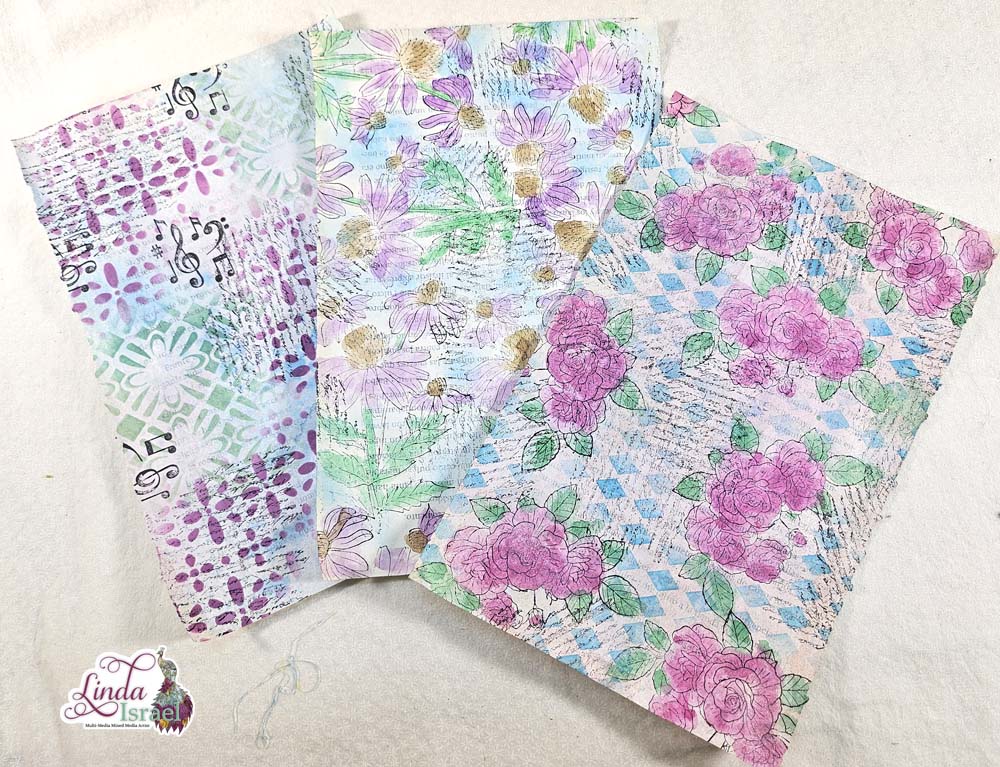
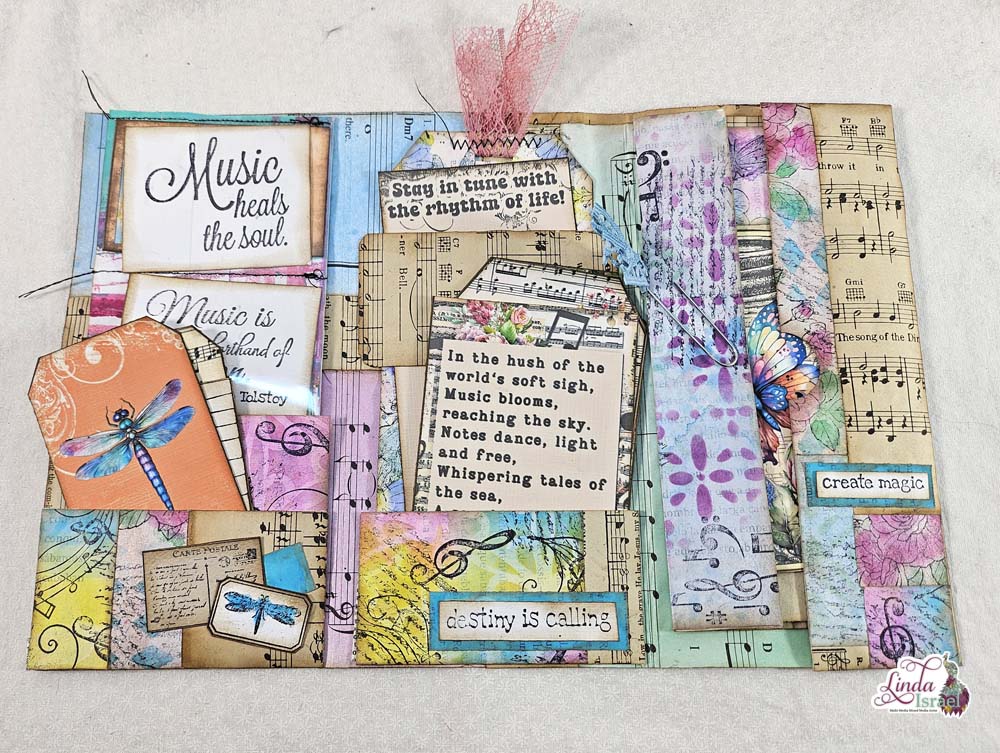
Now admire you print that you made using the Layered Paint Gel Print Tutorial.
Visit the Friendly Junk Journal People Facebook group. Of course, you are welcome to join the Friendly Junk Journal People Facebook group. The group is growing daily and we are a friendly group willing to help each other and encourage each other.

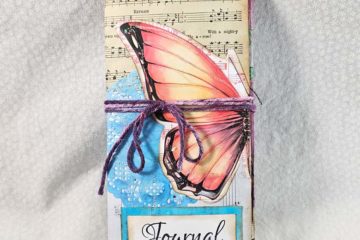
Interested in any of the projects Linda has created? Please feel free to contact her through her website. Here is her shop, a lot of items featured and more added weekly.
Keep updated on her posts by following the blog by creating an account. Follow Linda on her Facebook Page or on Instagram for updates that may not be shared on the blog.
Thanks so much for stopping by the blog today to see the Layered Paint Gel Print Tutorial.