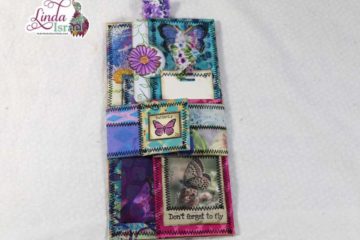
Here is the Patchwork Wrap Journal Cover Tutorial I promised. Using the Gel Printed Fabric and the home printer fabric I show how to create a patchwork wrap journal cover in this tutorial.
Patchwork Wrap Journal Cover Tutorial Video
Supplies used for the Patchwork Wrap Journal Cover Tutorial
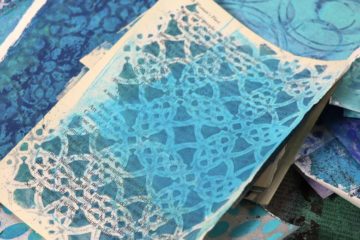
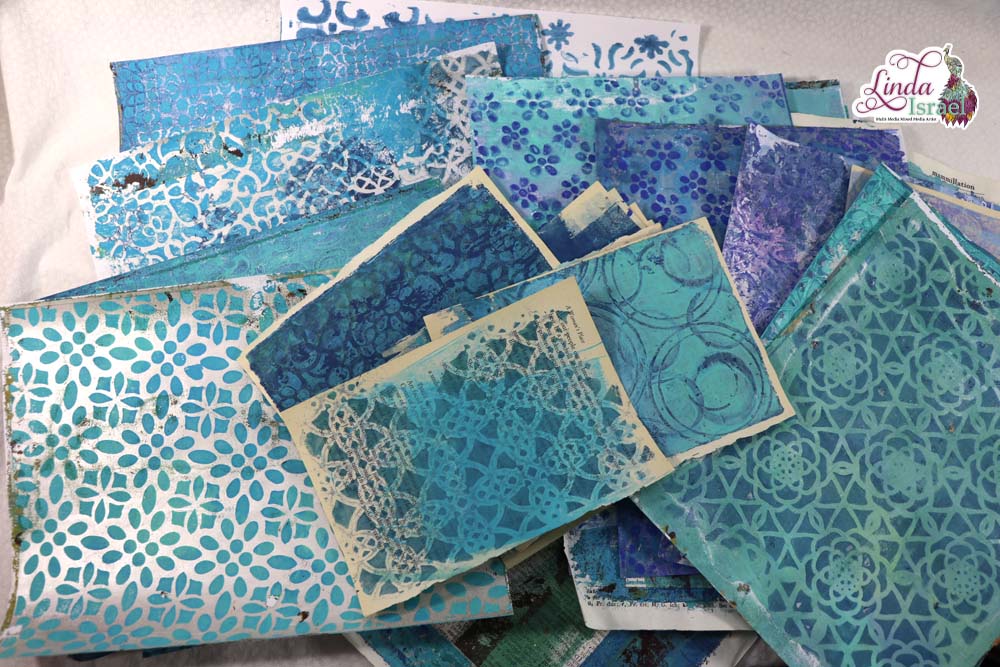
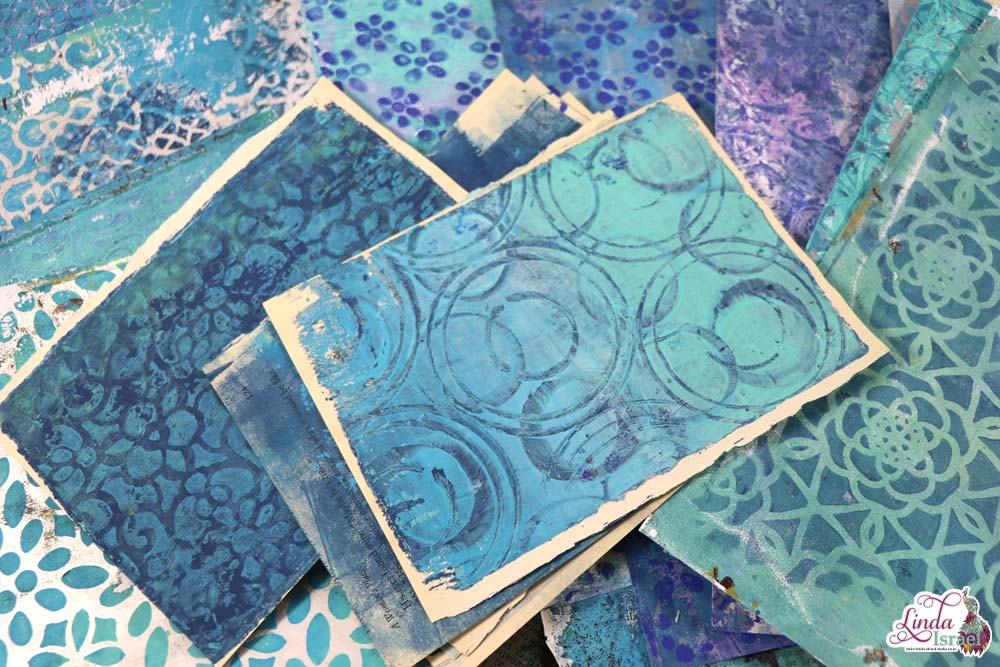
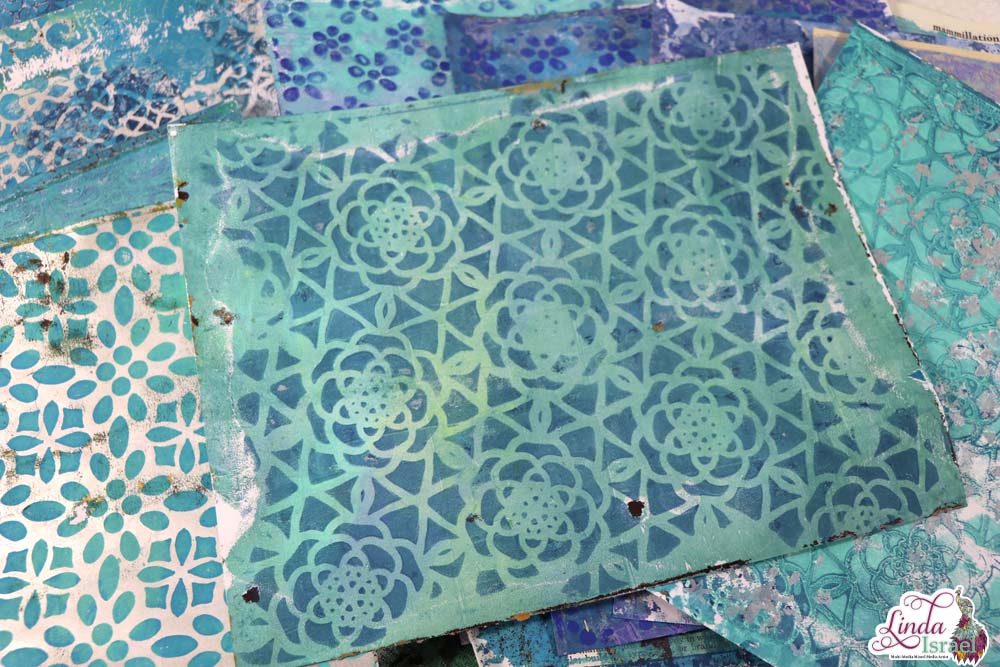
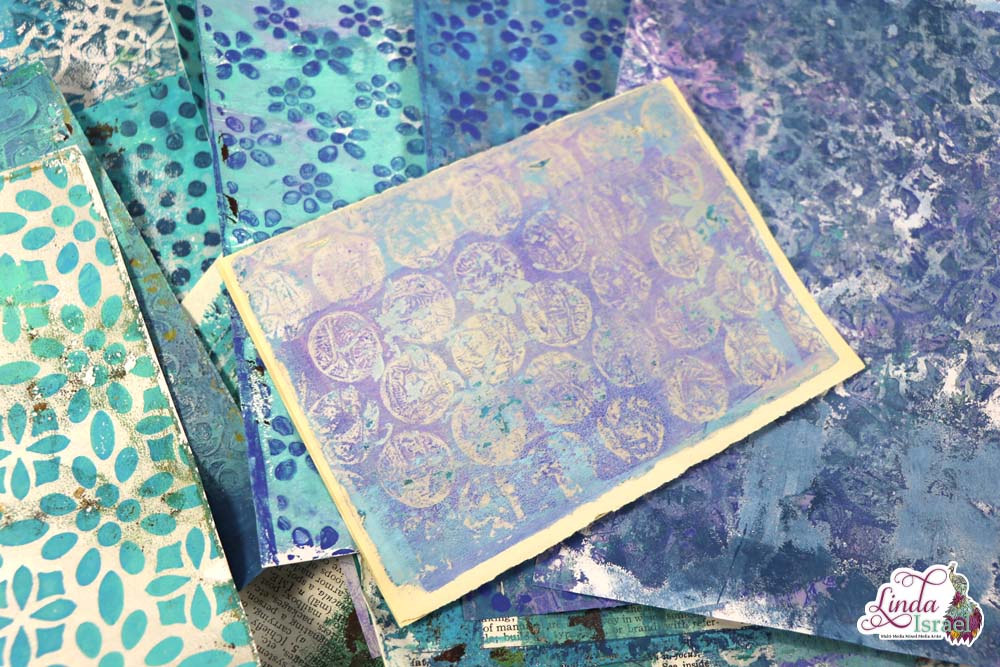
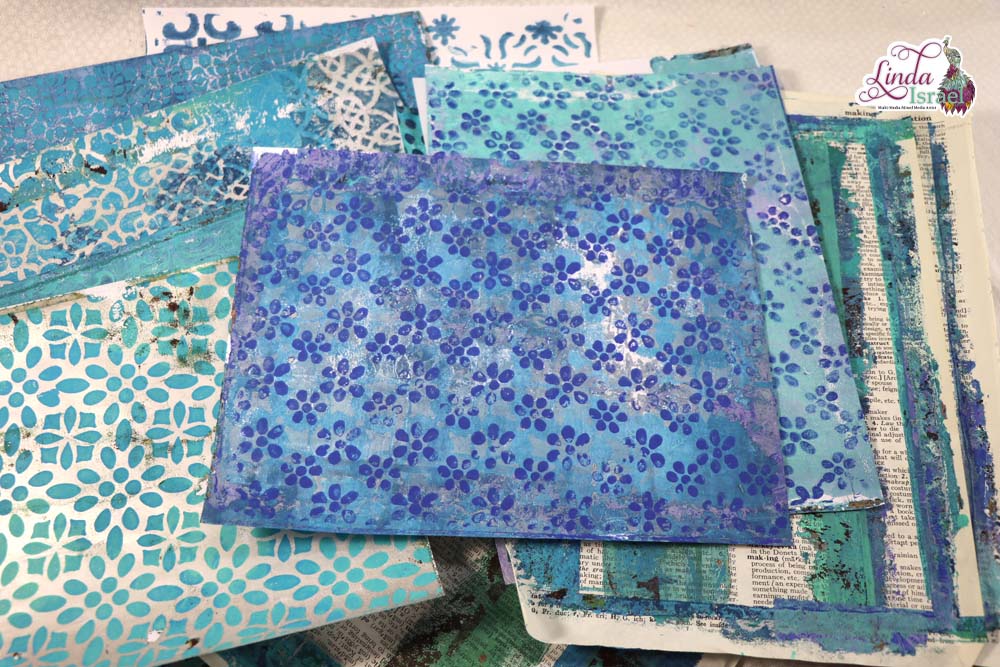
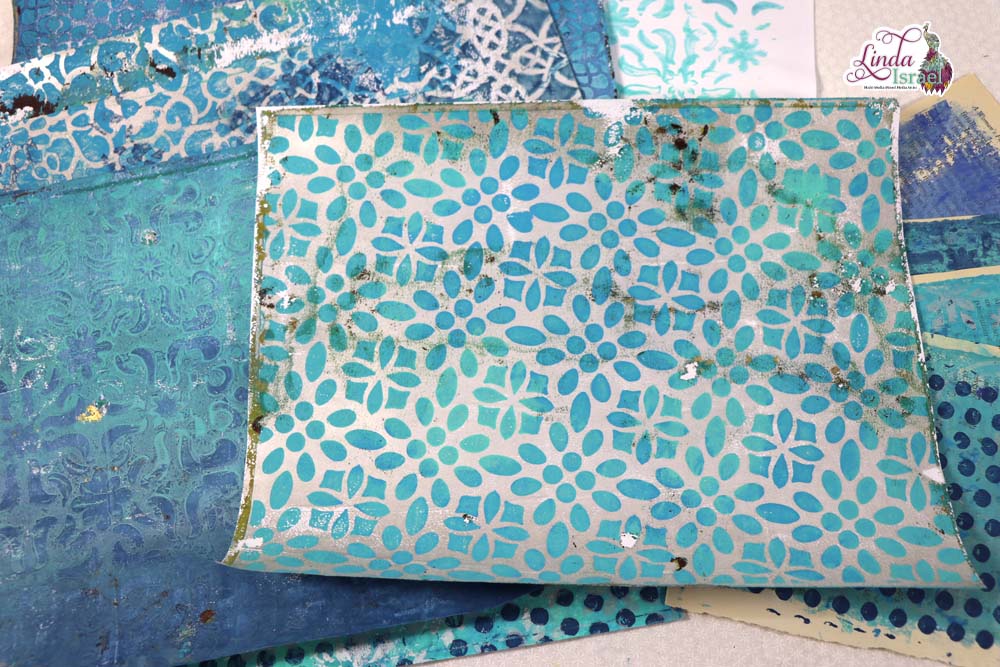
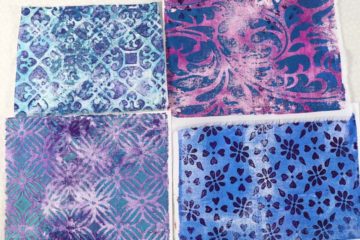
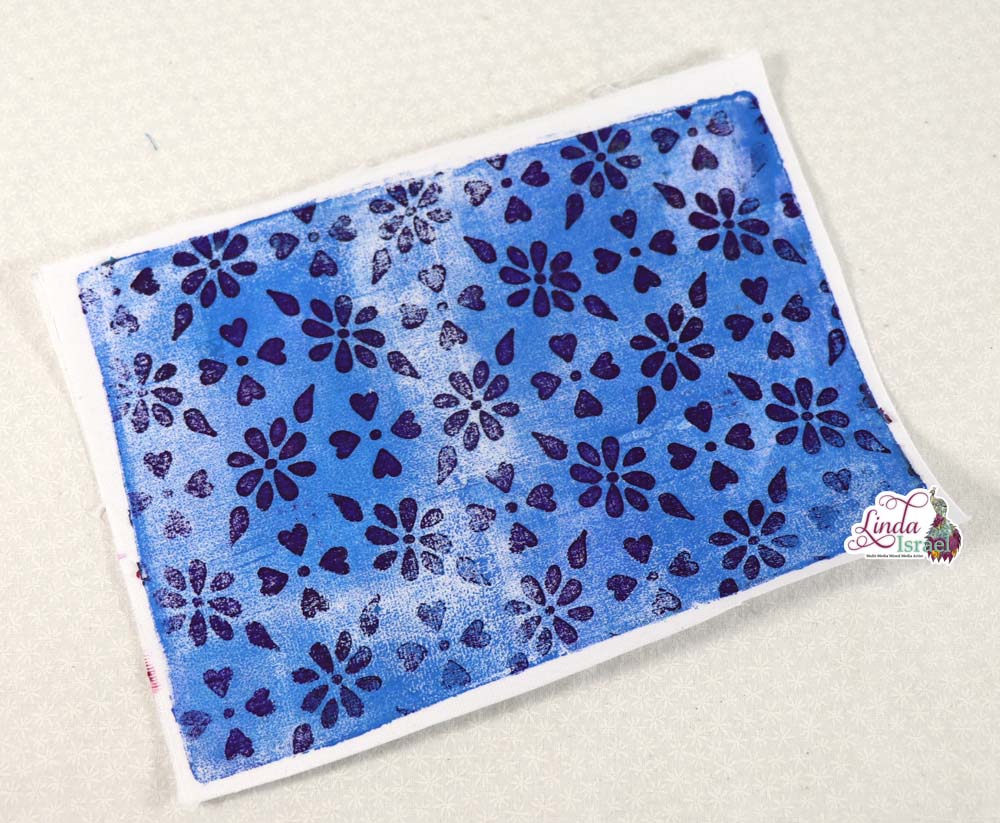
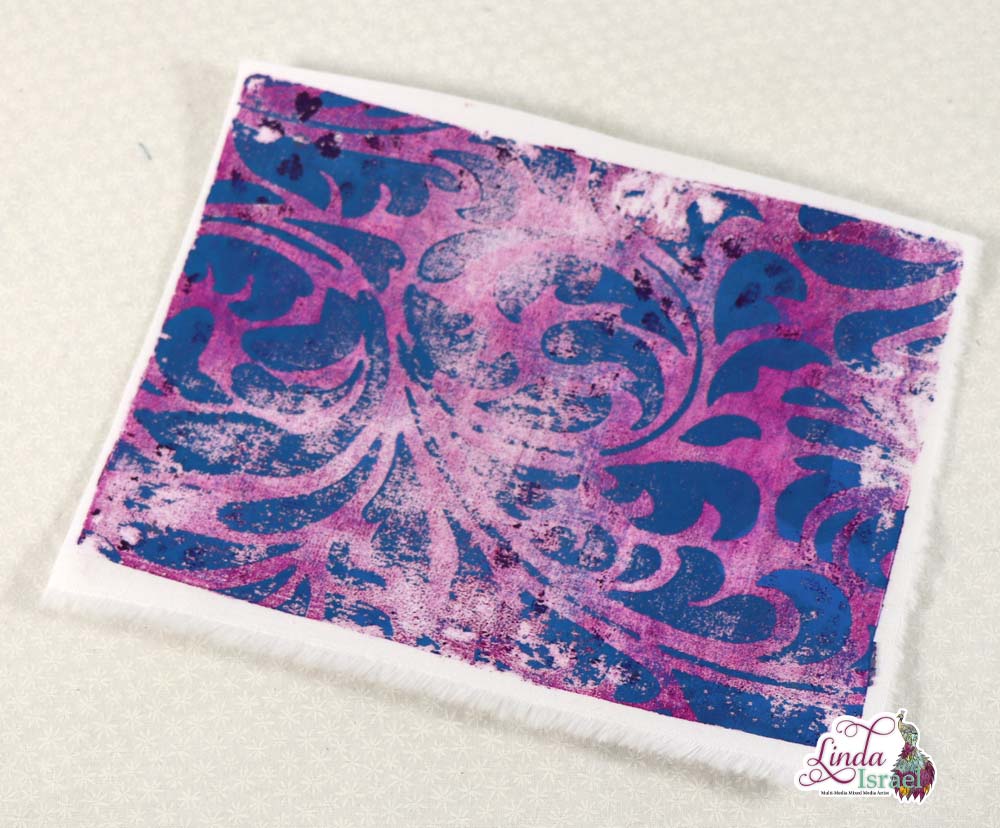
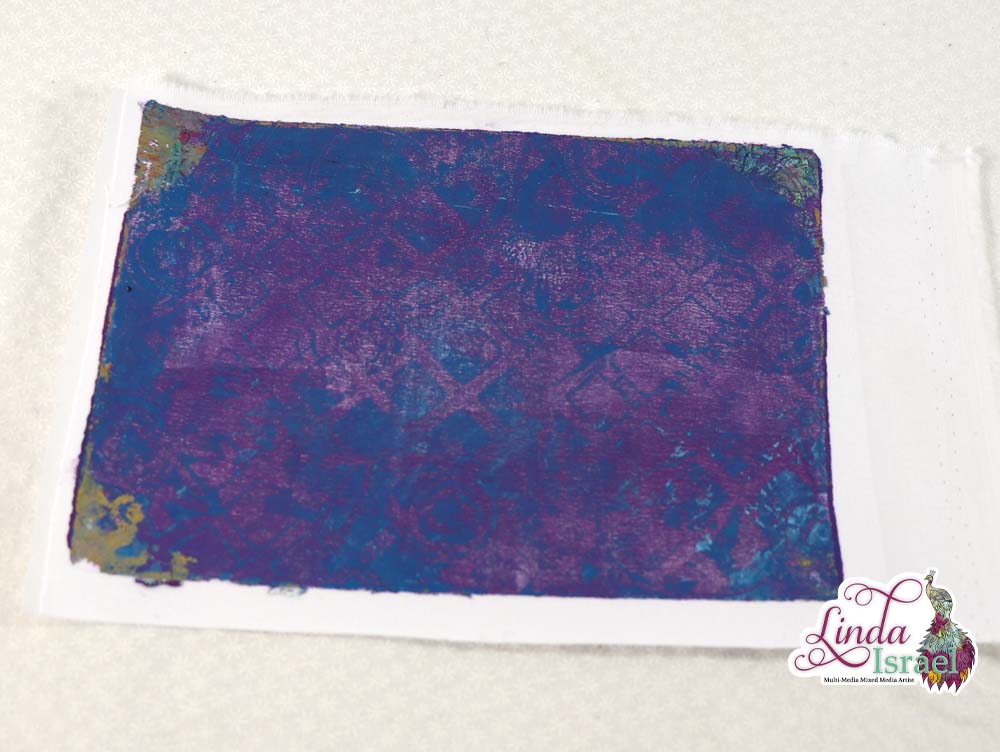
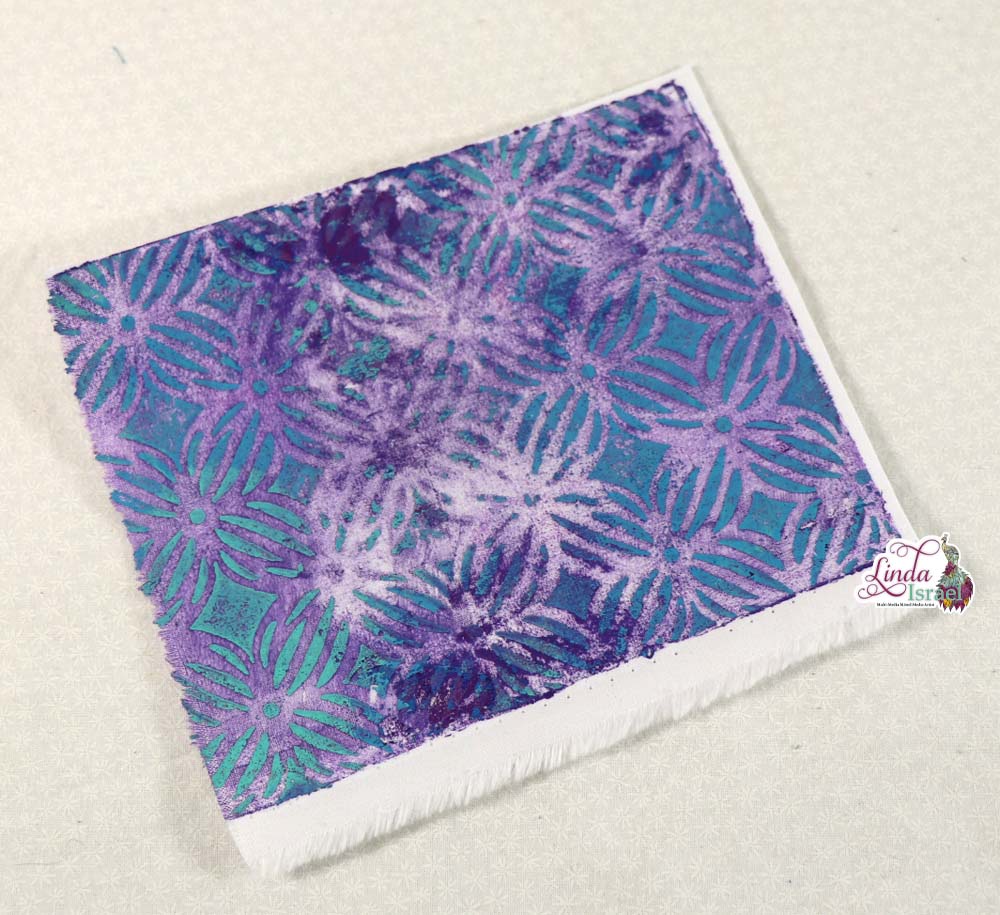
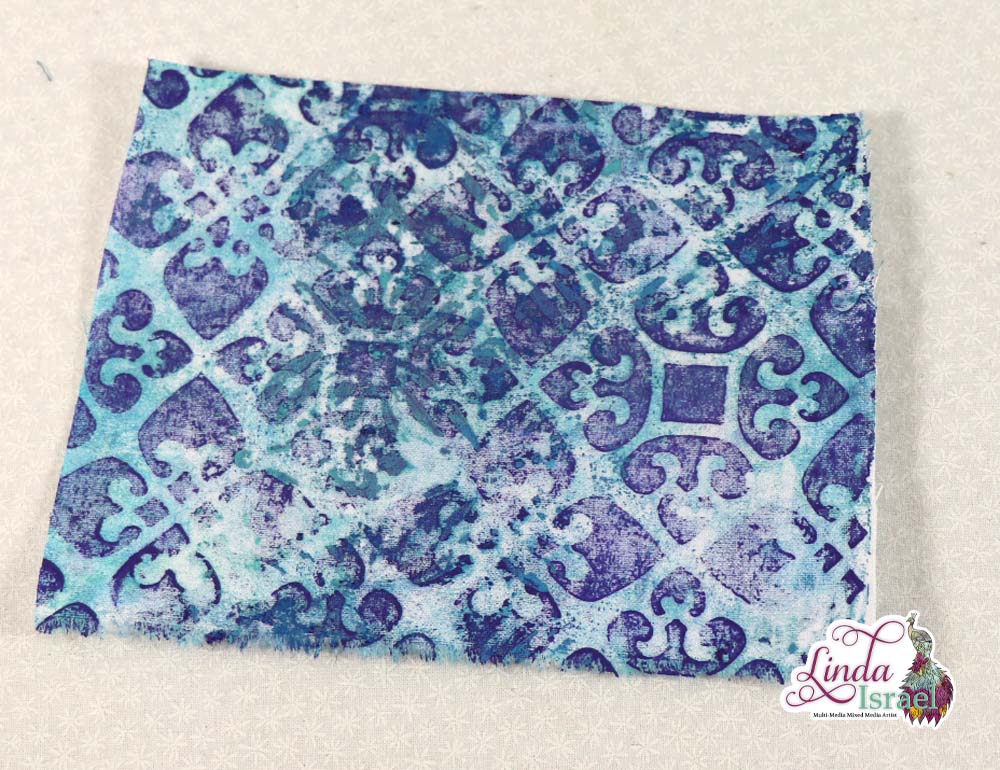
- Gel Printed Fabric
- Printed Fabric
- Wild 2 Gel Print Digital Download
- Butterfly and Flowers Gel Print Digital Download
- Photo Fabric 5 sheets
- 10-pack Colorfast White Printer Fabric
- Freezer Paper
- Apothecary Digital Journal Kit
- Fiskars Rotary Cutter
- Self Healing Cutting mat
- Ruler
- Sewing Machine
- Fiskars Easy Touch Scissors
- Tattered Angels Glimmer Mist Dyed Fabric – 1 inch wide by with of fabric from selvage to selvage.
- Base fabric 9 x 17 ish. Depends on the size of journal (duplicate for inside)
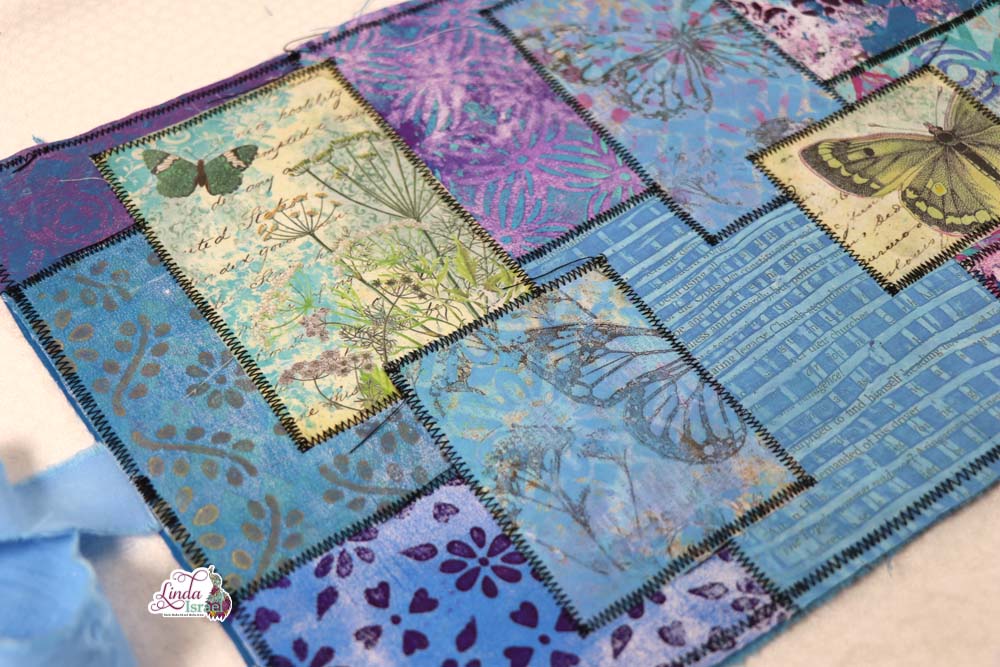
To get started select some fabric. For this journal cover I decided to gel print on fabric, and use a computer to print on fabric using digital images.
Cut a base fabric around 9 x 17 if wrapping a 5.5 x 8.5 inch journal. This is usually enough to wrap even if the journal is super thick.
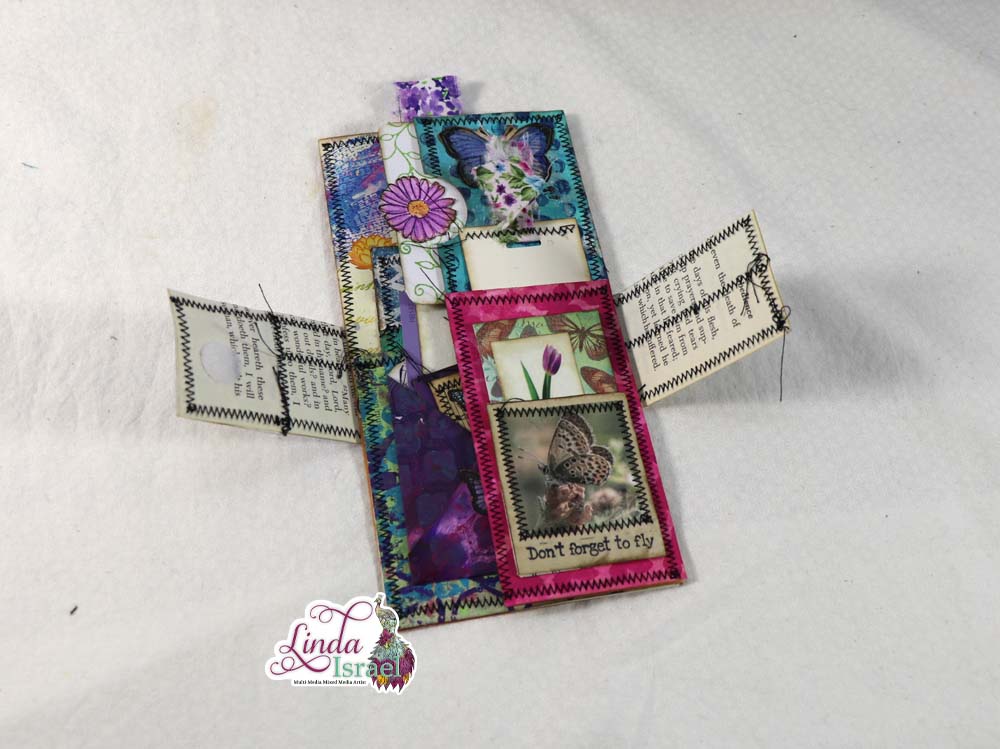
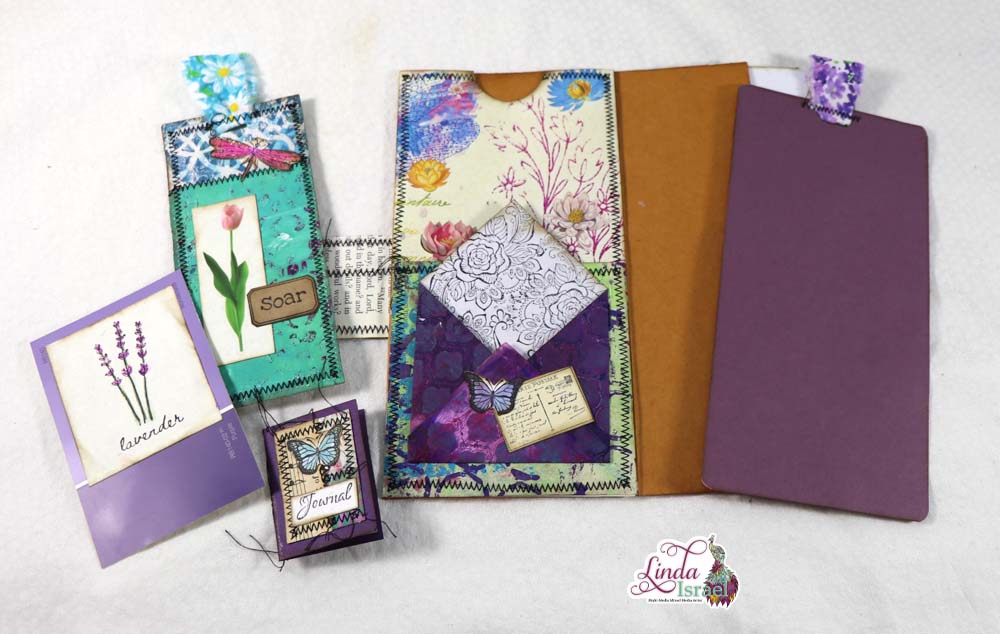
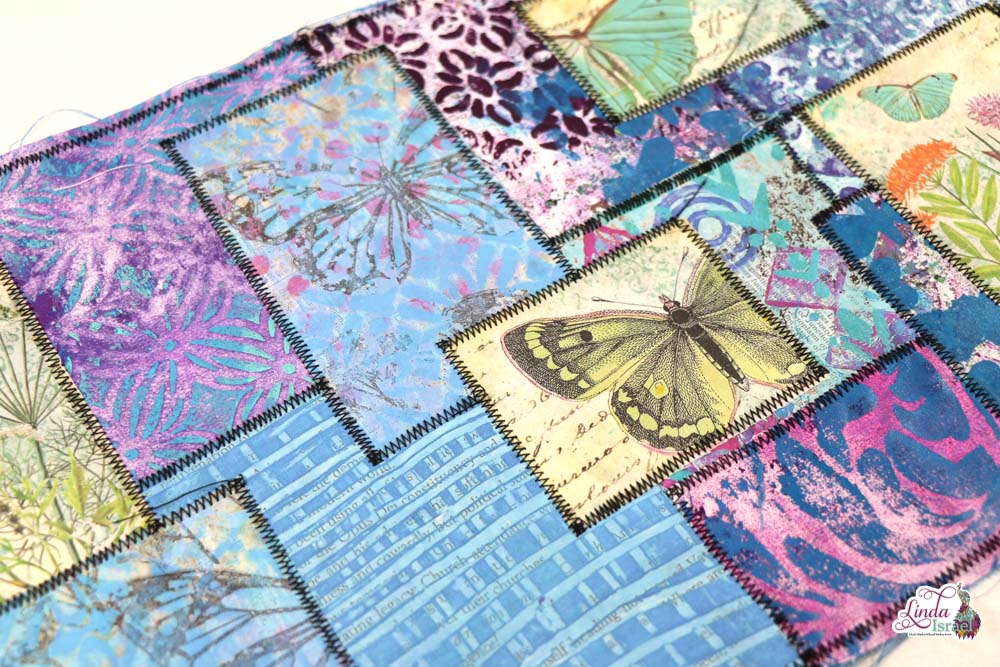
Lay out the fabric swatches in a pleasing manner on the base fabric. I will play around with the layout until I’m happy with the way it looks.
Tack the fabric pieces down. You can do with with pins or like I did with dots of Aleene’s tacky Glue. The idea is that you don’t want these pieces moving when you transfer to the sewing machine.
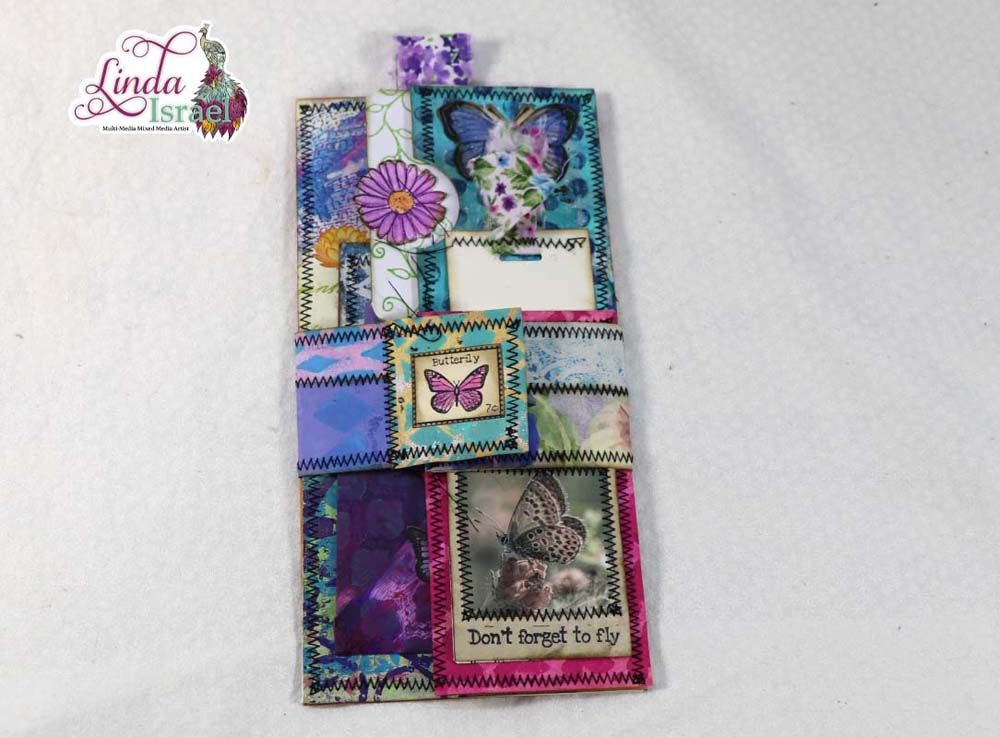
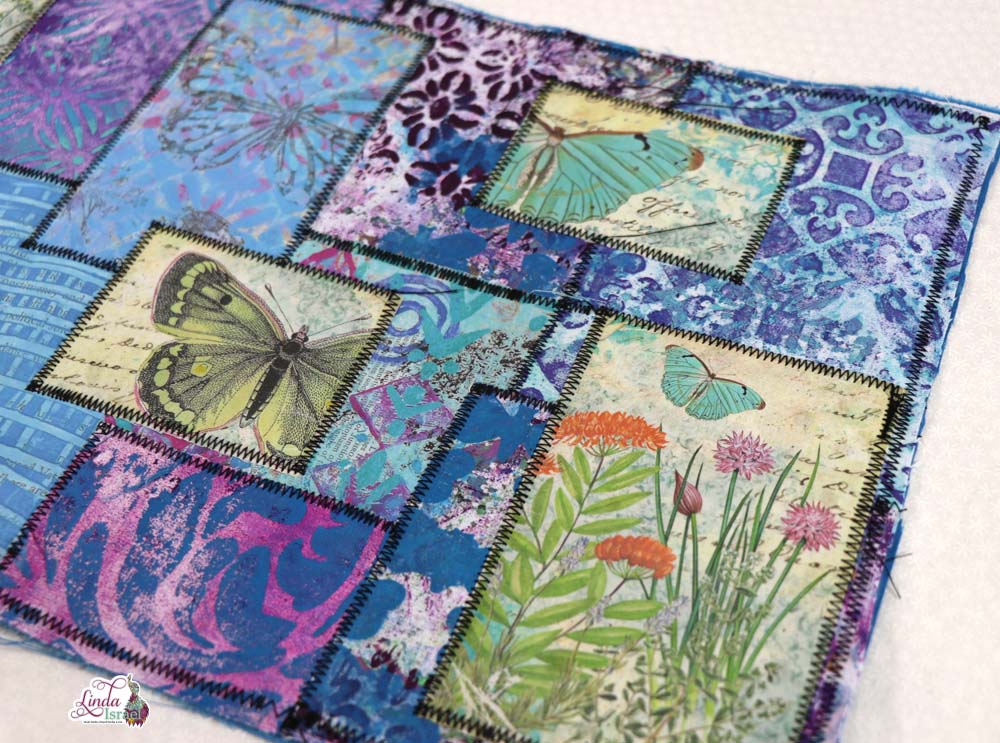
Once the fabric is laid out the way you want go to the sewing machine. Use a zig zag stitch and stitch around each fabric piece. Join seams between fabric pieces until all the fabric is sewn to the base.
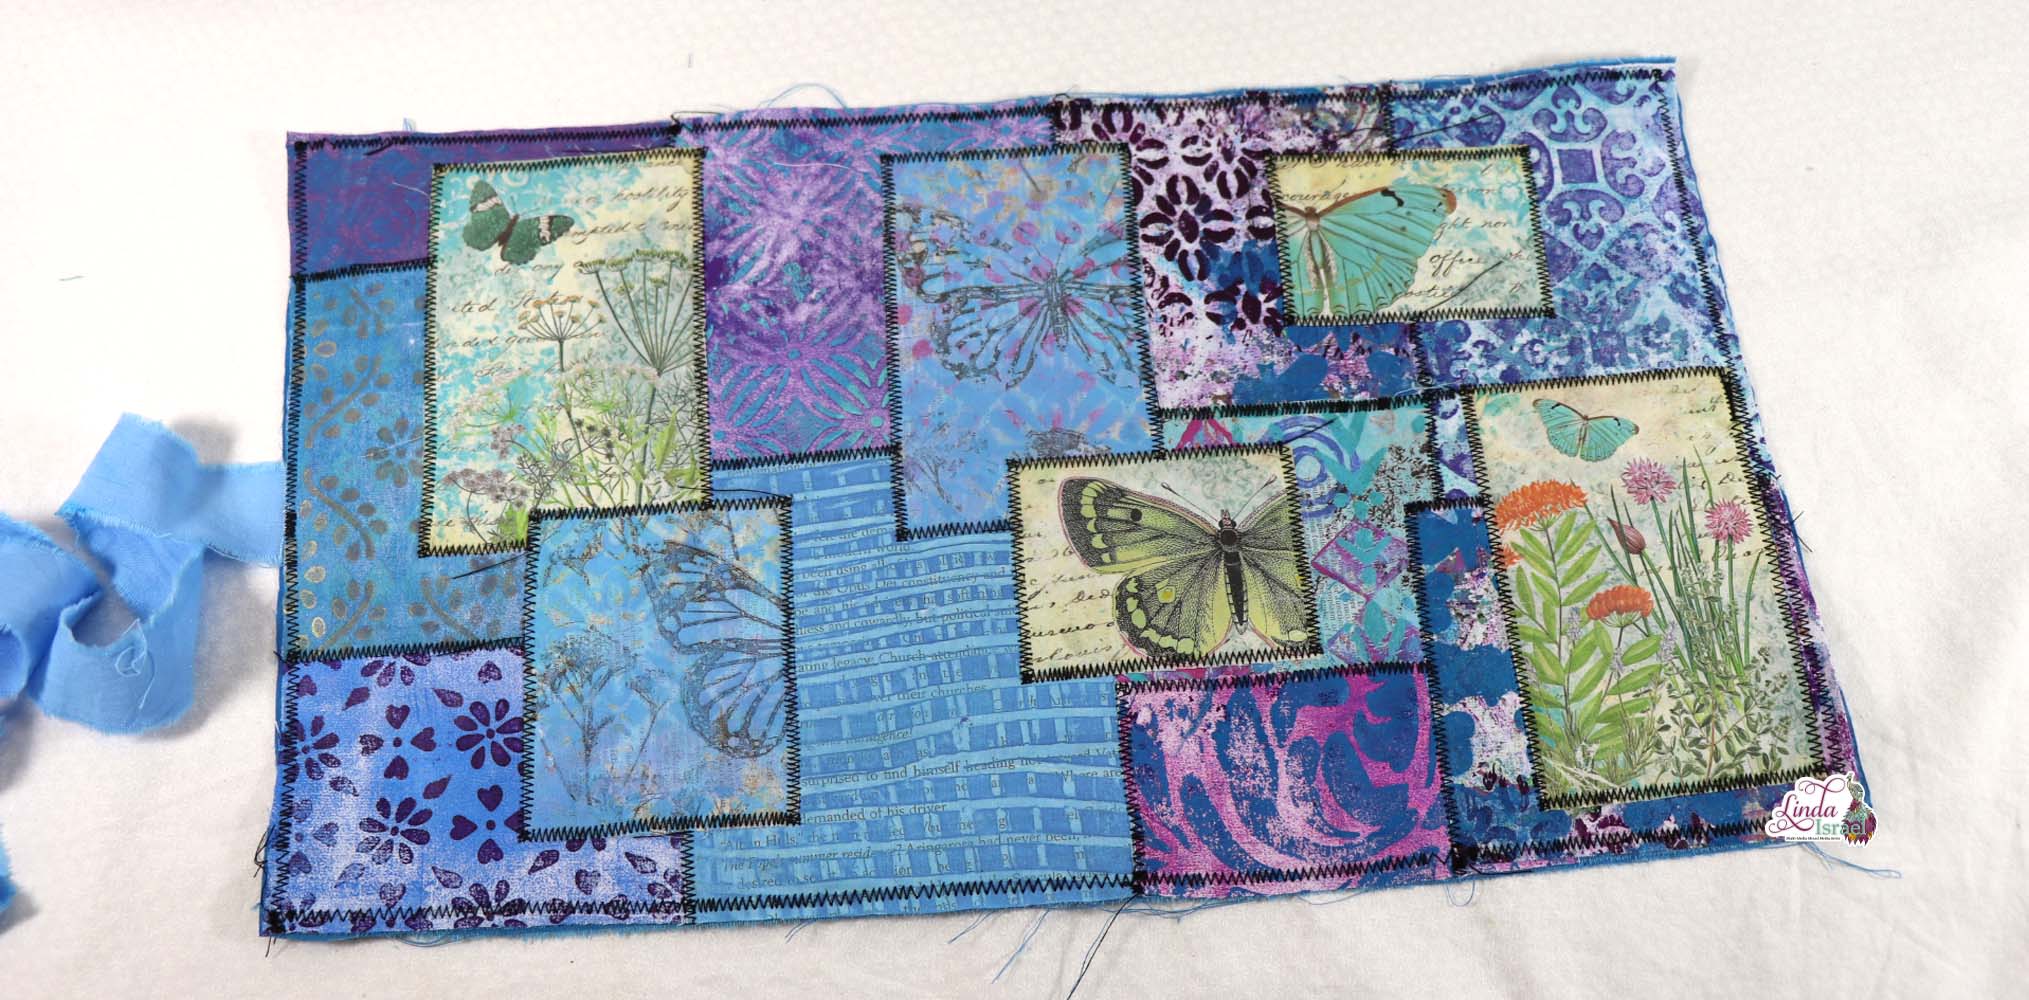
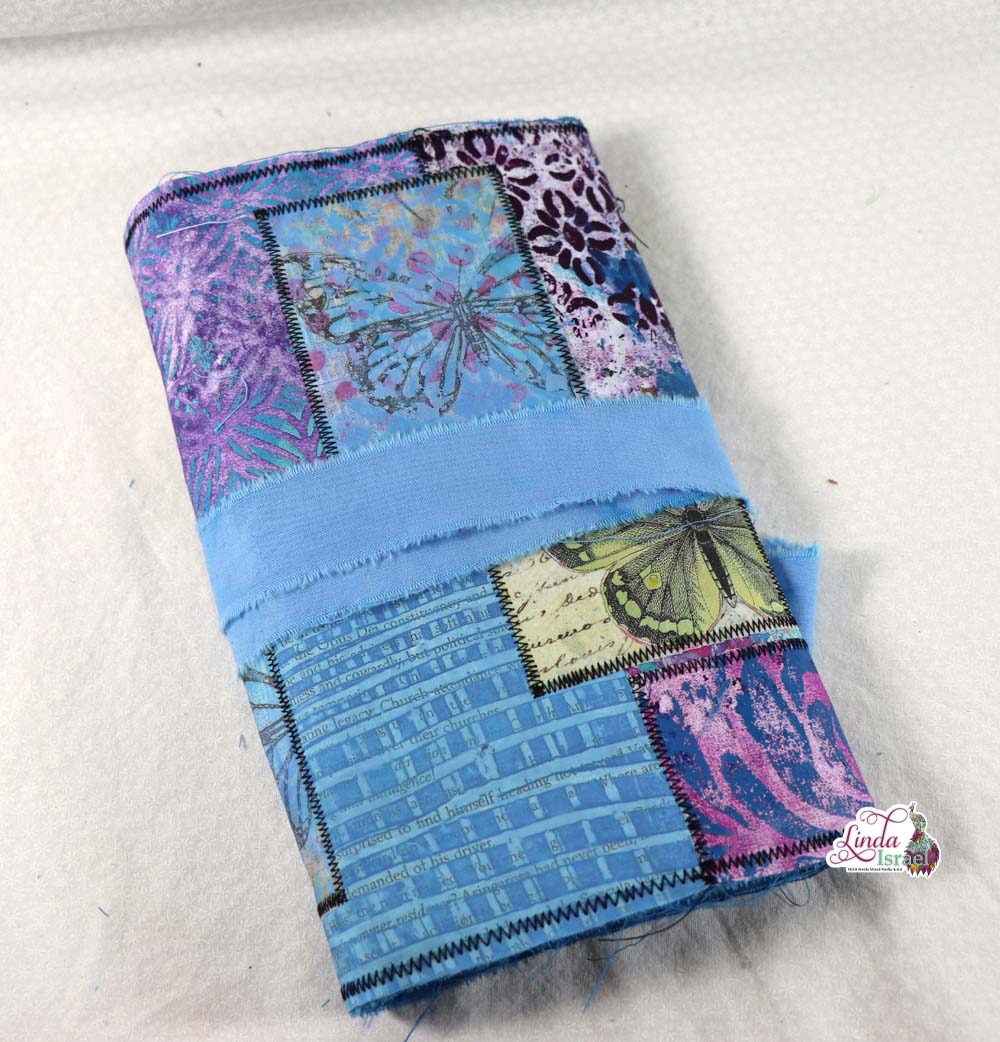
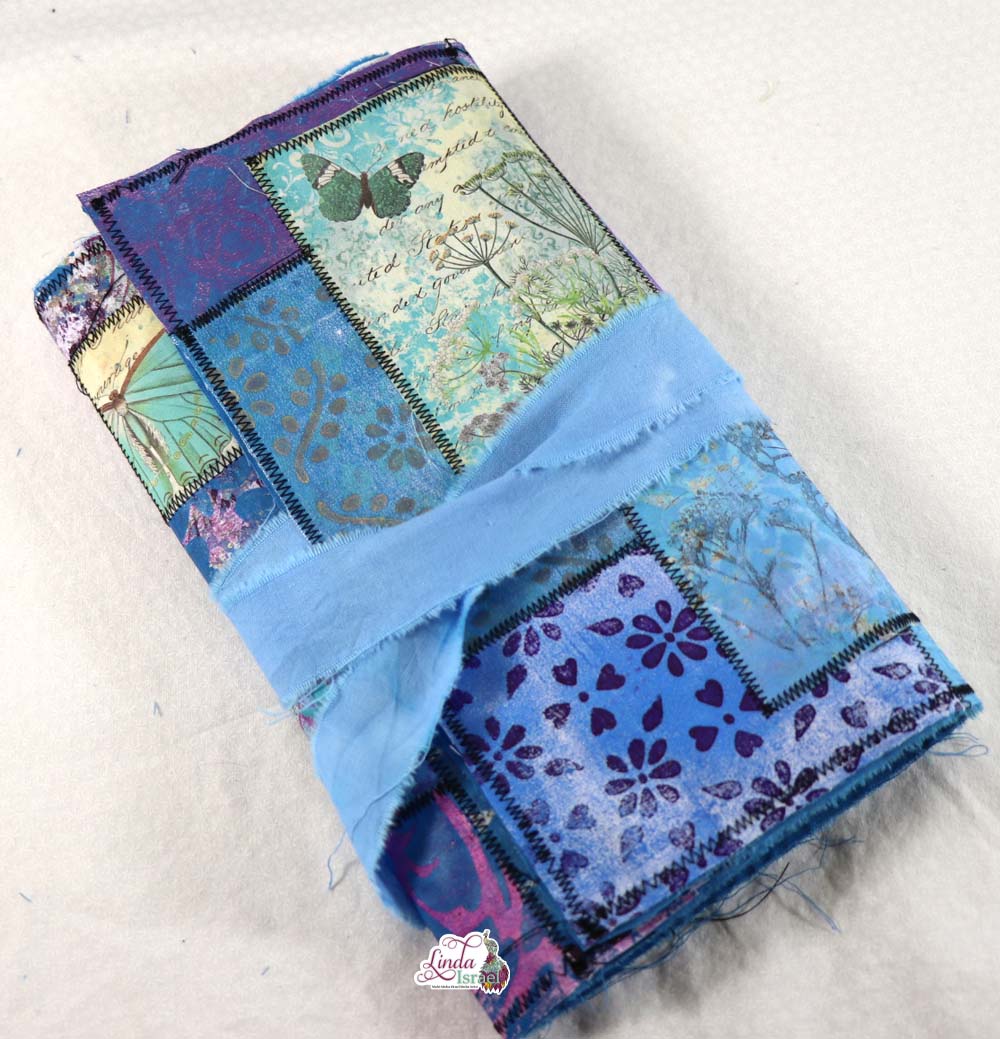
Cut a 1 inch wide strip of fabric, or use ribbon or other strip to tie the journal closed. I usually cut it longer than necessary so I know I have enough to wrap around my journal. Test by wrapping two to three times around a journal to see if you have enough.
Find the center of the cover on the left side when looking at the cover face up. Test this around your journal!!! Make sure you are putting the tie on the side you want to wrap around. Pin in place.
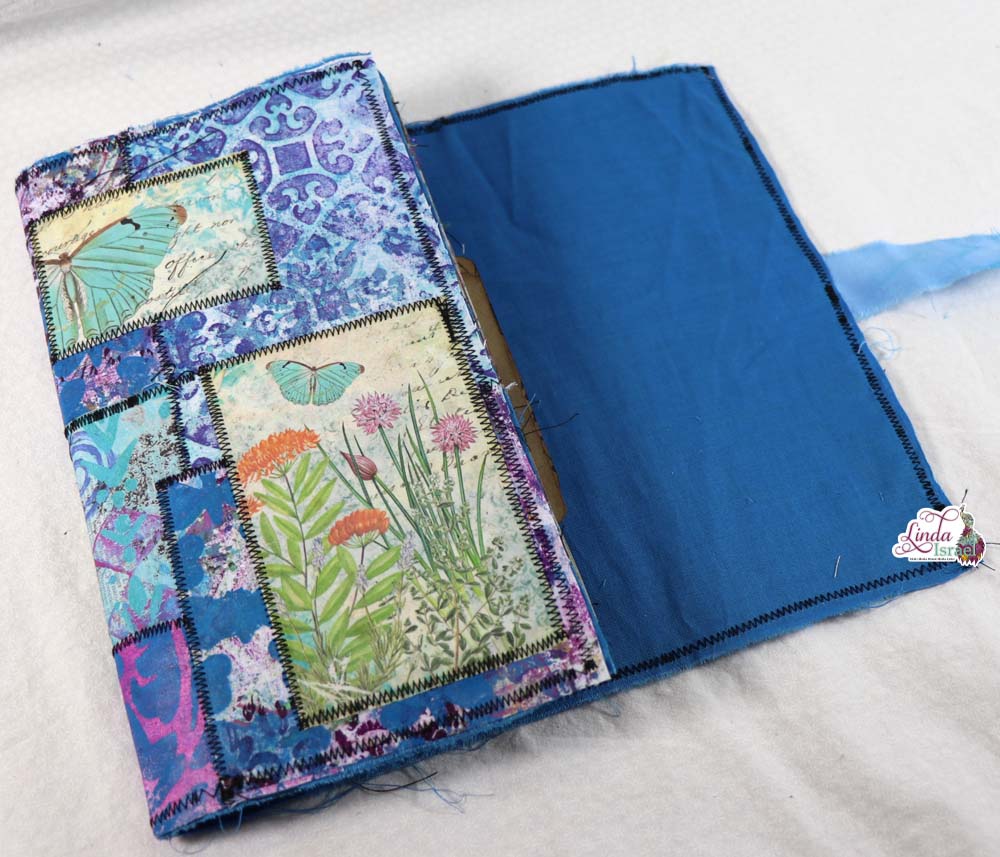
Apply a back to the patchwork base. (If you want a fluffy cover, add quilt batting between the front and back cover pieces.) Pin in place. Sew a zig zag stitch around the outside edge making sure to catch the tie (might even back stitch at the tie).
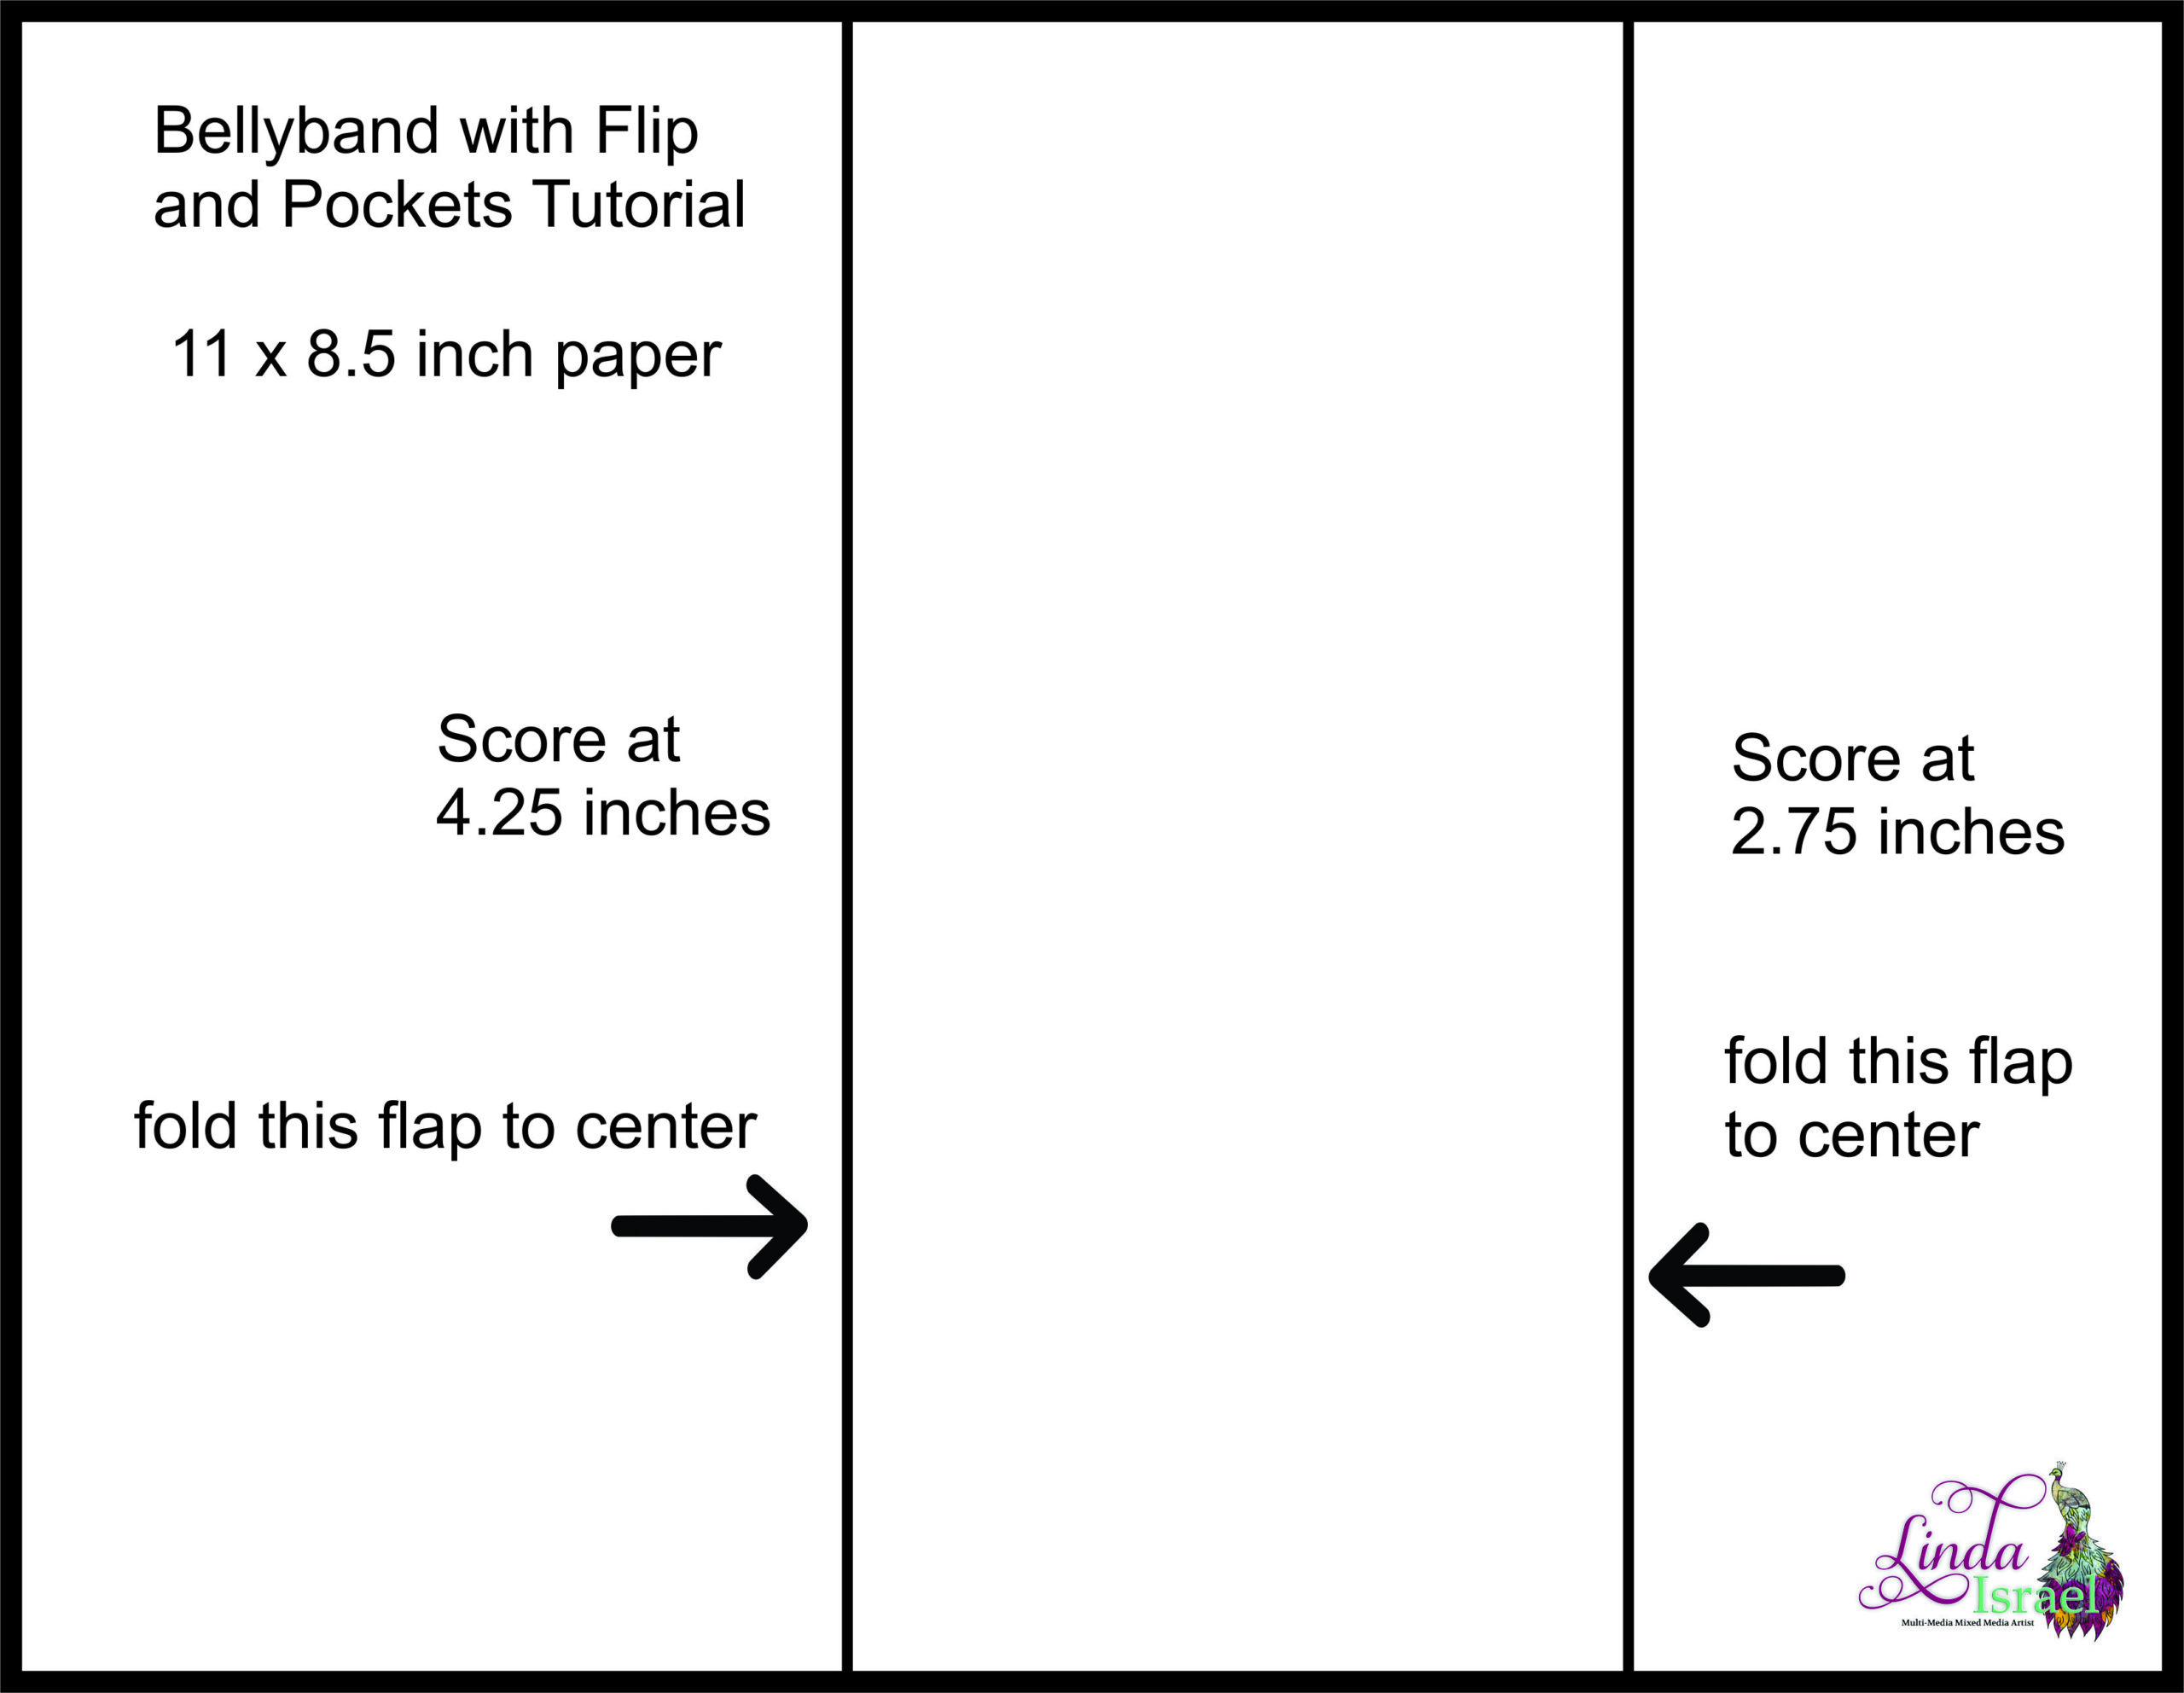
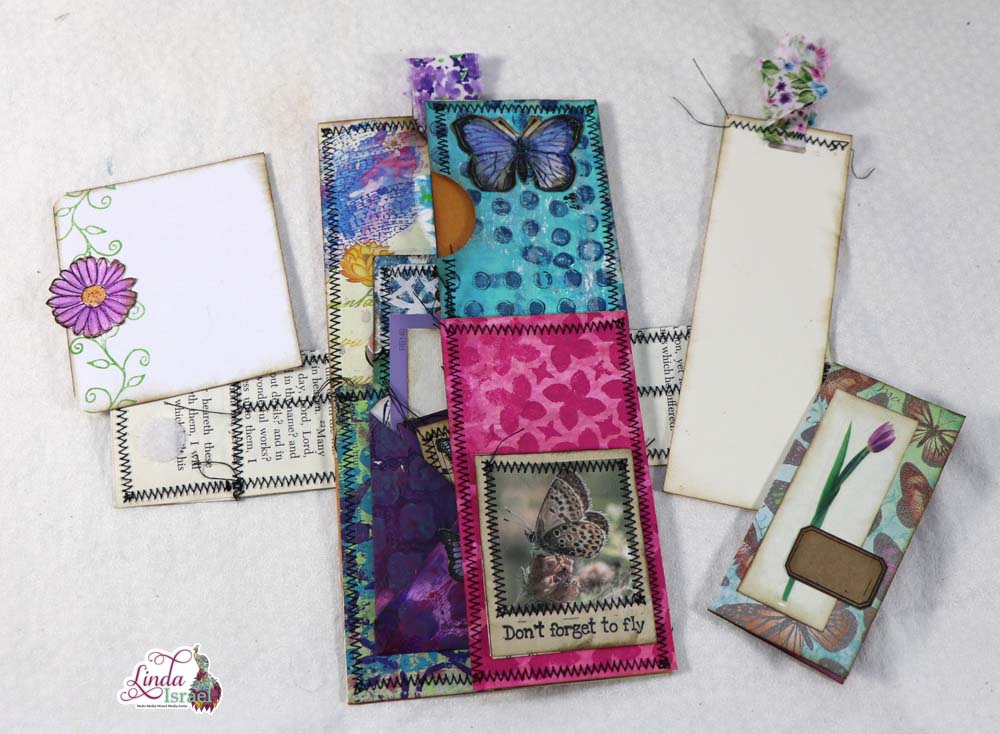
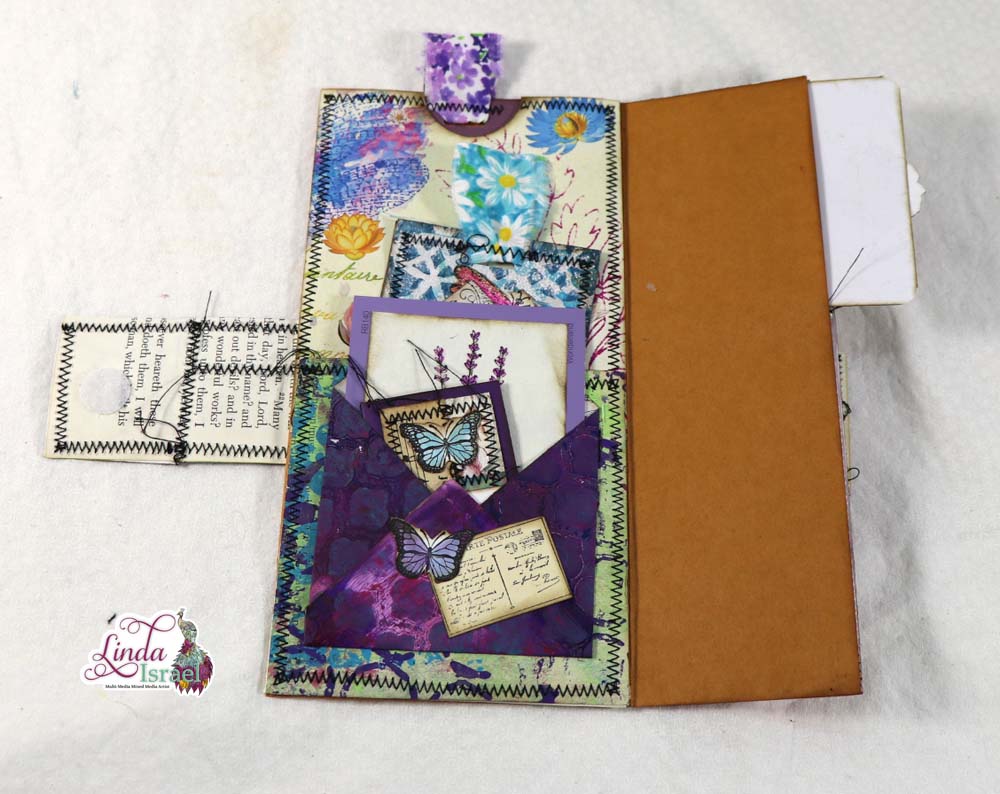
The cover is complete. You can now sew a journal directly to the cover or create a band to slip a journal insert.
Once you make one of these covers and see how easy it is to create you will make more!
Visit the Friendly Junk Journal People Facebook group. Of course, you are welcome to join the Friendly Junk Journal People Facebook group. The group is growing daily and we are a friendly group willing to help each other and encourage each other.

Interested in any of the projects Linda has created? Please feel free to contact her through her website. Here is her shop, a lot of items featured and more added weekly.
Keep updated on her posts by following the blog by creating an account. Follow Linda on her Facebook Page or on Instagram for updates that may not be shared on the blog.
Thanks so much for stopping by the blog today to see the Patchwork Wrap Journal Cover Tutorial.