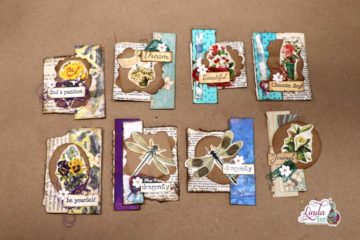
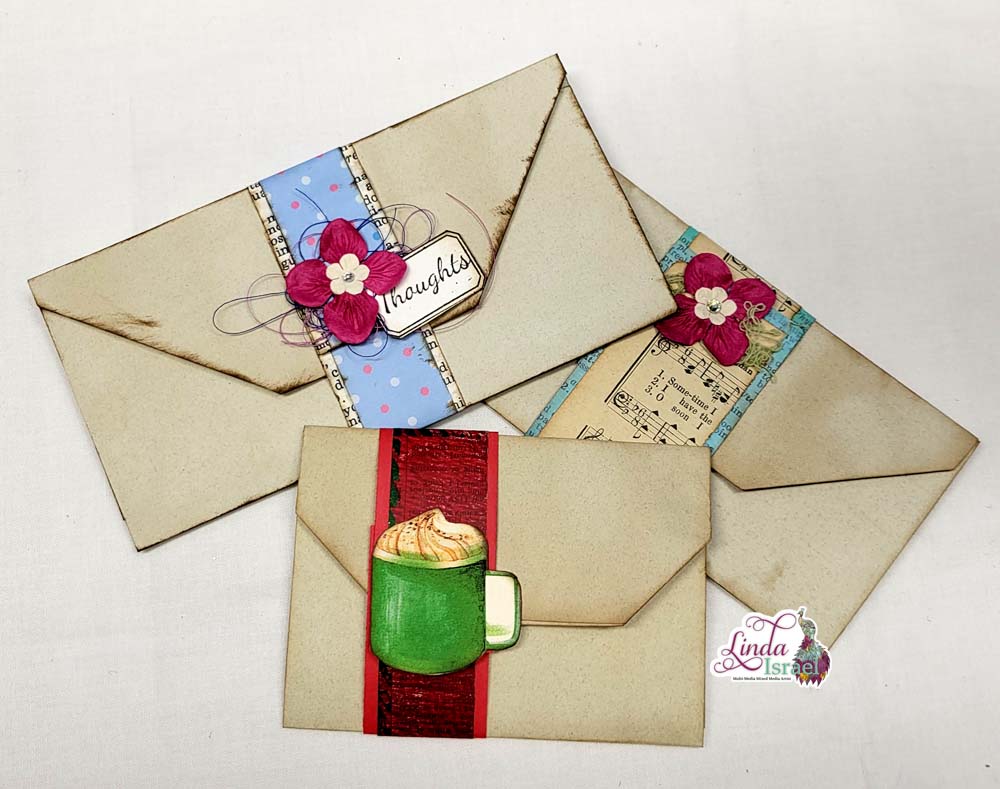
Today I’m sharing an Envelope Band Tutorial. This is the November challenge inside the Friendly Junk Journal People Facebook Group. Follow the tutorial to see how to create a band for an envelope and then create your own and share it in the event.
Envelope Band Tutorial Video
Supplies used:
- Coffee dyed paper
- Scrap of paper about 1 x 11 inches
- Book page
- Fiskars Rotary Cutter
- Distress Ink, Walnut Stain
- Blending Tool
- Bone Folder
- Aleene’s Tacky Glue
- Paper flowers
- Thread
- Thoughts Stamp
- Label Stamp
- 6x1mm Magnets
- Fiskars Scissors
During a live stream I showed how to create a magnetic band for holding a faux envelope closed. The audience commented that they liked this idea so I decided to create a tutorial and make this the November Challenge.
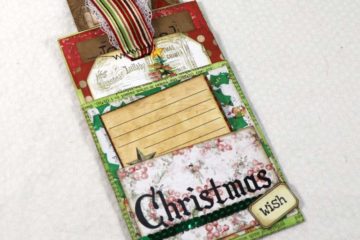
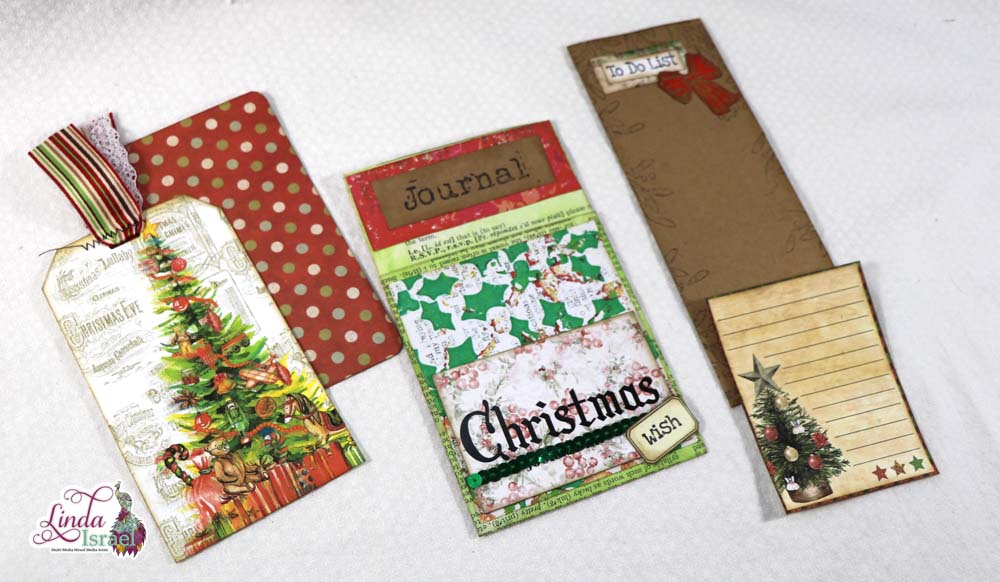
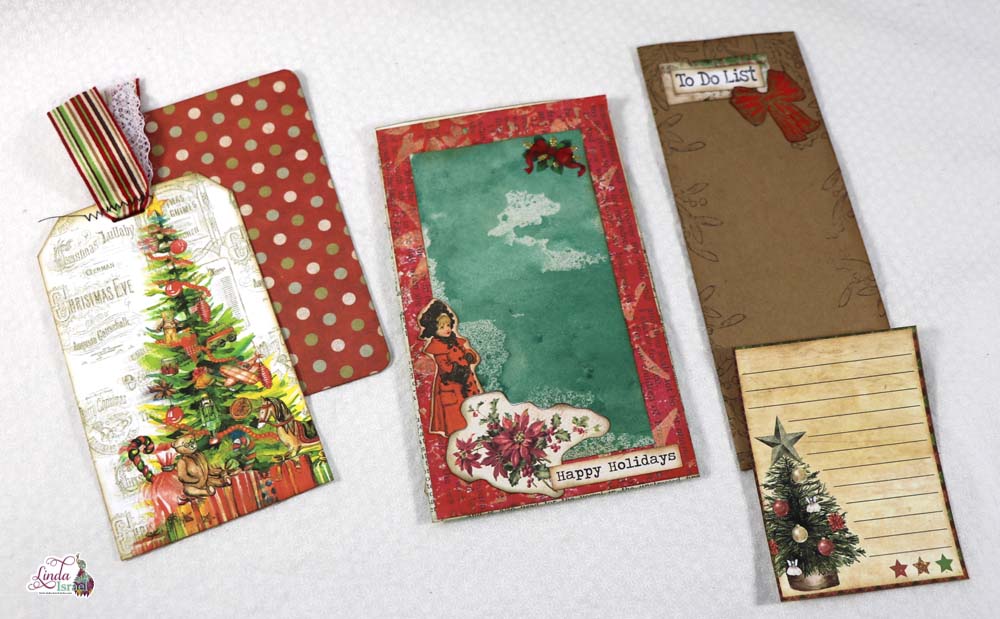
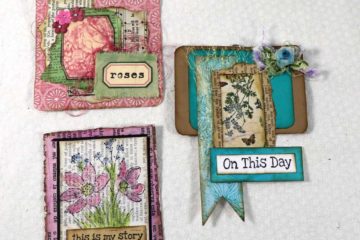
Example made during live stream
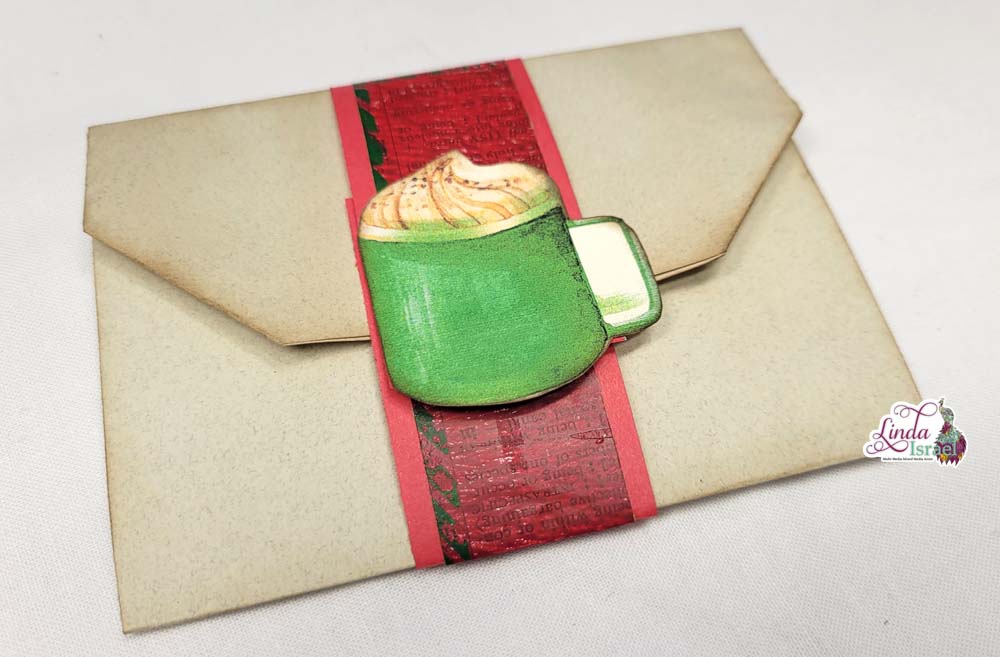
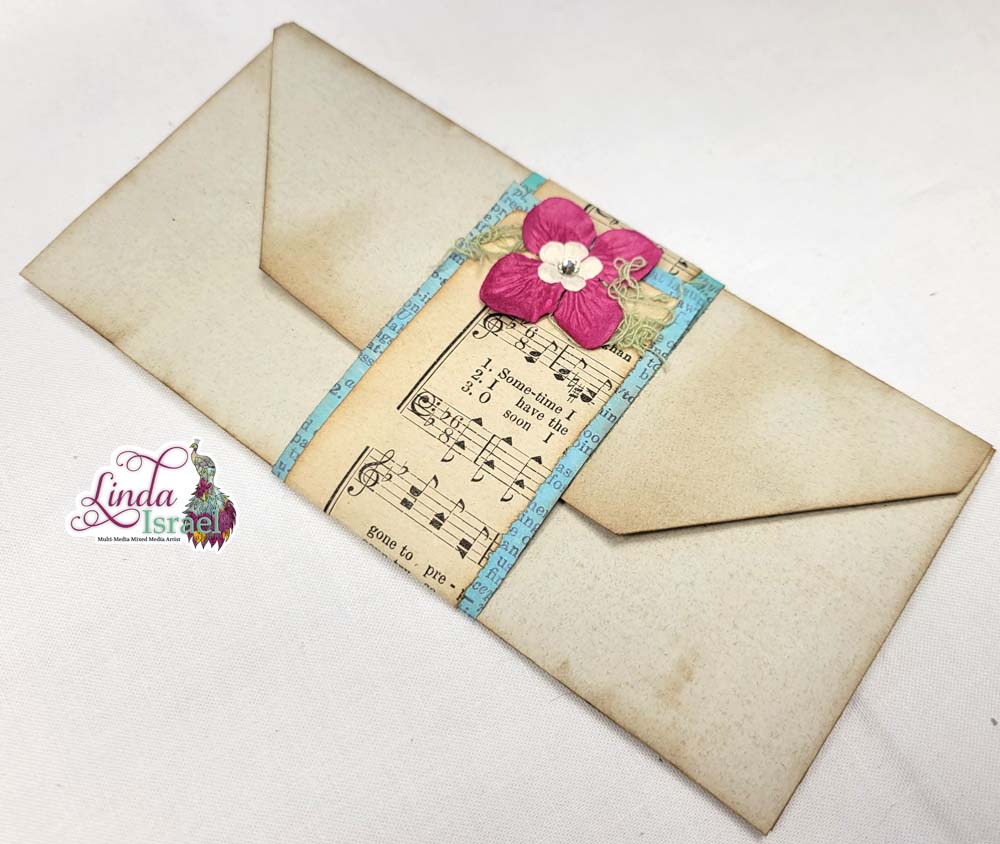
Example using Gel Print and Christmas Wishes fussy cut item
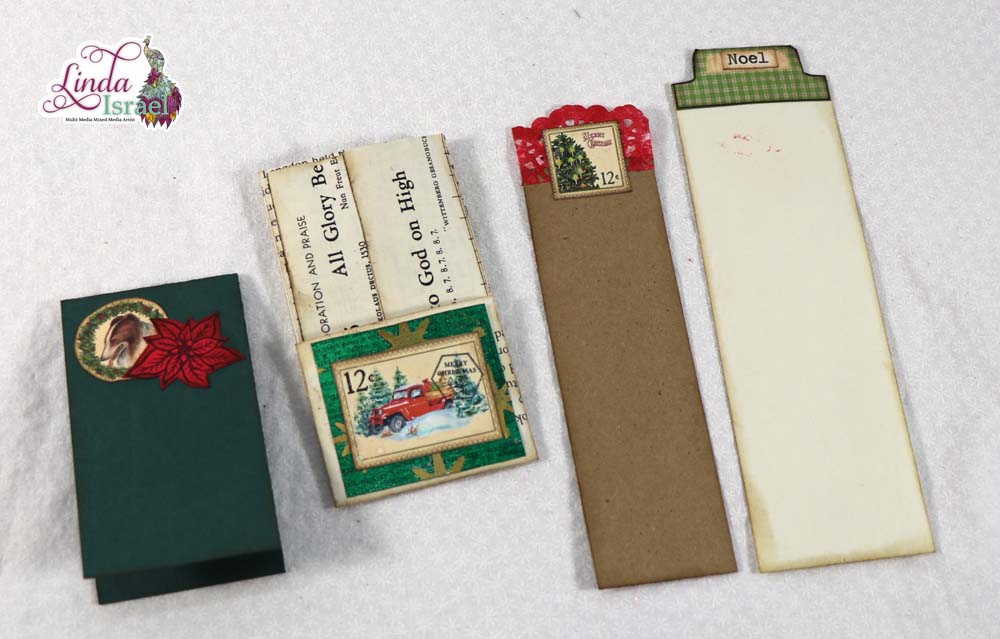
To create the band we need to know what it will wrap around. So I folded a coffee dyed paper to create a faux envelope.
Then I selected a few scraps of paper to create the band. This is a perfect way to use up those scraps. If you don’t have one long enough, then glue a few together to make the strip you want.
Remember when I share an idea like this, think about how you can make this your own. What will you change, what supplies do you have that you could use?
Once you have the faux envelope, wrap a strip of paper around it, make sure it over laps and cut any excess off that you don’t need.
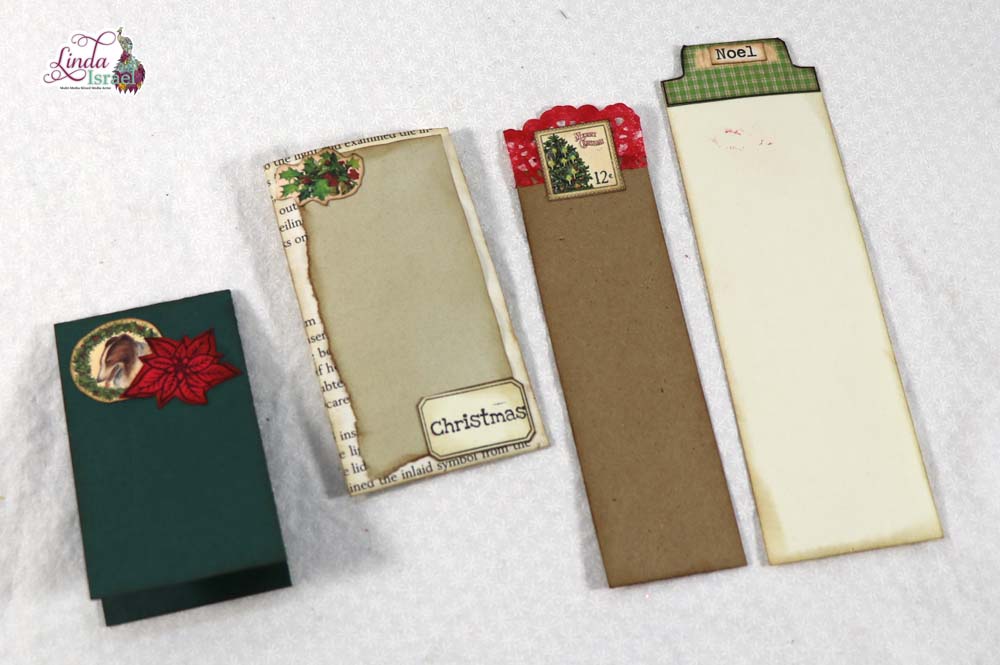
Use the first strip to make a wider strip for a layered look.
Before you glue anything down, fold the strip so that you know where the top and bottom are gong to be.
Then on the bottom half about half an inch from the edge place a dot of glue on the bottom paper to hold a magnet. Lay the top part of the paper over the magnet and glue down the bottom and middle section, creating a sandwich of paper, magnet, paper. Leave the top section unglued.
Fold the strip around the envelope with the bottom portion down first. Then separate the layers for the top half. Position over the bottom and place a magnet over the bottom magnet, with the bottom paper between. Apply a drop of glue on the magnet and then fold down the top layer to create a sandwich to hold the magnet in place.
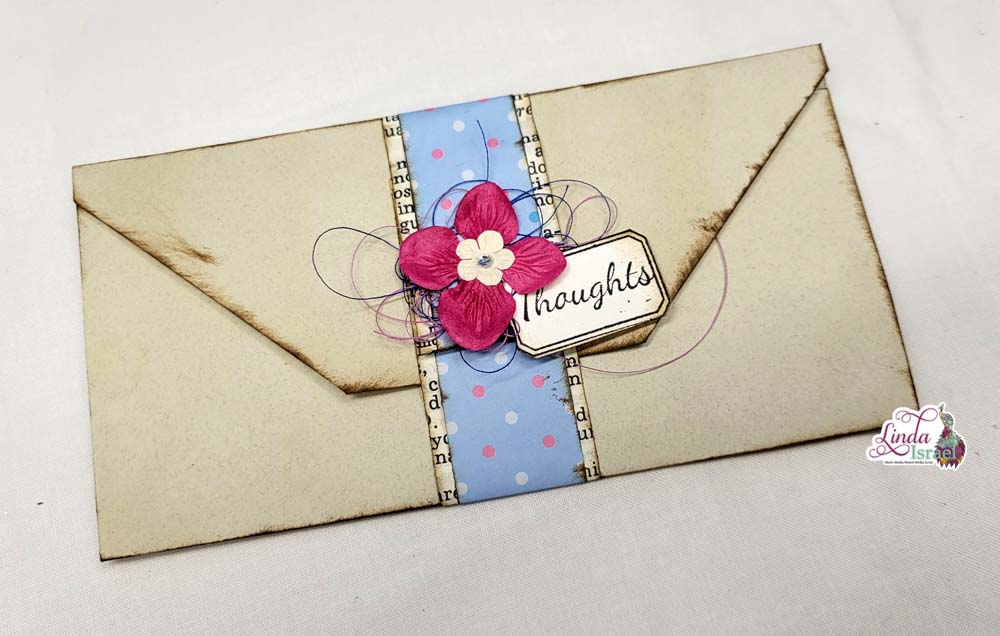
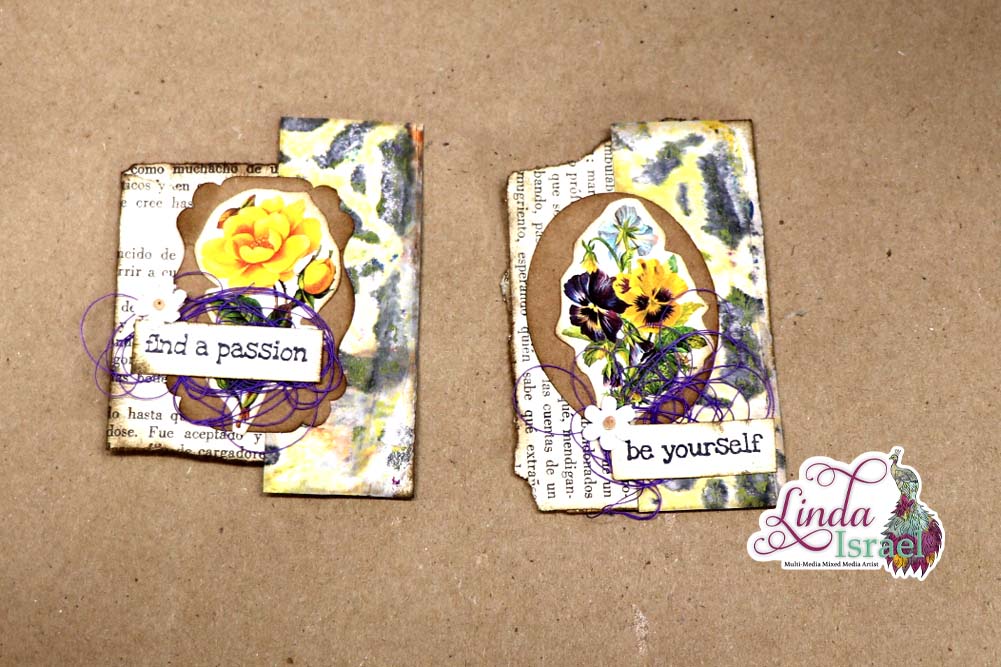
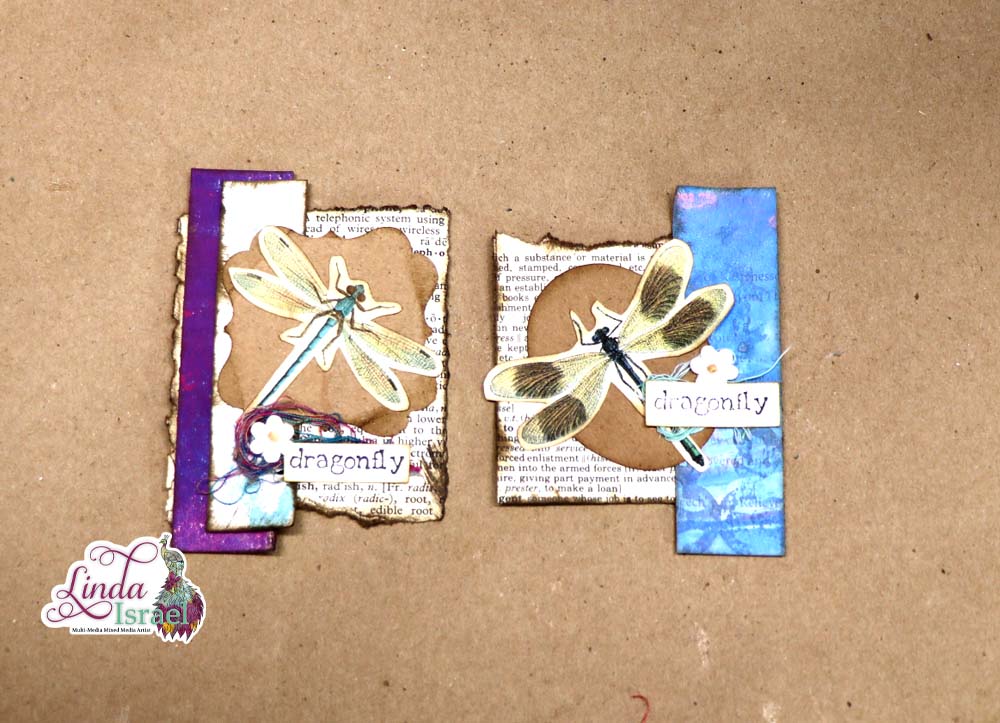
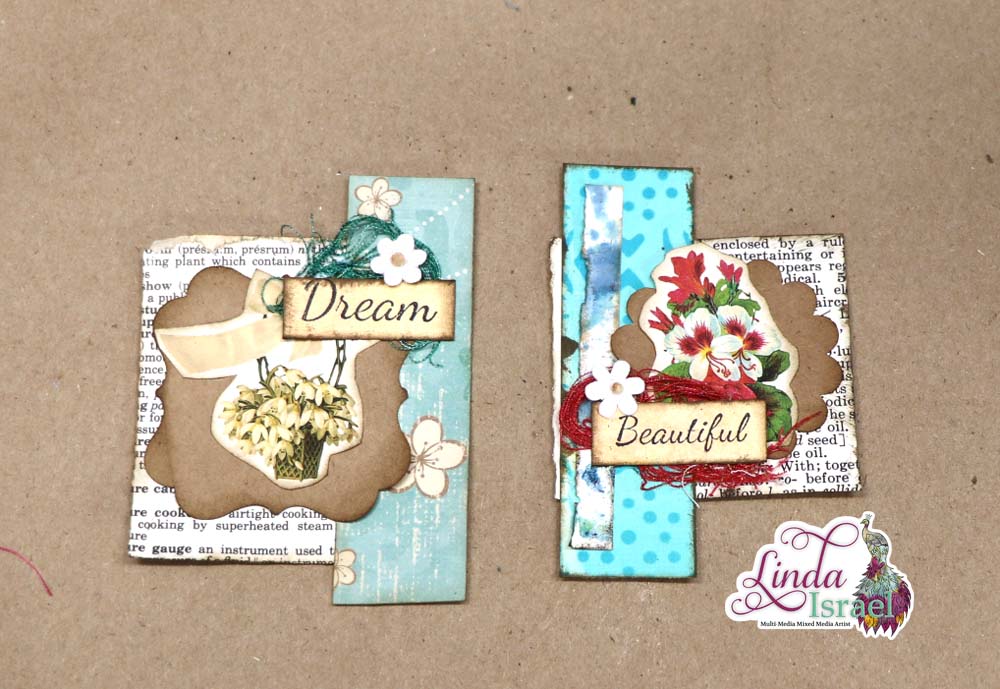
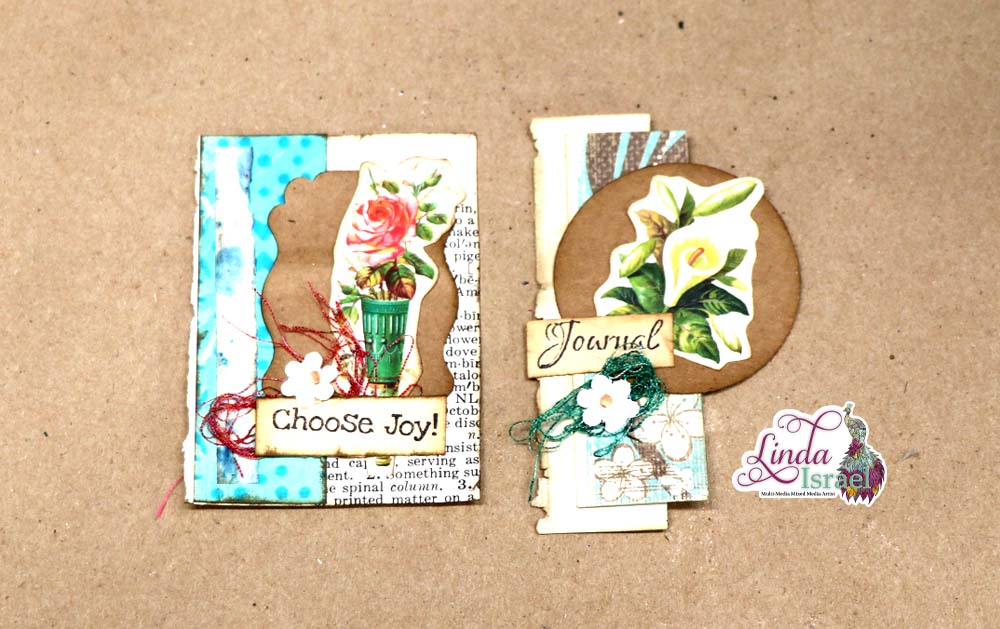
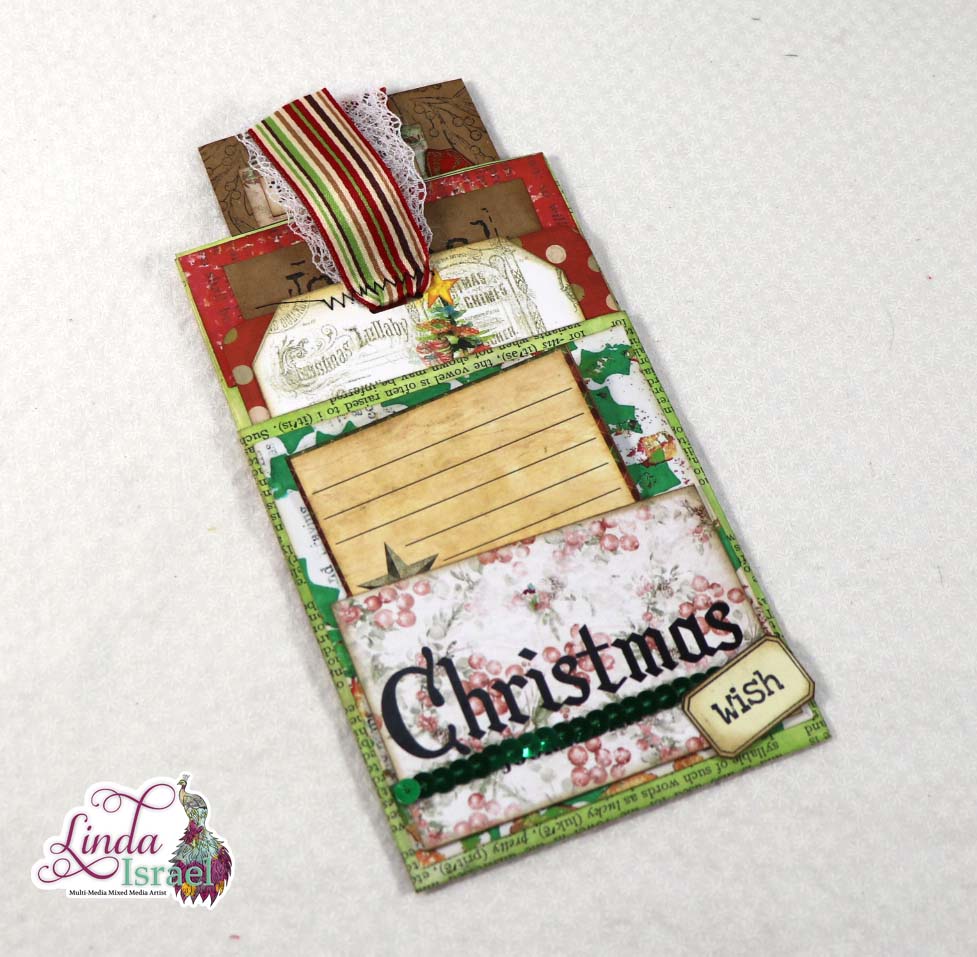
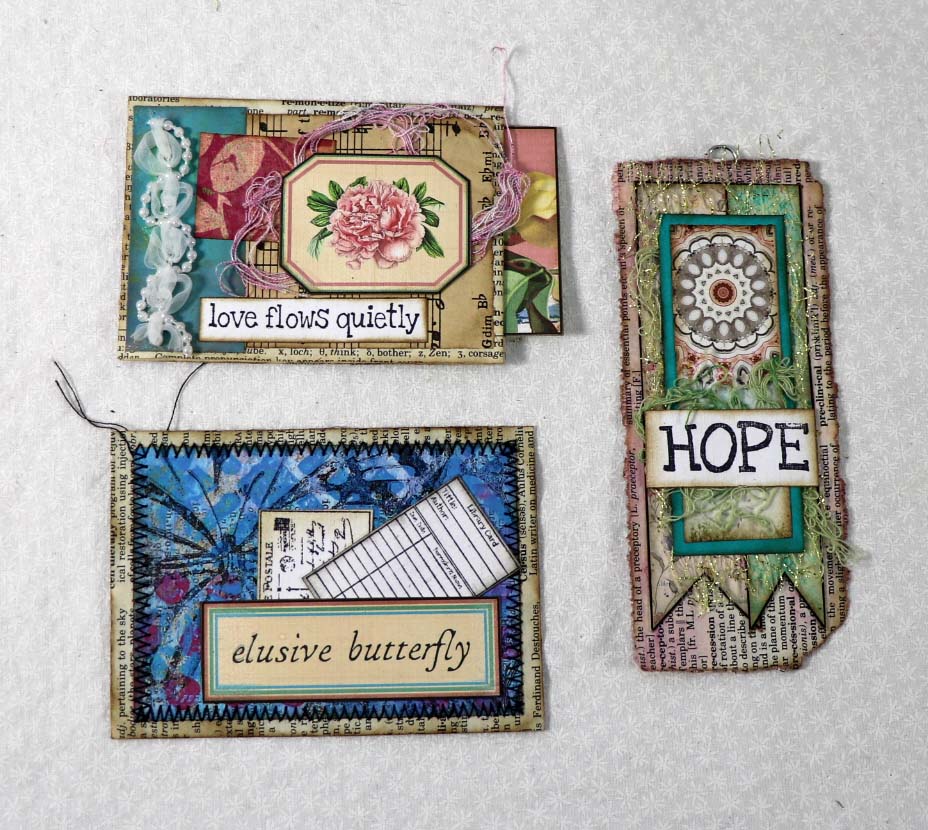
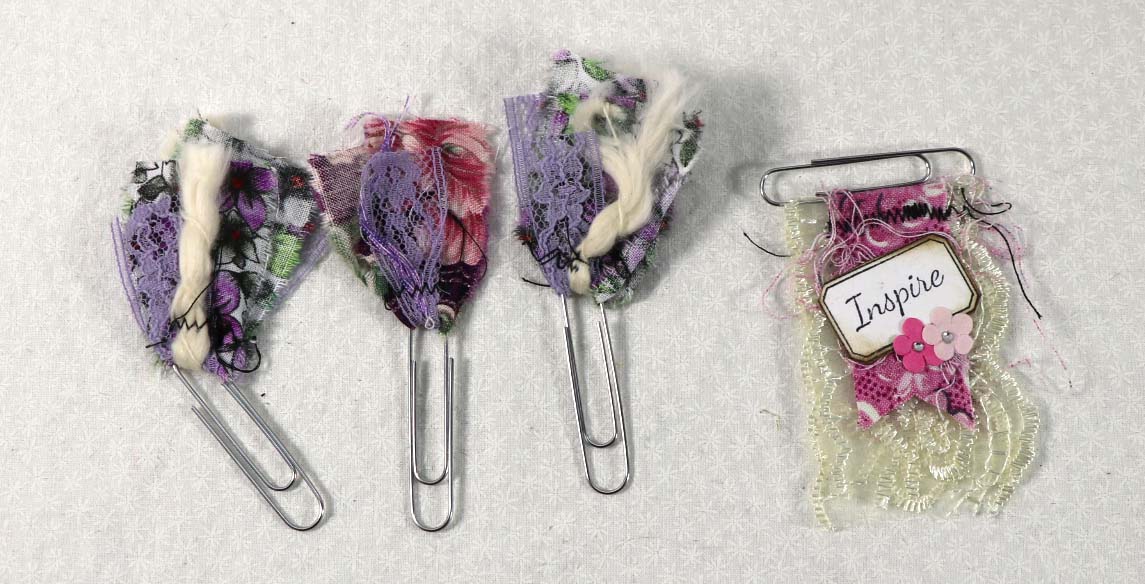
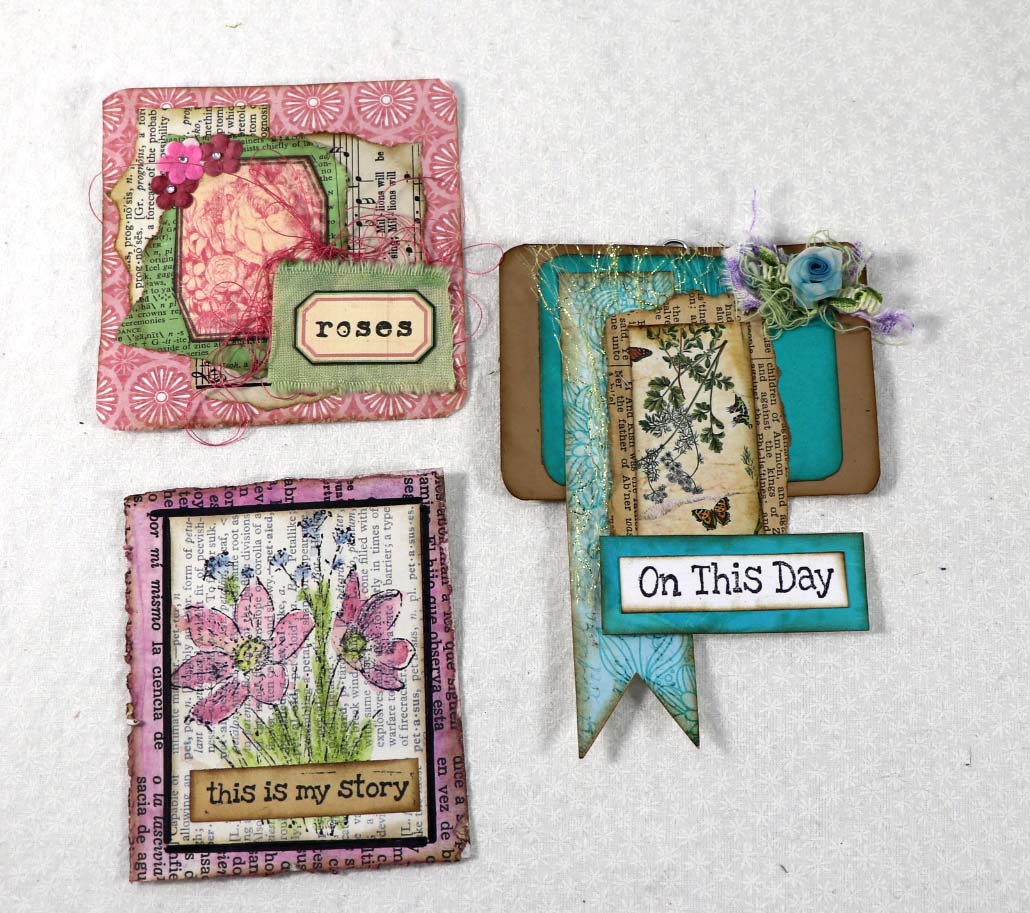
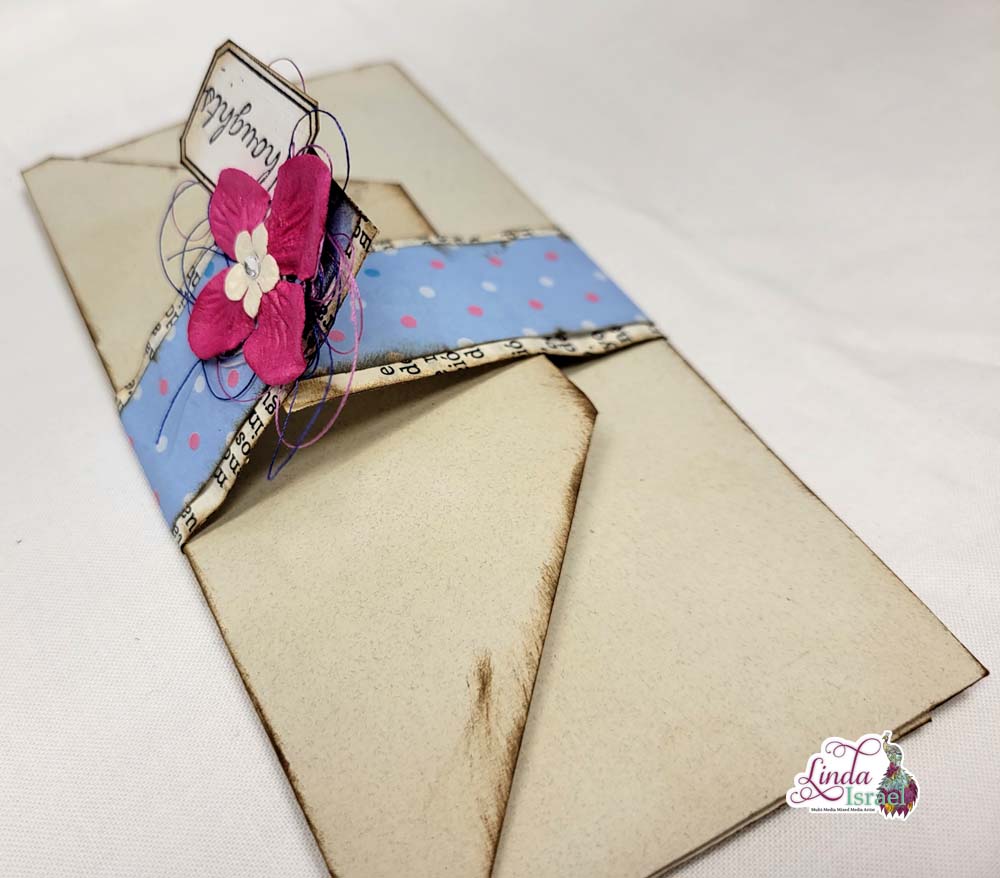
Now that the magnets are in place you can continue on and decorate the band. In my example I used some old thread, a couple of paper flowers and a stamped word – Thoughts.
There are so many ways that you can create these bands and add embellishments. I hope that you enjoyed seeing this idea and are inspired to create your own and share it in the Friendly Junk Journal People Facebook group!
Visit the Friendly Junk Journal People Facebook group. Of course, you are welcome to join the Friendly Junk Journal People Facebook group. The group is growing daily and we are a friendly group willing to help each other and encourage each other.

Interested in any of the projects Linda has created? Please feel free to contact her through her website. Here is her shop, a lot of items featured and more added weekly.
Keep updated on her posts by following the blog by creating an account. Follow Linda on her Facebook Page or on Instagram for updates that may not be shared on the blog.
Thanks so much for stopping by the blog today to see the Envelope Band Tutorial.