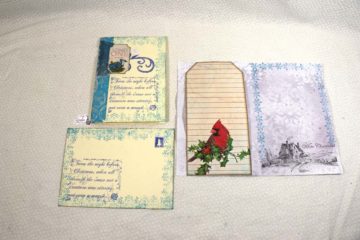
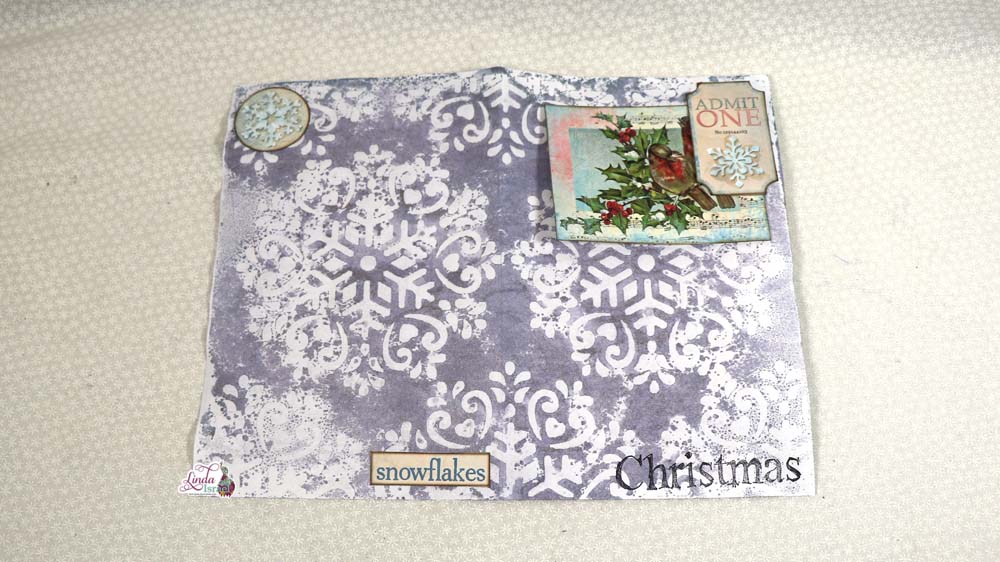
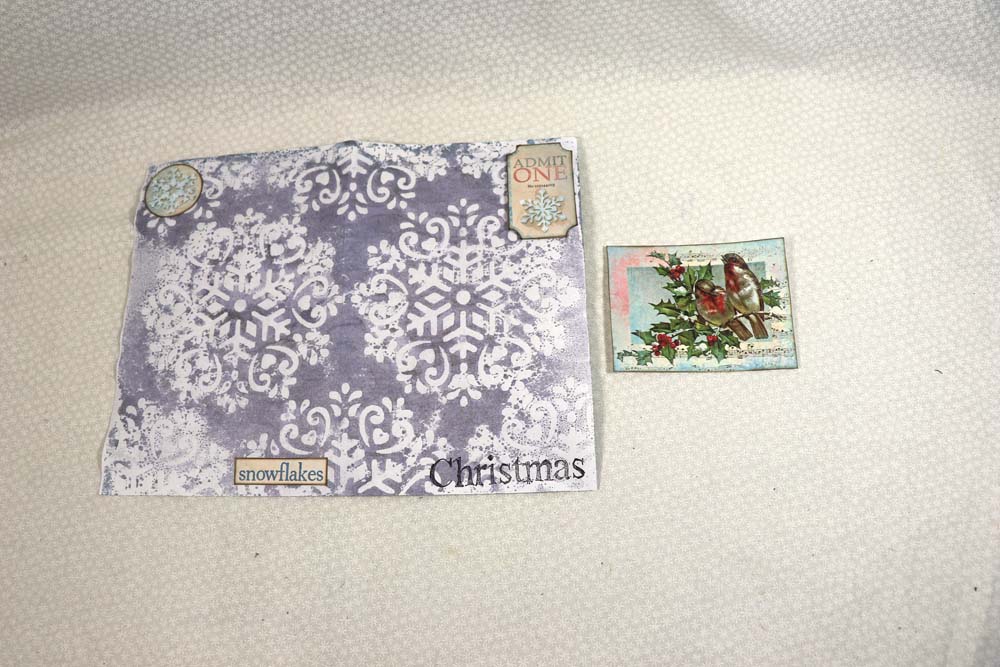
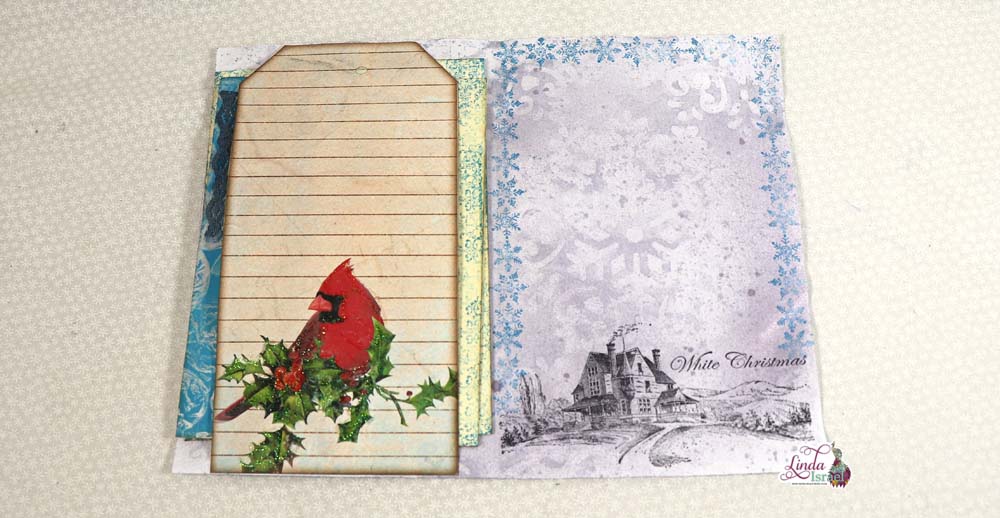
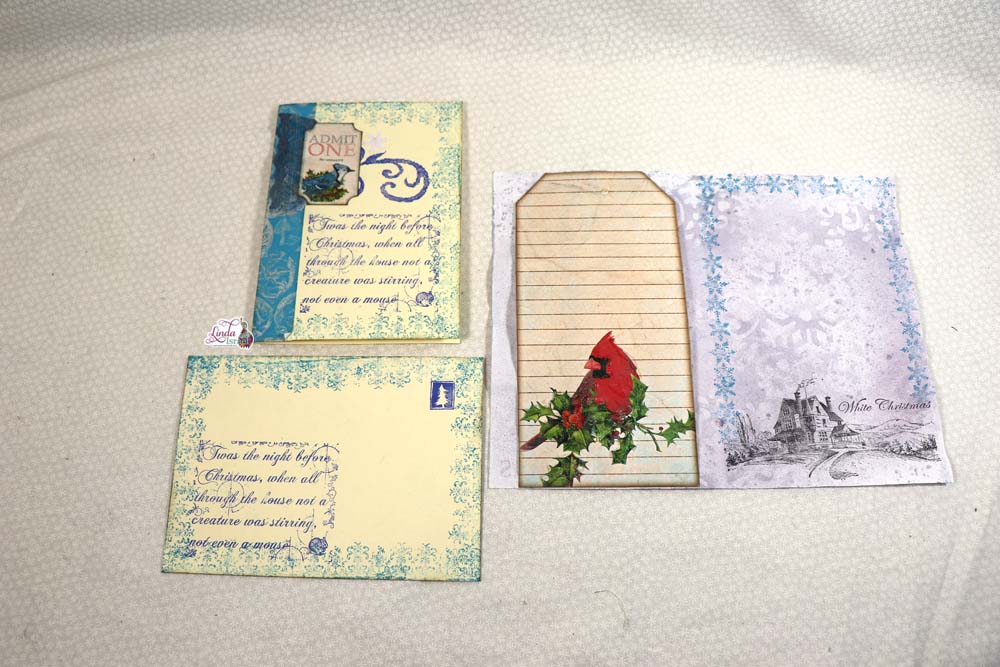
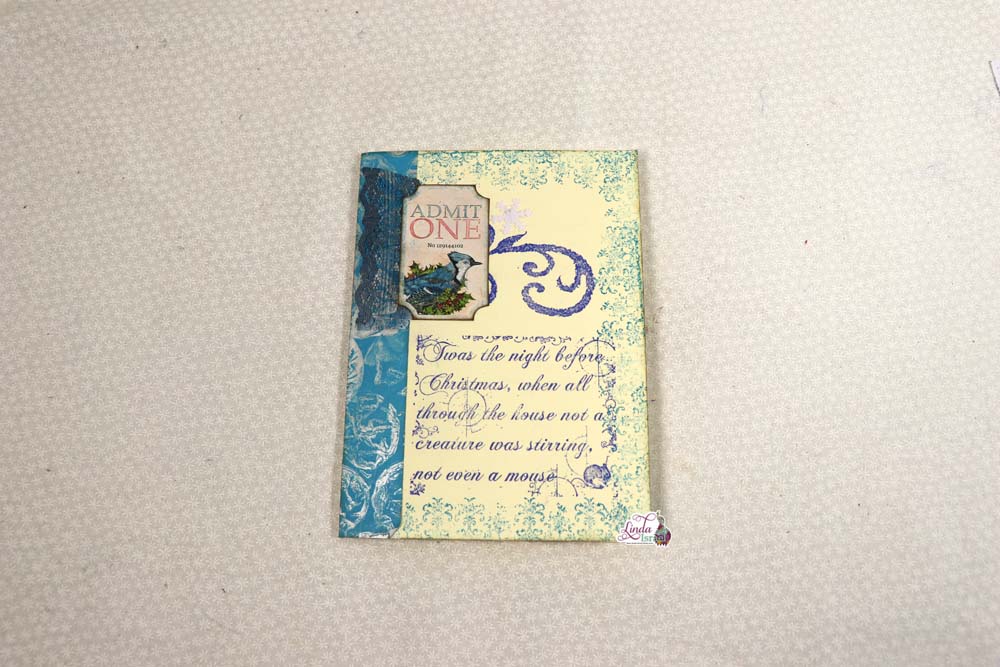
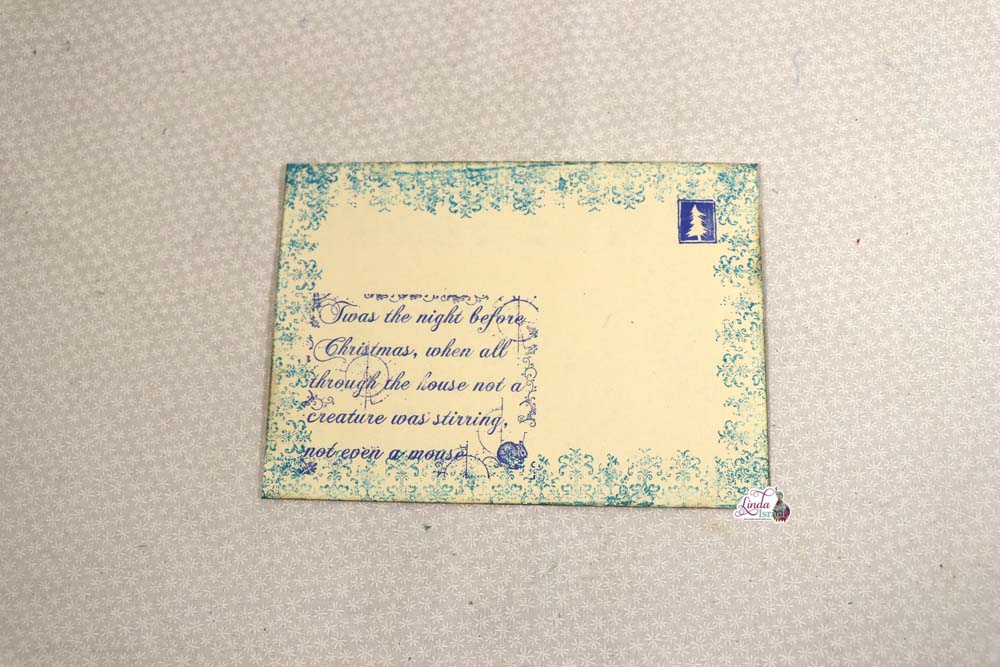
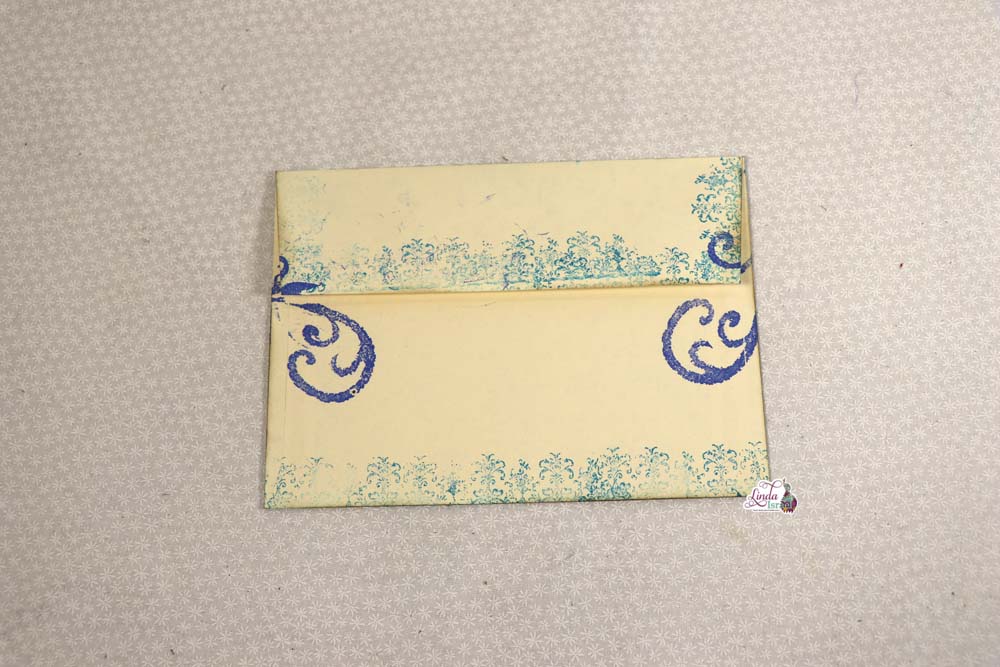
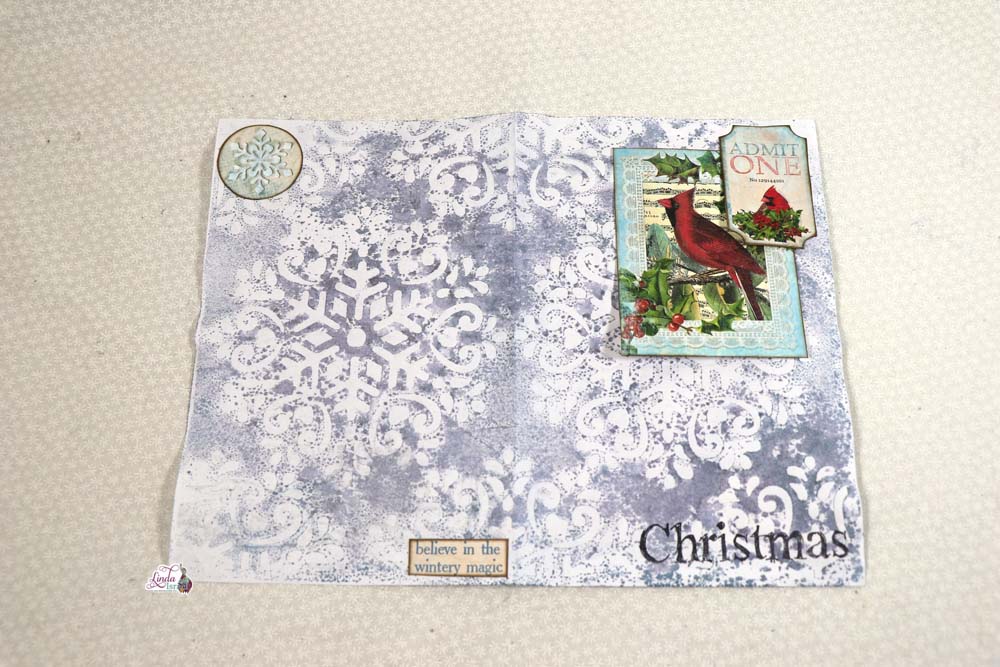
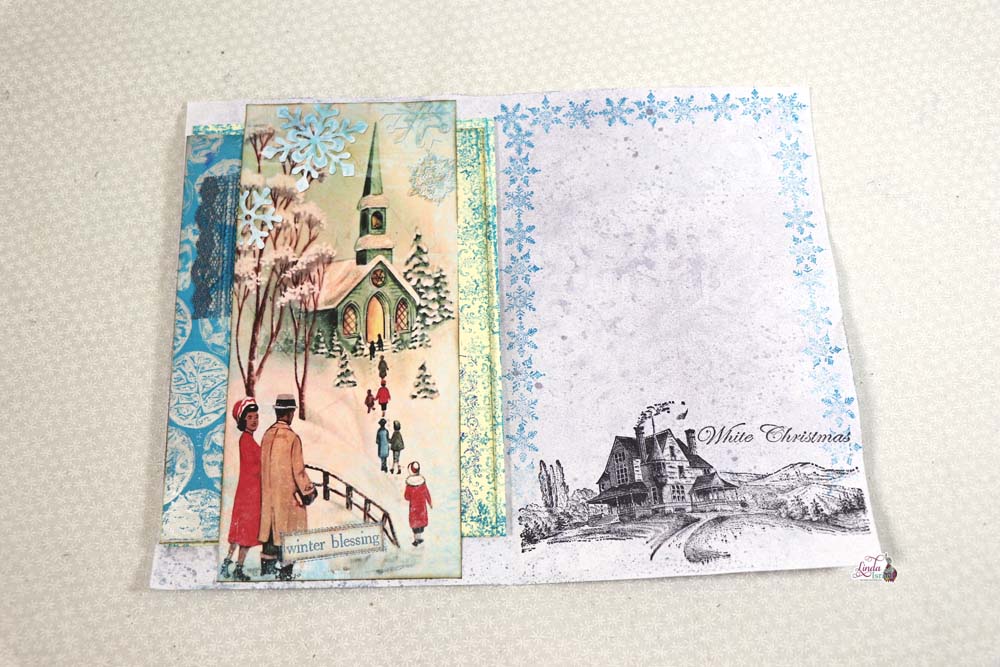
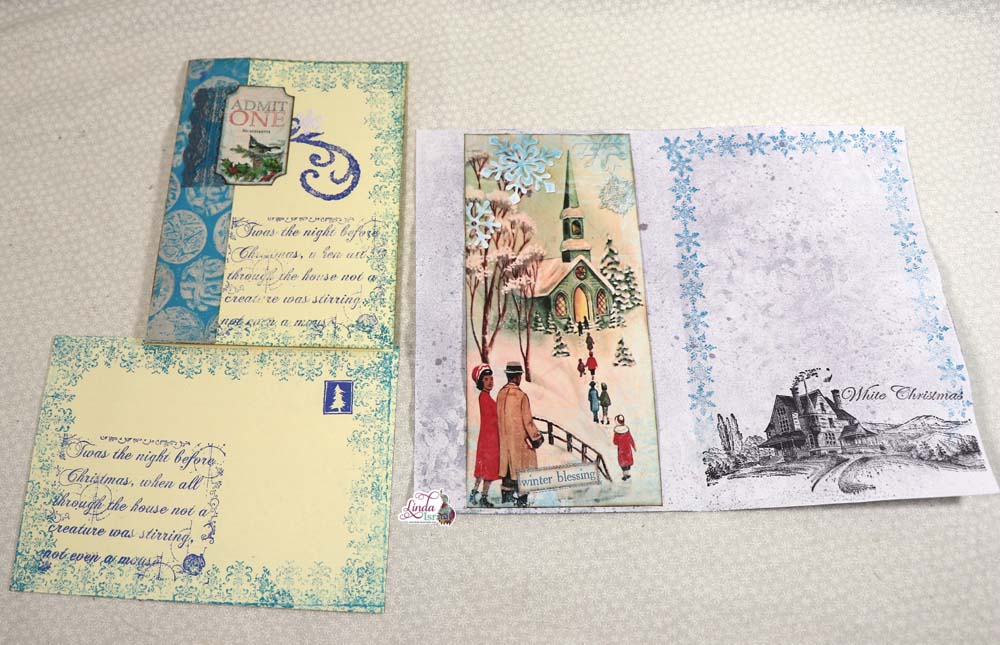
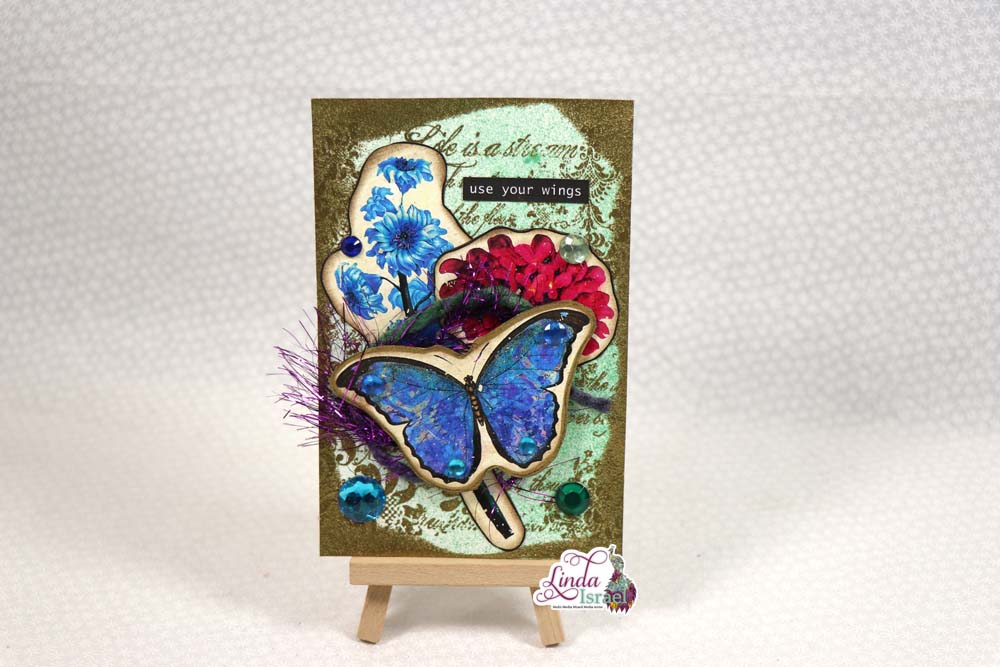
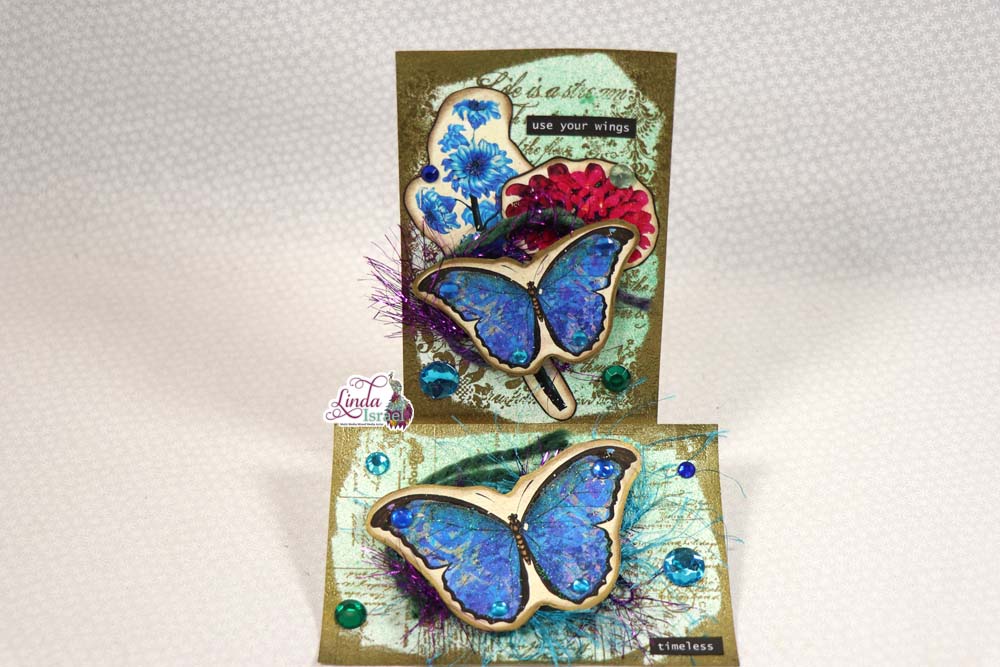
Today’s post is sharing what I made with some of my Mixed Media Frankenpages. The result was a Frankenpage Envelope Pocket Tutorial to show you how I used the pages. This is one of those fun projects where you can use some old book pages and add some paint and Tattered Angels Glimmer Mists. Adding digital images from Calico Collage Day Dreaming journal kit just adds a beautiful touch.
 Frankenpage Envelope Pocket Tutorial Video showing how to make the envelope pocket and decorating it with Calico Collage Digital images.
The supplies used in this Frankenpage Envelope Pocket Tutorial.
- Mixed Media Frankenpages
- Sewing Machine
- Calico Collage Day Dreaming Digital Journal Kit
- Punched label shape and butterfly from leftover cardstock
- Word created on Silhouette Cameo 3
- Vintage Photo Distress Ink
- Ranger Blending Tool
- Best Glue Ever by ScraPerfect
- 3 x 3 scrap of cardstock
- Lace Stencil made on Cricut Explore Air
- Tattered Angels Glimmer Mist – True Turquoise
- Bone Folder
- Embellie Gellie by ScraPerfect
- Eyelash Yarn
- Fiskars Scissors
- Medium No Clog Writing Tip from ScraPerfect
- Tulip Dimensional Glitter Paint
- Flat Back Rhinestone
- Best Cleaner Ever from ScraPerfect
When I made the Mixed Media Frankenpages these were trimmed to 8 x 10.5 inches. Then I sewed the joins on the paper but not around the outside edge. Next, I cut the page in half lengthwise to make a 4 x 10.5 inch page.
Then cut a two inch piece from one end and a three and a half inch piece. You will now have three pieces to use for this envelope pocket.
Sew around the edges to finish the piece. Sew the pieces together and you now have an envelope pocket.
Using ScraPerfects Best Glue Ever attach the embellishments to finish the Frankenpage Envelope Pocket.
Use Embellie Gellie for perfect placement of small items.
The Medium Fine Writing Cap from ScraPefect transforms the Tulip Dimension Glitter Paint into a precision writing tool.
There are so many ways to create these Frankenpage Envelope Pockets with all kinds of papers and mediums. I hope you enjoy making your own after seeing my Frankenpage Envelope Pocket Tutorial.
It is the little details that help to finish a project. I could have left the envelope pockets as they were, but it is so much better with the embellishment, don’t you think?
Make sure to check out the Friendly Junk Journal People Facebook group. Of course, you are welcome to join the Friendly Junk Journal People Facebook group. The group is growing daily and we are a friendly group willing to help each other and encourage each other.
Interested in any of the journals I created? Please feel free to contact me through my Facebook Page. Here is my shop, I have a lot of items uploaded and add more weekly.
My hope is that I have inspired you to look at those papers in your stash and make your own junk journal.
Keep updated on my posts by following me. Follow my blog with Bloglovin. Or Follow my Facebook Page or on Instagram for updates that may not be shared on my blog.
Thanks so much for stopping by my blog today for my Frankenpage Envelope Pocket Tutorial.


