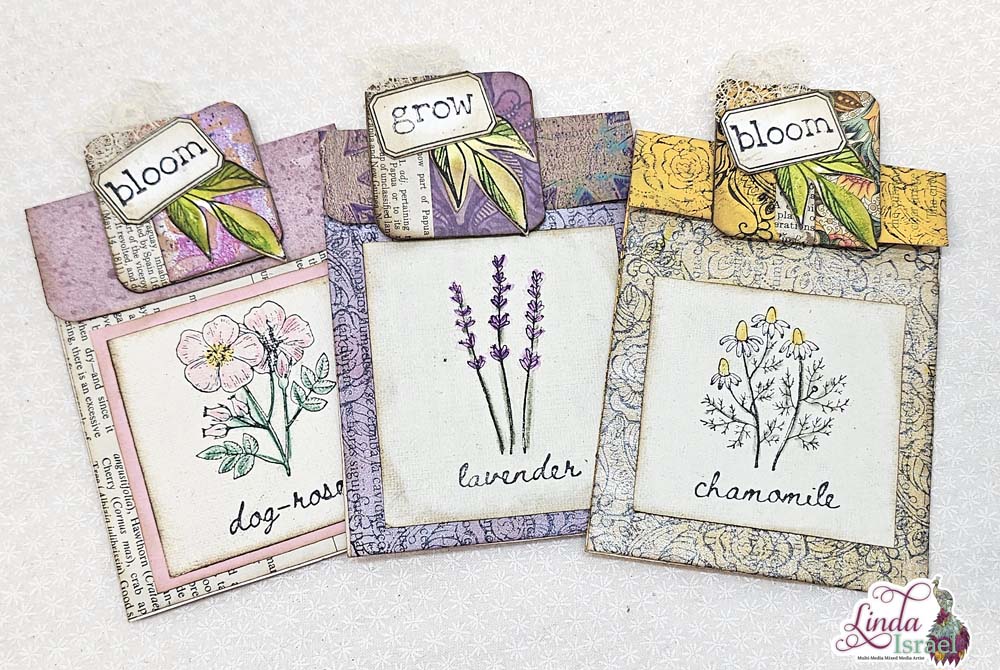
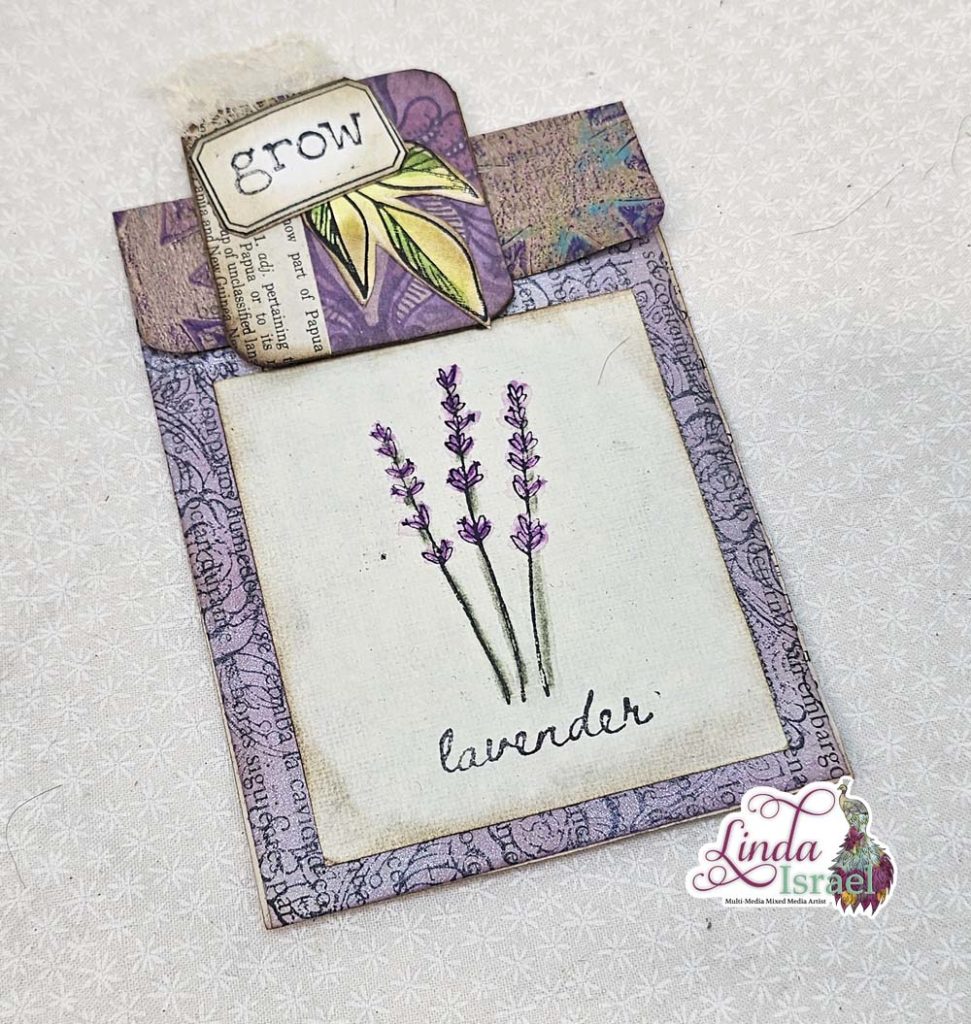
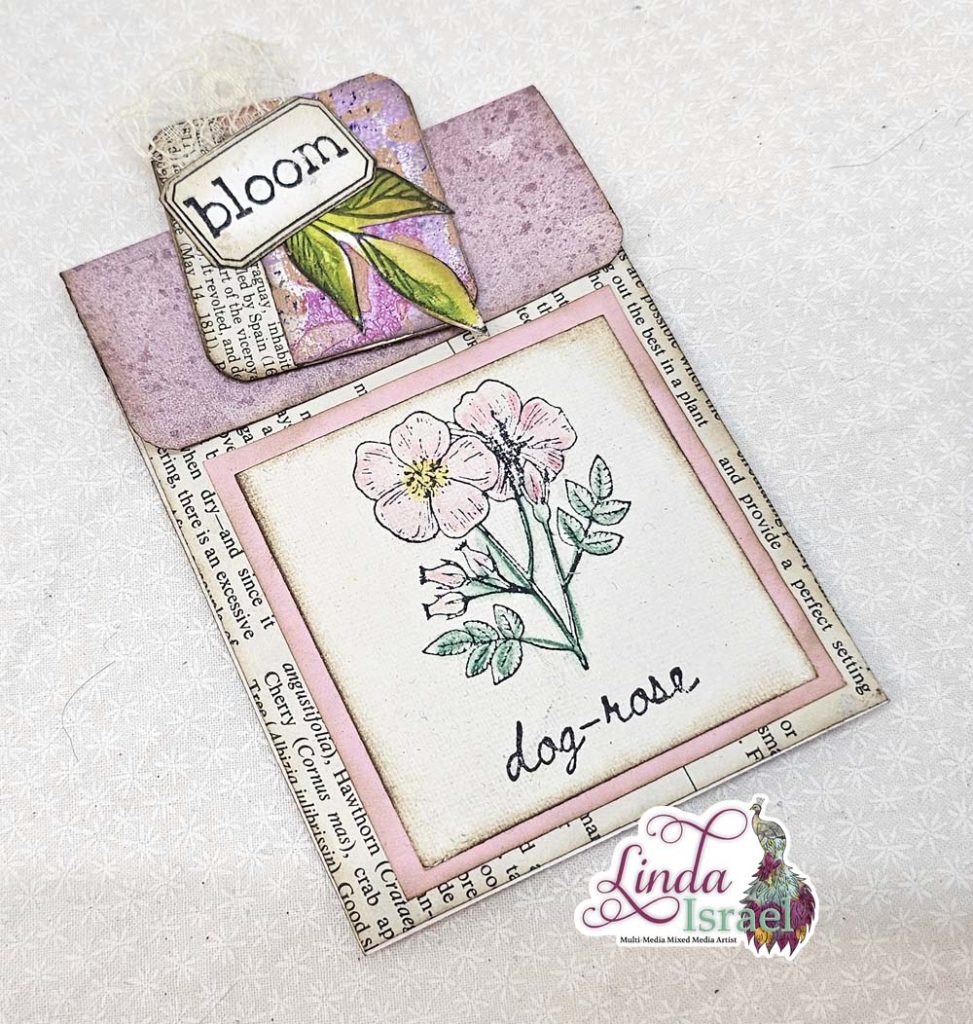
A few days ago I was chatting with one of the admins from my Facebook group Friendly Junk Journal People. Naomi asked for ideas on how to use stamps with a junk journal. This prompted me to make a Stamped Journal Cards tutorial showing how stamps can be used to make journal cards without a lot of coloring. She didn’t want to spend a lot of time coloring in images.
Here is a video tutorial showing how to make Stamped Journal Cards.
Supply List for Stamped Journal Cards.
- Various stamps, Bird from Inkadinkado, Stampabilities Square Block Stamp, Flower Stamp by Rubber Stampede, Postmark Stamp by Inkadinkado.
- Old Dictionary pages
- Cardstock or watercolor paper for card base
- Sewing Machine – optional
- Distress Ink, Vintage Photo, Dusty Concord and Crushed Olive
- Ranger Ink Blending Tool
- Tattered Angels Glimmer Mists, Curious
- Brutus Monroe Detail Ink – Raven
- A scrap of denim
- Word created on Silhouette Cameo 3
- Best Glue Ever by ScraPerfect
- Large No-Clog Writing Cap by ScraPerfect
- Old Food tray or another flat container to spray Tattered Angels onto.
- Heat Tool
- Fiskars Scissors
These stamped journal cards are super easy to make. To begin I chose to cut a piece of the dictionary page the same size as my focal stamped image. In this case, it was 2.25 x 2.25 inches. Then I stamped with Brutus Monroe Detail Ink.
Use the Ranger Blending tool and Tim Holtz Vintage Photo Distress ink around the edges of the paper.
Apply a fine line of the Best Glue Ever on the backside of the dictionary page and apply to a 3 x 5 inch journal card.
An option is to use a sewing machine and add zig-zag stitches around the image.
For the second card, I used Tattered Angels Glimmer Mist Curious applied to a square stamp background. This was stamped on a 3.5 x 5.5 piece of dictionary page. Heat set to dry.
Stamp the bird image with Brutus Monroe Detail Ink over the square of color on the dictionary page.
Apply Dusty Concord and Crushed Oliver Distress Inks to the flower stamp and stamp on the right side of the square.
Next stamp the postmark image in the center top of the square.
Vintage Photo Distress Ink was applied with a blending tool around the stamped image and the journal card.
Adhere the stamped dictionary page to the journal card with the Best Glue Ever.
Distress the words – Adventure Awaits with Vintage photo distress inks.
Cut a scrap of denim to be a mat for the word and adhere both on the journal card in the center bottom.
Can take it up a notch by sewing on the journal card. I like combining the zig-zag with straight stitching.
These Stamped Journal Cards were quick and easy to make. I can see all kinds of various styles done like this. What is your favorite style?
Make sure to check out the Friendly Junk Journal People Facebook group. Of course, you are welcome to join the Friendly Junk Journal People Facebook group. The group is growing daily and we are a friendly group willing to help each other and encourage each other.
Interested in any of the journals I created? Please feel free to contact me through my Facebook Page. Here is my shop, I have a lot of items uploaded and add more weekly.
My hope is that I have inspired you to look at those papers in your stash and make your own junk journal.
Keep updated on my posts by following me. Follow my blog with Bloglovin. Or Follow my Facebook Page or on Instagram for updates that may not be shared on my blog.
Thanks so much for stopping by my blog today to see the Stamped Journal Cards tutorial.


