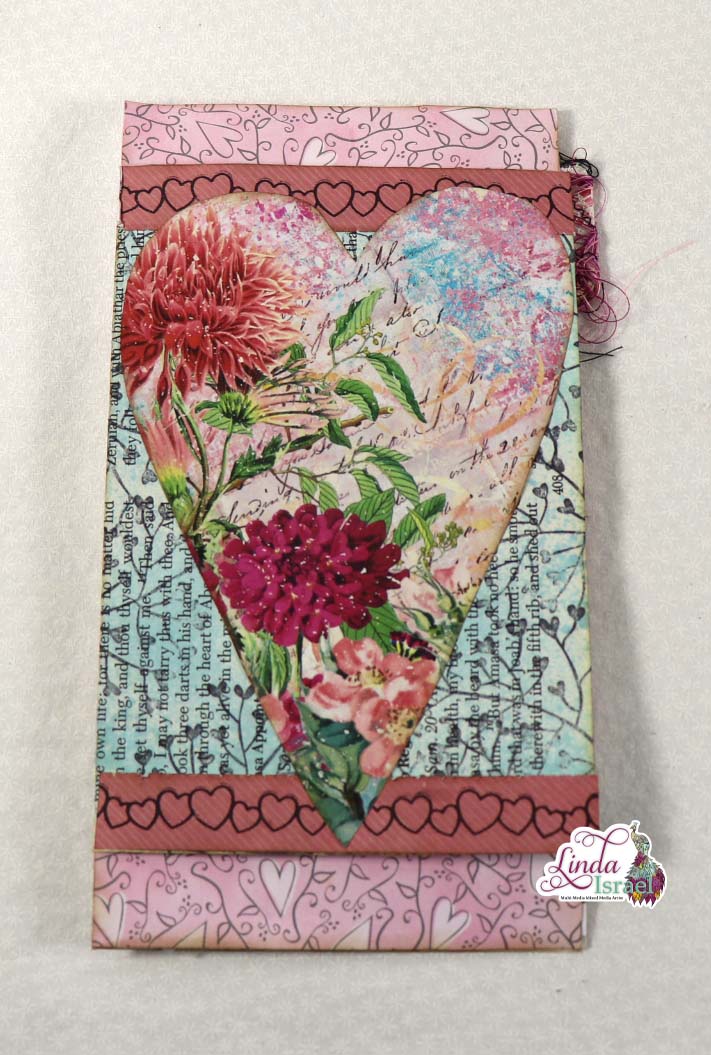
Happy St Patrick’s Day! Sharing the Lucky Little Clover By Calico Collage Junk Journal 7 Page Tutorials. In this tutorial I’ll show seven different journal page tutorials and how to bind the journal.
Lucky Little Clover By Calico Collage Junk Journal 7 Page Tutorials Video
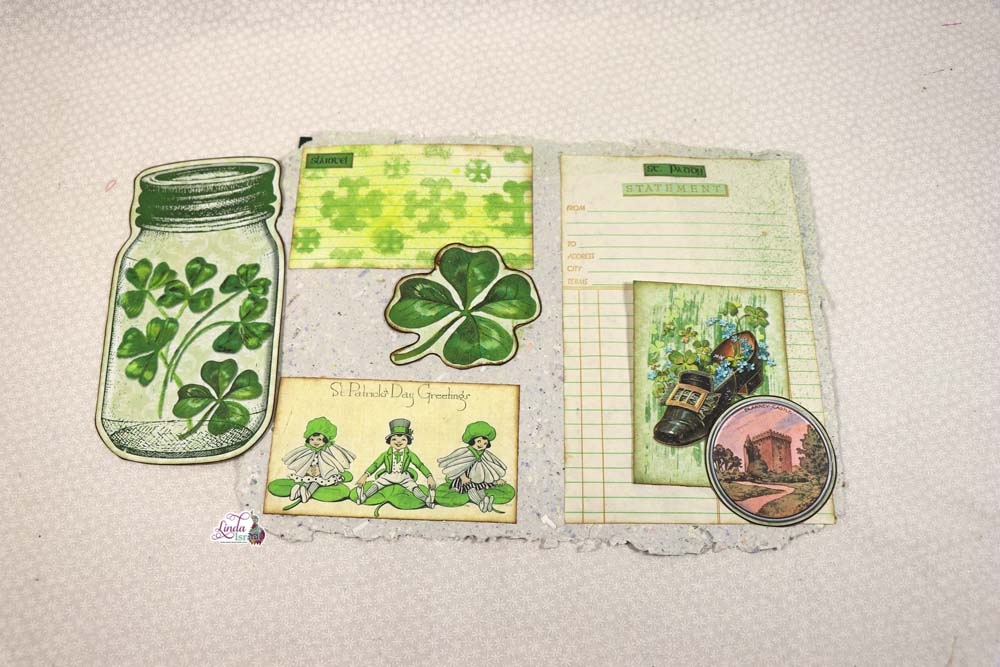
Supplies used for the Lucky Little Clover By Calico Collage Junk Journal 7 Page Tutorials
- Lucky Little Clover by Calico Collage Digital Journal kit
- Journal quartet Rubber Stamps
- 4 Leaf Clover Stencil
- Blarney Tattered Angels Glimmer Mist
- Leafy Branch Stamp
- Live Each Moment Cube Rubber Stamps
- Butterfly Cube
- Nature Walk Quartet
- Gather Your Dreams
- Celtic Wallpaper One Stencil
- Celtic Wallpaper Two
- Flowering Branch
- Walnut Stain Distress Ink
- Peeled Paint Tim Holtz, Distress Ink
- Oval Blending Brushes
- Archival Ink Jet Black
- Shabby Shutters Distress Ink
- Aleene’s Tacky Glue
- Forest Moss Distress Ink
- Washi Tape
- Hymnal Book Page
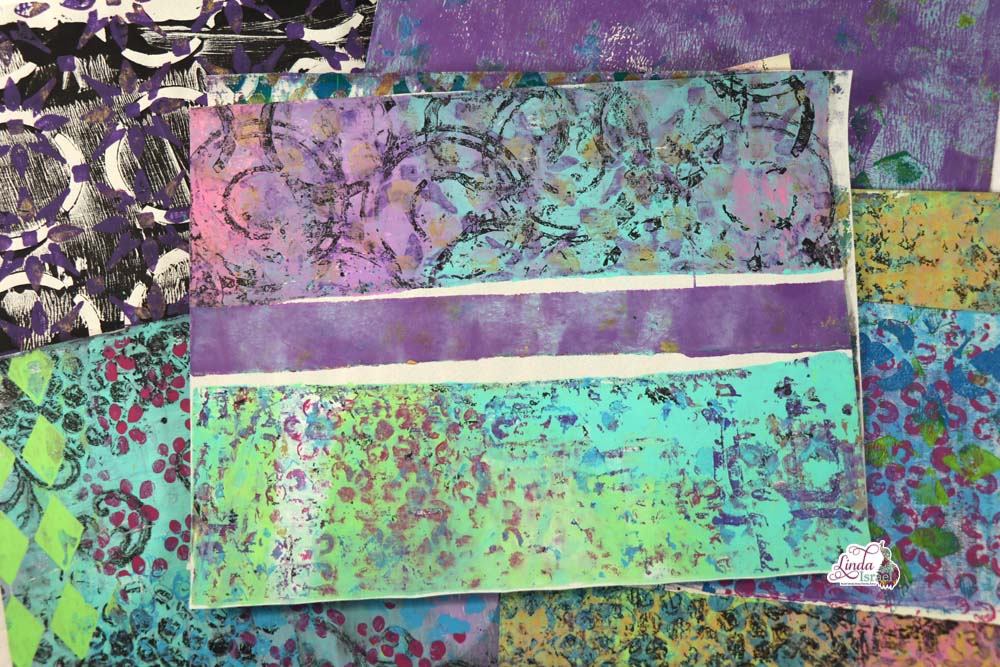
- Gel Print
- Stationary
- Handmade Paper
- Index Card
- Scraps of paper
- Flower page from a book
- Bible Pages
- Butterfly Beauties Cube Rubber Stamp
- Dictionary Page – Irish
- Live Each Moment Cube Rubber Stamps
- Nature Walk Quartet
- Gather Your Dreams
- Pamphlet Stitch Book Binding Template
Using the digital journal kit “Lucky Little Clover” By Calico Collage Linda shows how she uses stencils and rubber stamps from her shop, Tattered Angels Glimmer Mist, along with book pages and more to create the St. Patrick’s Day Junk Journal.
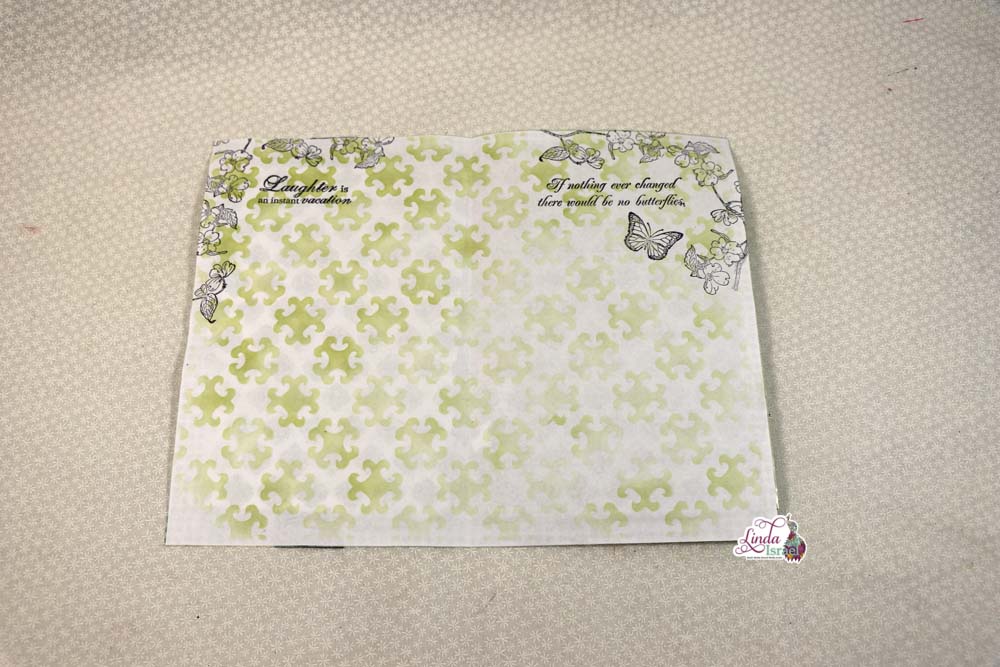
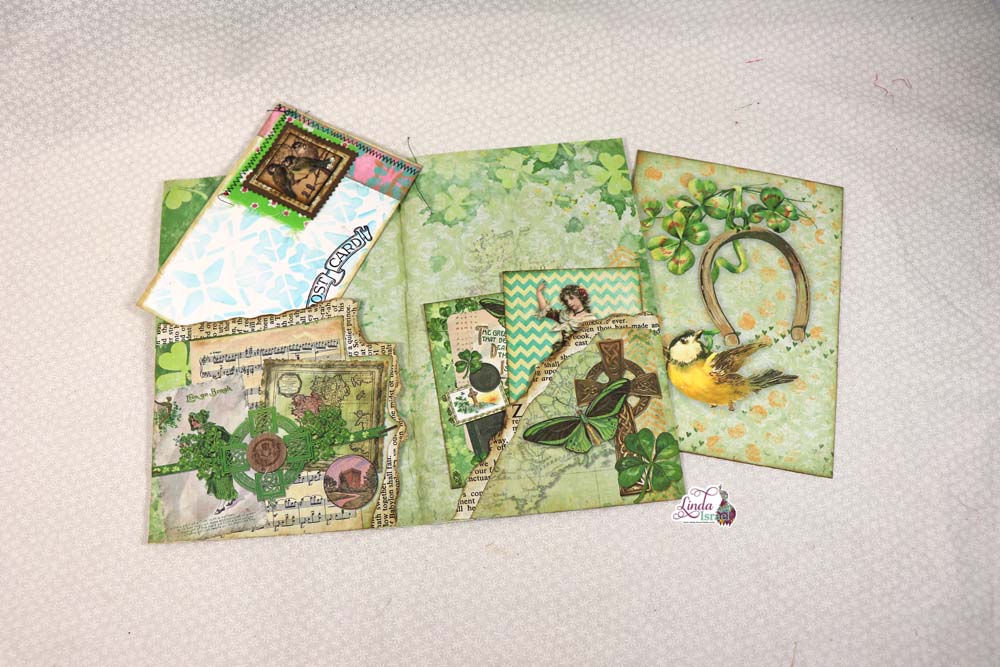
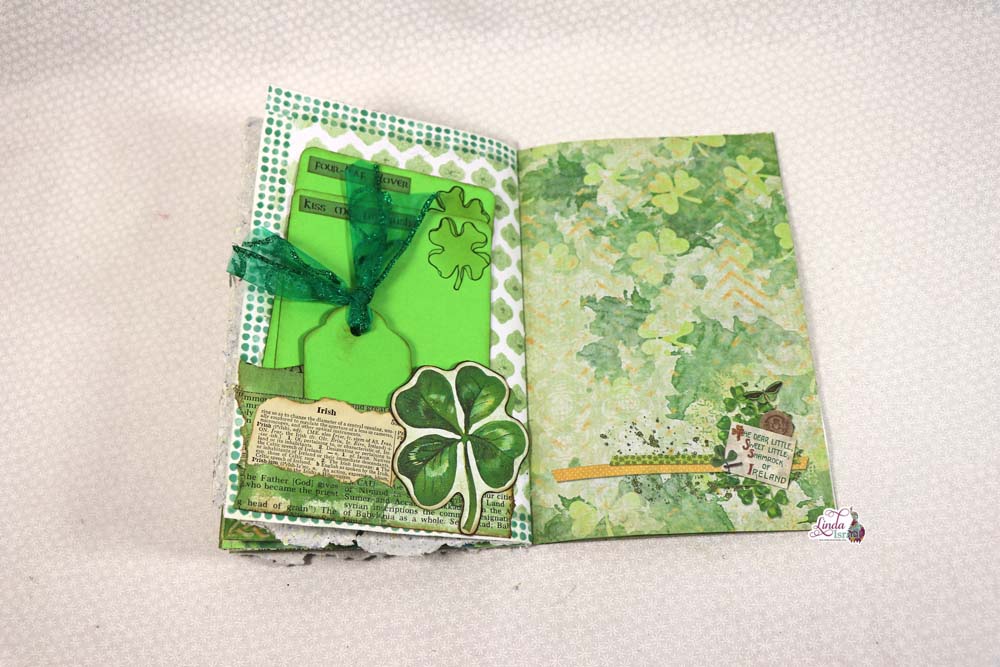
First Page Tutorial
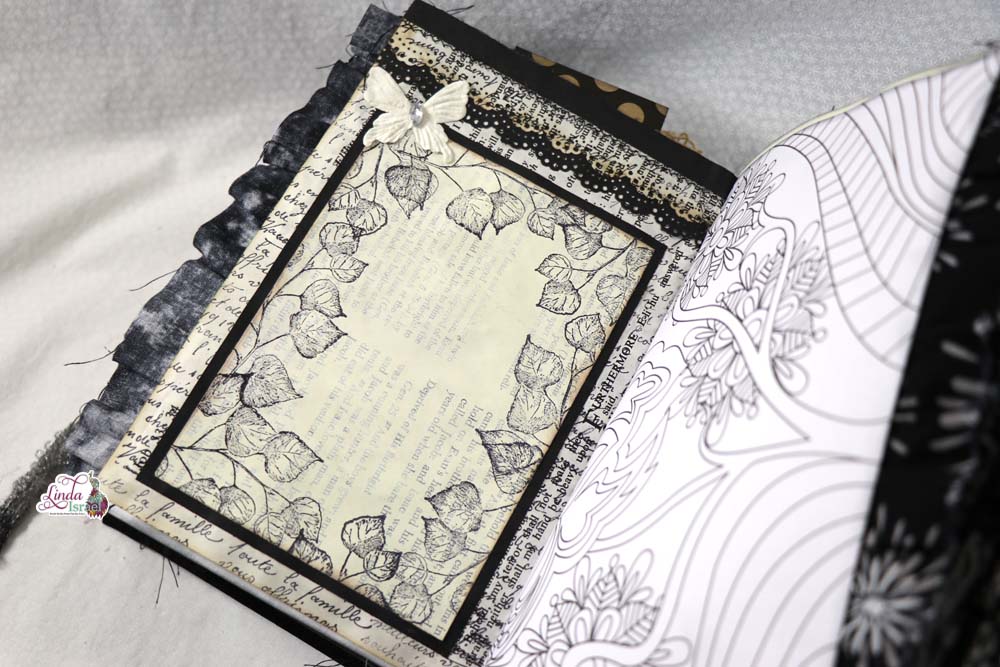
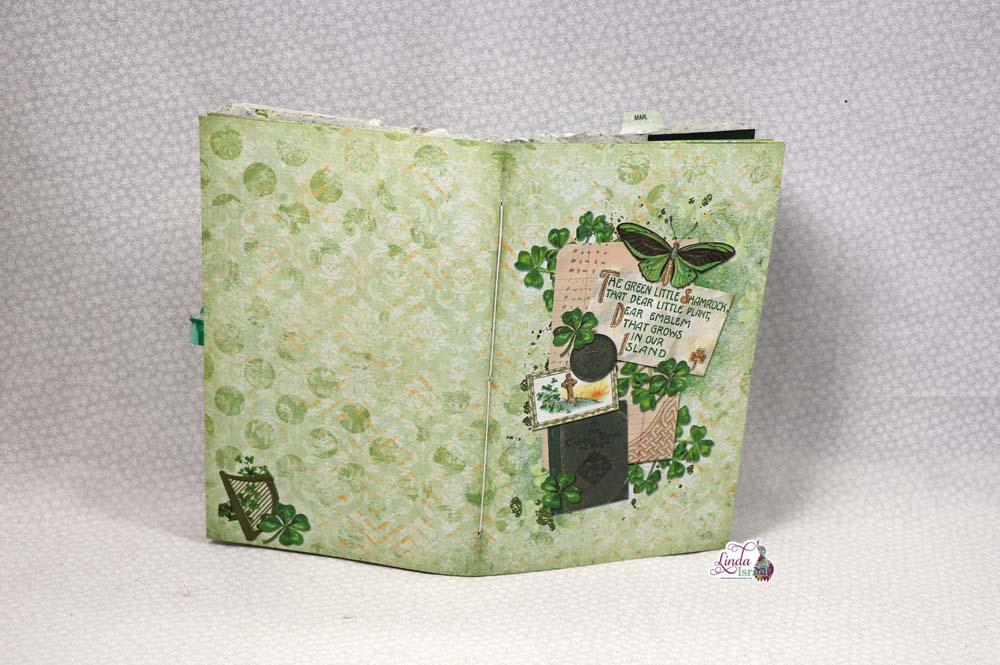
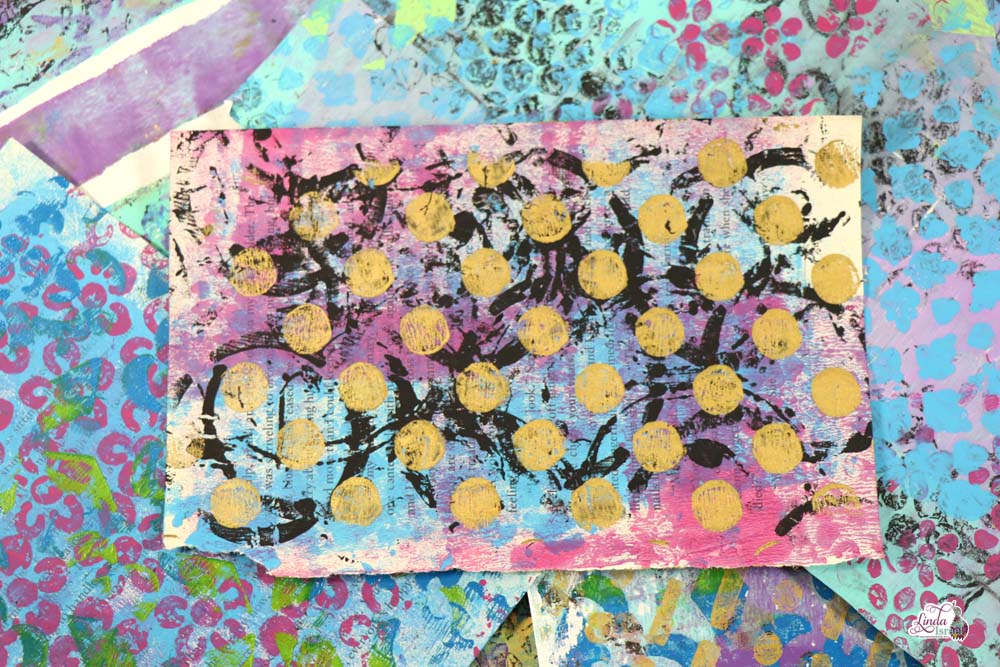
Creating the background for this page, Linda uses the 4 leaf clover stencil and Blarney Tattered Angels Glimmer Mist. She used the “Speak Kind Words” stamp from the Live Each Moment Cube Rubber stamp set. Around the edges of the page Linda took Archival Ink Jet Black ink for the Flowering Branch stamp. Edges of the pieces with were distressed Forest Moss Ink. The 4 leaf clovers were edited from the Lucky Clover Kit, you can take the digital’s and edit them to fit your journal pages.

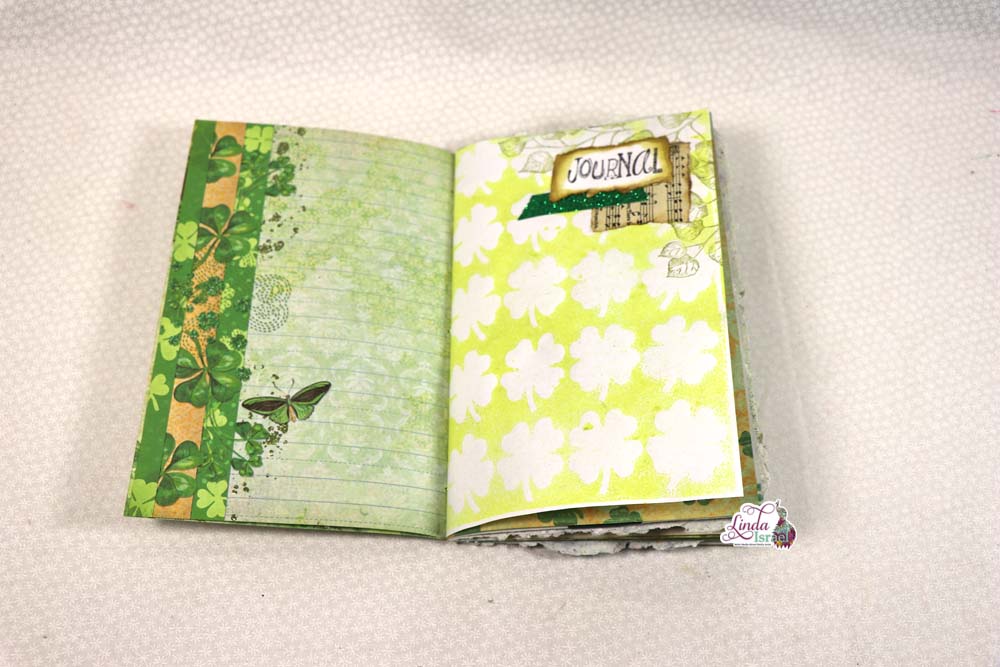
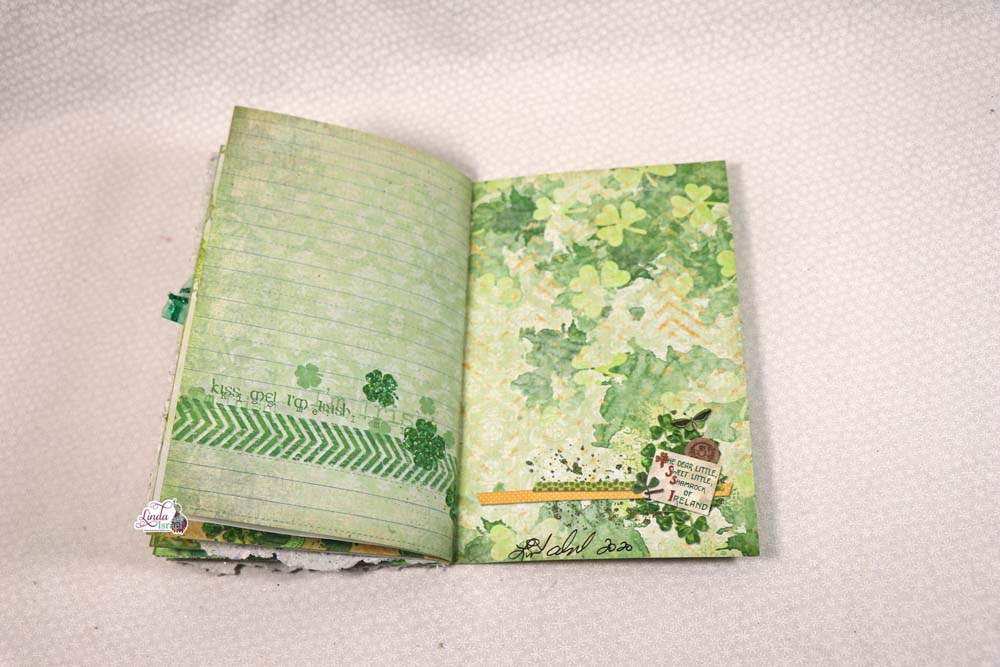
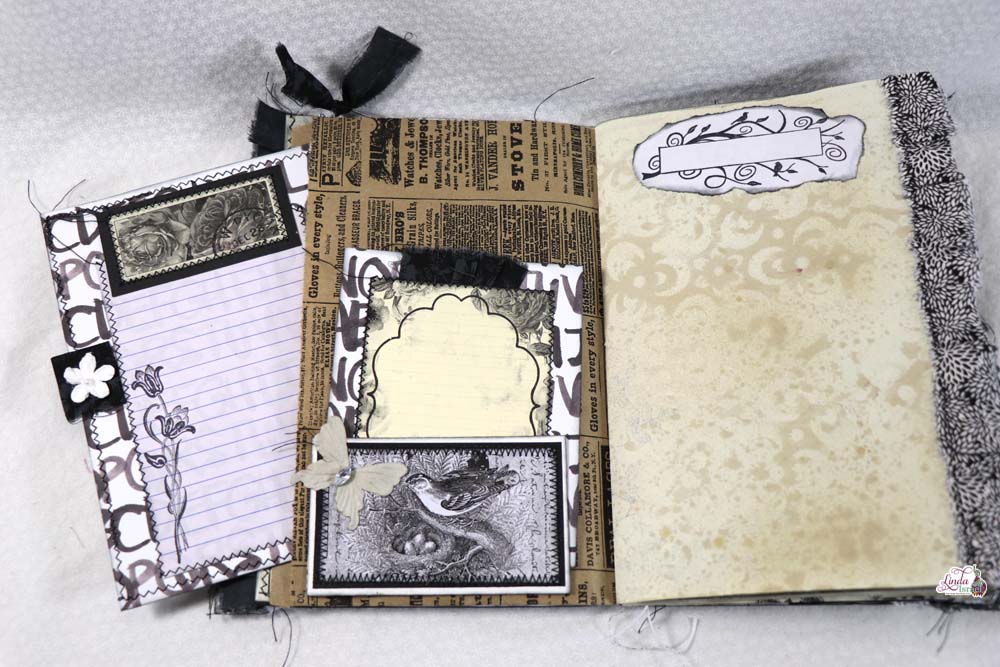
Second Page Tutorial
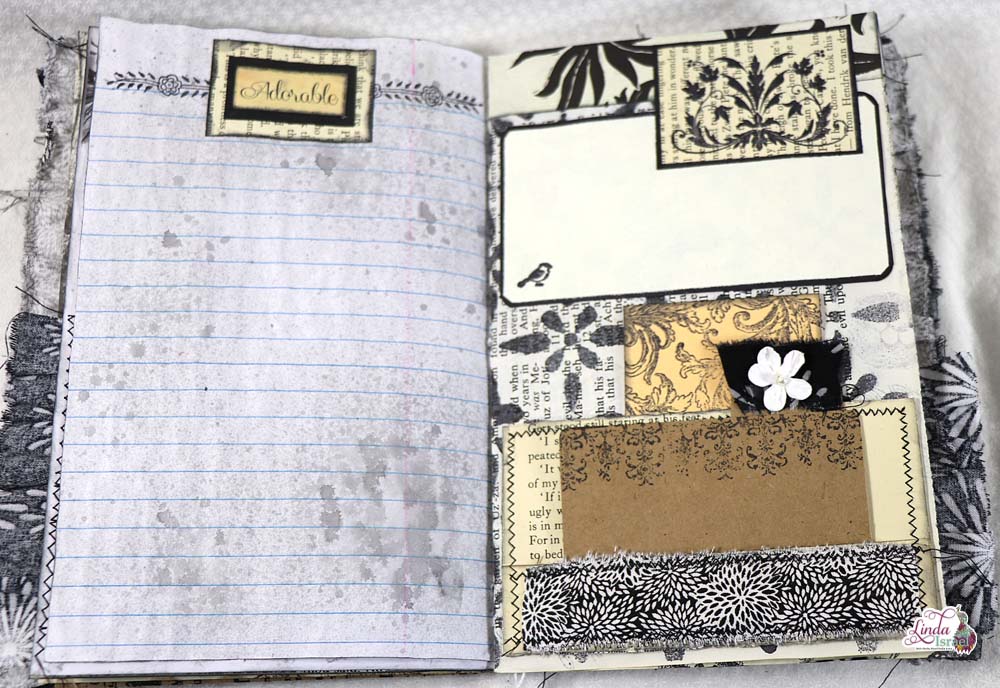
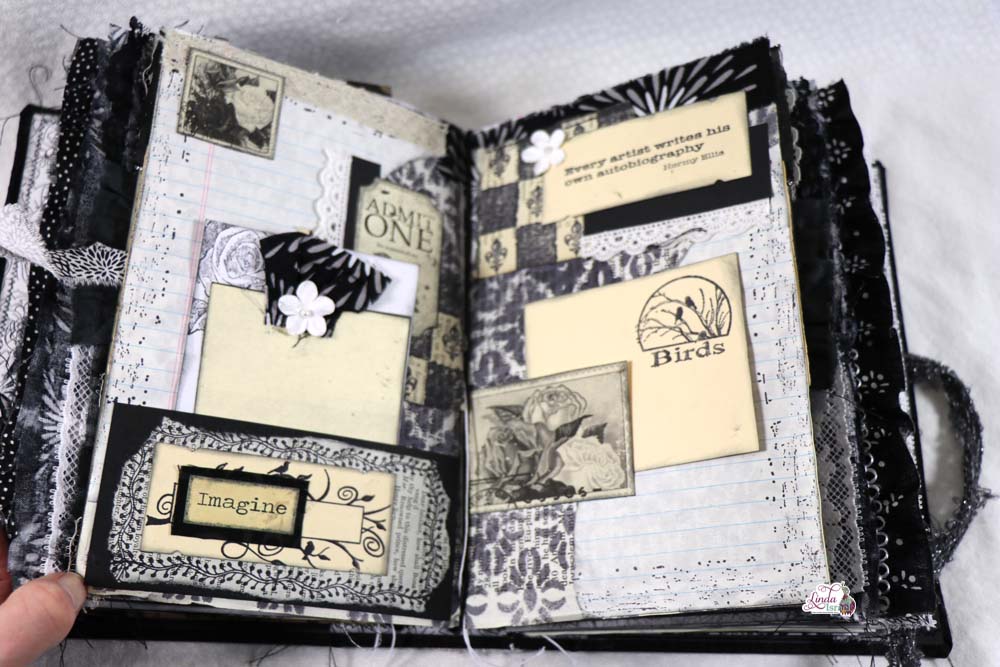
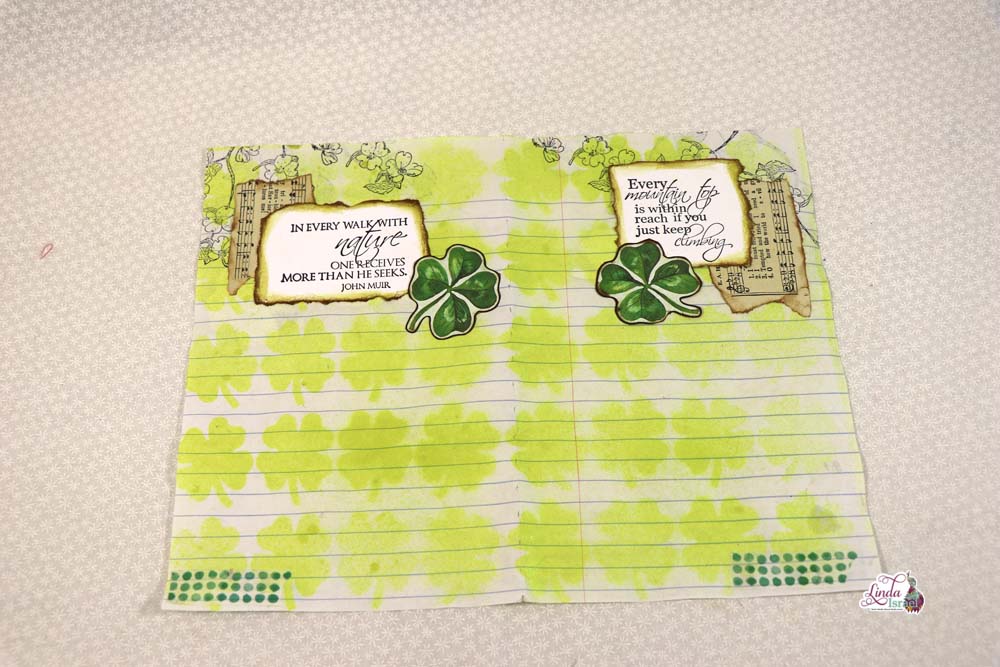
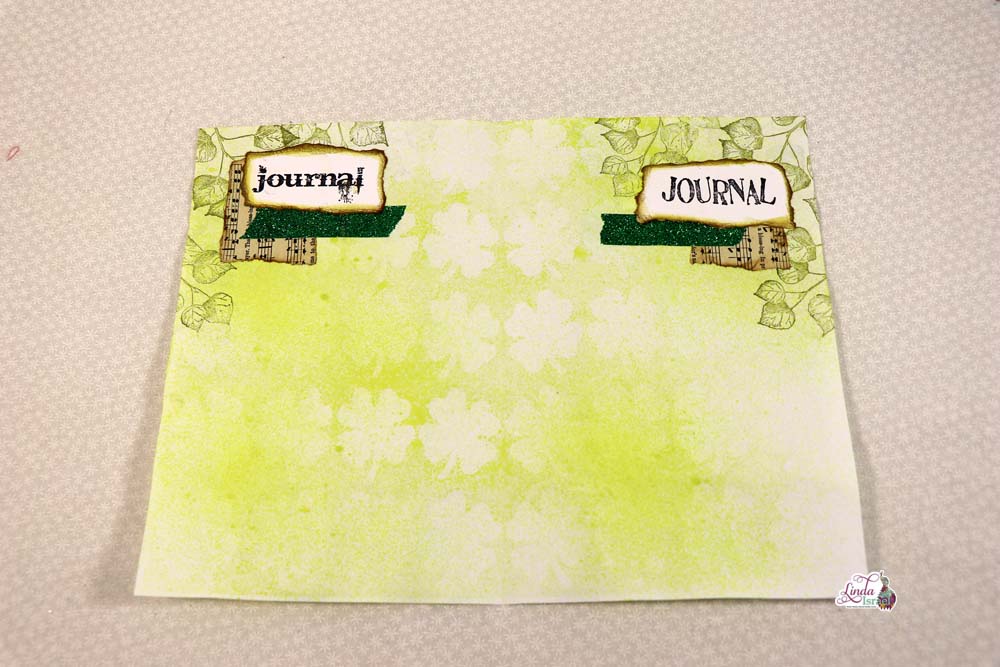
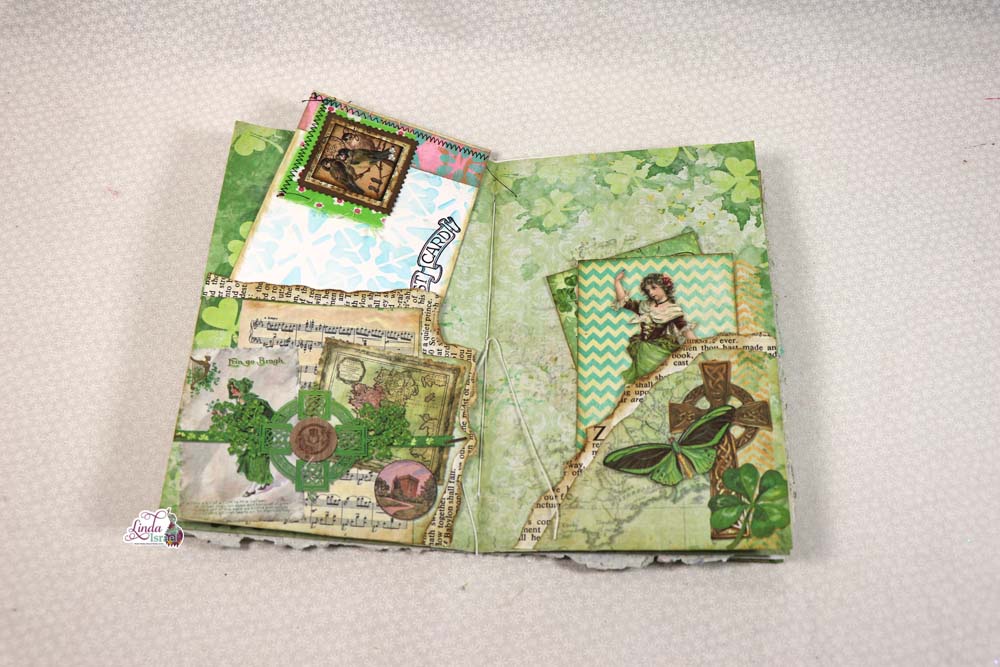
For this page, Linda used the Leafy Branch stamp, washi tape and the Journal words from the Journal quartet Rubber Stamps to create a cluster embellishment effect, she then layered pieces of a hymnal page with washi tape.

Third Page Tutorial
Taking some hand made paper, Linda used the Celtic Wallpaper One Stencil with Hemlock Tattered Angels. Using elements from the Lucky Little Clover digital by Calico Collage to create a tuck spot. The pocket was created using more elements from the kit, a postcard of flowers from her garden.
To further strengthen the handmade paper, Linda placed addition lined scraps of paper with more elements from the Lucky Little Clover digital kit by Calico Collage to the back of the page.
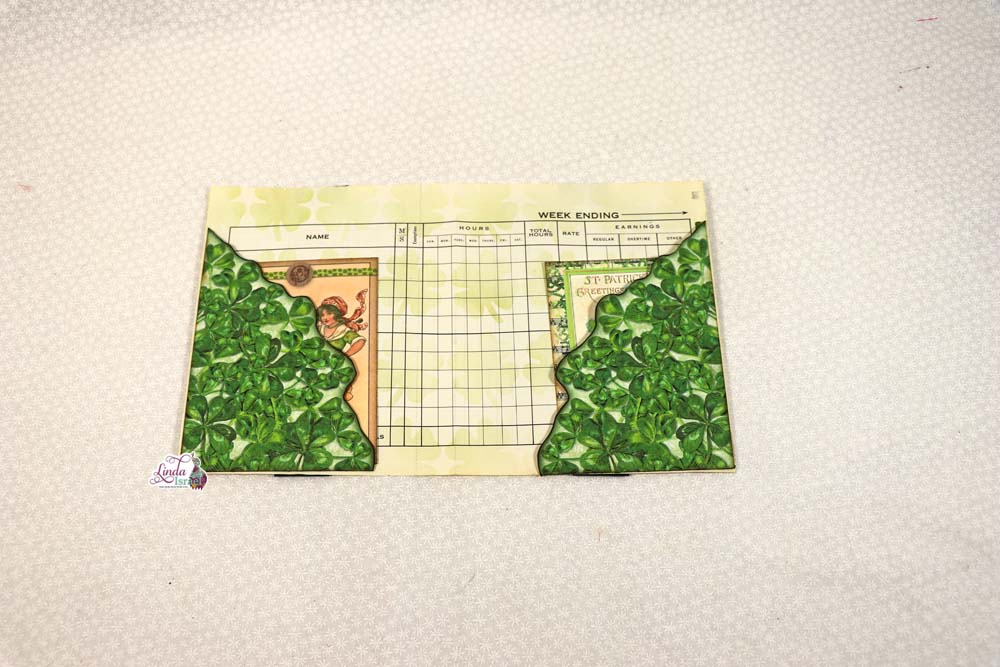
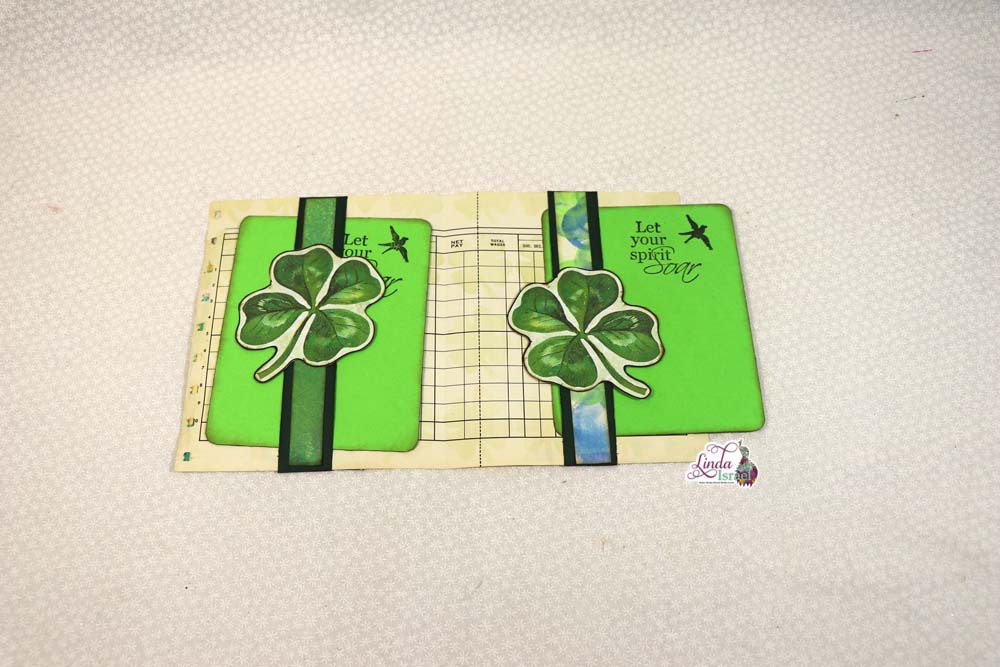
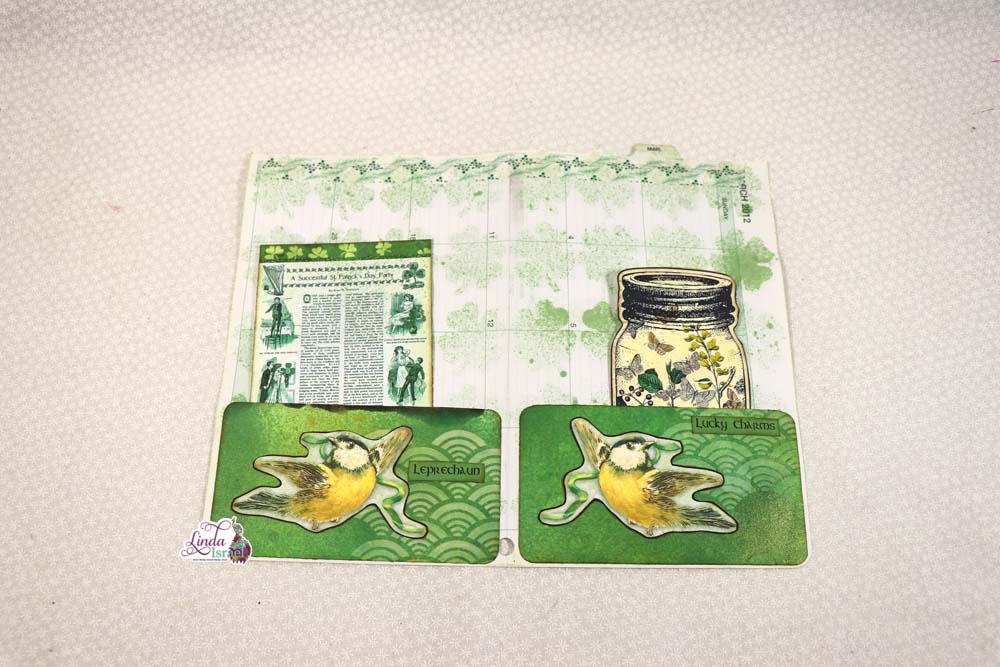
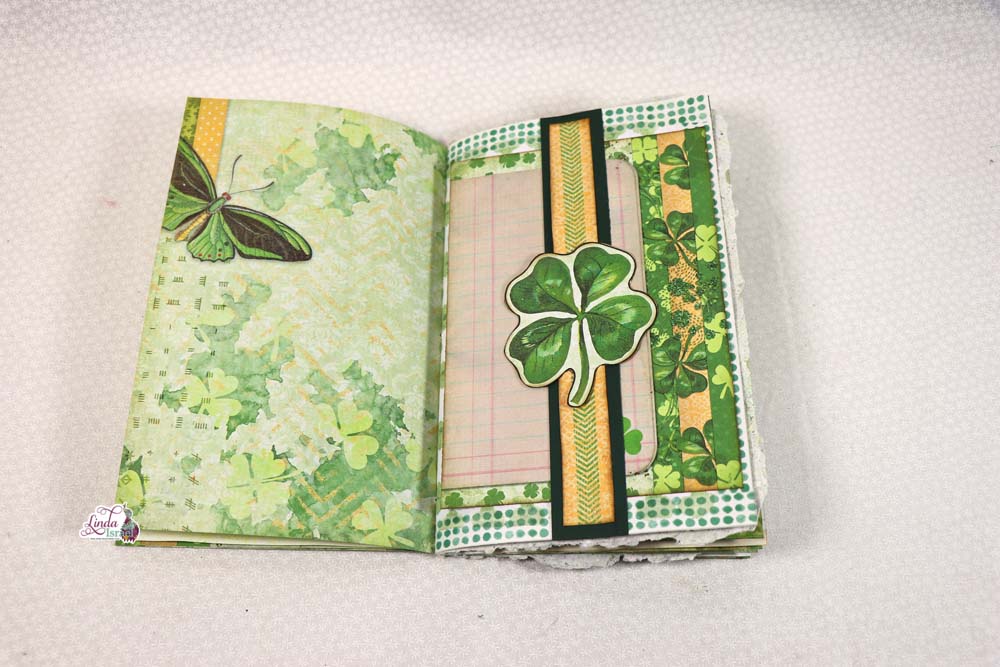
Forth page Tutorial
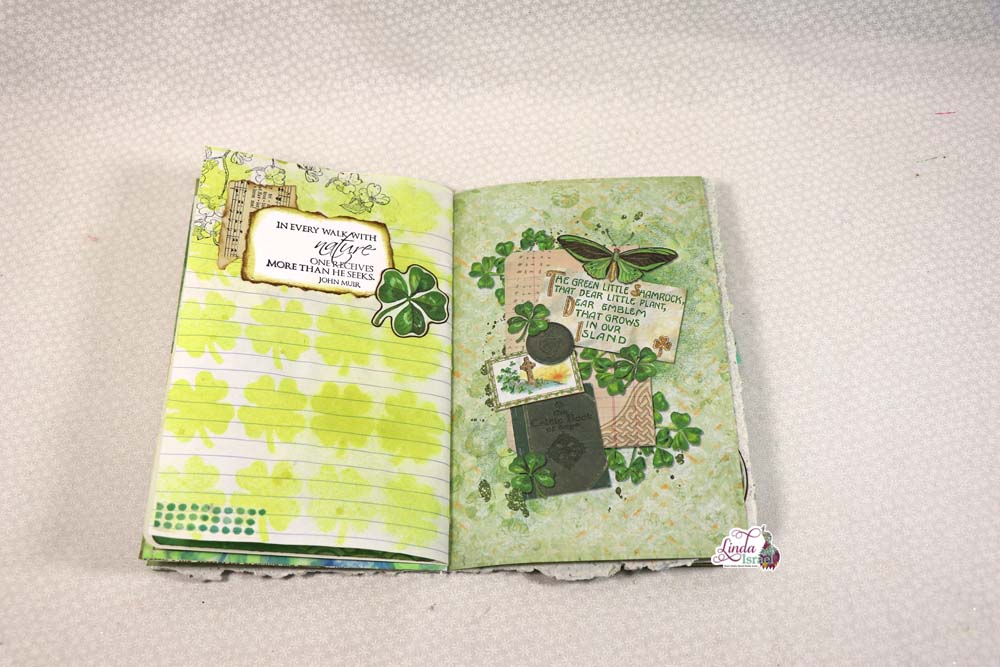
Folding a piece of ledger page to create this journal page, Linda applied Shabby Shutters Distress Ink on the 4 leaf clover stencil with an oval blending brush to lightly give a background to the page. She then used pocket elements from the Lucky Little Clover with journal cards from the kit. On the back side of the page two belly bands were created to slip more journaling cards in. The cards were created using the Let Your Spirit Soar stamp from the Live Each Moment rubber stamp set.
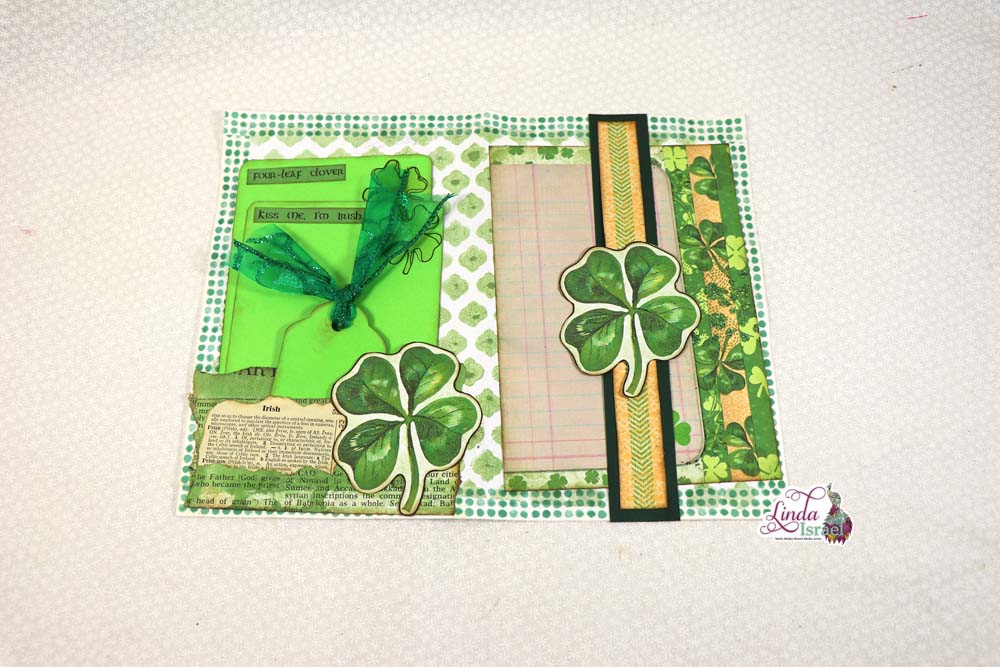
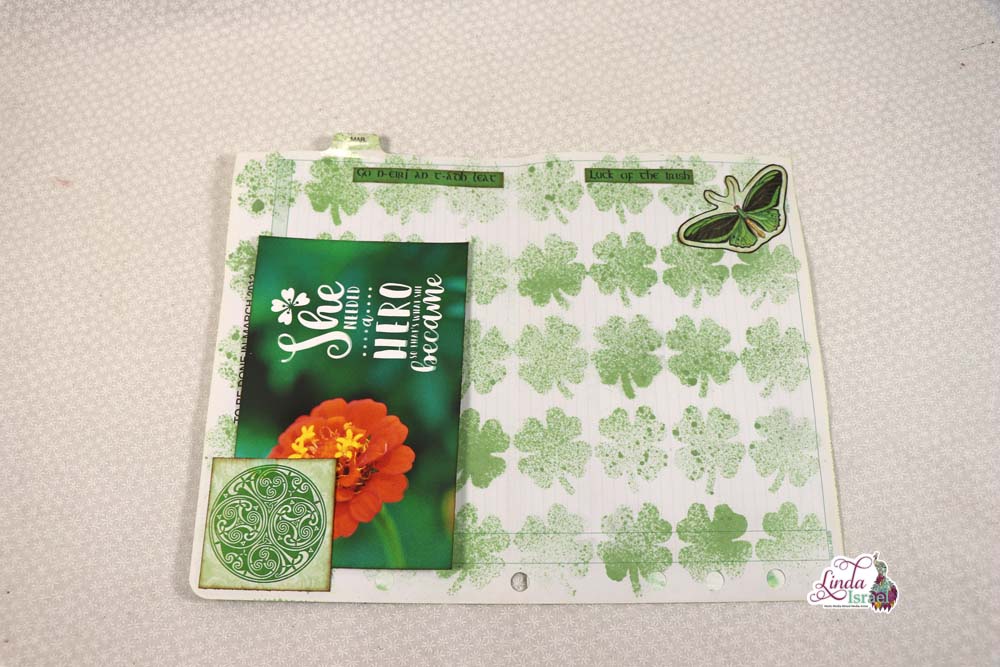
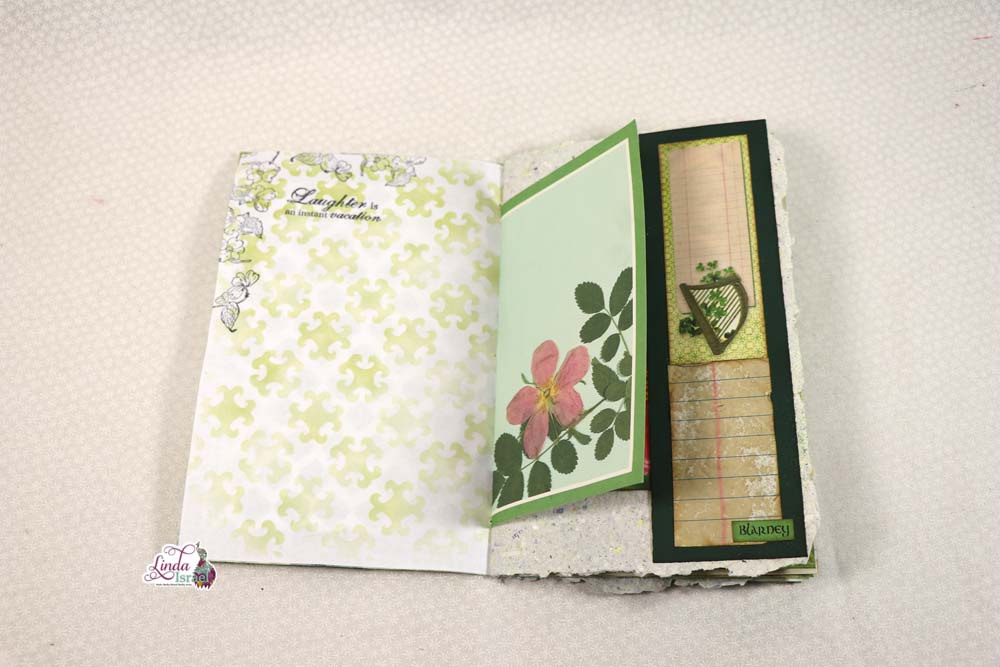
Fifth Page Tutorial
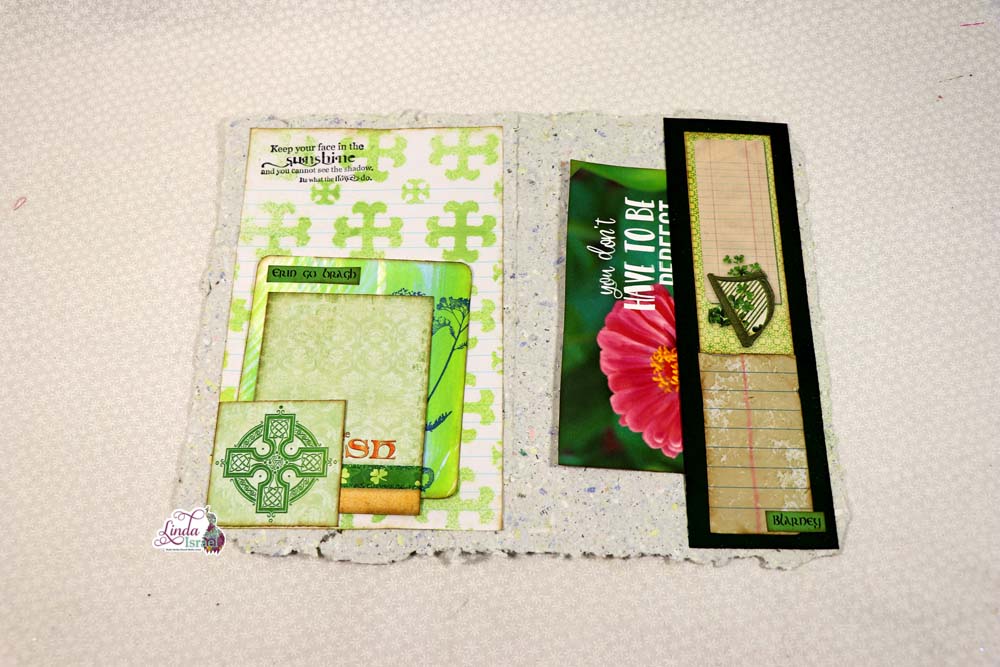
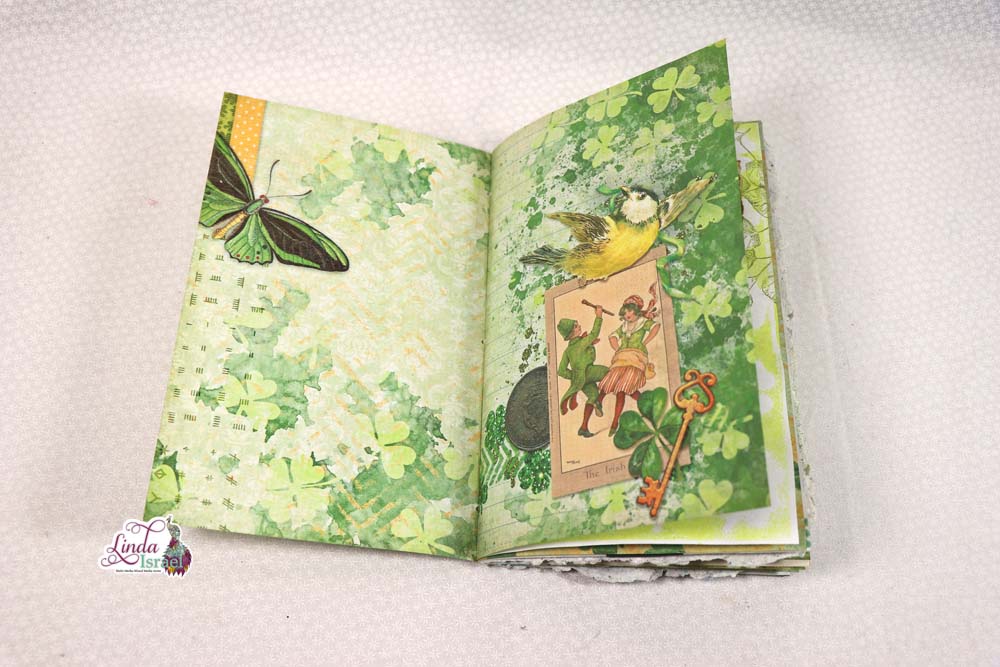
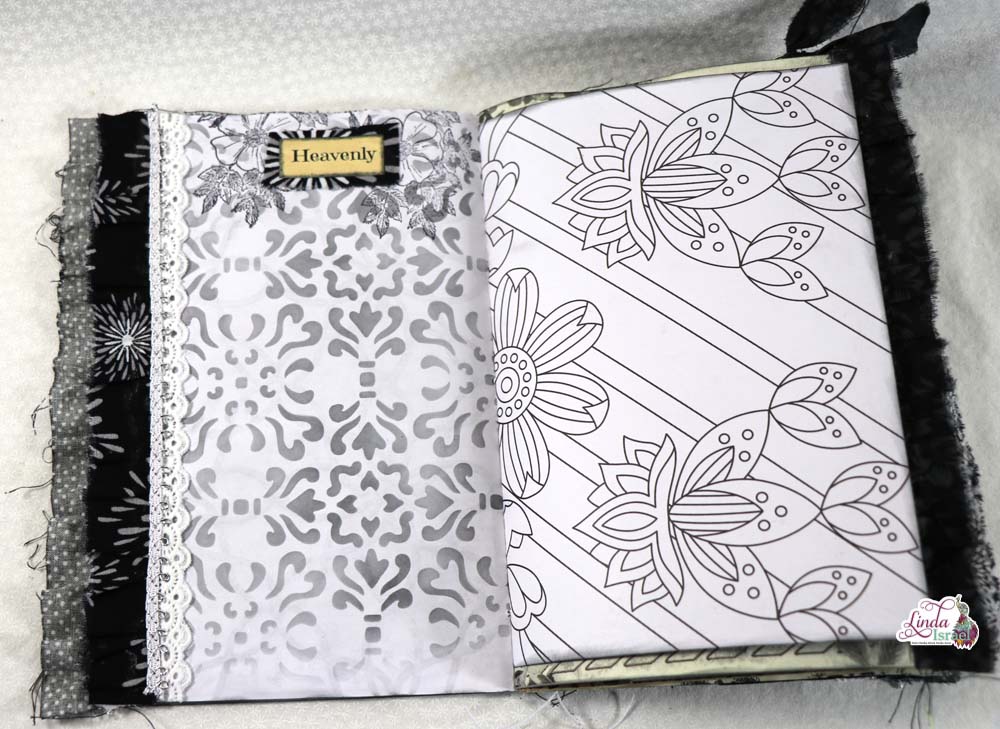
Creating this journal page using a gel print mop up page and the Celtic Wallpaper Two Stencil. Using the oval blending brush and peeled paint distress ink to the back side. Using distress inks in this technique gives a subtle affect to any page. She then created a belly band using the Lucky Little Clover kit image. She added a tuck spot using an Irish definition from a dictionary to tuck additional tag and journal cards. The front page Linda used the Flowering Branch rubber stamp with along with the Live Each Moment Quartet stamps found in her shop.
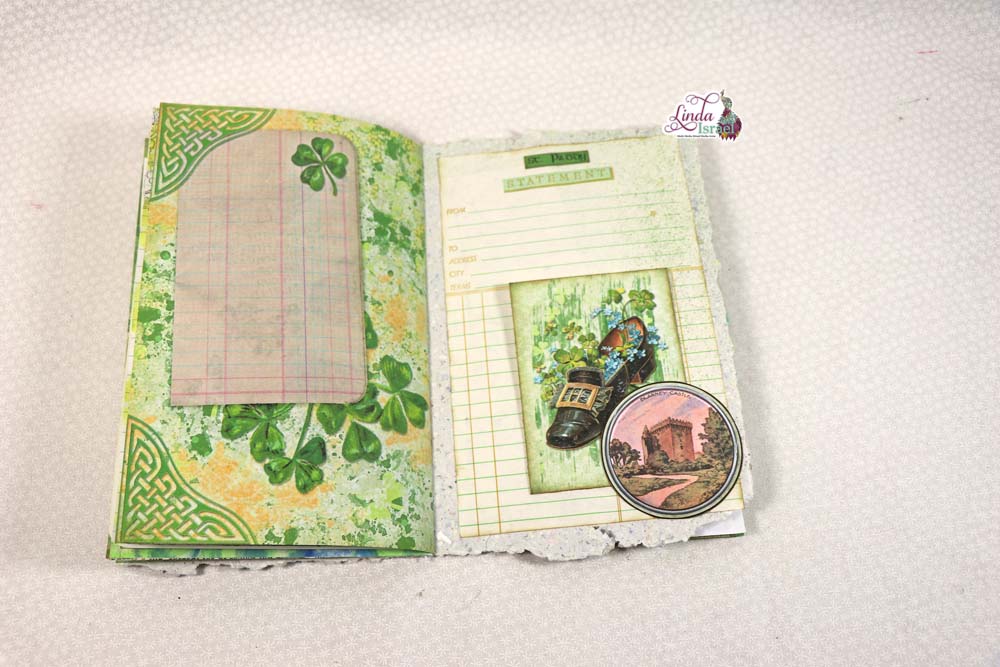
Sixth Page Tutorial
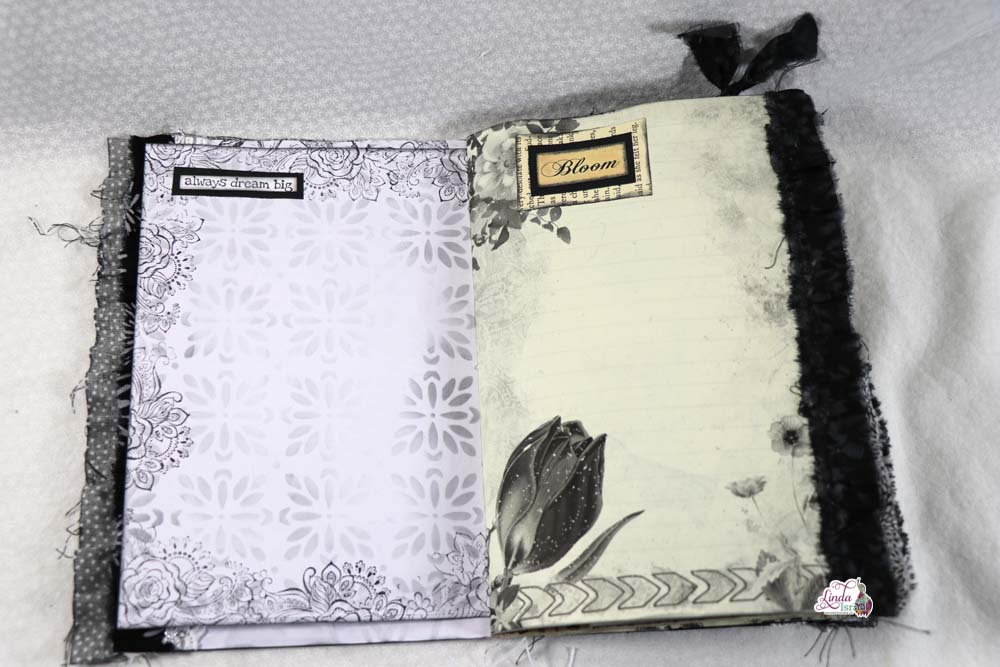
Creating this journal page, Linda took an appointment book page that happened to be for March, she took the 4 Leaf Clover Stencil and Hemlock Glimmer Mist. The pockets were added using mixed media pages and with elements from the Lucky Little Clover Kit. For the top of the page she has placed green washi tape she had on hand. On the other side of the page, more elements and a tuck spot were added
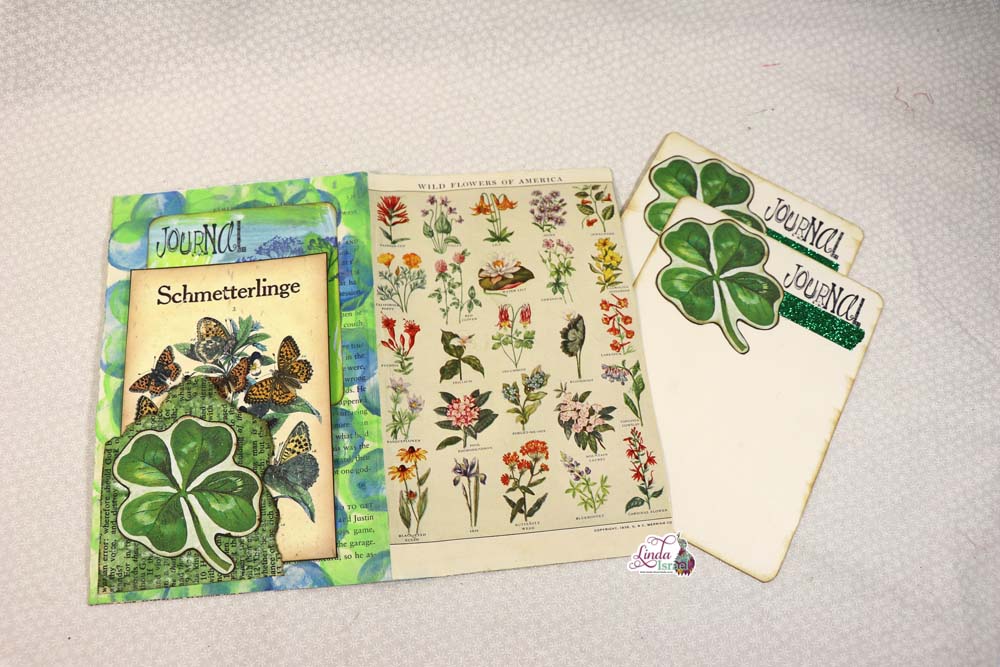
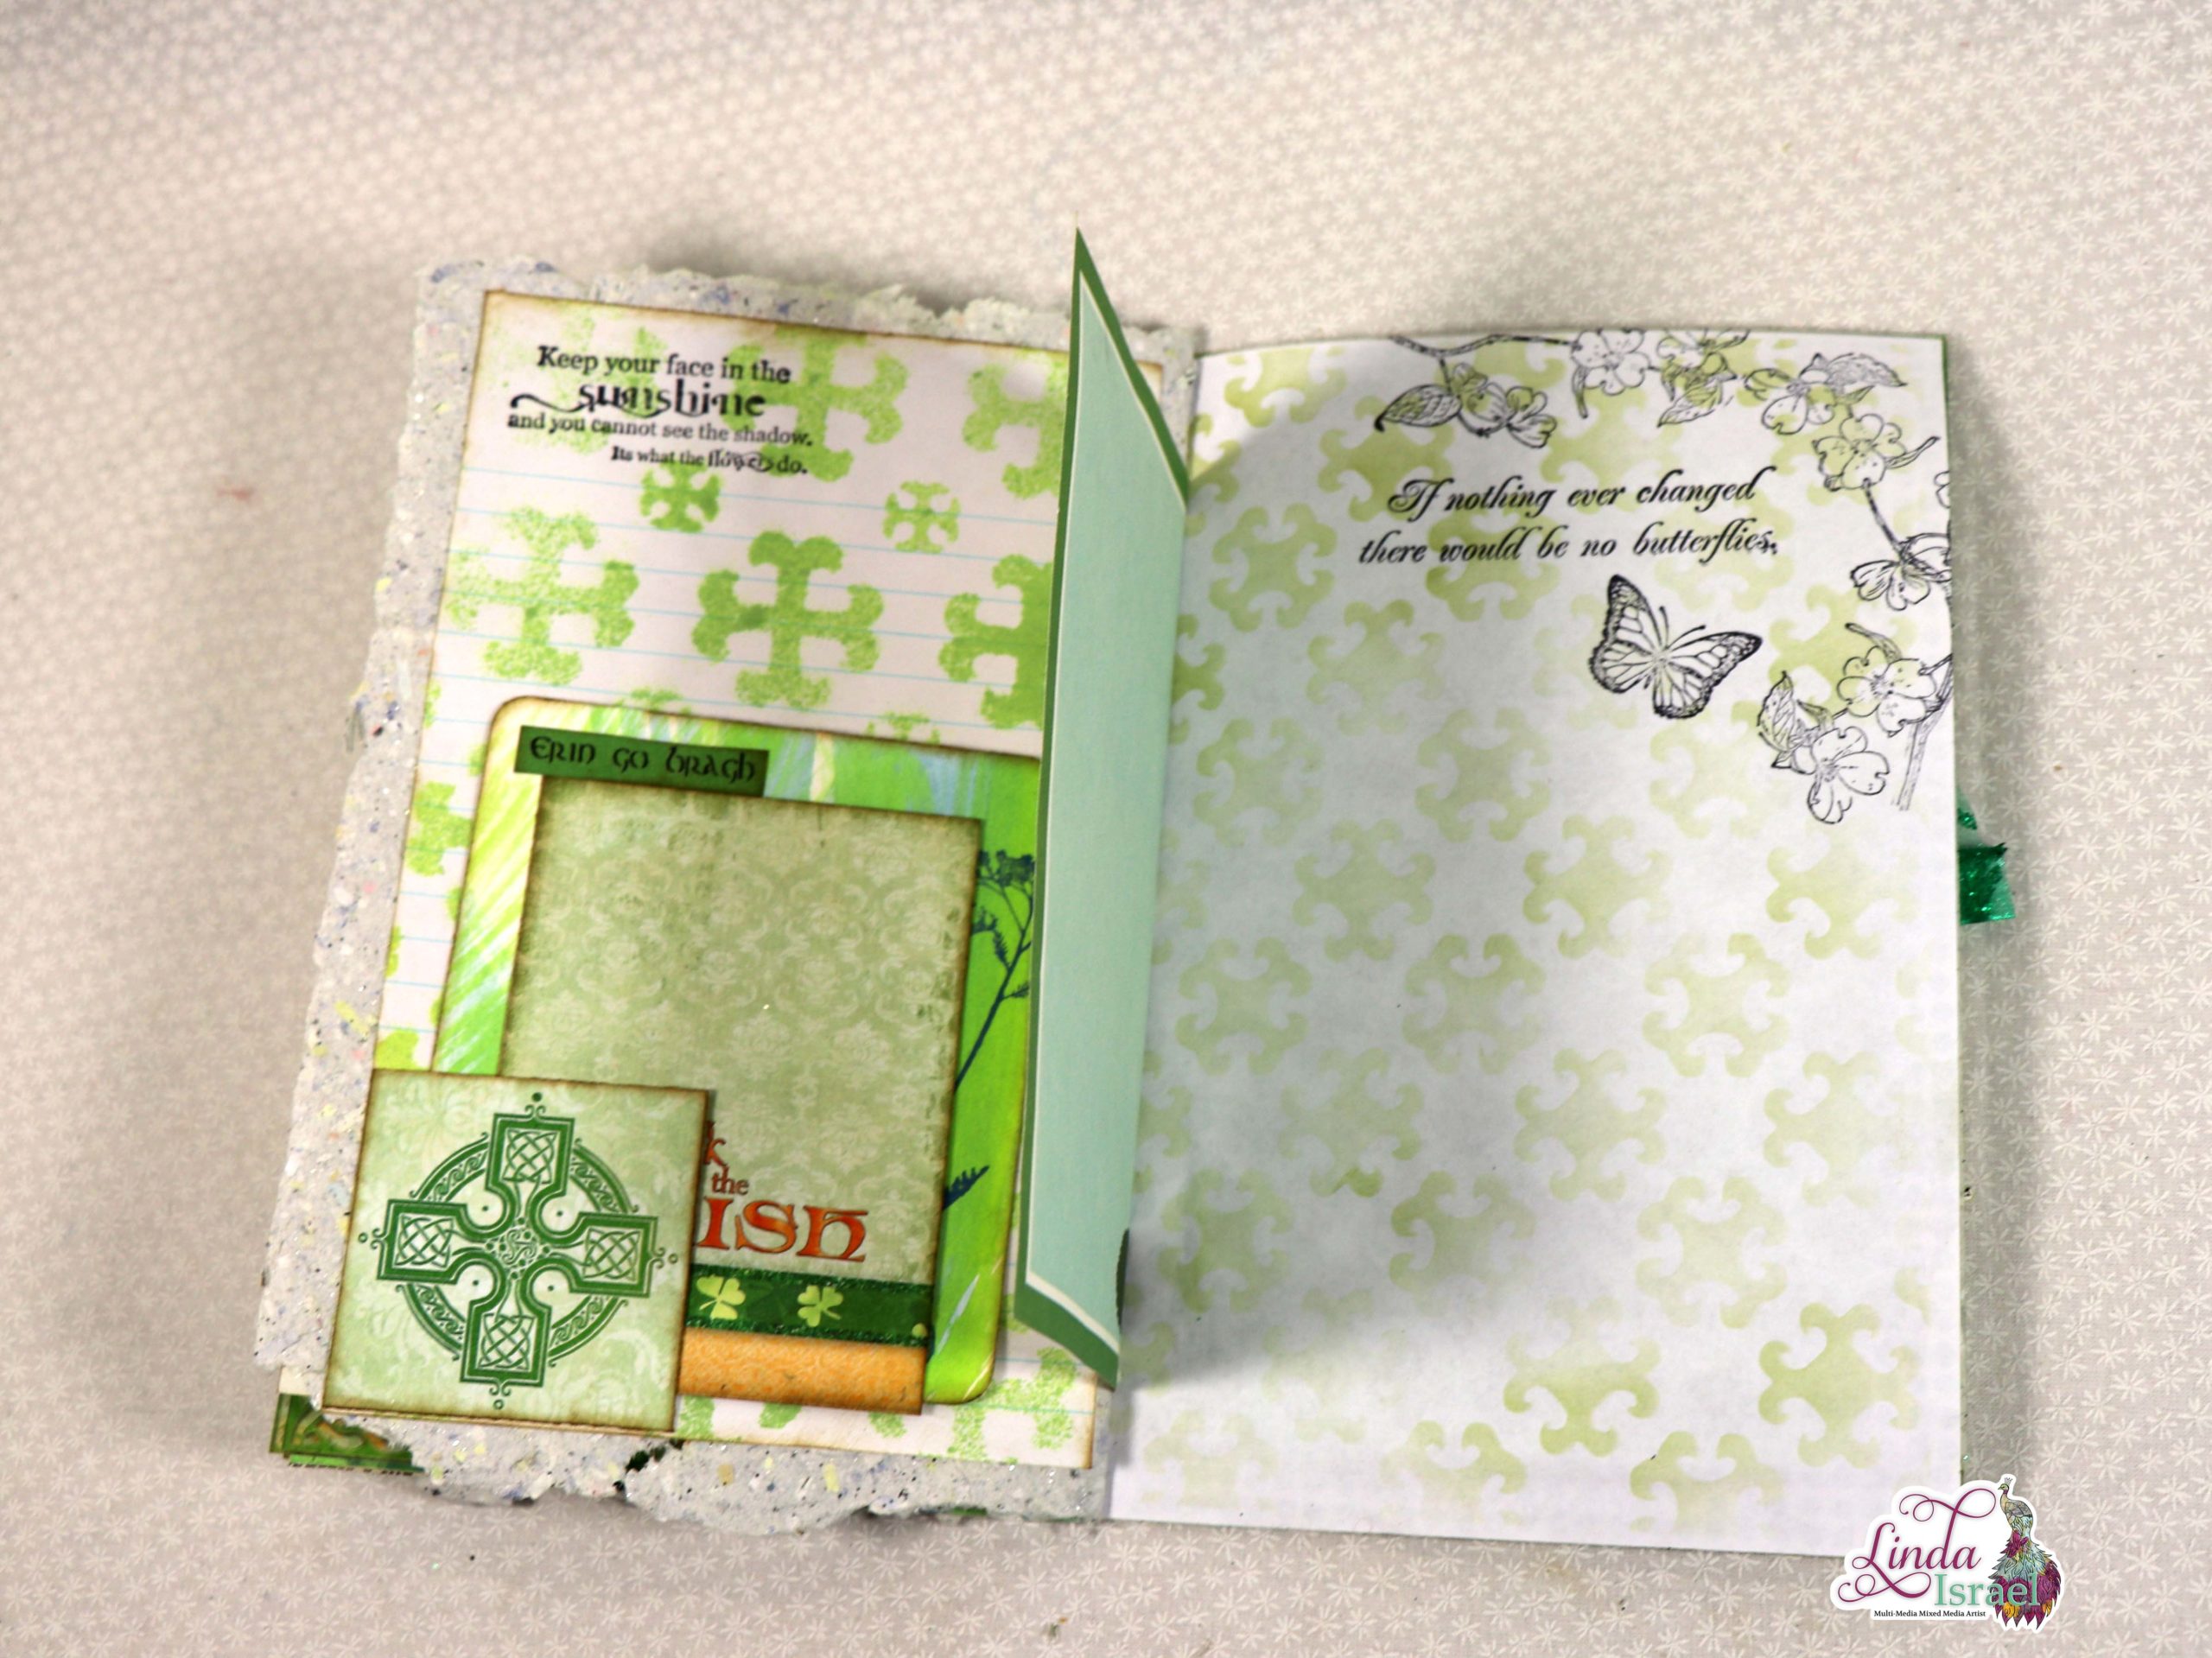
Seventh Page Tutorial
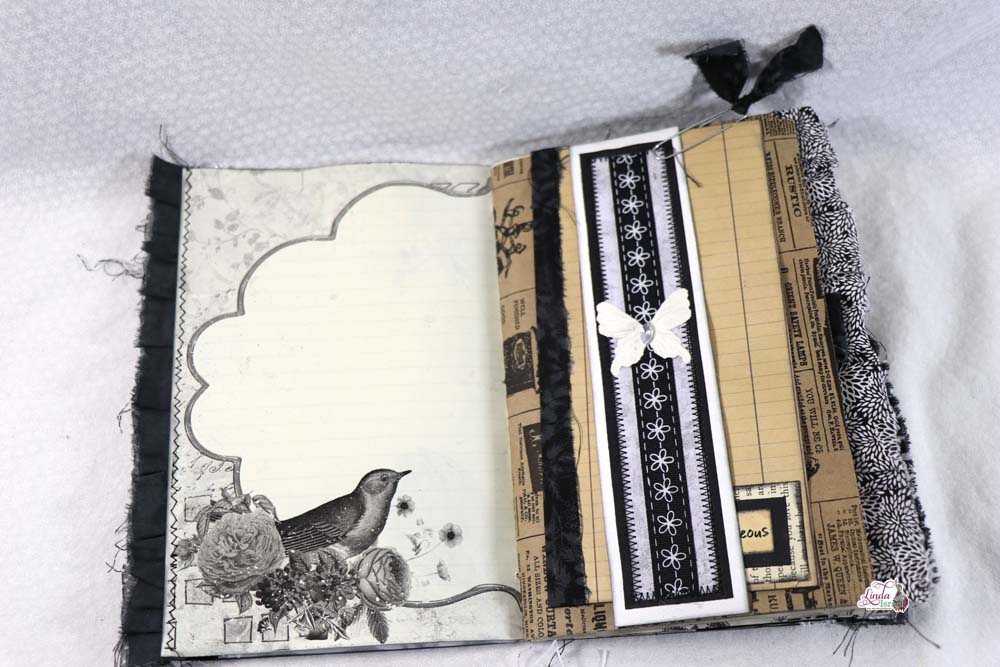
For this final page of the journal, Linda took a page from the Lucky Little Clover Kit and cut out two sections. She then used additional bible pages with other elements from the kit to create strong pockets that she fussy cut . Placing the pockets over areas from the kit page. On the other side of the page using painted scrap paper and adhered them with other fun elements from other projects. To complete the page she sprayed the Hemlock Tattered Angels. Finally she tucked in journal cards for additional writing space.
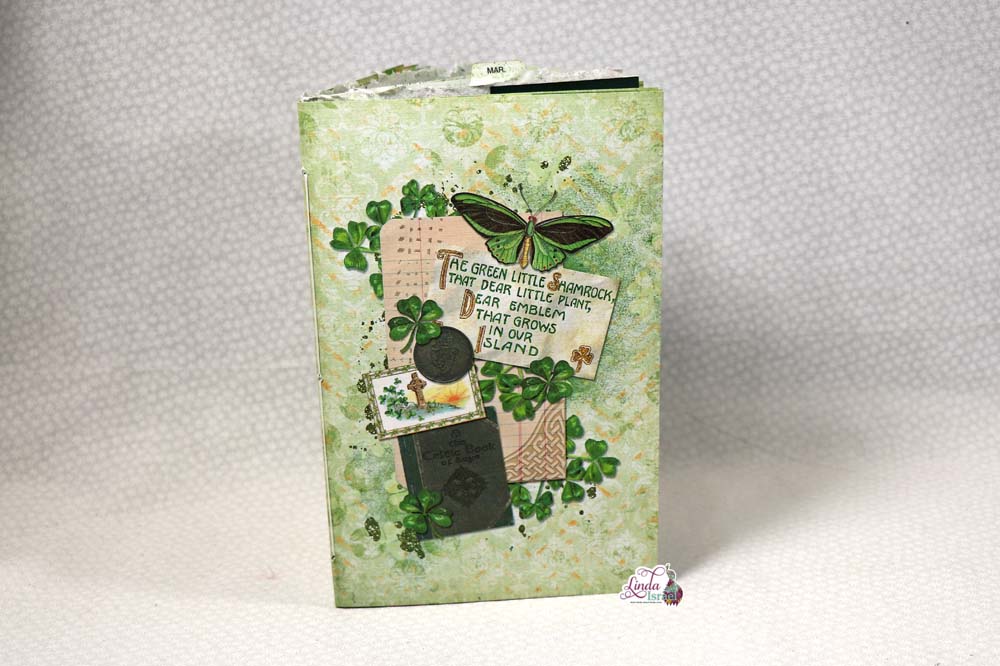
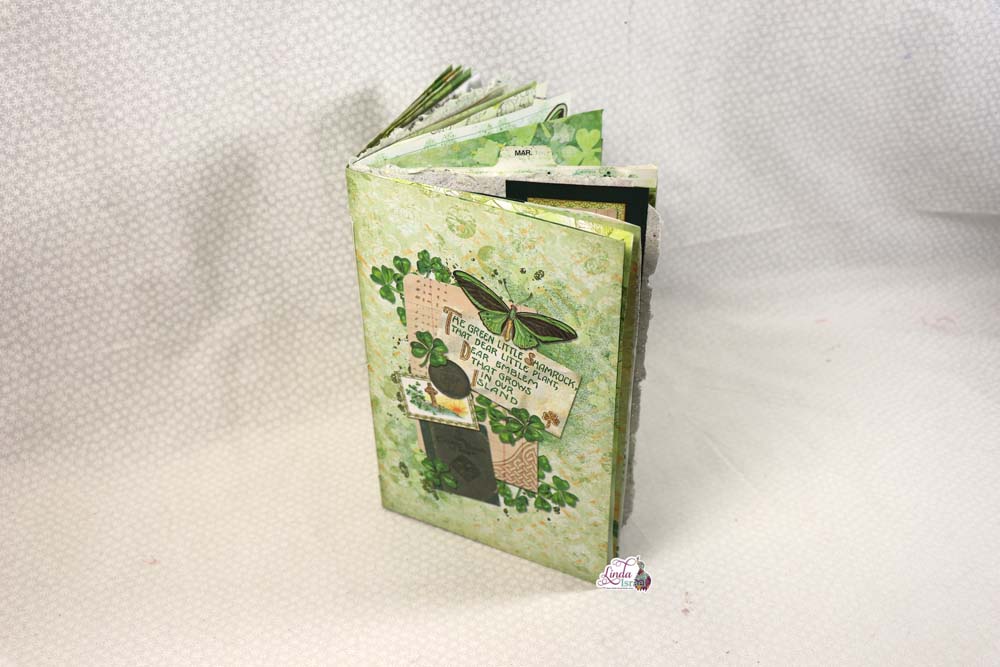
Journal put together
Here is the completed St. Patrick’s Day Journal that Linda created using the Lucky Little Clover Digital kit by Calico Collage. When you put together think about the aesthetics, look at what you think would look good as you flip through.
Linda shows you how to bind the journal using a simple pamphlet, starting in the center hole making sure to leave a “tails” at the end tie a knot. You can think about putting charms to the end of the “tails”.

Happy St. Patrick’s Day! What technique are you going to try using in your next journal?
Robin Fennessy
Make sure to check out the Friendly Junk Journal People Facebook group. Of course, you are welcome to join the Friendly Junk Journal People Facebook group. The group is growing daily and we are a friendly group willing to help each other and encourage each other


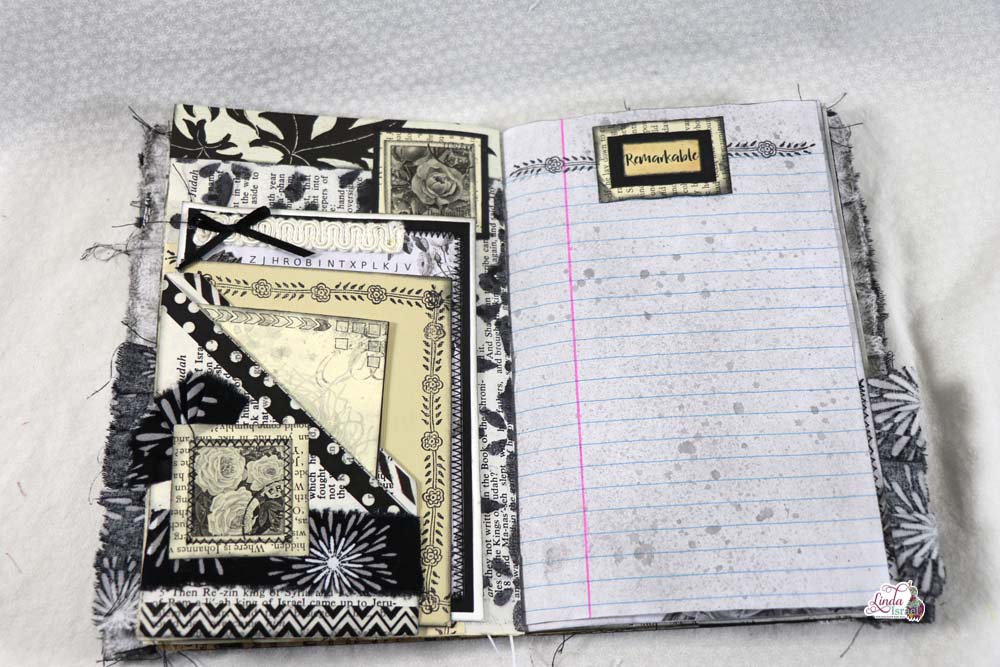
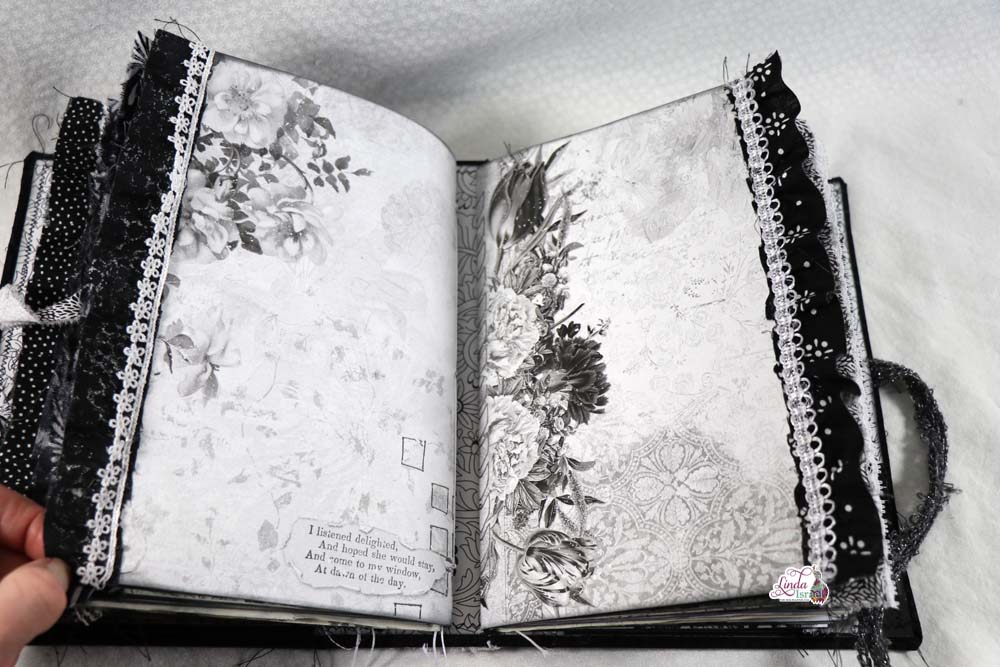
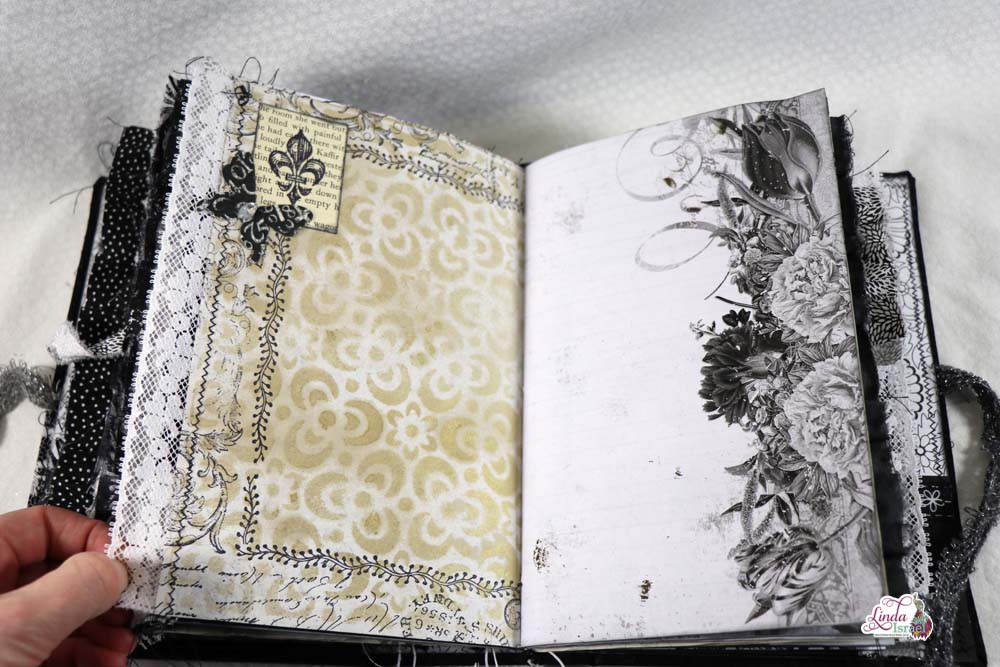
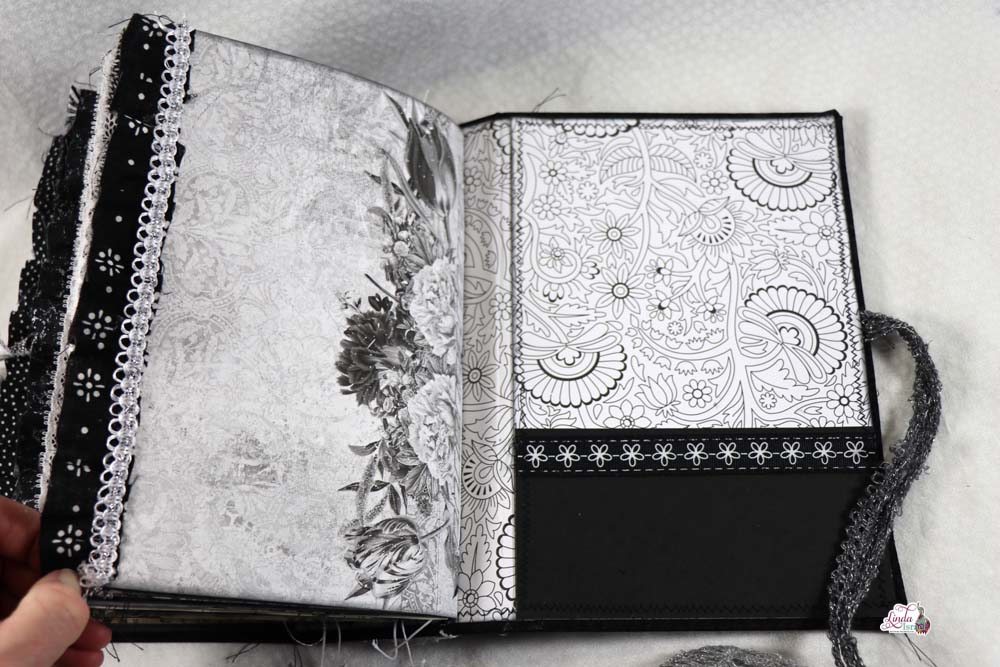
 Preparing to create this monochrome journal, then deciding which digitals looked good when printing in black and white takes a lot of time.
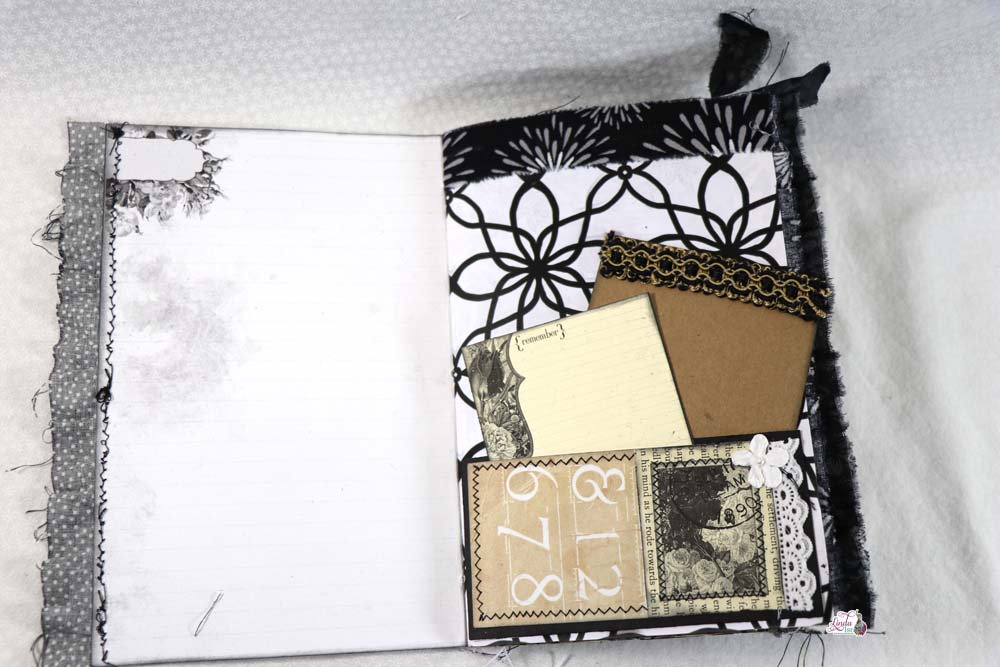
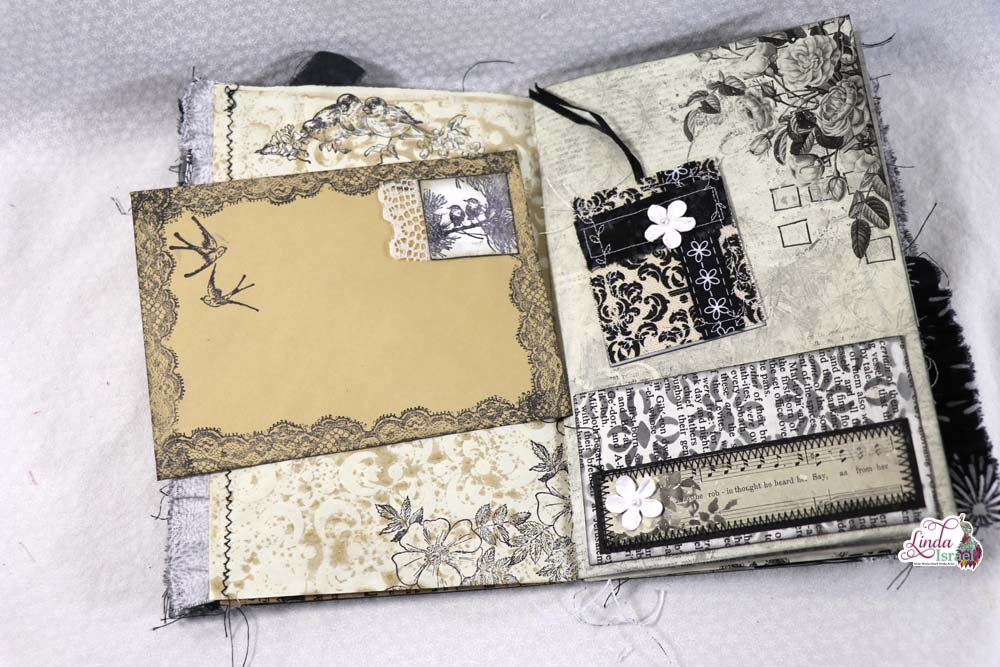
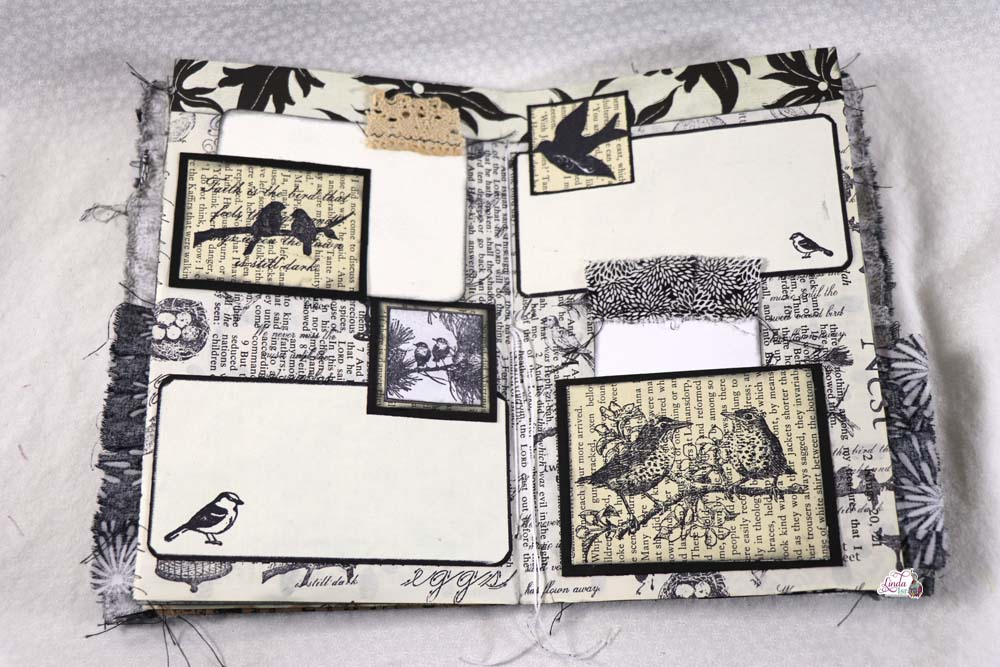
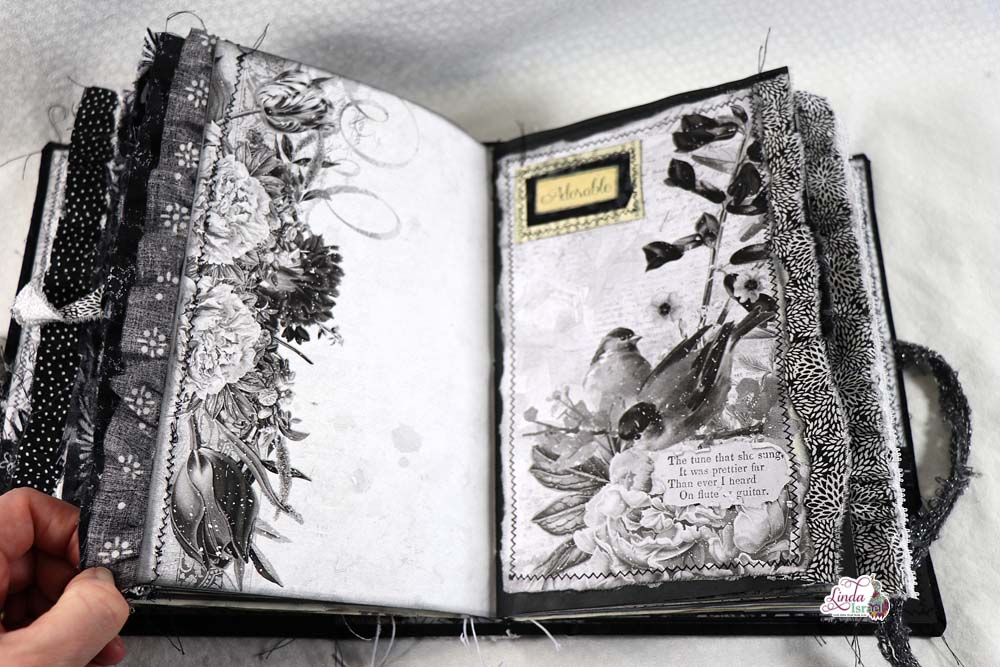
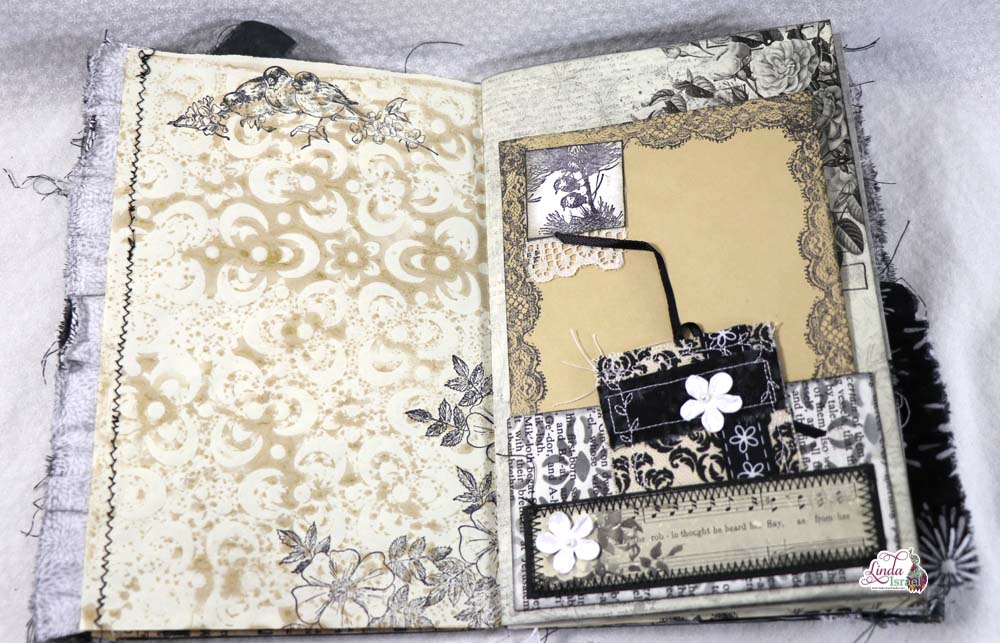 Altering an envelope can be done easily with rubber stamps! One of the stamps from the Lace Duo was stamped around the edge. On a scrap of white paper the little birds were stamped and a real piece of lace was attached.