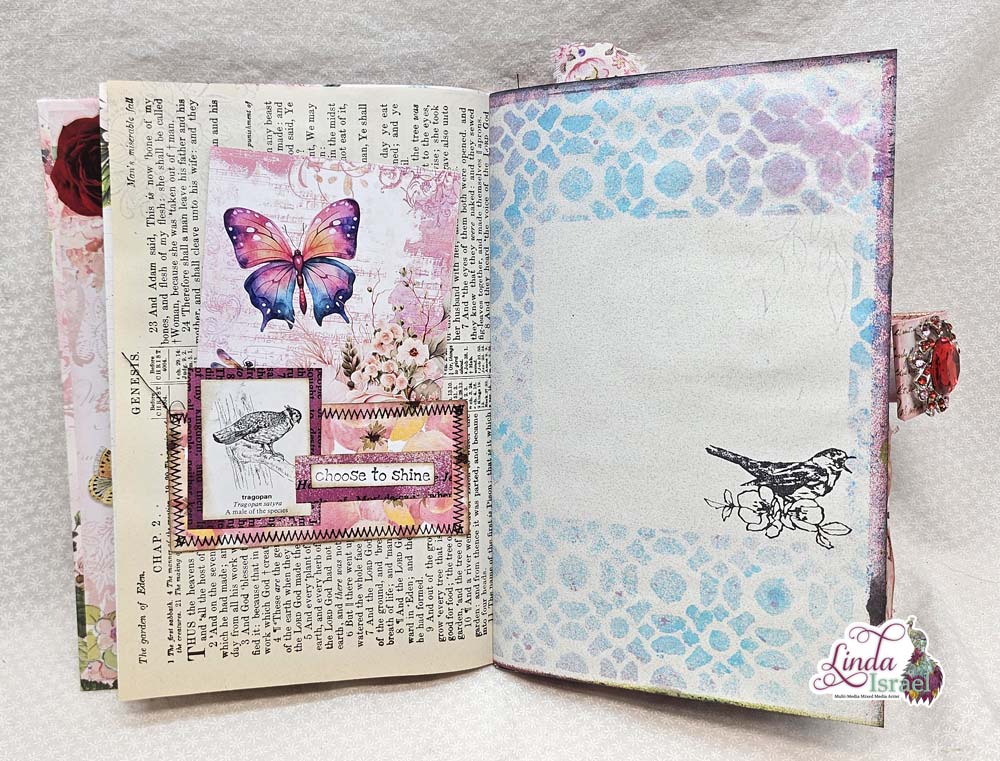
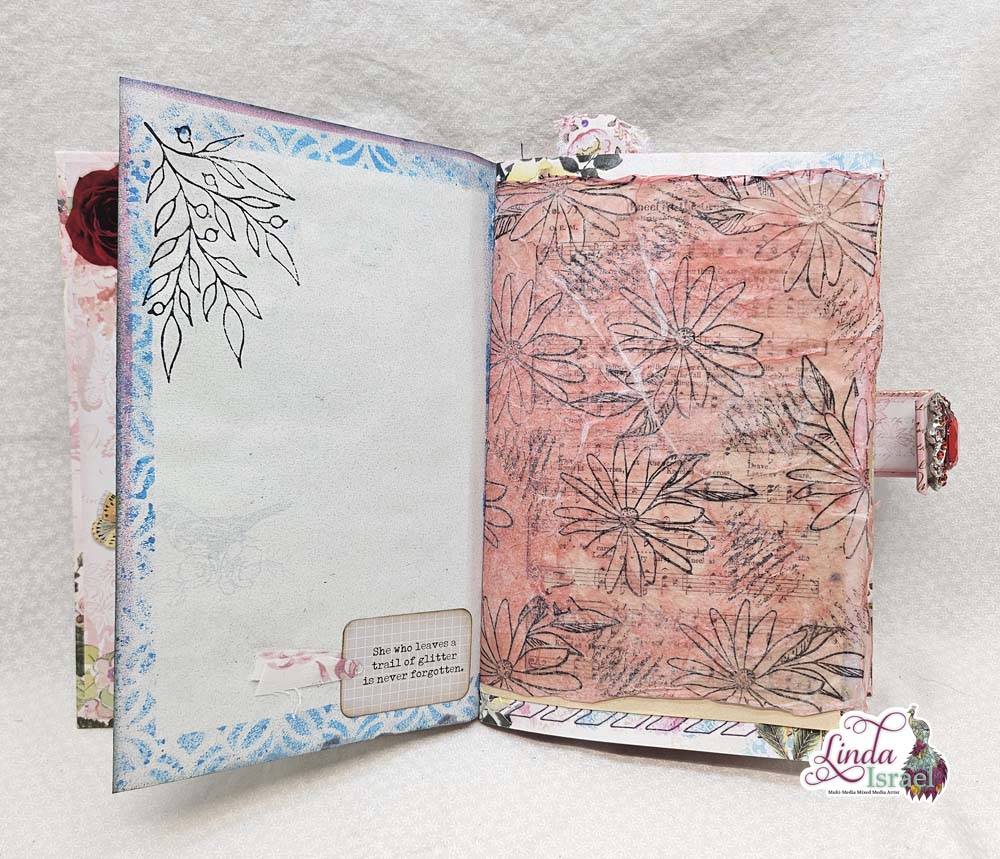
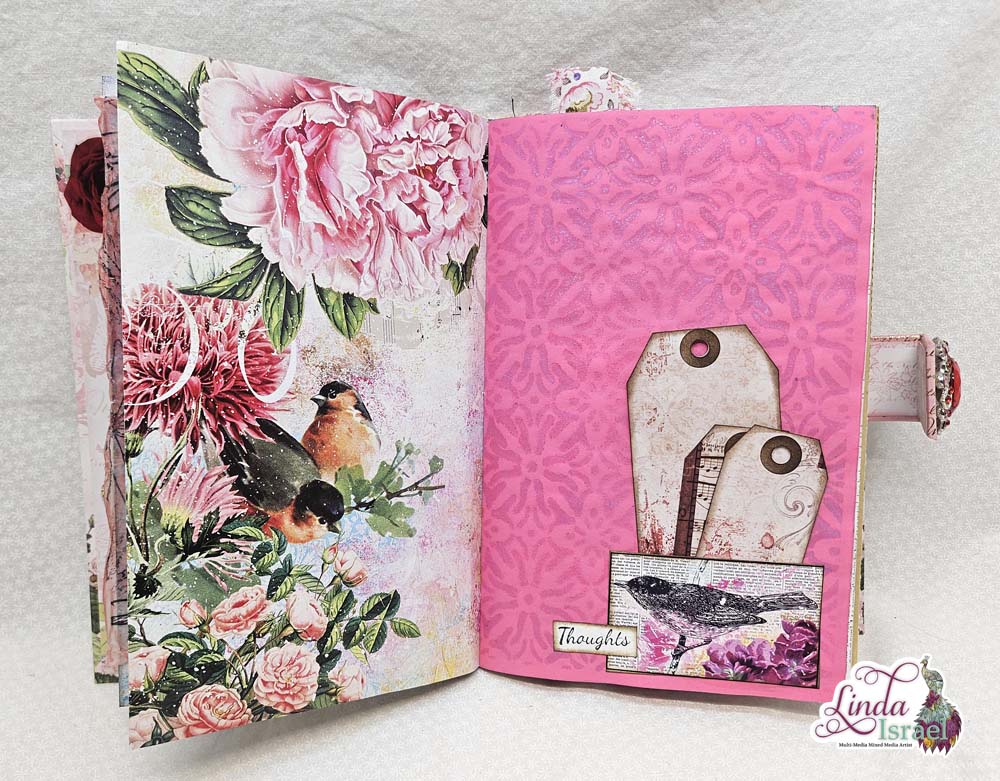
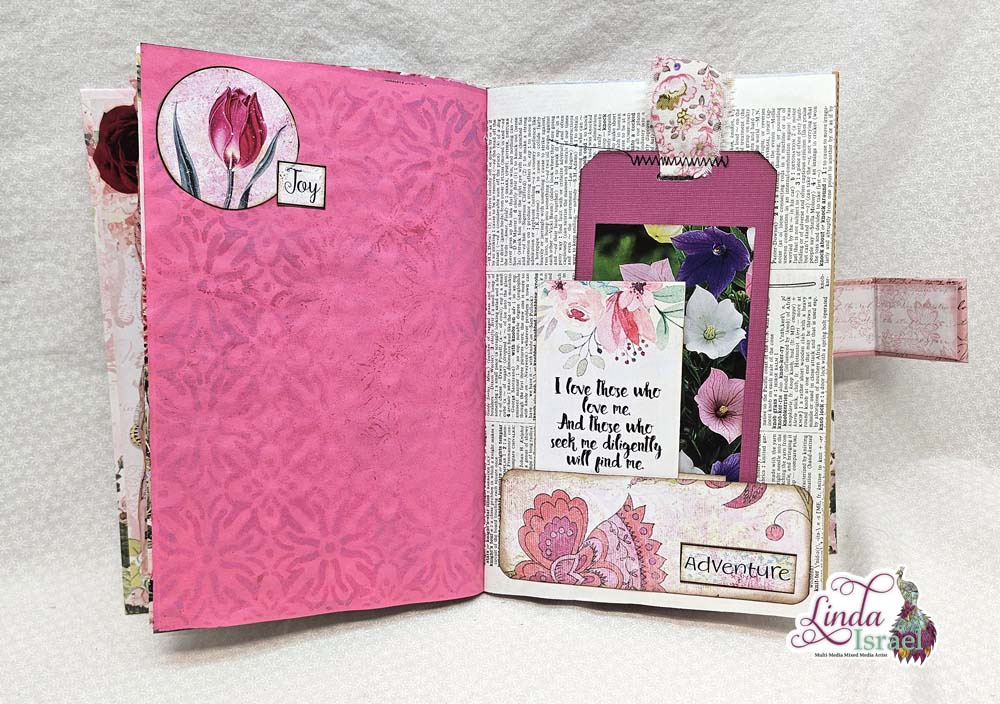
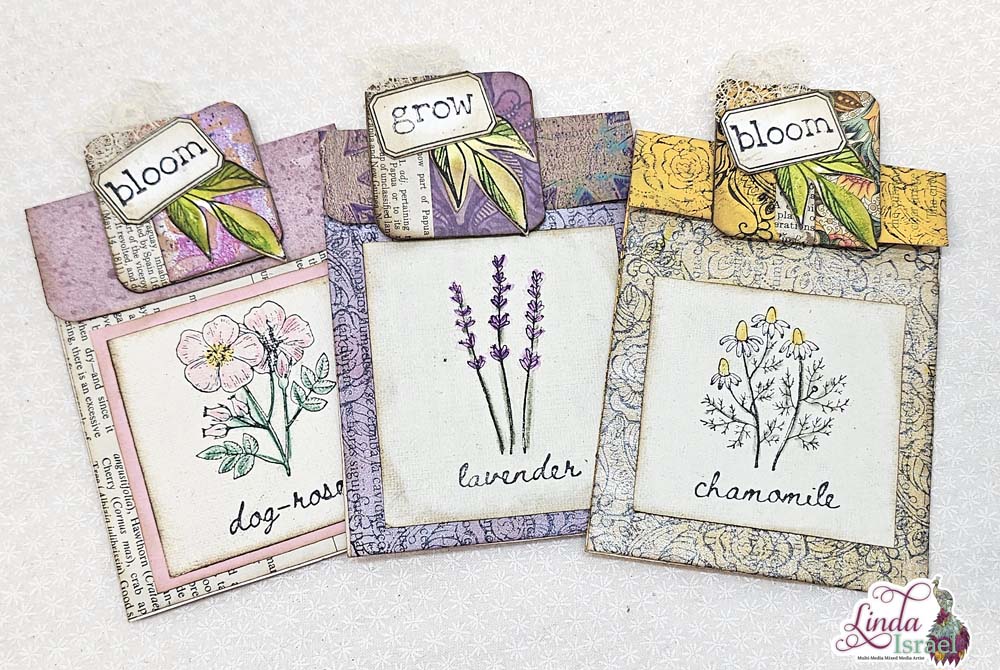
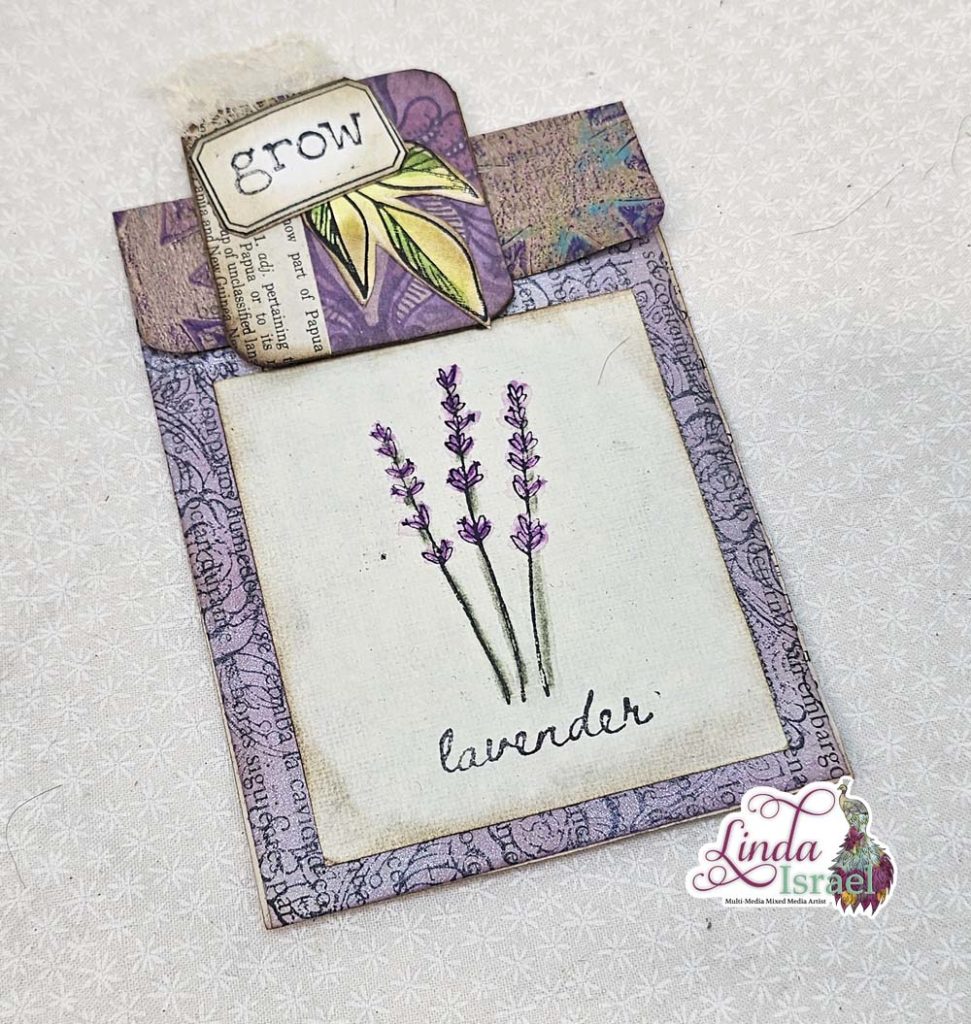
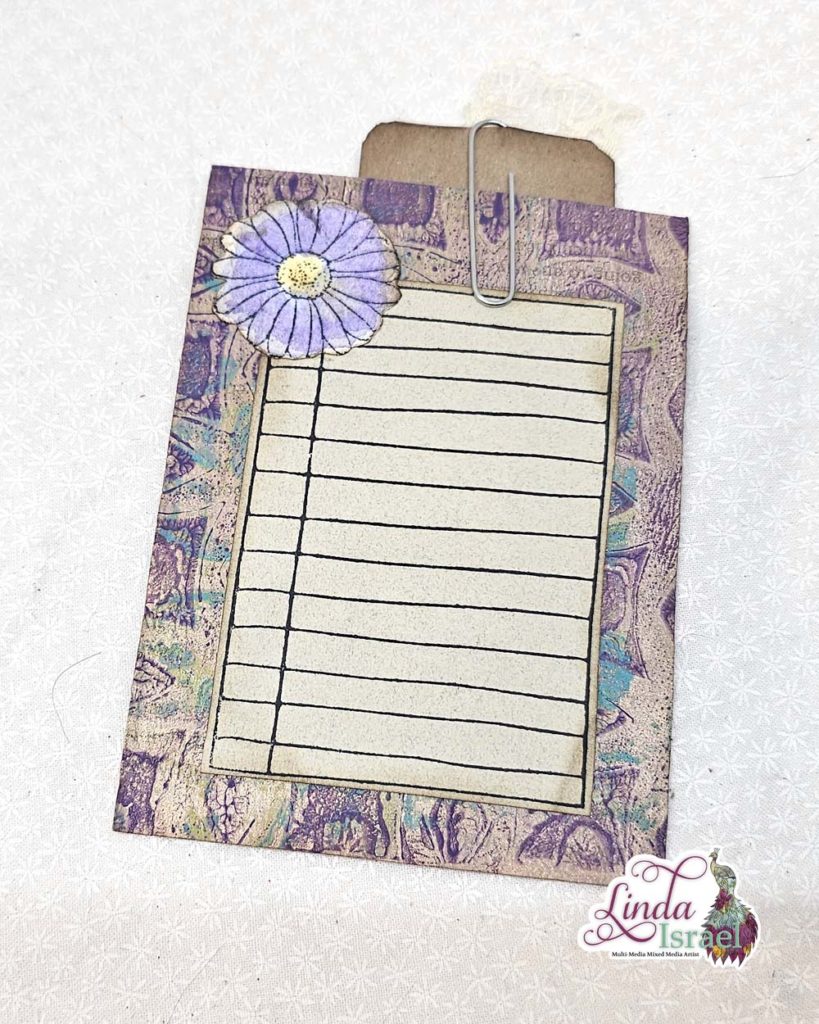
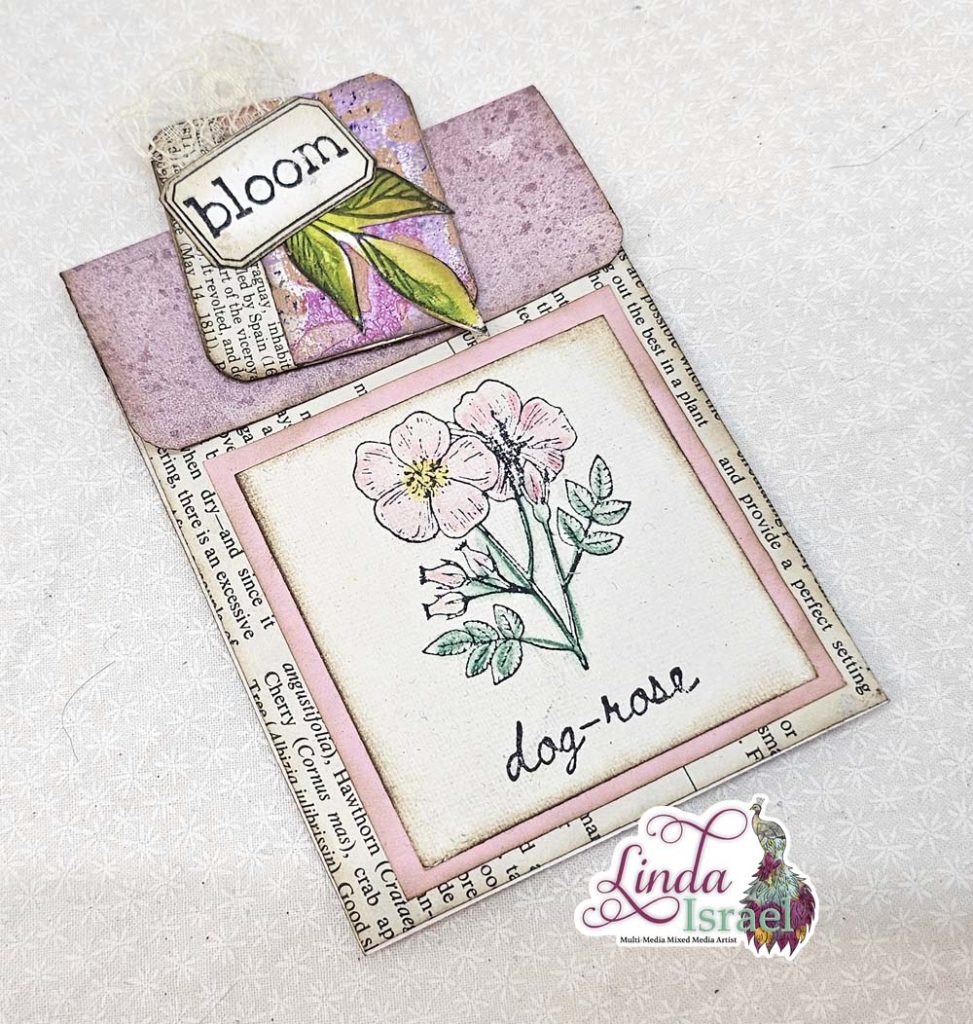
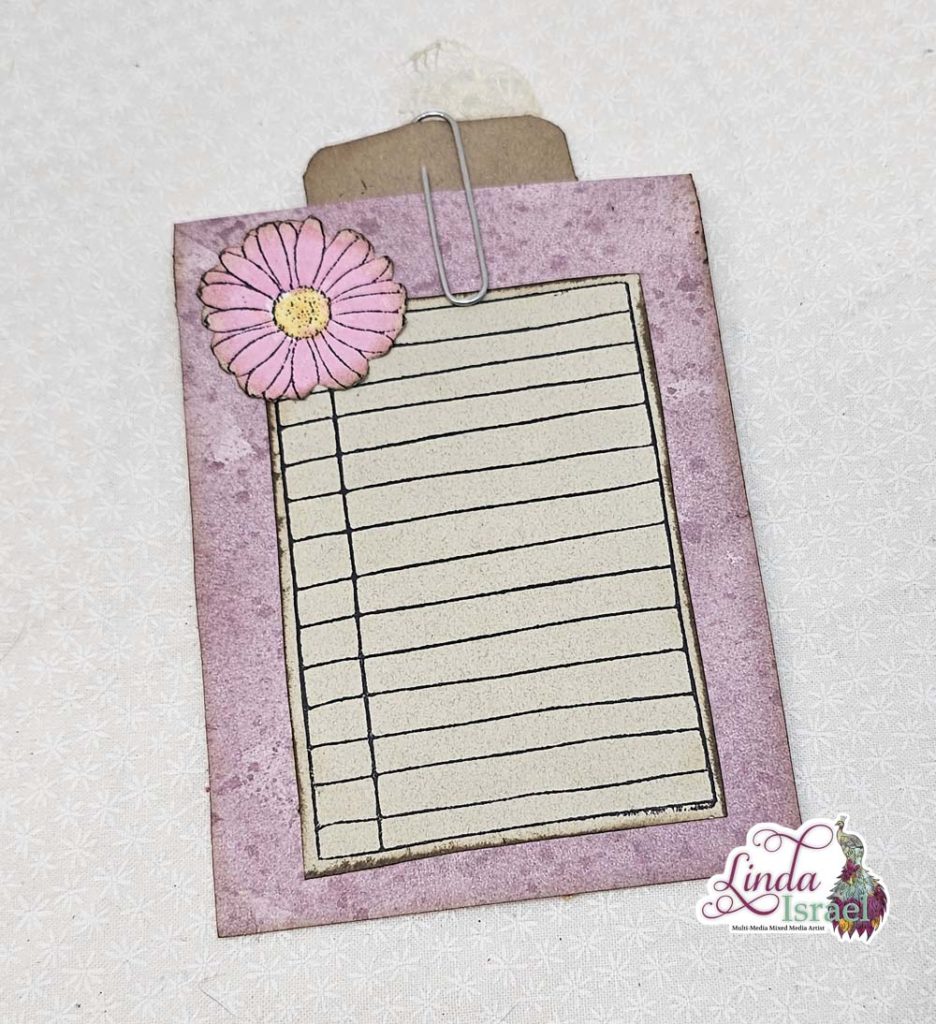
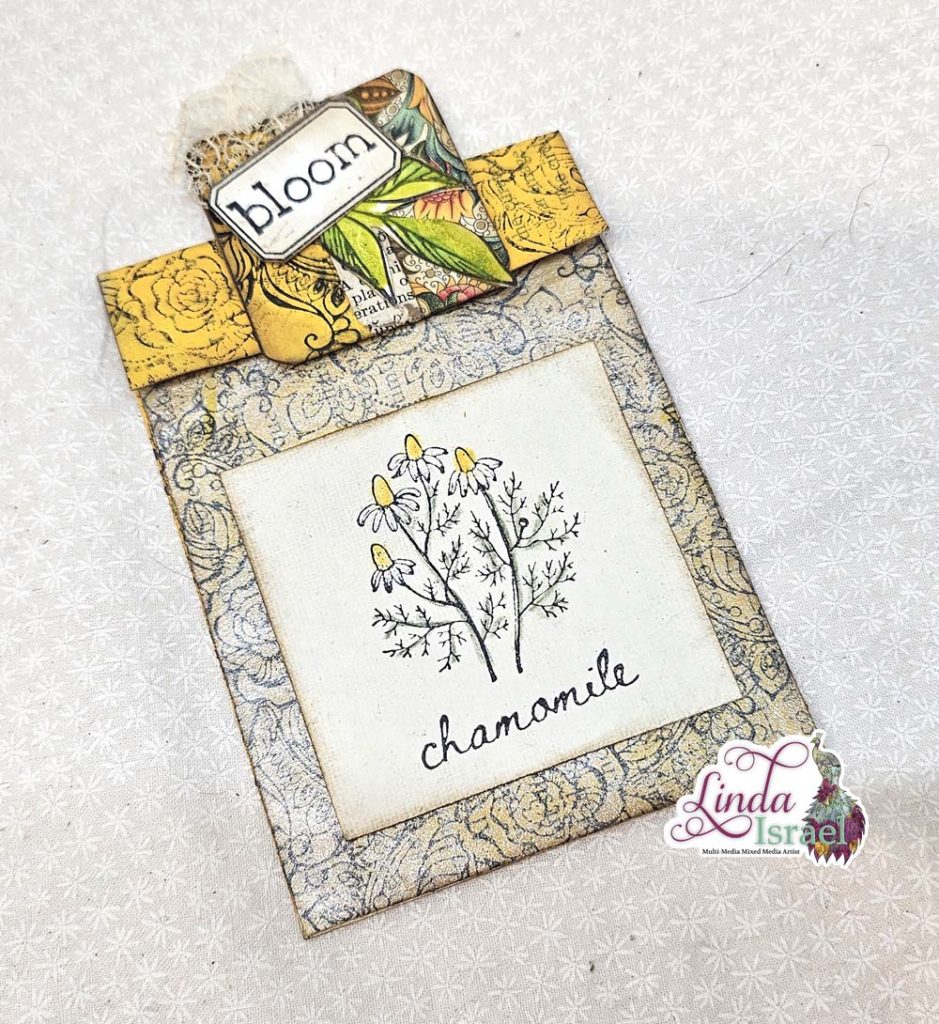
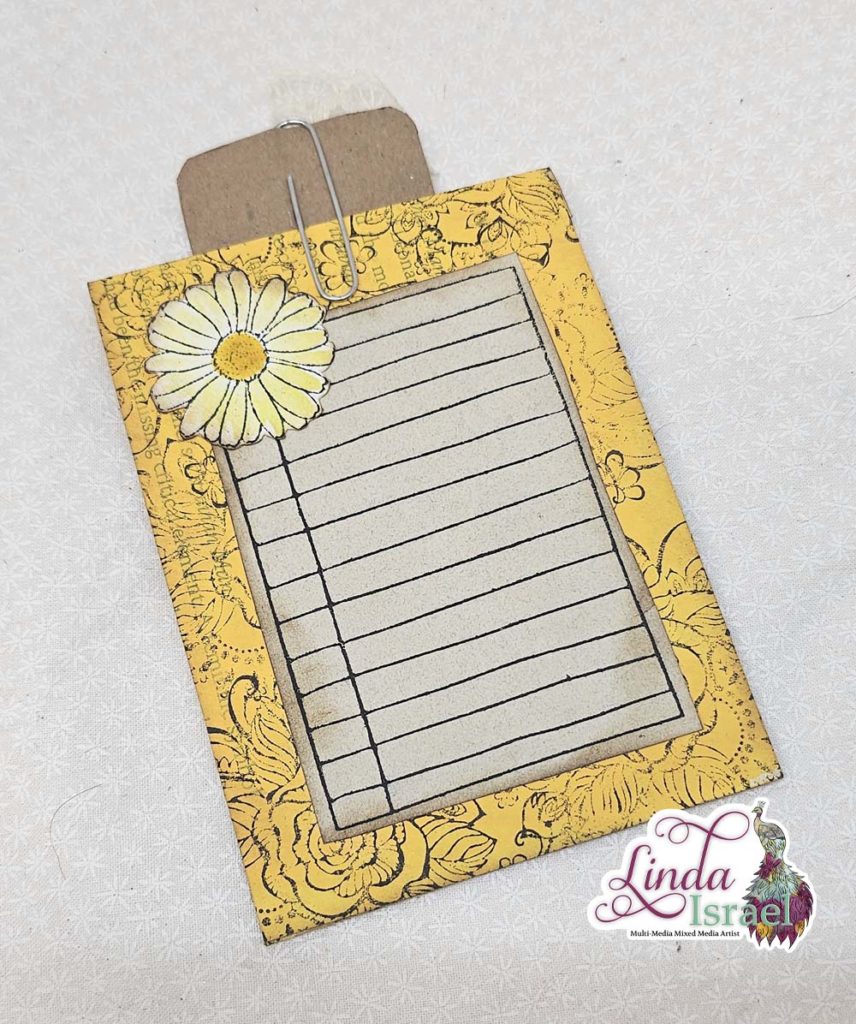
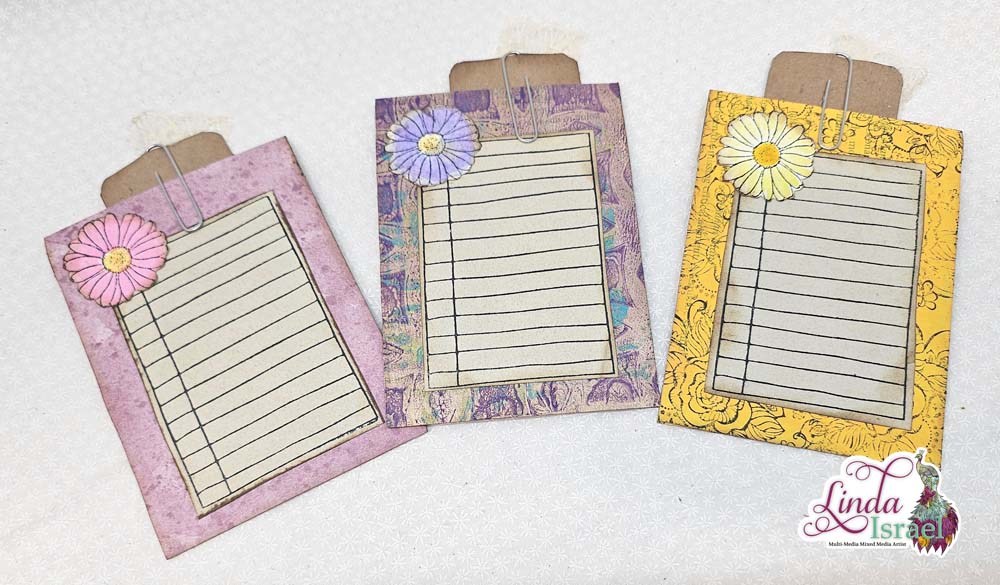
Artist Trading Cards (ATC) is a great way to try out a technique and to have on hand to trade with other artists. Today I’m sharing a Bird ATC Tutorial. Think of these ATC’s as a mini work of art. There is no wrong way to decorate an ATC, The only rule is the size 2.5 inches by 3.5 inches. Any medium can be used to create ATC’s today I’m showing how to use stamps and Tattered Angels Glimmer Mist.
Video Bird ATC Tutorial.
Supplies used for the Bird ATC Tutorial.
- White ATC Cards from Canvas Corp Brands
- Kraft ATC Cards from Canvas Corp Brands
- Best Cleaner Ever by ScraPerfect
- Stamp Platform by Tim Holtz/Tonic Studios
- Clear stamps
- Wood Mounted stamps
- Brutus Monroe Detail ink – Raven
- Distress Ink, Tea Dye, vintage photo
- Thread cutter or a Paper Distressing tool
- Tattered Angels Glimmer Mist, Red Chillies
- Ranger Ink Blending Tool
- White Paper Flower
- Eyelash Yarn
- Heat Tool
- Best Glue Ever by ScraPerfect
For this Bird ATC Tutorial, I began by cutting a piece of white cardstock to 2.25 x 3.25 inches. Using the Stamp Platform arrange the stamps and use the door of the platform to pick up the stamps.
Ink the stamps with Brutus Monroe Detail Ink and stamp card. Reapply ink if you didn’t get a good impression and stamp until you like the image on your card.
Then stamp the sentiment with Brutus Monroe Detail Ink. Stamp background with Distress Ink – Tea Dye.
Distress the edges of the card with the thread cutter or a distressing tool. Then using the Ranger Blending tool dipped into the Red Chillies Tattered Angels Glimmer Mists apply around the edge of the card.
Spray Red Chillies Tattered Angels Glimmer Mists on the white flower. Turn the flower over if you want to get full coverage on both sides. Dry with a heat tool or let air dry.
Apply Vintage Photo Distress ink to the Kraft ATC card edges with a Blending Tool.
Adhere the stamped card on the kraft ATC base with the Best Glue Ever.
Cut a piece of eyelash yarn and adhere with the Best Glue Ever. Add the flower on top of the eyelash yarn. The ATC is finished. If you are going to use this as a trading card then you can sign the back with your name, date made and any other information you want to share. I plan to pop this into a junk journal as another journal card.
Hope you enjoyed seeing this project and enjoyed the Bird ATC Tutorial.
Make sure to check out the Friendly Junk Journal People Facebook group. Of course, you are welcome to join the Friendly Junk Journal People Facebook group. The group is growing daily and we are a friendly group willing to help each other and encourage each other.
Interested in any of the journals I created? Please feel free to contact me through my Facebook Page. Here is my shop, I have a lot of items uploaded and add more weekly.
My hope is that I have inspired you to look at those papers in your stash and make your own junk journal.
Keep updated on my posts by following me. Follow my blog with Bloglovin. Or Follow my Facebook Page or on Instagram for updates that may not be shared on my blog.
Thanks so much for stopping by my blog today to see the Bird ATC Tutorial.


