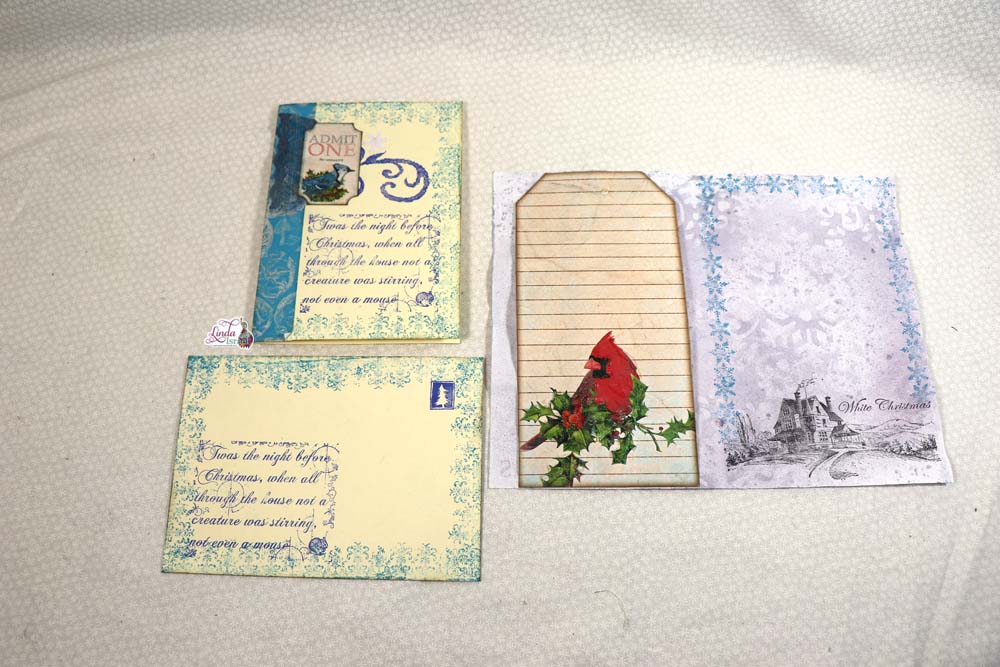
Miniature items are so fun to see and to make. Today I’m sharing a Miniature Envelope Tutorial, using old book pages and scrapbook paper I show how to make miniature envelopes cut with a Cricut Explore Air.
Miniature Envelope Tutorial Video.
Another tutorial using a templated I created and is now in my shop.
Supply list for the Miniature Envelope Tutorial.
- 12 x 12 scrapbook paper
- Old book pages, different styles, some were bible pages, hymnal pages, and dictionary pages
- White Glue – Mine is in a small container with sponges and water
- Foam Peg brush
- Distress Ink, Vintage Photo
- Heart Punch
- Best Glue Ever
- Flat back rhinestones
- Embellie Gellie
- Cricut Explore Air
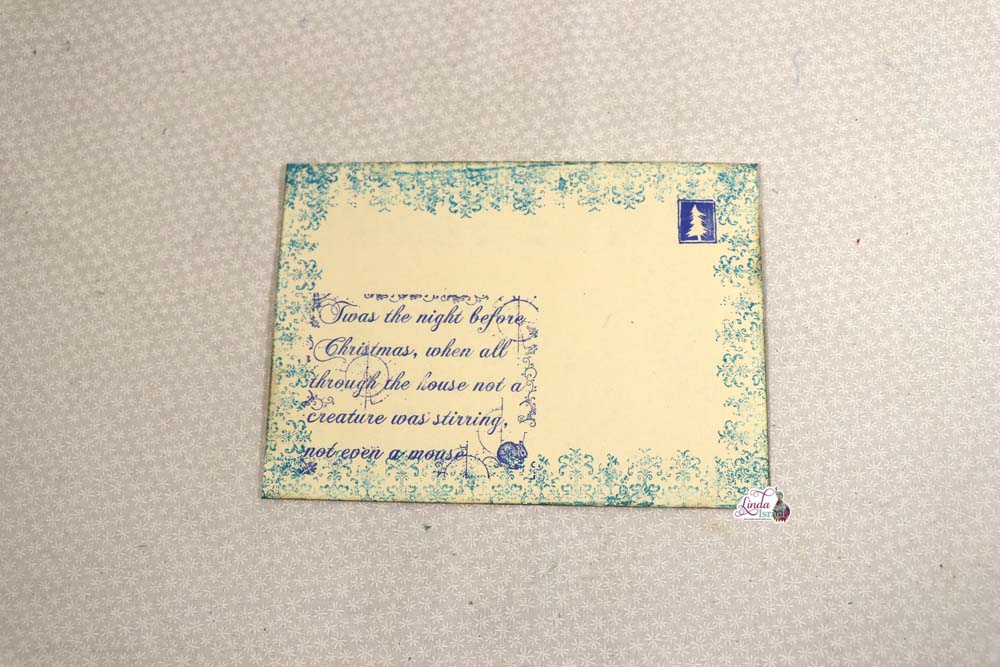
- Stamped miniature postcard and postage stamp, I have made a mini postcard rubber stamp and have added it to my shop.
- Brutus Monroe Detail Ink
- Bone Folder
- Miniature Envelope Template
This Miniature Envelope Tutorial is an easy one. Begin by selecting different pages out of old books. Look for a variety of text size, and age of papers.
Adhere the book pages to the back of a piece of scrapbook paper. The design on the other side will be the inside of the envelope or the liner. I have found that having a little glue pot helps with adhering the pages.
Once the papers have been adhered to the scrapbook page allow to dry completely. If the page is still wet when placed in the Cricut the paper will tear, I show that result on the video.
Cut the envelopes out of the new paper. In my case, I used a Cricut Explore Air. Don’t have an electronic paper cutter? Find an envelope and reduce on a copier or find a template online and print the size you want.
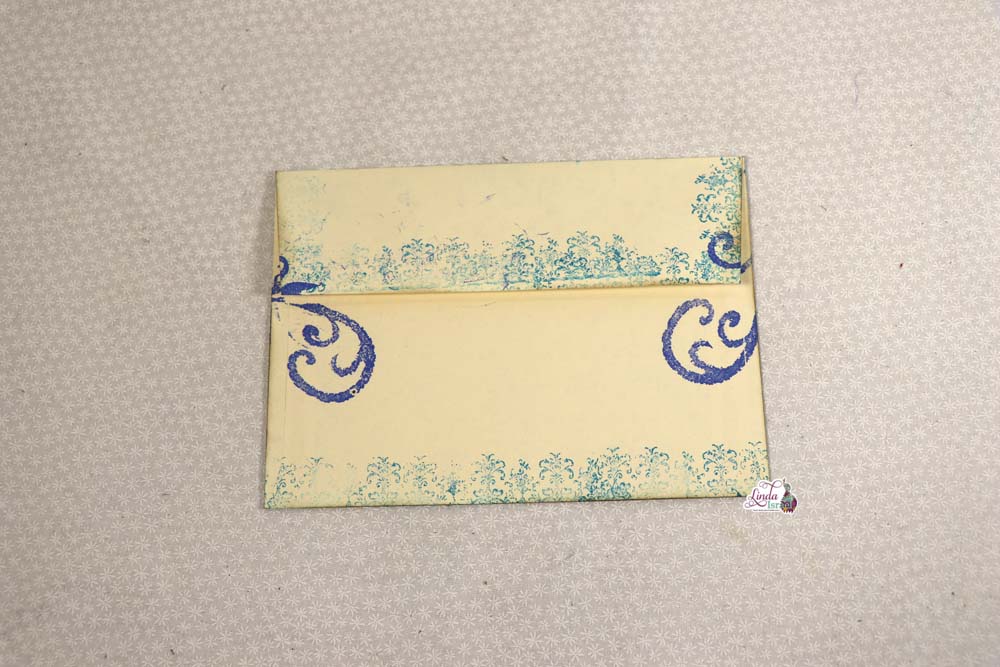
Fold the envelopes use a bone folder to get the flaps to lay flat. Apply distress inks around the edges on the inside and outside.
Punch a tiny heart out of a scrap of the main paper used to create the envelopes. Apply distress ink around the edges then adhere with the Best Glue Ever to the envelope front.
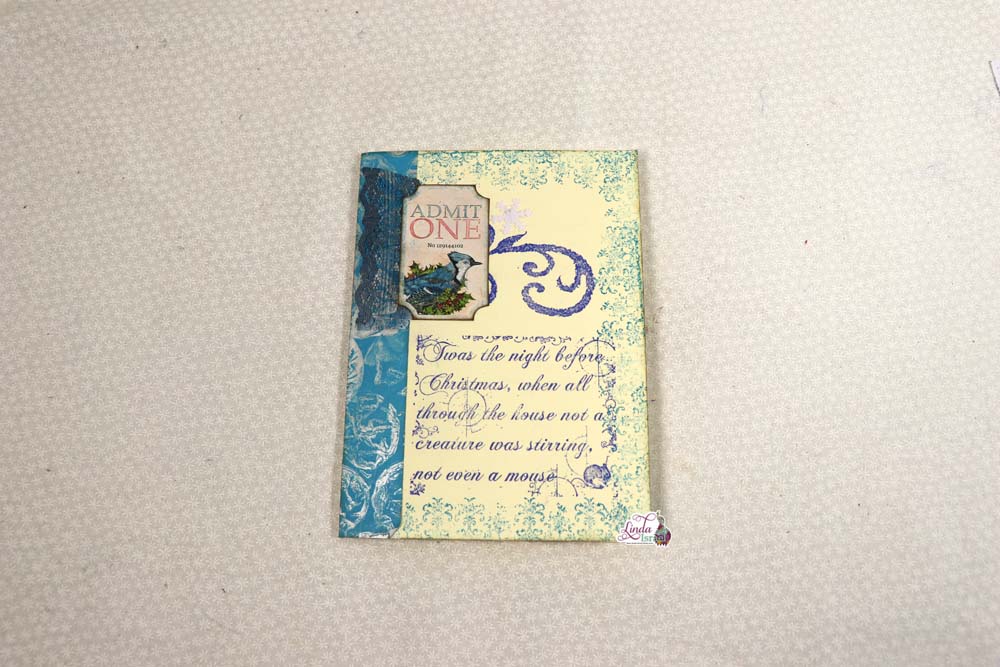
Stamp images for the inside, or cut scraps of paper to fit inside as tiny journal cards.
Use a very small piece of Embellie Gellie on the flap of the envelope to hold the envelope closed. Insert the tiny journal cards into the envelope.
Apply a tiny drop of the Best Glue Ever with the No Clog Writing Cap on the heart. Use Embellie Gellie to pick up a flat back rhinestone and place on the glue.
Aren’t these super cute? See, wasn’t that an easy Miniature Envelope Tutorial? These miniature envelopes measure 1.75 inches by 1.5 inches.
Want the template you can trace, check it out in my shop.
Make sure to check out the Friendly Junk Journal People Facebook group. Of course, you are welcome to join the Friendly Junk Journal People Facebook group. The group is growing daily and we are a friendly group willing to help each other and encourage each other.
Interested in any of the journals I created? Please feel free to contact me through my Facebook Page. Here is my shop, I have a lot of items uploaded and add more weekly.
My hope is that I have inspired you to look at those papers in your stash and make your own junk journal.
Keep updated on my posts by following me. Follow my blog with Bloglovin. Or Follow my Facebook Page or on Instagram for updates that may not be shared on my blog.
Thanks so much for stopping by my blog today for the Miniature Envelope Tutorial.


