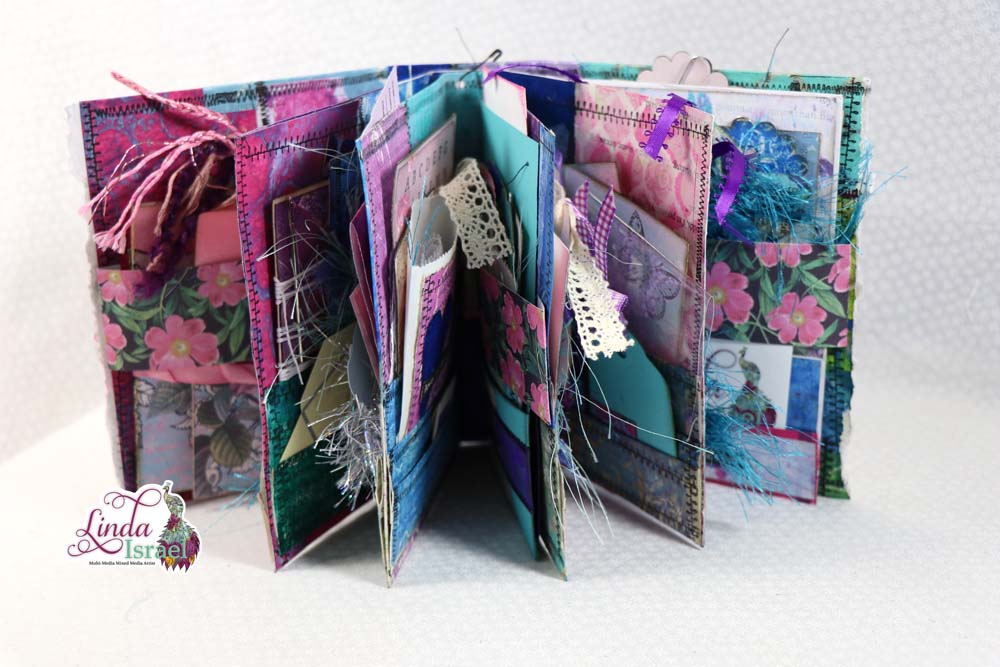
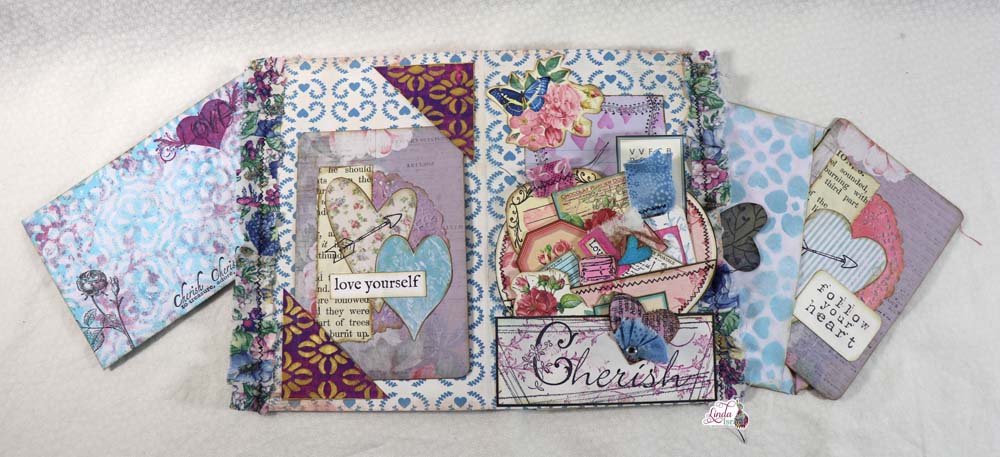
Gel Print Embellishment Junk Journal Tutorial, Day 12 of 12 days of Junk Journal Gift Ideas. This is a super fun project as you get to make a book that gets filled with lots of goodies, many from the projects over the past 12 days for the #12daysofjunkjournalideas.
Gel Print Embellishment Junk Journal Tutorial Video.
Supplies used for the Gel Print Embellishment Junk Journal Tutorial.
- Exquisite Dreamer Needle Book
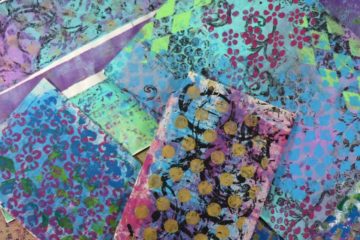
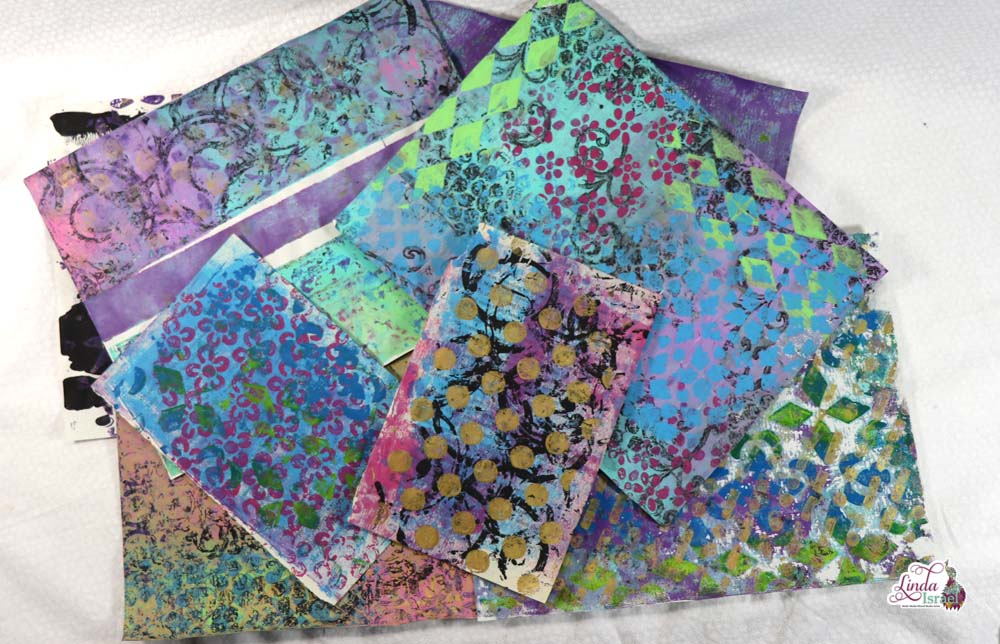
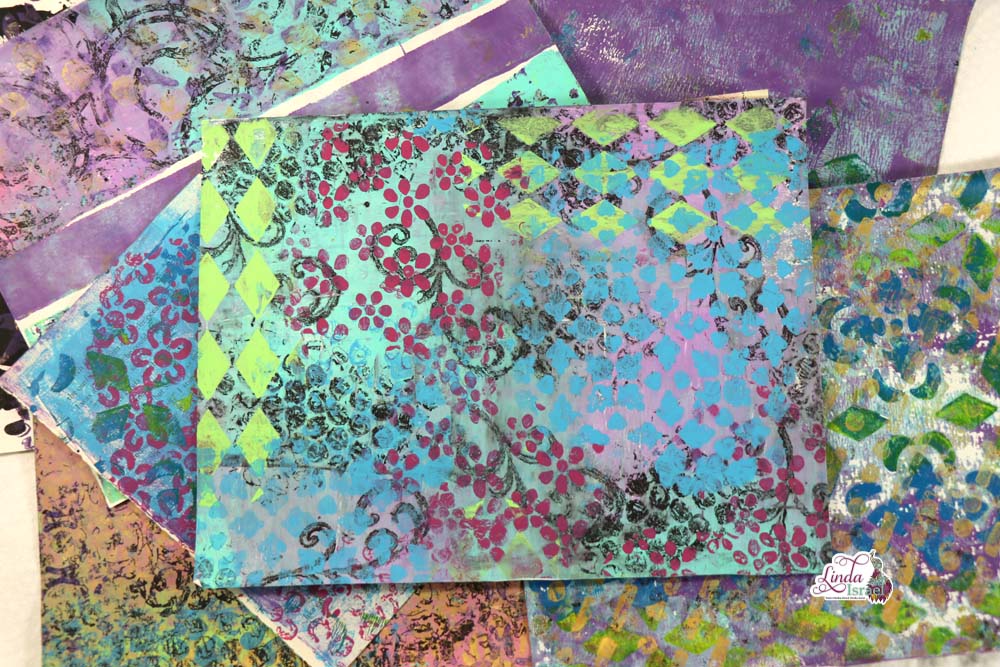
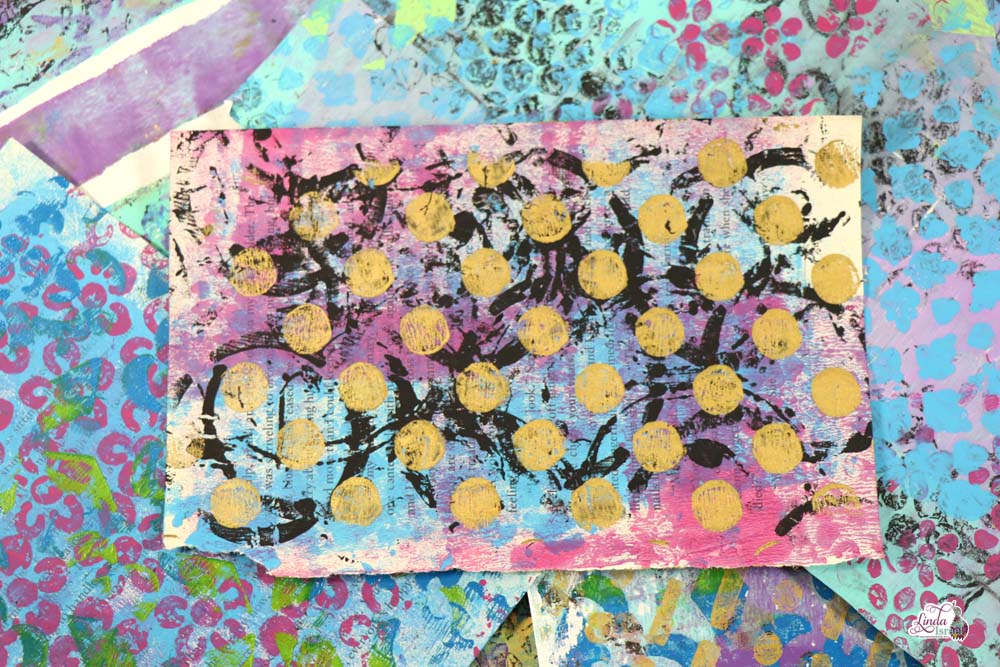
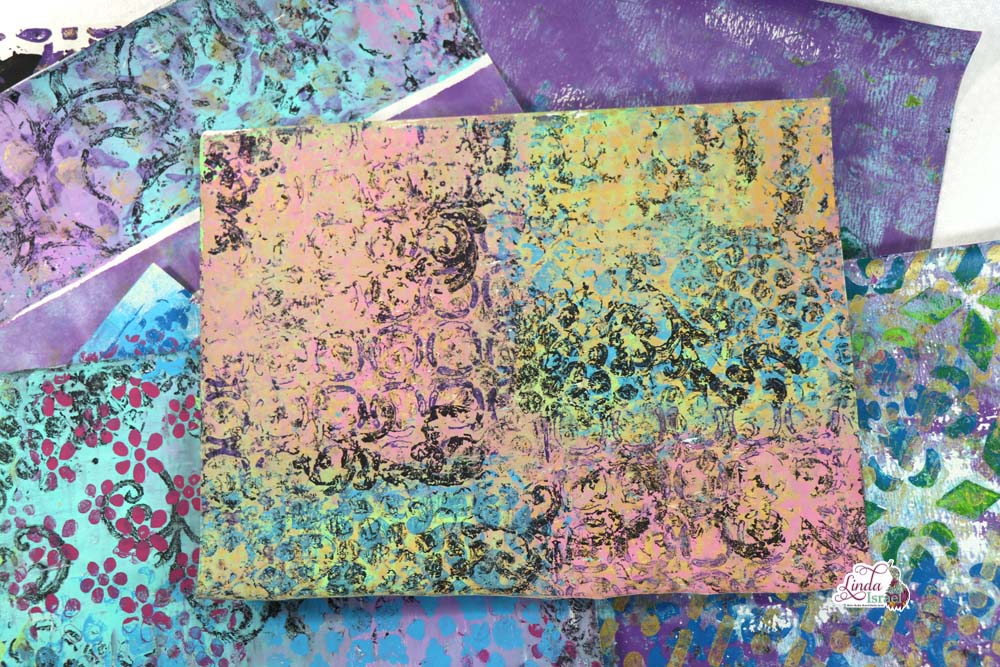
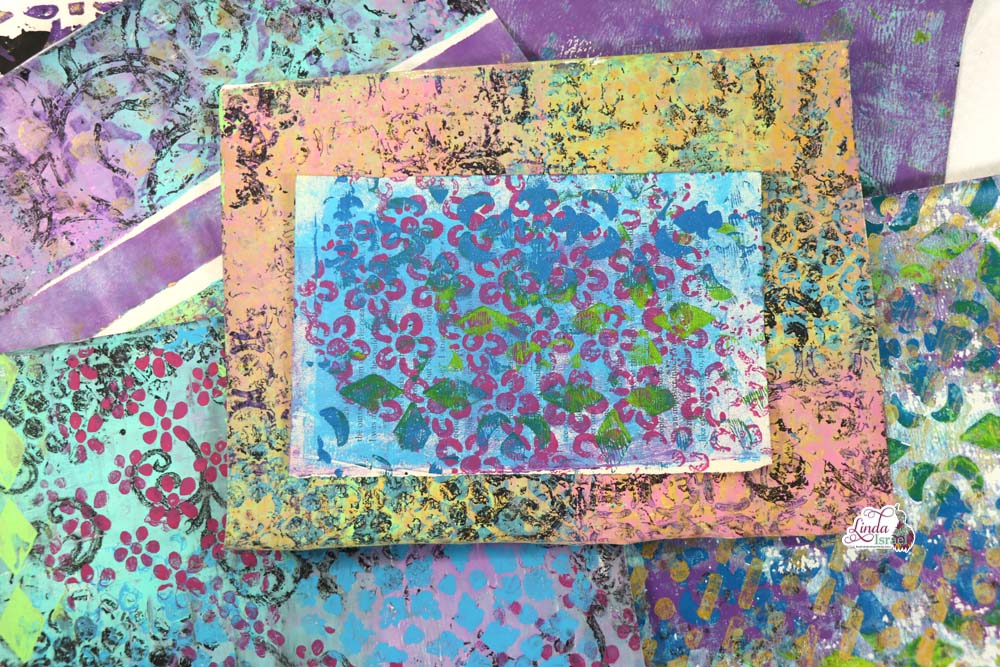
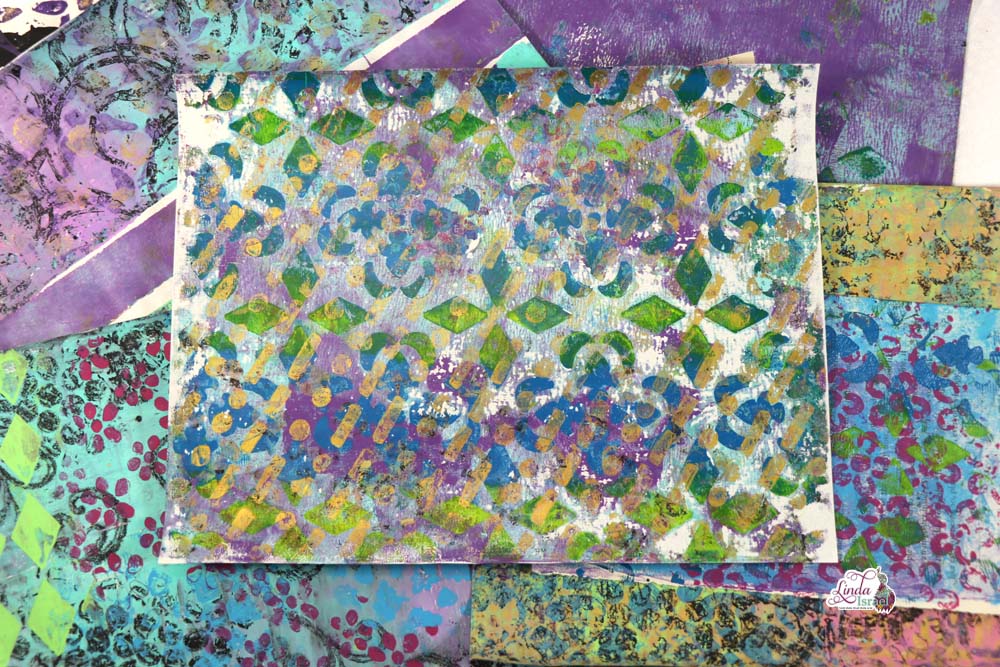
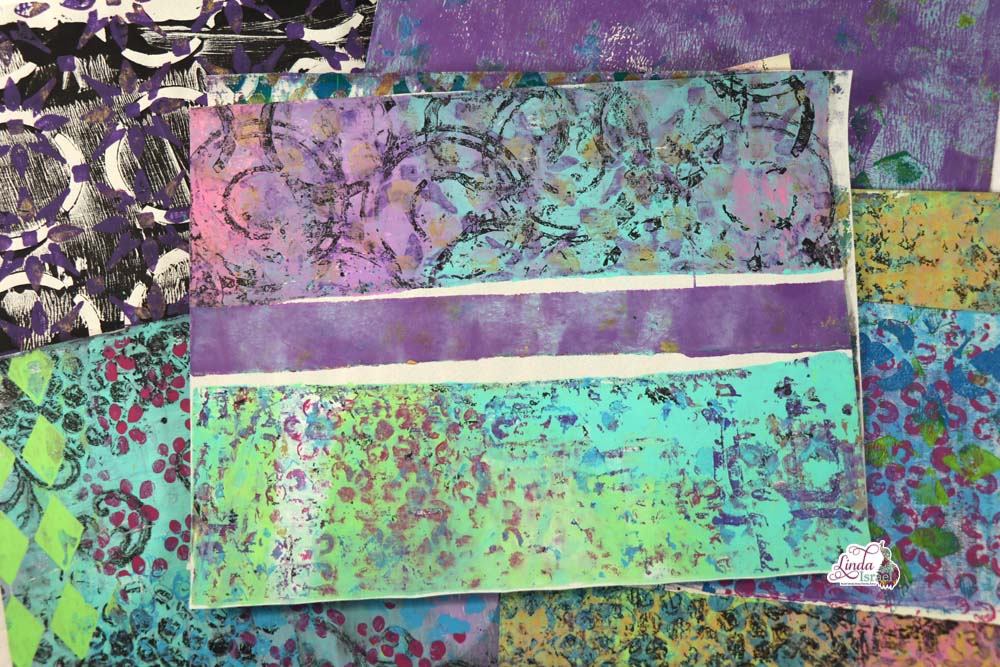
- Gel Prints
- Book Pages
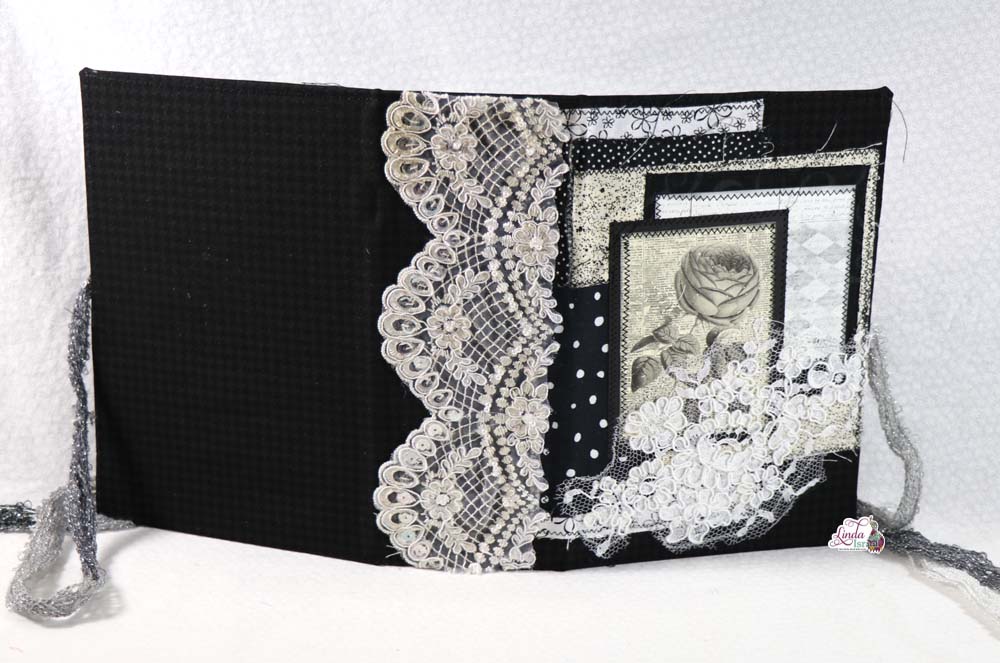
- Loaded envelope
- Watercolor paper or chipboard 6.5 x 12 inches
- Two Oversized Postcards 6 x 11 inches
- Altered Paperclip Tutorial Using Gel Prints and Stamps
- Page Tabs
- Pink Tassel
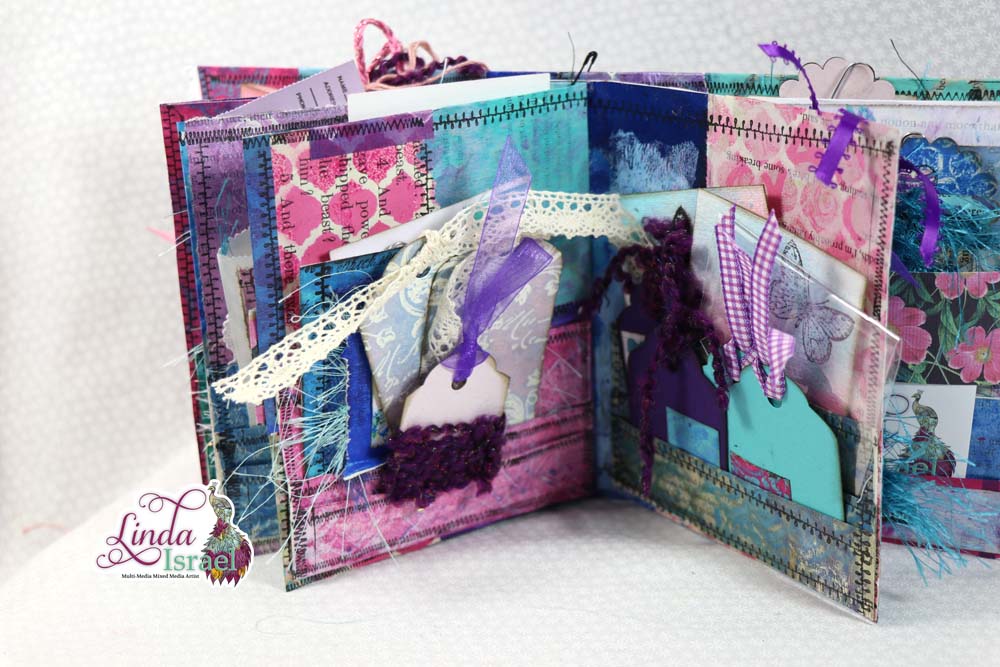
- Exquisite Dreamer Tag Tutorial
- Shabby Stitches Rubber Stamps
- Brilliance Graphite Black Ink
- Scraps of paper
- Loaded Library Pocket Tutorial
- Bone Folder
- Moroccan Stencil
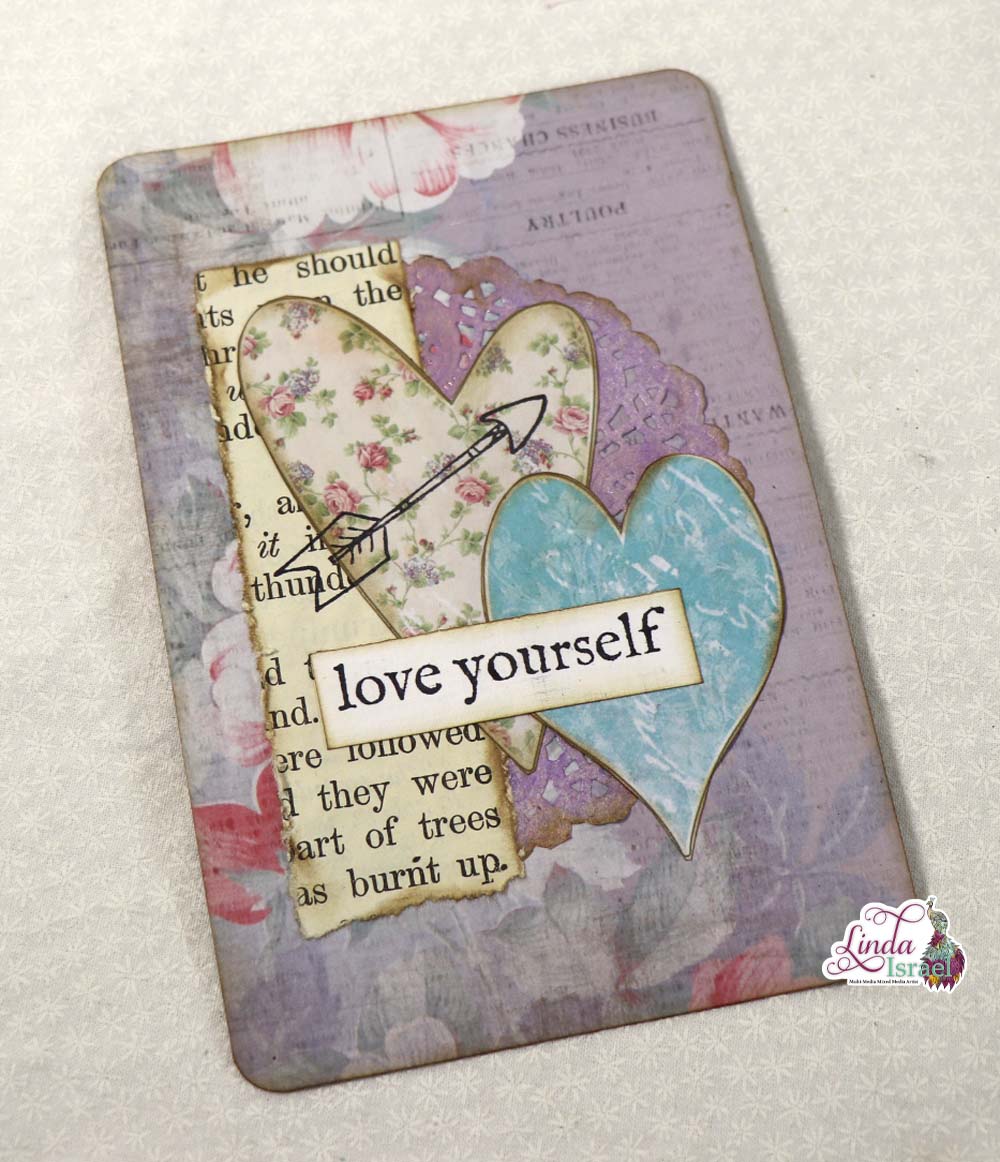
- Journal cards
- Tags
- Fibers
- Lace
- Cardstock scraps
- Distress Ink, Vintage Walnut
- Blending Tool
- Words
- Scissors
- Aleene’s Tacky Glue
- Tattered Angels Glimmer Mist, Strong Pink, Curious
- Calico Collage digital images from Exquisite Dreamer
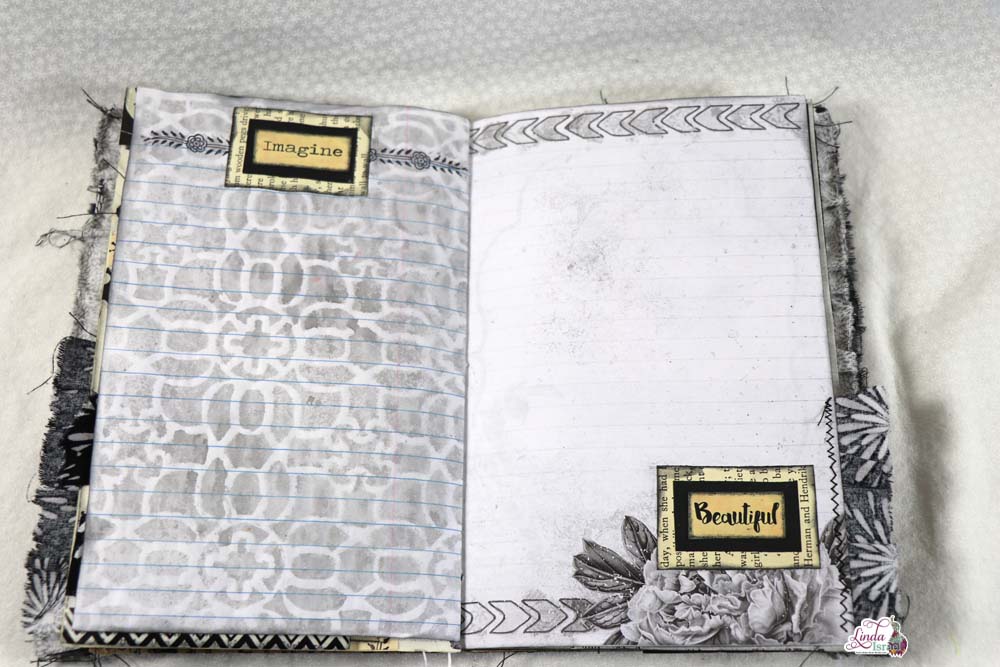
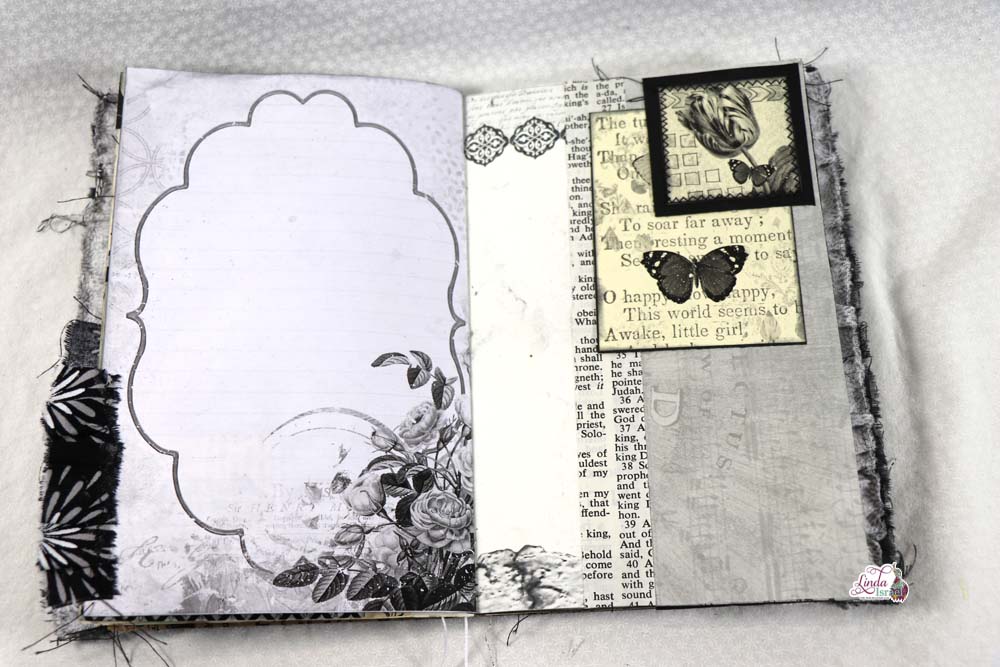
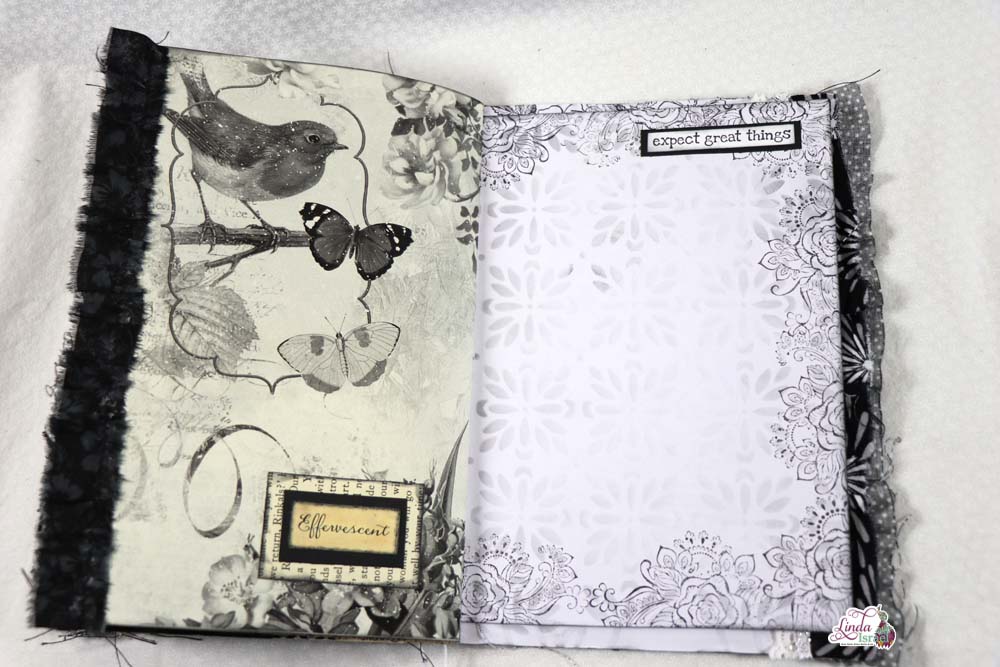
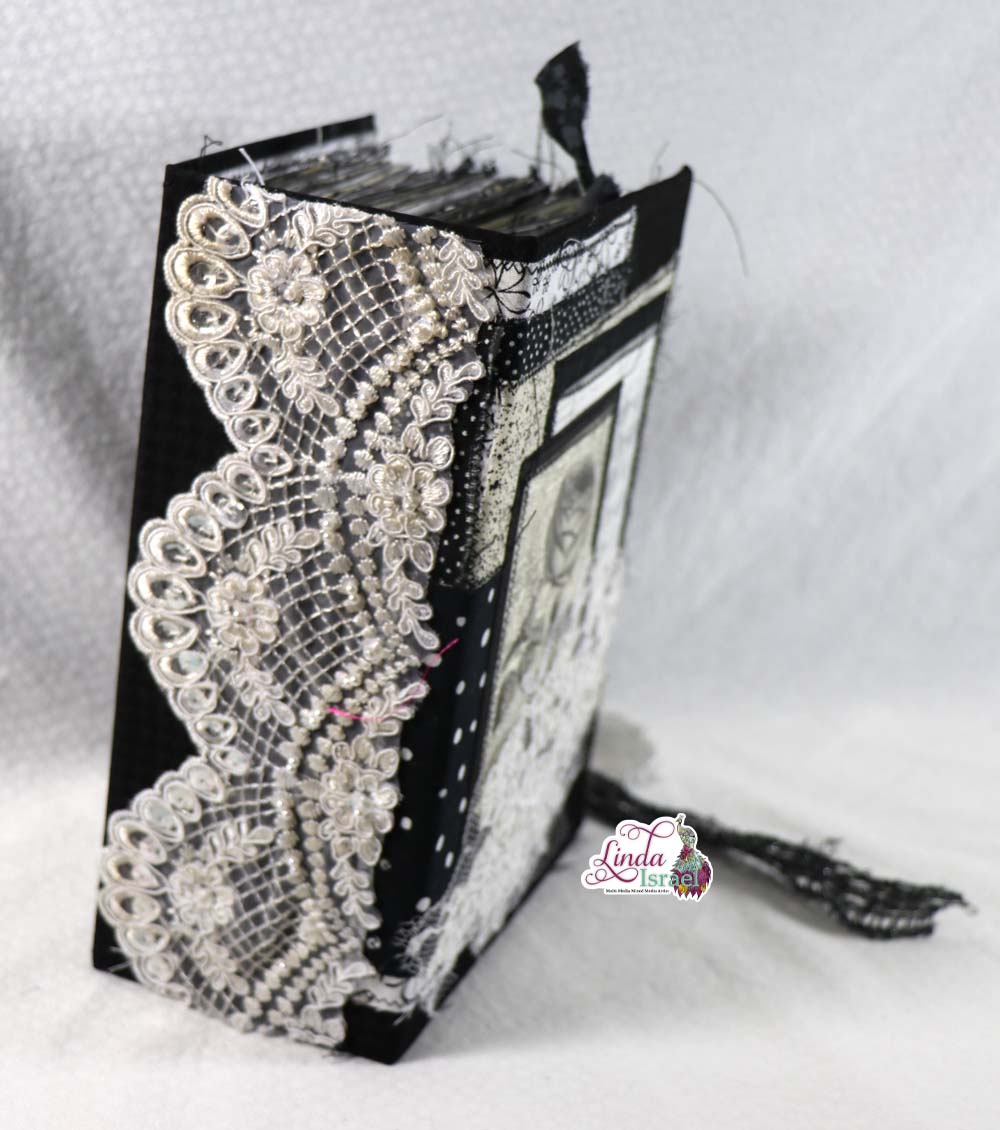
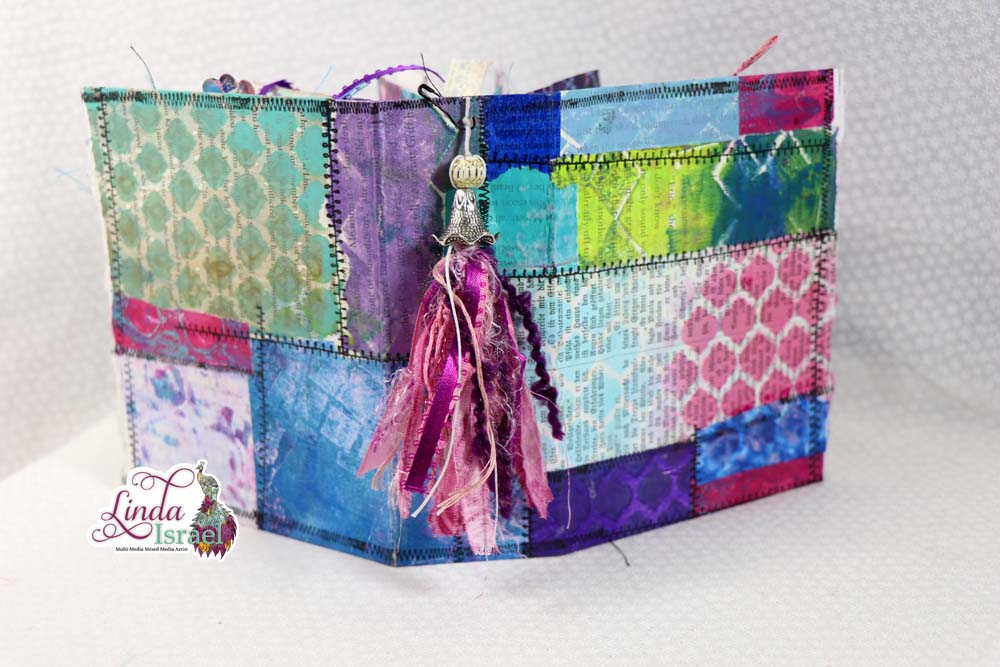
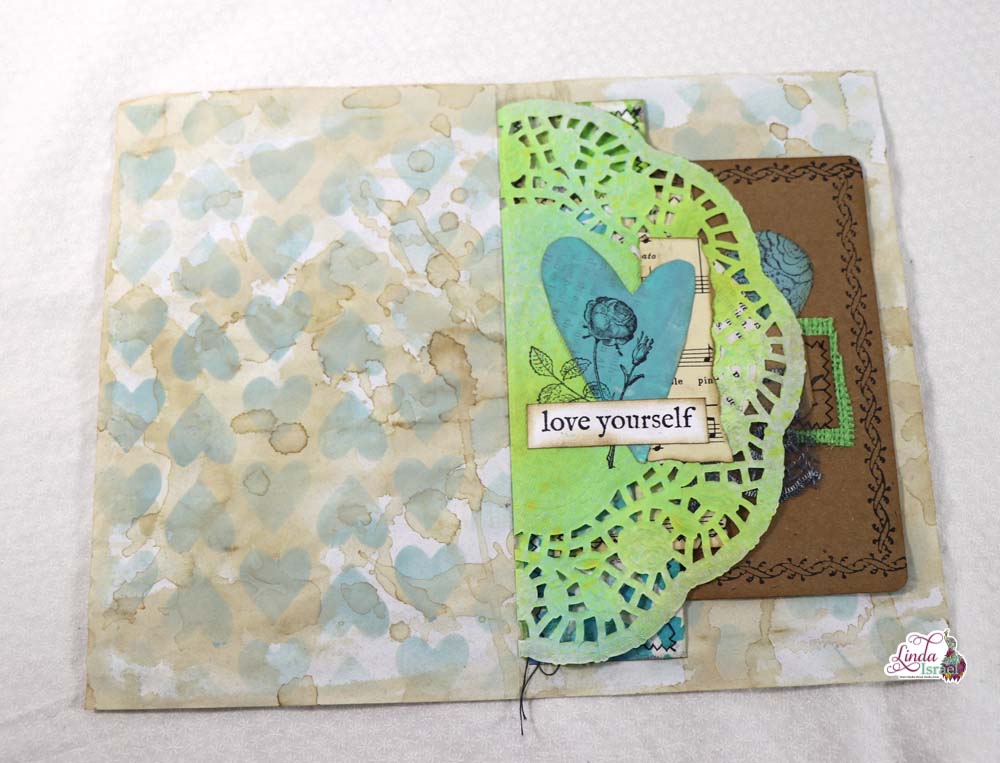
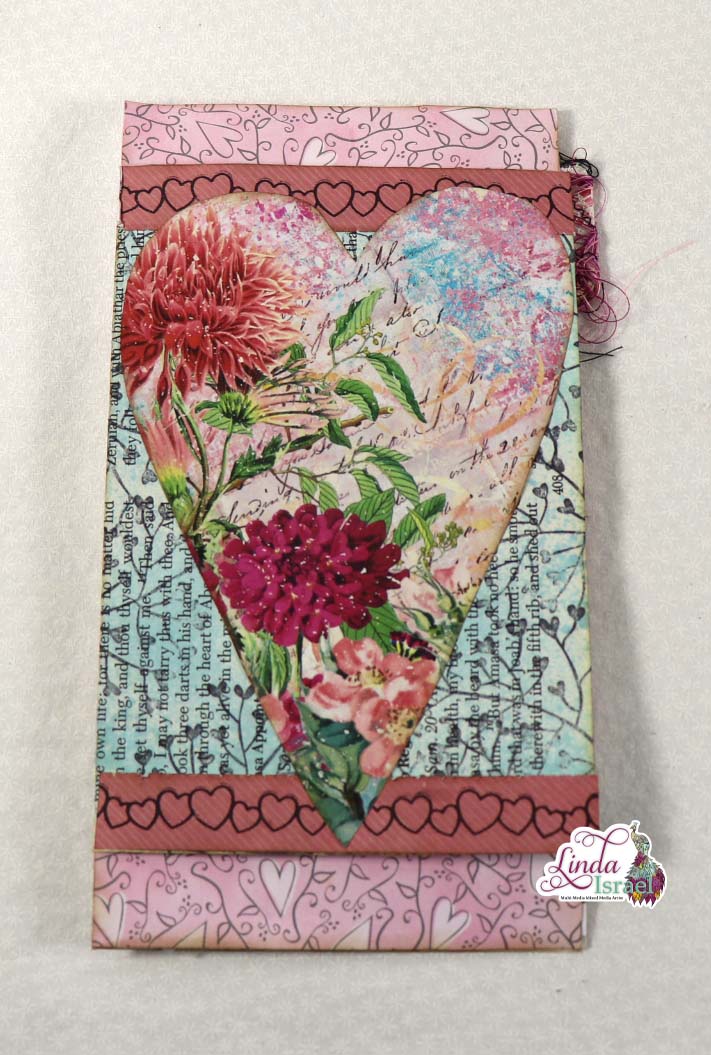
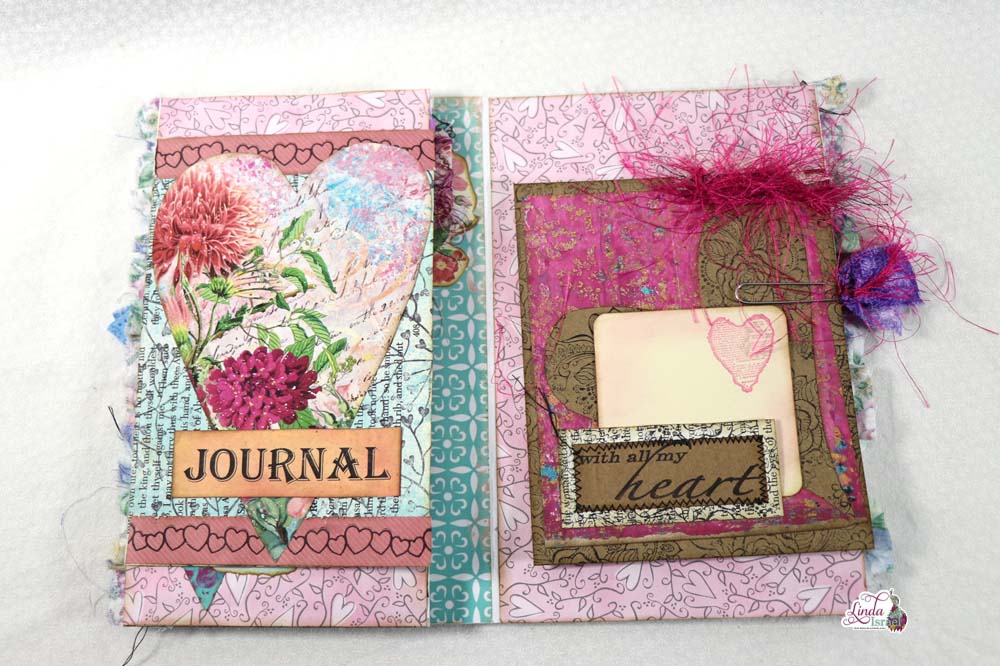
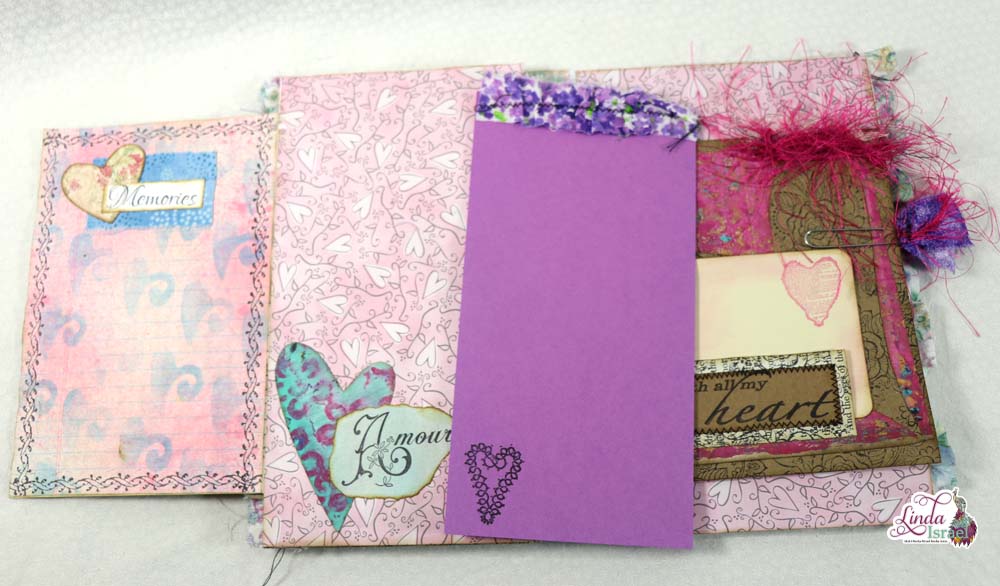
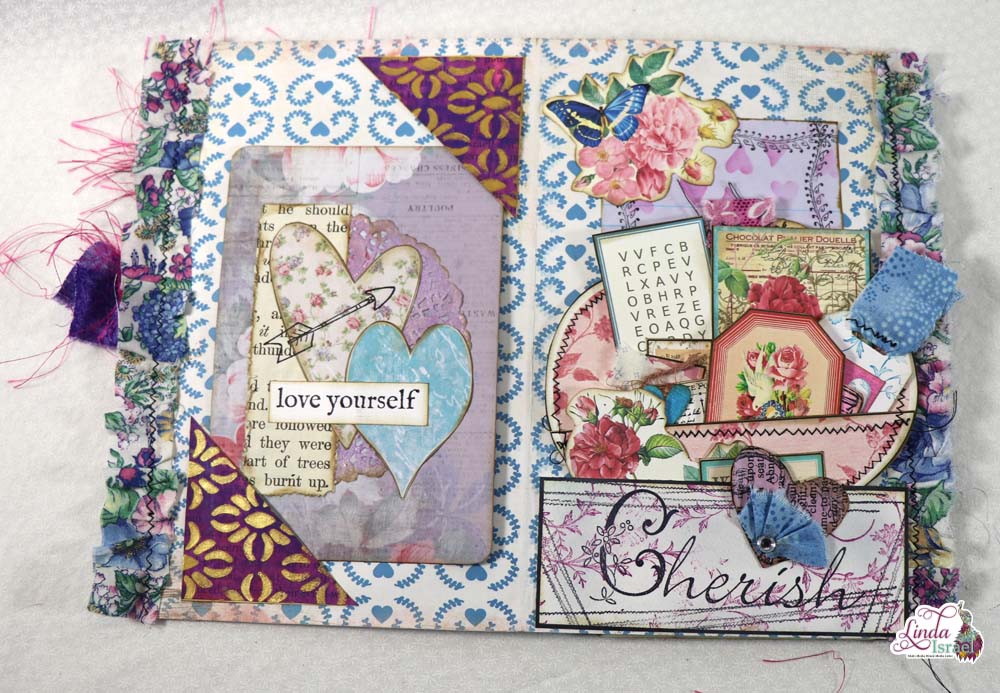
This Gel Print Embellishment Junk Journal Tutorial is perfect for using junk mail and leftover bits of paper from other projects. The base is a piece of heavy watercolor paper measuring 6.5 x 12 inches. Score 5 inches from each end making a 2-inch spine in the middle. Select an oversized postcard and score 5 inches from each end making a 1-inch spine. Cut the other postcard to be 6 x 10.5 inches long, score 5 inches from each end making a .5 inch spine. Cover each piece with scraps of gel prints and book pages in a Frankenpage manner.
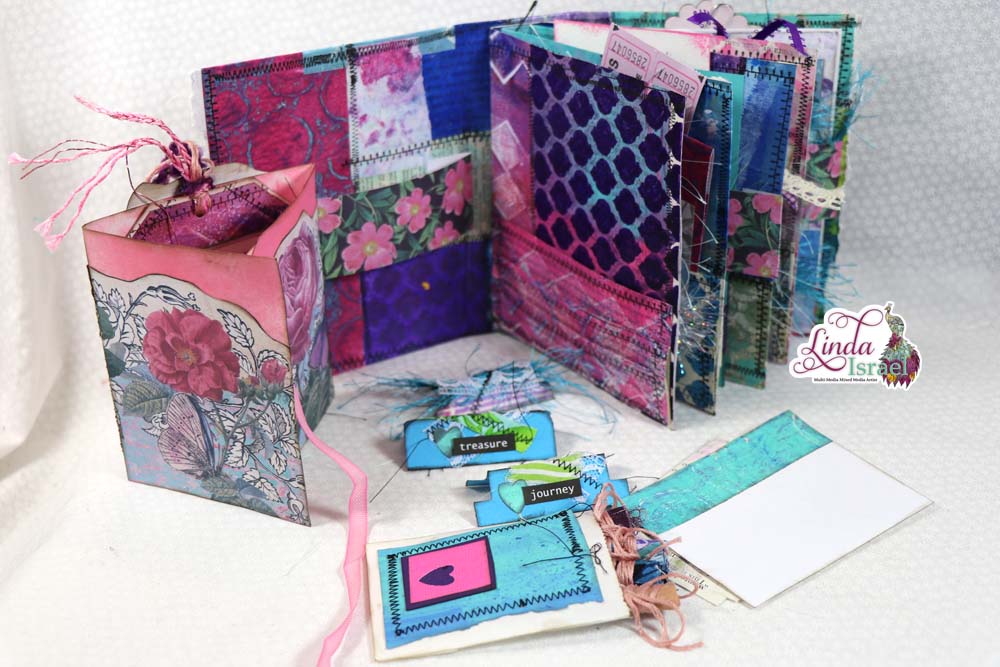
Use Sabby Stitches stamps with Brilliance Graphite Black pigment ink and create stitch lines connecting the different colors of paper on all three pieces, both sides of each.
Adhere the 1/2 spine inside the 1-inch spine with Aleene’s Tacky glue. Clip together if necessary until the glue dries. Then adhere the 1-inch spine inside the outer book cover in the center.

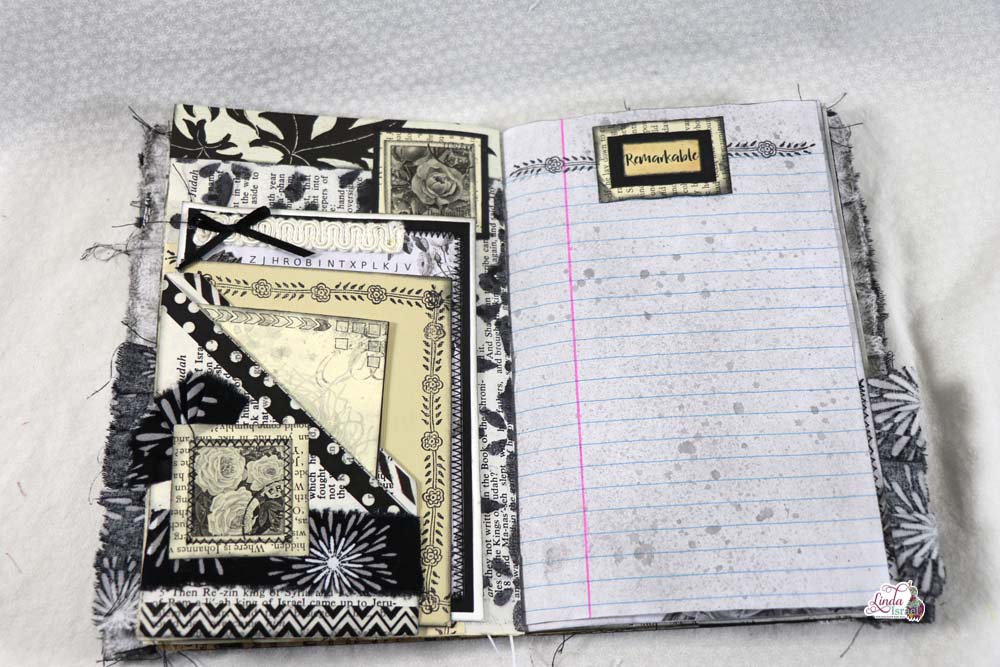
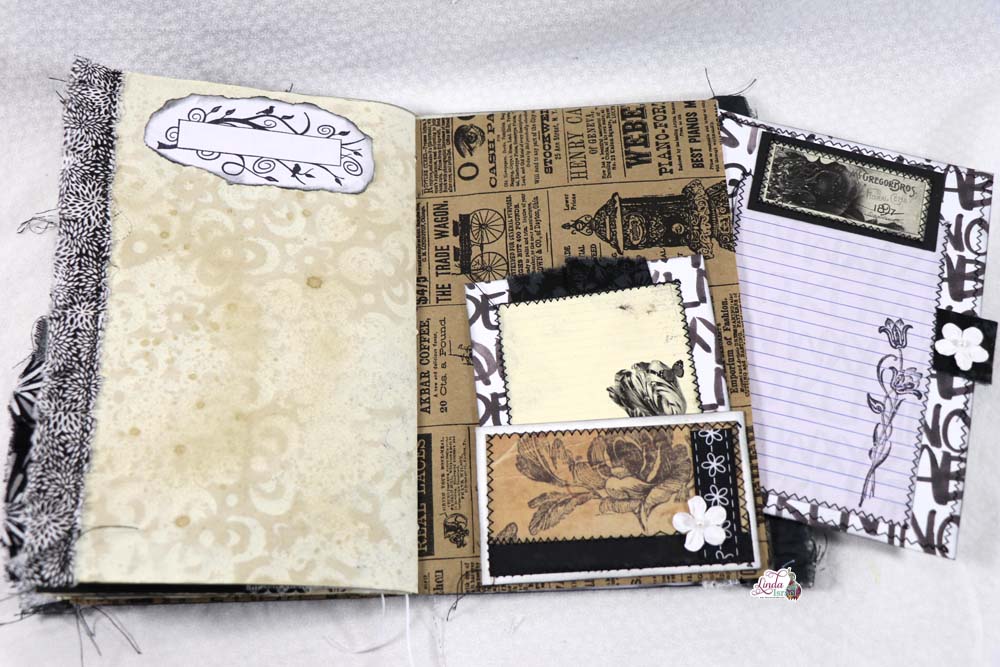
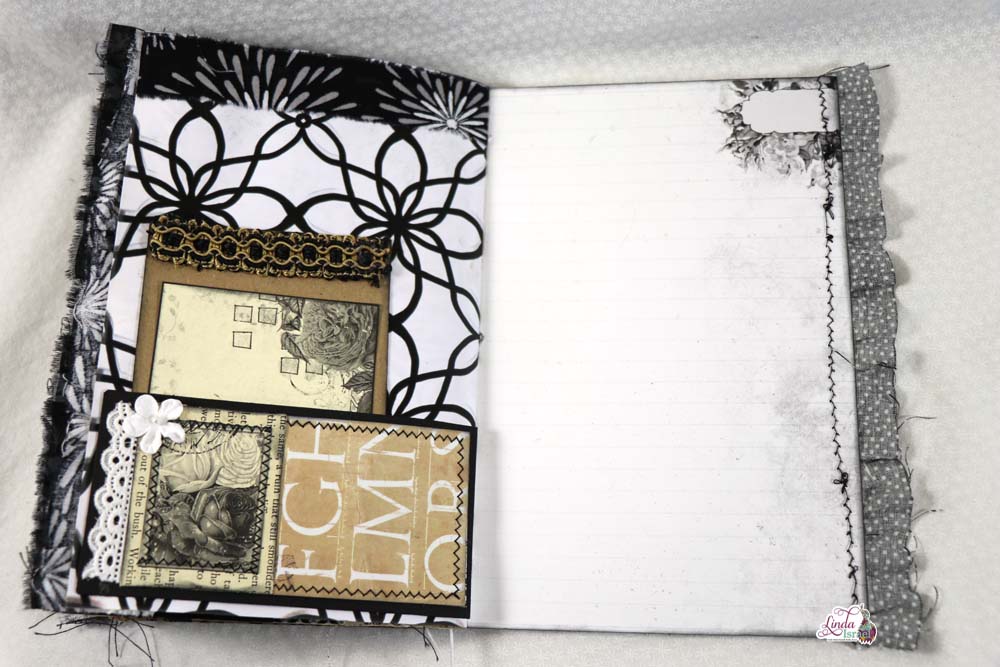
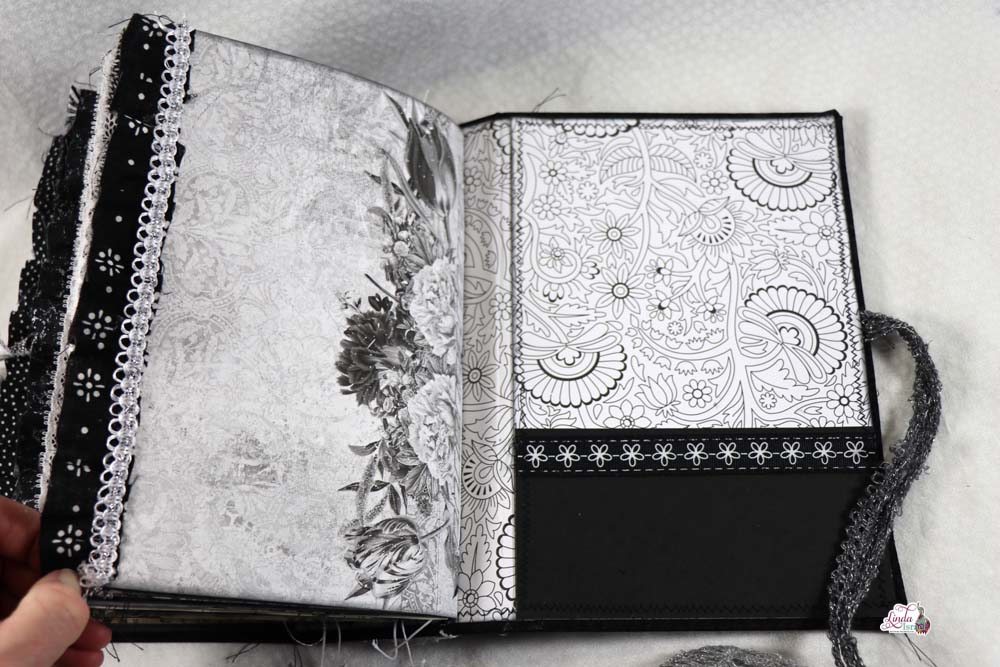
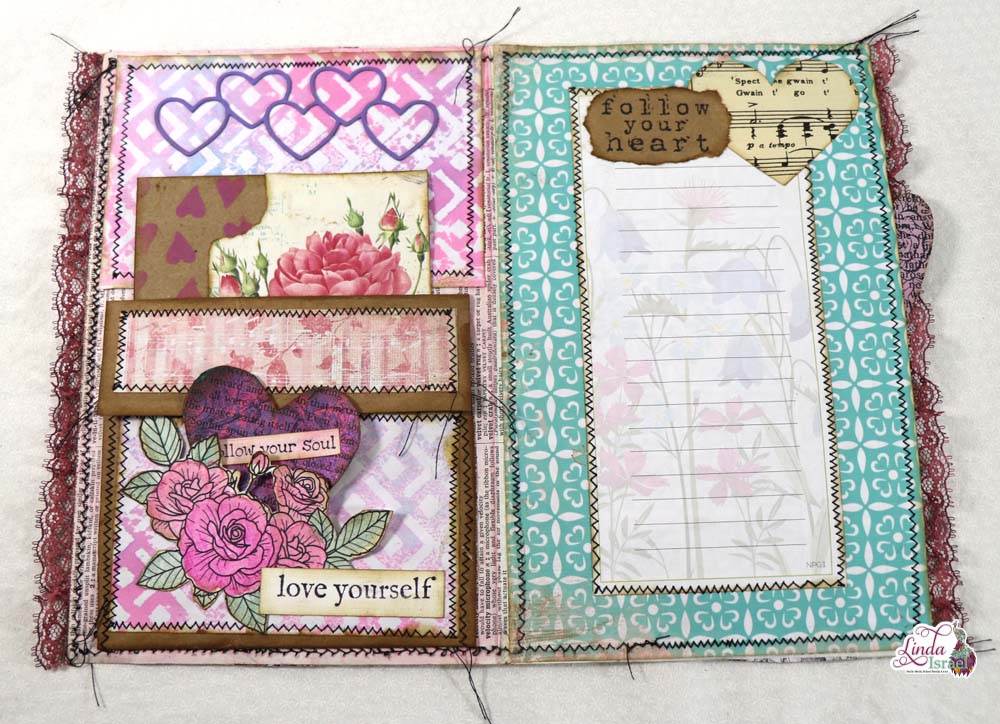
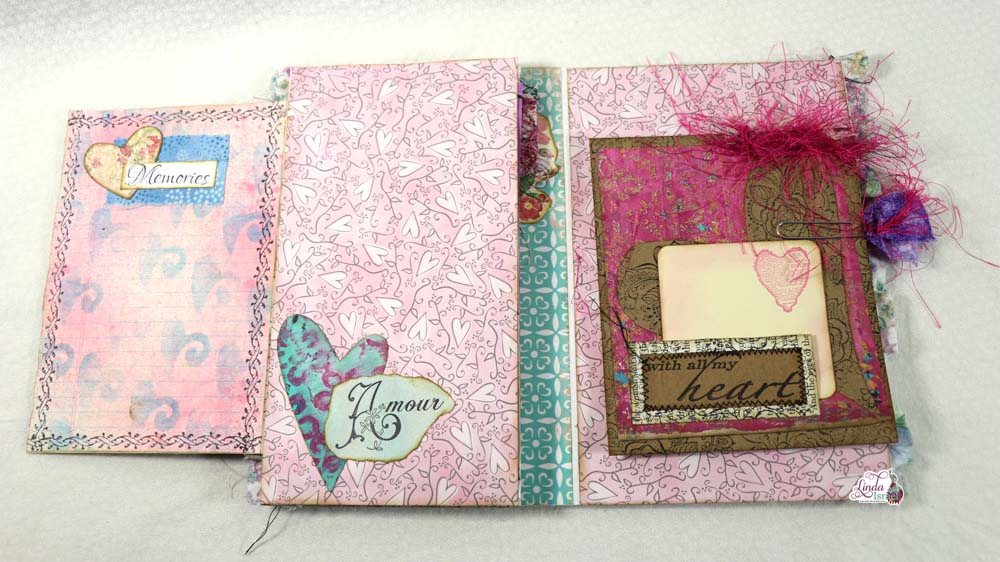
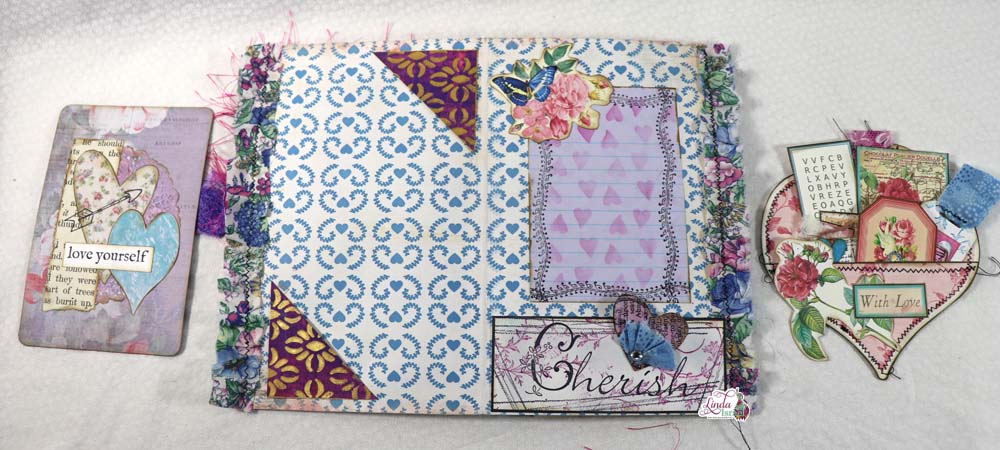
Cut three strips of cardstock 6 x 2 inches, these will become belly bands for three of the pages.
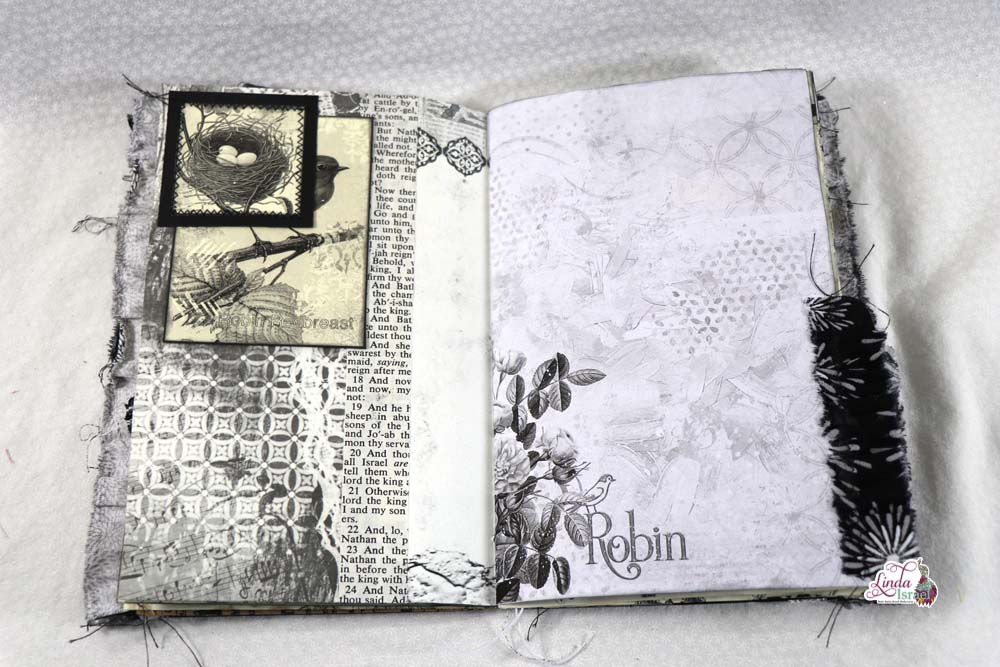
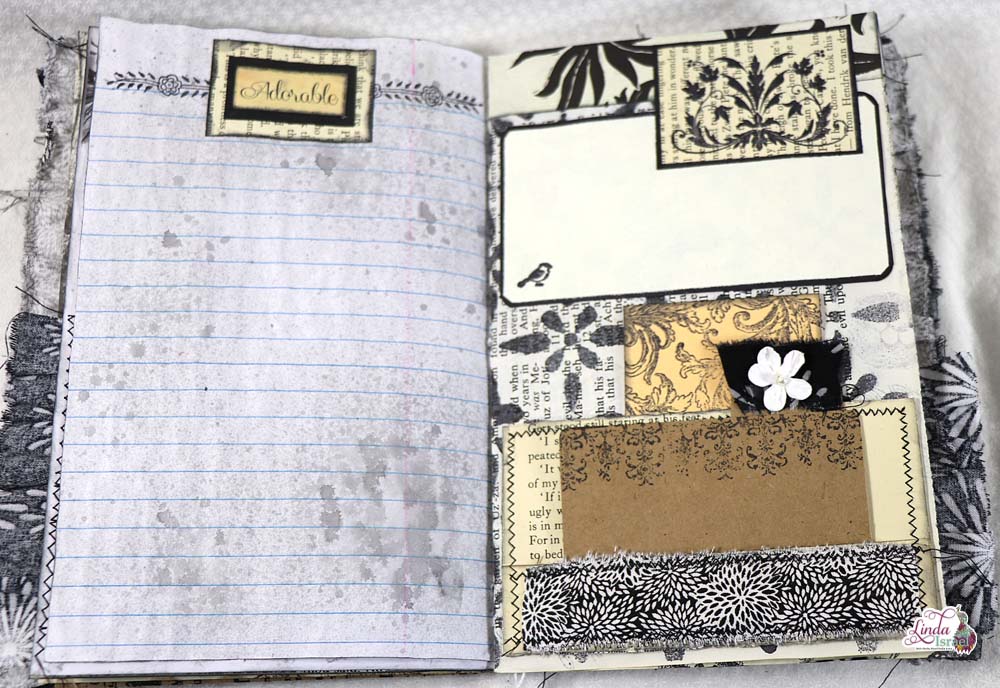
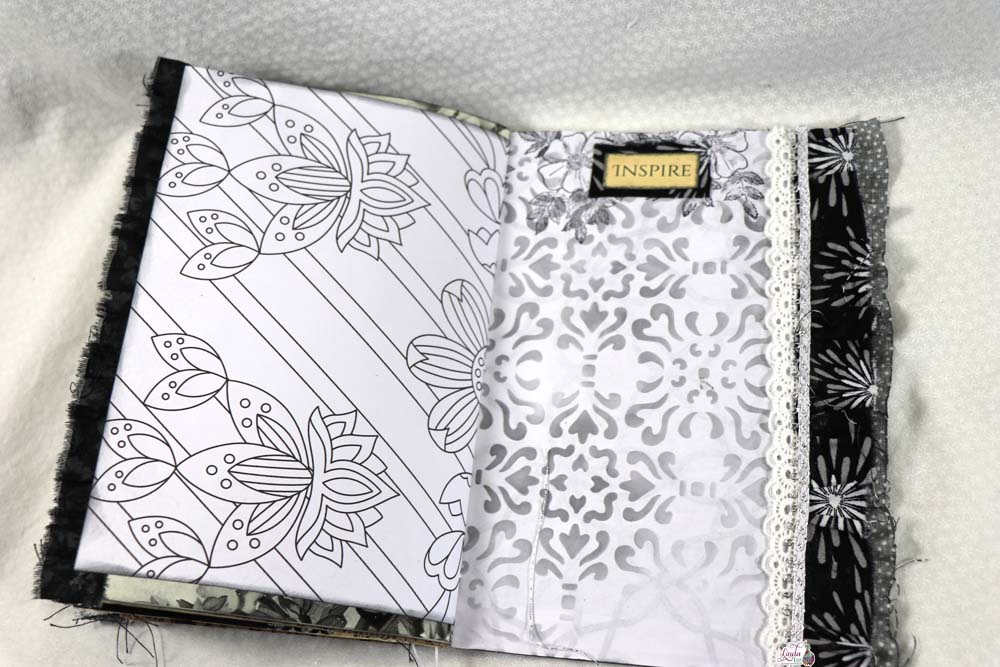
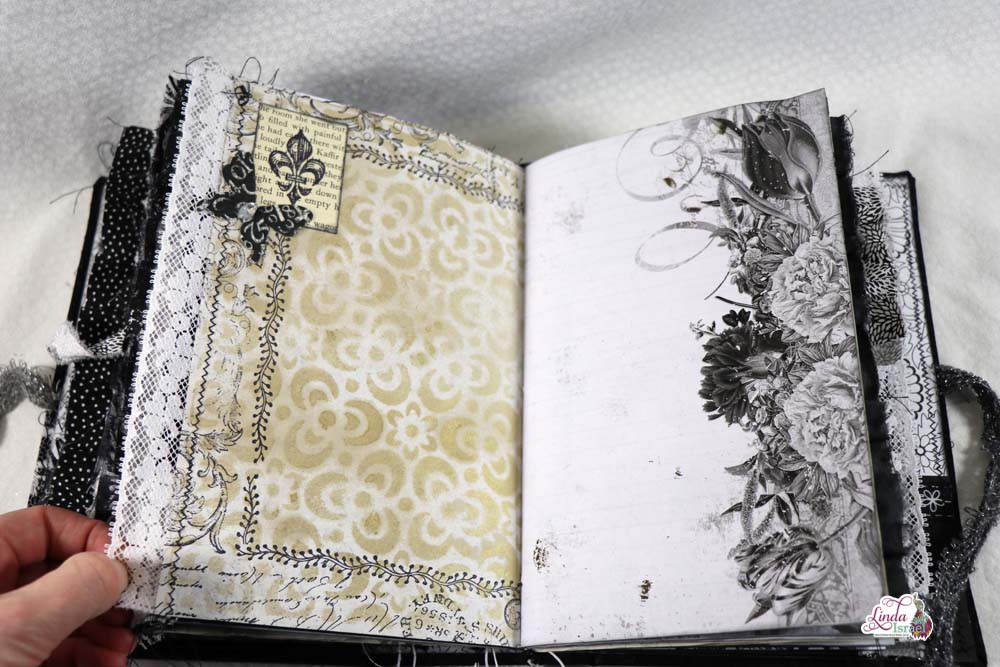
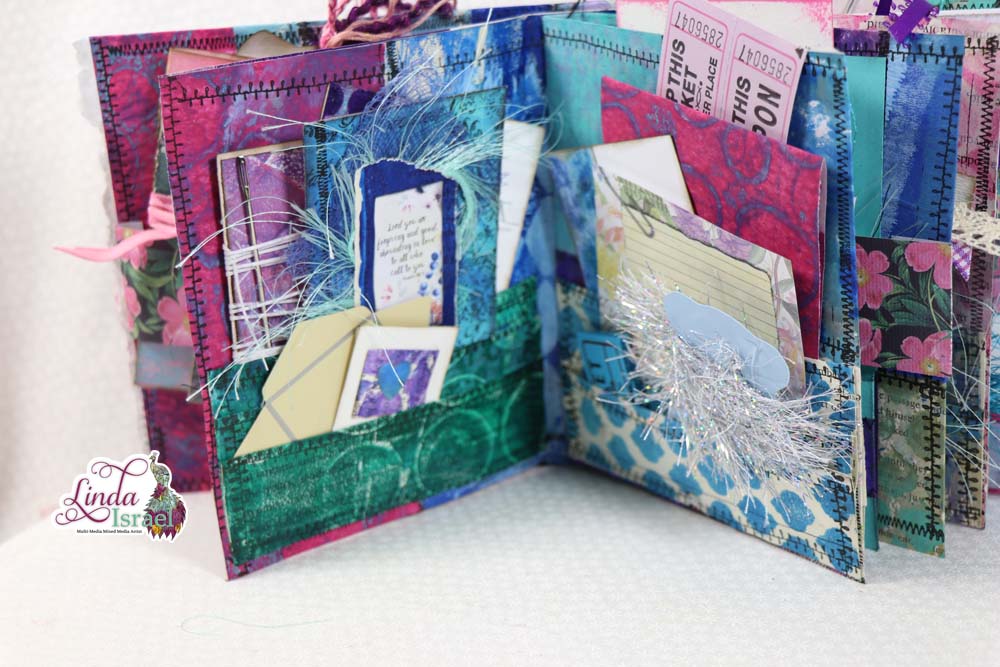
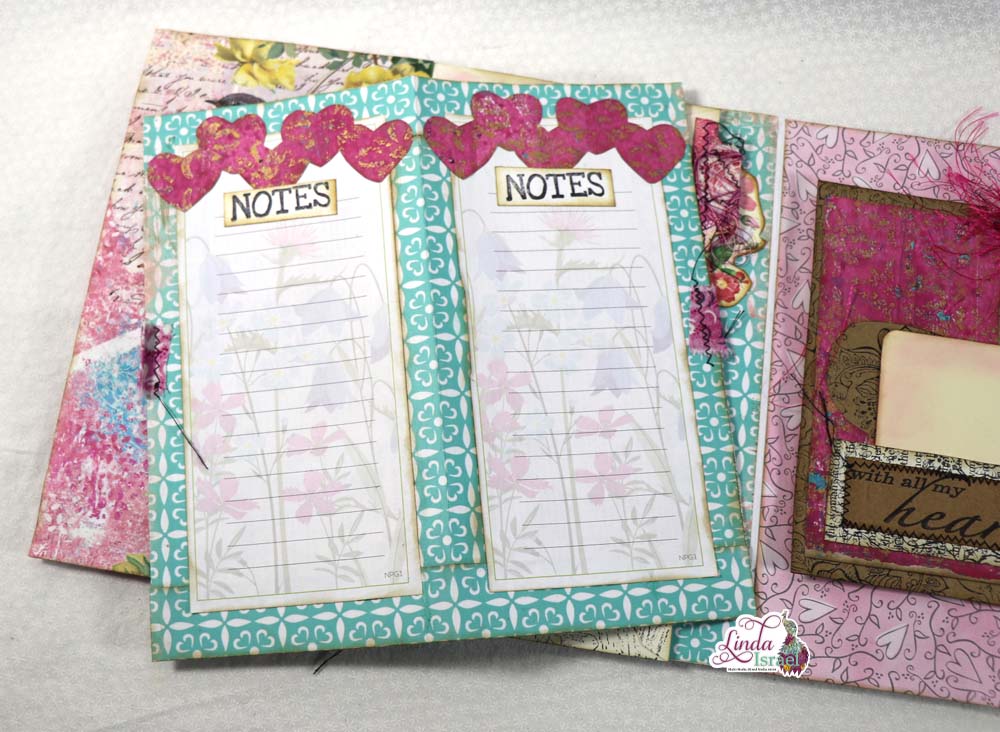
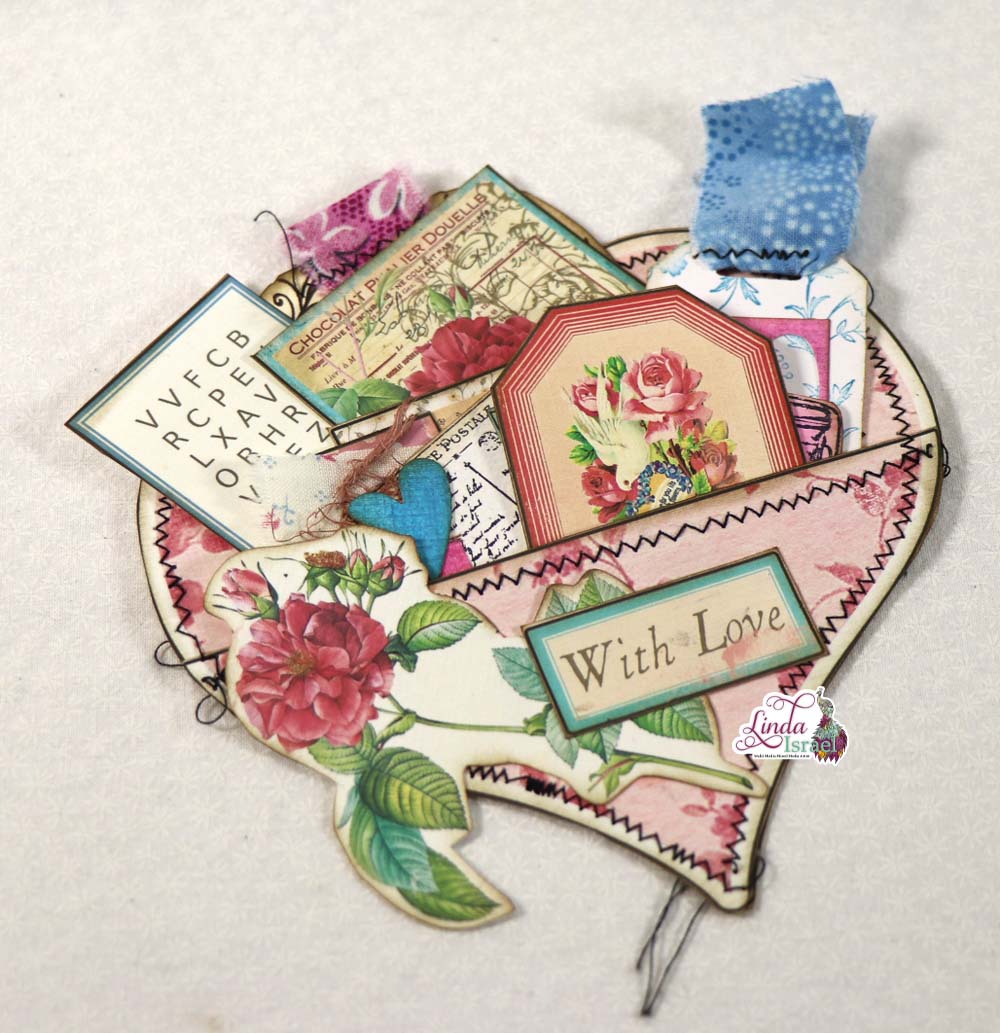
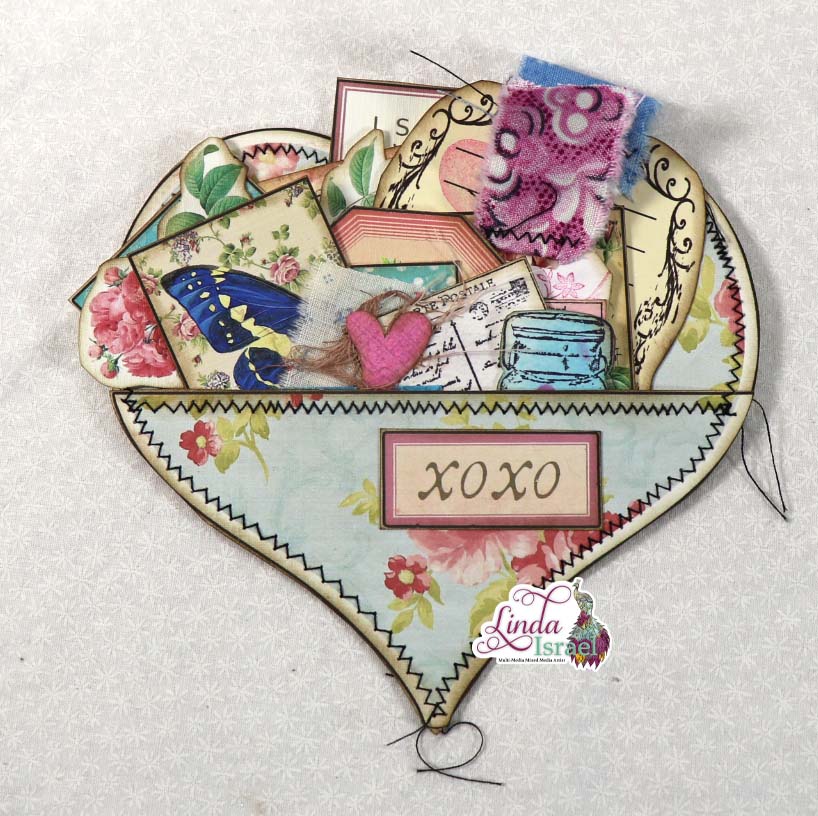
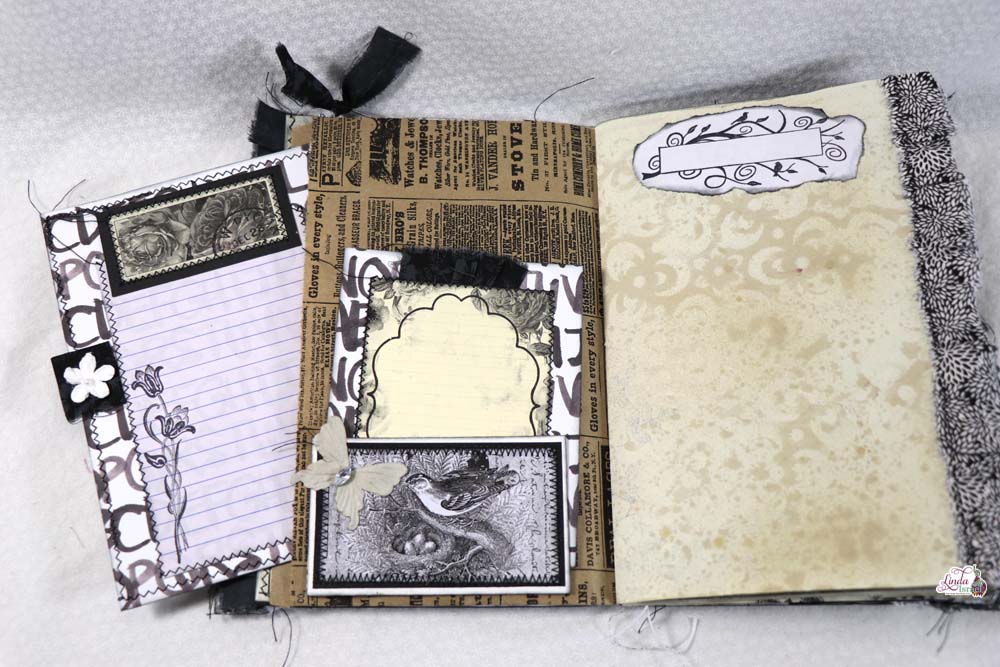
 Select a few gel prints and cut to be 4.75 inches wide by however tall the print is usually mine are 5 x 7. Make a pocket by folding the page. Stamp Shabby Stitches to represent stitches on the pocket.
Adhere the belly bands and pockets to the pages in the journal. Punch a hole in the center top of the spine of the book cover. Attach Tassel with bulb pin.
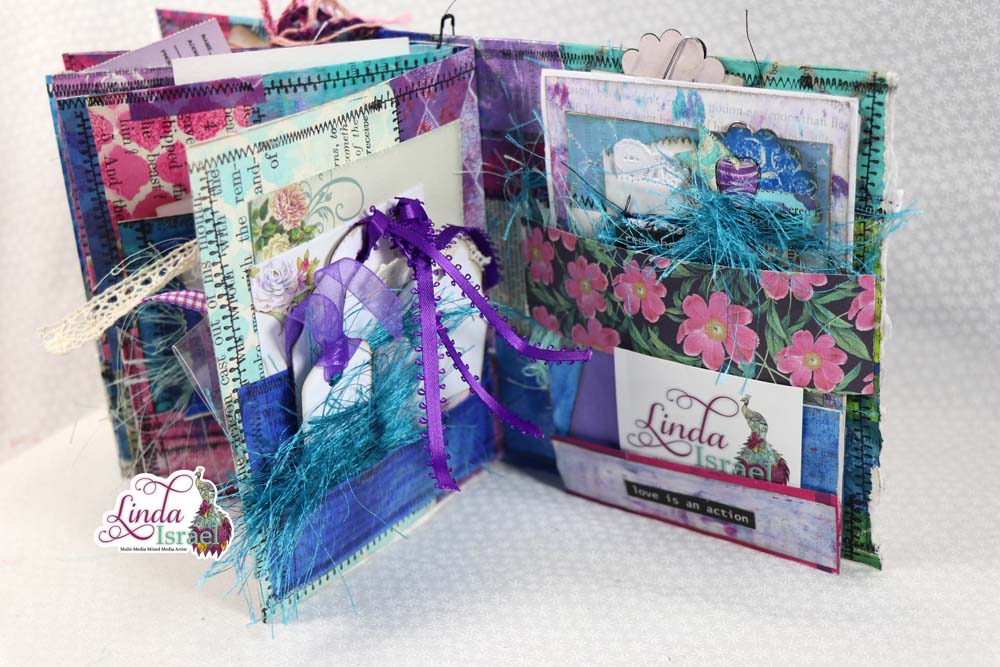
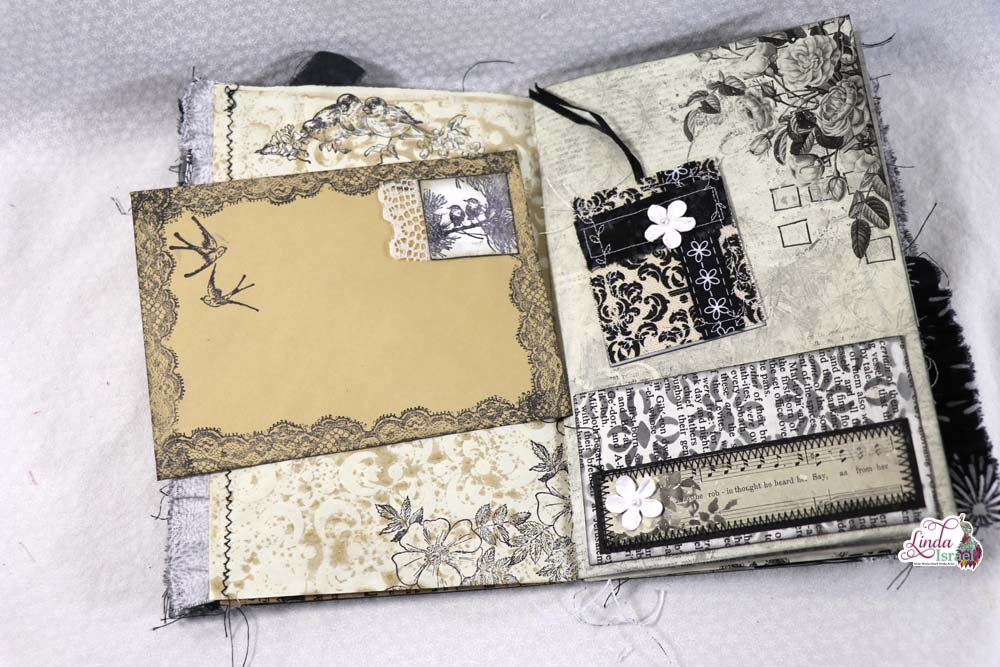
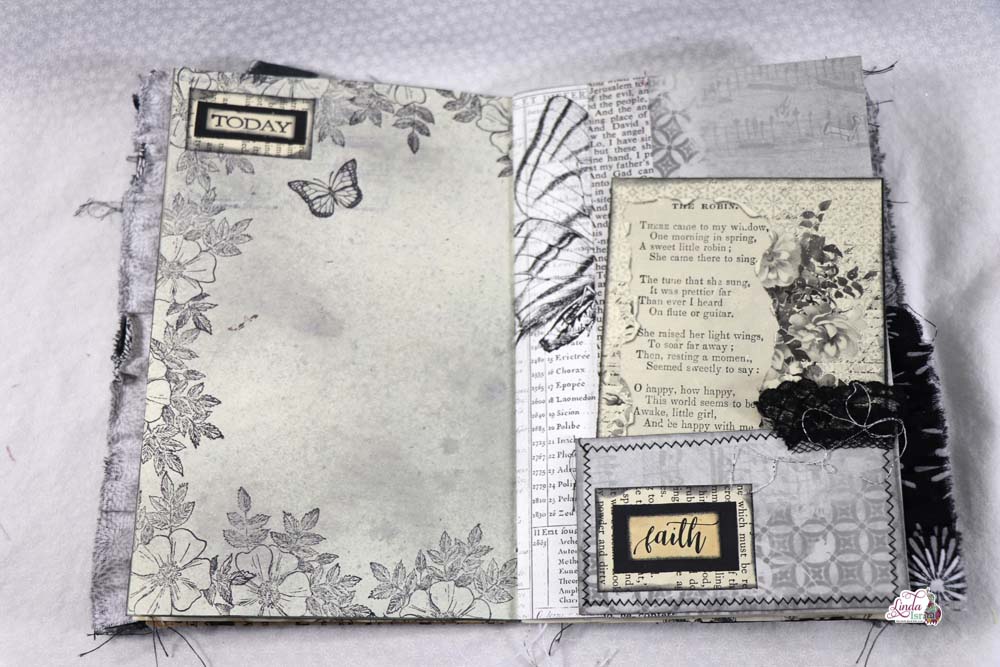
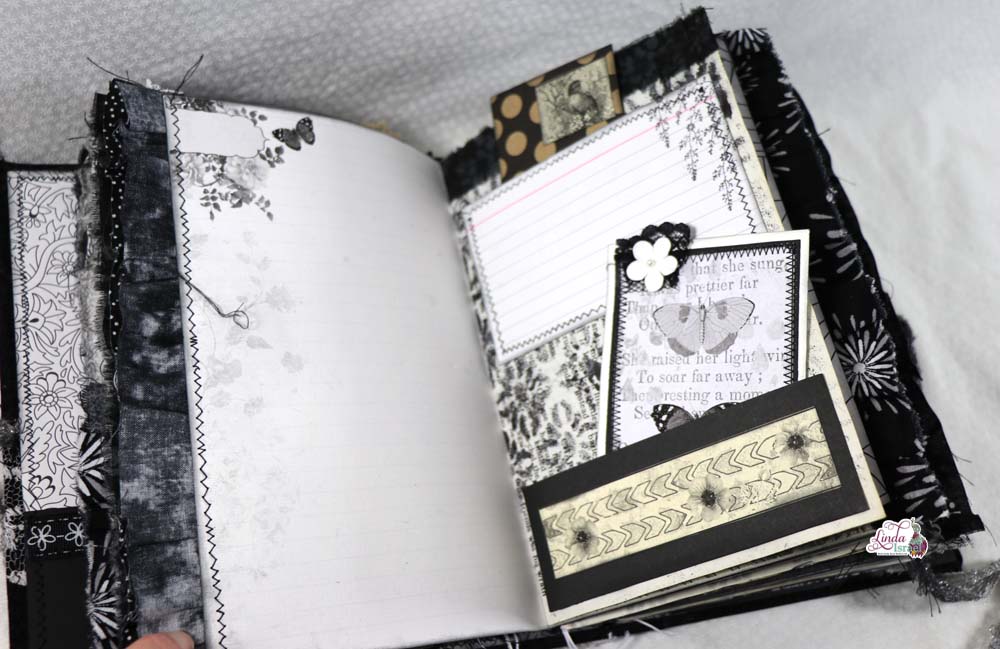
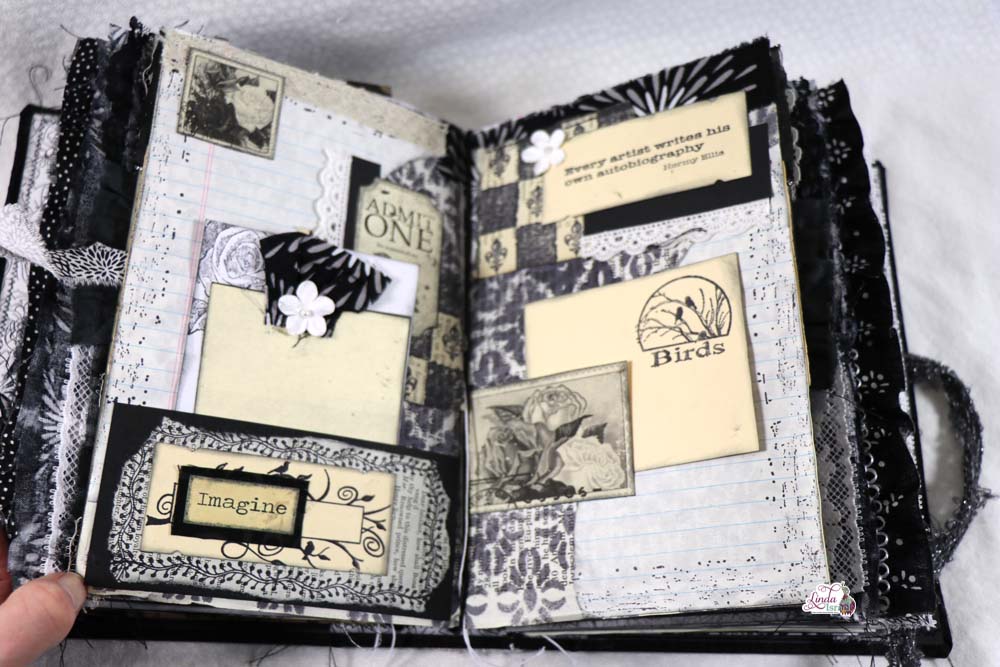
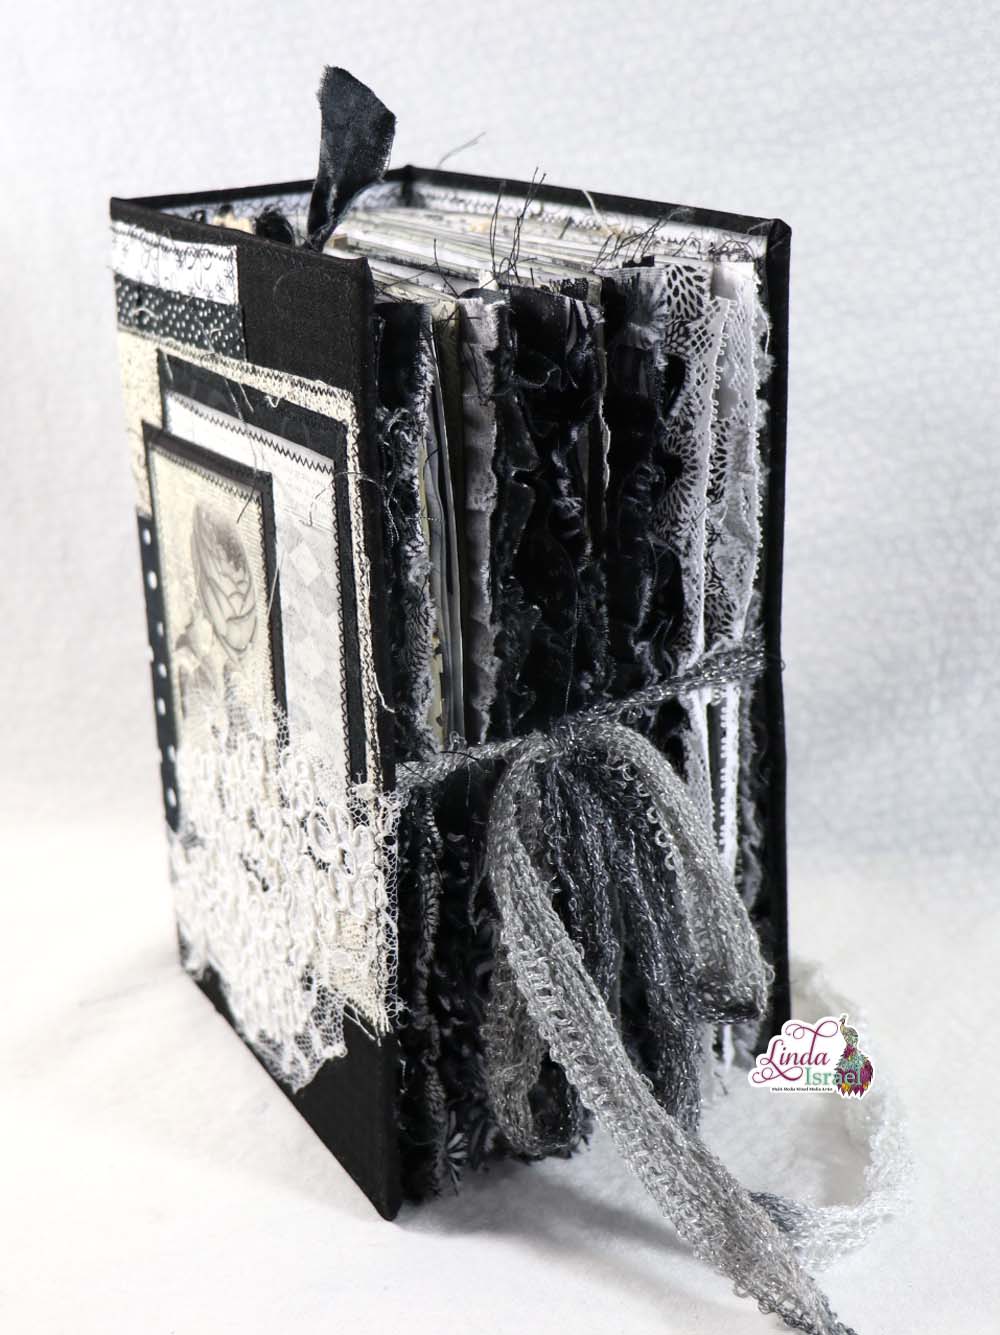
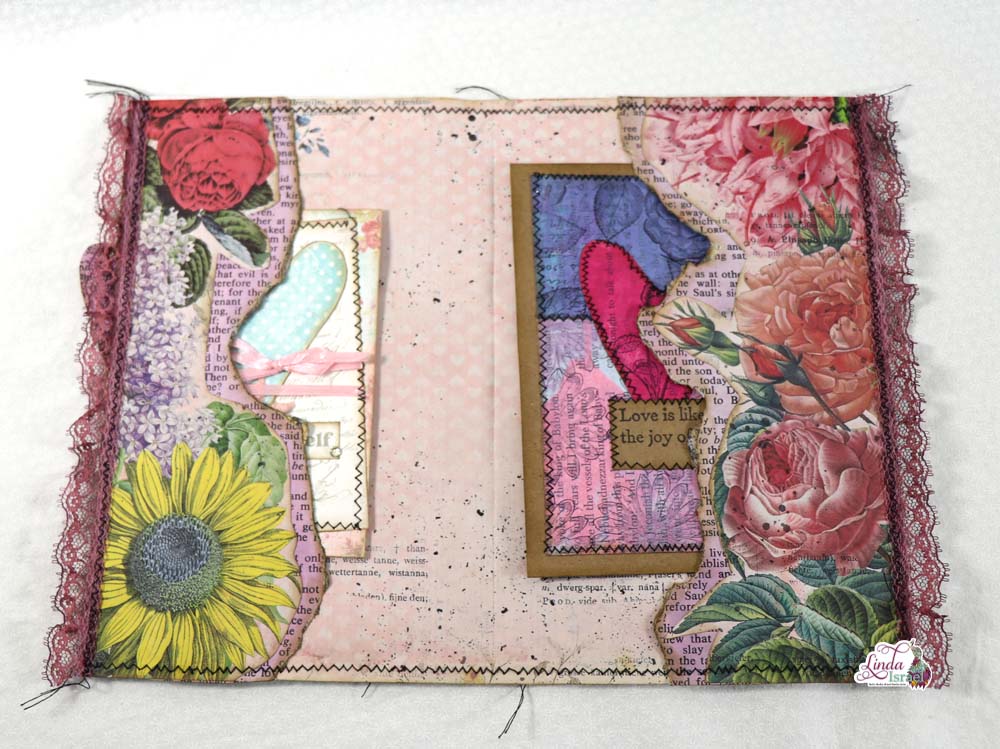
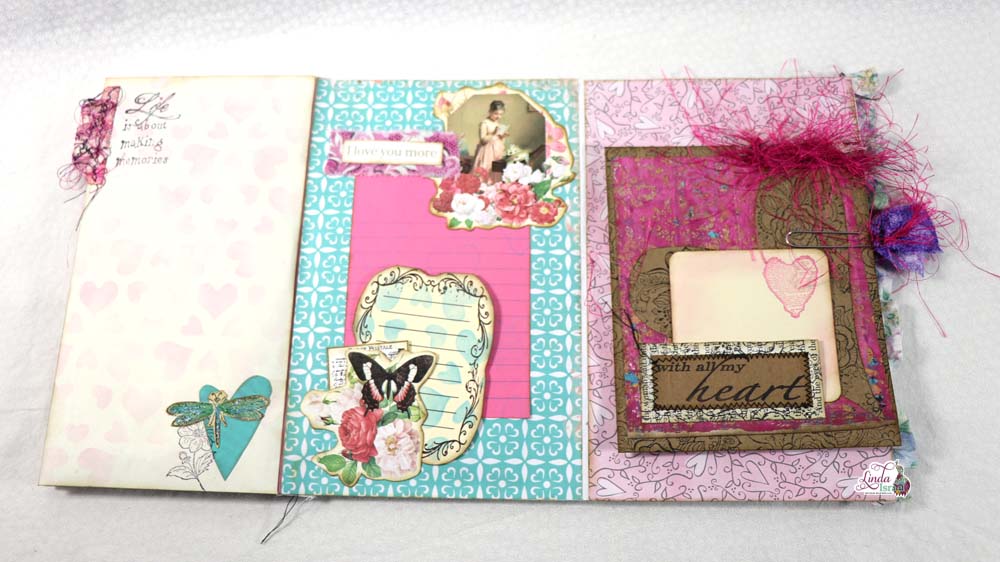
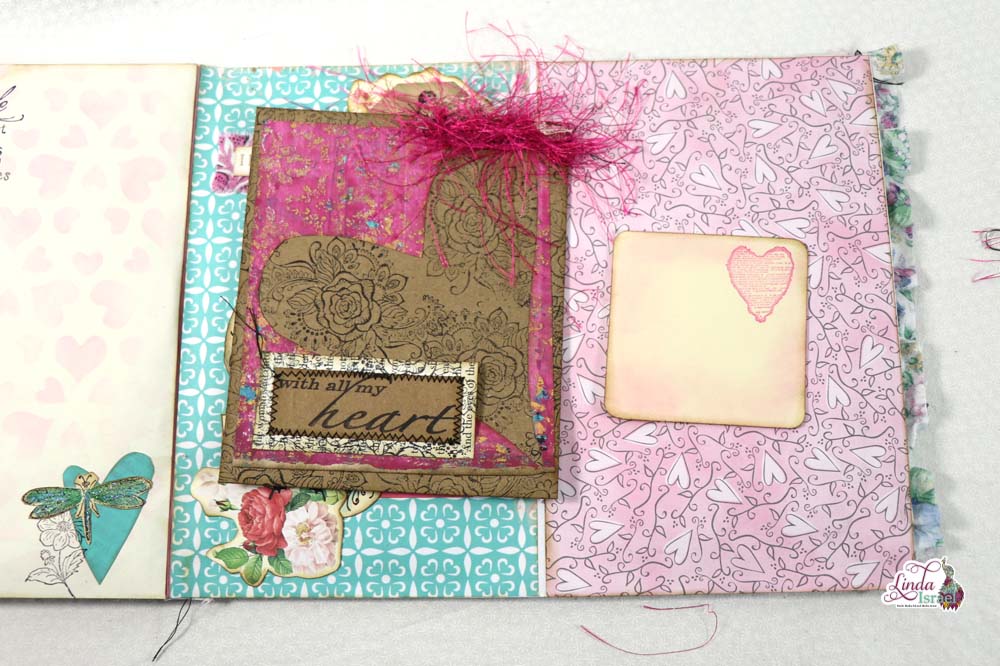
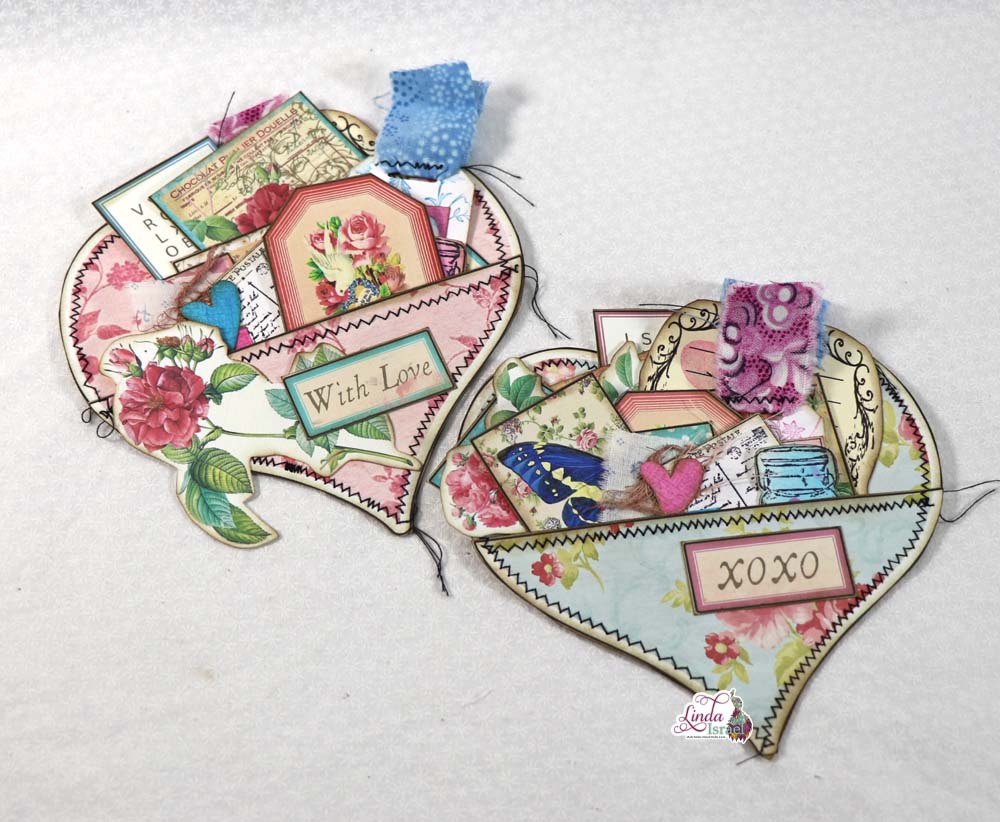
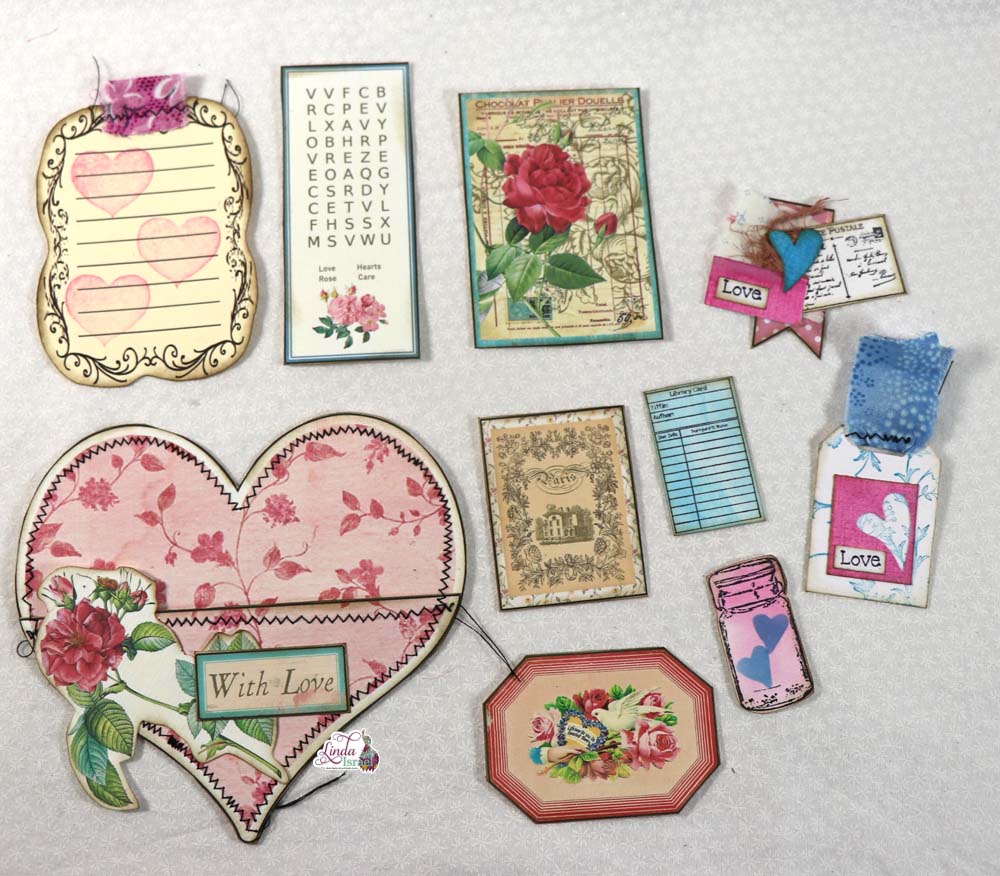
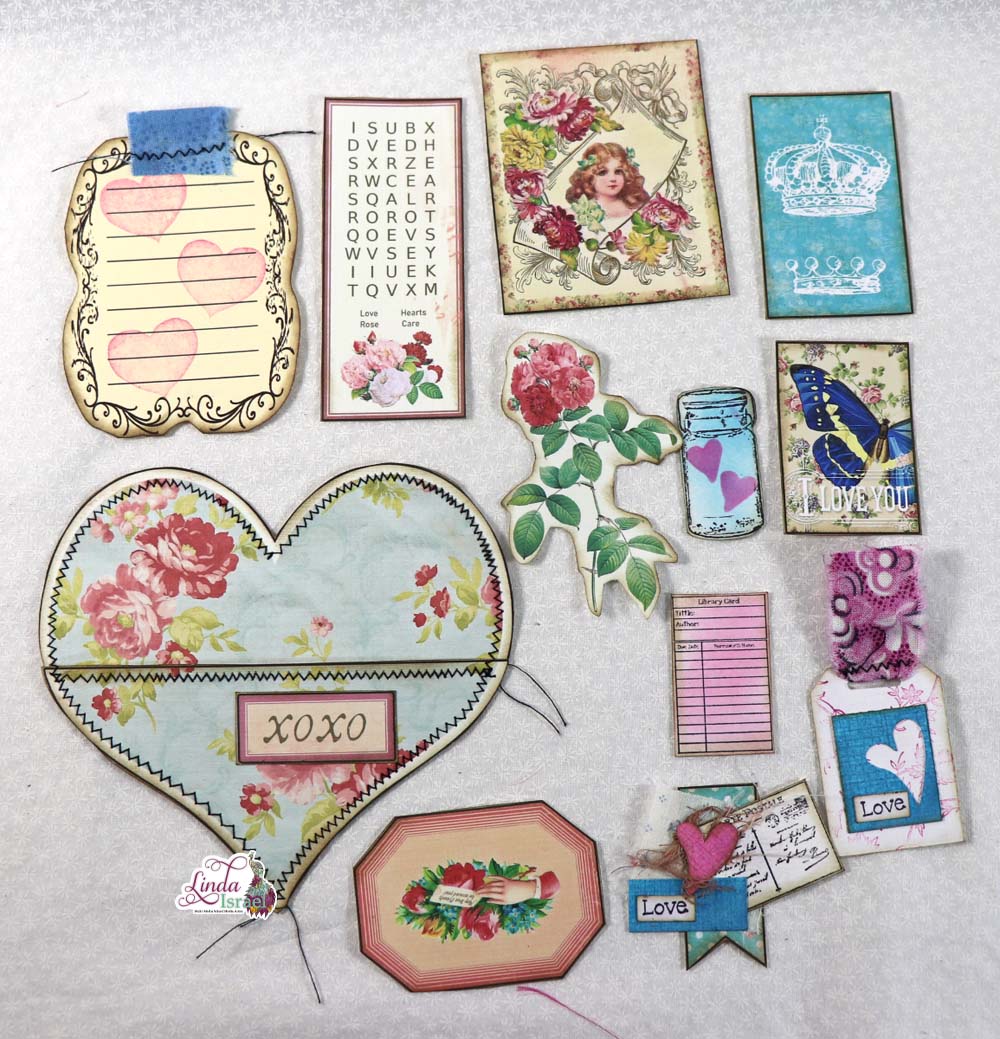
Fill the pockets with goodies. Many of the pockets have items I made for the projects for the 12 days of junk journal ideas. And a few other things made with scraps. It was fun digging through the scraps making little embellishments to put in this journal. Use up those scraps and make something pretty.
Make sure that you visit the other artists that have created tutorials. Look for other posts using the tag: #12daysofjunkjournalgiftideas.
A great way to support me, and continue to see more tutorials and inspirational projects from me is to Become a Patron! When you give me your patronage you will get an exclusive digital download featuring art I created that has now been made into a digital journal kit.
Make sure to check out the Friendly Junk Journal People Facebook group. Of course, you are welcome to join the Friendly Junk Journal People Facebook group. The group is growing daily and we are a friendly group willing to help each other and encourage each other.

Interested in any of the journals I created? Please feel free to contact me through my Facebook Page. Here is my shop, I have a lot of items uploaded and add more weekly.
Keep updated on my posts by following me. Follow my blog with Bloglovin. Or Follow my Facebook Page or on Instagram for updates that may not be shared on my blog.
Thanks so much for stopping by my blog today to see Day 12 of 12 days of Junk Journal Gift Ideas the Gel Print Embellishment Junk Journal Tutorial.
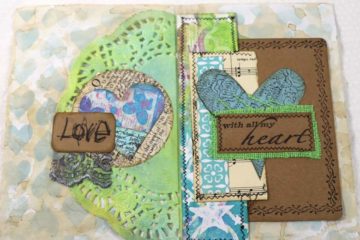
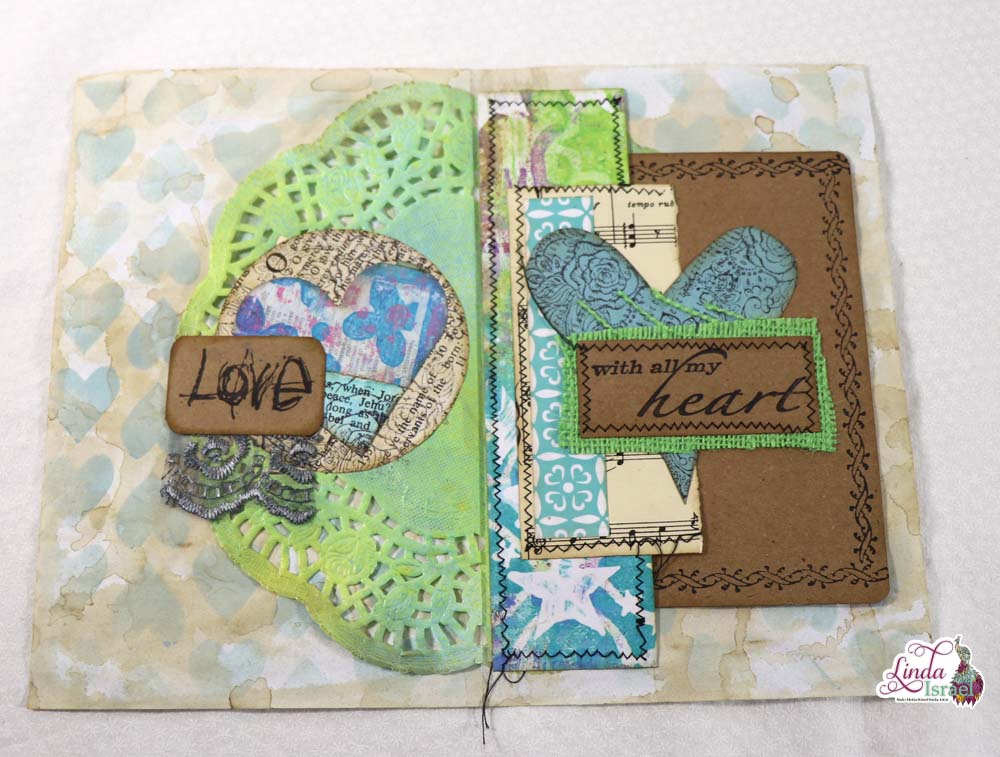
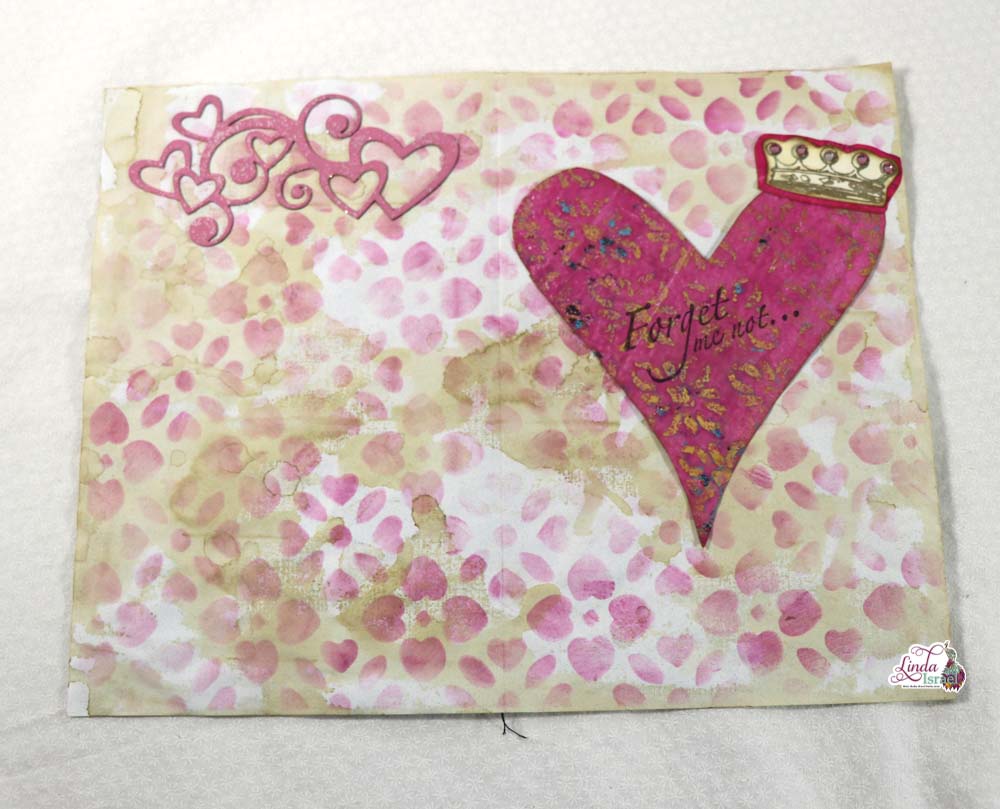
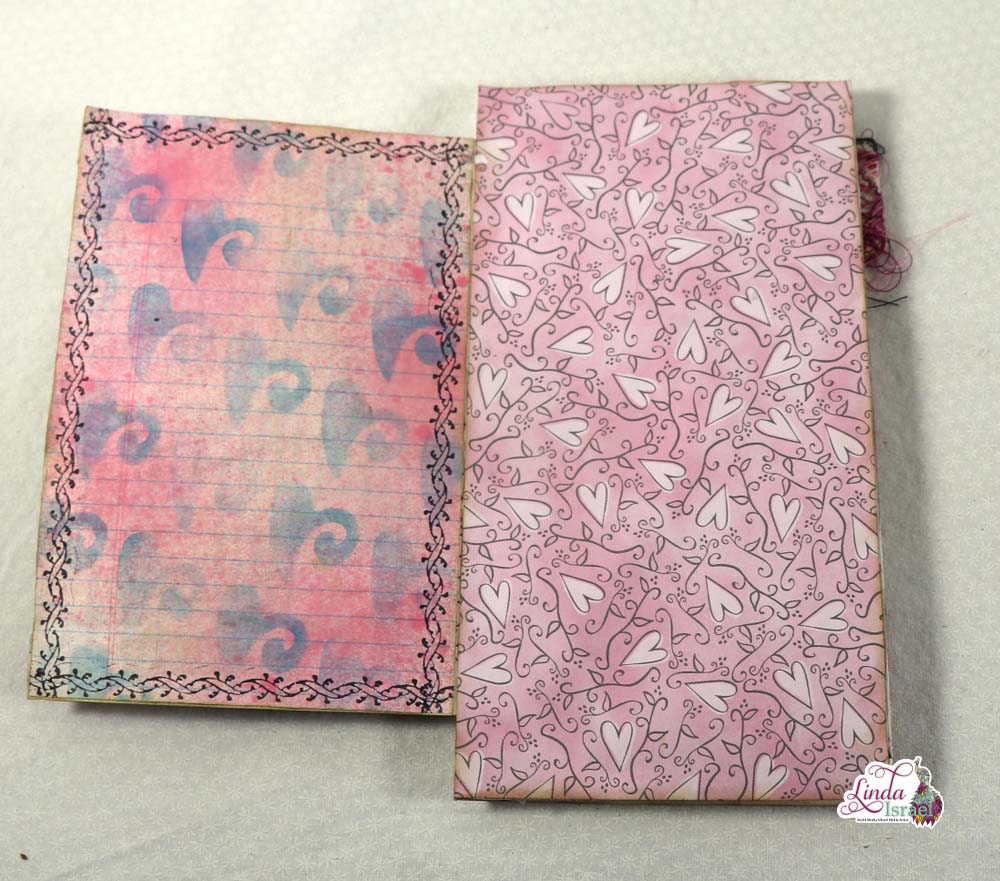
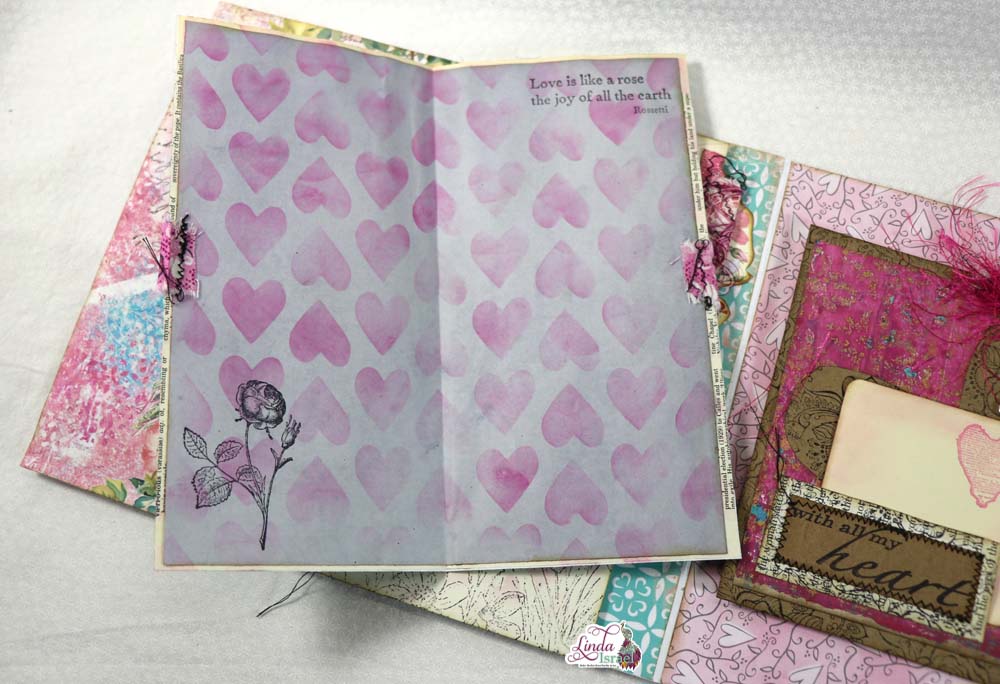

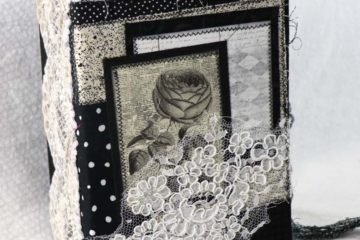

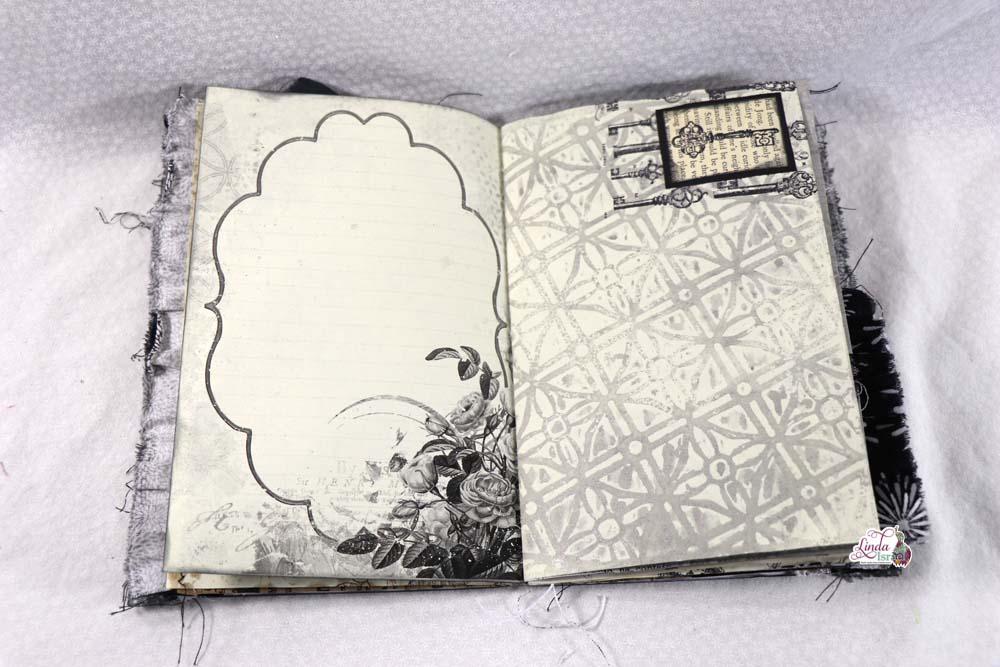
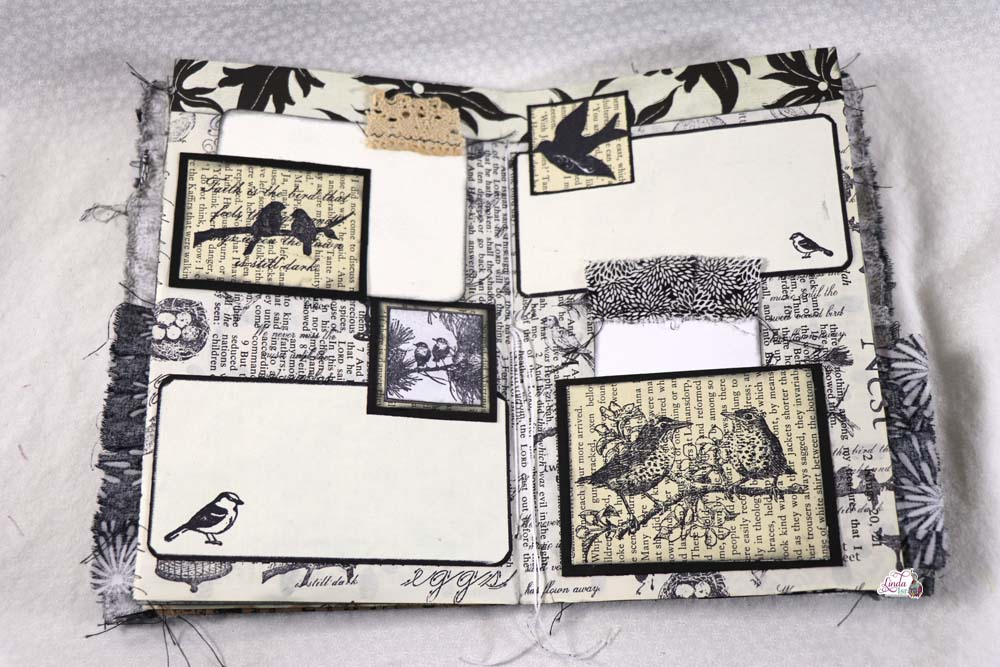
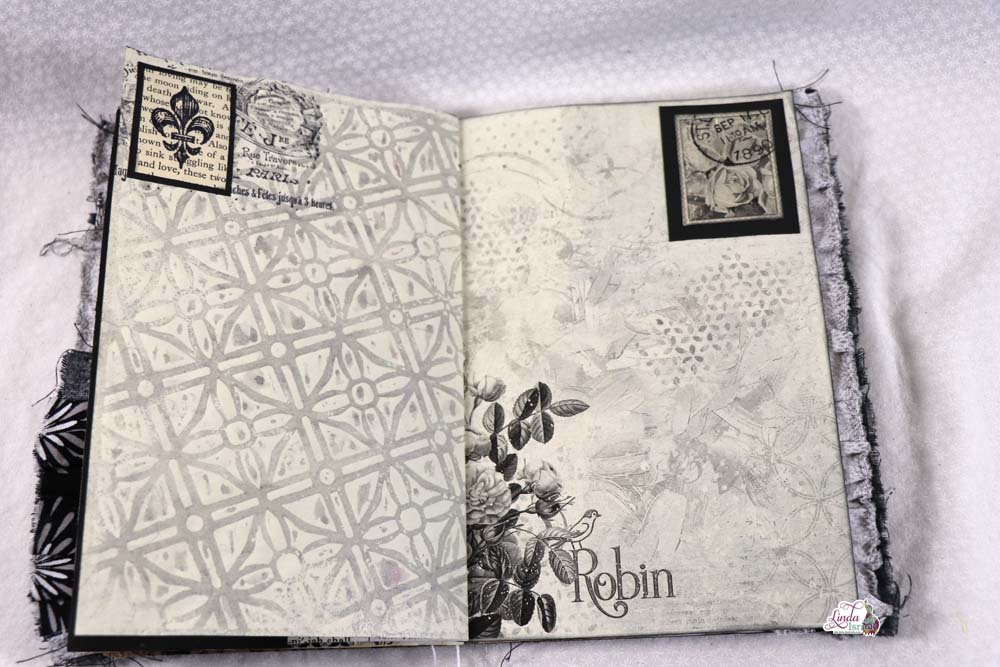
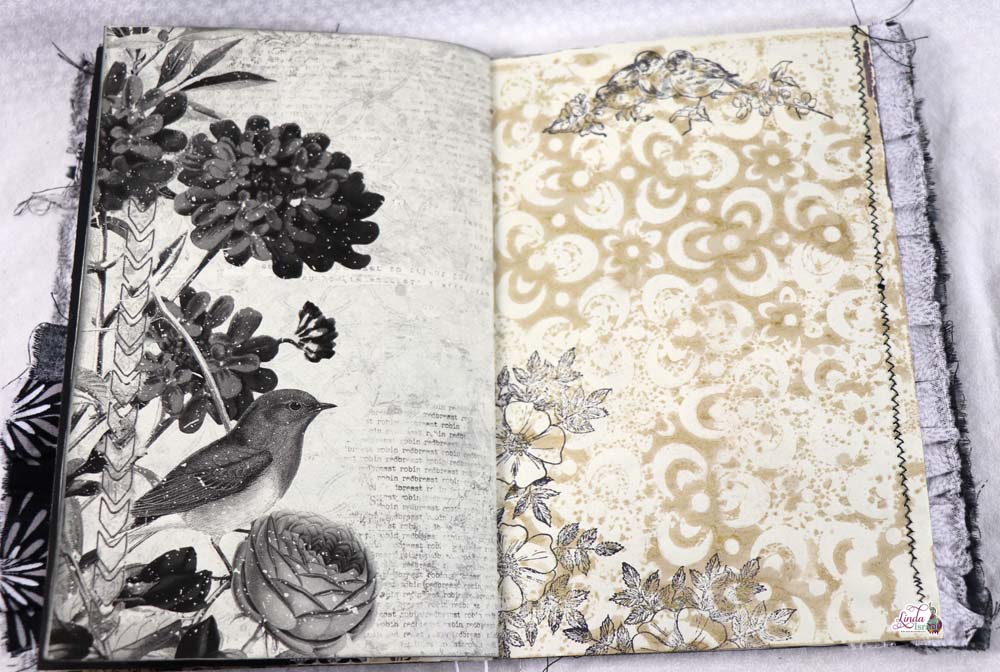
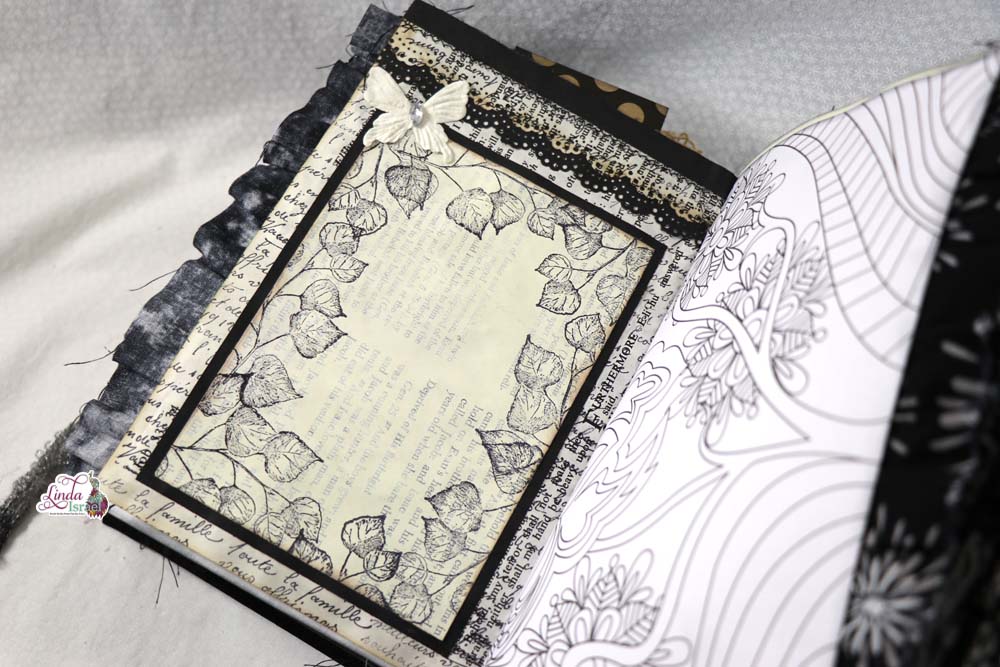
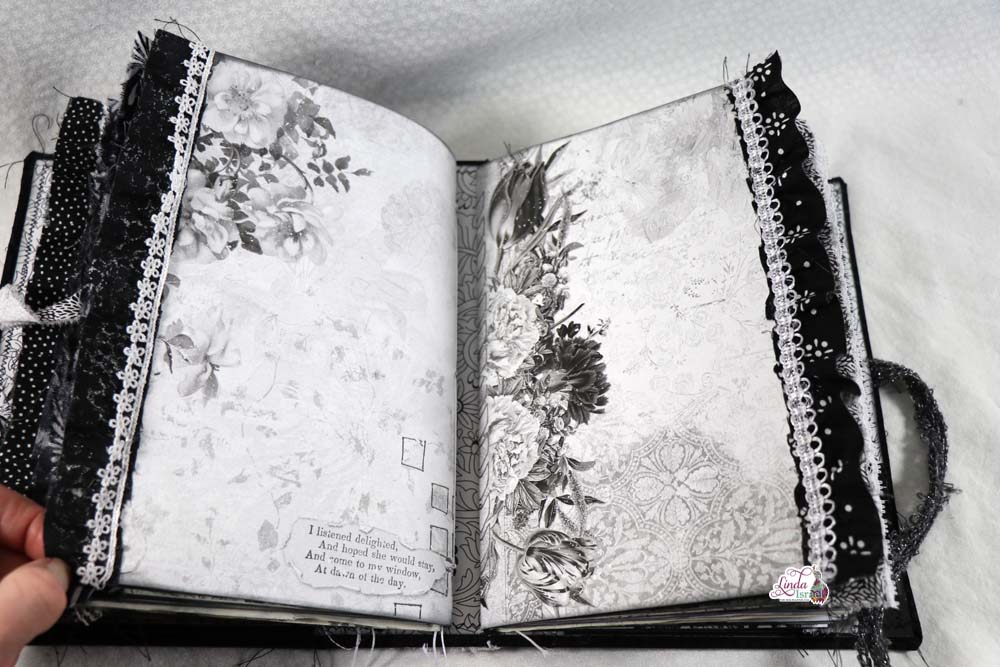
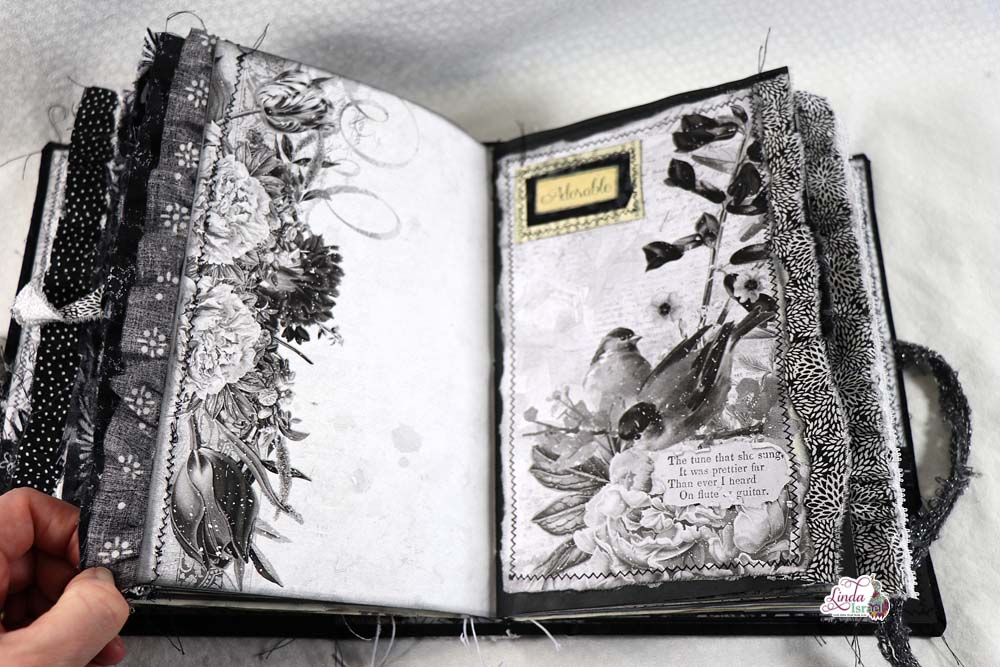
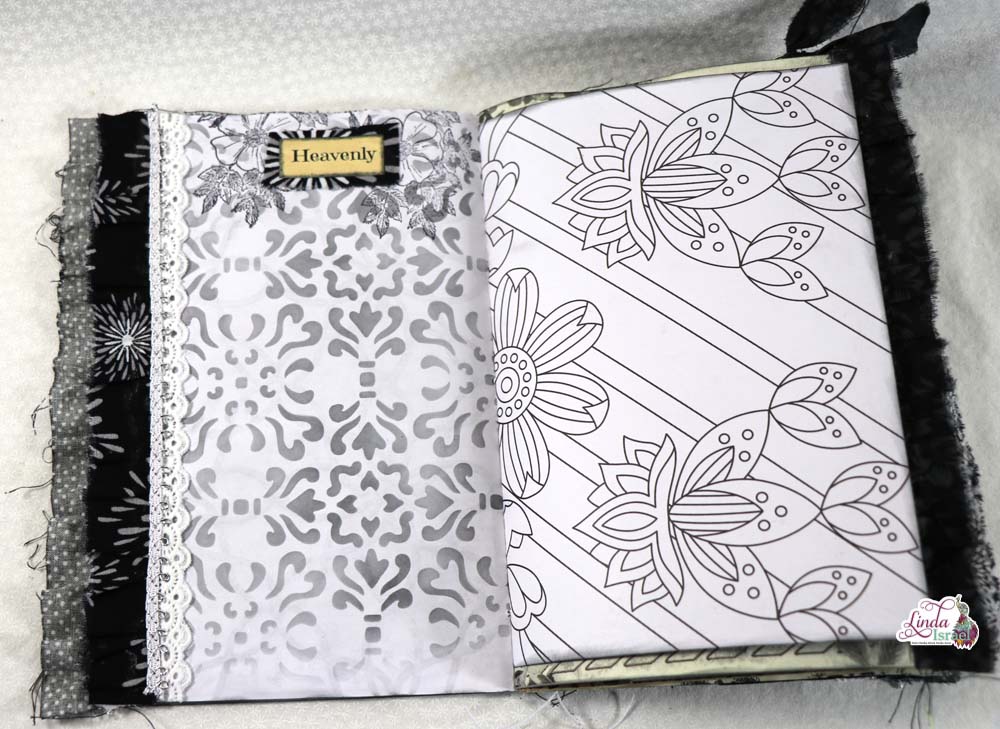
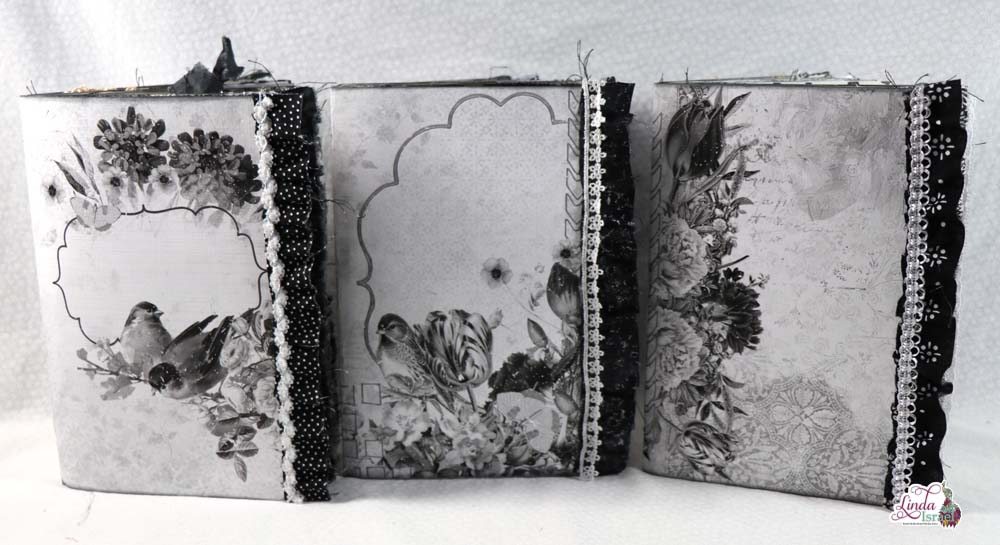 Preparing to create this monochrome journal, then deciding which digitals looked good when printing in black and white takes a lot of time.
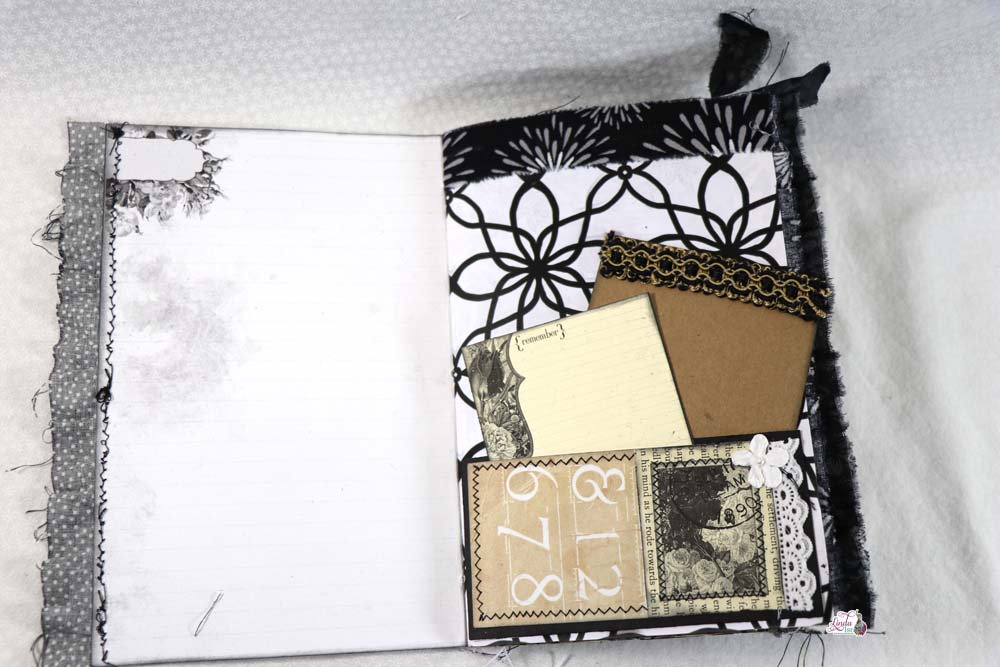
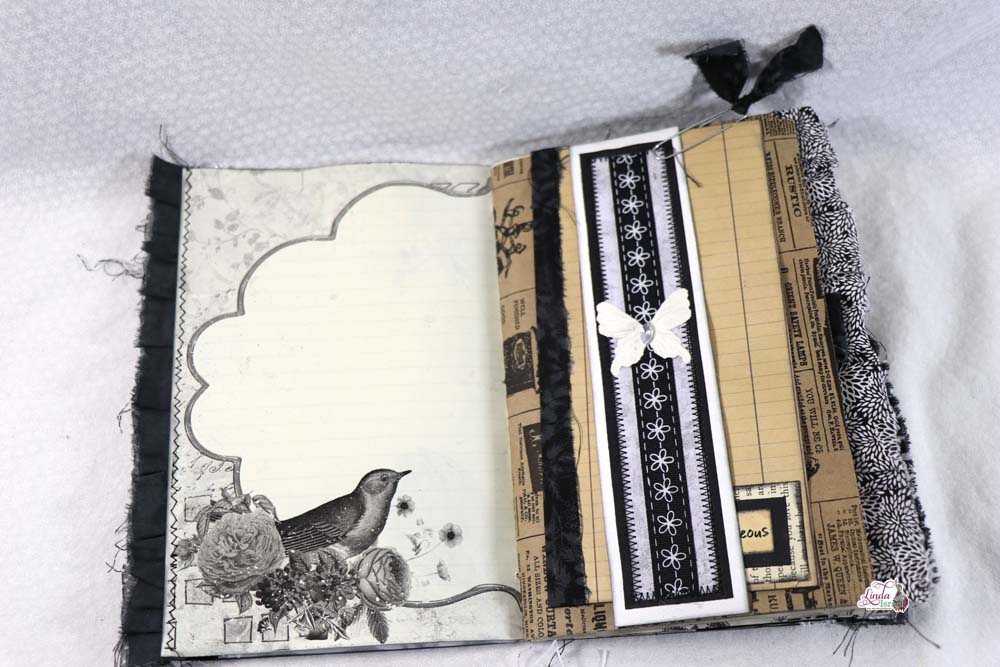
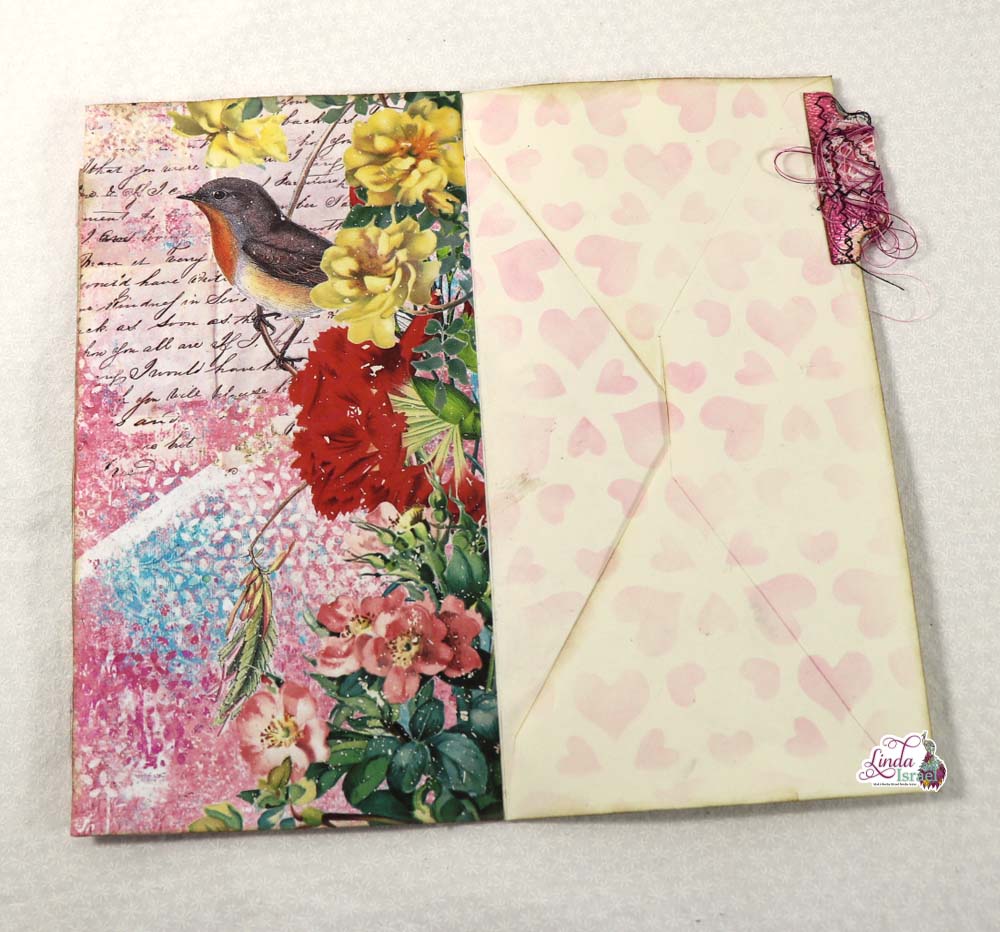
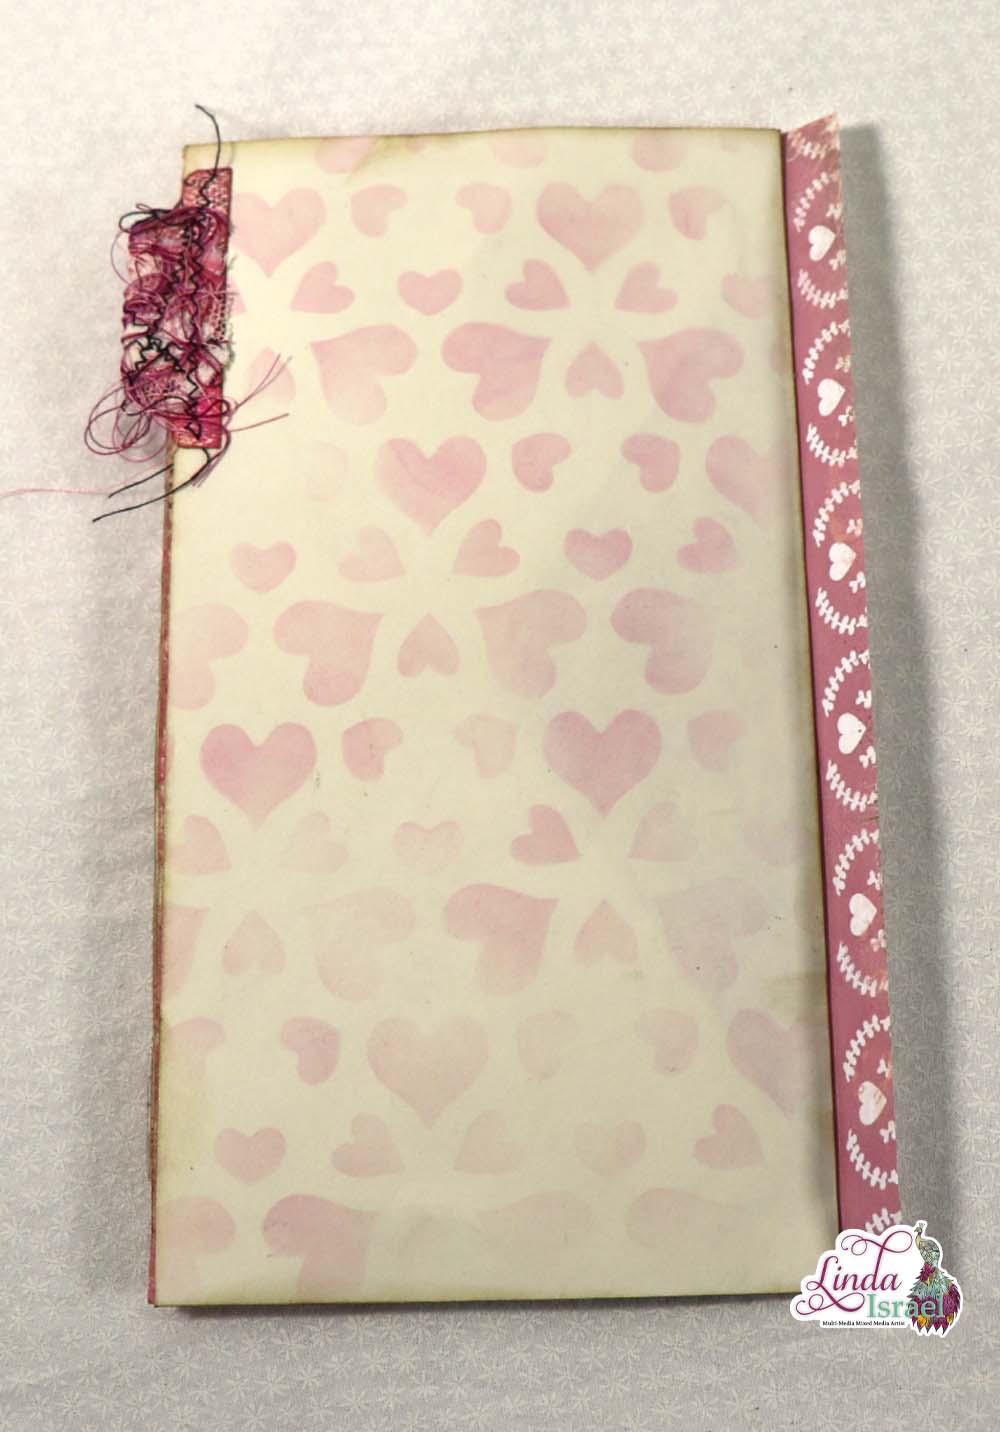
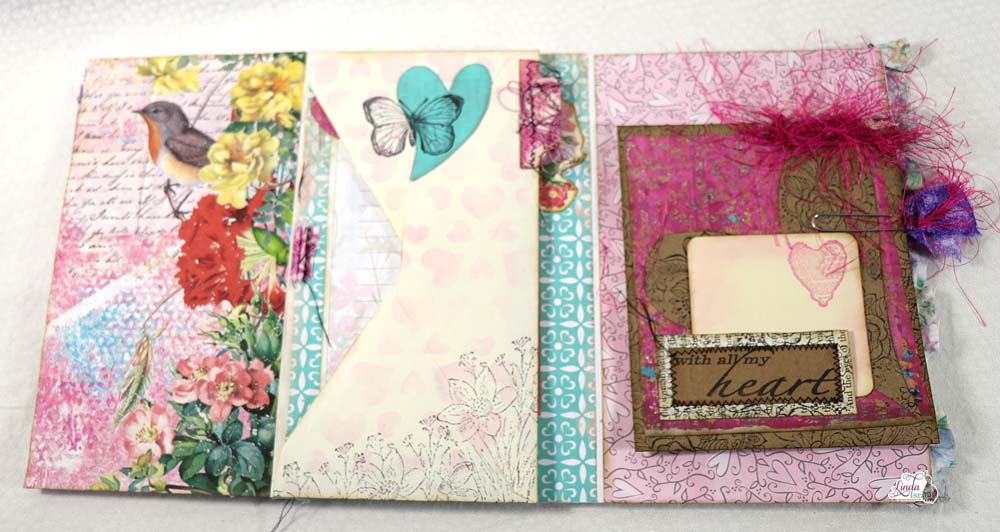
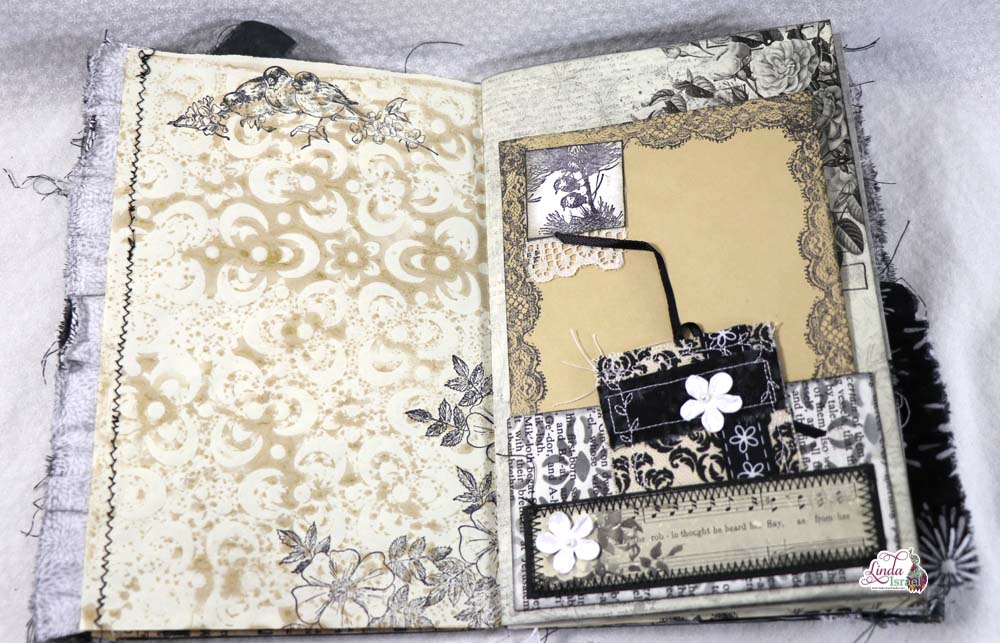 Altering an envelope can be done easily with rubber stamps! One of the stamps from the Lace Duo was stamped around the edge. On a scrap of white paper the little birds were stamped and a real piece of lace was attached.