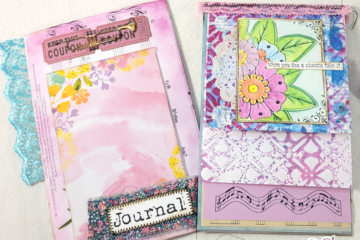
In this tutorial I’ll show how to create a hidden pocket that has a magnetic closure, along with how to add fabric and lace to the edge of pages. This is a super easy way to add pockets and trim to a page.
Hidden Pocket Journal Page Tutorial Video
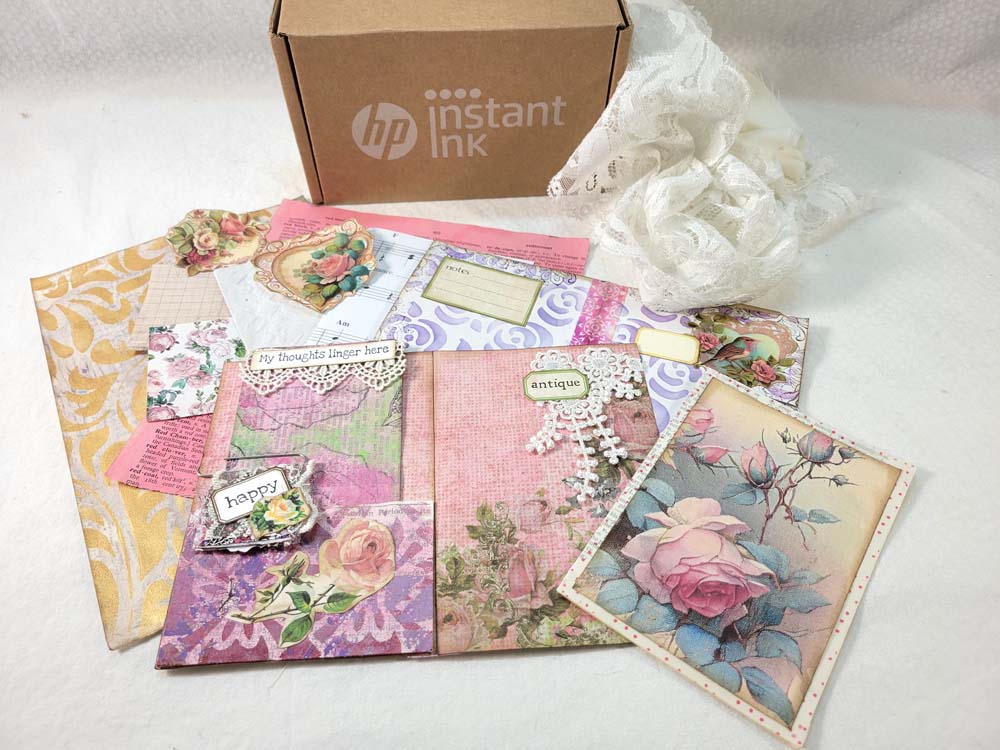
Supplies Used:
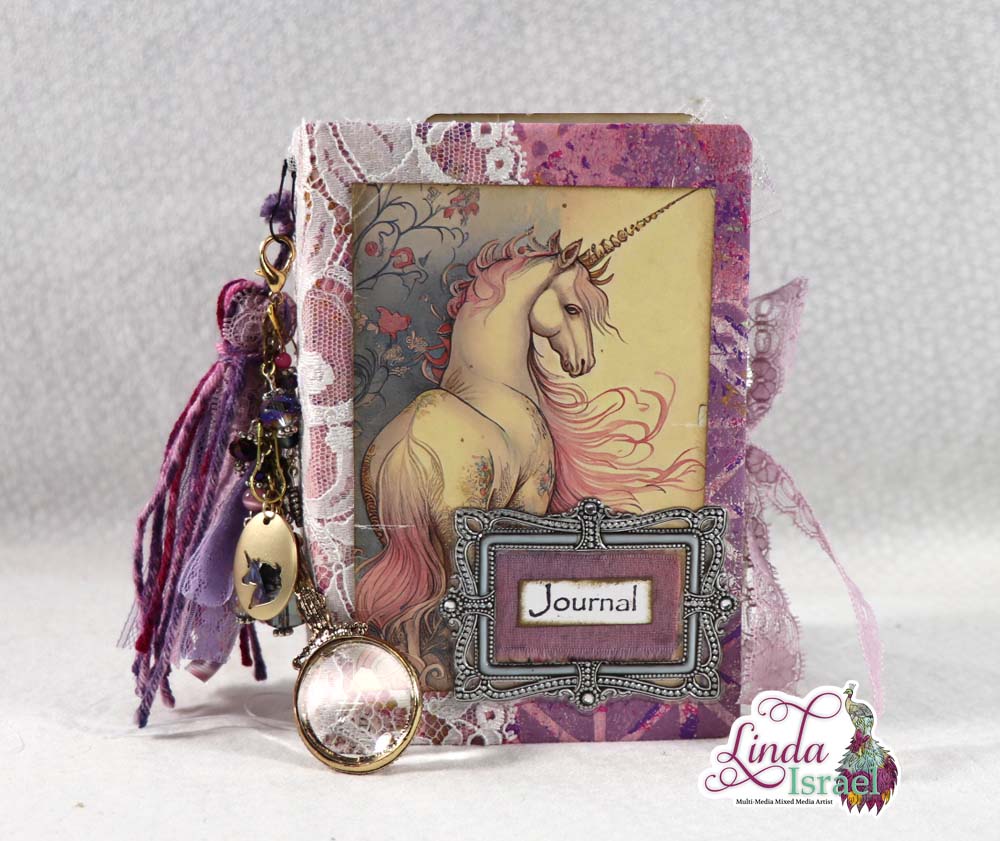
- Bridle Farms digital Kit
- I used these in the project, 3 x 1mm Tiny Magnets, But these would be bigger and more versatile. 6x1mm Magnets
- Printed Fabric – Photo / Printable Fabric
- Ruler
- Fiskars Rotary Cutter
- Lace
- Sewing Machine
- Book Page strips 1 inch by 8.5
- Fabri Tac Glue
- Aleene’s Tacky Glue
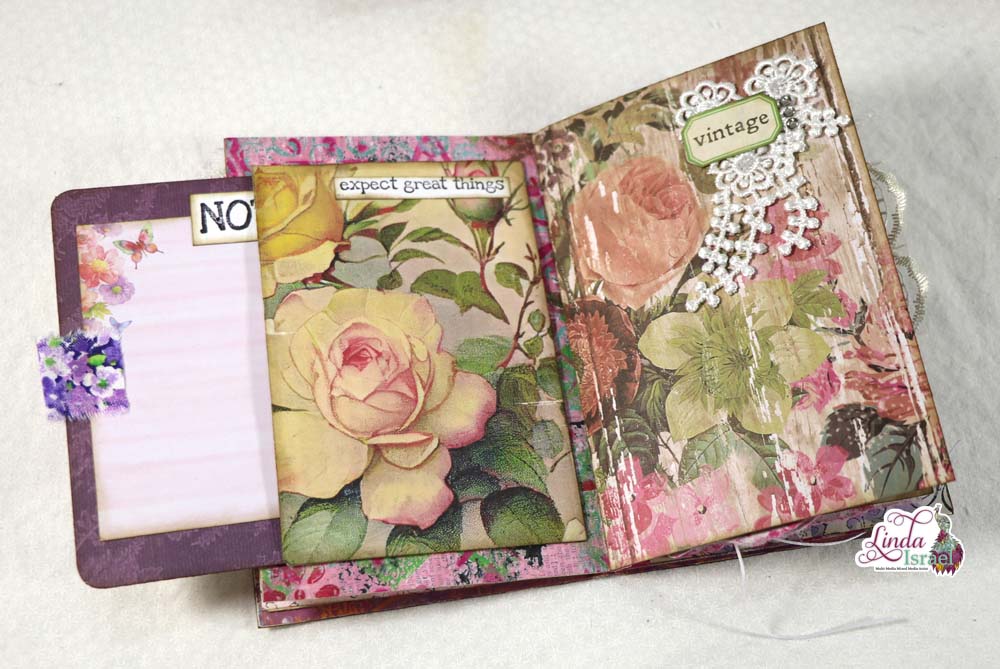
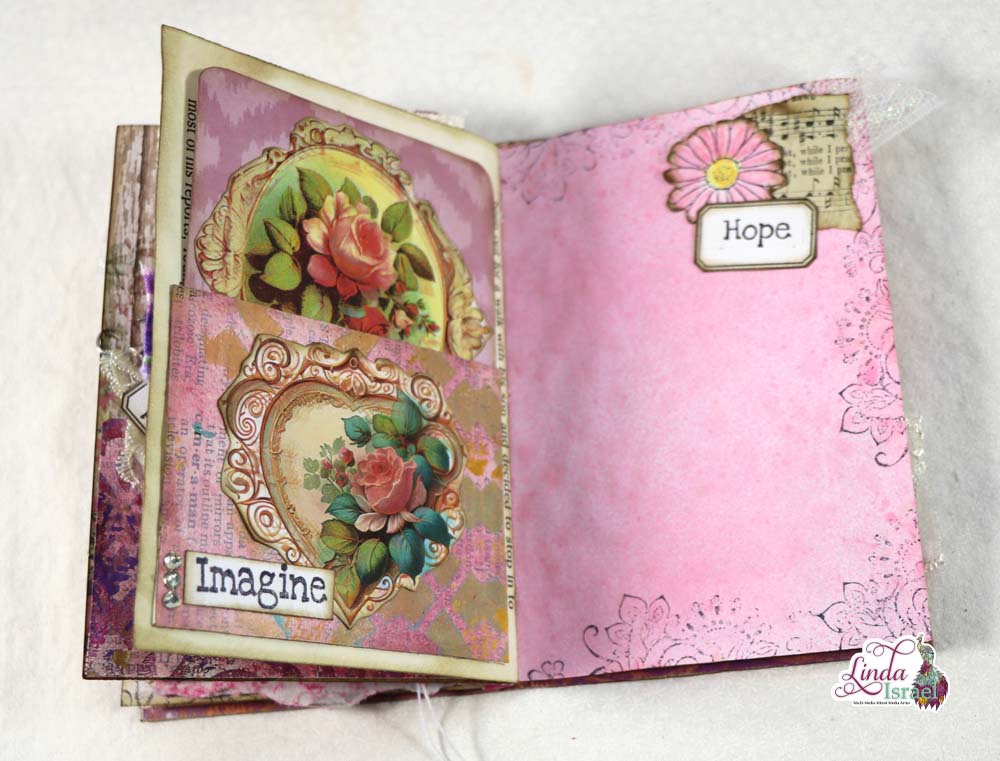
Let’s begin the Hidden Pocket Journal Page Tutorial. Start by selecting two pages, I used the Bridle Farms digital for my pages, you can use any paper you have on hand. Fold the two pages in half as if putting into a journal. This will help marry the pages together later on when adding the magnets.
Print on the photo fabric desired pattern or use fabric that you have on hand. Cut or tear 1 inch strips that are at least 11 inches long. If you have freezer paper and white cotton fabric you can iron the shiny side of the freezer paper to the white cotton. Cut to 8.5 x 11 inches and place under heavy books for a few days to a week. Then you can use this in your ink jet printer as if it is paper.
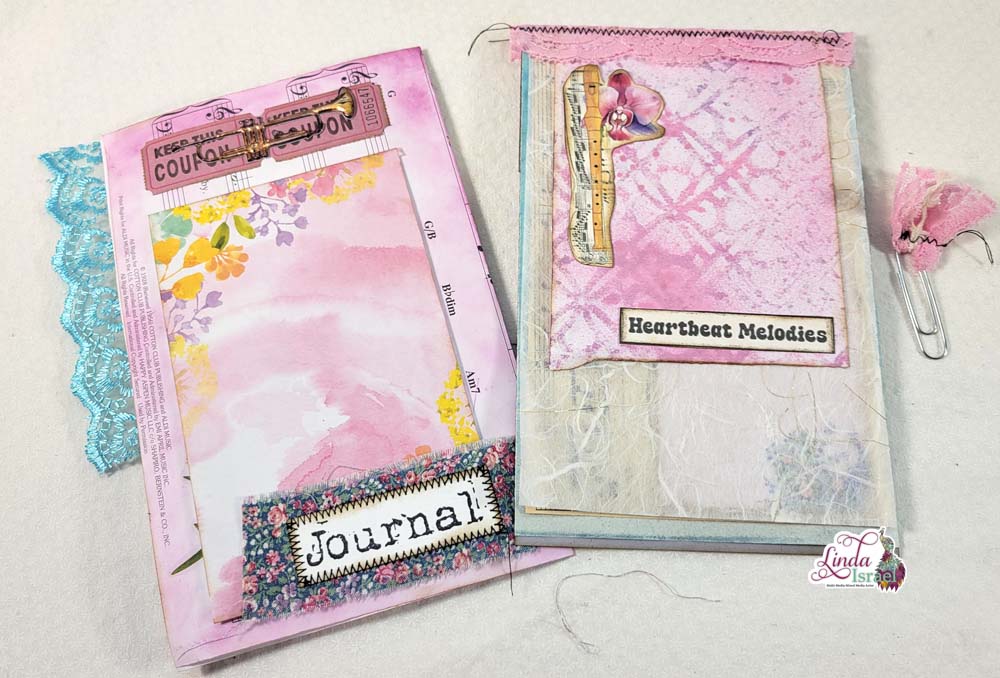
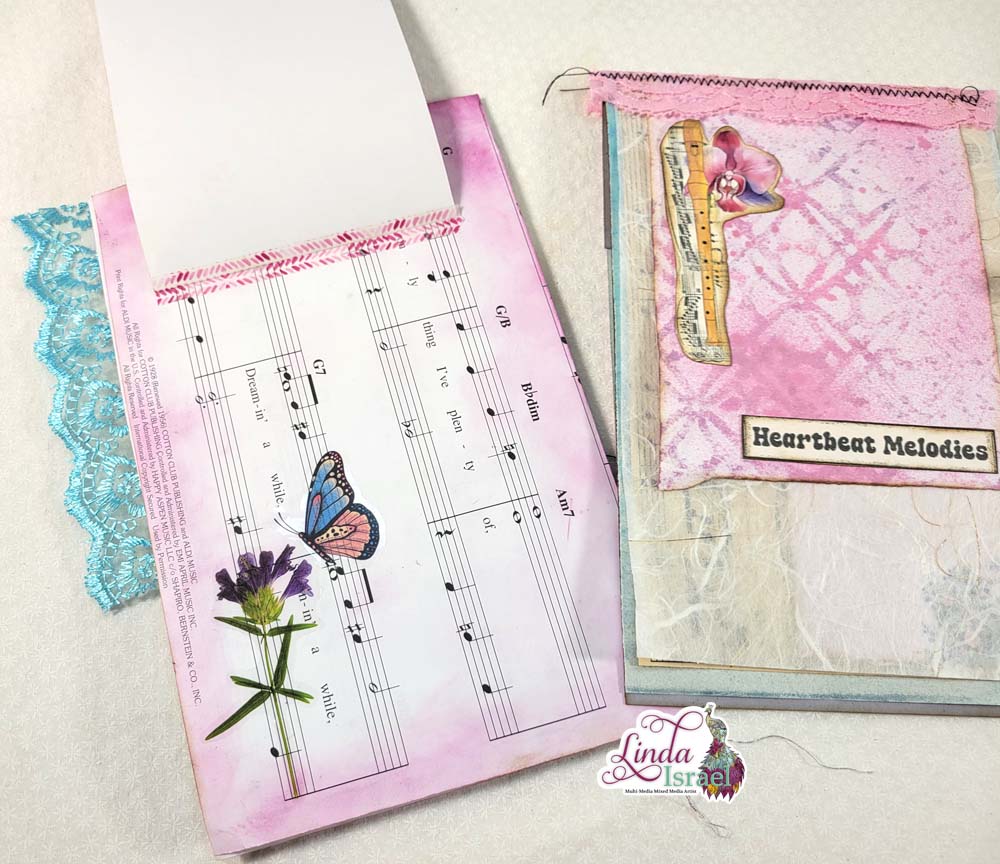
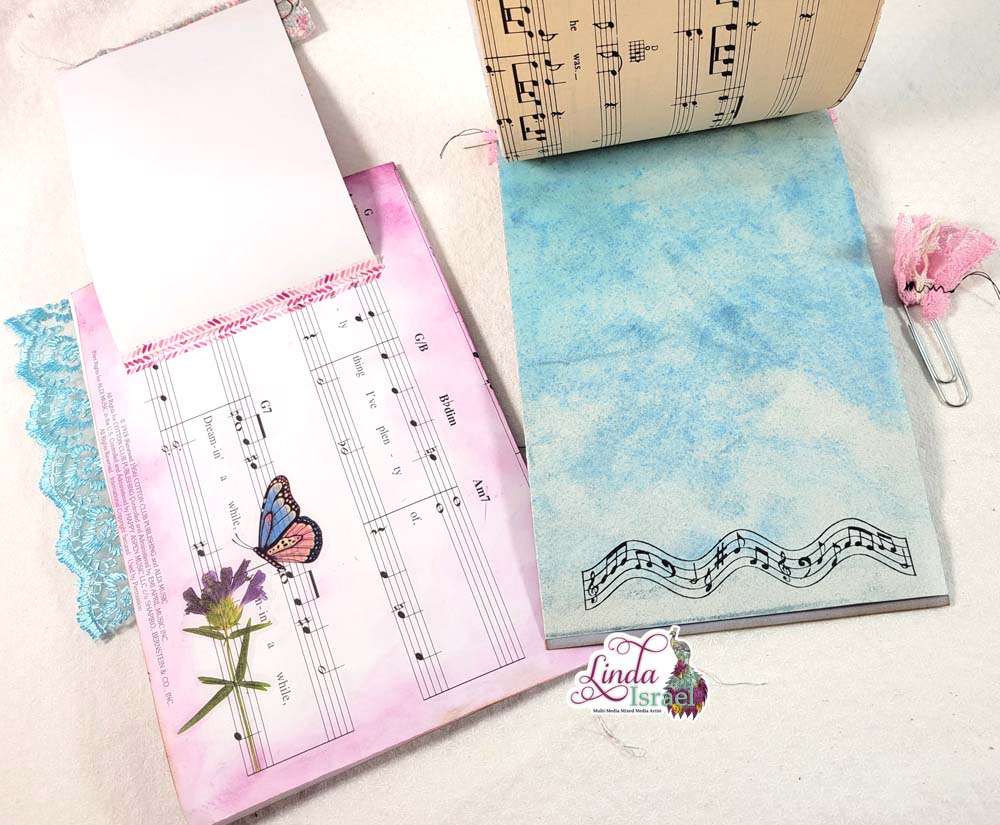
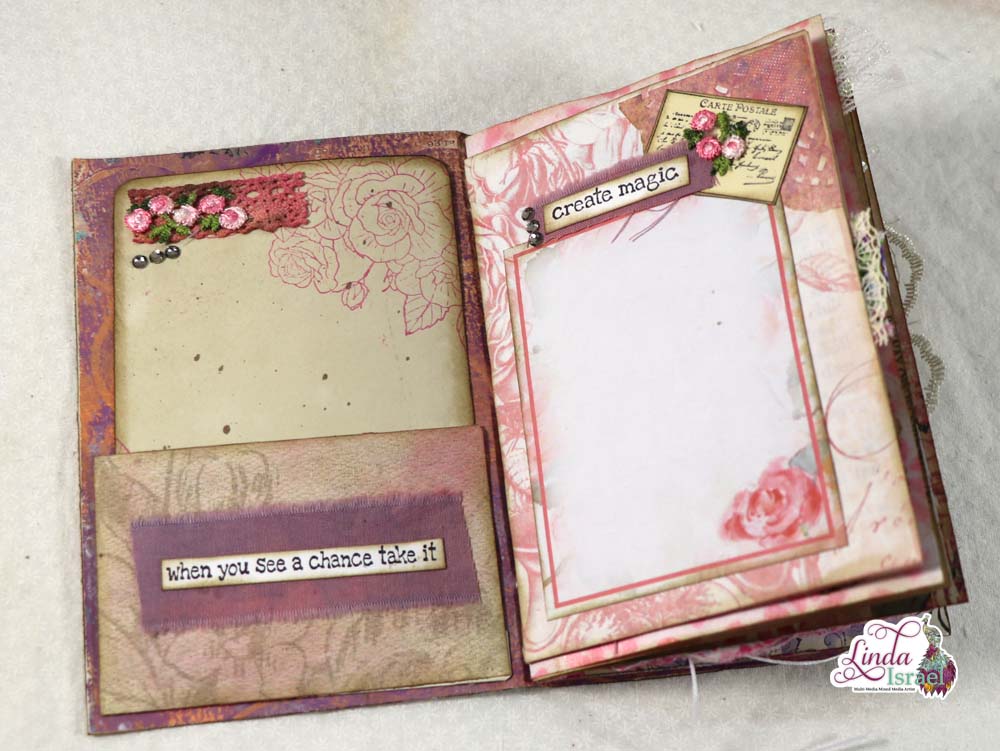
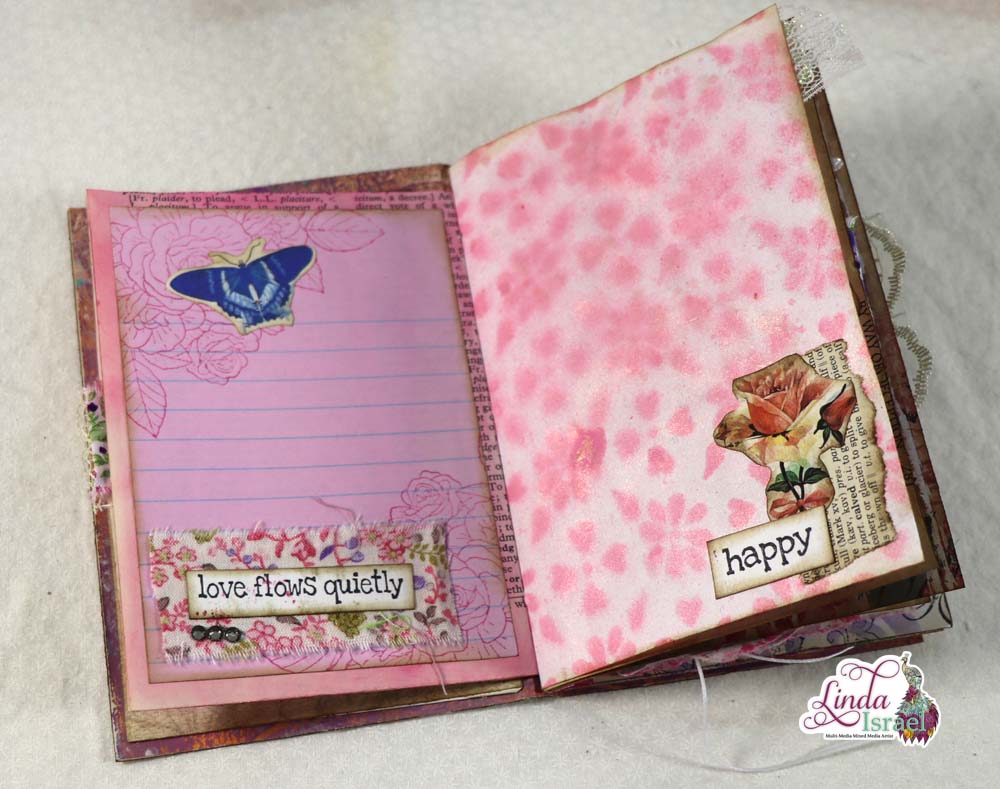
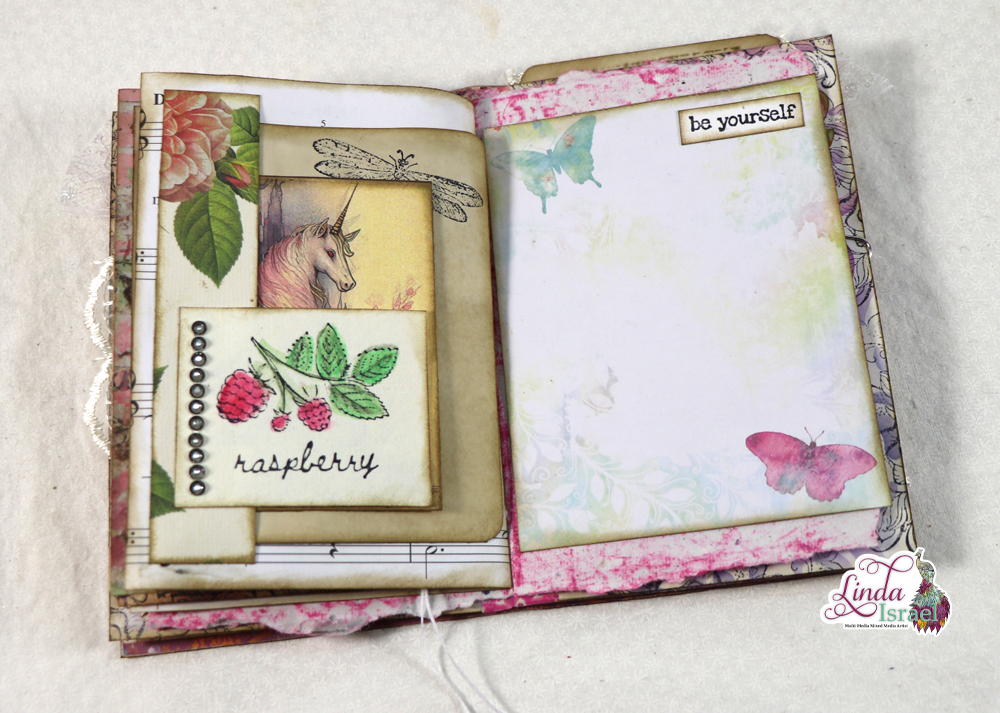
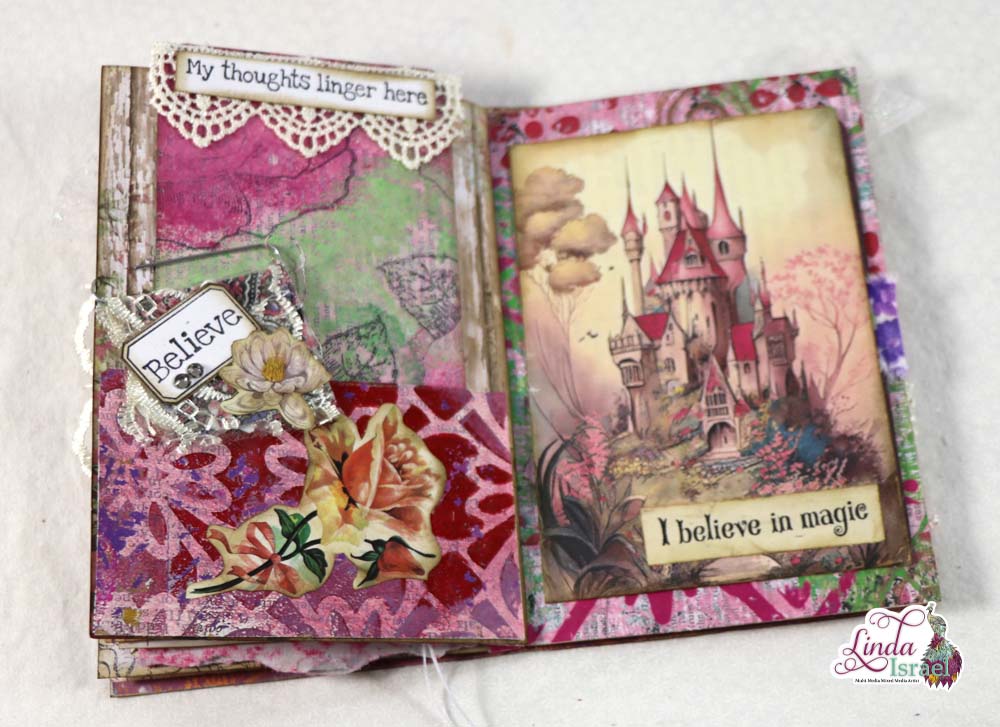
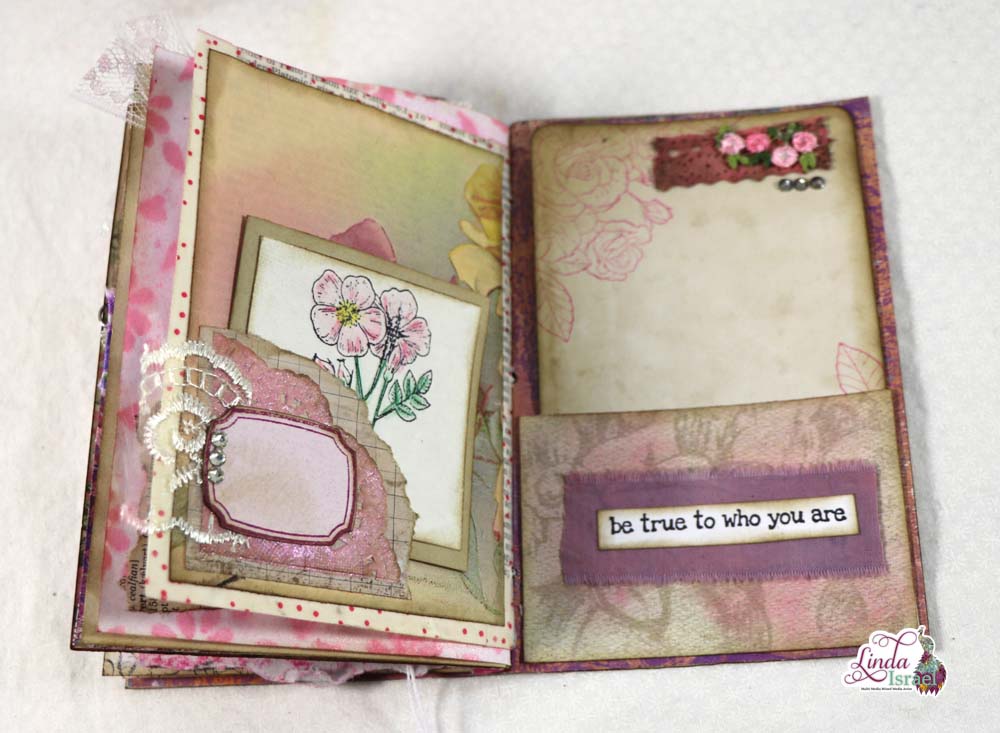
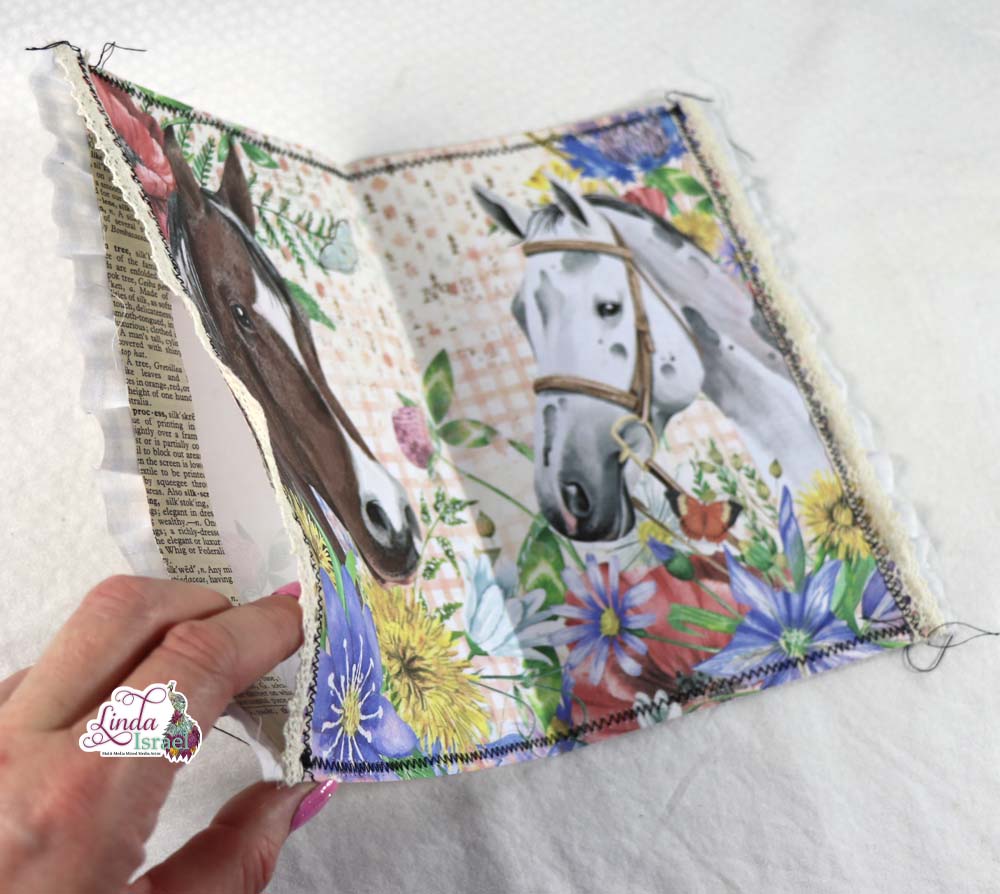
Apply glue on the short edge the 8.5 inch edge of the page. Next lay the fabric down in the glue and scrunch to create a small ruffle of fabric along the edge. Repeat on the other side of the page so that you have fabric on both edges with the printed image.
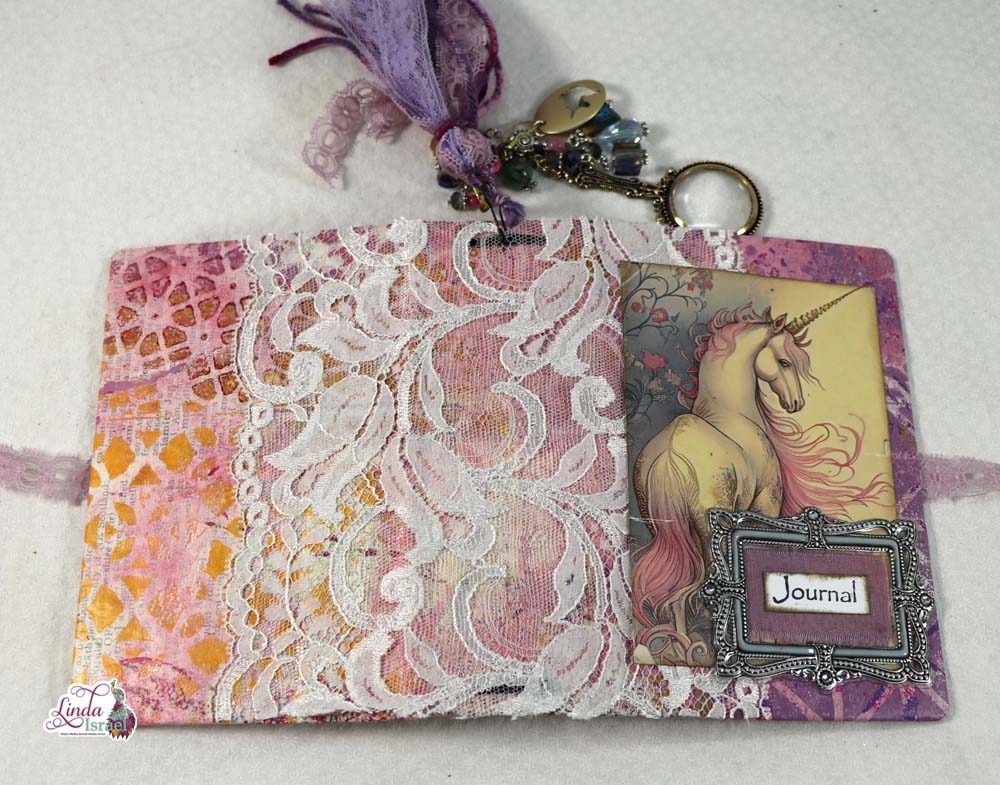
On the second page apply a bead of glue down the edge like the fabric, but this time lay lace into the glue. I used flat lace, but any lace an be used.
Let the glue dry a bit. Now take this over to the sewing machine and stich the fabric and lace into place. If you don’t have a sewing machine, just make sure you put enough glue to hold the fabric and lace and it will hold.
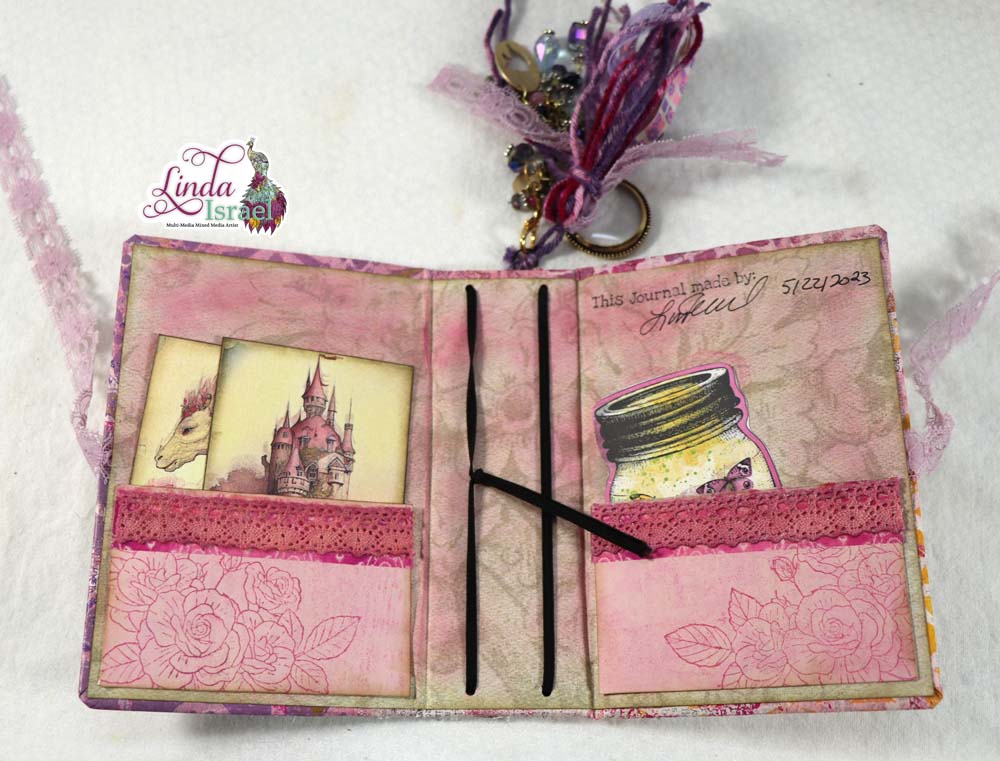
For the inside: Cut four 1 inch x height of page strips of book pages or other scrap paper. My page is a standard letter size 8.5 x 11 inches so I made the strips 1 x 8.5 inches.
Lay the pages where you are working on the short edges the 8.5 inch side in my case, on the inside of the page, measure about 3 inches from the edge and place a dot of Fabri Tac or other glue that will hold a magnet. Place one magnet on the dot of glue, repeat for the other side so that there are two magnets on the same edge three inches in from the top and bottom edges.
Apply glue to the book page strip and place it over the magnets along the edge of the page. This will help hold the magnets in place while giving strength to the edge of the pocket.
Lay a second strip of paper over the first. Use your fingers to feel the magnets – or measure 3 inches in and apply a dot of Fabri Tac glue. Drop a magnet on the glue and it should snap over the first magnet. Repeat this process for the other magnet.
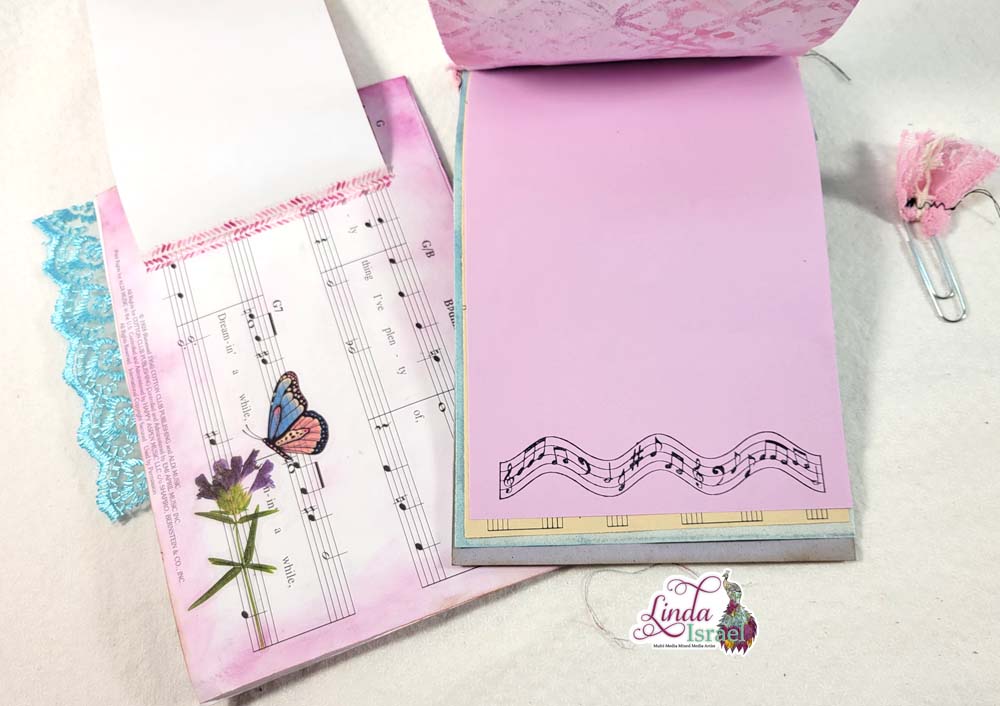
Carefully apply glue on the strip of paper and position the second journal page on top. Make sure you have your pages going in the right direction!!!
Okay you did it once and you can do it again on the other side!
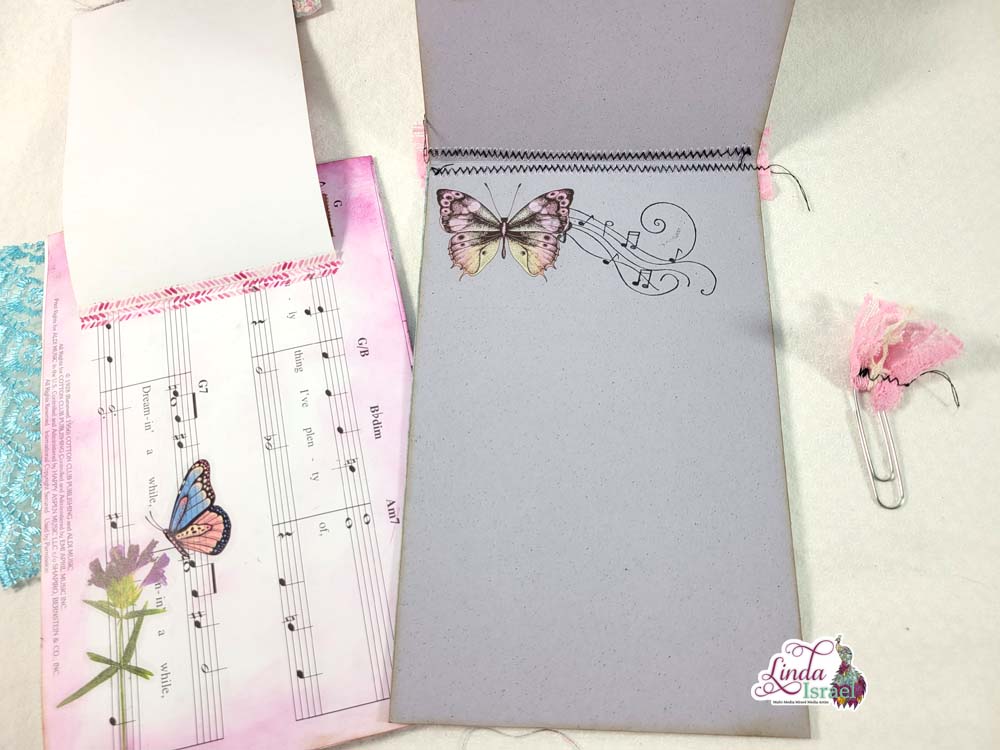
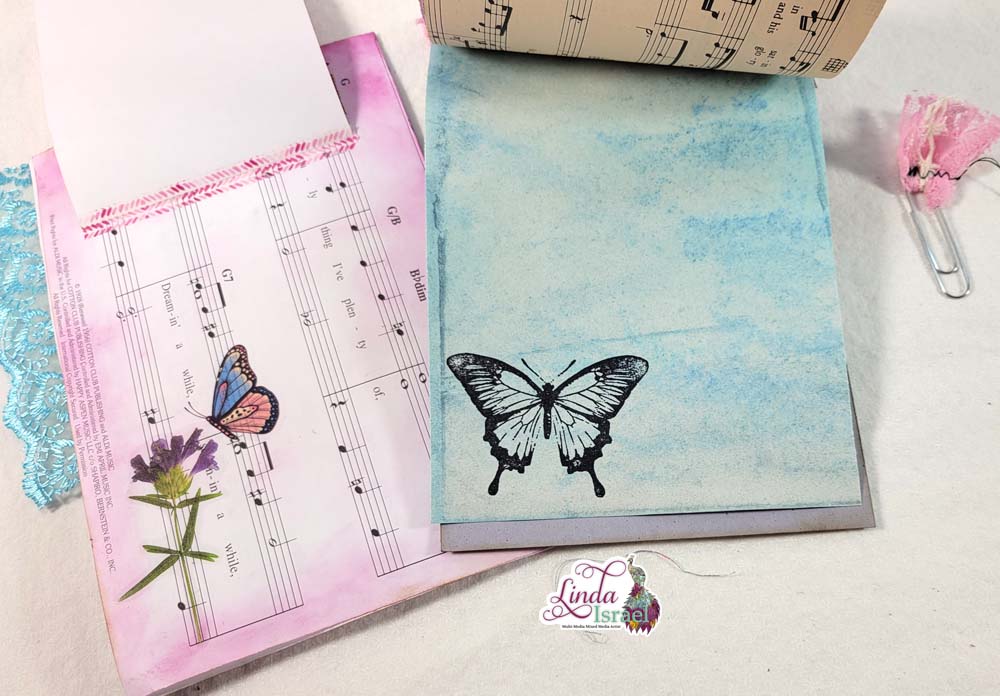
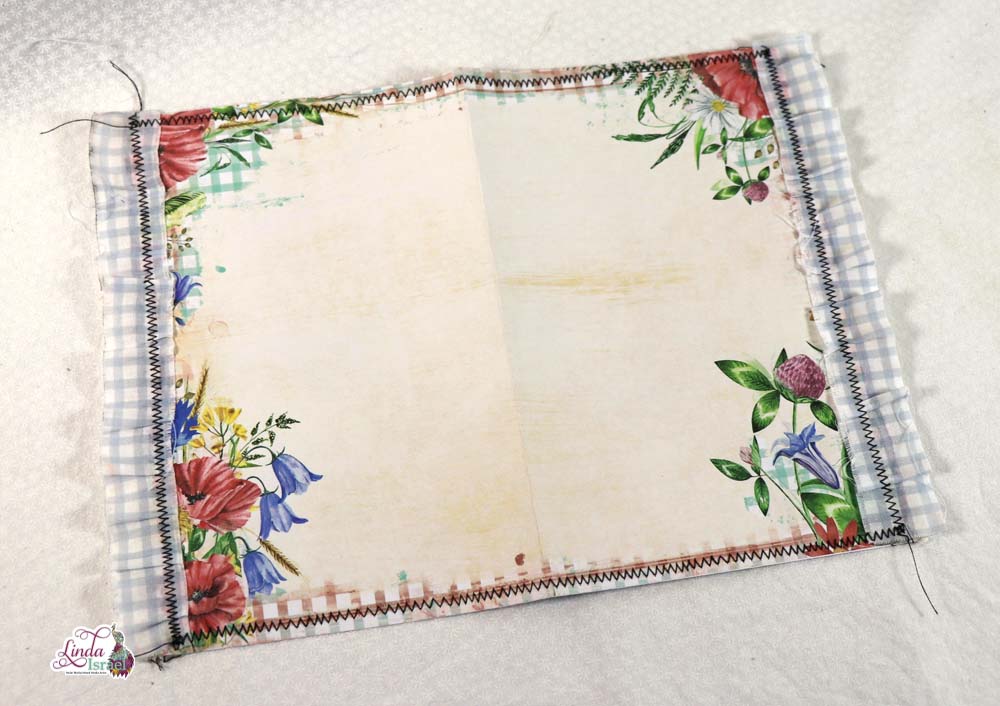
Now that the magnets are installed it is time to seal the top and bottom of the pages. Sew along the very top and bottom edges or glue shut.
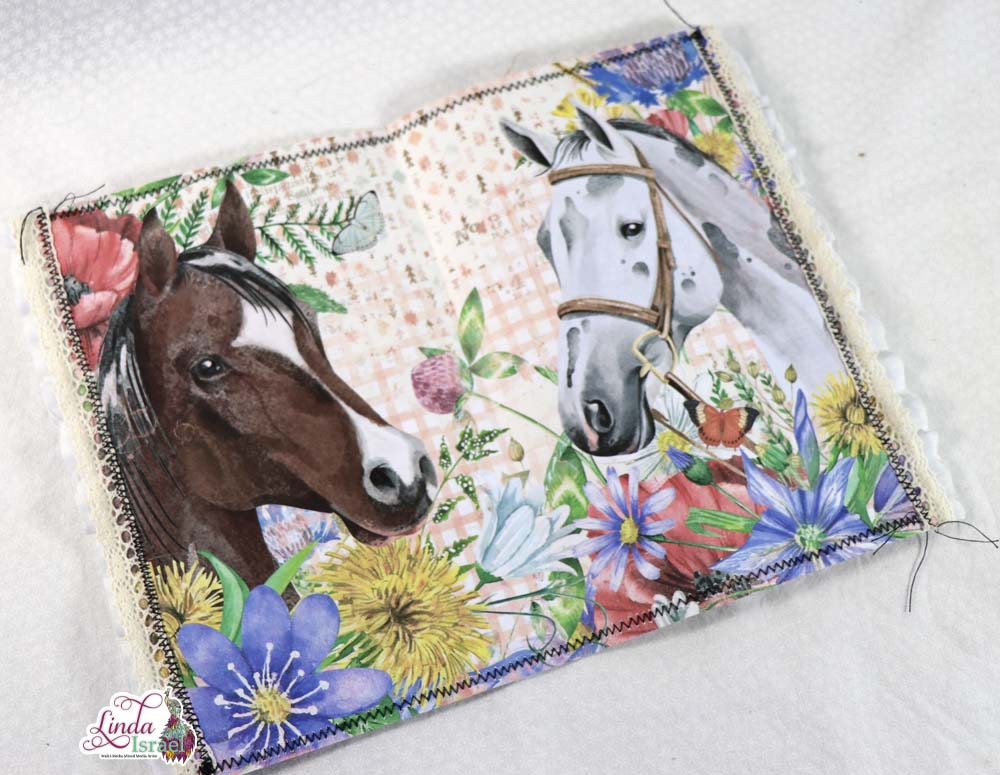
That’s it, you are done! I love the click the magnets make when it is closed.
Have fun adding hidden pockets in your pages!
Visit the Friendly Junk Journal People Facebook group. Of course, you are welcome to join the Friendly Junk Journal People Facebook group. The group is growing daily and we are a friendly group willing to help each other and encourage each other.

Interested in any of the projects Linda has created? Please feel free to contact her through her website. Here is her shop, a lot of items featured and more added weekly.
Keep updated on her posts by following the blog by creating an account. Follow Linda on her Facebook Page or on Instagram for updates that may not be shared on the blog.
Thanks so much for stopping by the blog today to see the Hidden Pocket Journal Page Tutorial.