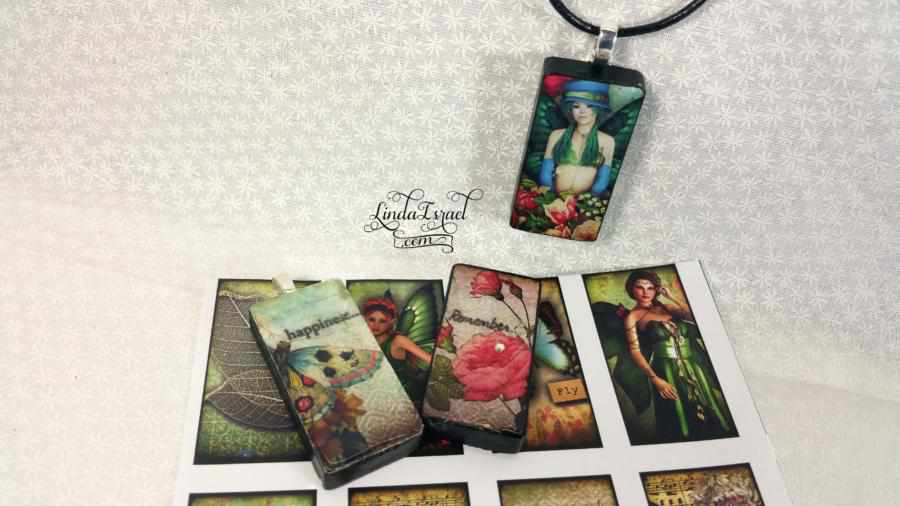
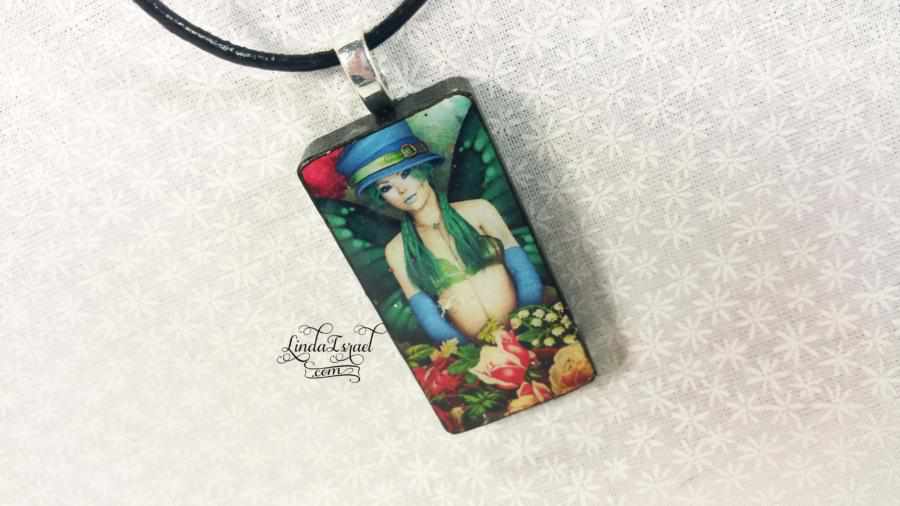
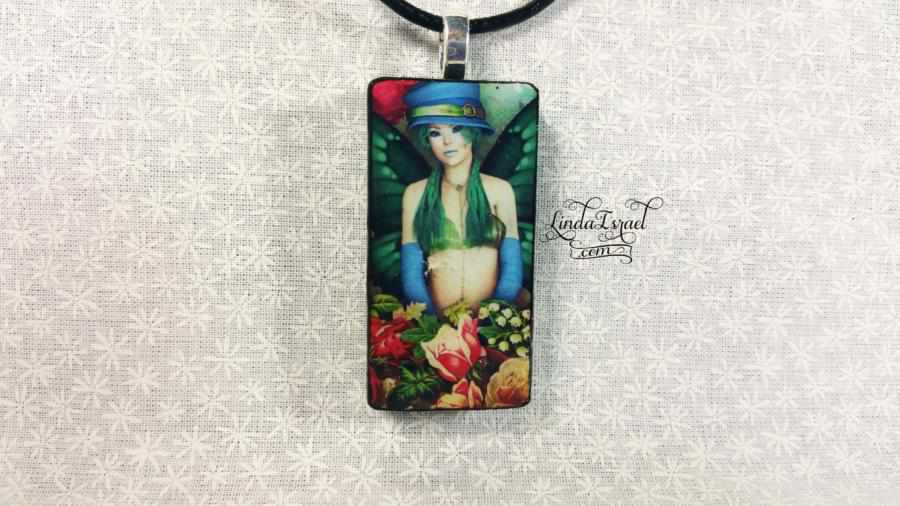
How to make a Fairy Forest Domino Necklace. Using Calico Collage Fairy Forest Digital Images attached to dominoes with Diamond Glaze. A fun fast way to add new jewelry to your stash or make as gifts.
Supply List for How to make a Fairy Forest Domino Necklace
- Calico Collage Fairy Forest Digital Images
- Judikins Diamond Glaze
- Black Dominos
- Paint Brush
- Brutus Monore Detail Ink – Raven
- Fiskars 5 Inch Softgrip Scissors
- Glue On Bail if you want 50 I found a set on Amazon.
- Loctite Super Glue
- Black Leather Cord Necklace 20 inches long – Here is a set of 50 on Amazon.
Making these Fairy Forest Domino Necklaces are very easy. I will say that you will want to make these on a nice weather day as moisture will cause issues with the Diamond Glaze and with the glue drying. When the weather is nice there are no issues and everything works beautifully.
Select images from the Fairy Forest Digital Images – these are domino size 1 in. x 2 in. Trim out to the size of the image.
Using a paint brush apply a layer of Diamond Glaze to the domino, then place the image face up, on top.
Trim the image close to the domino. Use Brutus Monroe Detail Ink – Raven to cover the white edges of the paper. This will also help blend the paper to the domino.
Coat the top of the domino with Diamond Glaze. Go slow when squeezing the Diamond Glaze so that you don’t get bubbles. Bubbles are hard to get rid of, you will have to poke these with a pin.
Let air dry, depending on the moisture in the air it could take thirty minutes or it could take a couple of hours. I have found that if you try to dry with a heat tool it will cause the Diamond Glaze to bubble.
Once the Diamond Glaze is dry flip the domino over and apply Loctite super glue to adhere the bail.
When the super glue is dry it is ready for the necklace. How to make a Fairy Forest Domino Necklace
Tutorial video showing the process of How to make a Fairy Forest Domino Necklace.
See simple huh? These would be a great thing to make for gifts or if you want to set up at a craft fair.
Love how these turned out and I have been making a bunch of these.
Hope this inspires you to make a few.
Thanks for stopping by my blog today.
