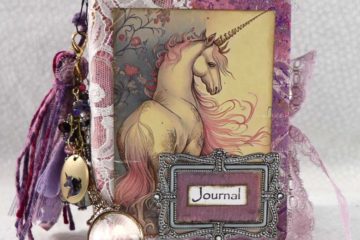
Need a quick gift? Today I’ll show you How to make a quick Keychain Using Calico Collage Spring Peacock digital images, Tim Holtz distressed inks, Brutus Monroe detail in and Rinea Foil in Sapphire.
When out shopping I saw a package of plastic Button Keychains by Playside Creations. These are 2.75 in. in diameter and I knew these would be beautiful keychains to add images inside.
Using my Silhouette Cameo 3, I pulled the 1 in. Digital images from the Spring Peacock set into the software and adjusted the size until it was the correct size for the keychains. I set the images to cut and saved the file.
Sent the images to my printer with the registration marks so that my Silhouette would recognize the sheet for cutting. Then placed the sheet on the Silhouette mat. Loaded the mat into the Silhouette Cameo 3 and told the software to send to Silhouette.
I just love watching my Silhouette in action! It cut the circles the perfect size for my project.
Once the images were cut I then took apart the plastic keychain case. Using Zig Two-Way Glue I glued two circles back to back.
Since the edges don’t always line up perfectly I then used Tim Holtz Distress Ink – Tumbled Glass to go around the edges. This will cover up the white areas.
As another measure to make the images look finished I then went around the outside with Brutus Monroe Detail Ink – Raven.
Selecting a sheet of Rinea Foil in Sapphire I then used the Tim Holtz Bow Paper Punch to punch a bow.
Time to put the keychain together. Make sure that the images are right side up and place inside the well of the keychain. Add the bow or other die cut shape then snap the cover back in place. Bam you are done. It took less than 5 minutes to make one of these keychains.
Here is a list of supplies use in How to make a quick Keychain
Silhouette Cameo 3 bundle
Spring Peacock 1 inch Images
Playside Creations Plastic Button Key chain 16 count
Zig Two-Way glue
Rinea Foil – Sapphire/gold
Tim Holtz Distress Ink – Tumbled Glass
Brutus Monroe Detail ink – Raven
Tim Holtz Bow Punch
Video on How to make a quick Keychain
This was a super fun project and didn’t take very much time at all. It was fun to see how each one turned out and I have made several and plan to make a lot more of these.
Pick up the supplies to make some yourself, now that you know How to make a quick Keychain, it’s fun!
Thanks for stopping by the blog. Your support is appreciated.
“We are a participant in the Amazon Services LLC Associates Program, an affiliate advertising program designed to provide a means for us to earn fees by linking to Amazon.com and affiliated sites.”


