This question comes up a lot how do you go about Journaling in Junk Journal? So today I’m sharing my Journaling in Junk Journal for the Junk Journal July Challenge. I created a journal to remember this month and I’ve finally finished journaling inside it today.

There are a only a few items I used when Journaling in Junk Journal for July. Since the journal was already finished all I had to do was add my journaling. My tools were simple, Jot Glue stick, Aleene’s Tacky Glue, Sharpie Fine point pen – no bleed, Waxed Linen Thread, awl, bookbinders needle, or a Book Binding Kit – Awl, Book Binders Needle: here, washi tape, two sheets of 12 inch x 12 inch cardstock in lavender, paper cutter, scissors, Ranger Blending Tools, and Tim Holtz Distressed ink – Black Soot.
Here is a video showing my Journaling in Junk Journal July journal that I completed.
What I love the most about Junk Journals is there is no wrong way to make them, no wrong way to use them. If it is something you love then make a junk journal so that you can be like me and start Journaling in Junk Journal of your own.

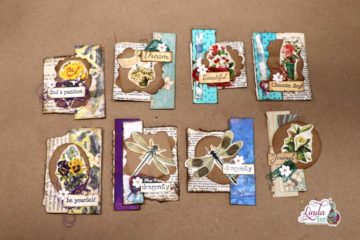
For today’s Journaling in Junk Journal in my Junk Journal July journal I had printed my photos – 4 to a page what ever size I thought would look good. These were printed on standard copy paper with a laser printer. Could use real photos from a photo shop or print with ink jet printer. I would love to get one of those new mini photo printers that can print Instagram style photos.
Trimmed the photos with my paper cutter. I had a close up of the cover so it was a different size than the other photos. It made that easy to pick out of the others when trying to remember which photo went first. lol

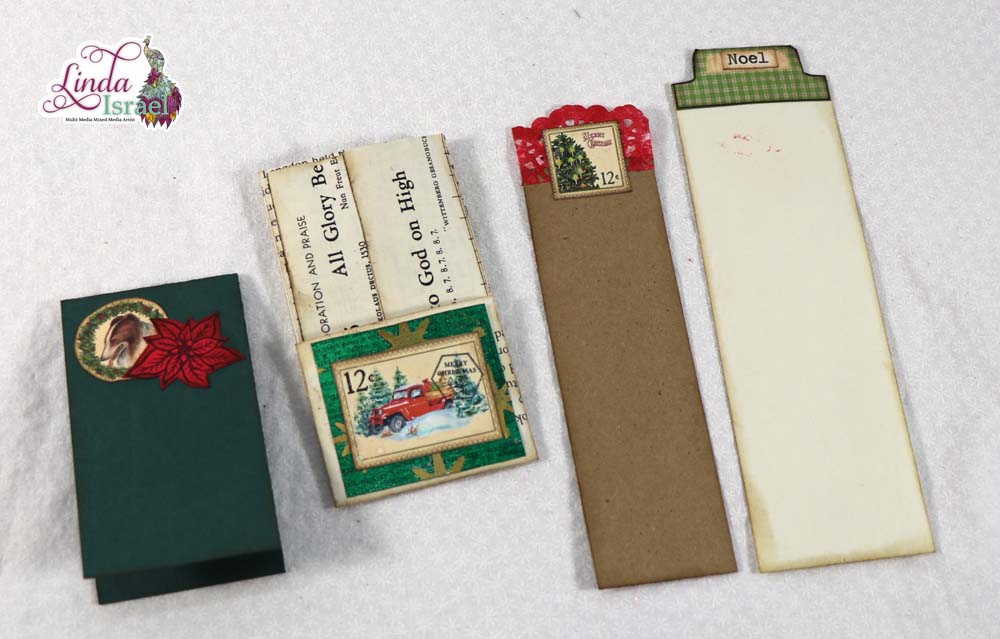
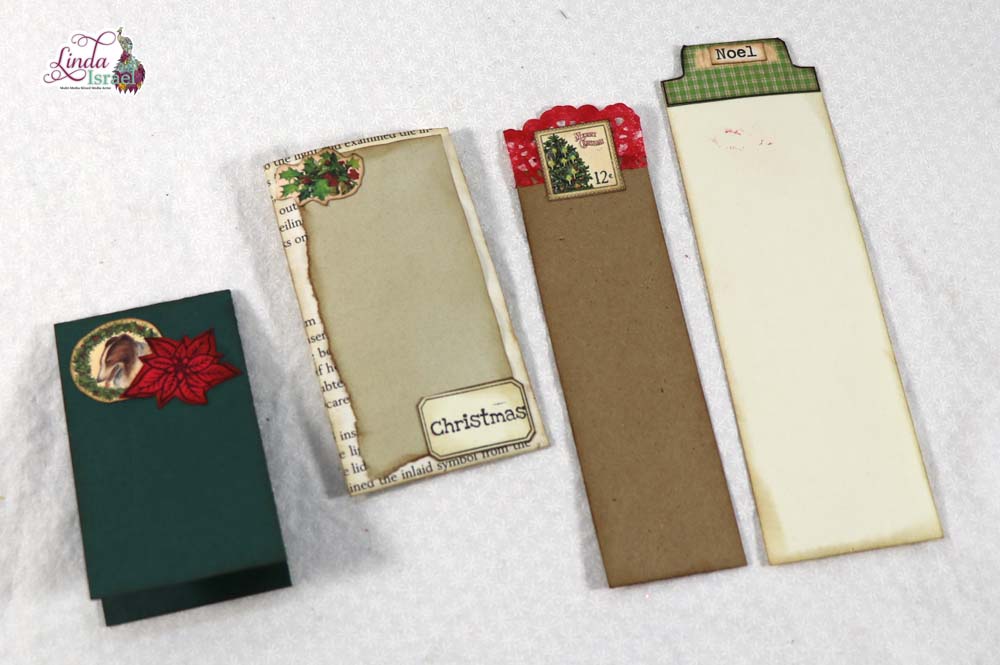
Since I had 20 photos I wanted to use Journaling in Junk Journal July journal I made a mini journal. The mini journal was made using two sheets of 12 inch x 12 inch cardstock. These were cut into 4 inch x 12 inch strips then folded in half to make 4 x 6 pages for a mini journal.
Using the Tim Holtz Distressed ink – Black Soot I added color to all of the pages. I fold the papers both directions so that I can get both sides and down in the crease of the book.

Stack the pages of this mini journal together and center. I make a template to mark my hole placement for a Pamphlet Stitched journal. Mine is the height of the journal by 2 inches wide. So, in this case, it is 4 inches tall by 2 inches wide. Score from top to bottom in the center. Fold the paper in half to mark score. Then place a dot in the center and dots 3/4 an inch from each end.
Use an awl to pierce dots on the template. Place the template in the center of your new journal making sure to line up all the pages. I use giant paper clips to hold my pages while I’m punching and sewing the pages for Journaling in Junk Journal.
Take the awl and pierce through all the pages. Remove the template and pick up your thread to bind this journal. I use waxed linen thread that is three times the length of my journal height in this case about 12 inches. Thread a book binders needle (can use large yarn needles but the eye is wider and will make a larger hole in the paper. The yarn needles are sometimes not as strong too.
Starting in the center of the holes on the inside of the journal place your needle and push to the outside of the journal. Pull the needle up and into the top hole from the outside going inside the journal. Make sure to hang on to the tail on the inside or it will pull through. We need that to tie it off in a moment.
Now that you are inside the journal take your needle and go through the center hole. I hold the tail of the thread so it doesn’t pull through. The needle is now on the outside in the center so go to the bottom hole from the outside to the inside.
Time to tie off this journal. Pull your needle under the top thread on the inside. Gently pull the threads in opposite direction to make sure all are tight. Then tie two square knots. Here is where you can snip it close or leave a tail to add a punched shape.

Congrats you just made a tiny journal. Wasn’t that easy? Easy is good when Journaling in Junk Journals.
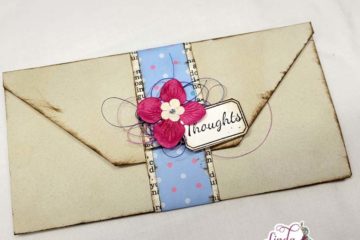
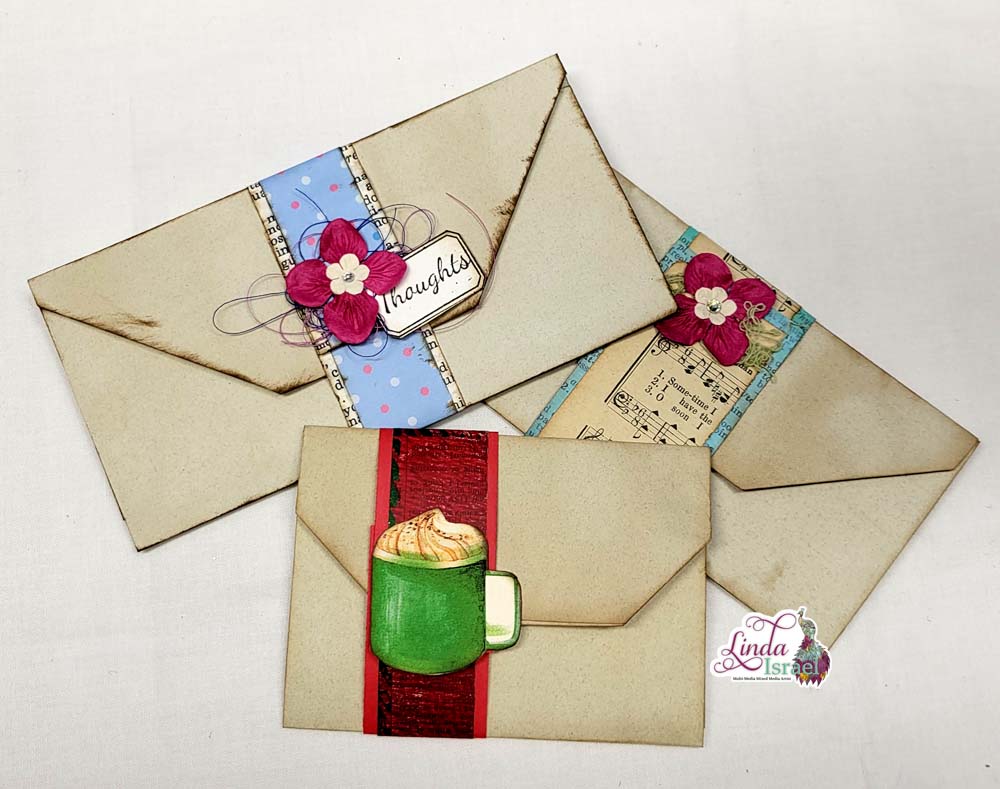
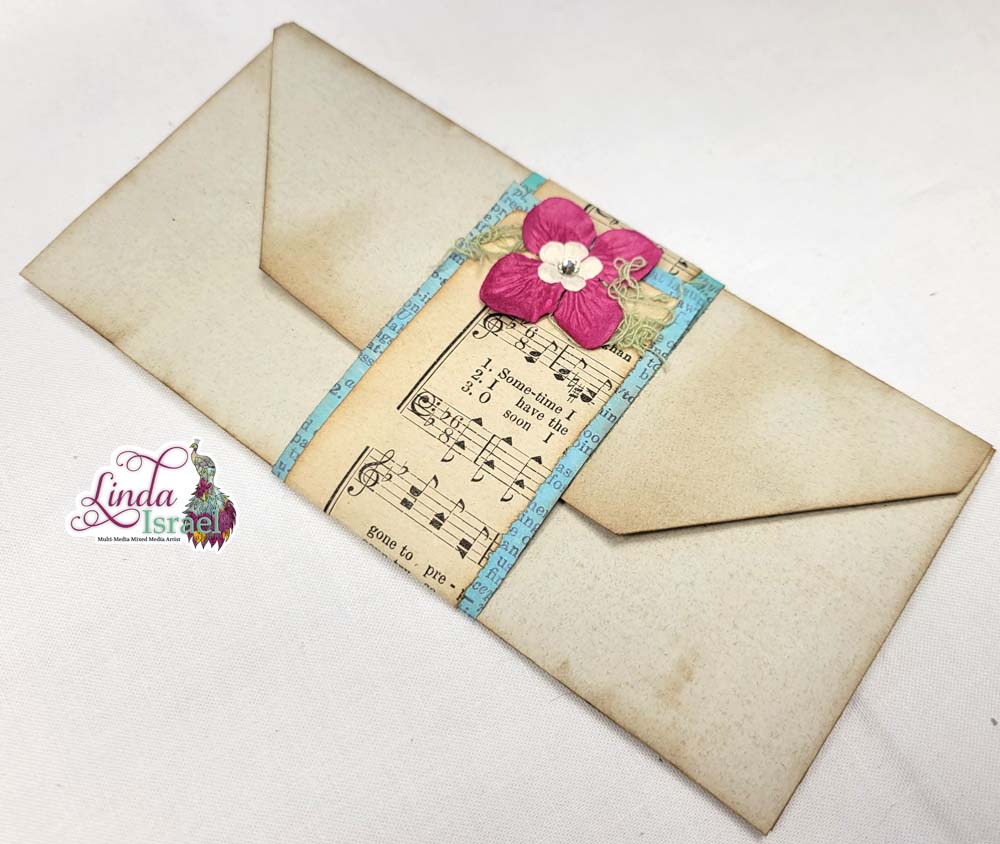
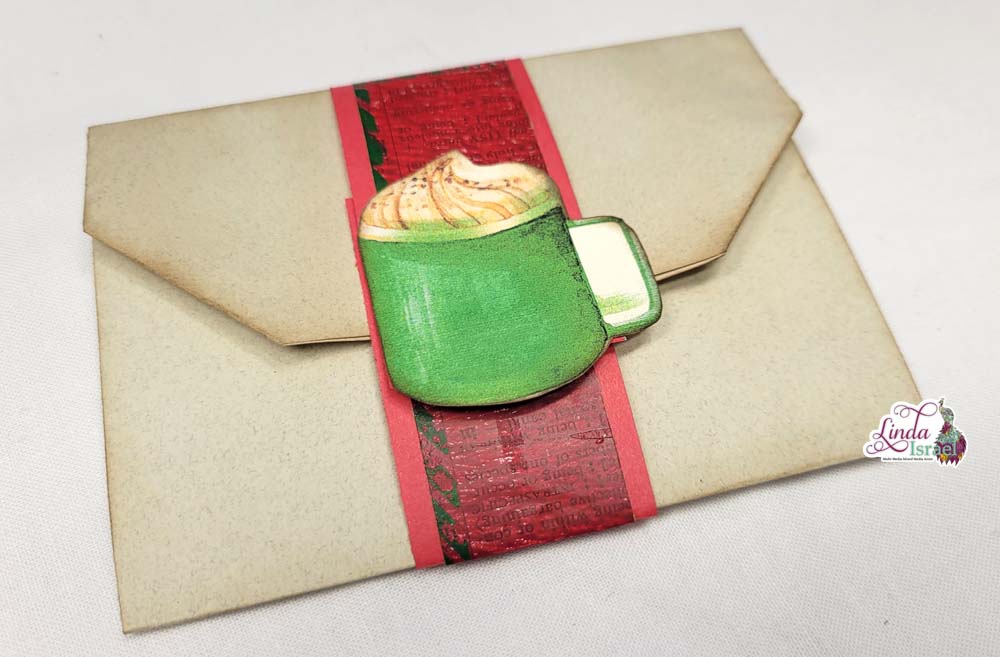
Then I proceeded to journal about the Flowers and Lace Junk Journal. Information about the size of the journal, how many pages, the price it was sold for and who purchased the journal. These are happy memories for me to remember later.
Journaling in Junk Journals isn’t hard. And there are no wrong ways to do so. Have fun with your journals. This one I kept to photos and writing. The next might be mixed media – paints, papers, fabric and more. And the one after might be all about a trip and the memorabilia that is collected on the way.
Have fun when you are Journaling in Junk Journals.
Make sure to check out the Friendly Junk Journal People Facebook group. Of course, you are welcome to join the Friendly Junk Journal People Facebook group. The group is growing daily and we are a friendly group willing to help each other and encourage each other.
Interested in any of the journals I created? Please feel free to contact me through my Facebook Page.
Here is my shop, I have a lot of items uploaded and add more weekly.
My hope is that I have inspired you to look at those papers in your stash and make your own junk journal.
Keep updated of my posts by following me. Follow my Facebook Page or on Instagram for updates that may not be shared on my blog.
Thanks so much for stopping by my blog today to learn about Journaling in Junk Journal.