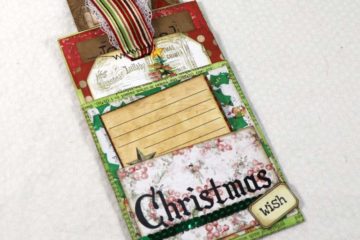
It’s a Junk Journal from my stash, Titled The best is yet to come, that I’m sharing today. There are a few members of the Paper Crafters United! Facebook group that decided to do a video blog hop. We thought each of us could make a junk journal using items from our stash but we were not allowed to use printed papers, like scrapbook papers nor could we use digital papers in the junk journal.
So this Junk Journal from my stash was a perfect challenge for me. As I was able to force myself to use some of these pretty things I’ve collected over the years or last week. LOL
Junk Journal from my stash Items used.
- Dictionary pages – look at thrift stores for these wonderful treasures
- Music from a hymnal.
- Vintage Greeting card
- Fabric
- Stickers
- Watercolor Paper
- We R Memory Keepers Crop-A-Dile Corner Chomper Tool
- Old book pages
- large envelopes
- Images out of magazines and books
- Aleene’s Tacky Glue
- Coloring book page
- Notebook paper
- Outdated letterhead
- Harper’s Bazaar page
- Stamped and sprayed paper from an old project
- Sewing Machine
- Tattered Angels Glimmer Mists, Chartreuse, Teal, Blue Bubbles, Mint Julep
- Stencils
- Cheese Cloth
When I’m making a journal I look at all of the pages to decide what size it should be with the cover. For this Junk Journal from my stash, I found a page out of an old Harper’s Bazaar and decided that all of my pages would be this size or smaller.
Once the size was decided I went through the papers I wanted to use and set to cutting to the correct size. Doing this first helps me get my head around the papers I’m using and maybe how I want to decorate.
Using Tattered Angels Glimmer Mists and stencils I then started coloring the papers. I just love how the Glimmer Mists add color and shimmer to the papers. To me it makes it inviting to write on the paper.
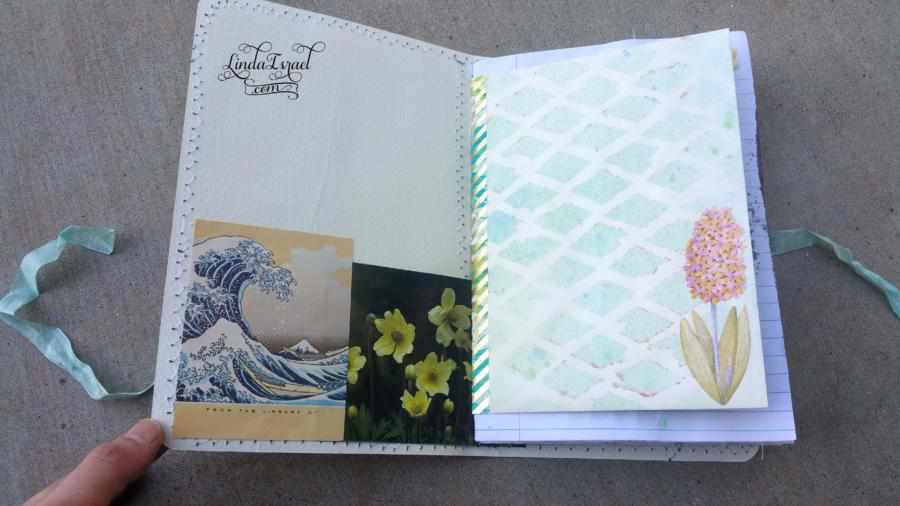
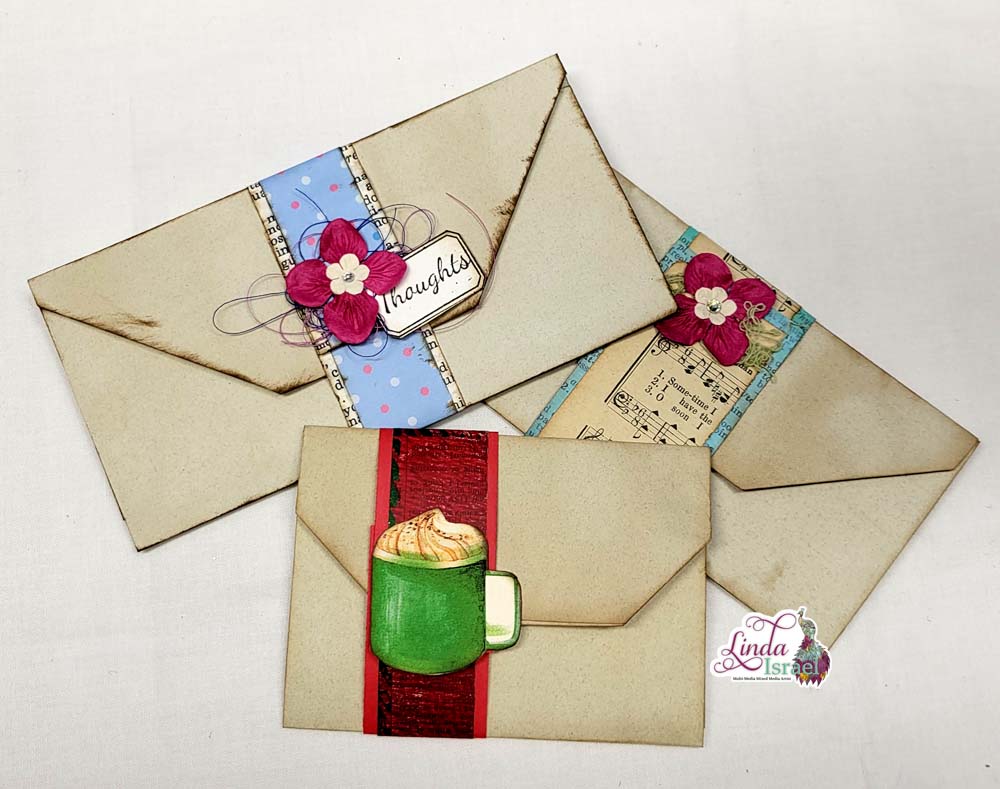
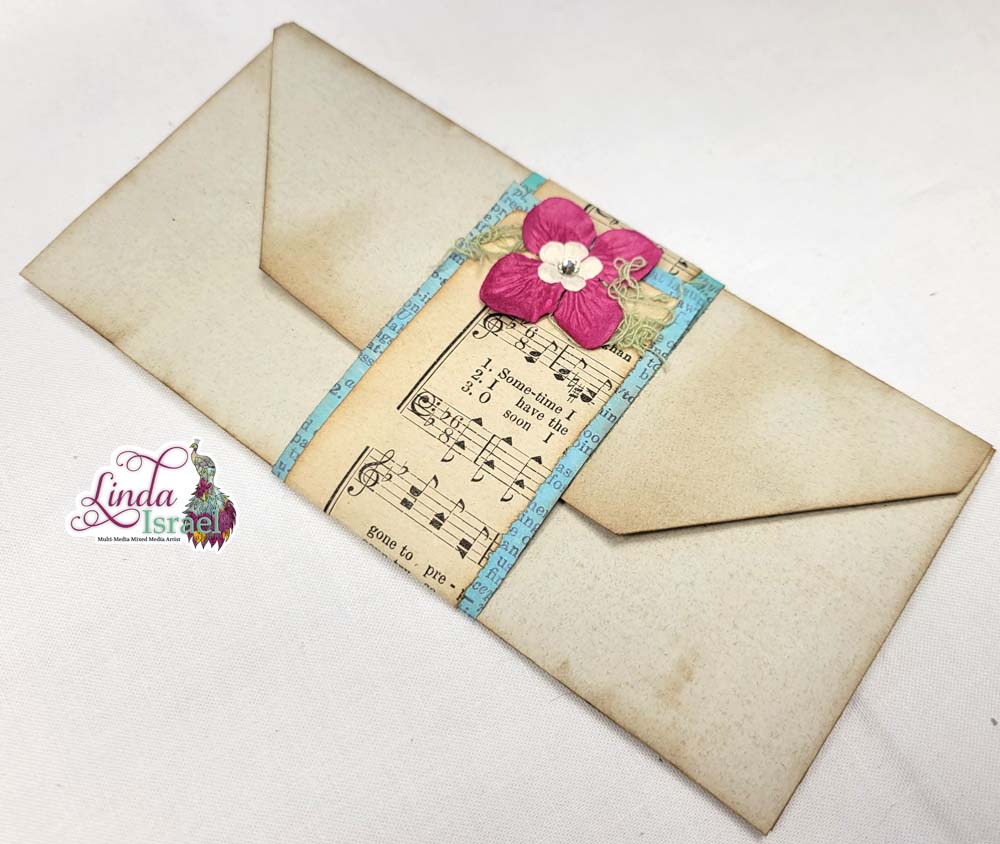
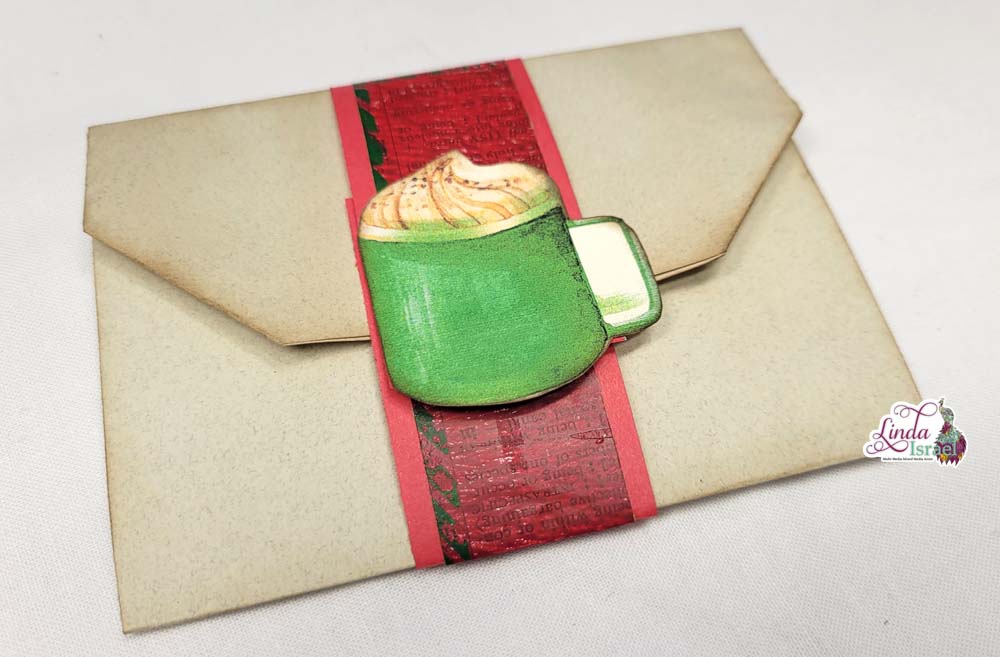
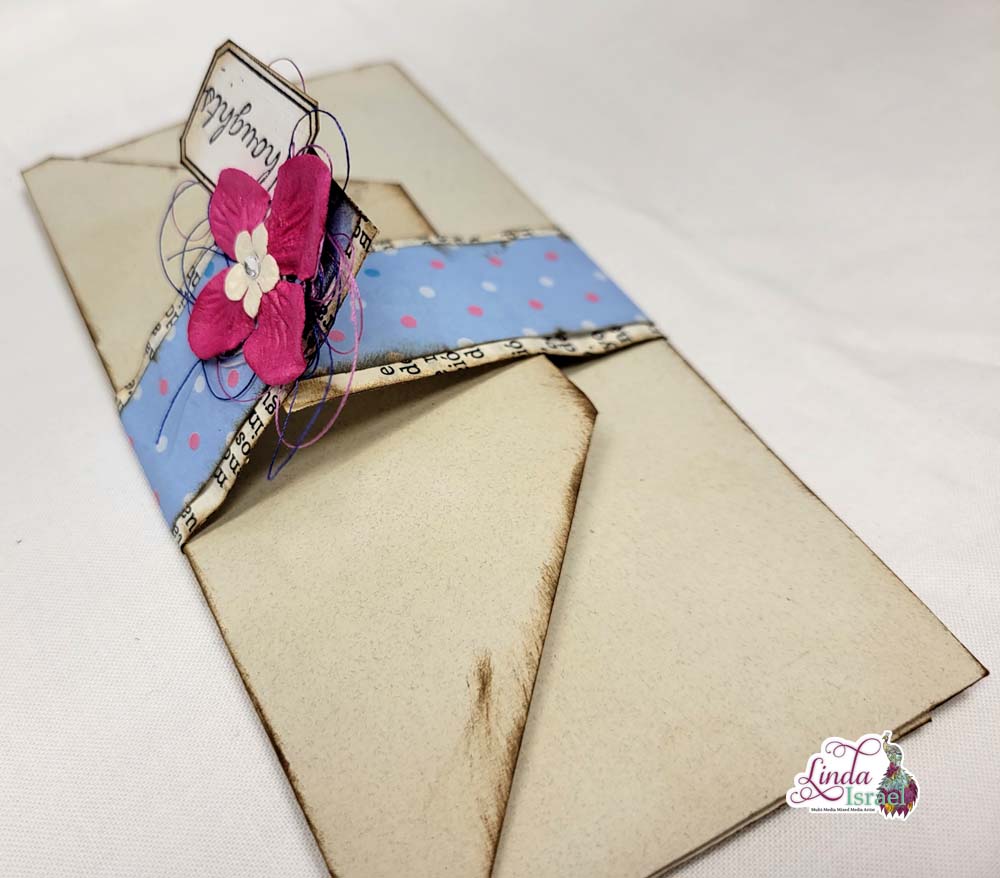
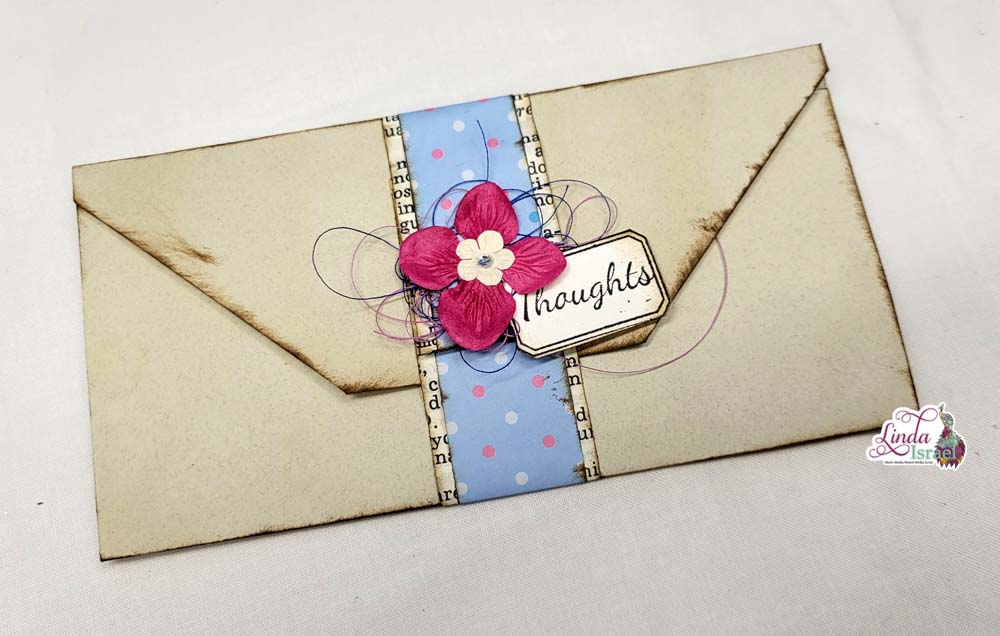
 In my stash, I have a box of 500 envelopes that I got years ago. These were going in the trash because they couldn’t use them anymore. I’ve kept them as I wasn’t sure how to use these as they didn’t have any sticky on the flaps. Bam a JJ is perfect for these as you want to be able to open the envelope to get to the items inside. Here is what I did. I took two of these envelopes and laid these side by side and used the same stencils and glimmer mists to color. Then I used a pretty washi tape to attach these together to make into a page for the journal.
Using some of the same techniques I’ve used in other junk journals I made some pockets out of old book pages and hand stamped papers. Then I stack the papers in the order I want them to be in the journal.
For this Junk Journal from my stash, I wanted to have lots of space to write and that is why I didn’t make a lot of embellishments for the pages. Using some stickers that I’ve had for years on the pages here and there added a small element without a lot of bulk. And as an added bonus I am done with that set of stickers. lol
When I’m making a junk journal I like to figure out where all the elements should go before I bind the journal. Sometimes it is easier especially if you want to sew any of the elements.
The cover is made out of a large Watercolor pad of paper. It measures 9 inches by 12 inches. This would make my pages 9 x 6. I used a Dictionary page over half of the full cover. Then using a stencil and Tattered Angels Glimmer Mists I added color to the cover. Love using my sewing machine so at this point I added a zig zag stitch around the cover. Then started layering elements, a page from a hymnal, vintage greeting card, yellow gingham fabric, cheesecloth and a stamped phrase – the best is yet to come.
Here is a video showing the making of the cover for the Junk Journal from my stash.
After the cover was made I used a pamphlet stitch to bind the book. There are 10 sheets of papers (including the envelope page) for a total of 40 pages to work with in this journal. Would make a great monthly journal. I like how easy this binding method is to do. No need to use math if you don’t want to! LOL
This challenge was fun and hard. I had to think differently about what I wanted to use and remember that all of these wonderful things have images or patterns that can be used without buying fancy scrapbook paper or digital downloads.
Here are the others that also participated in this challenge.
Jenny: https://youtu.be/4LqBZBy83XQ
Megan: https://youtu.be/i64DuIOUHfU
Christina: https://youtu.be/tpm53HccLls
Rosemary: https://youtu.be/uUnM_PImVA8
Monica: https://youtu.be/Gn1JwmudOew
Luz: https://youtu.be/o0f9lDRCcJo
My hope is that this has inspired you to make a goal to create a Junk Journal from my stash project. Pull items from your stash, but no printed or patterned paper like scrapbook paper and no digital images you downloaded and printed. See what you can make, because the best is yet to come.
Make sure to check out the Friendly Junk Journal People Facebook group. Of course, you are welcome to join the Friendly Junk Journal People Facebook group. The group is growing daily and we are a friendly group willing to help each other and encourage each other.
Interested in any of the journals I created? Please feel free to contact me through my Facebook Page.
Here is my shop, I have a lot of items uploaded and add more weekly.
My hope is that I have inspired you to look at those papers in your stash and make your own junk journal.
Follow my Facebook Page or on Instagram for updates that may not be shared on my blog.
Thanks so much for stopping by my blog today to learn about Junk Journal from my stash.


