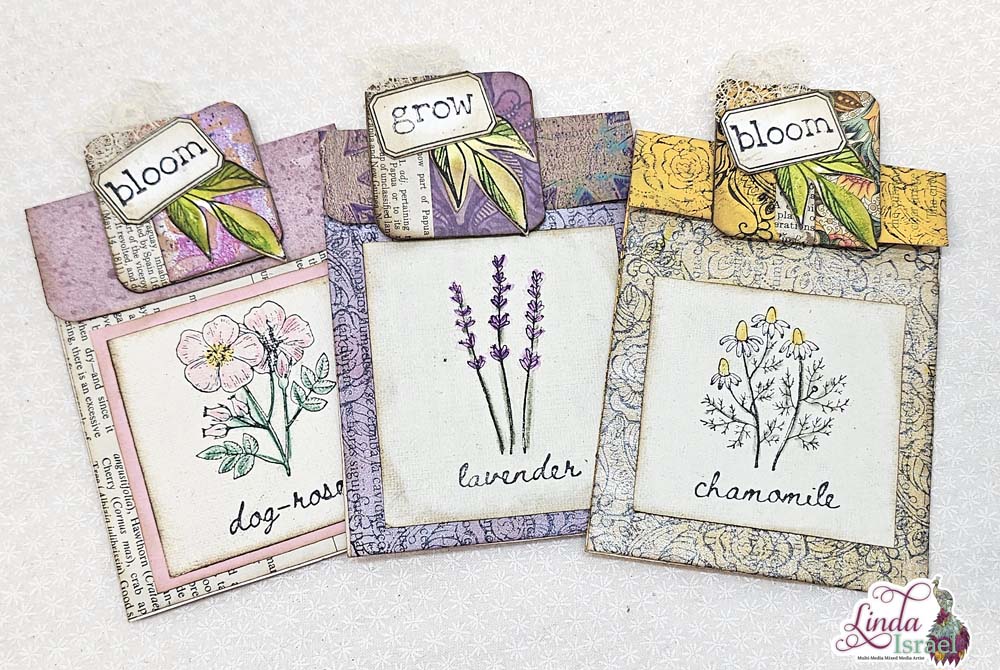
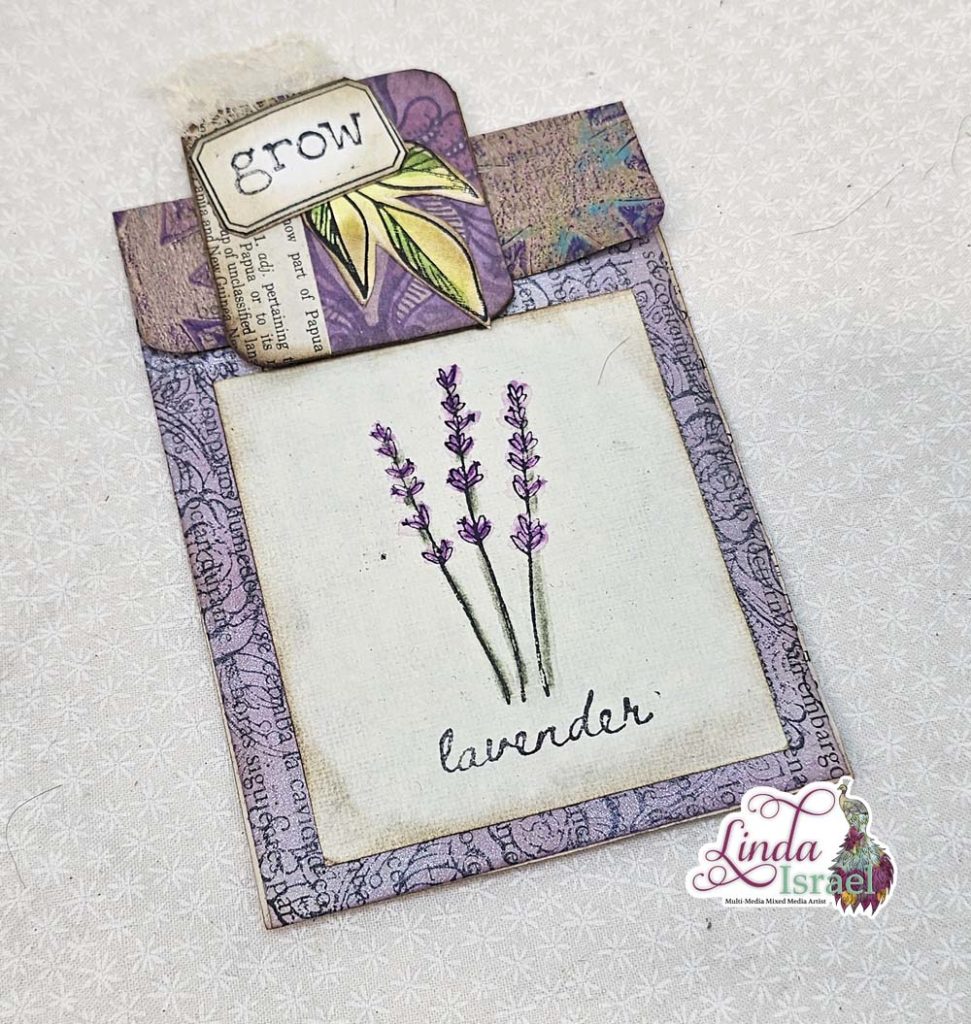
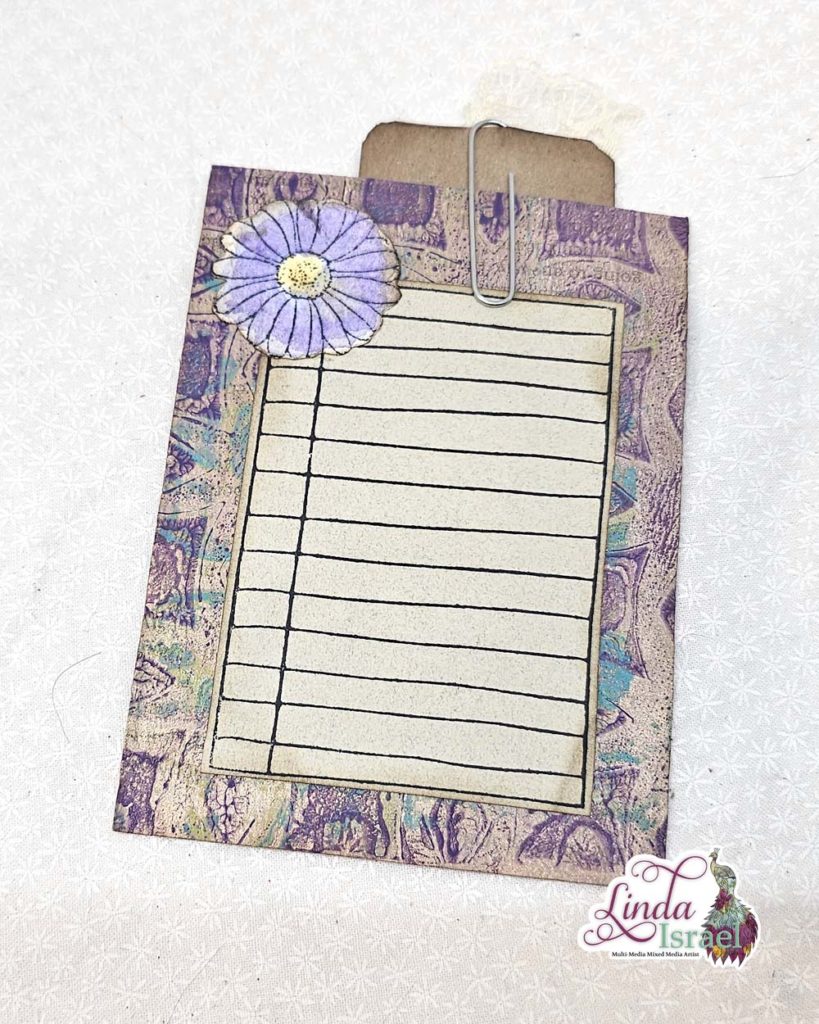
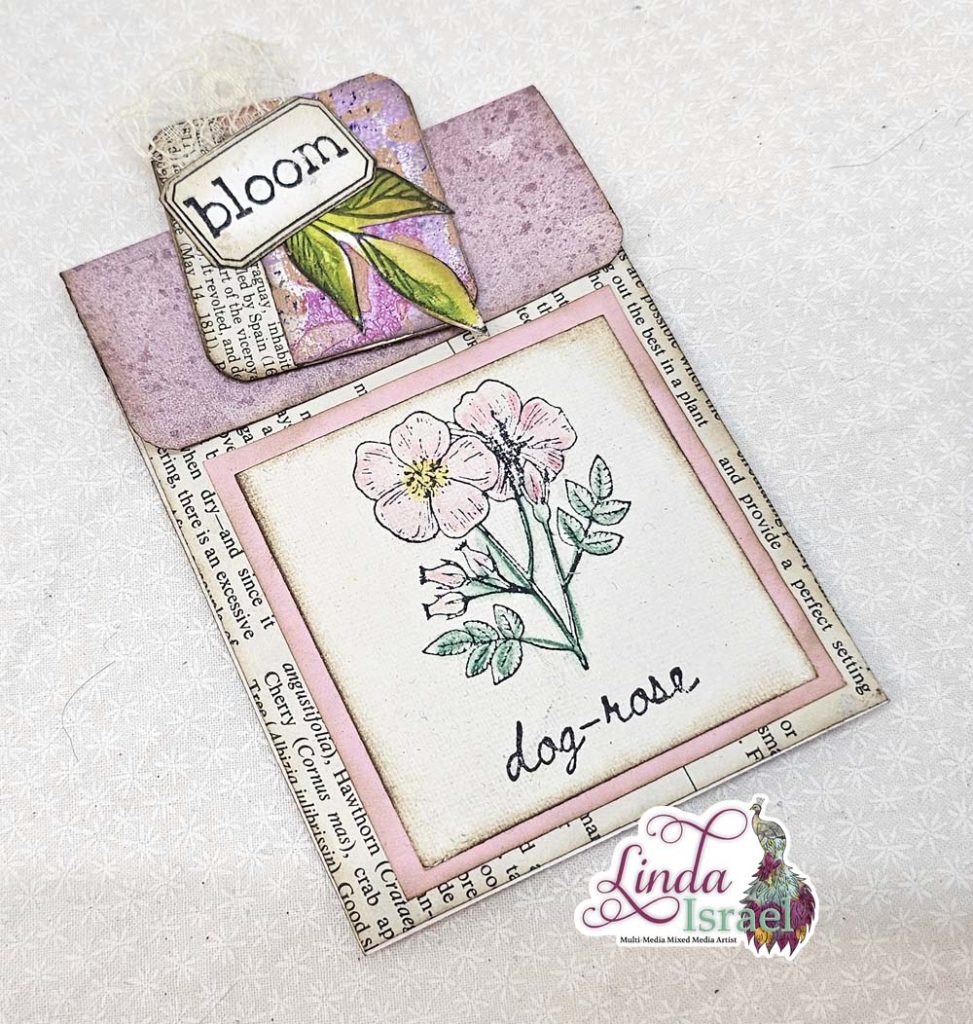
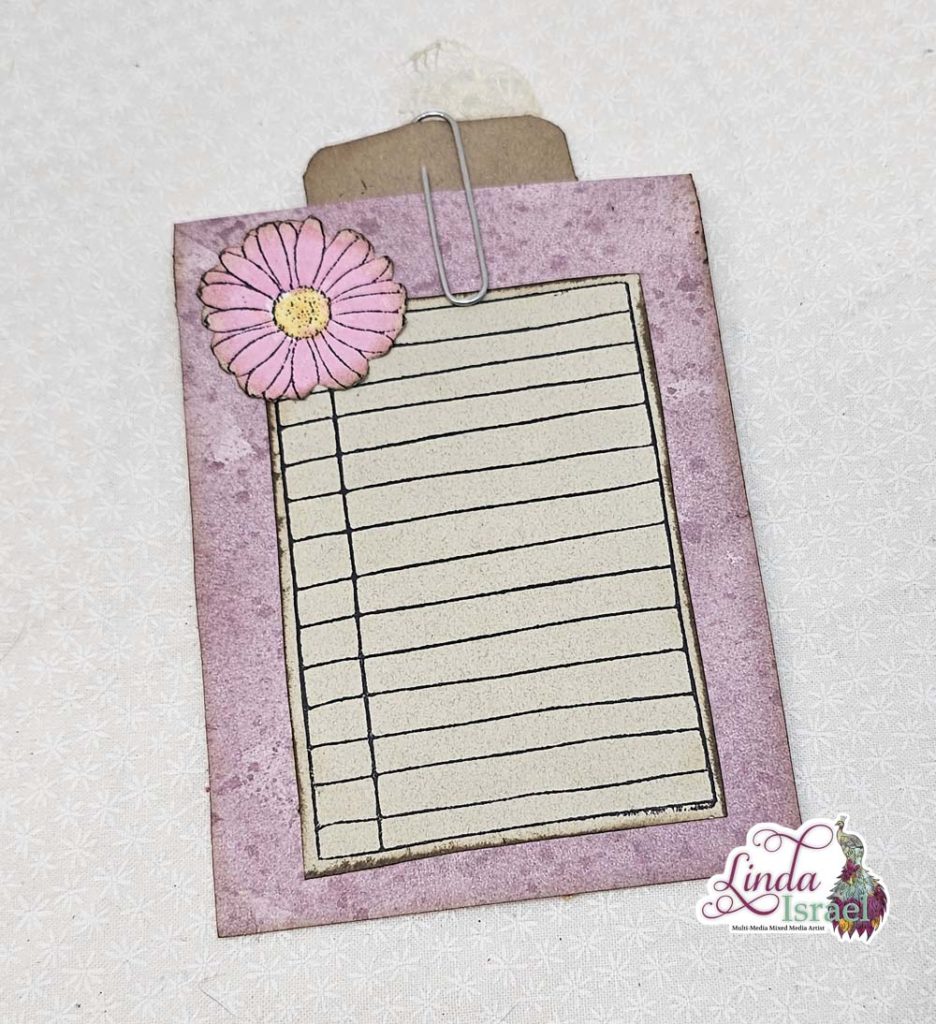
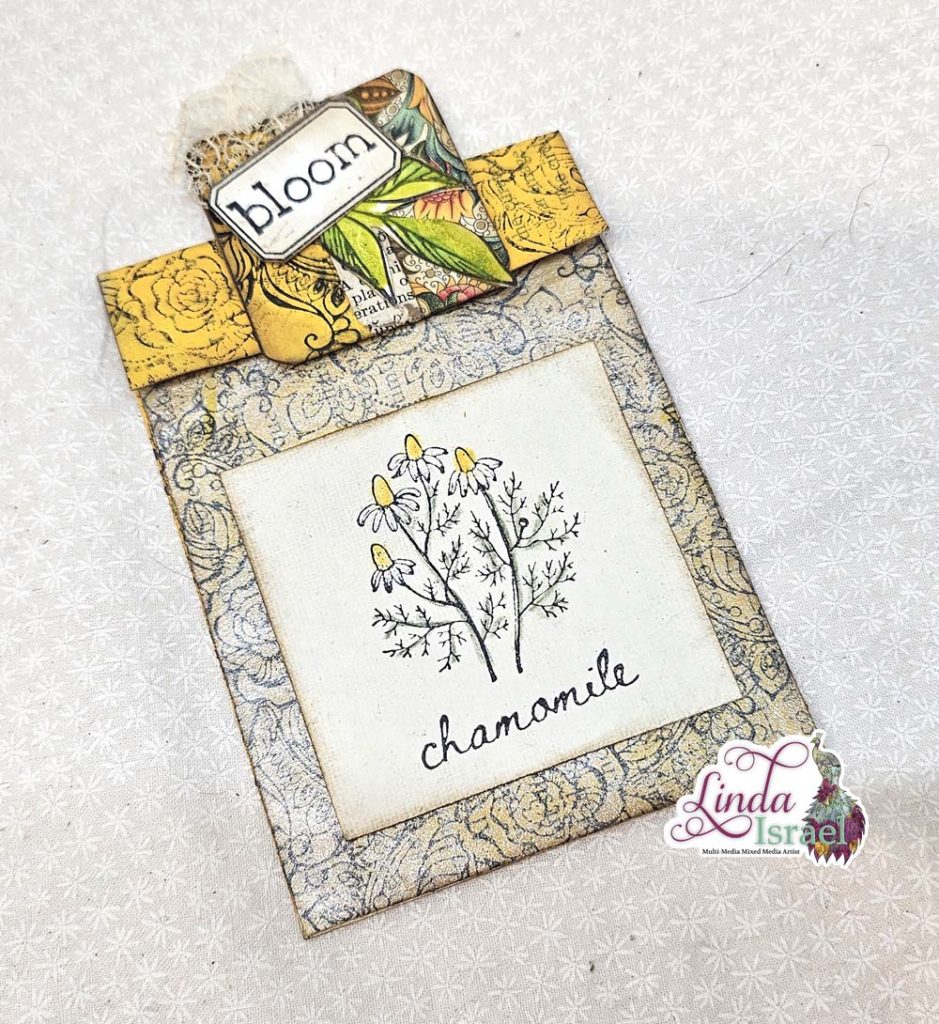
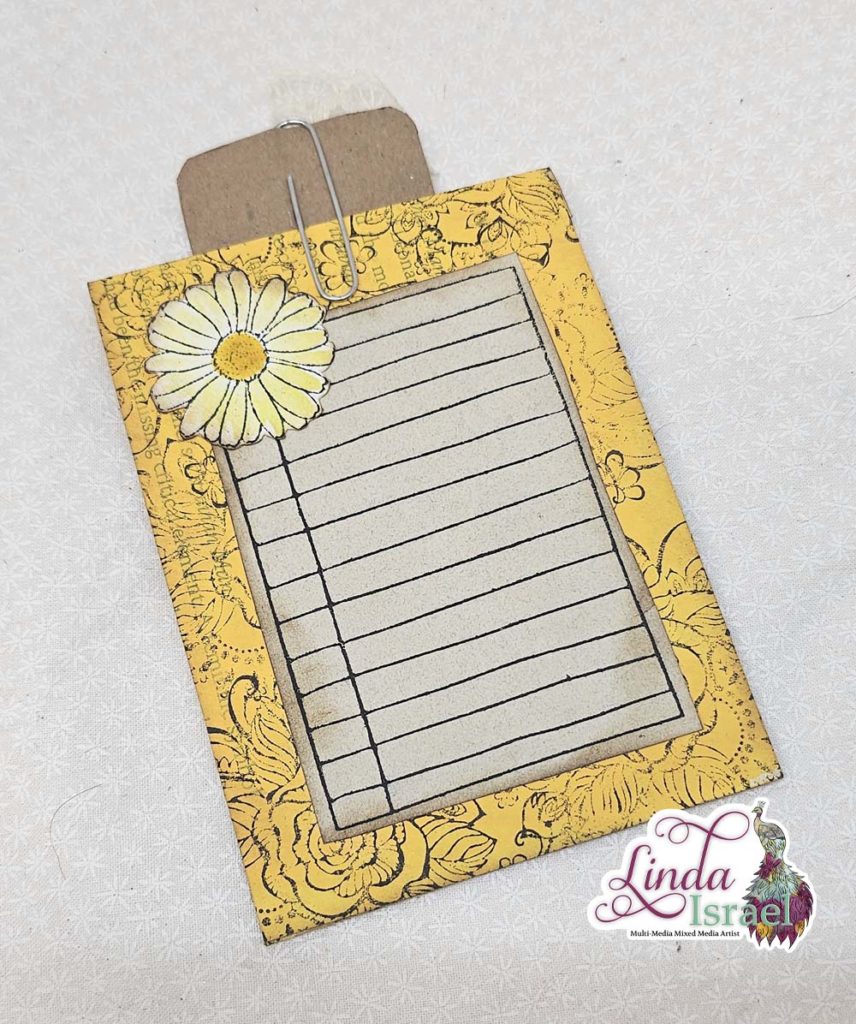
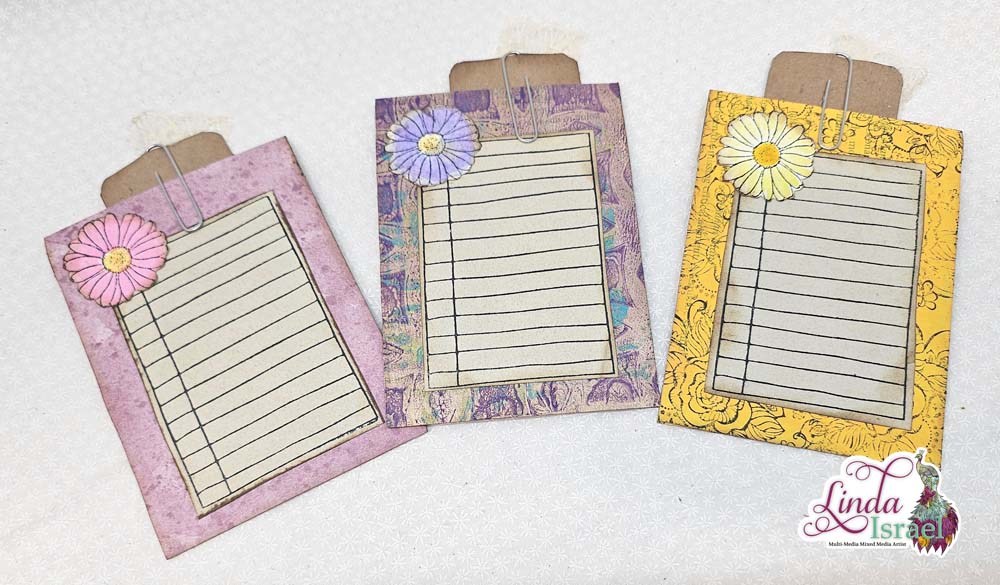
Since I had a stack of stamps handy and some paper I thought I would share another stamping project. The result: Enjoy the Journey Stamped Journal Cards Tutorial using various rubber stamps, vintage book pages, Tattered Angels Glimmer Mists, sewing machine and the Stamp Platform from Tim Holtz. These are super quick and easy to make!
Here is the video for the Enjoy the Journey Stamped Journal Cards Tutorial
Supply list for the Enjoy the Journey Stamped Journal Cards Tutorial
- Tattered Angels Glimmer Mists – Walnut Gold, Woven Burlap, Tattered Leather
- Ranger Ink Blending Tool
- Cardstock 4 x 6 postcard size
- Tim Holtz Platform
- Clear mount stamps – Tim Holtz and Recollections and wood mounted stamps
- Brutus Monroe Detail Ink – Raven
- Best Cleaner Ever from ScraPerfect
- Dictionary Page
- Best Glue Ever by ScraPerfect
- Bone folder
- Sewing Machine – optional
Using Tattered Angels Glimmer Mists to distress paper is so easy. I like it a lot better than coffee dying paper. When I do a session of dying paper with coffee I tend to make a lot and then I have to find a place to store the papers. By using Tattered Angels Glimmer Mist I can choose to make the cards when I want them and I don’t have to store dyed papers. I can change up the colors and make them any way I want.
Having the Stamp Platform by Tim Holtz makes this project so easy. I love using stamps and with the creation of clear mounted stamps, it is easy to load up a bunch of these stamps to make cool journal cards.
Test your stamps to make sure they are all the same thickness when mixing stamps from other stamp sets.
I will place a card that I want to use in the stamp platform. Then arrange the stamps on the card, close the lid to the stamp platform so that the stamps will be picked up on the door. Make sure to use the magnets to keep your paper in place. Ink with Brutus Monroe Detail Ink – Raven as many times as necessary.
Mix up the surface of your journal cards, use plain cardstock and add some dictionary pages to others. If you have a sewing machine that is another touch that can be added. Sew a design around the edges.
Have fun using those rubber stamps and I hope you enjoyed seeing the Enjoy the Journey Stamped Journal Cards Tutorial today.
Make sure to check out the Friendly Junk Journal People Facebook group. Of course, you are welcome to join the Friendly Junk Journal People Facebook group. The group is growing daily and we are a friendly group willing to help each other and encourage each other.
Interested in any of the journals I created? Please feel free to contact me through my Facebook Page. Here is my shop, I have a lot of items uploaded and add more weekly.
My hope is that I have inspired you to look at those papers in your stash and make your own junk journal.
Keep updated on my posts by following me. Follow my blog with Bloglovin. Or Follow my Facebook Page or on Instagram for updates that may not be shared on my blog.
Thanks so much for stopping by my blog today to see the Enjoy the Journey Stamped Journal Cards Tutorial


