Sharing a Punked Out Steam Too Planner Tutorial with you today. Using the POST planner kit, stamps, stencils and more I show how to create a couple of journal pages and then bind the planner.

Punked Out Steam Too Planner Tutorial
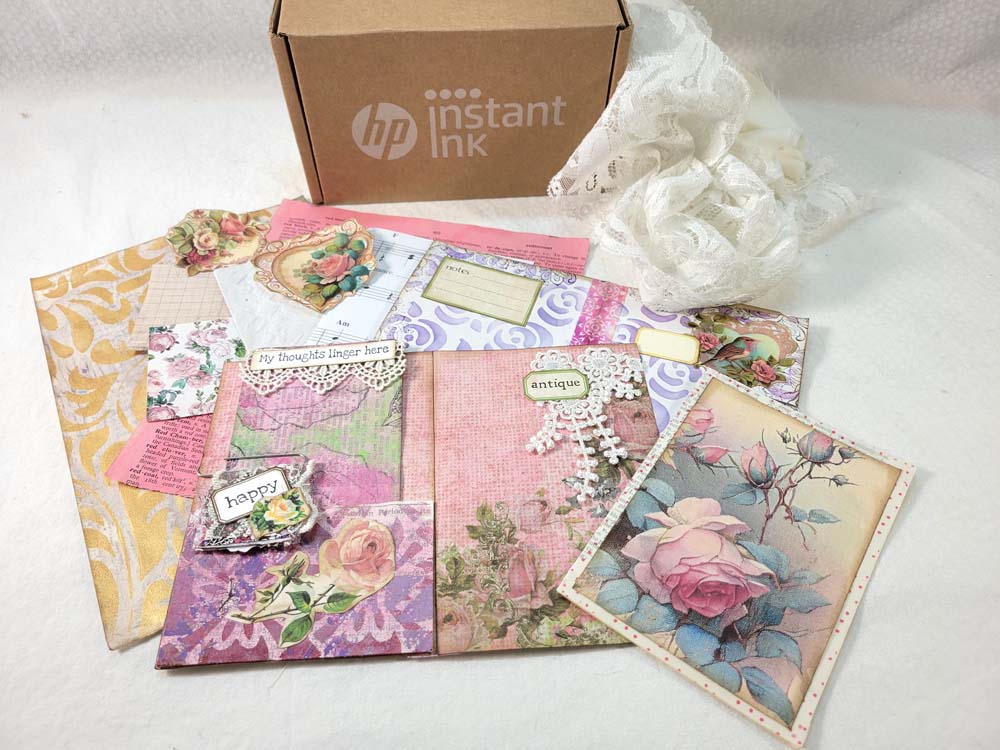
Supplies used for the Punked Out Steam Too Planner Tutorial
- Punked Out Steam Too Planner kit
- Sprayed Pages from Tutorial Creating Sprayed Background Pages with Stencils
- POST Subscription Box Stencils
- Curves and Diamond Stencil
- Time Spent cube Rubber Stamps
- Time Flies Rubber Stamp
- Via de la Valle Rubber Stamp
- Journal Quartet
- Tick Tick Tick Rubber Stamp
- Gears Rubber Stamp
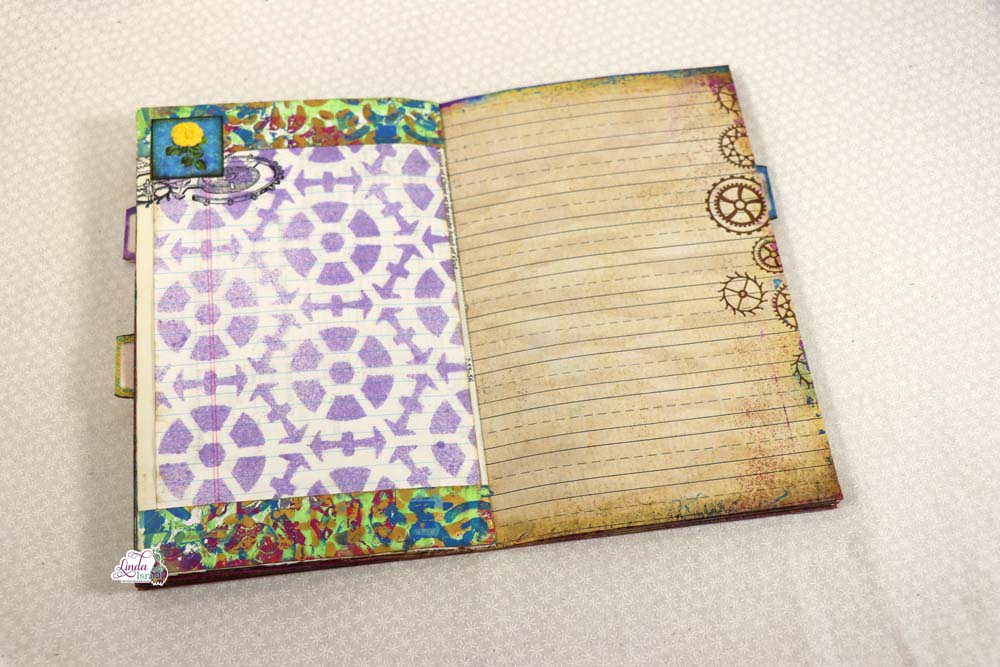
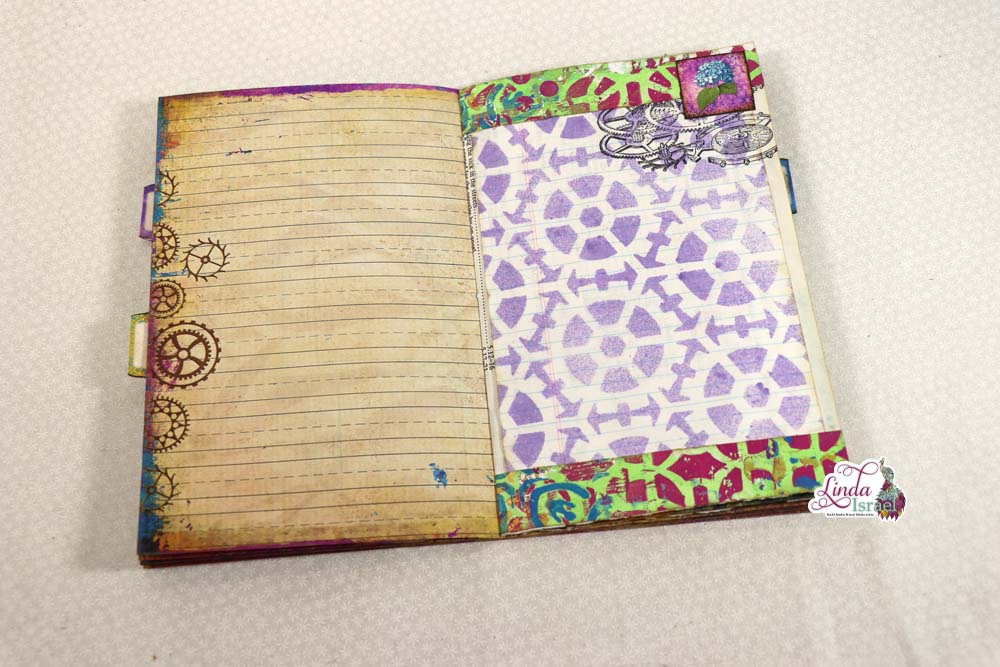
- Gears Wallpaper Stencil
- Ministries Des Transport Cube Stamps
- Hot Air Ship Stamp
- Pen Nib Large Stamp
- Curly Swirly Stamps
- Tulip Twine Stamp
- Adornment Stamp
- Key Fringe Stamp
- Postal Cube Stamps
- Stitches stamps
- Key Play Rubber Stamp
- Camera Stamp
- Photo Stamp
- Bicycle Duo Stamps
- Small Print Letter Rubber Stamp
- Archival Jet Black Permanent Ink
- Fiskars Scissors
- Aleene’s Tacky Glue
- Oval Brushes
- Card stock
- Paper Scraps
- Pamphlet Stitch Book Binding Template
Using the POST planner kit, stamps, stencils and more, I’ll show how to create a couple of journal pages in this Punked Out Steam Too Planner Tutorial. Then I’ll show how to bind the planner journal when the pages are complete.
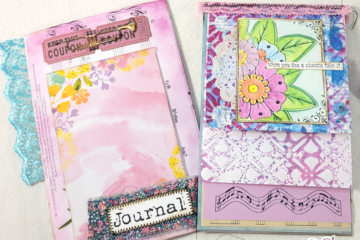
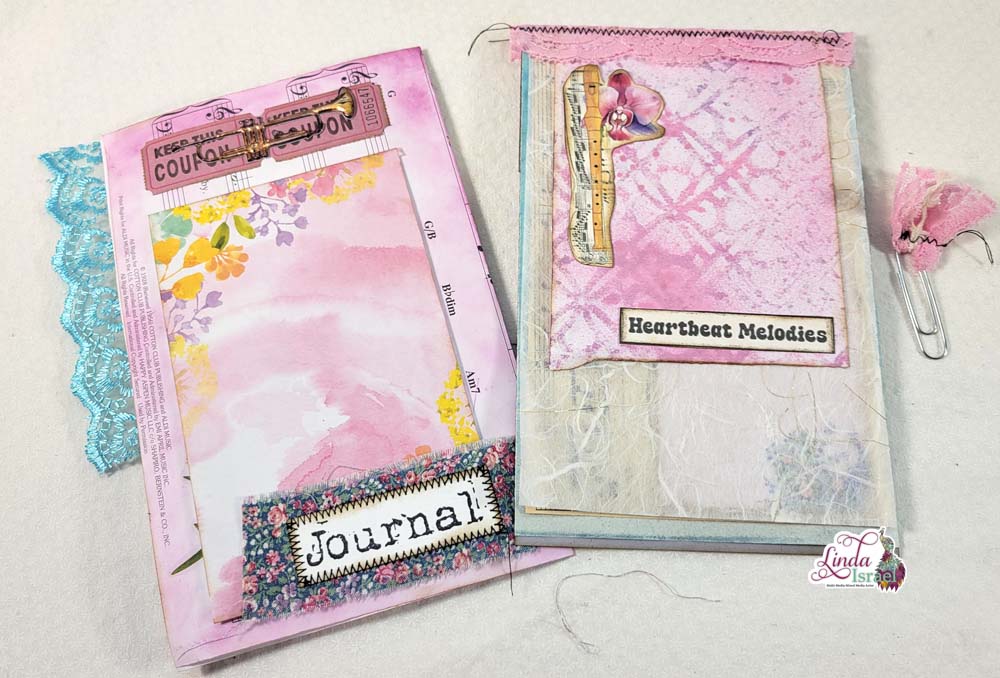
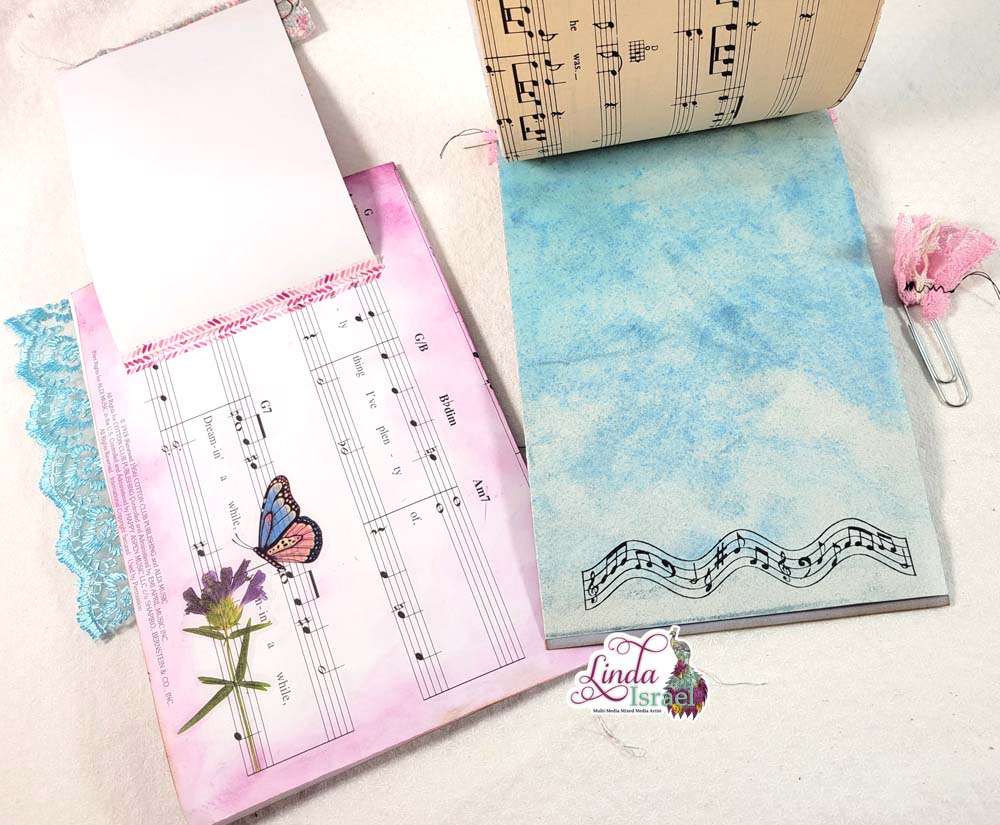
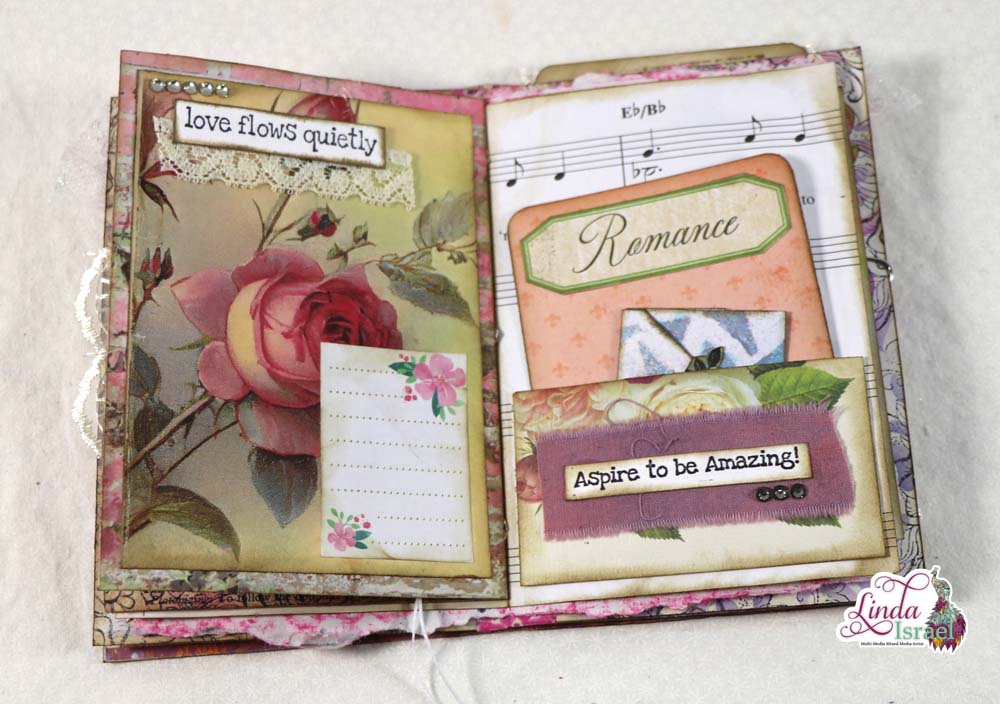
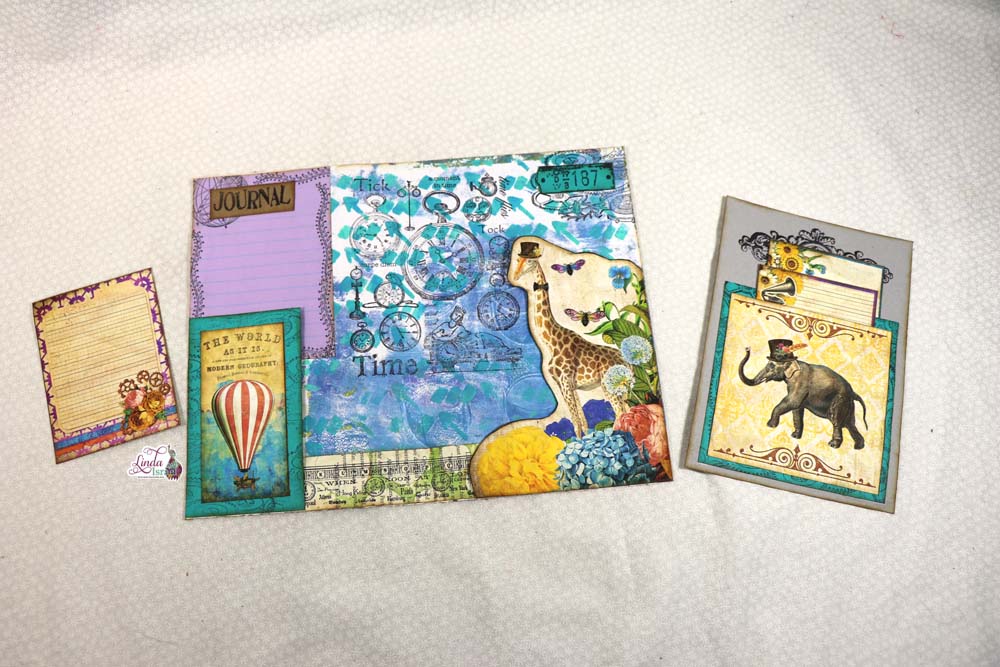
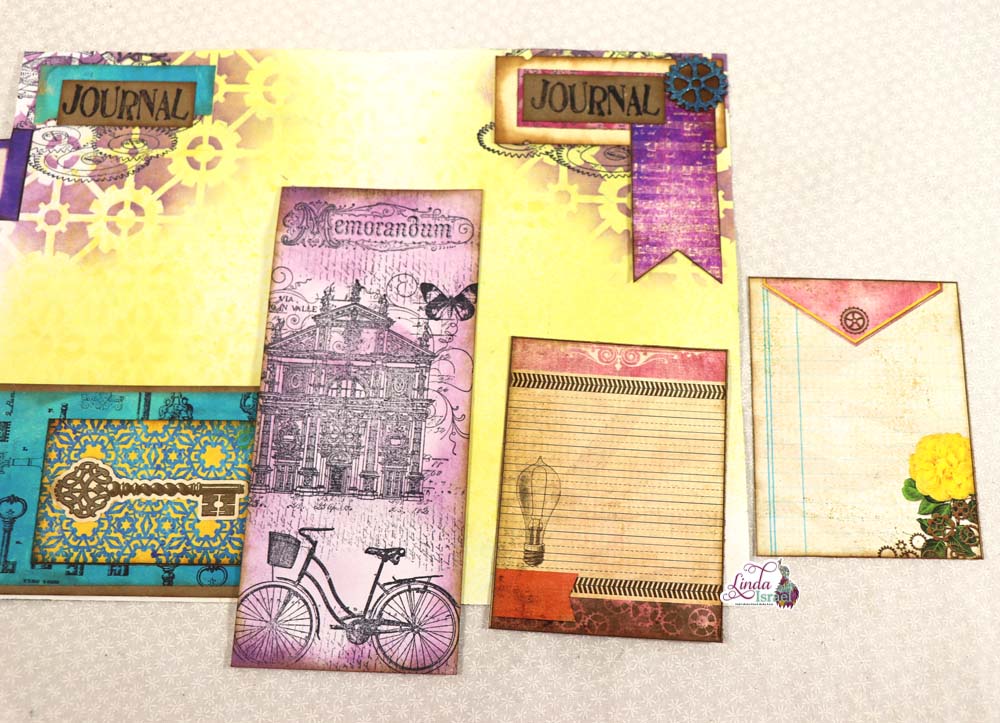
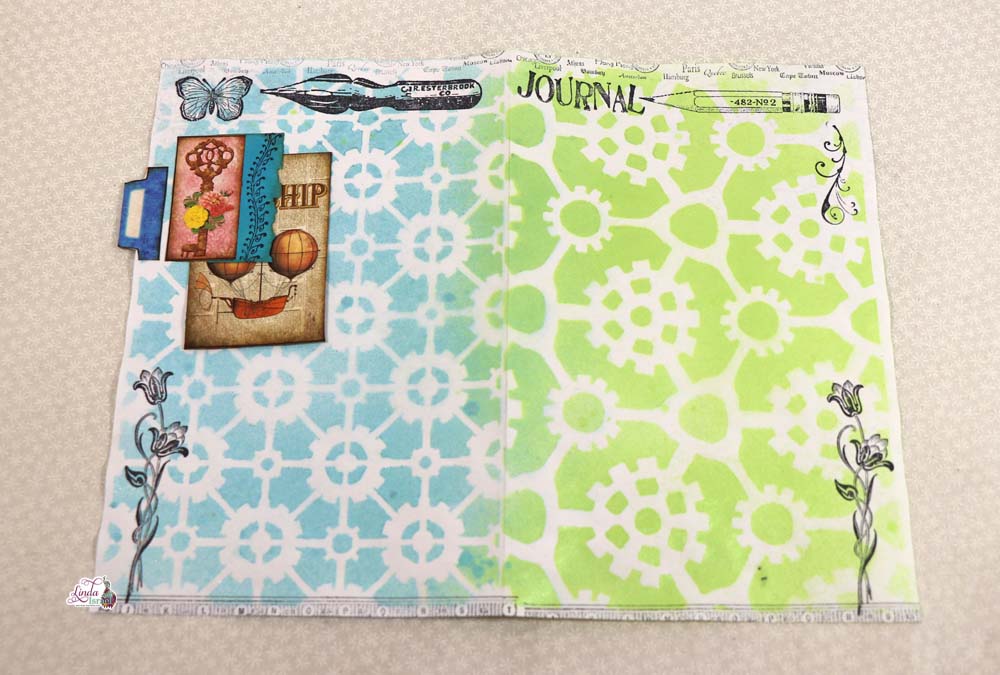
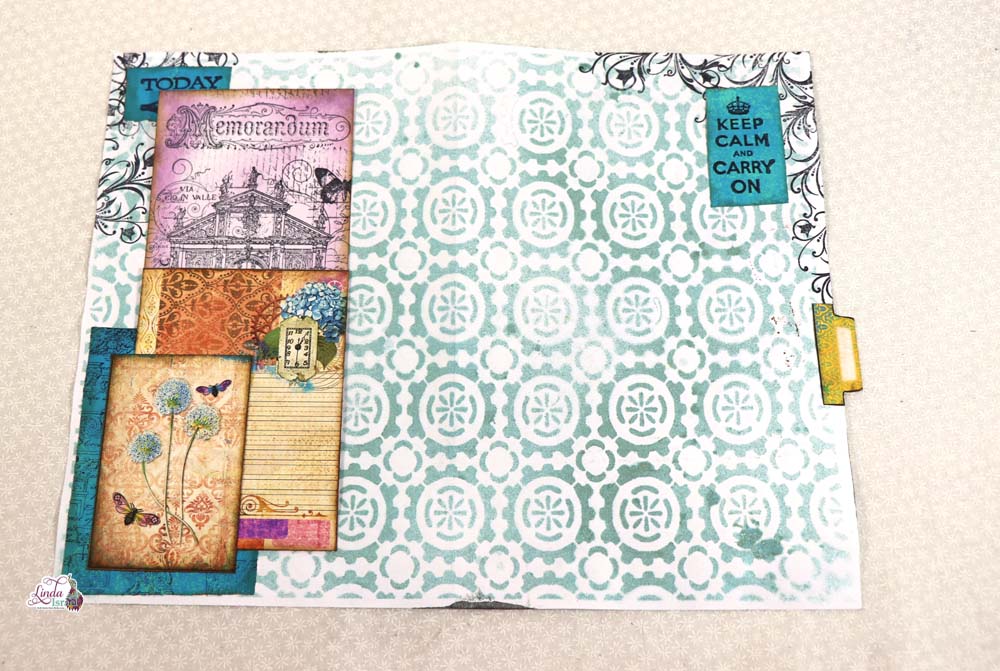
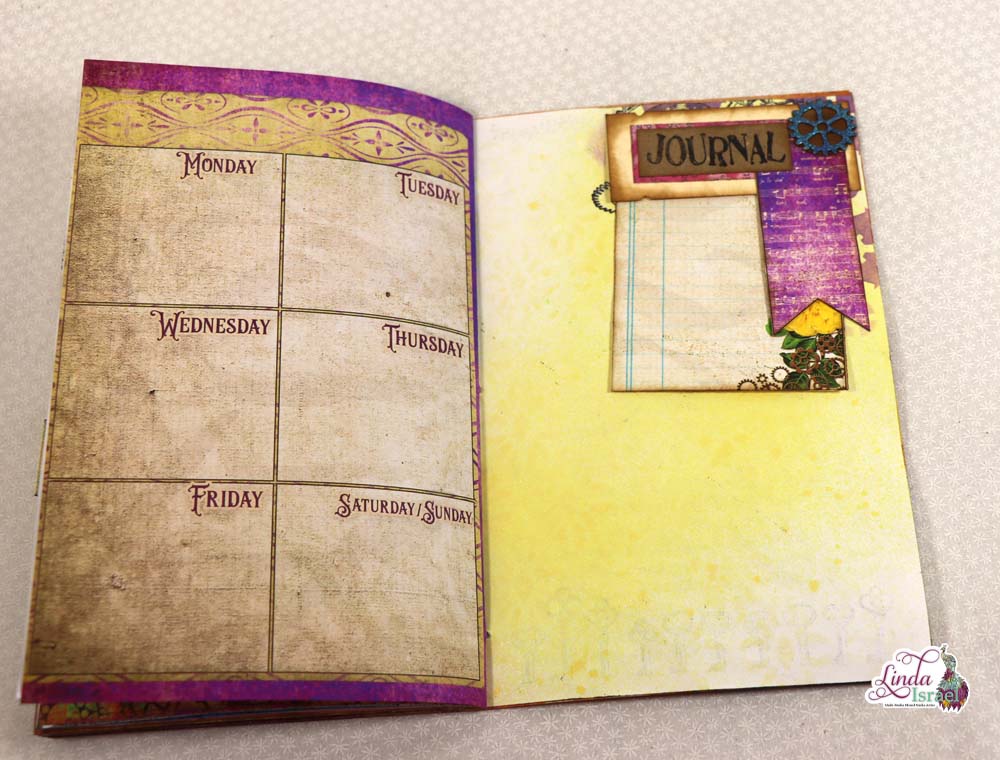
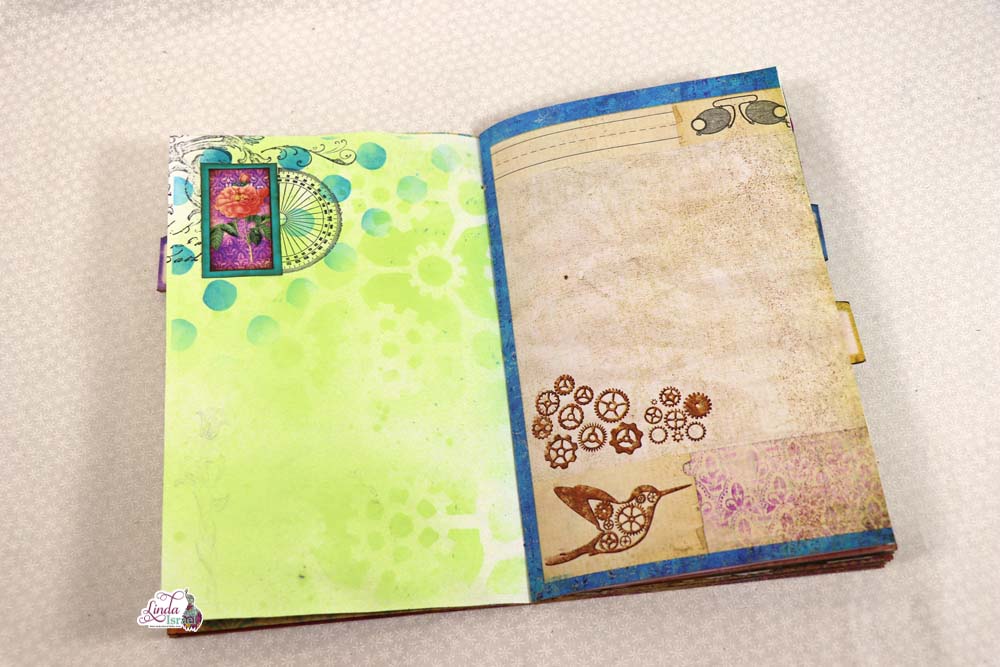
This first journal page uses lots of left over bits. The foundation page was one from an over sized bible. Layered with a gel print, scrap of book page, note paper, rubber stamps and images from the POST Planner Kit adds color to this fun junk journal.
I like to stamp some of the elements before I glue down and some after things are glued into place. Stamp the corner of the note paper with one of the Ministries Des Transport images and the edges with the Stitches stamp. Adhere in the upper left corner.
Apply ink to Tick Tick Tick rubber stamp and stamp in the middle area just right of the purple note paper. Stamp Gears in the upper right corner and then stamp the 187 Stamp on teal paper and fussy cut. Apply walnut stain distress ink to the edges and adhere to upper right corner.
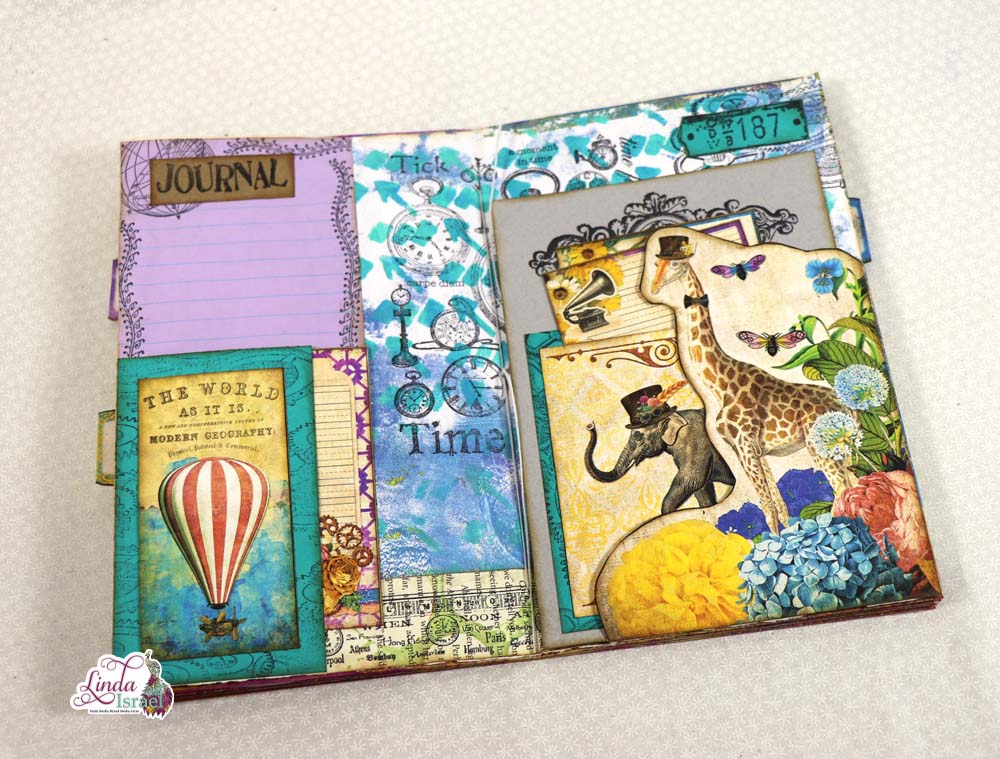
Stamp the Gears on a scrap of painted book page around the edges. Adhere the Hot Air Balloon image from the POST Planner Kit, then adhere as a tuck spot in the lower left corner.
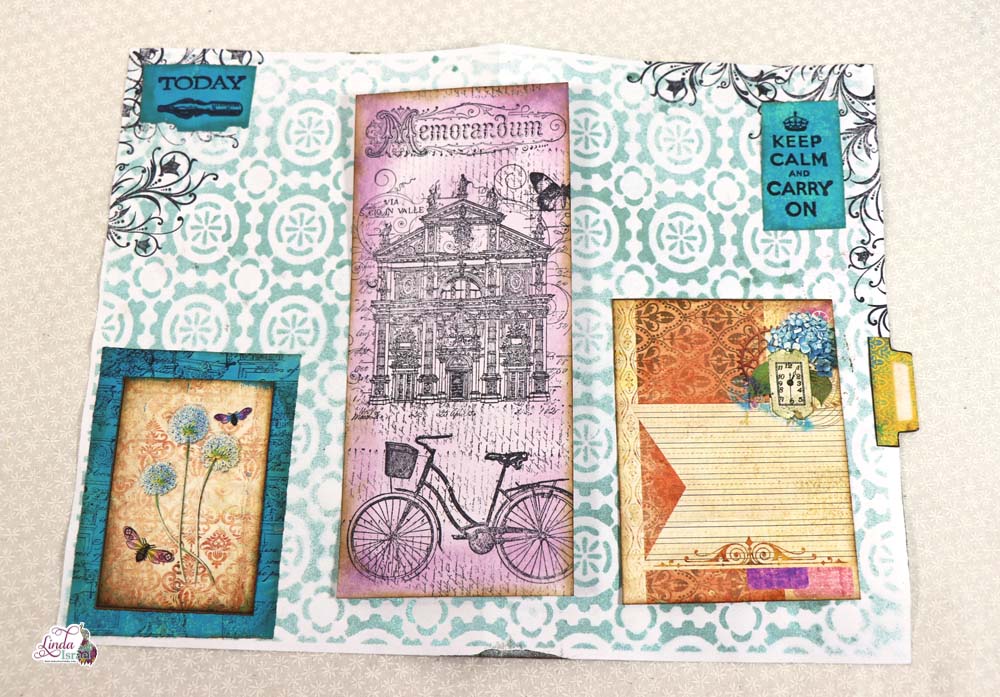
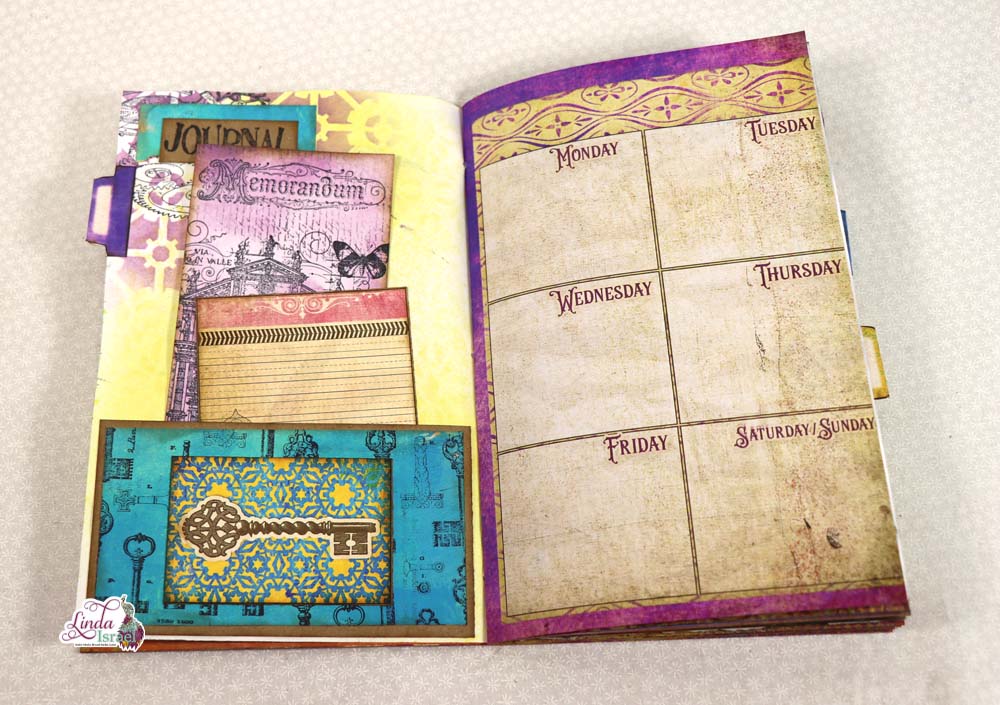
Add tabs to the Giraffe corner tuck spot, by gluing strips of paper about one inch wide down the side and bottom. Doing so will ensure that the whole tuck area can be used for a large journal card.
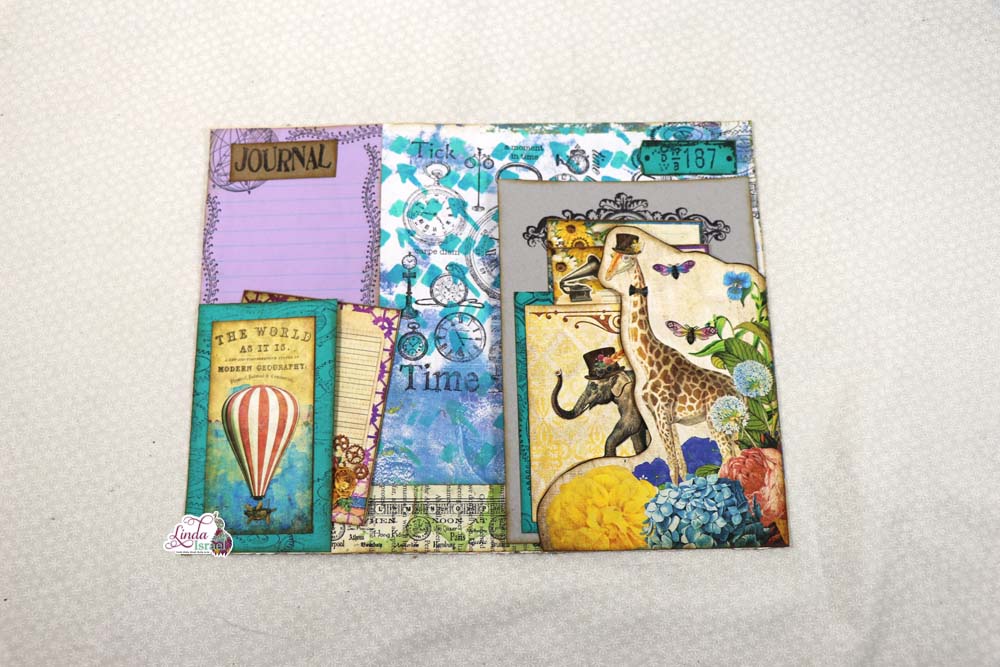
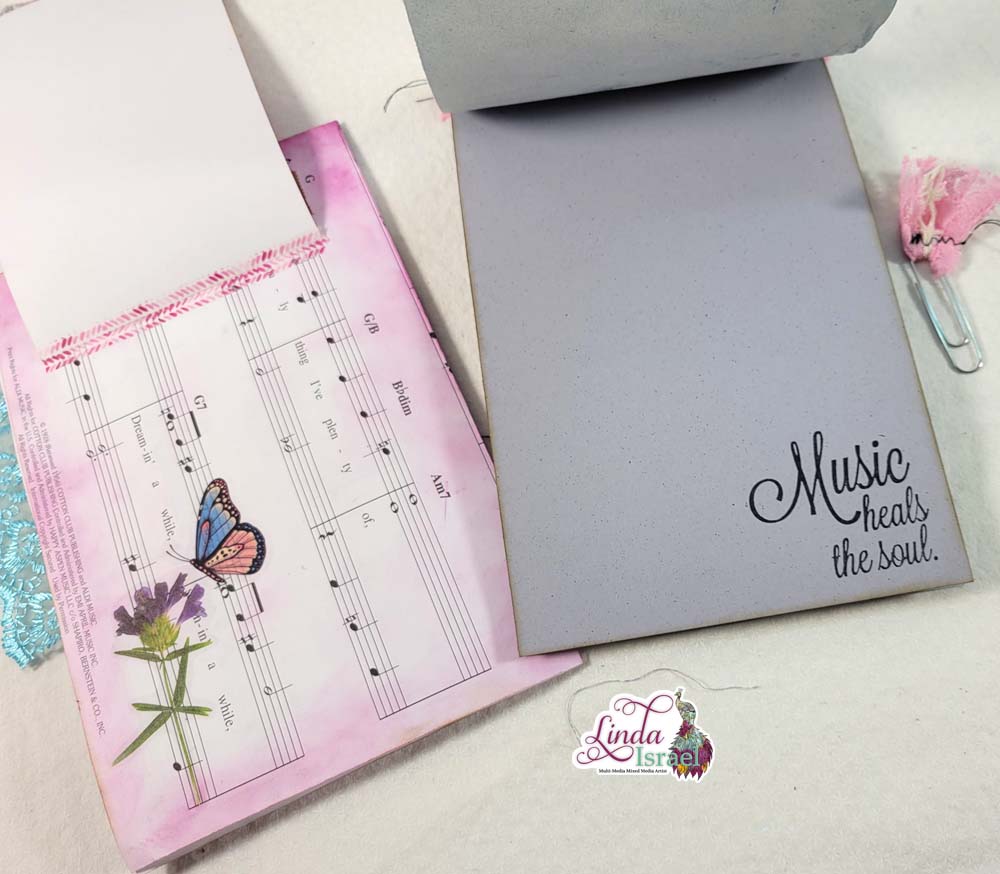
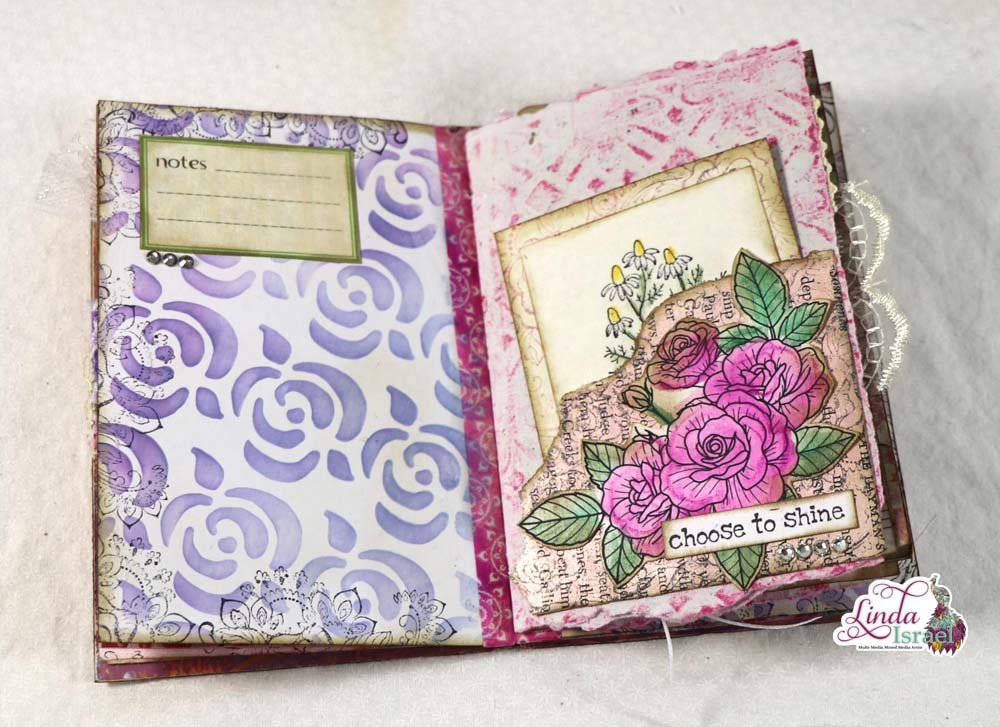
Add a pocket to a journal card to create interest and additional space for journal cards. Stamp the Adornment rubber stamp in black in on the gray card.
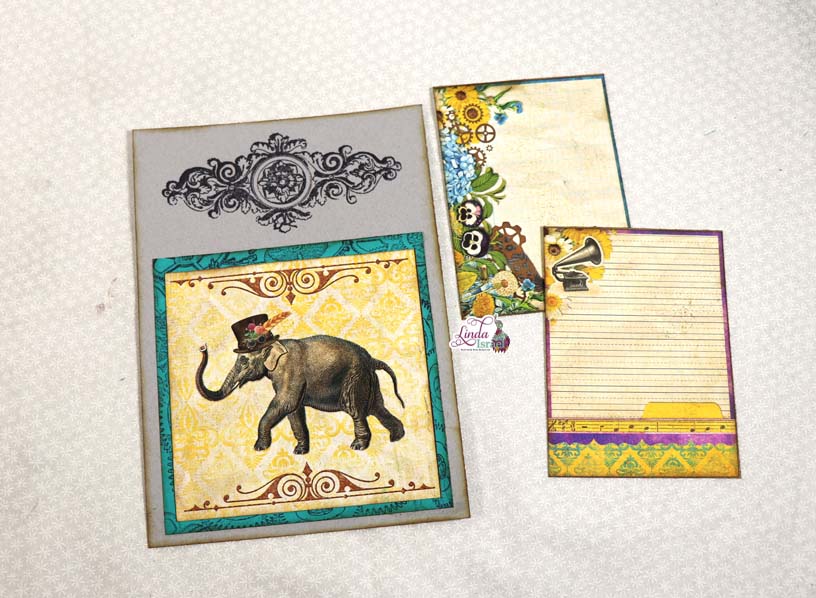
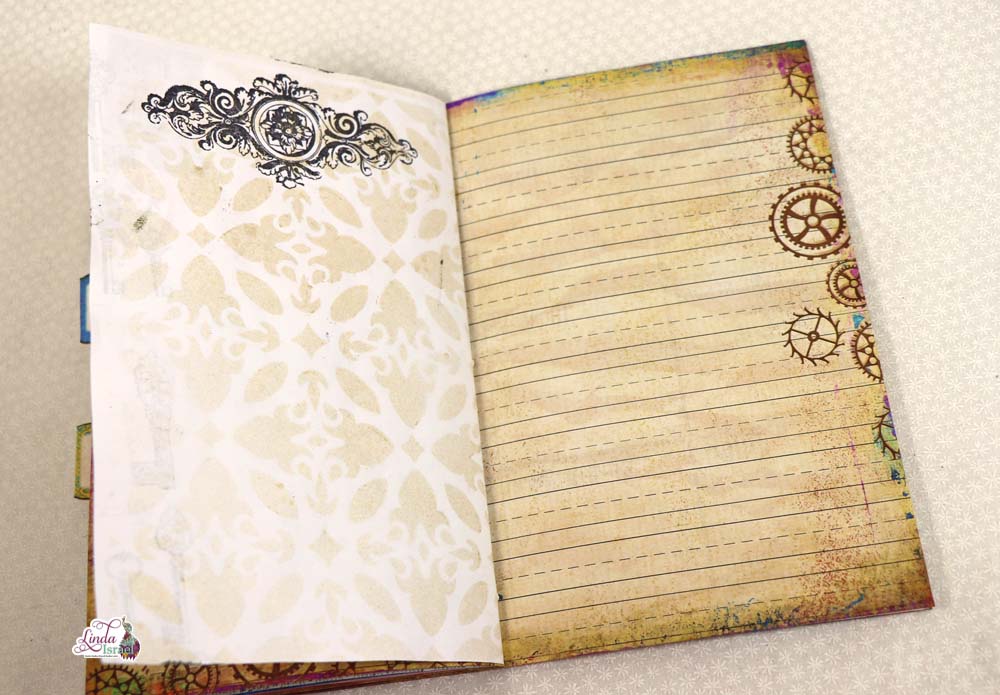
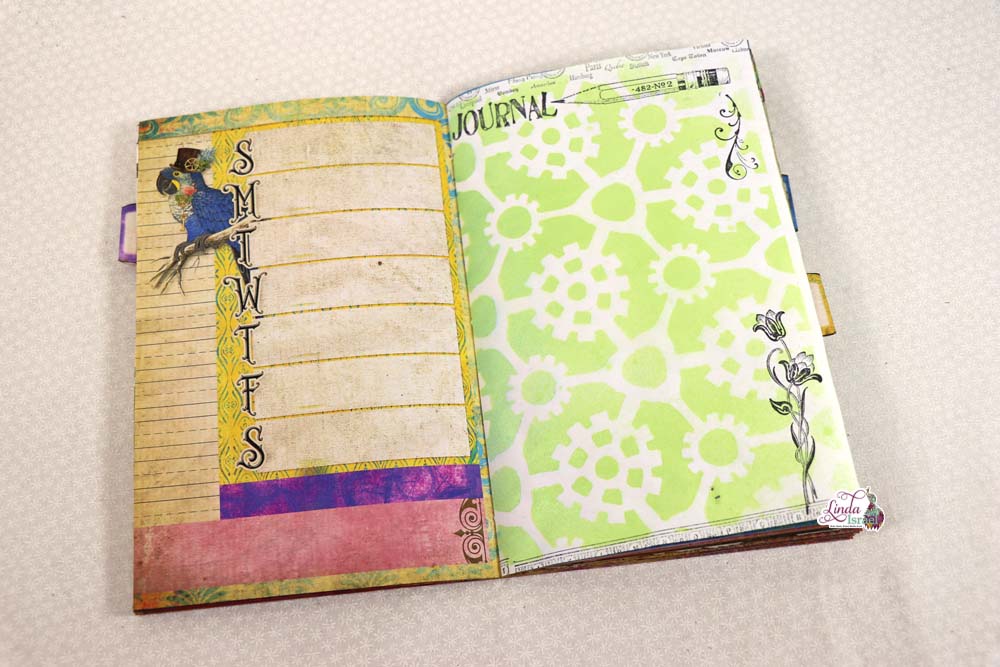
Use layers of paper, stamps, gel prints, digital images and even a stenciled design to create unique journal pages. Gears stencil from the July 2020 Artistic Stencil Club.
Layering a Stencil Design, stamping and paper elements add interest to a journal page. The stamped keys on the pocket really bring the journal page together.
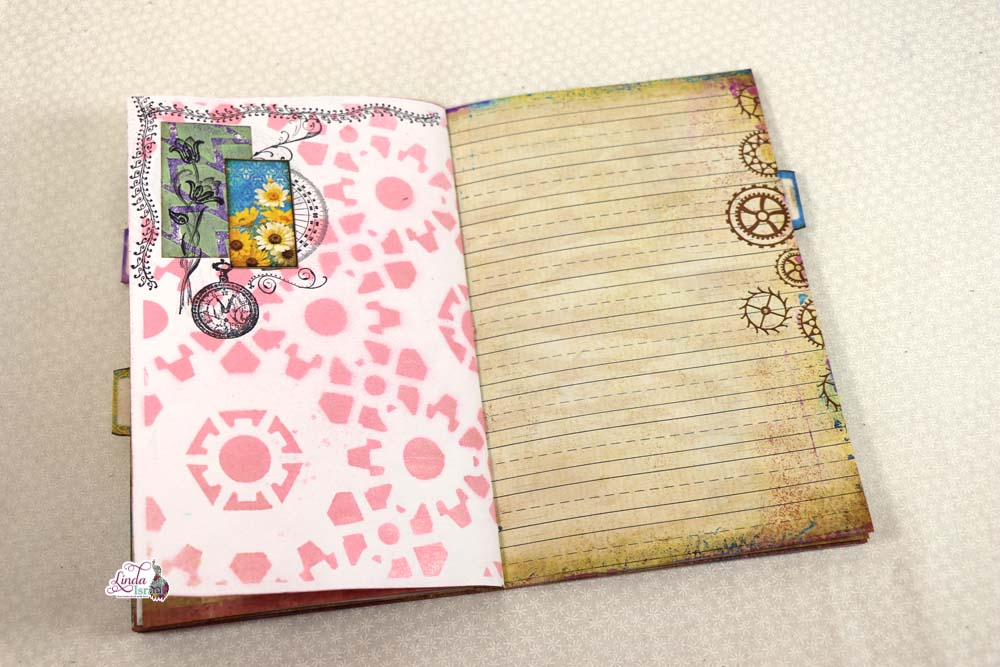
Stencil the gears from the POST Subscription Box with Dusty Concord Distress Oxide ink with an oval blending brush in the upper corners. Over stamp with the Gears Stamp. Layer stamped word Journal on Kraft Cardstock over other gel print images. Use embossing powder on a chipboard gear to add flair and dimension.
On a scrap of painted book page stamp Key Play to fill the space. layer onto a piece of kraft cardstock measuring 5.25 x 3 inches. Apply distress ink to the edges. Glue the Key image from the POST kit in the center as an additional pocket.
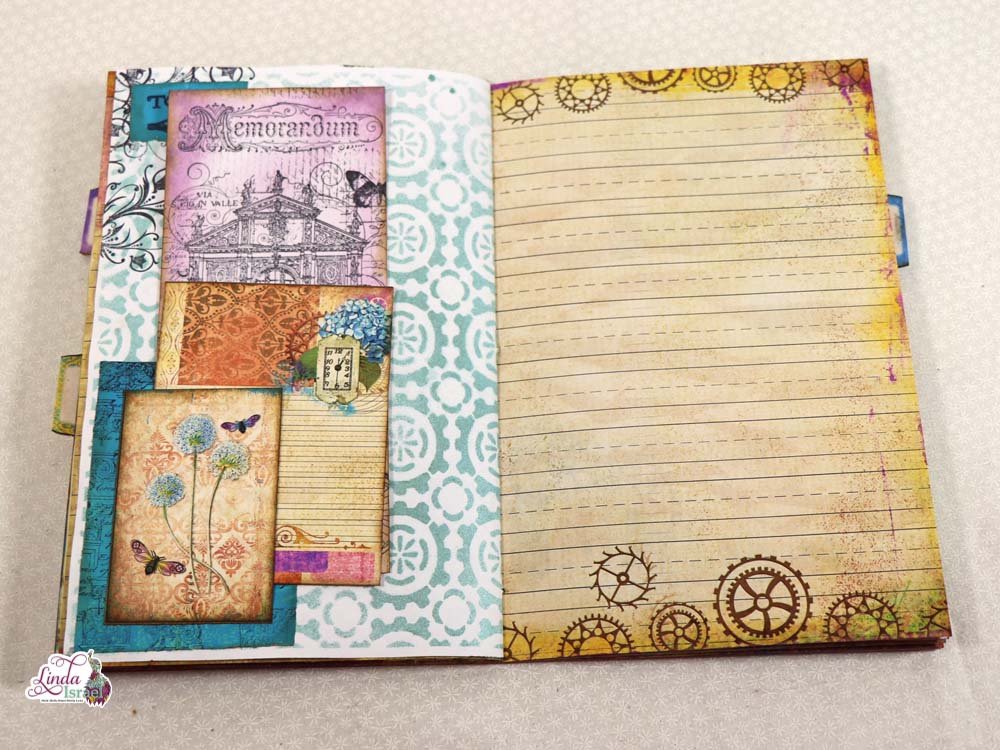
Create stamped journal cards that have dimension with out bulk. The stamped 3 x 6 journal card was made using ink and rubber stamps. Apply Dusty Concord Distress Oxide with an Oval blending brush over the whole card. With Black Archival Ink stamp the girls bike from Bike Duo bottom center. Then stamp the Memorandum from the Postal Cube at the top center. In the center stamp Via de la Valle Rubber Stamp. Apply Distress ink Walnut Stain around the edges of the card to complete the look.
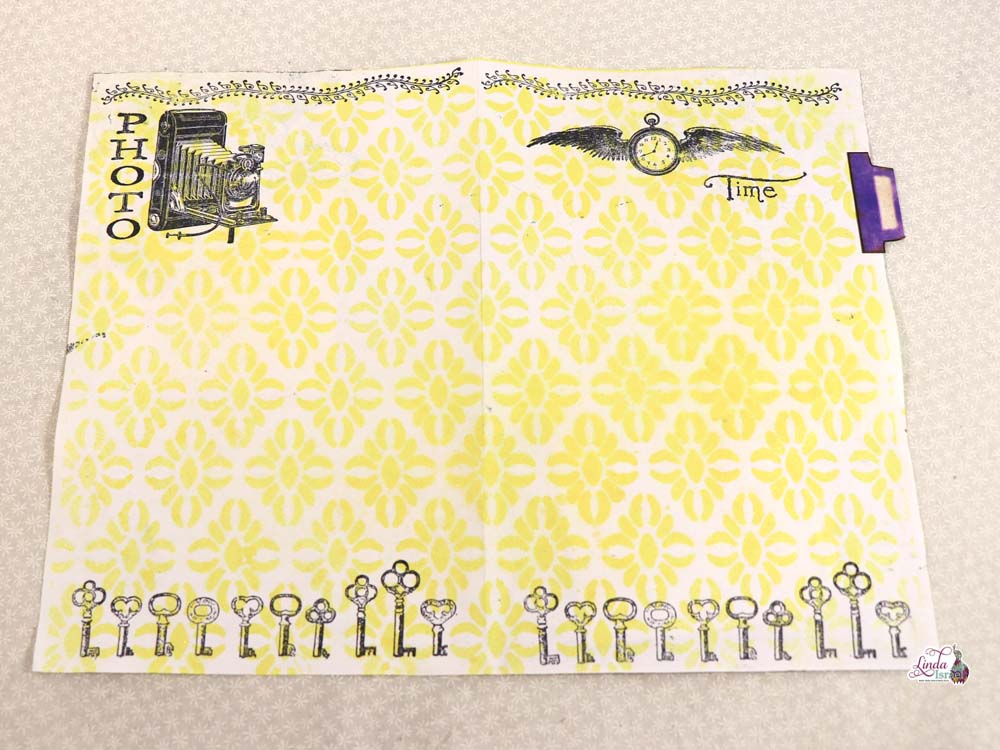
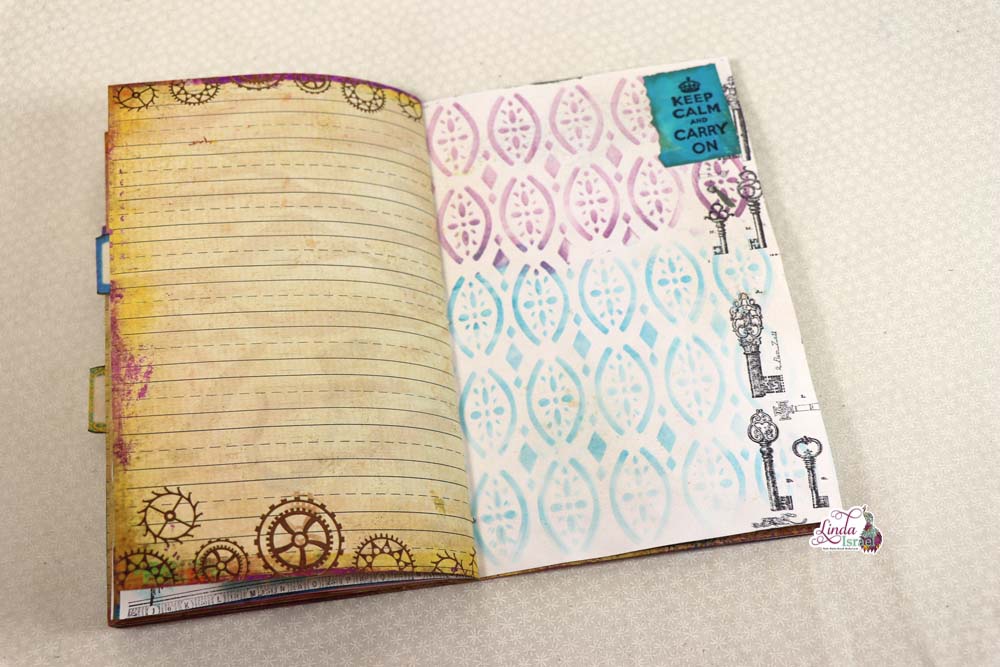
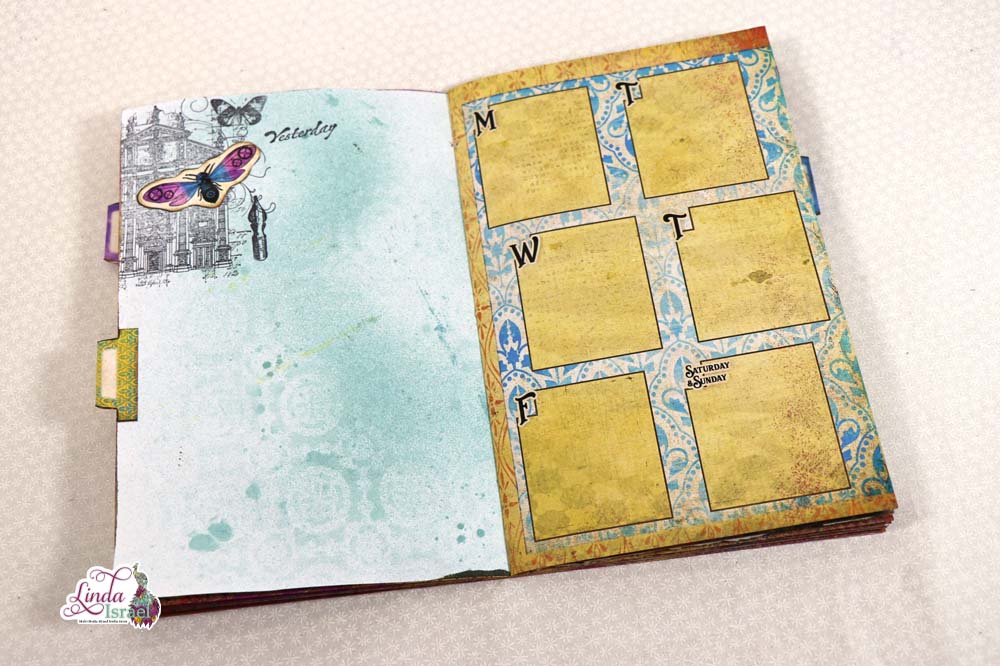
 Repeat designs on a page spread. Even though these pages won’t be side by side in the journal it helps tie pages together. The Stitches stamp across the top make a great accent. Then the Key Fringe along the bottom grounds the page. The Camera and word Photo Stamps bring in a vintage feel over this Diamond with Flair Stenciled page. Of course we all know that Time Flies.
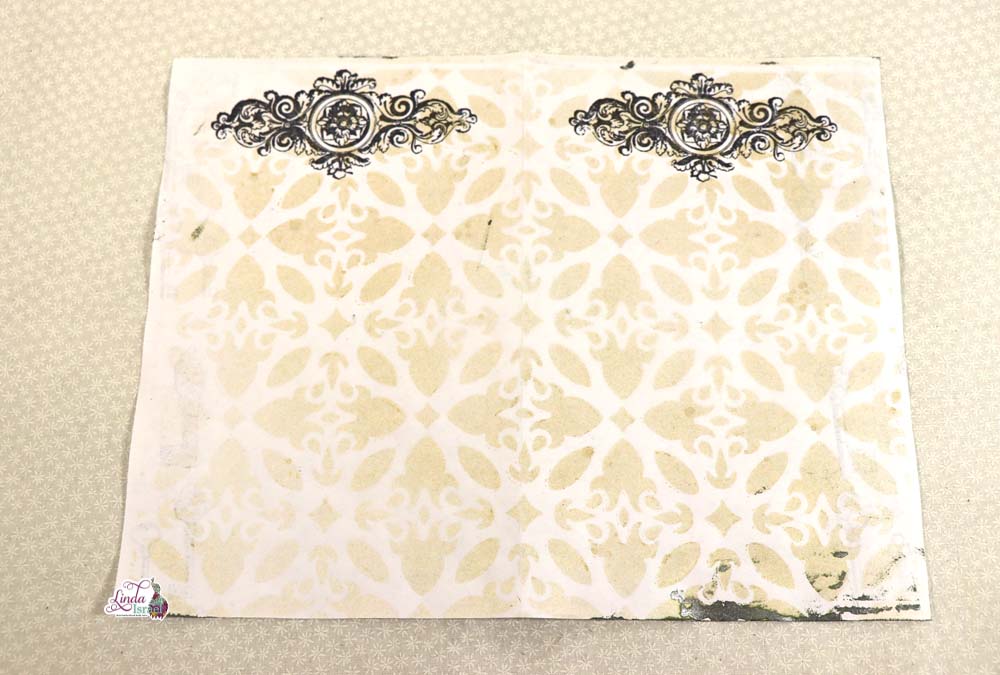
For page three, a simple stamping of the Adornment rubber stamp with Black ink is all that is needed over this Monkeys All Around Stenciled page.
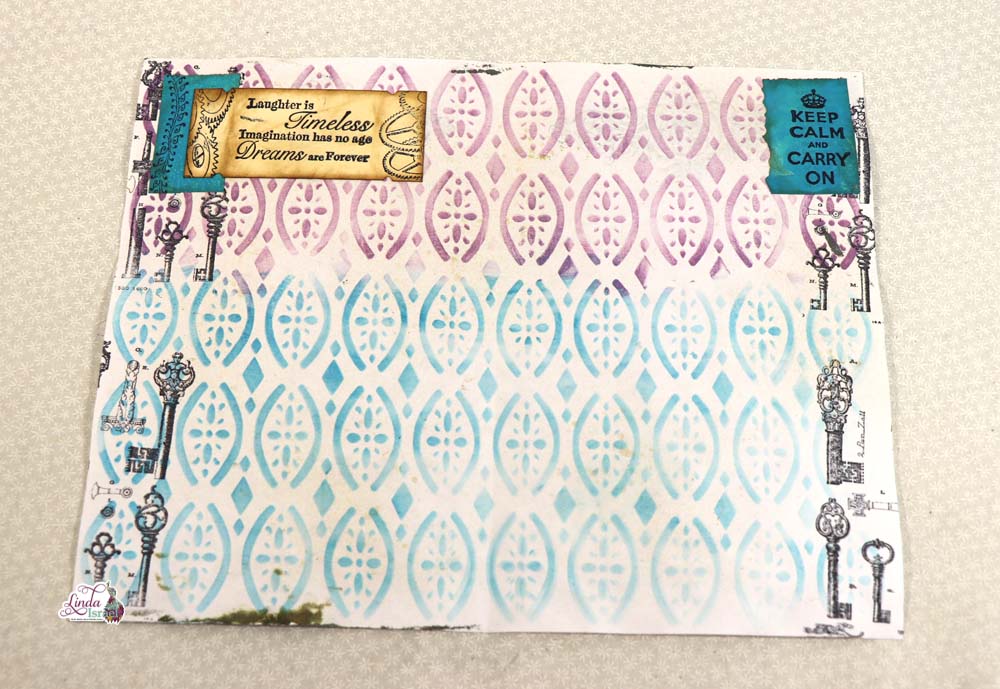
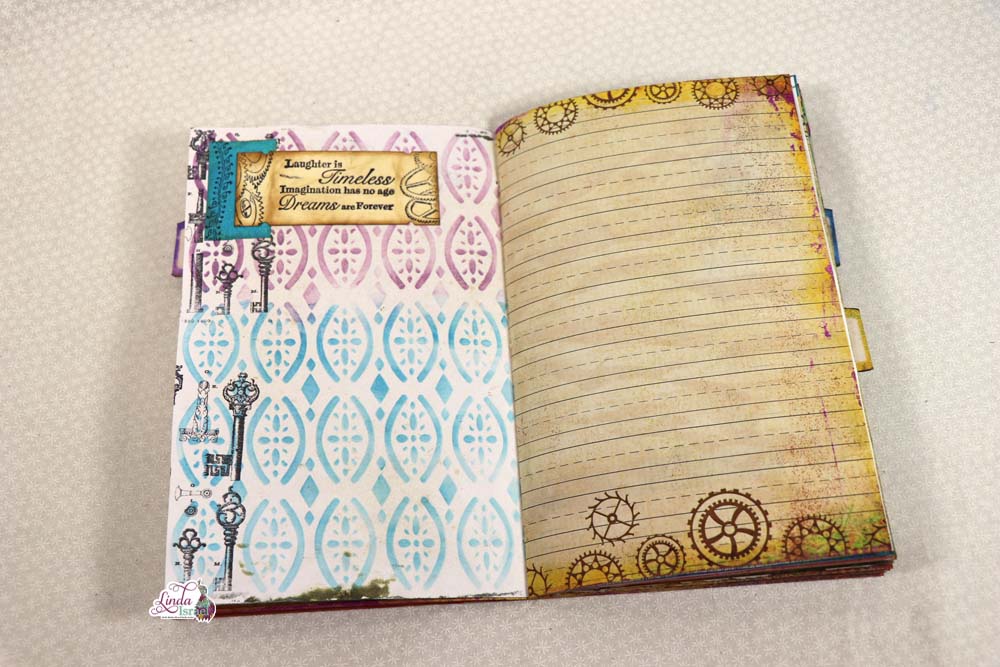
 Curves and Diamonds Stencil used with Distress Oxide, Dusty Concord and Mermaid Lagoon. Then Key Play was stamped down the edges. Using one of the tickets from the POST Sub Box, I then stamped the gears on the edges and the phrase from Time Spent. Distress Ink was applied to the edges and then this was layered over a painted book page that had the stitches stamped down the side.
On the right side of the page the Keep Calm from Carry On Stamp Set was Stamped on a scrap of painted book page.
For the fourth page the stencil from the POST Sub Box was used with the Punked Green and Punked Blue TAGM from the POST TAGM kit. Next the following stamps were used with black archival ink,
When Noon stamped partially across the top and then the bottom of the page. On the left side of the page one of the Butterfly Beauties Cube stamps and Large Nib was stamped. A scrap of painted book page was stamped with the Stitches image and layered under the key image from the POST Planner Kit. The #2 Large Pencil on the right with the word Journal in front. Under the pencil is one of the Curly Swirly Stamps, in the lower corners the Tulip Twine is used.
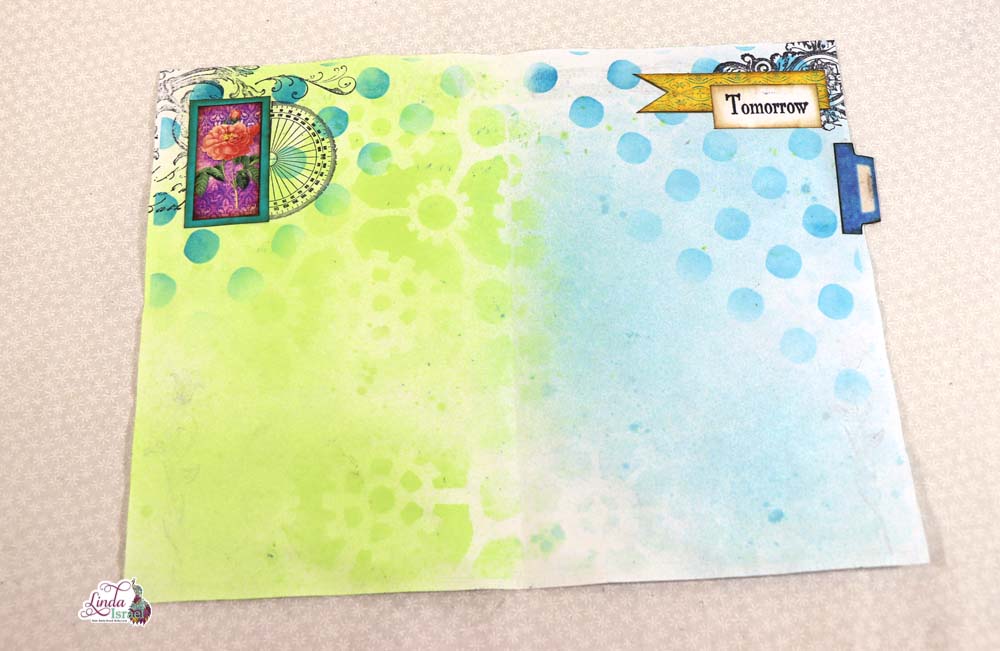
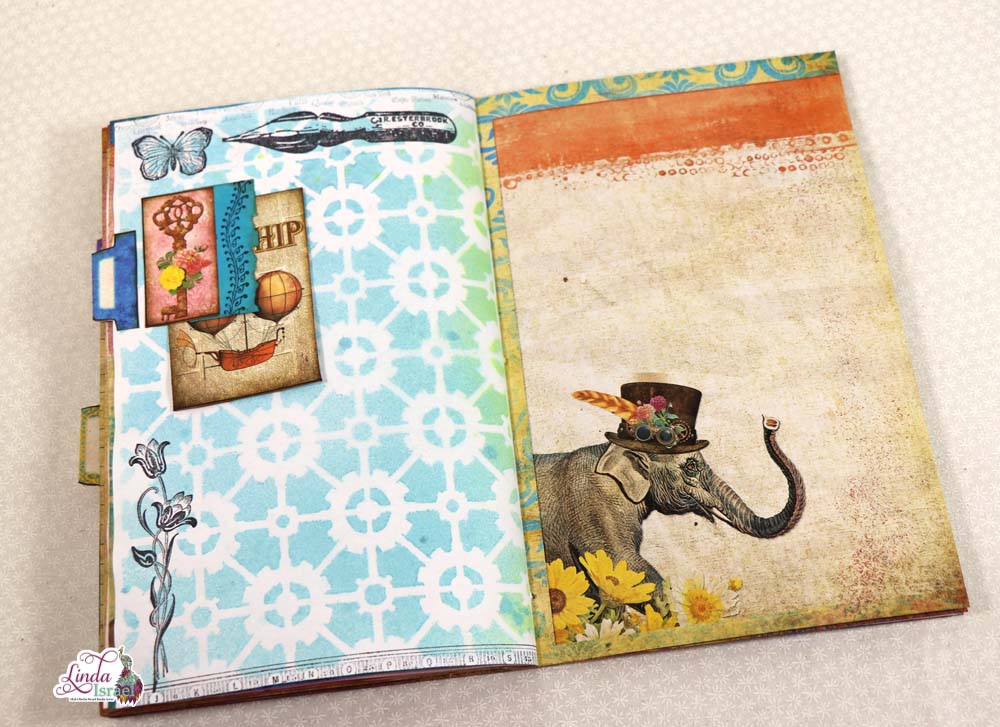
Postcard Collage was stamped along with the Curly Swirly and Protractor from Time Spent Cube in the upper left corner. Then the image from the POST Planner Kit layered on a scrap of teal cardstock.
On the Right side the Adornment was stamped. Then the yellow flag or banner was turned sideways, on top the word Tomorrow from the Farewell Quartet stamp set. Adhere the page tab on the right side using Aleene’s Tacky Glue.
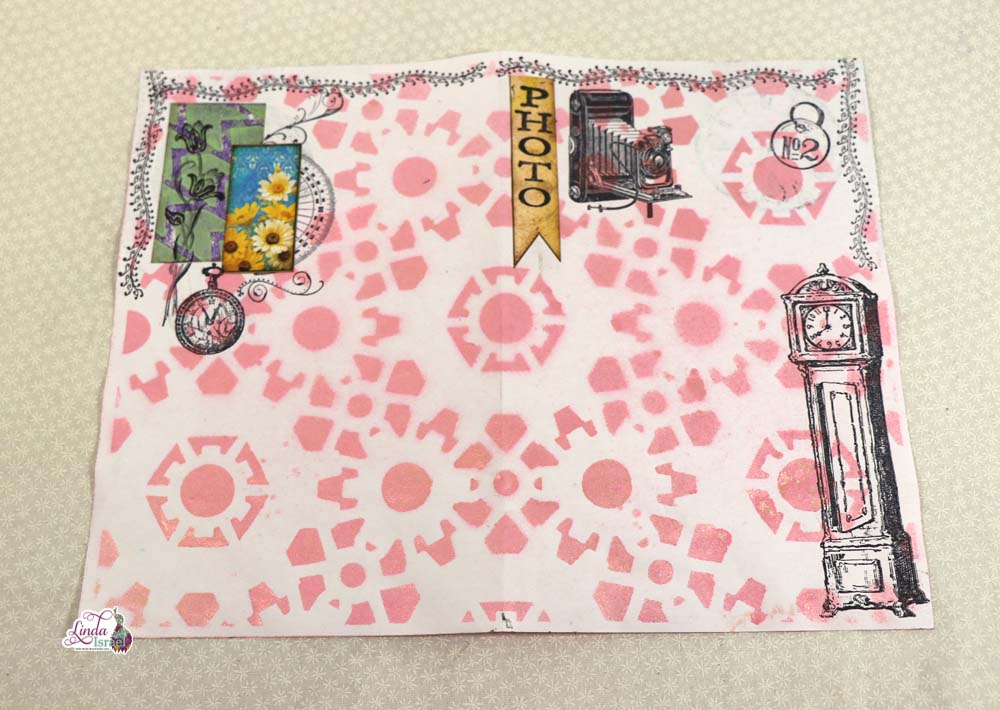
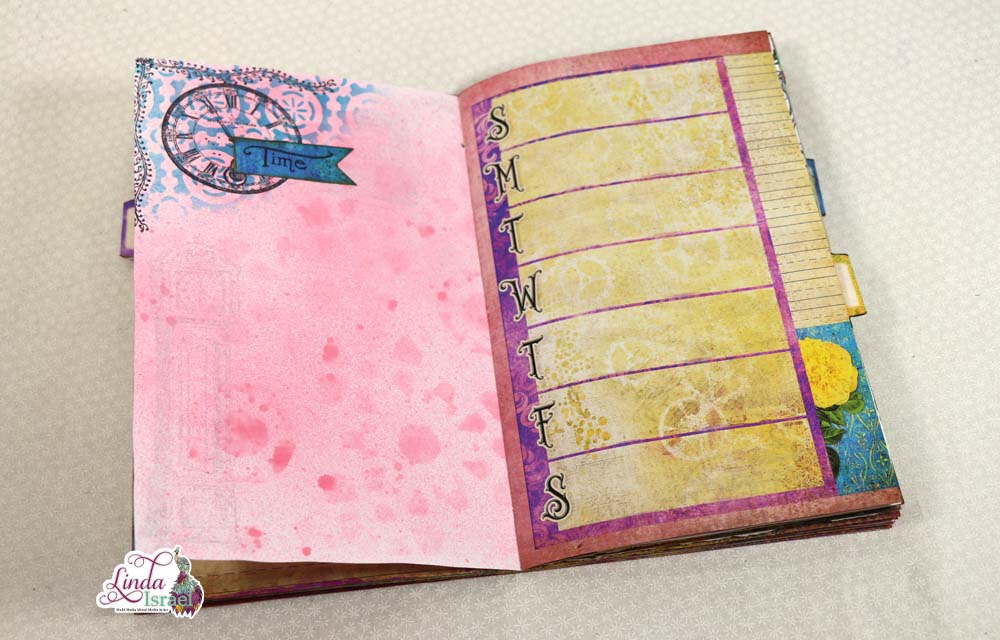
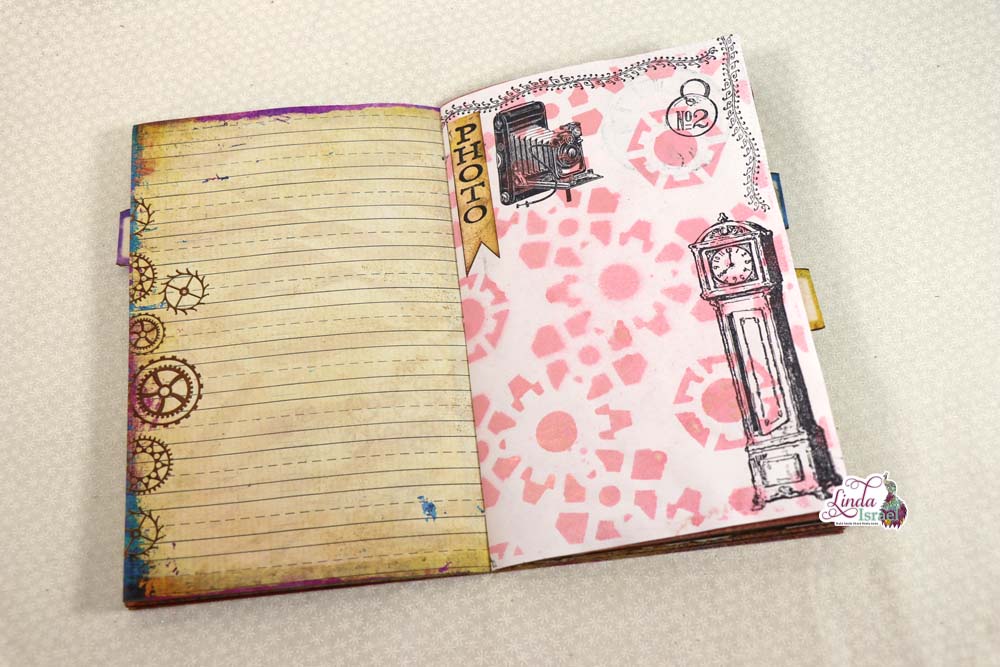
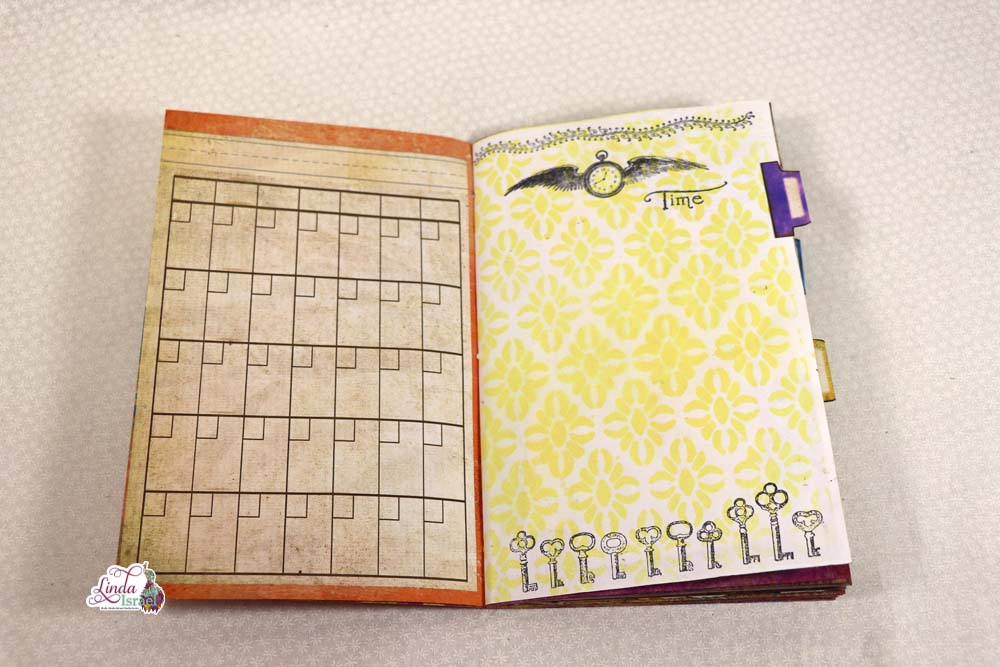
Fifth Page set also features several stamped images. Stitches across the top and sides. Protractor from Time Spent Cube was stamped along with a couple images from Curly Swirly and the Tulip Twine on top of a scrap of gel print. Clock from Time Spent stamped just below the collage. The No 2 from the Tag Cube is stamped on the right side next to the Photo and Camera Stamps, just above the Grandfather Clock.
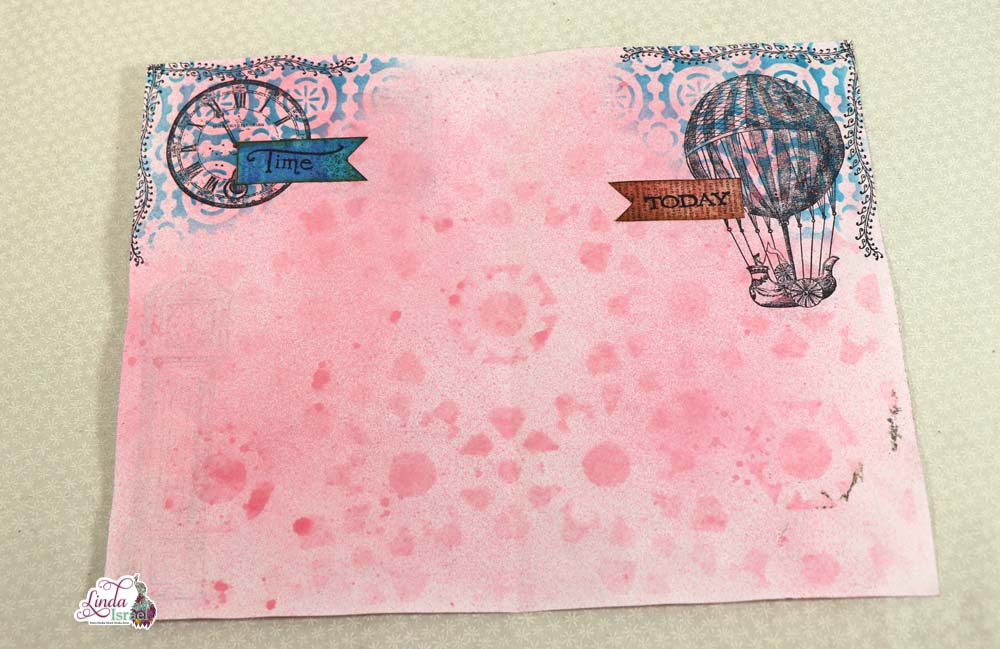
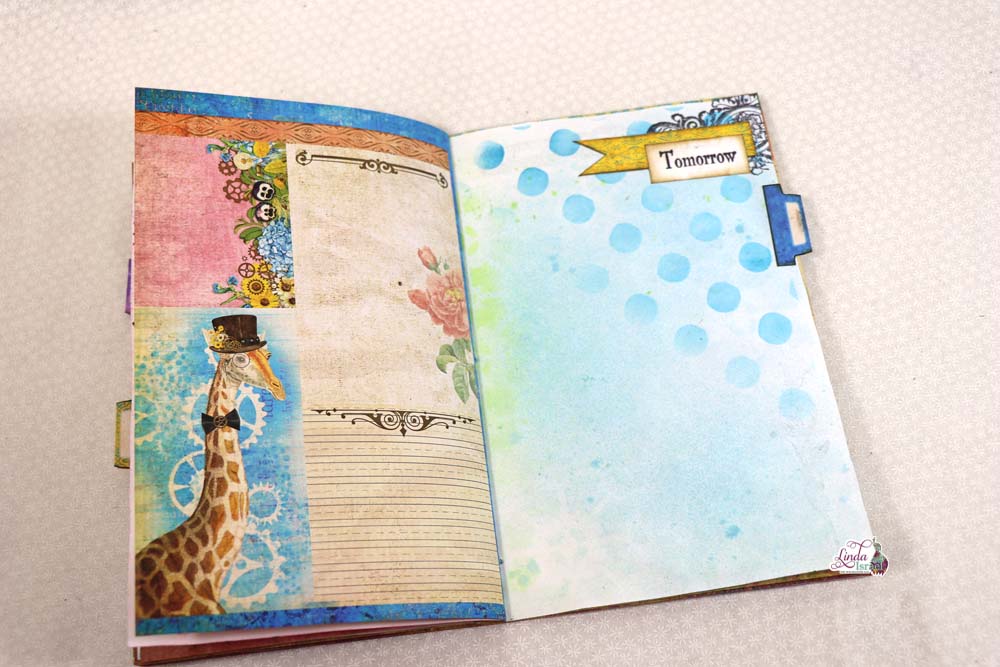
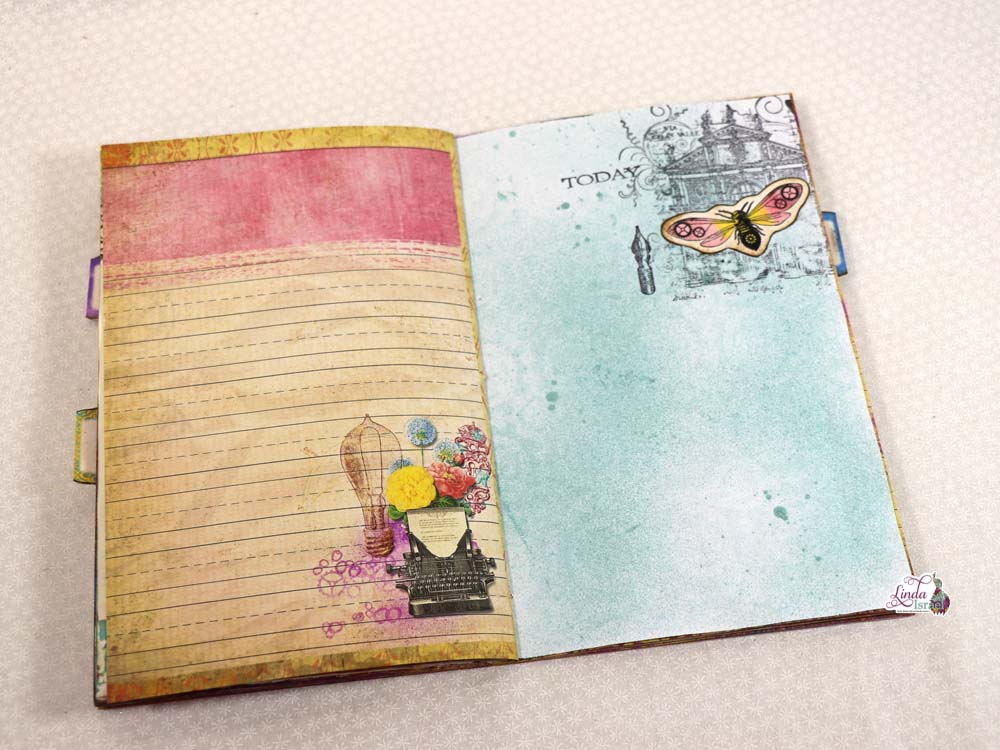
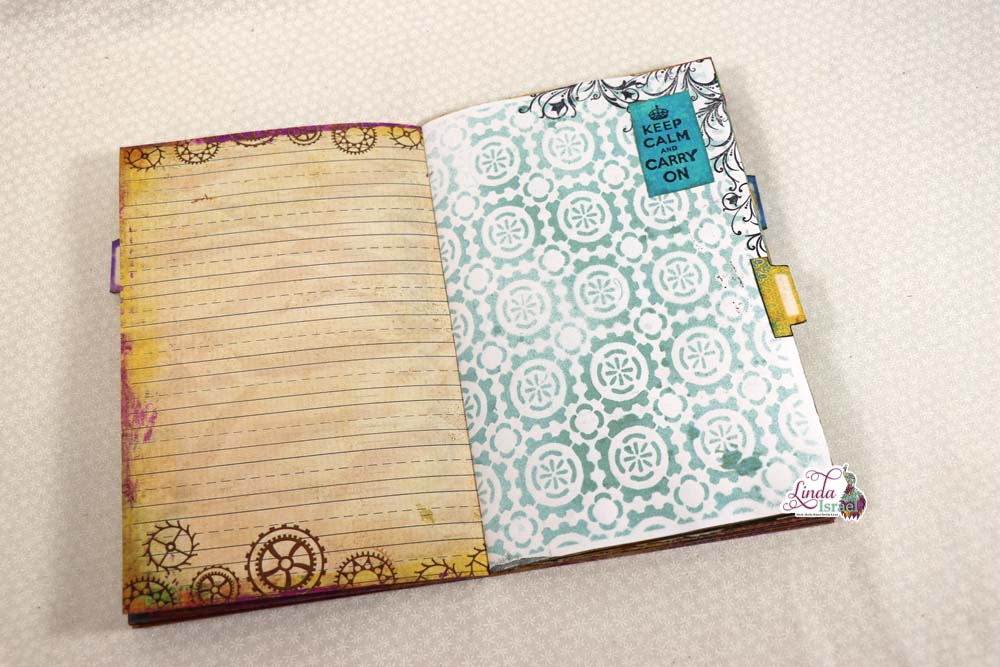
Gear Wallpaper Stencil in the corners was created using Distress Oxide Mermaid Lagoon with a oval blending brush. Then stamped the Stitches to frame the corner. Then One of the clocks from Clocked Out was stamped. The word Time from Time Flies was stamped on one of the flags from the POST Planner Kit.
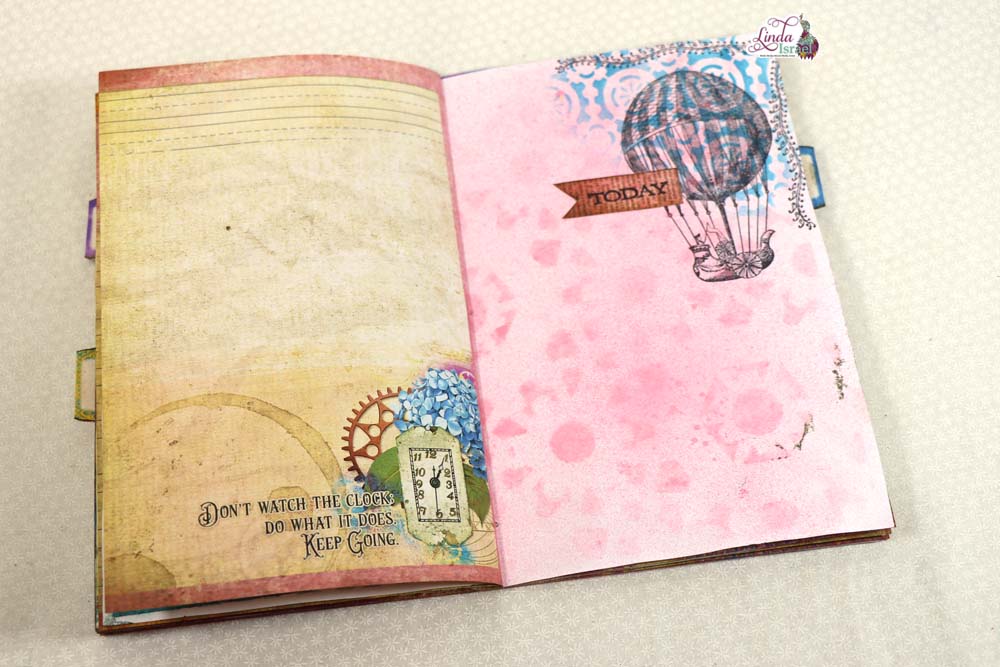
On the right the Hot Air Ship was stamped over the Gears Wallpaper Stenciled design. The word Today is from the Farewell stamp set.
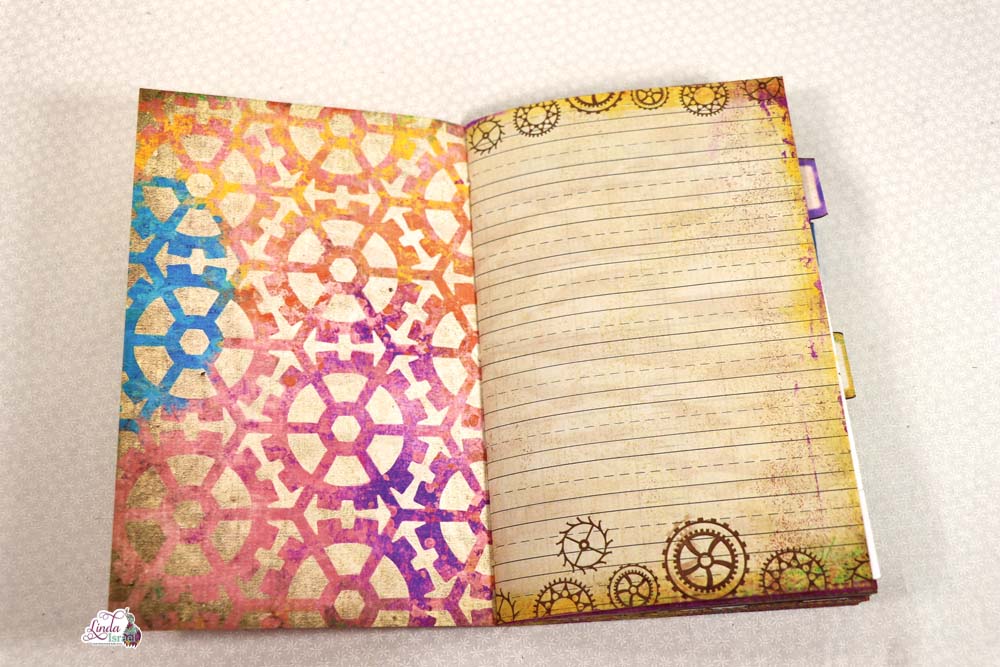
Sixth Page Set features the Gears Wallpaper stencil that had Punked Blue Green TAGM sprayed through the stencil. Feather Floral was stamped in the corners, turning the stamp around the corner.
The word Today and the Nib Small were stamped on a scrap of painted book page as well as the Keep Calm from Carry On.
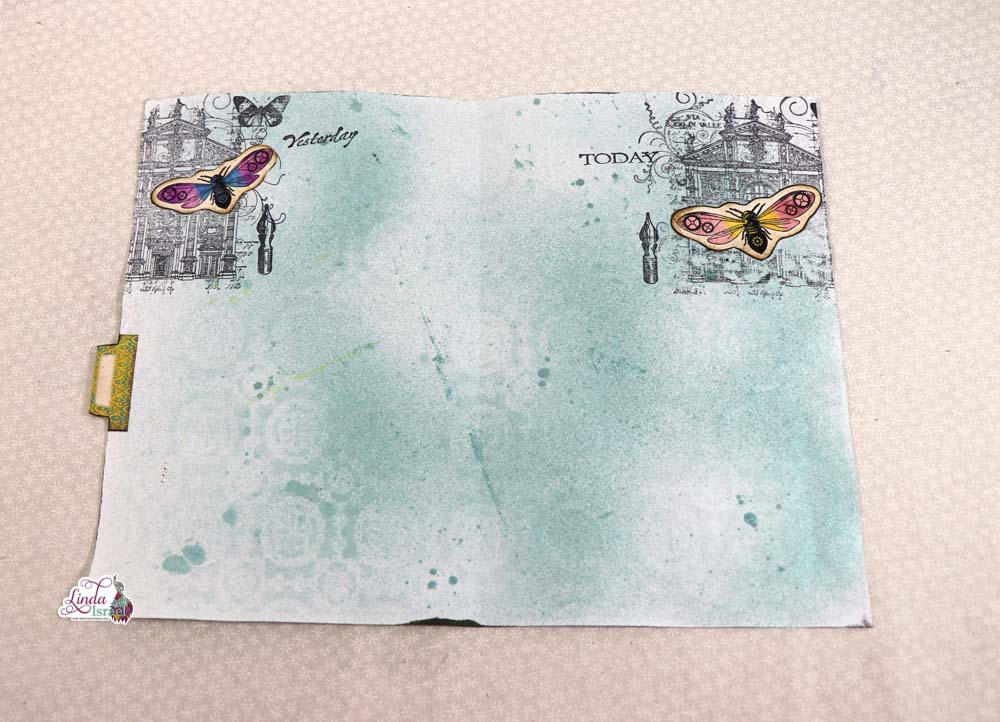
Pillars of Hercules was stamped on another painted book page then this was adhered to the lower left corner. On top an image from the POST Planner Kit was placed as a tuck spot. Used another card and then a tab from the kit as well. The stamped journal card is like the one from page two.
Via de la Valle rubber stamp was applied to the corners. Then the words Yesterday and Today were stamped. Also stamped the pen nib small to complete the stamped collage. On top is one of the bees from the POST Planner Kit.
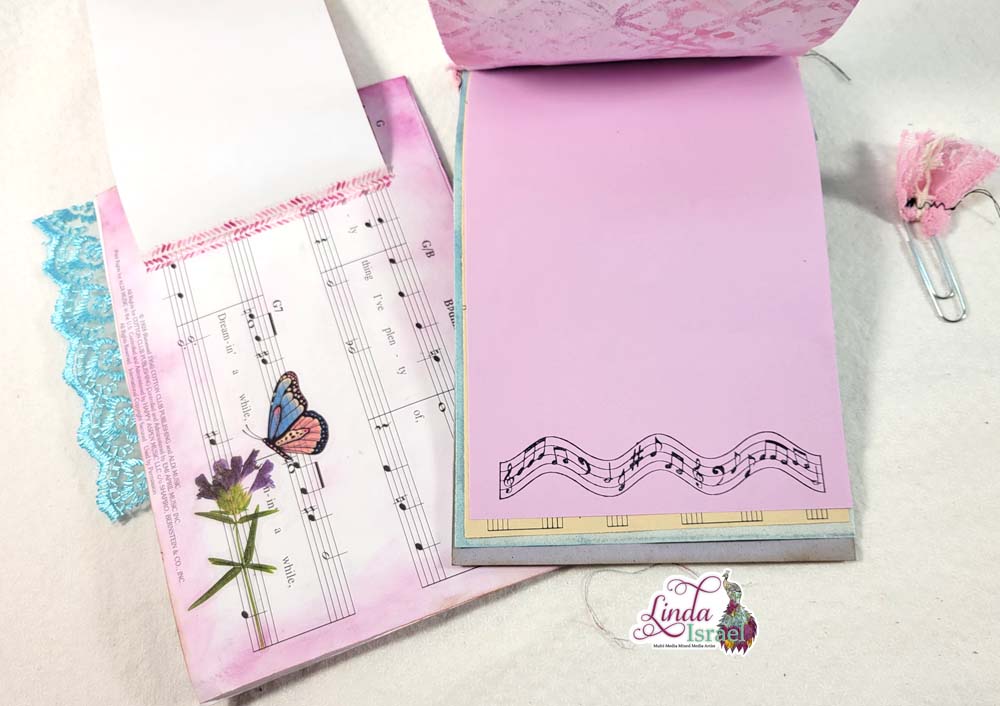
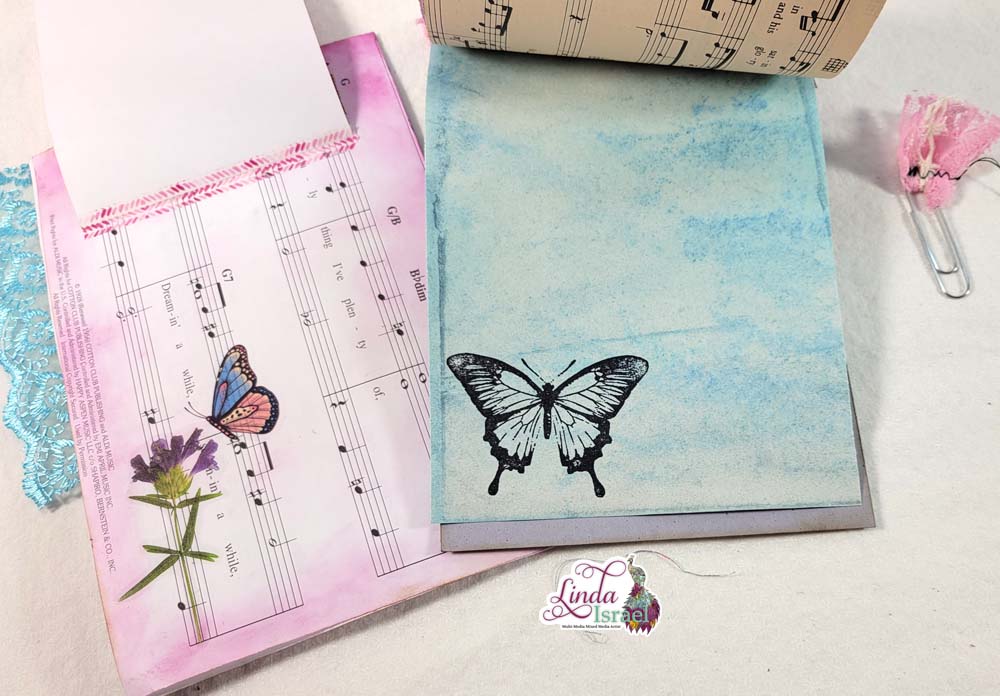
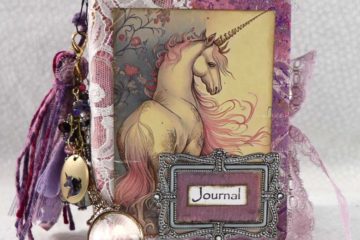
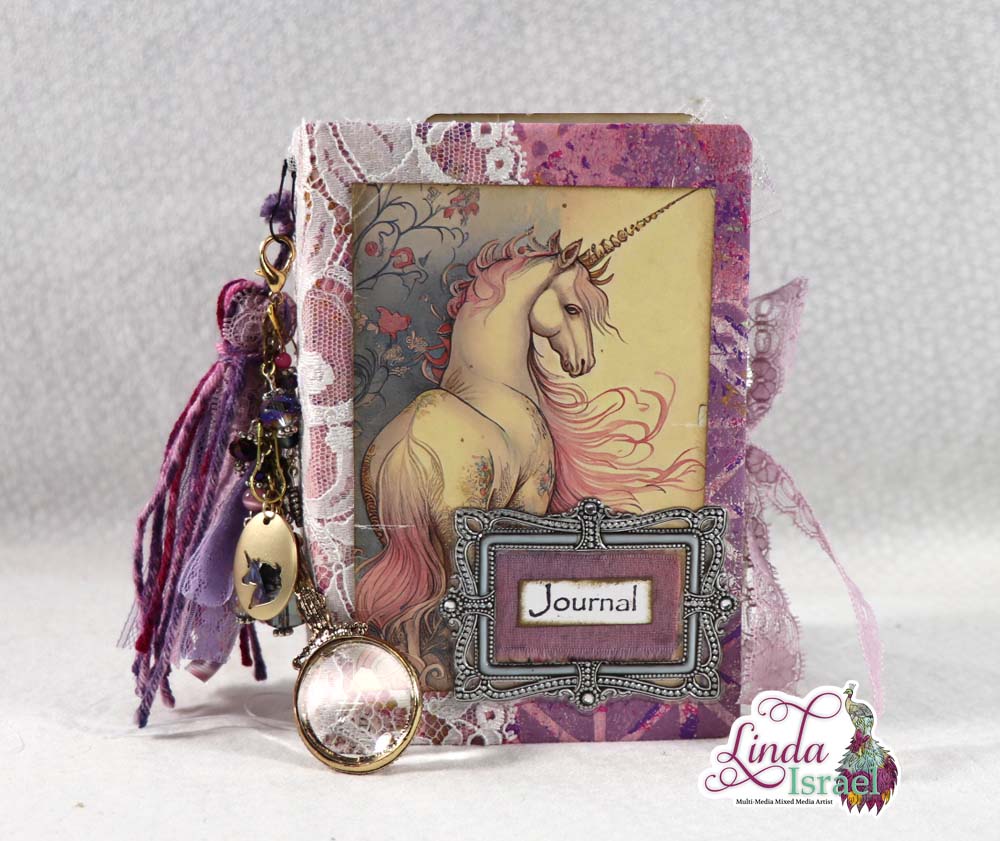
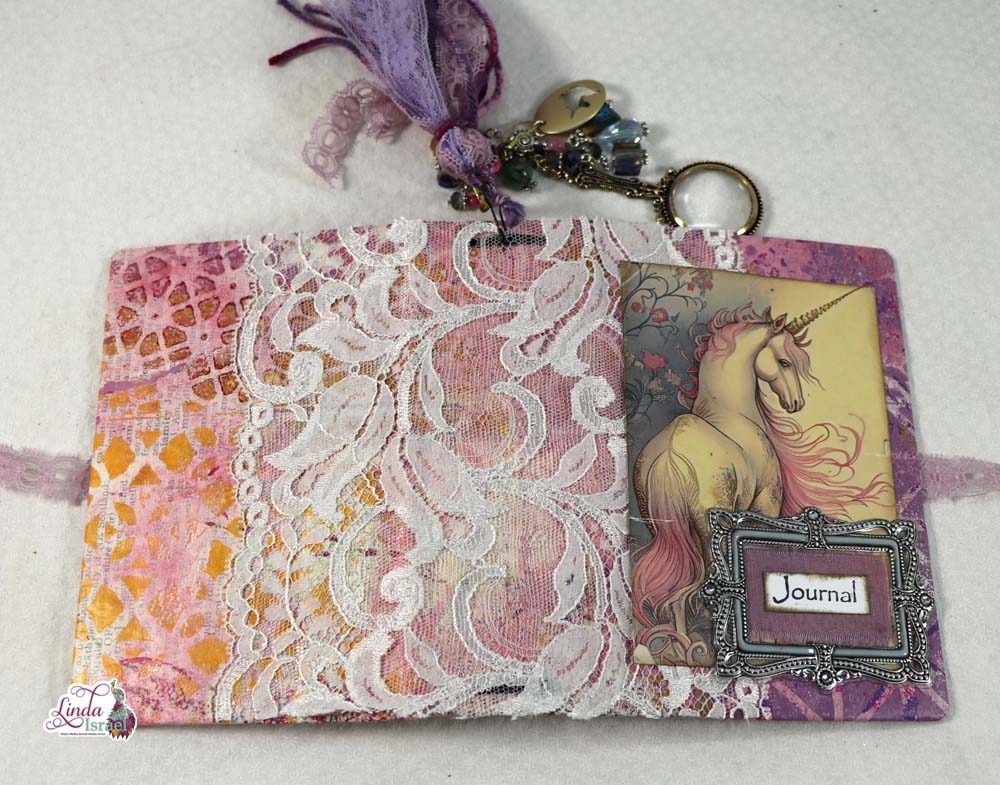
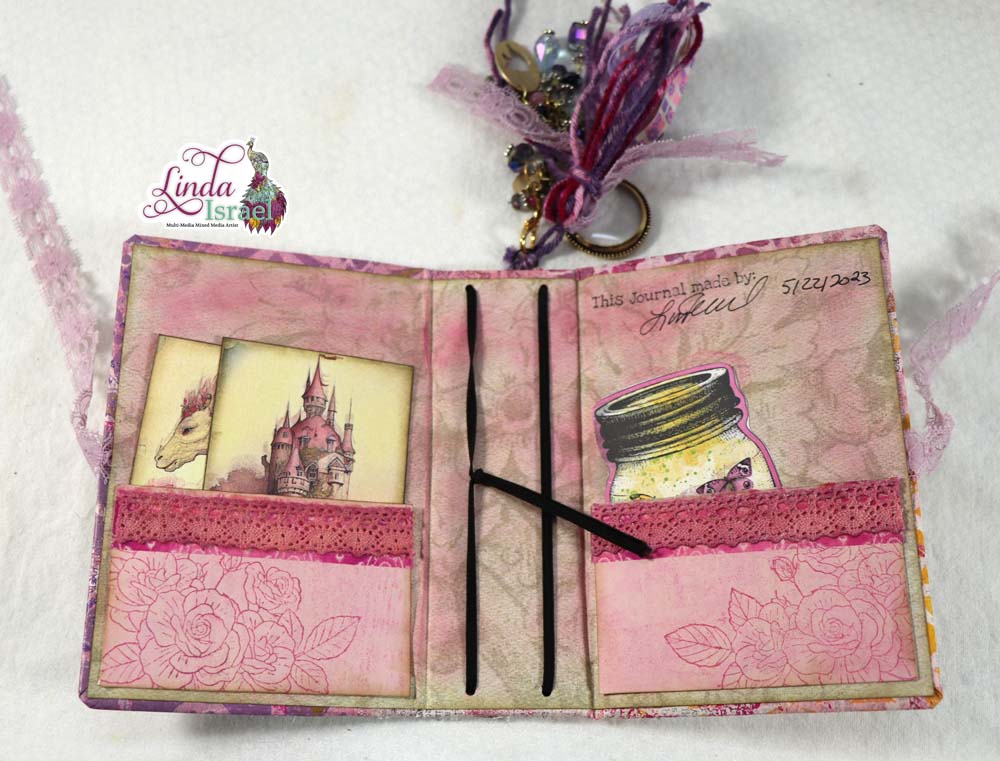
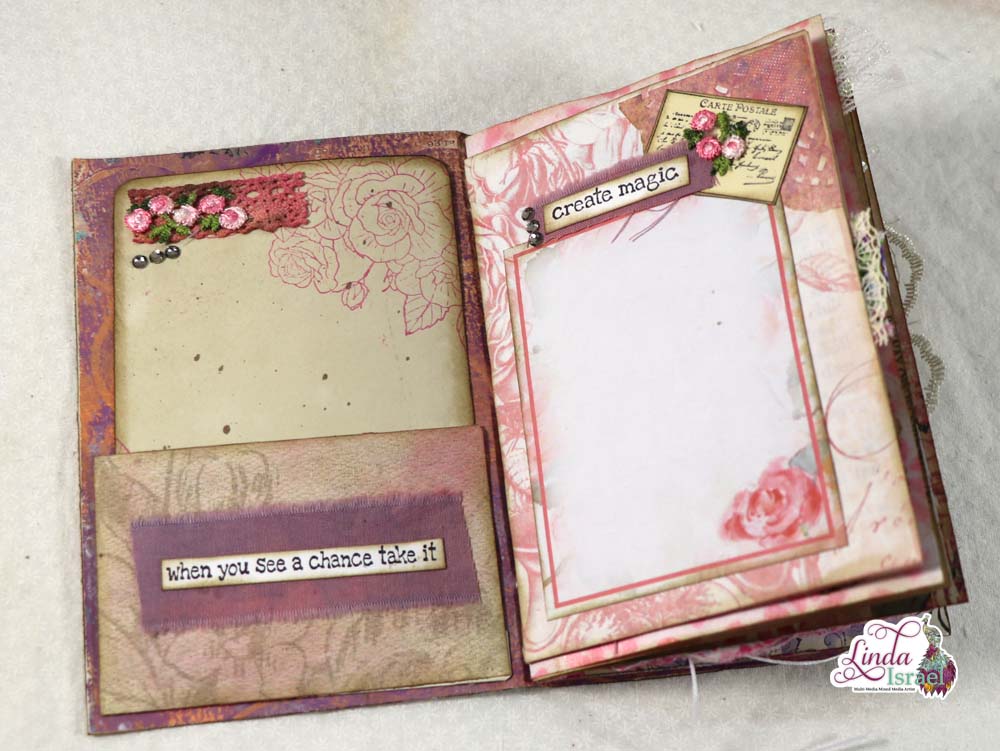
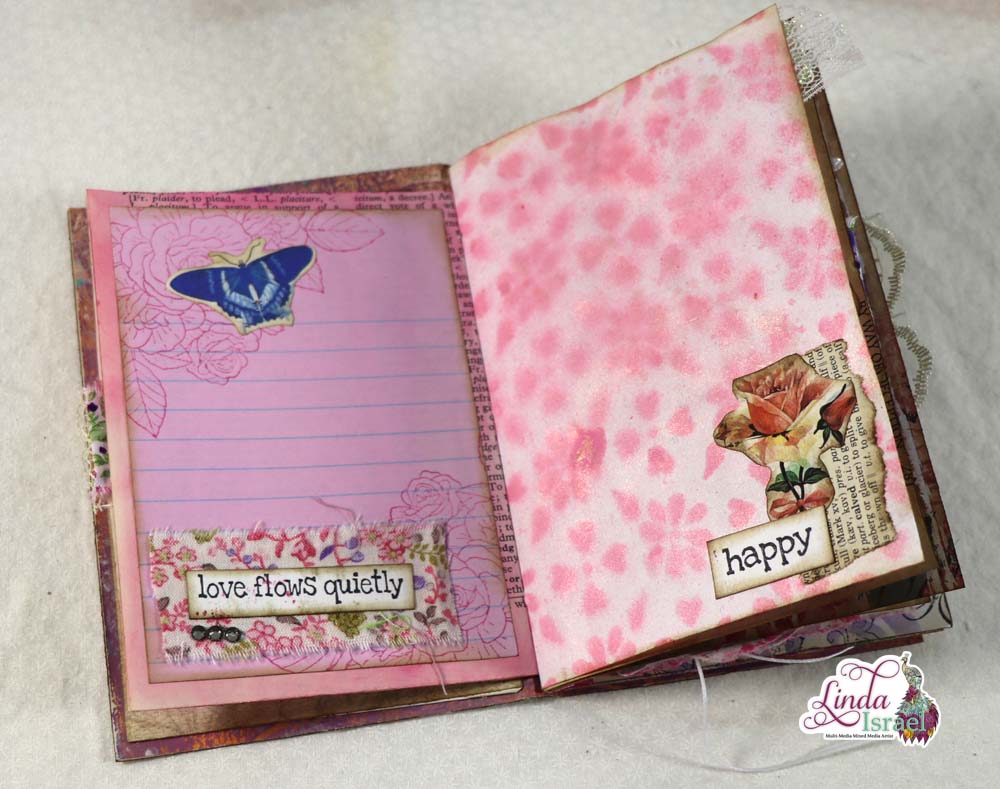
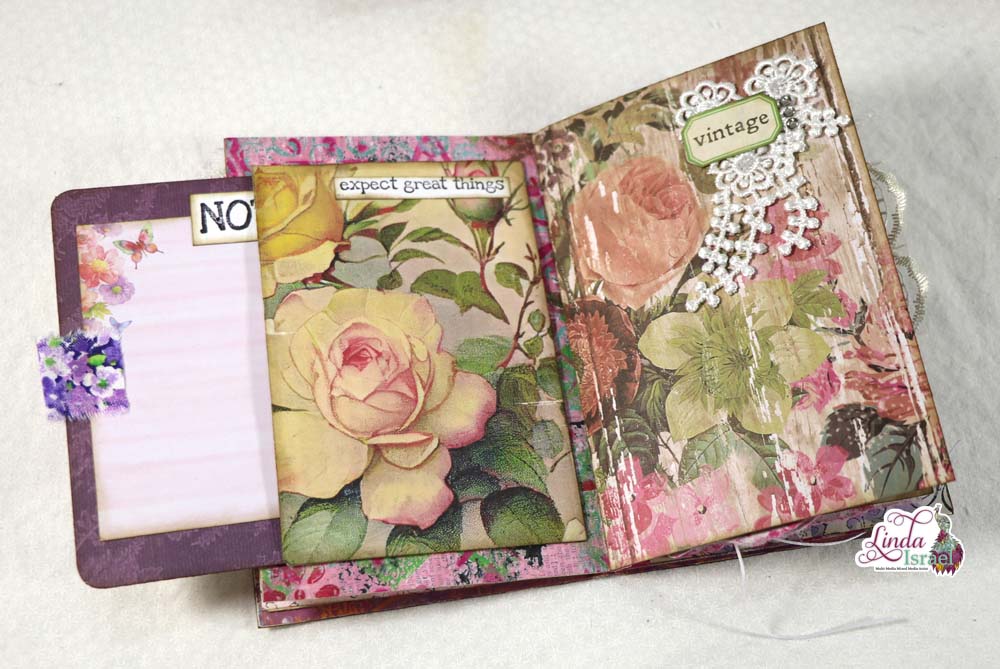
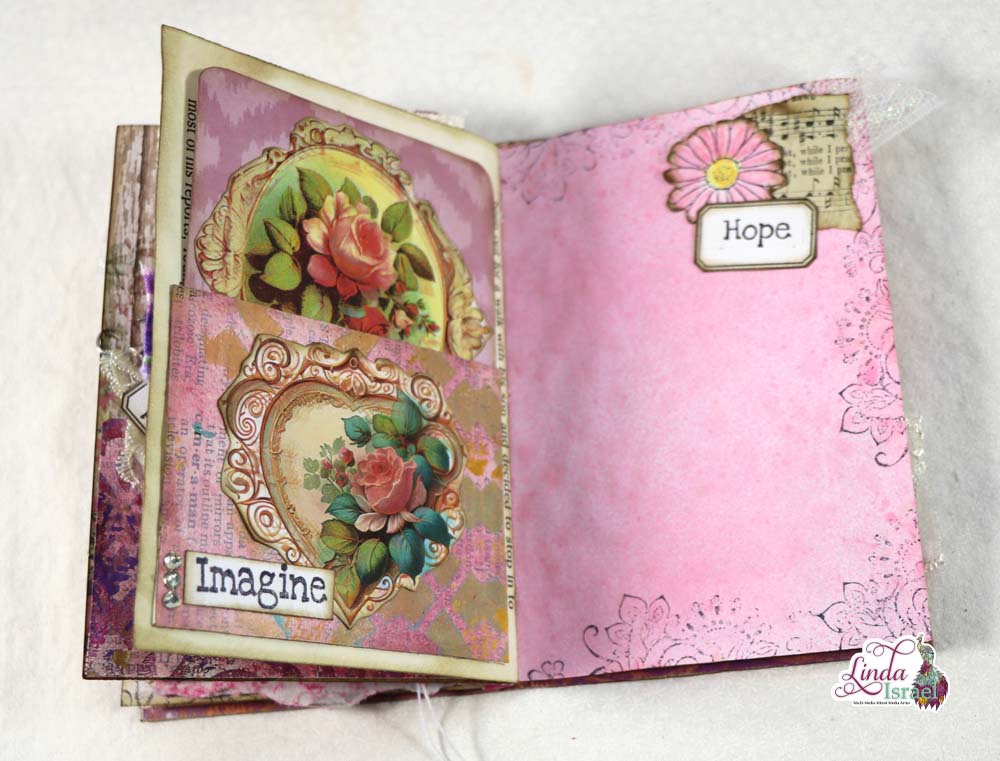
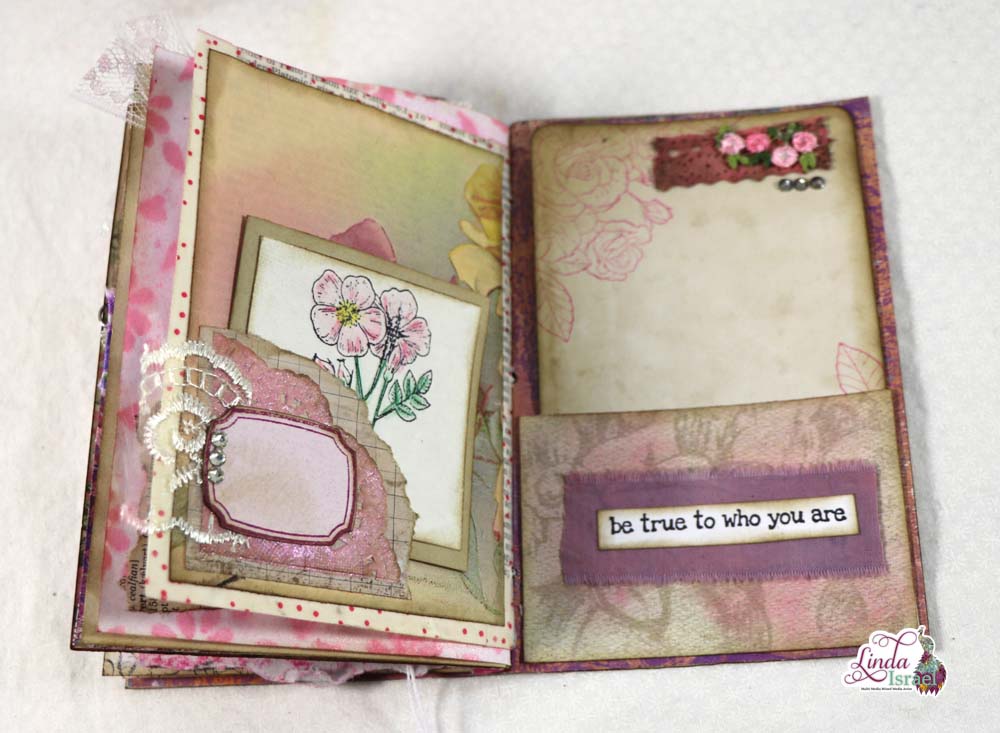
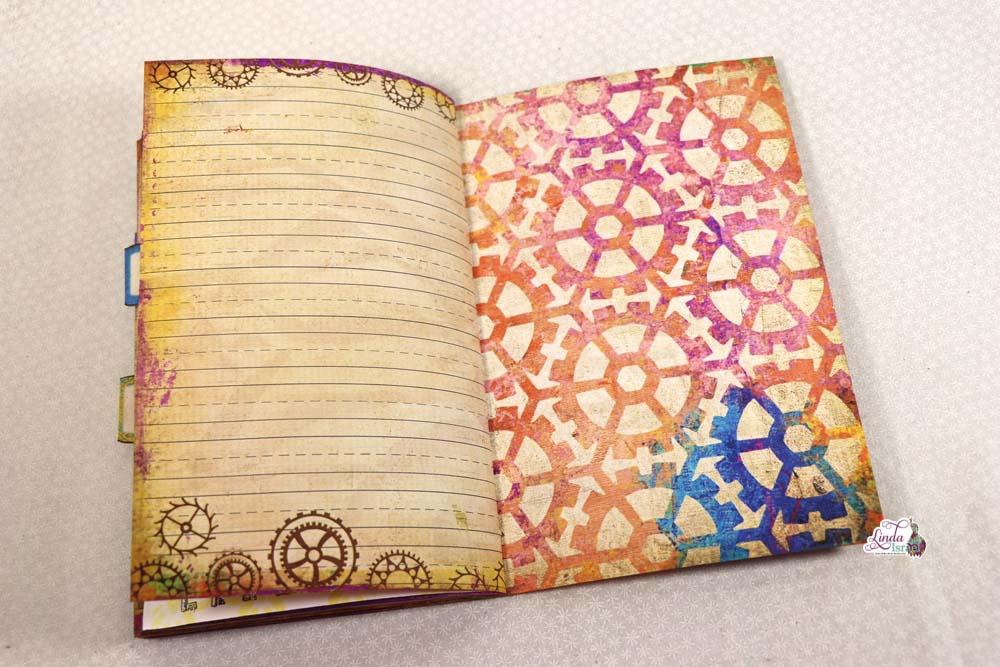
Here are a few images of the completed journal. I love how all the pages came together to complete the Punked Out Steam Too Planner Tutorial.


It was enjoyable creating this Punked Out Steam Too Planner Tutorial. Being able to use this colorful kit along with stencils and stamps just made it so much fun.
There are so many items I love in this planner. What was your favorite?
Make sure to check out the Friendly Junk Journal People Facebook group. Of course, you are welcome to join the Friendly Junk Journal People Facebook group. The group is growing daily and we are a friendly group willing to help each other and encourage each other.

Interested in any of the projects Linda has created? Please feel free to contact her through her website. Here is her shop, a lot of items featured and more added weekly.
Keep updated on her posts by following the blog by creating an account. Follow Linda on her Facebook Page or on Instagram for updates that may not be shared on the blog.
Thanks so much for stopping by the blog today to see my Punked Out Steam Too Planner Tutorial!