Calico Collage
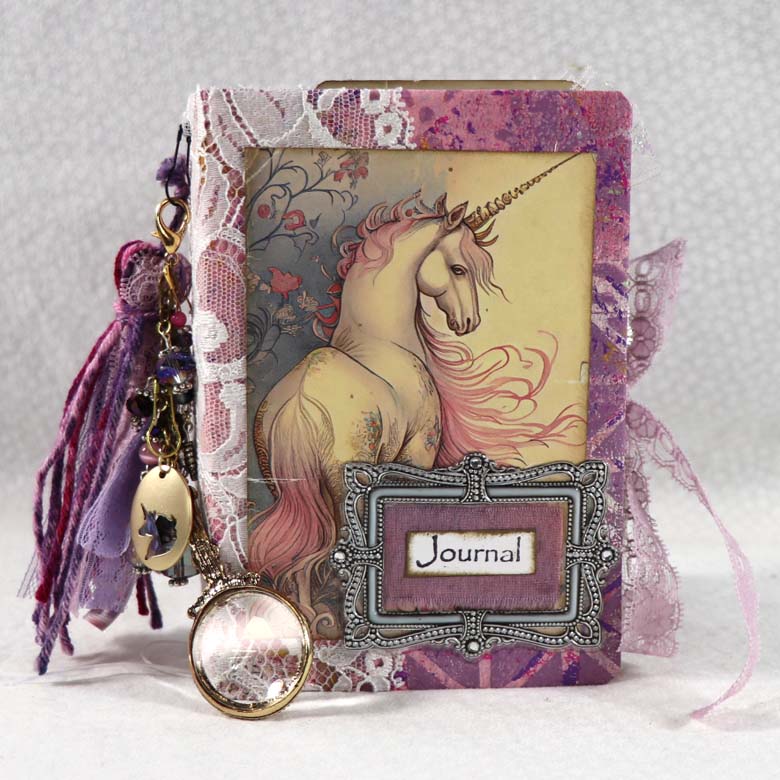
Today is All About Robins Junk Journal Tutorial. As I’ve been cleaning and organizing in my studio / craft space I found some All About Robins items. I also found a journal cover that was given to me and decided that it would be a good time to combine these together to create a junk journal.

All About Robins Junk Journal Tutorial Video
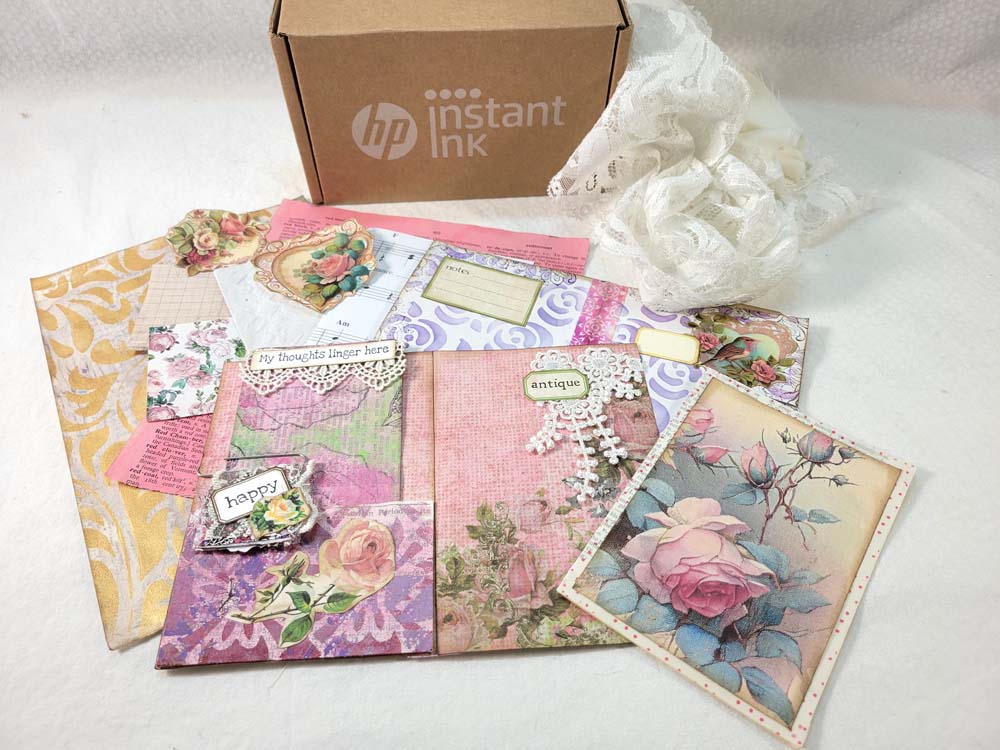
Supplies used:
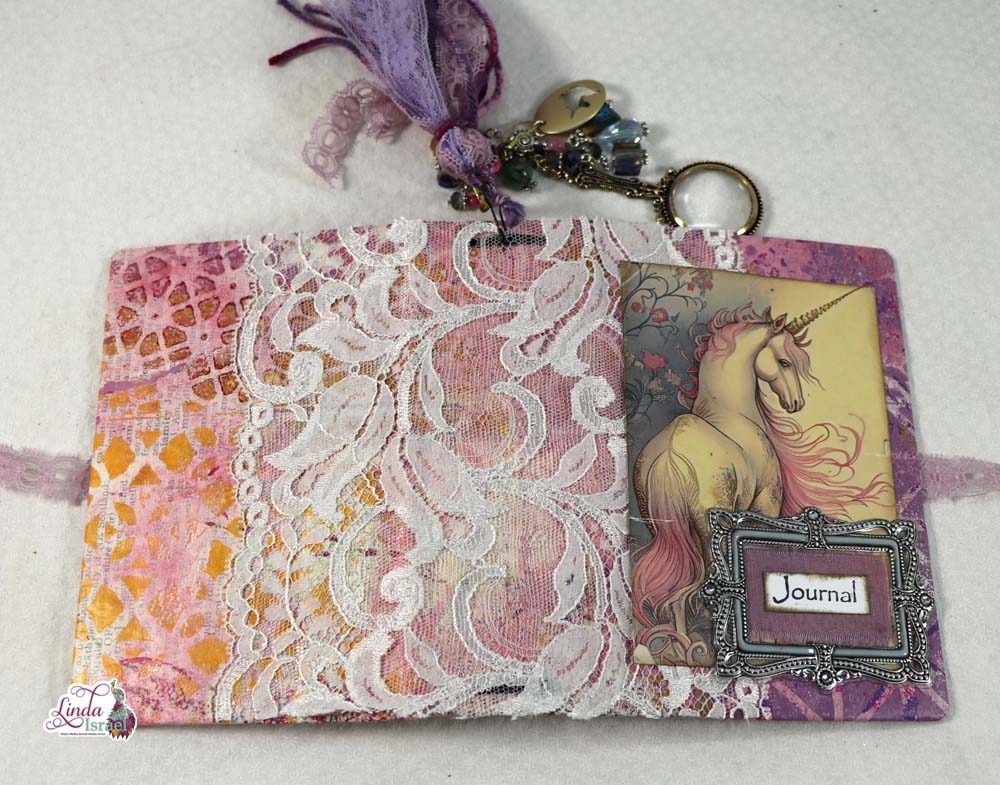
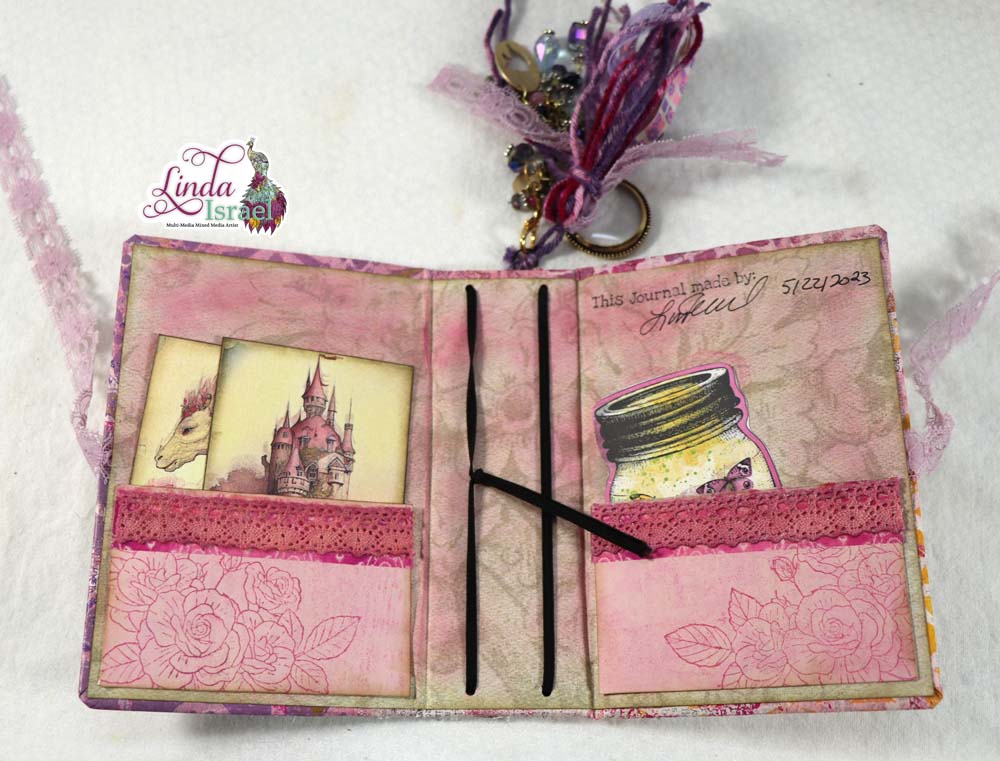
The inside of the cover was decorated by the person who gave me the cover. I decided to leave it as it was and only added to the inside spine since it was blank.

On the right side I stamped the Henna Rose and then layered over the top of the bible page. The Doily was sprayed with Tattered Angels Glimmer Mists and then I stacked a few pages from a tear off notepad that my Mother in Law gave me a while back. Then over that I added an image from the All About Robins Sub Box and the word inspired that I stamped a long time ago.

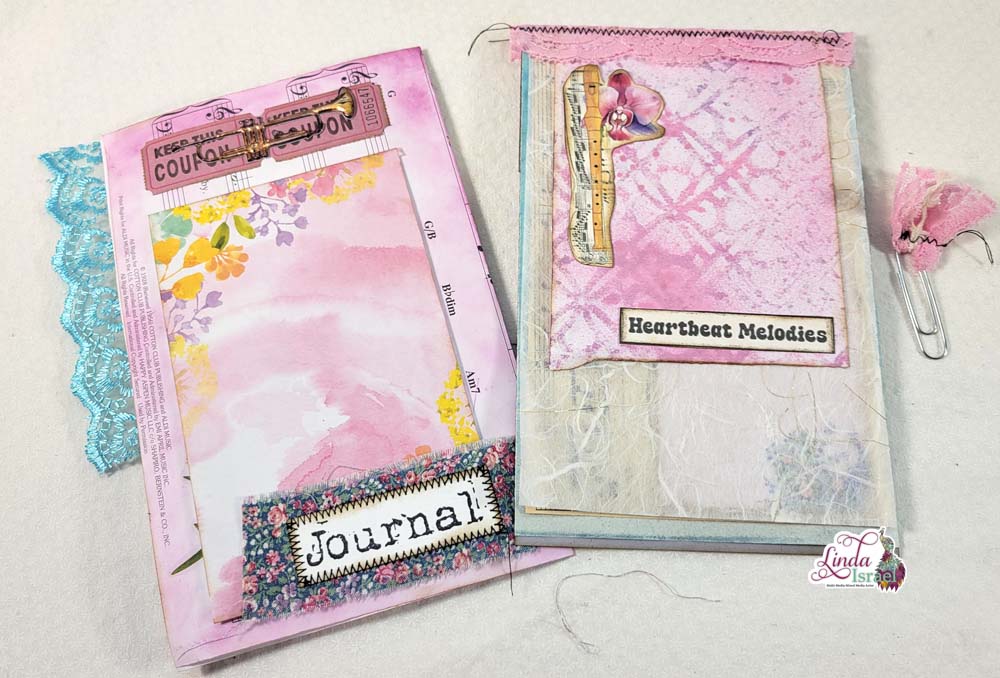
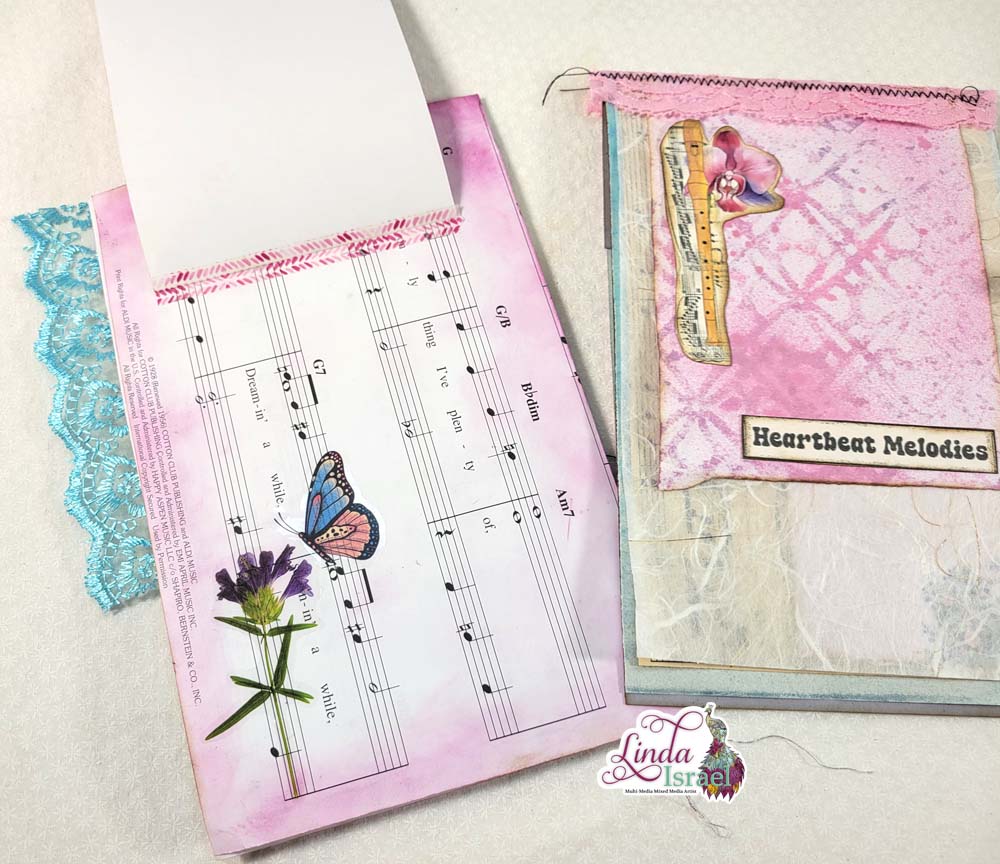
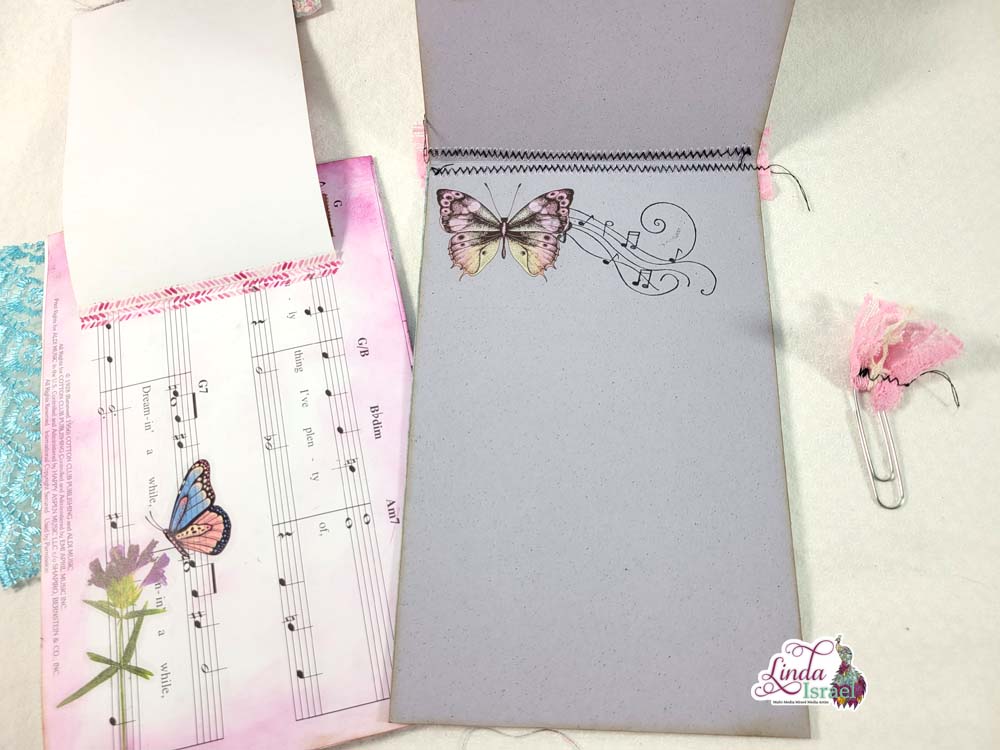
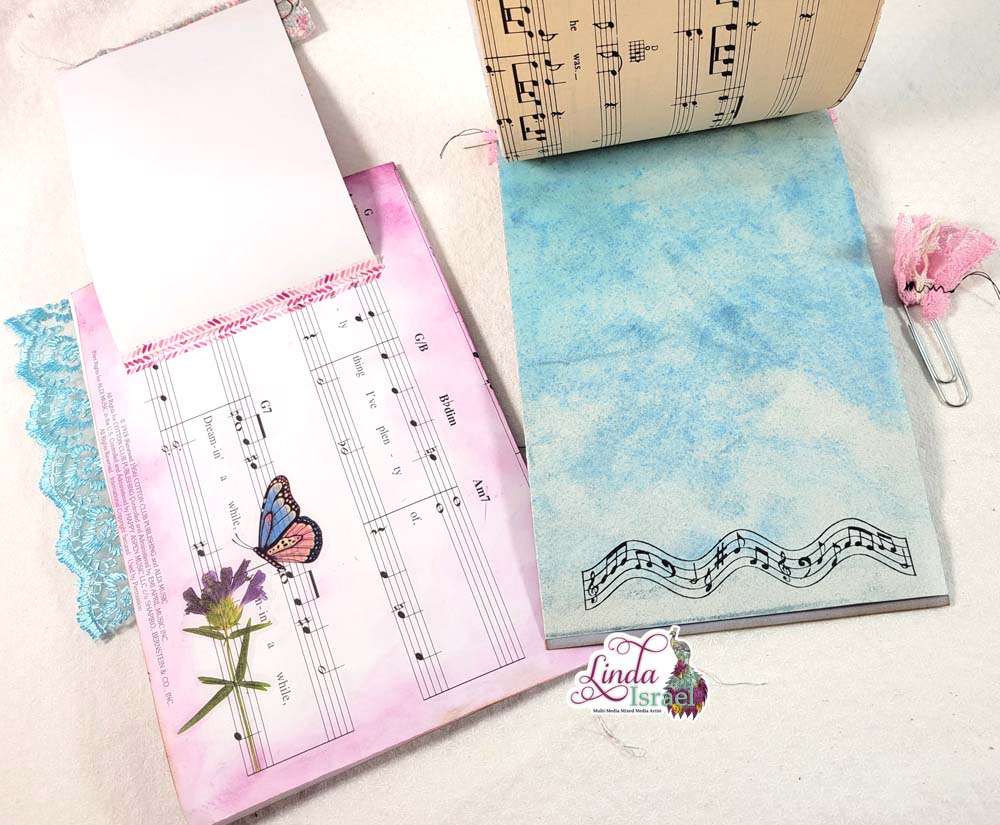
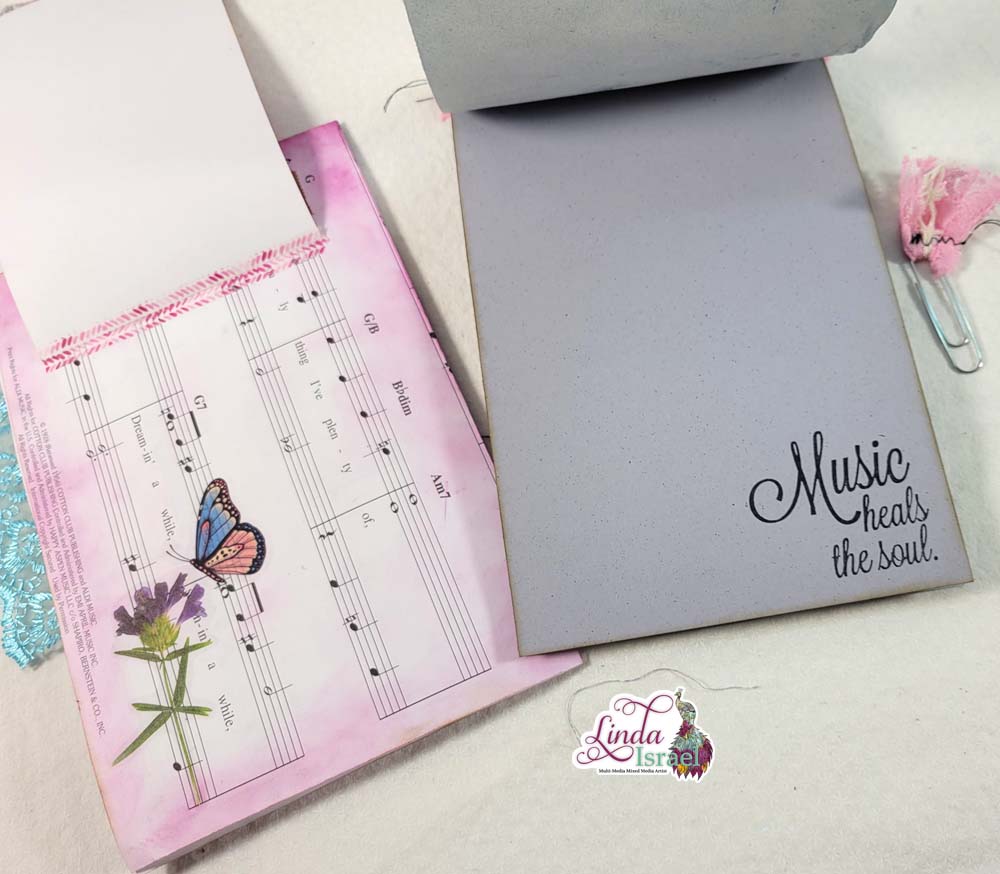
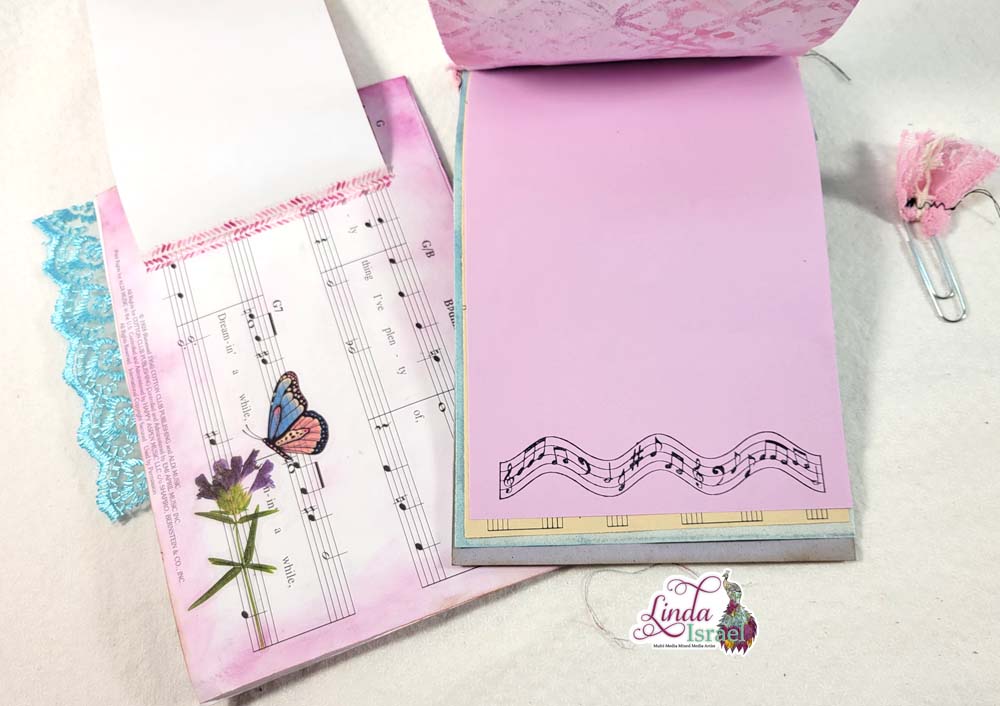
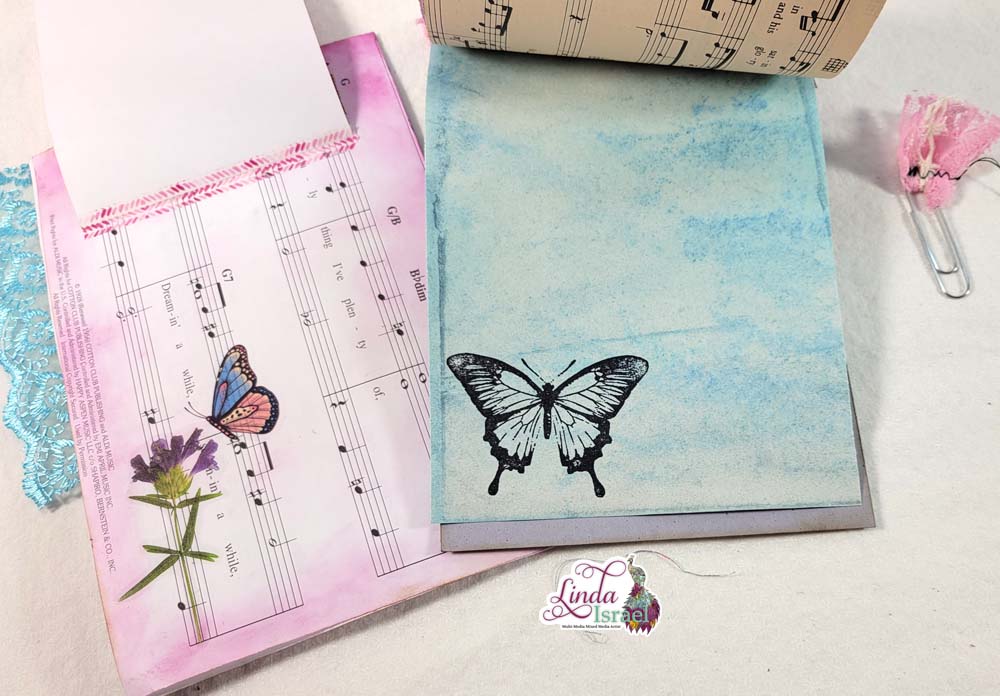
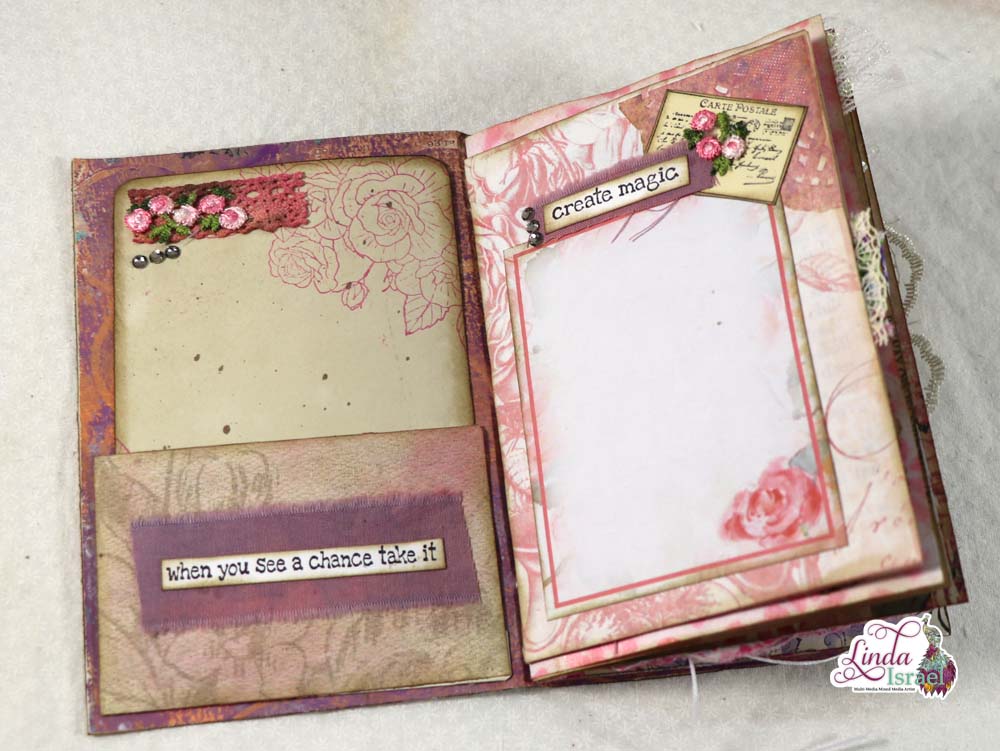
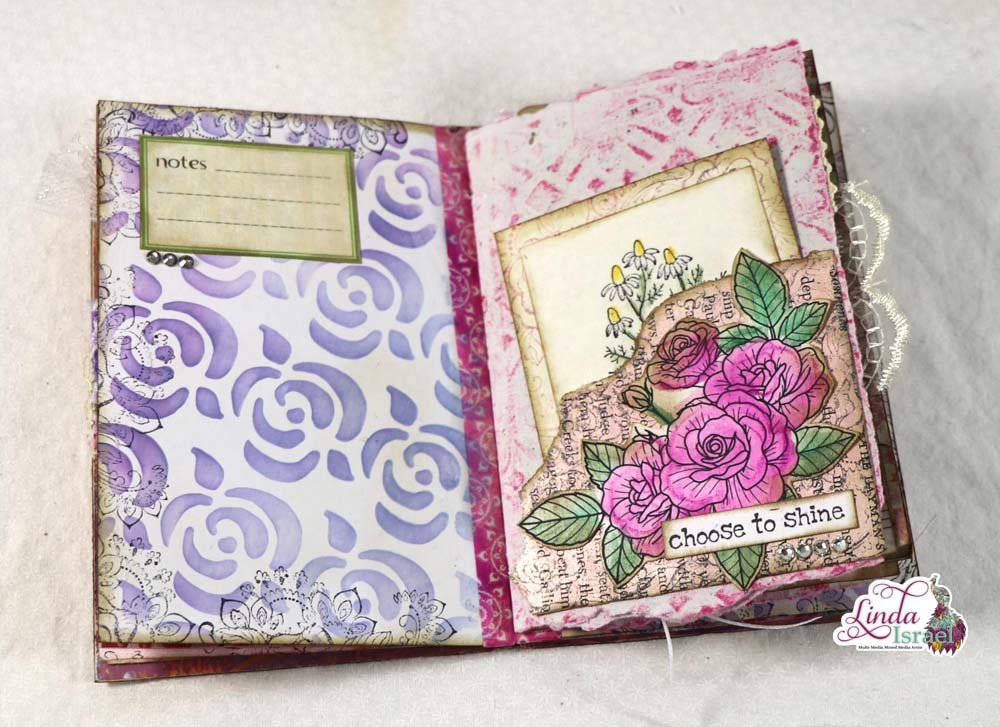
I like being able to combine different kits together. On the left I used a page from the Musical Botanical Mini Journal. The bird on the pocket was from a dictionary. Sometimes those dictionaries can have some wonderful images, keep an eye out for them. On the right side was a page where I laid a card down and then sprayed through a stencil. It created the negative space with a border of the stenciled pattern. This effect is great to create two things at one time. And actually I created three. The base Page, the journal card and a mop up page. Adding the little bird stamp in the corner adds a sweet touch.

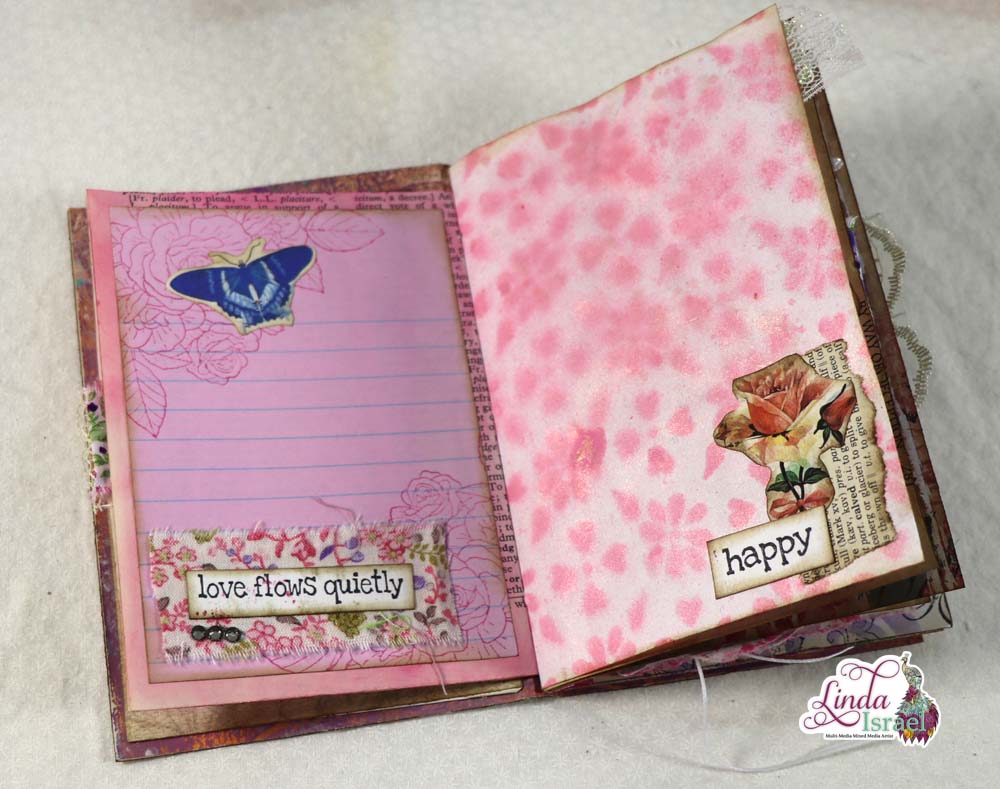
I found a package of printed little tags when I was cleaning and thought it would be good to put one on this page. The right side of the page is a piece of tissue that I sprayed with Tattered Angels Glimmer Mists then Rubber stamped a few flowers with leaves and a text stamp. Then I used watered down Aleen’s Tacky glue and painted a plastic bag, while it was wet I laid the tissue on the glue. Add another layer of glue on the top side, push the edges in to create texture so it is easy to pull up then allow to dry. Doing this technique strengthens the tissue paper and makes a cool crinkle sound when added to a journal.

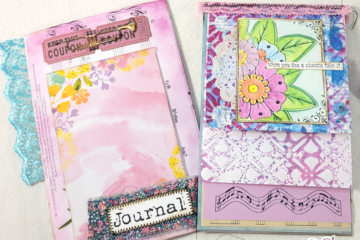
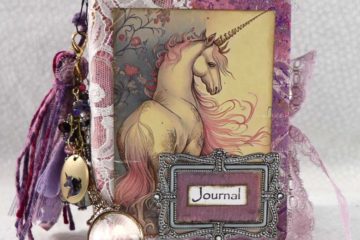
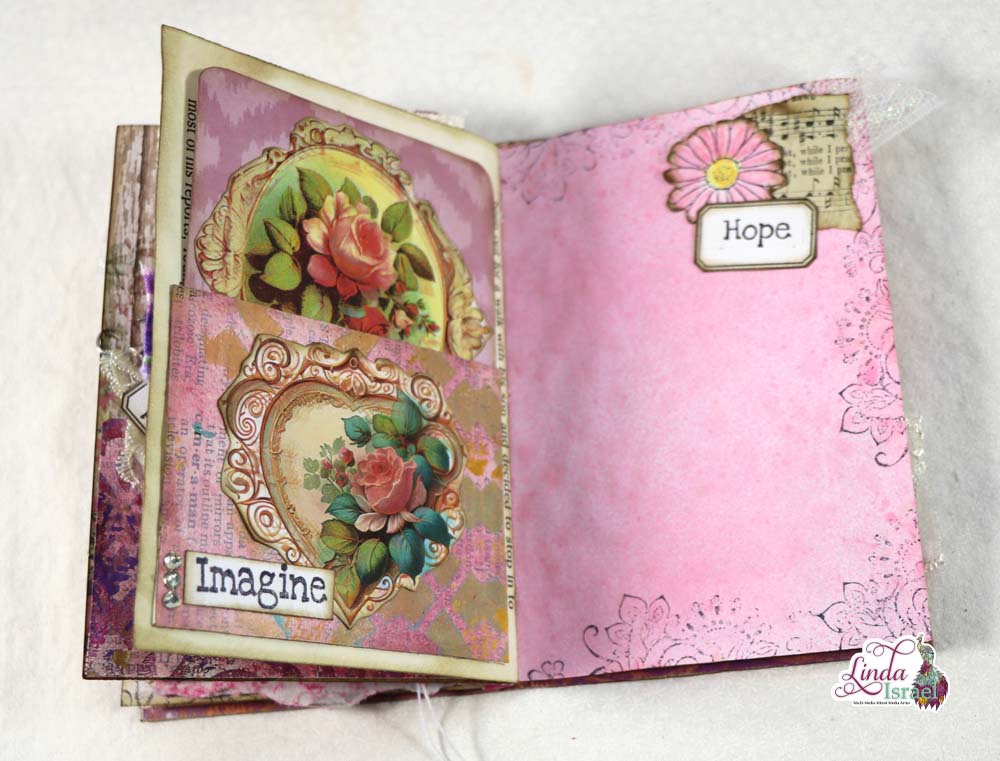
The featured thumbnail shows an All About Robins Page on the left. Then on the right side I used the Feeding Frenzy Stencil with Tattered Angels Glimmer Mists on a pink text weight paper. Layered in the corner is an image from the All About Robins Kit. Inside the pocket are some tags that were given to me.

Adding a simple pocket to a book page looks pretty. I’m glad that I kept some scraps from a project I made a while back. The colors in the pieces all seemed to work well together and these were all from different creative sessions.

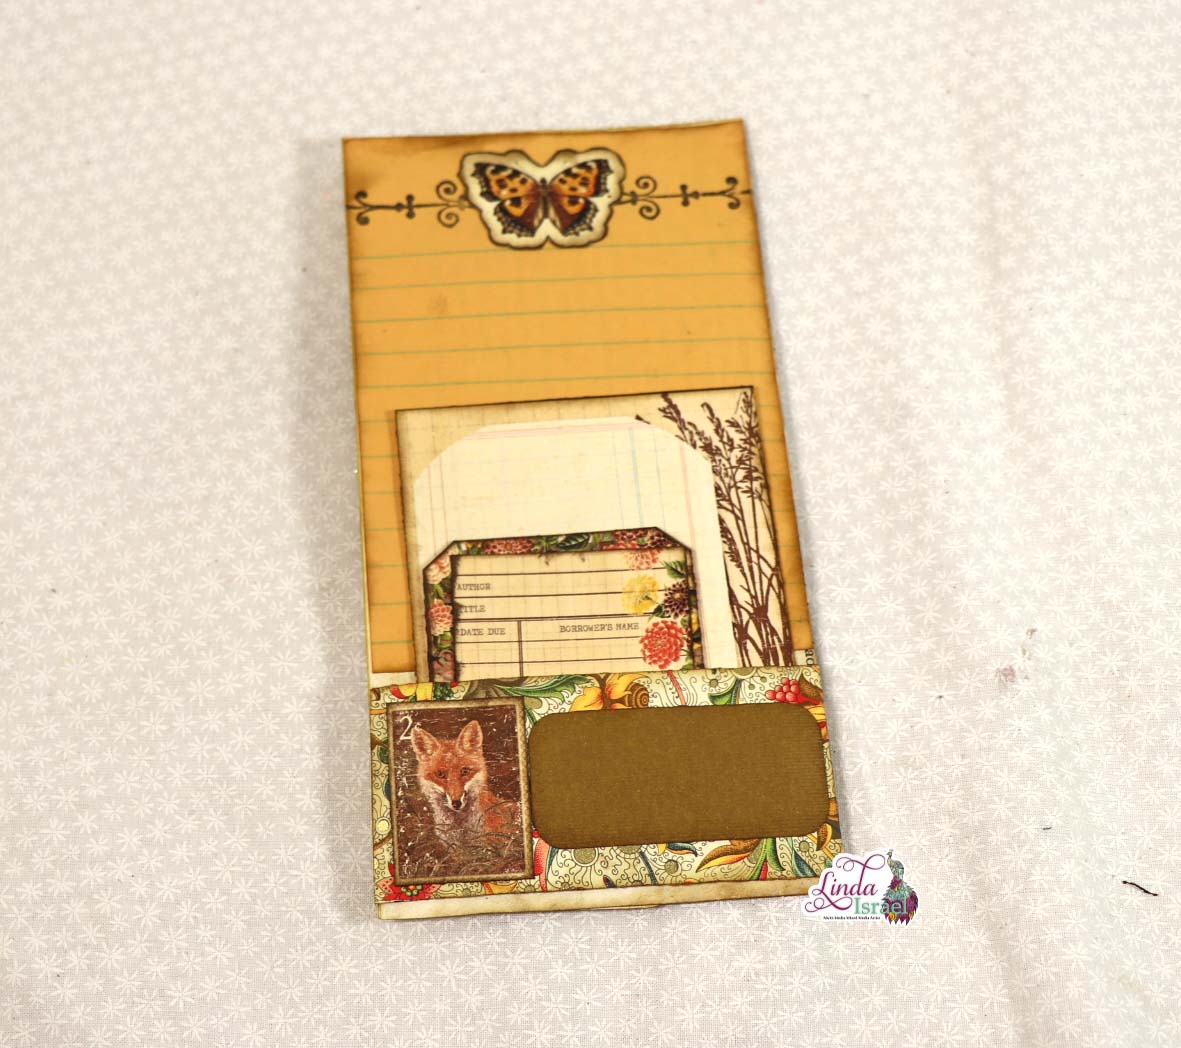
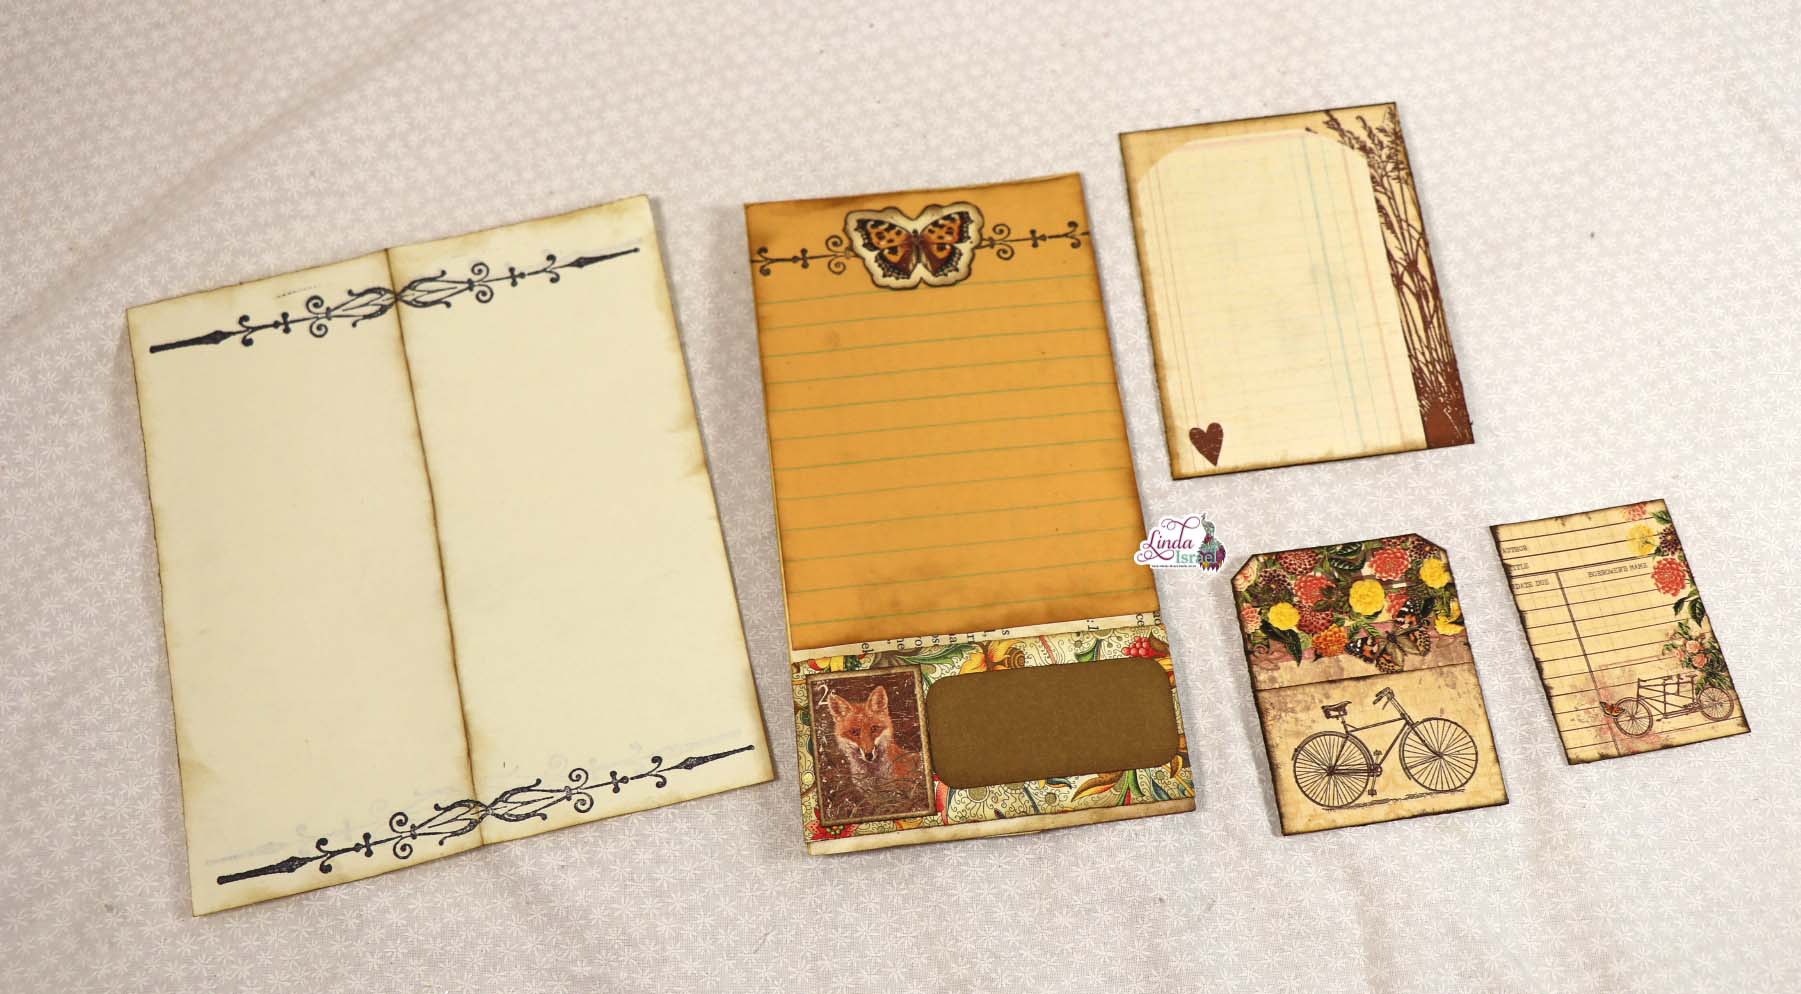
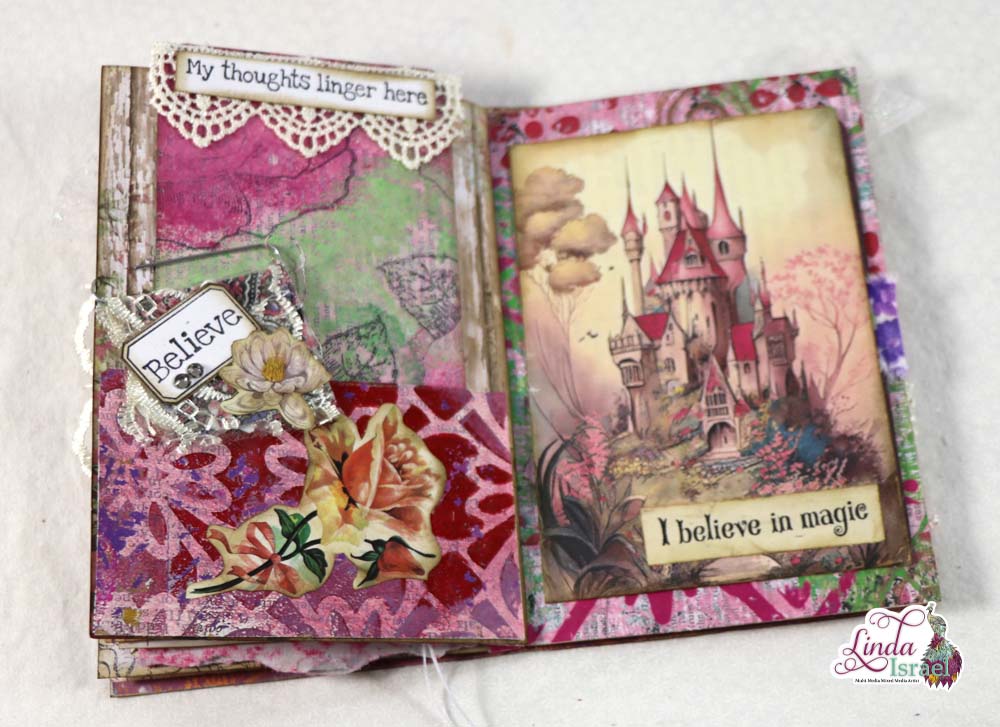
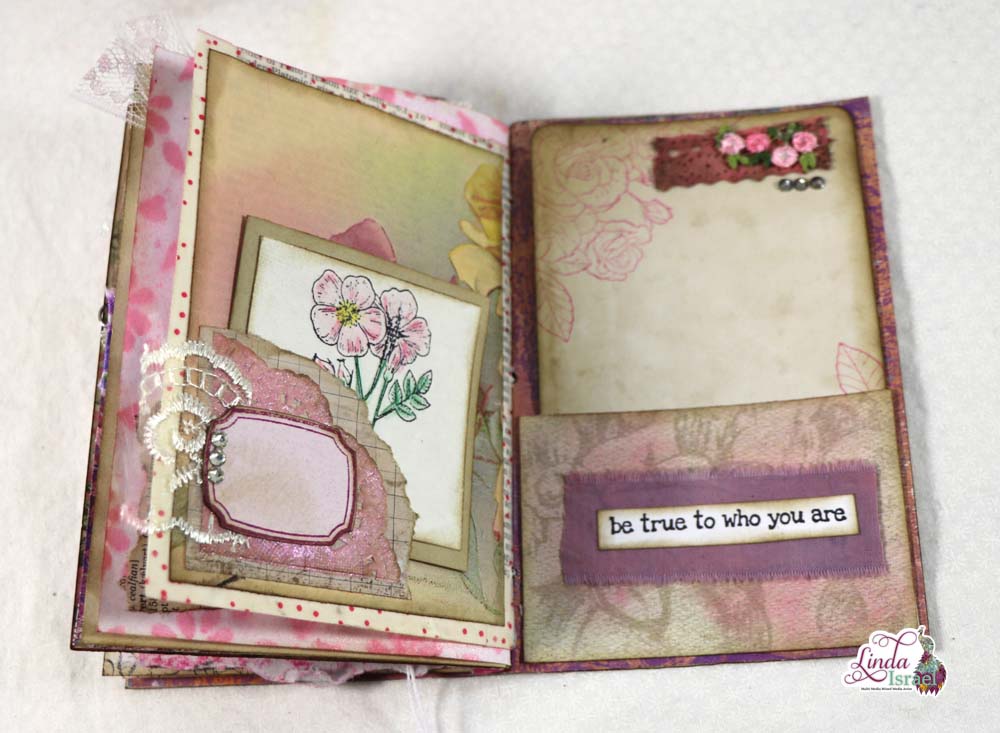
I’m so thankful to my friends who send items to me. Many times I remember who gave them to me and many times I do not. Hopefully if you gave items to me you will understand that sometimes it is hard to keep track of everything. So thank you for your gifts. The dear head note pad paper was one of these gifts. Beside it I used a scrap of napkin that was adhered to a book page. I thought it blended well together. On the right was a stenciled page I created during the video. Using Distress Oxide inks and a blending tool I added lots of color then I sprayed with a couple of colors of Tattered Angels Glimmer mists. The stamped flower and text was the final touch to the page.

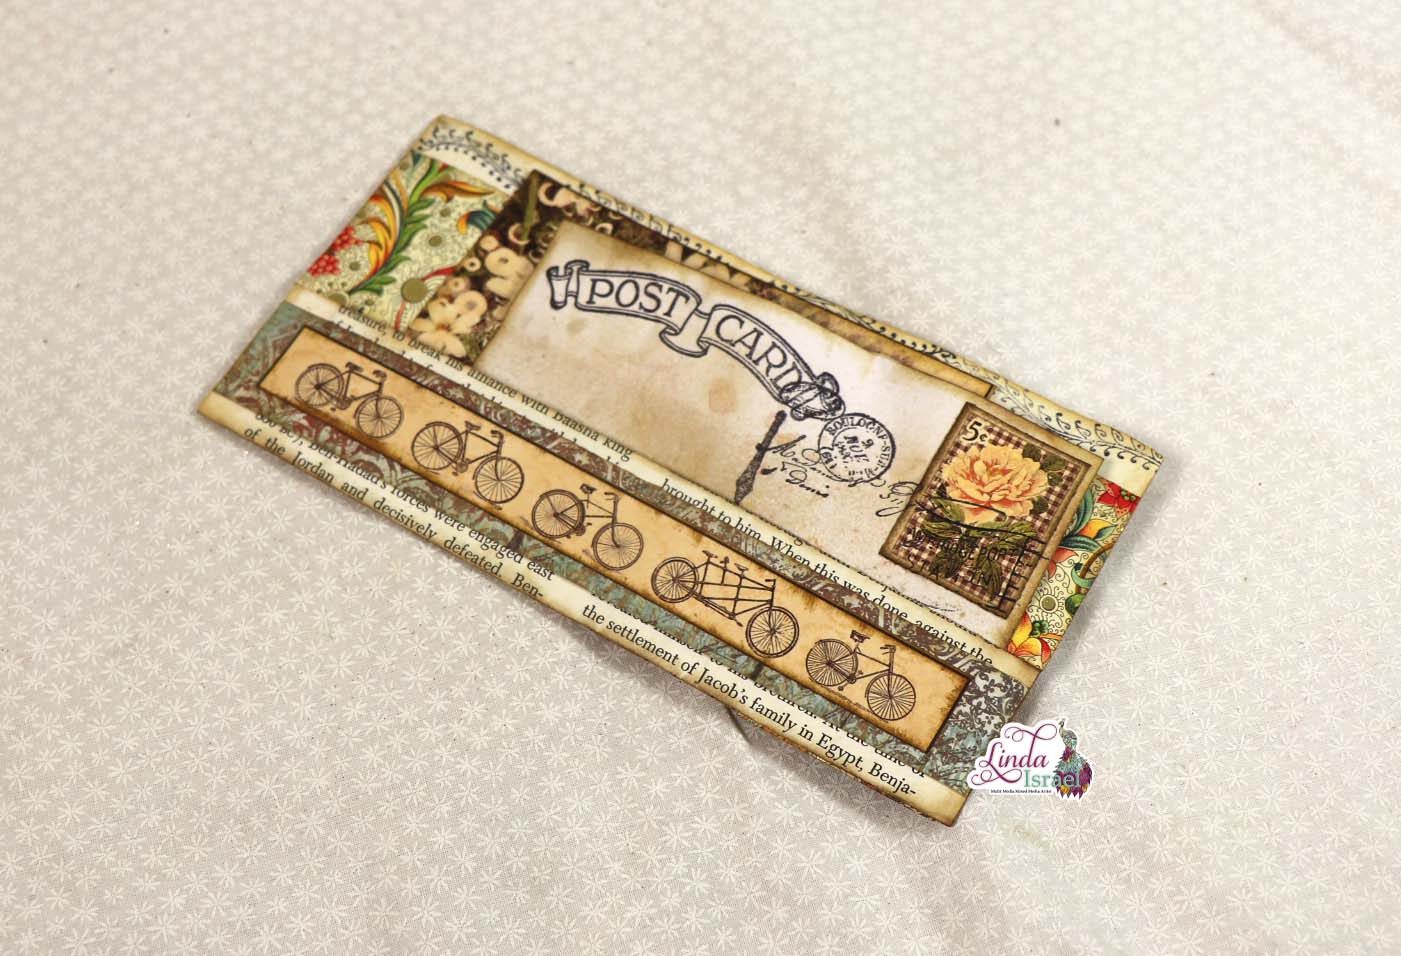
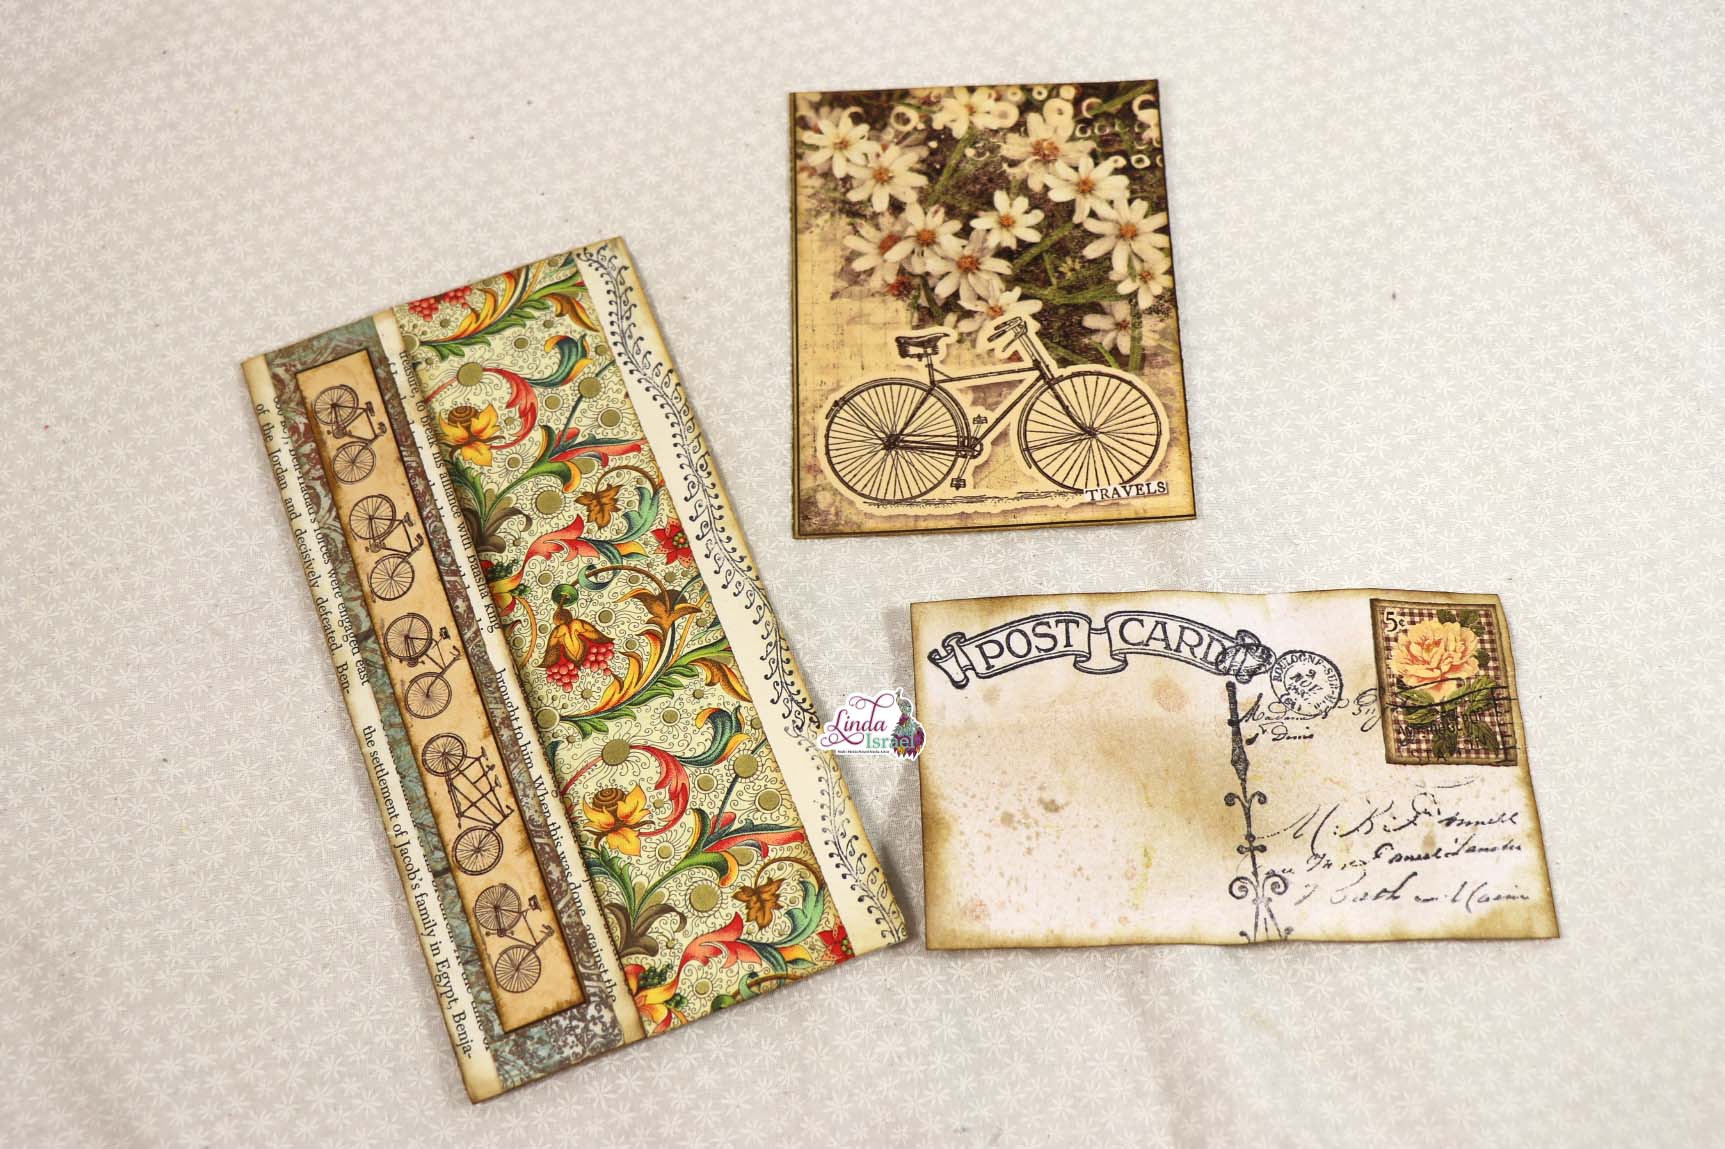
Inspired by a journal card that Norella of Calico Collage created for her Amarillo Rose Kit I made my own version using stamps and coffee dyed paper. I also used some scrapbook paper and a digital copy of one of my gel prints.

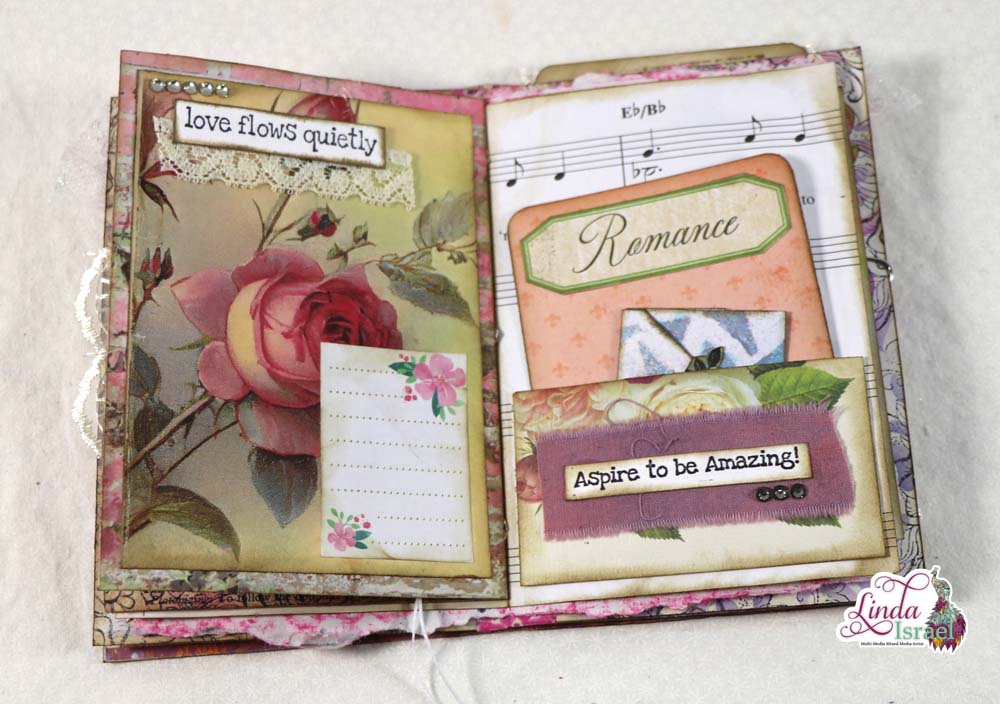
Sometimes you have to be creative when you want to use something that doesn’t fit on a journal page. I really liked this stationary page, but it was too wide to fit on the page. So I cut off the sides and then realized that I could glue them back on and it would fit on the page. Get creative with what you have!

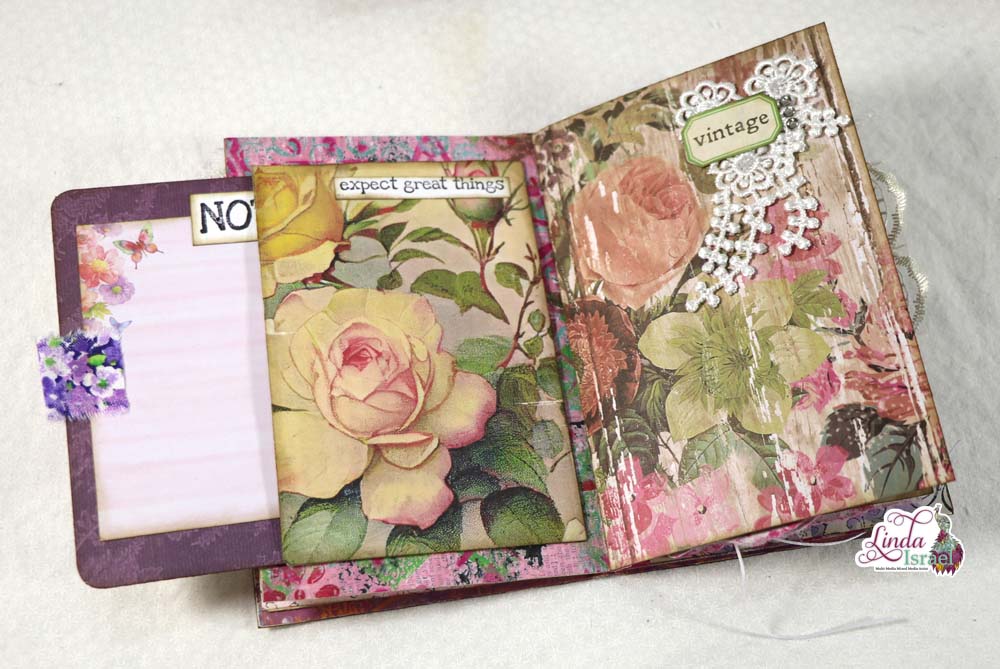
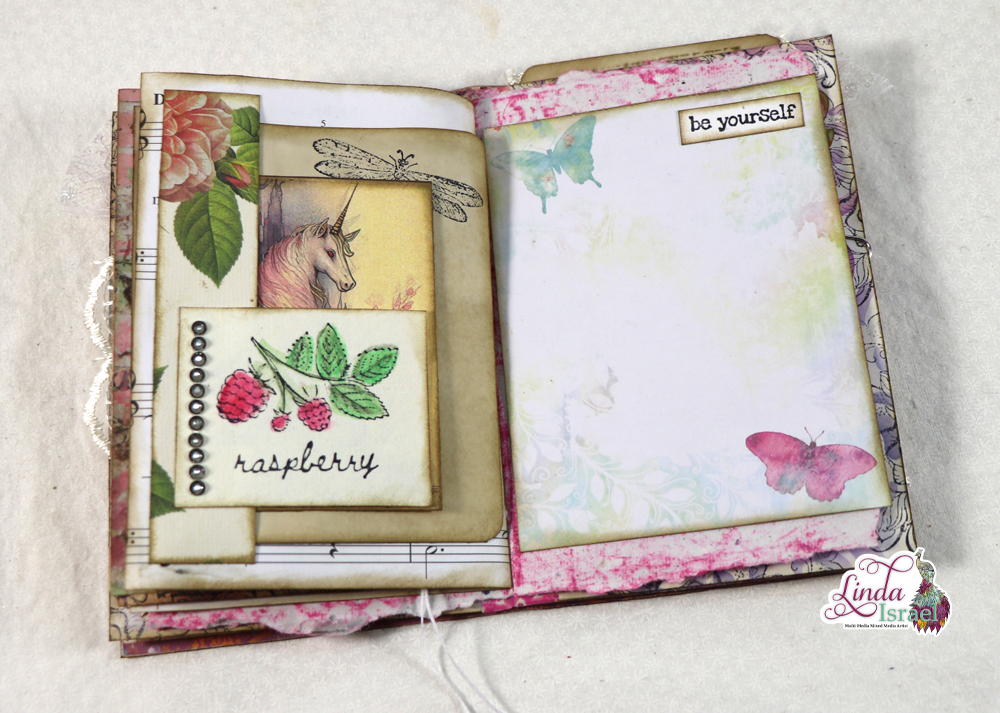
Layered pockets are fun to add in a journal. I used a strip of scrapbook paper to create a vertical pocket and then layered on of the All About Robins images as a horizontal pocket. The tag was a printed dictionary paper that was given to me and I just layered some scraps and an image from a dictionary on top.

A belly band is a great way to add something thick to a journal. I made the little folio a while back and thought it would be a pretty addition to this junk journal. It is full of little items to use for journaling.

The back inside cover was pretty as it was, but I wanted to cover up the brand name of the cover and add a pocket. The pink foil cardstock scrap that was given to me was perfect for this spot. I then added a tag from Calico Collage’s Amirillo Rose and one from the All About Robins kit.

I hope that you enjoyed seeing my project today and that you are inspired to create! Take a look around your stash of goodies and see what you can pull together. It doesn’t have to be fancy to create a beautiful journal. Add color and texture with different supplies and tools and have fun while creating!
Make sure to check out the Friendly Junk Journal People Facebook group. Of course, you are welcome to join the Friendly Junk Journal People Facebook group. The group is growing daily and we are a friendly group willing to help each other and encourage each other.

Interested in any of the projects Linda has created? Please feel free to contact her through her website. Here is her shop, a lot of items featured and more added weekly.
Keep updated on her posts by following the blog by creating an account. Follow Linda on her Facebook Page or on Instagram for updates that may not be shared on the blog.
Thanks so much for stopping by the blog today to see the All About Robins Junk Journal Tutorial.