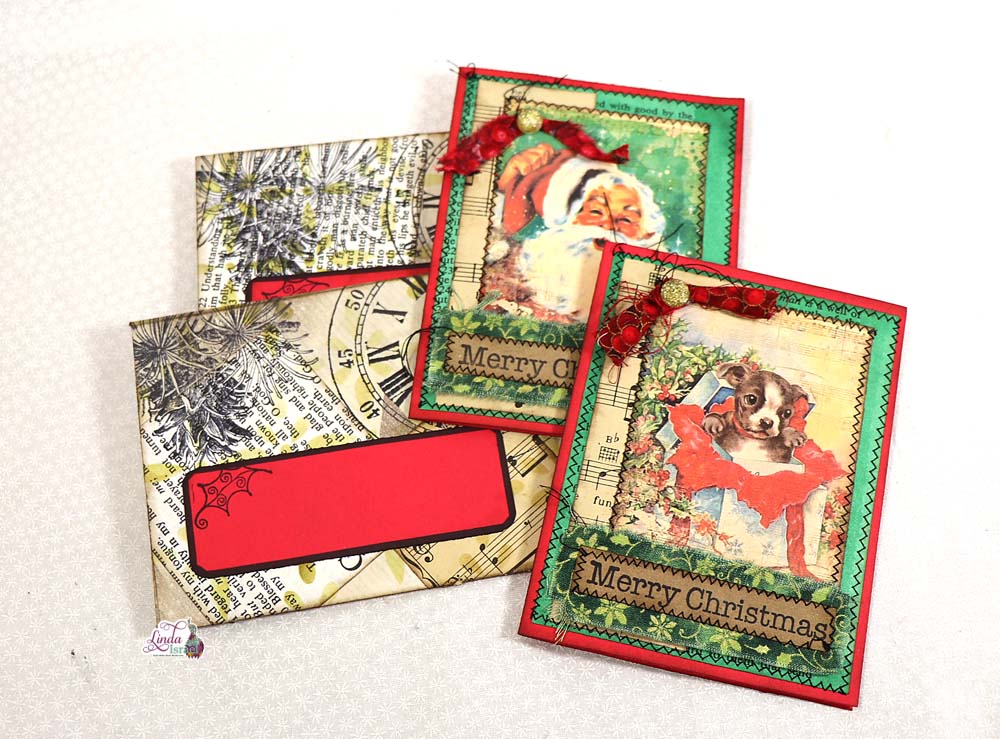
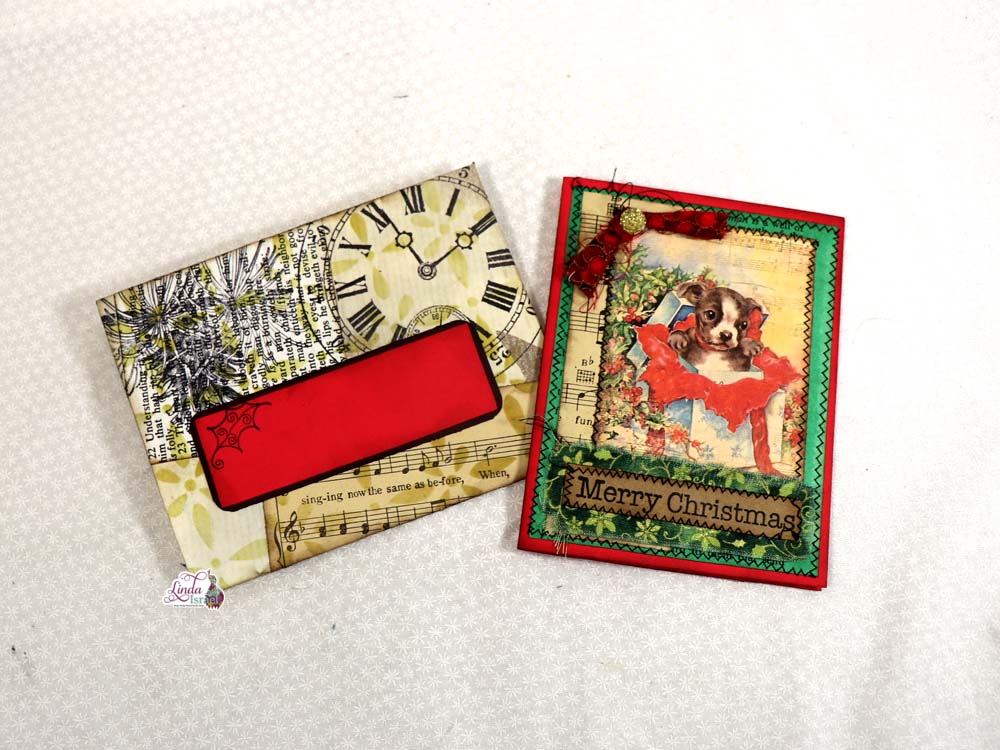
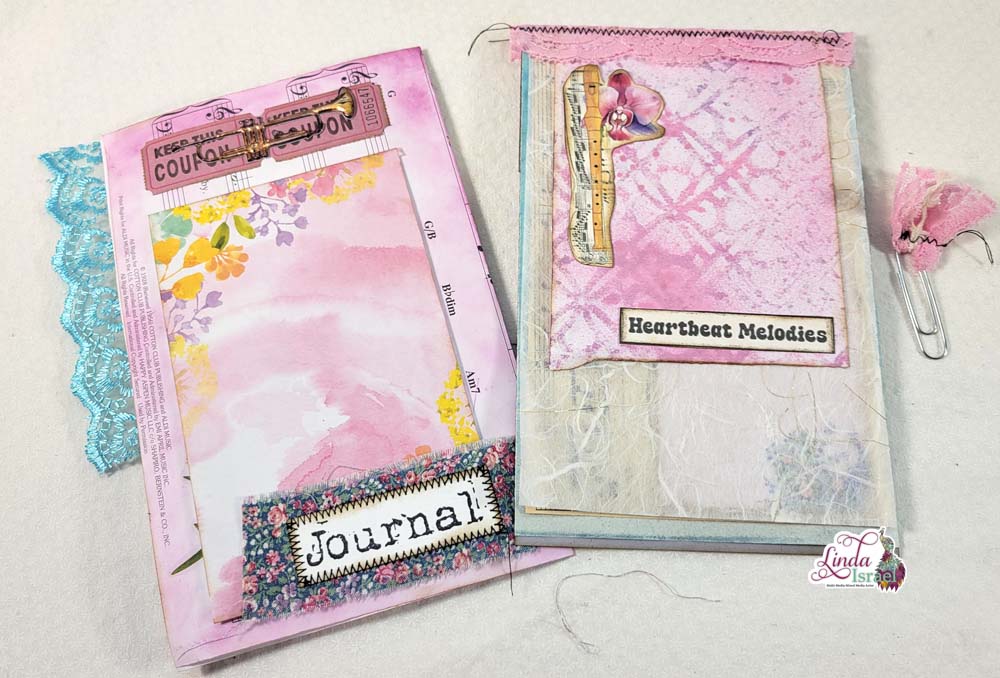
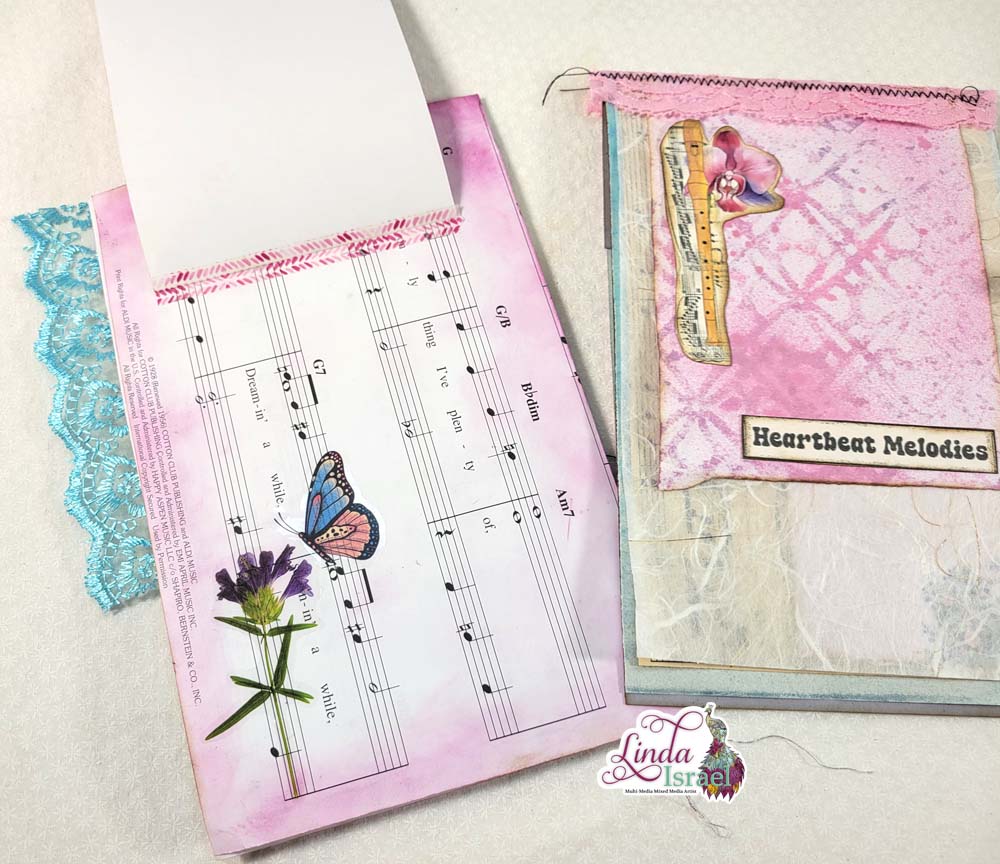
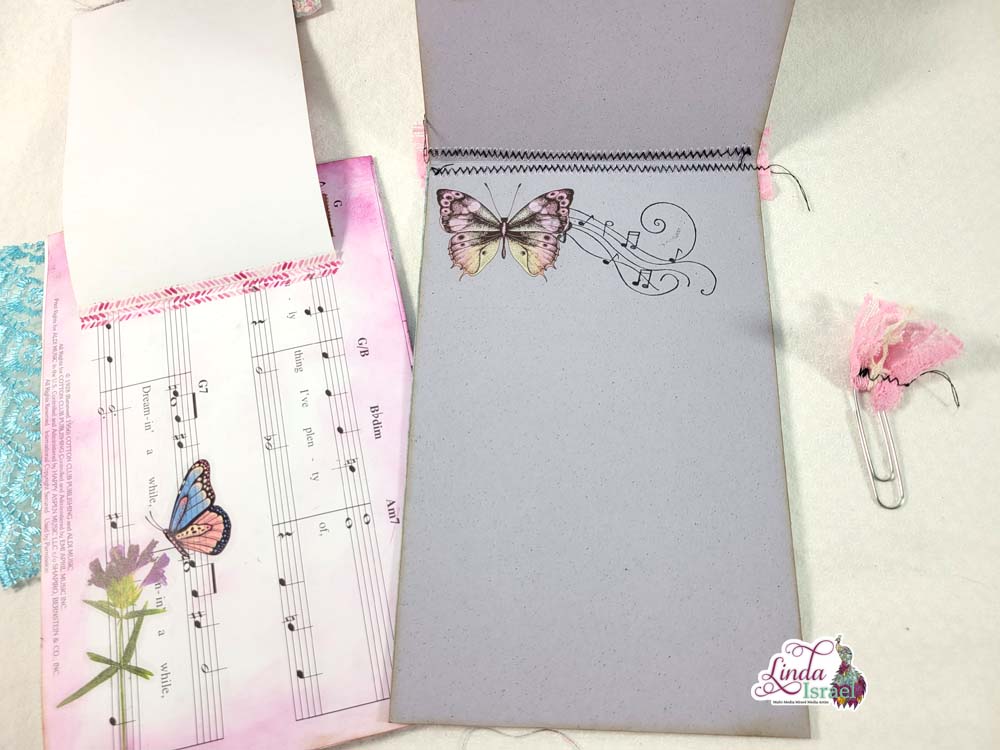
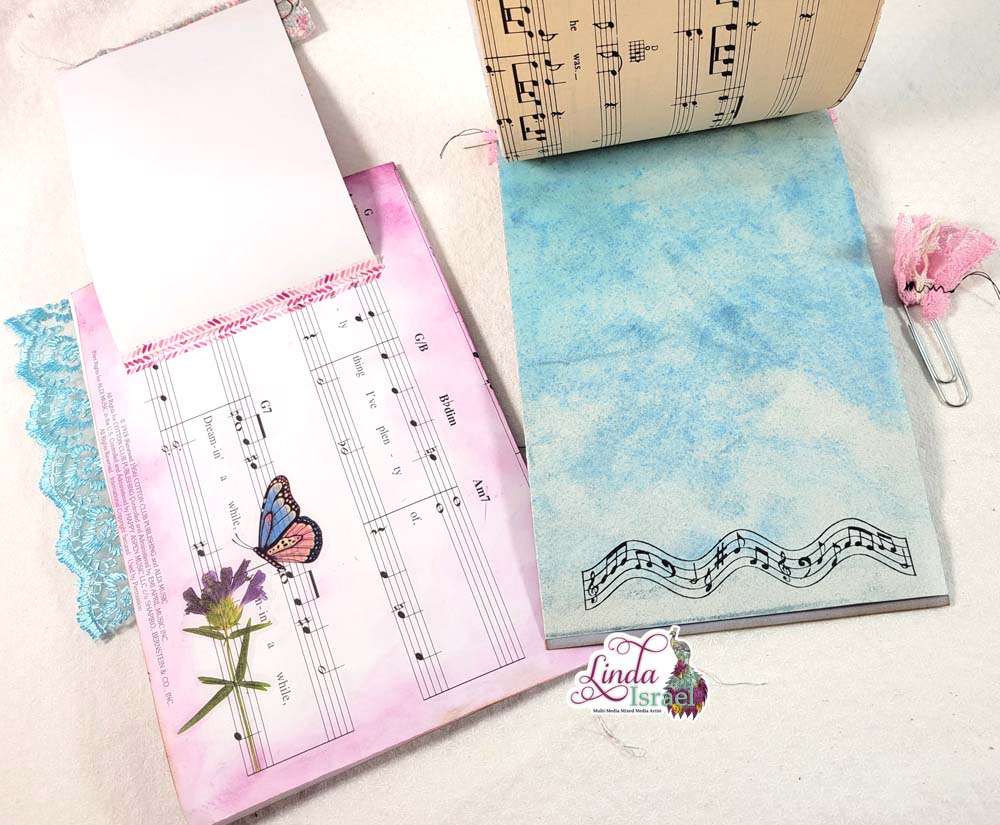
Day 10 of 12 Days of Junk Journal Gift Ideas 2020 – Card and Envelope. The project today is to create a Christmas Card and matching envelope. I’ve had this partial roll of wrapping paper for a few years and decided it would be perfect for envelopes. Then I grabbed some digital images, stamps and scraps of book pages for the card. This is a great project to use up those left over bits.
Christmas Card And Envelope Tutorial Video
Supplies used for Day 10 of 12 Days of Junk Journal Gift Ideas Card and Envelope
- Vintage Christmas Gift Tags by Calico Collage
- Christmas Faux Postage by Calico Collage
- Sheet Music
- Book page – Family Bible Pages
- A2 Envelope Template
- Red Cardstock
- Wrapping paper
- Aleene’s Tacky Glue
- Tim Holtz Distress Ink Walnut Stain
- Ranger Ink Blending tool
- Sharpie Fine Point Pen
- Fiskars Scissors
- Tick Tock Stamp
- Pine Cone Duo Stamps
- Black Archival Ink
- September 2020 Artistic Stencil Club
- Forest Moss Distress Oxide
- Oval Blending Brushes
- Crop-A-Dial Corner Chomper
- Black Permanent Pen
- Ruler
- Festive Cube Stamp
- A Christmas Dream Tattered Angels Glimmer Mist Set – Holly Leaf
- Paint Brush
- Holiday Greeting Quartet Stamps
- Fabric Scraps
- Sewing Machine
- Gold Bling Gemstones
Day 10 of 12 Days of Junk Journal Gift Ideas 2020 – Card and Envelope. The project today is to create a Christmas Card and matching envelope. Taking a partial roll of wrapping paper and some digital images, stamps and scraps of book pages for the card, Linda shows us to use up those left over bits.
Follow the other Creator tutorials:
Linda starts out by cutting squares of Bible Book Pages with Music pages and using Aleene’s tacky glue these on her wrapping paper scrap. Using her A2 envelope template she traces and cuts using fiskars scissors.
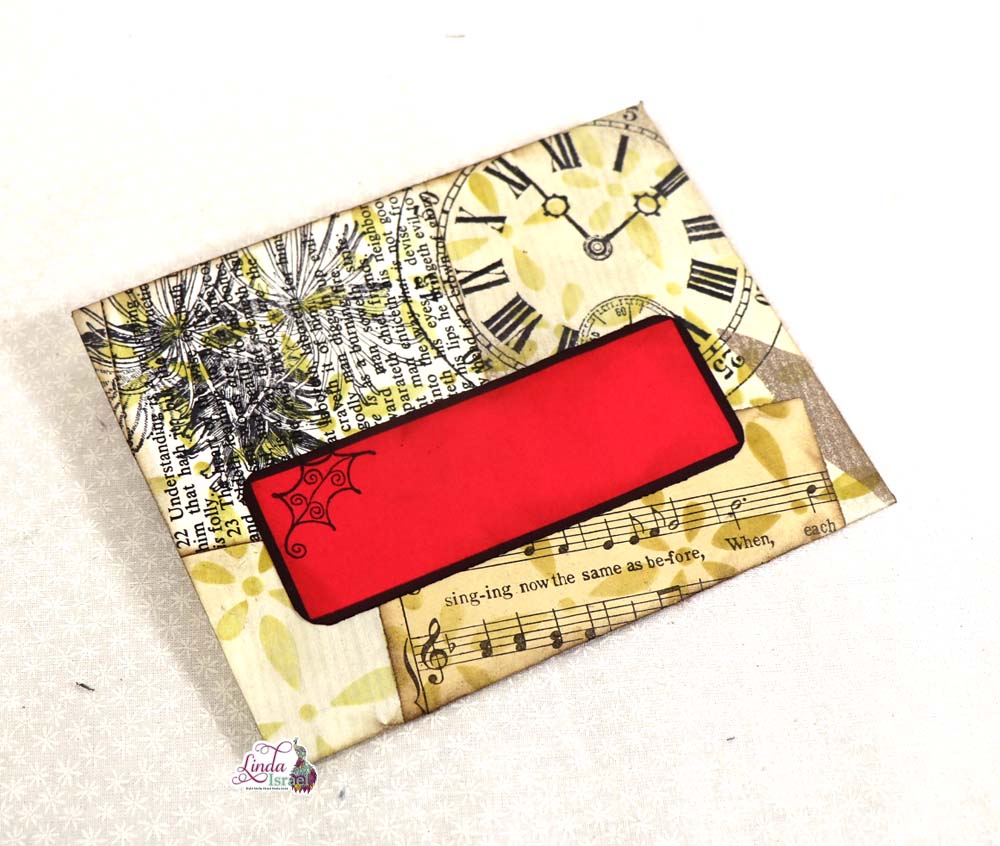
Inked the Pine Cone duo stamps and Tick Tock rubber stamps with black archival ink stamp on the envelope. She then uses a stencil from the September stencil club with a blending brush tool and applies forest moss distress oxide ink to the envelope to add a pattern. Once you have completed your design on your envelope you can fold the template tabs and apply walnut stain distress oxide ink. Glue the tabs using tacky glue, it dries clear as well as it gives you time to adjust.
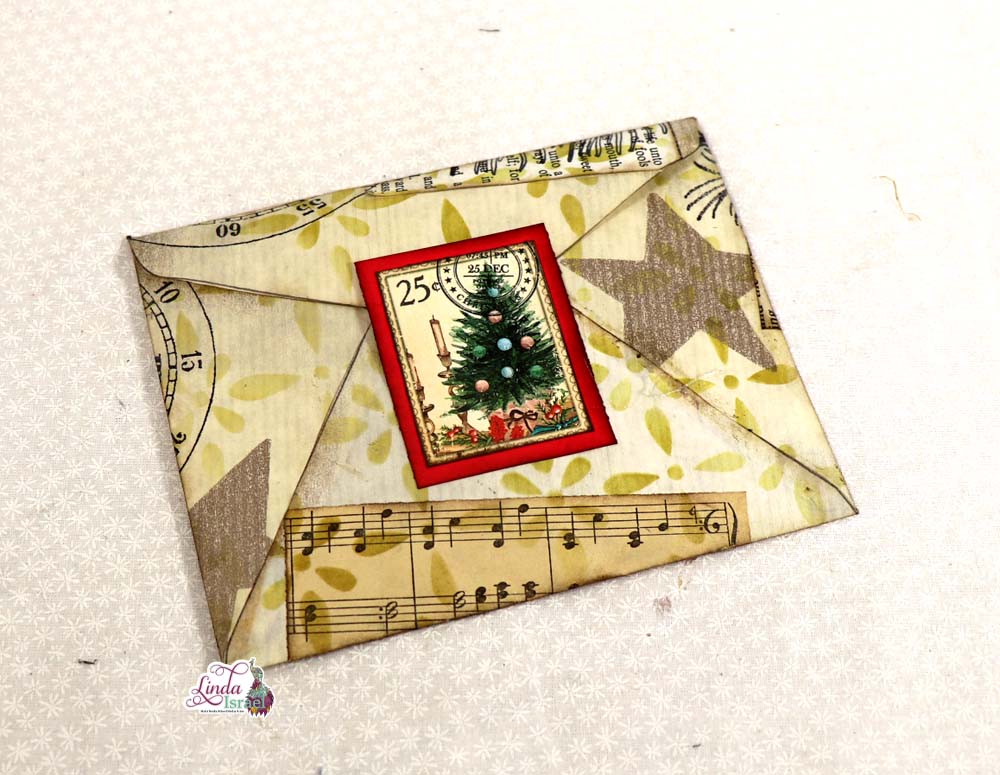
Creating a label with red cardstock round the corners using the Crop A Dile Chomper. Linda then outlines the cardstock using a ruler and a black permanent marker to create a border. She then stamps out a festive cube stamp for a festive touch and can be used as your address area on the envelope. Taking a Faux Stamp digital by Calico Collage then backing with red cardstock and used for the back of the envelope as a closure. When creating this element make sure not to glue it down completely so you can tuck your card inside!
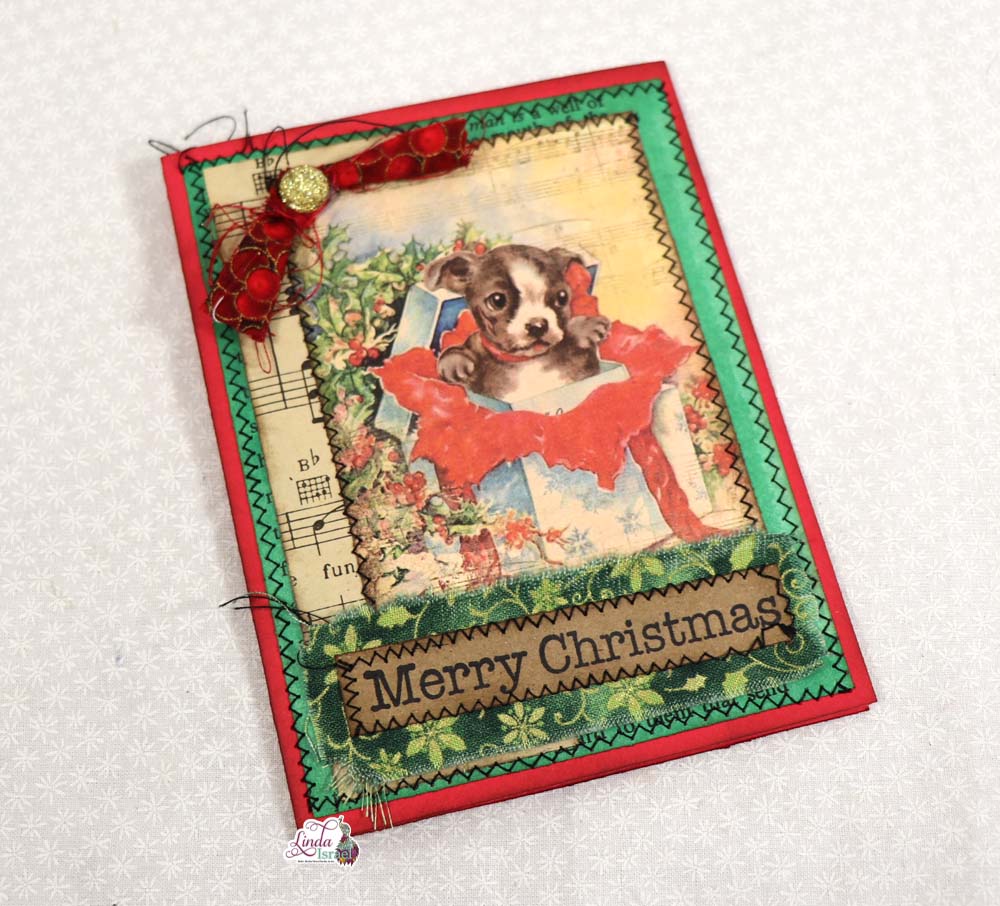
Putting together the elements of the card, Linda collages on red Cardstock with music sheet and bible page scraps. To add color to plain cardstock she applies A Christmas Dream Holly Leaf Tattered Angels with a paint brush and outlines the outside edges. This is a great way to add a pop of color to any scrap. Don’t forget to distress the edges of your elements!
A Vintage Gift Tag Digital by Calico Collage is layered on top of the music and then sentiment from Holiday Greetings quartet stamped with black archival ink. A scrap of fabric will be the backing, Linda sews the outside edges of the card collage and sentiment and then sews it on the red cardstock she created earlier.
For an added element ta ribbon bow is added to the card. The elements are all sewn together and then the sentiment is added using Aleene’s tacky Glue. You could also use bling like a flatback pearl or gem for an added touch.
What a great idea to customize your own Christmas Cards and Envelopes! What elements would you choose to create and send out this year?
Robin Fennessy
Check out the Friendly Junk Journal People Facebook group. Of course, you are welcome to join the Friendly Junk Journal People Facebook group. The group is growing daily and we are a friendly group willing to help each other and encourage each other.
Interested in any of the projects Linda has created? Please feel free to contact her through her website. Here is her shop, a lot of items featured and more added weekly.
Keep updated on her posts by following the blog by creating an account. Follow Linda on her Facebook Page or on Instagram for updates that may not be shared on the blog.
Thanks so much for stopping by the blog today to see my Day 10 of 12 Days of Junk Journal Gift Ideas 2020 Christmas Card and Envelope tutorial!
