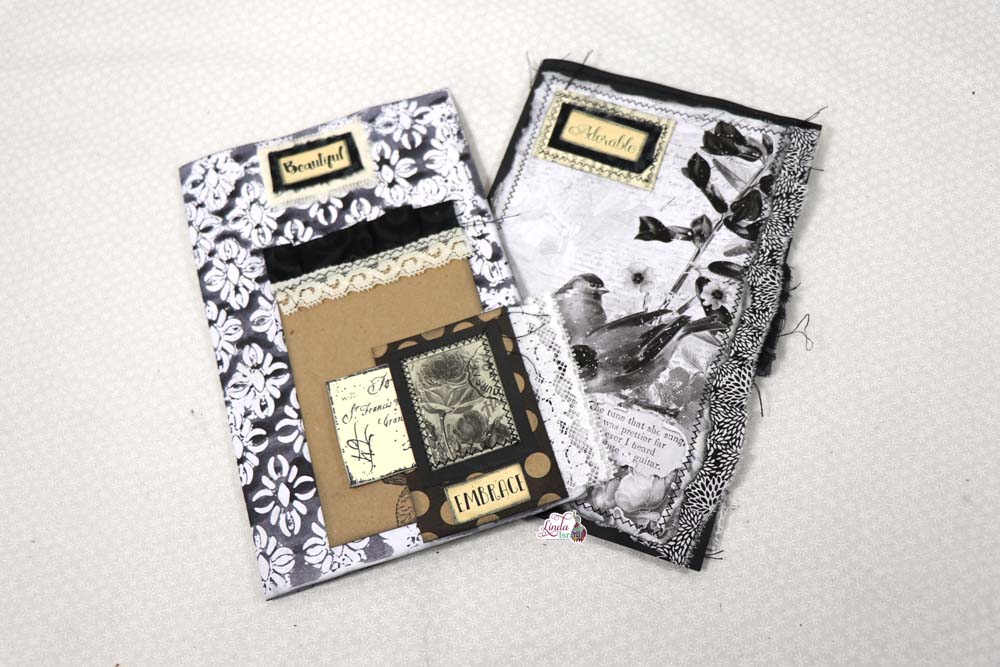
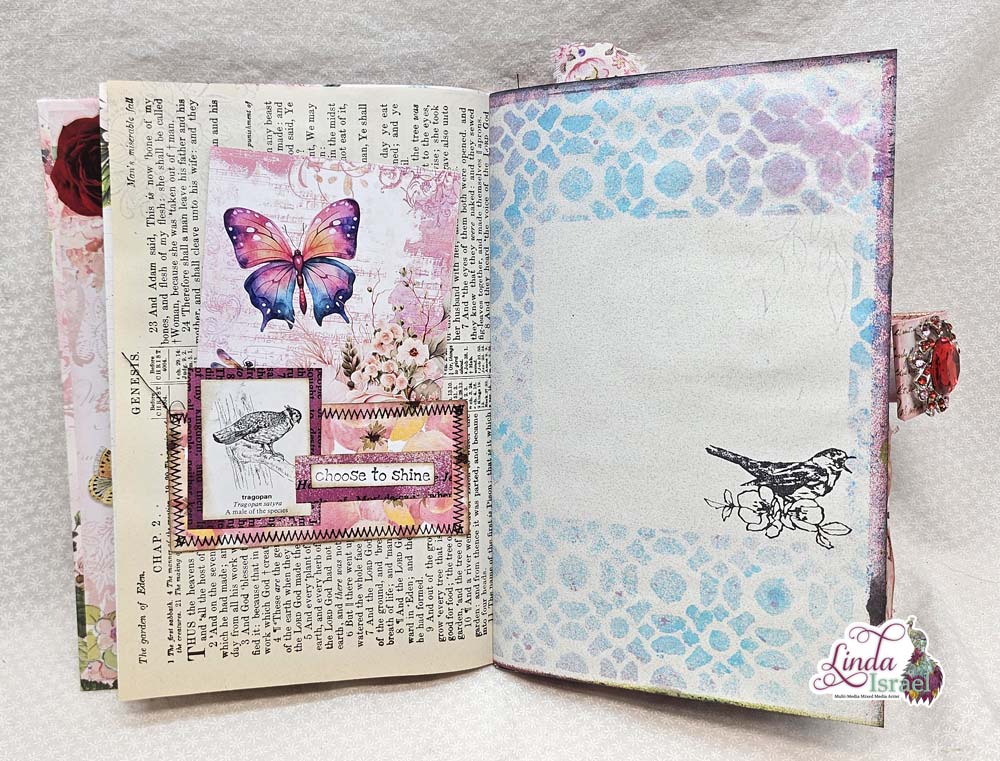
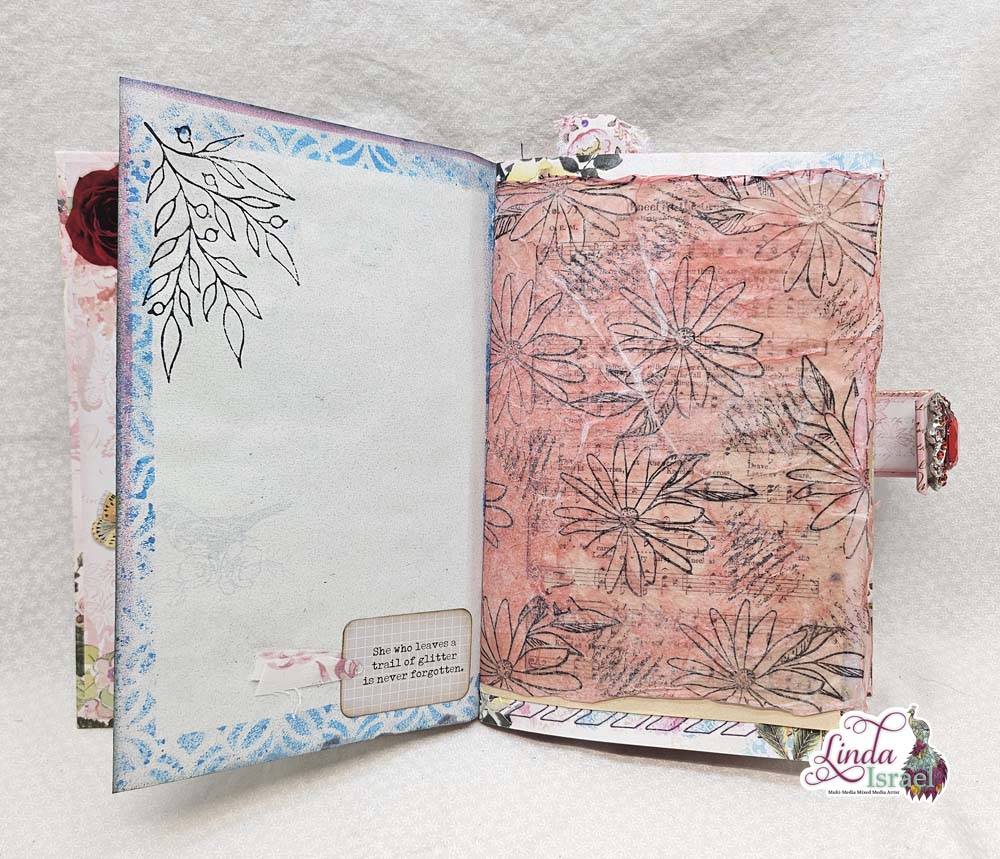
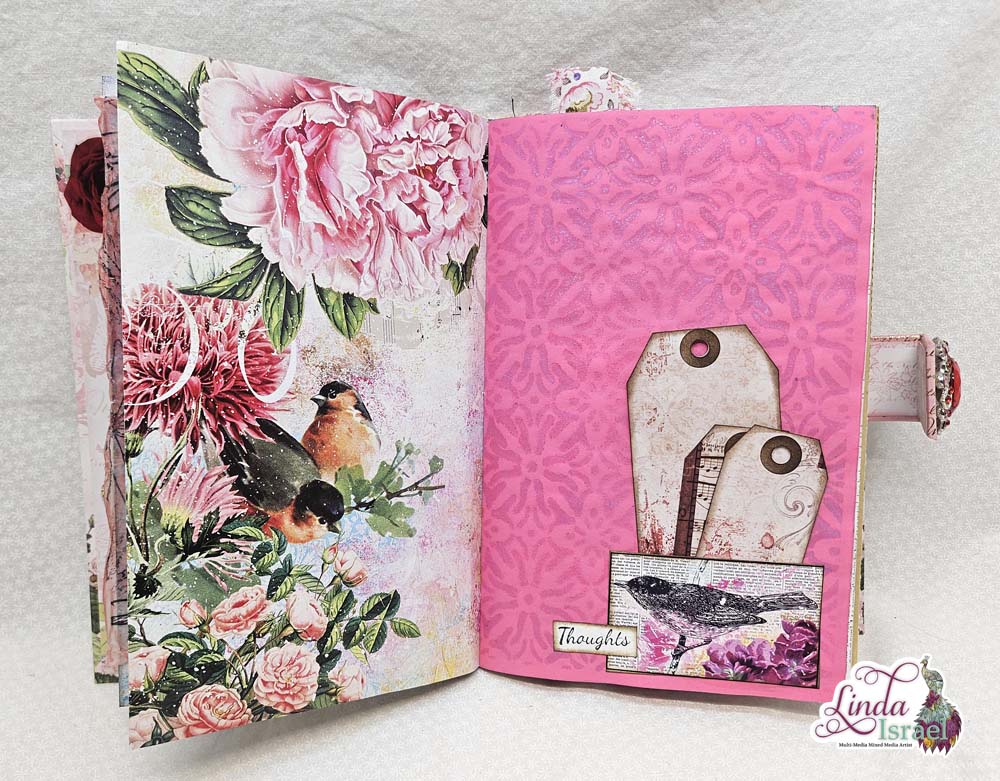
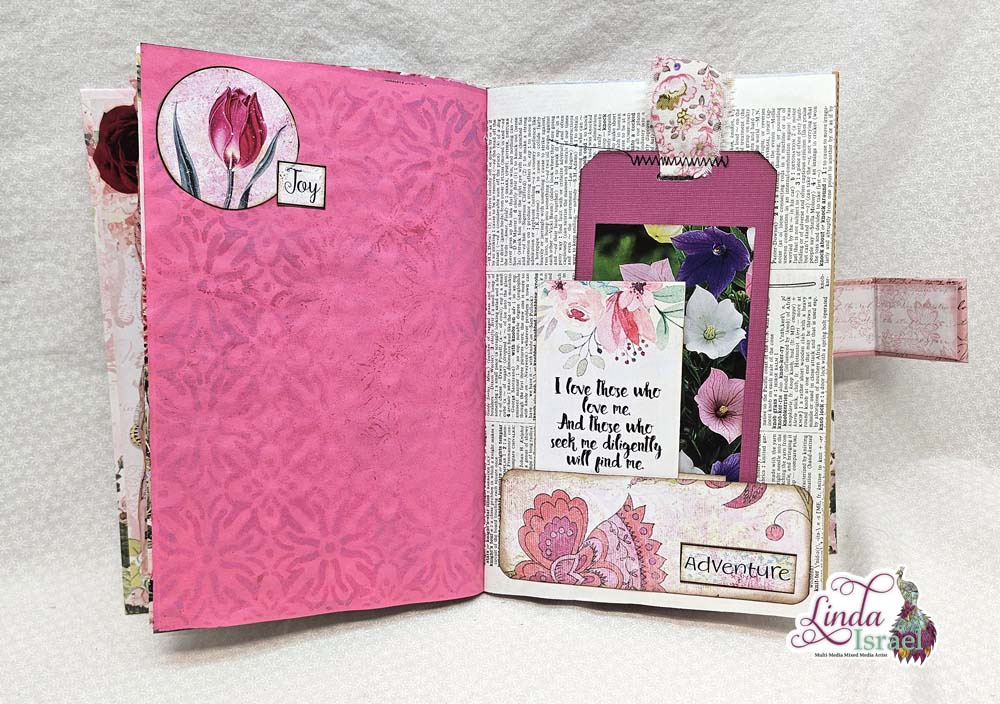
Continuing in the series here is Monochrome Junk Journal Pages Part 2. In this tutorial I’ll show how to create two different junk journal pages. See how I use book pages, stencils, stamps, fabric and digital images from Calico Collage to create two unique journal pages.
Monochrome Junk Journal Pages Part 2 Tutorial Video
Supplies used for the Monochrome Junk Journal Pages Part 2
- Mop up page
- Secret Garden Rubber Stamp
- Spider Mums Stamp
- Archival Ink, Jet Black
- January 2021 Artistic Stencil Club
- Distress Ink, Black Soot
- Blending Tool
- Journal Qt Stamp Set
- Scrap of book page
- Fiskars Easy Touch Scissors
- Scraps of Fabric
- Aleene’s Tacky Glue
- Polka Dot Journal card from Canvas Corp Brands
- Faux Postage Roses by Calico Collage
- Black Cardstock
- Sewing Machine
- Printable words by Calico Collage
- Lace
- Garden Rose Stamp
- Kraft Journal Cards
- Envelope Stamp
- All About Robins Journal Kits printed in Monochrome
- Book Page
- Black text weight paper
- Quilted Star Bursts Stencil
- Oval Blending Brushes
- Tulip Twine Stamp
Continuing in the series here is Monochrome Junk Journal Pages Part 2. In this tutorial I’ll show how to create two different junk journal pages. See how I use book pages, stencils, stamps, fabric and digital images from Calico Collage to create two unique journal pages
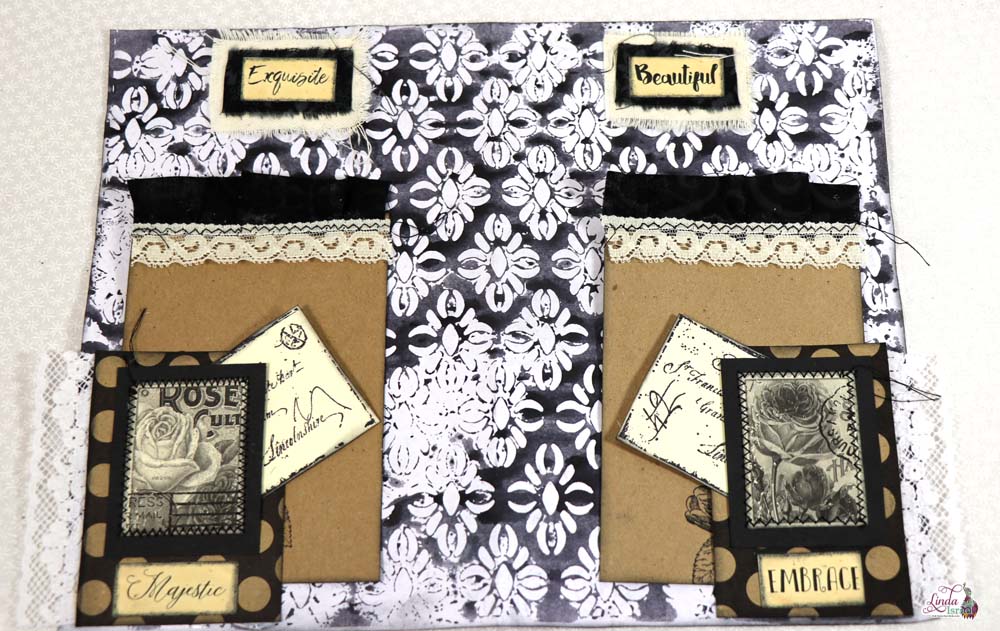
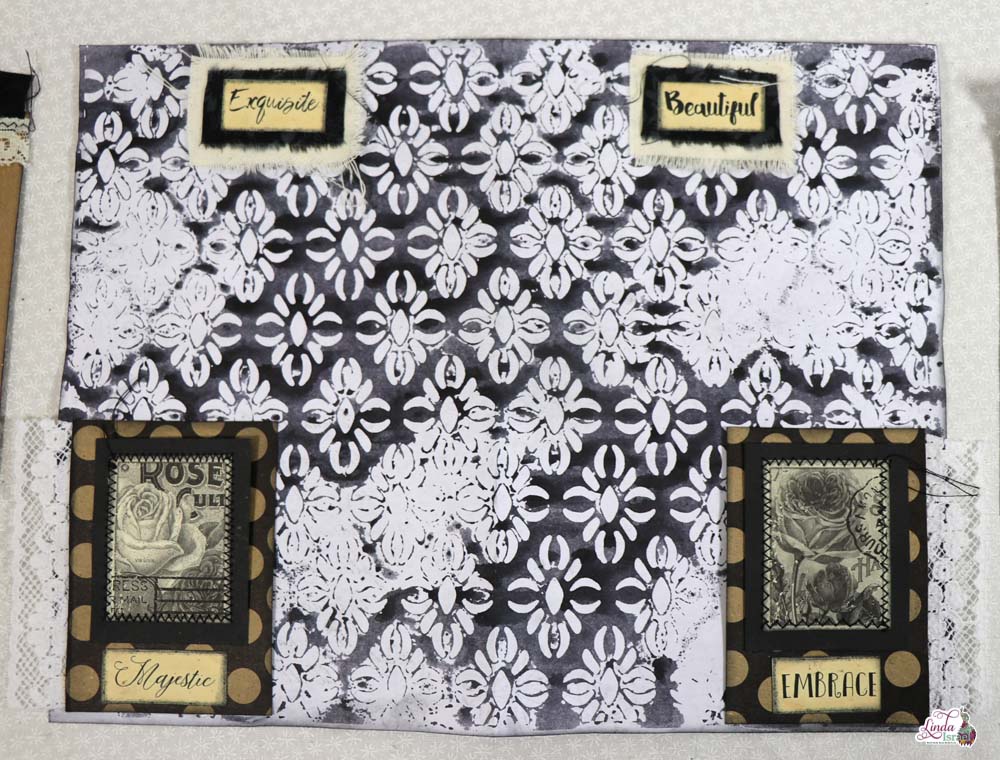
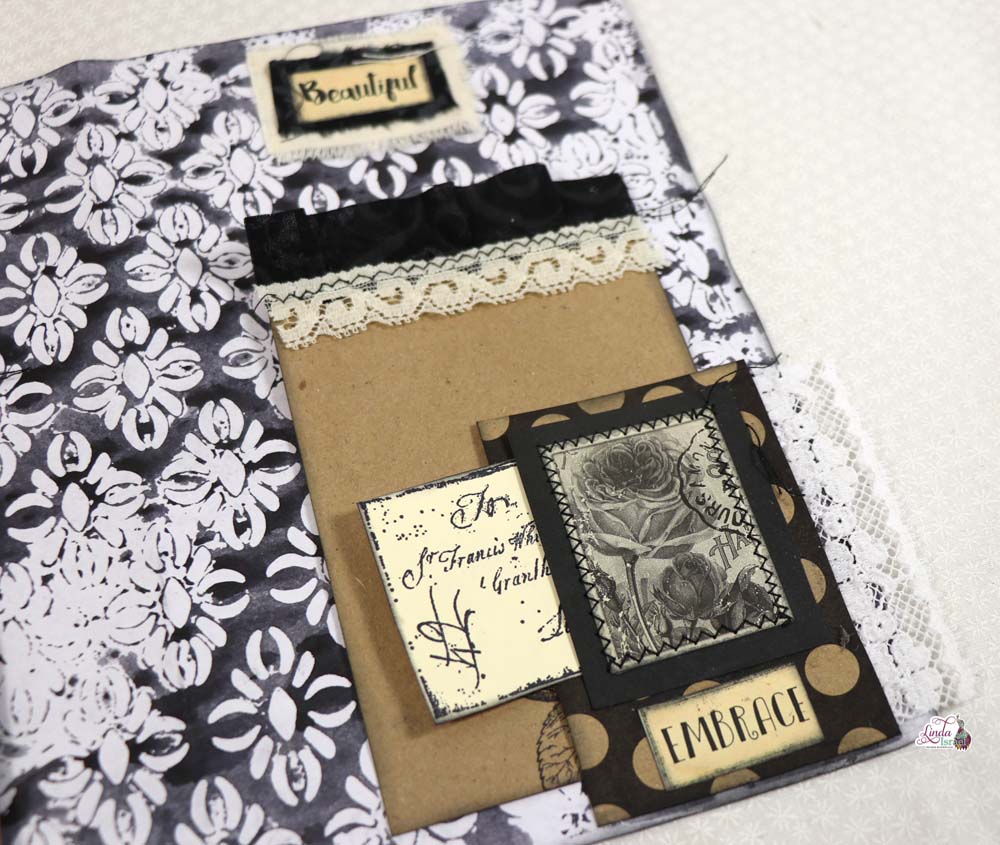
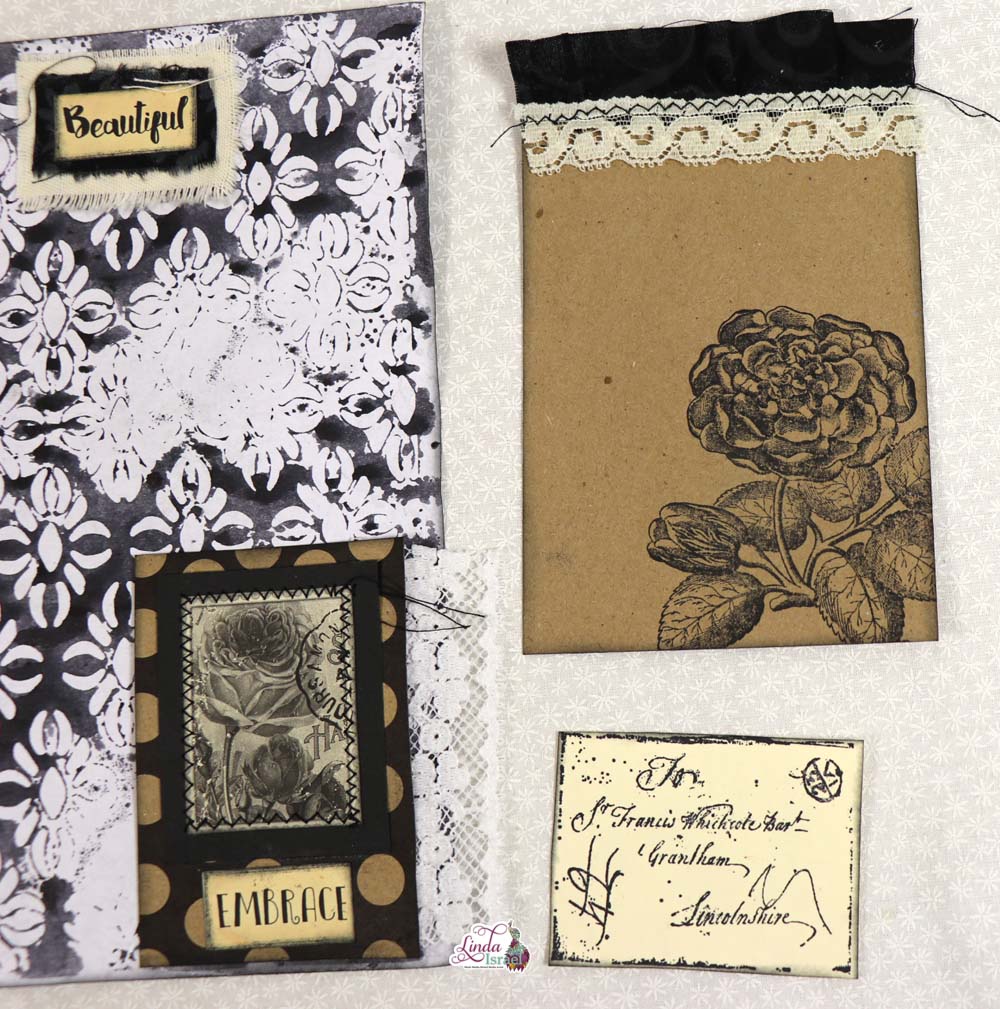
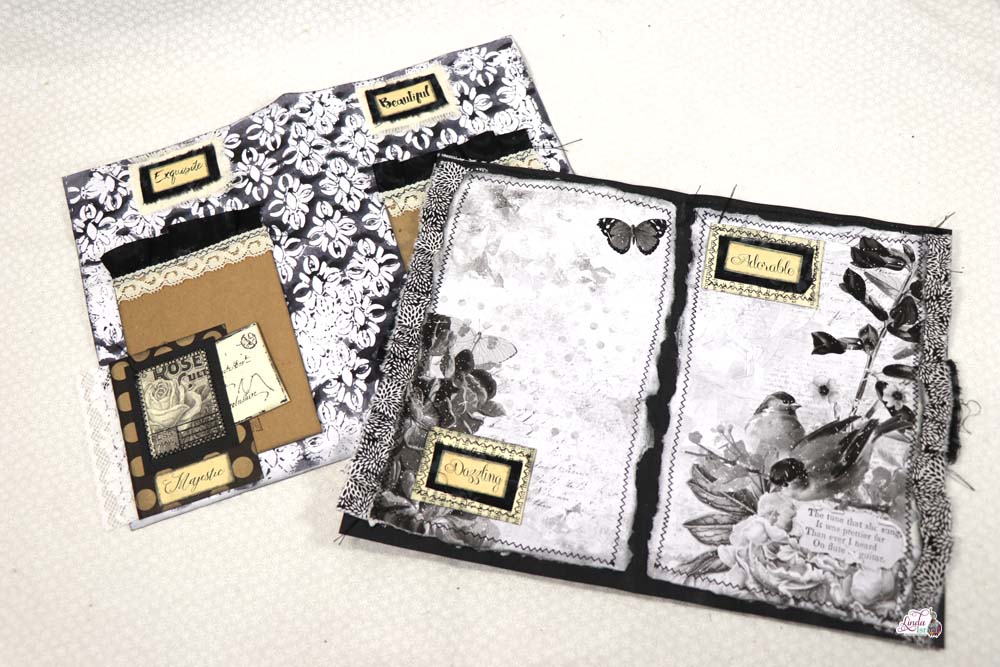
Using the mop up page from Part 1 of the Monochrome series as the base, Linda used it to create this collage’d Journal page.
Cutting scraps of fabric with Word digitals by Calico Collage. Corner tucks were created using faux digital stamps by Calico Collage laying with black cardstock and a patterned journal card. She added lace pieces with scrap fabric strips to the kraft cardstock after inking with black archival ink using the rose garden stamp. For additional journal cards, Linda used the envelope stamp and placed them all in the tuck spots.
If you don’t have a sewing machine there are other ways to add the effect of being stitched. Try using a fine tipped marker and draw the stitch lines or even stamping the stitch lines with a rubber stamp.
Taking the secret garden with the spider mums stamps, Linda uses black archival ink to stamp the page. Use those fabric scraps cut pieces to glue behind your words that you would be using. Linda chose to use the journal qt stamp for her words.
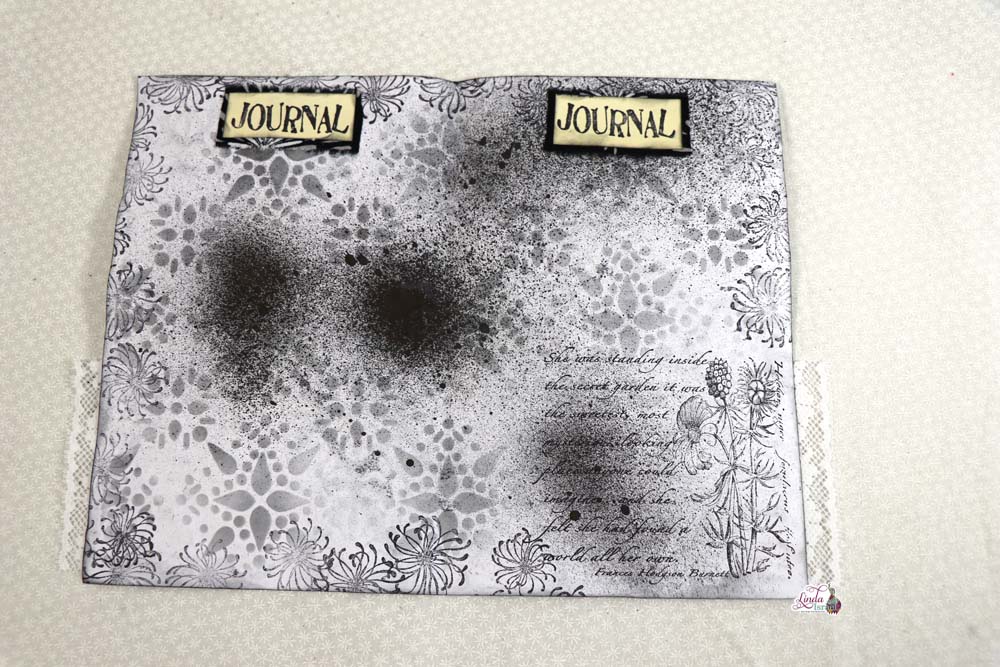
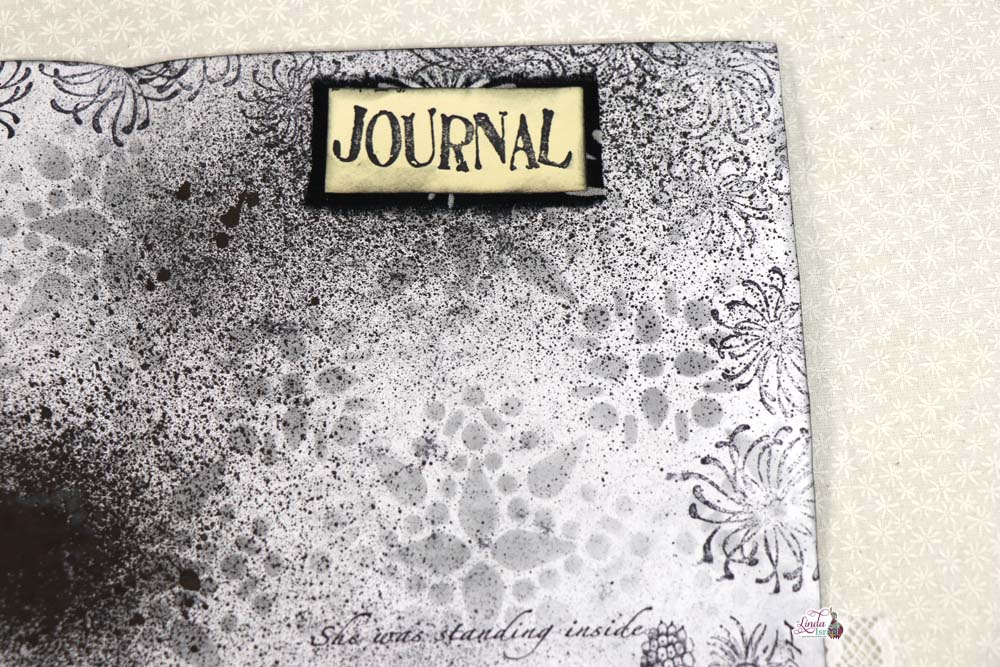
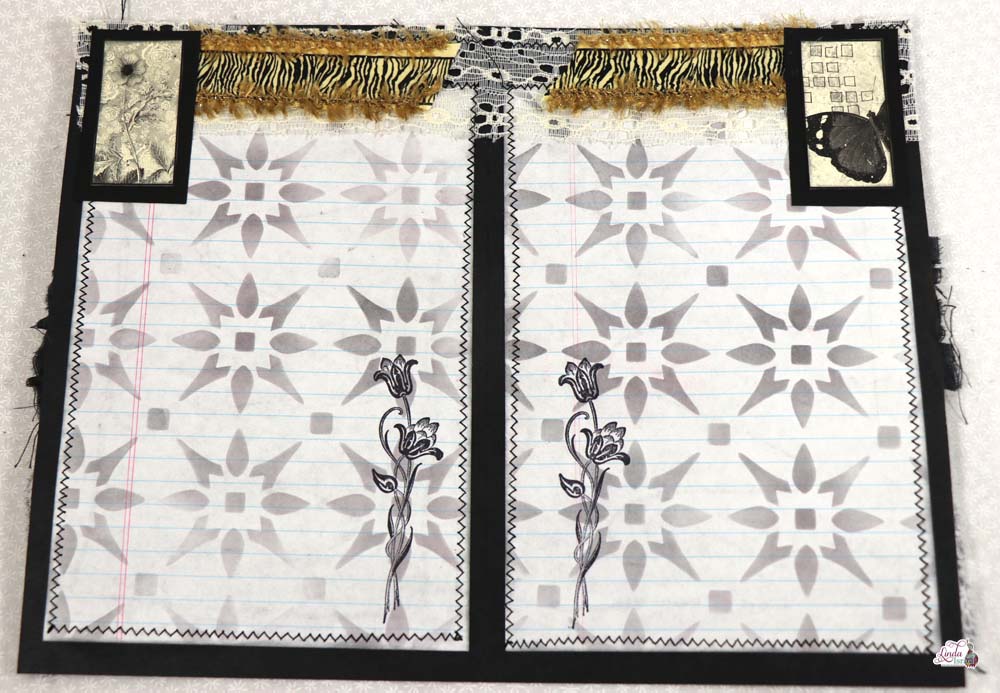
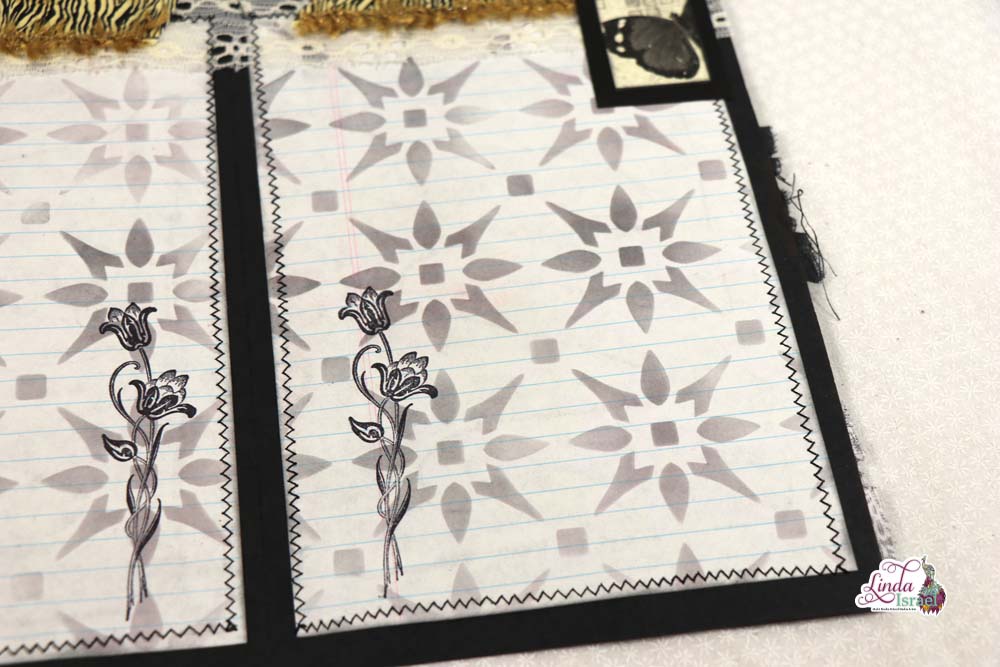
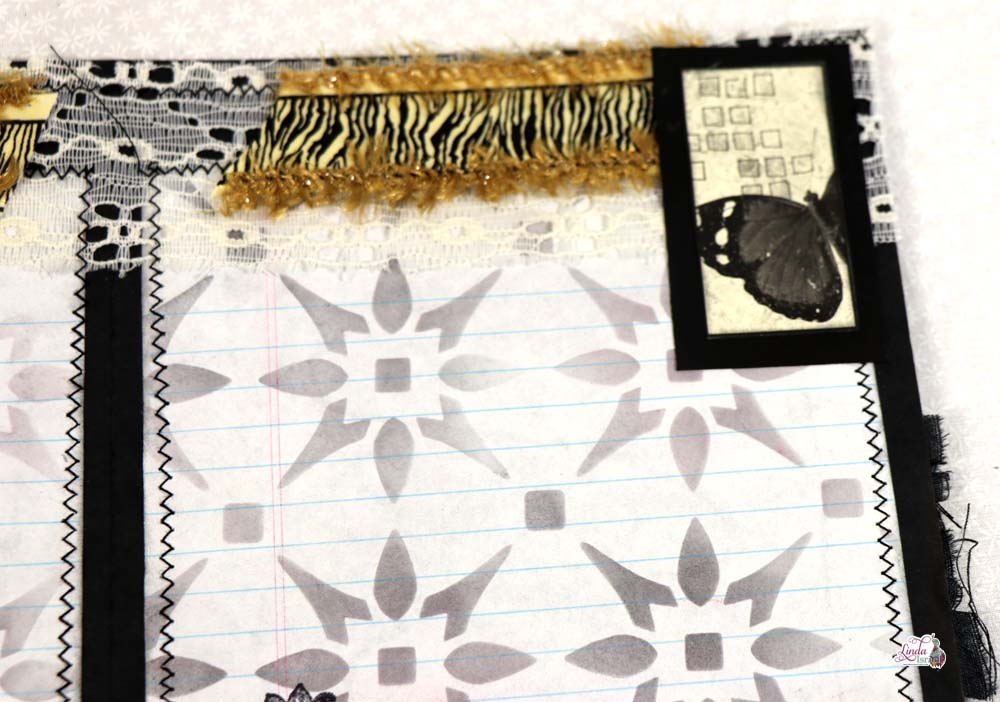
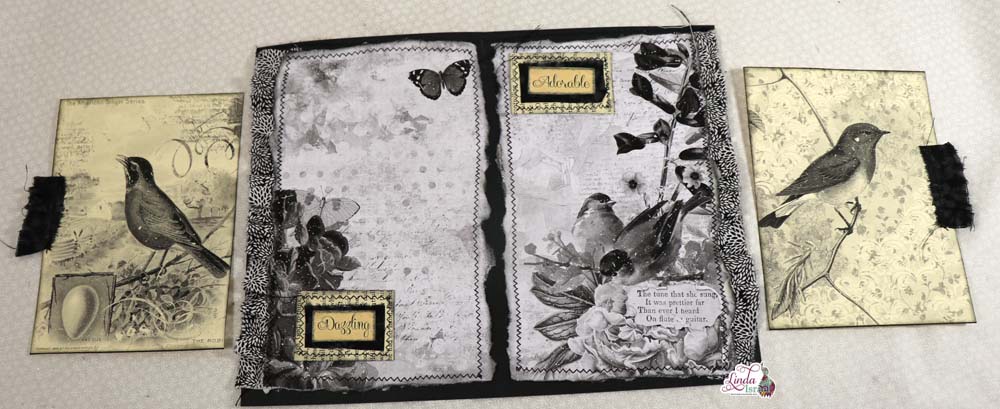
Creating the second journal page, Linda took black cardstock, used the Quilted Star Bursts Stencil with an oval blending brush and black soot distress ink on junior legal pages, she then adhered together with Aleene’s tacky glue. She then sewed together which created a large journaling space for her page.
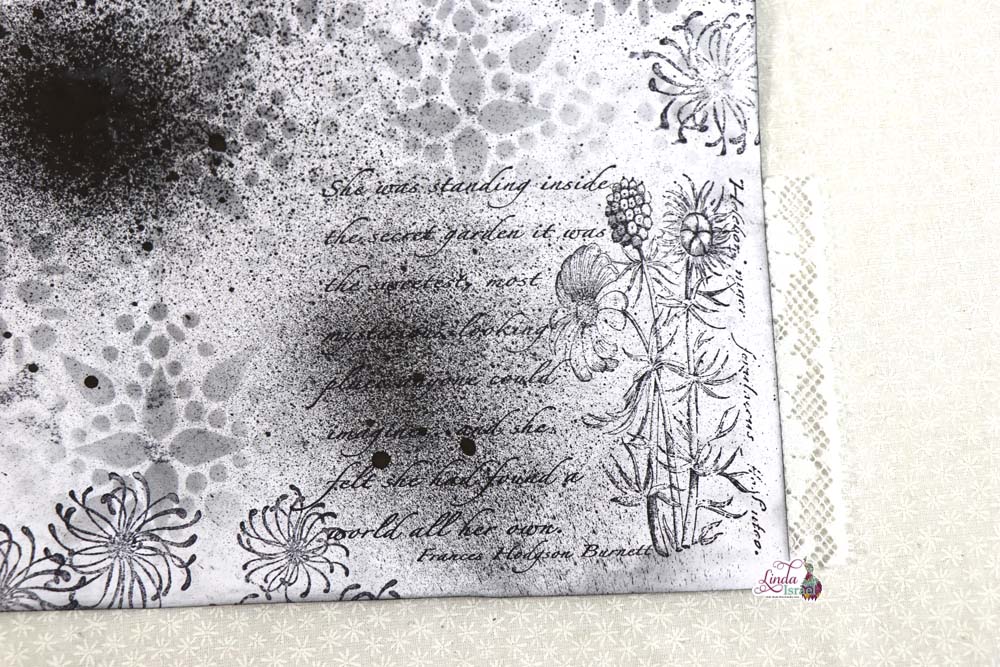
Taking black archival ink and the tulip twine rubber stamp, stamping on the lower area of the page. then adding strips of fabric scraps with lace to the top of the page. Linda also added images from the All about Robins digital kit printed in monochrome layered to complete the page.
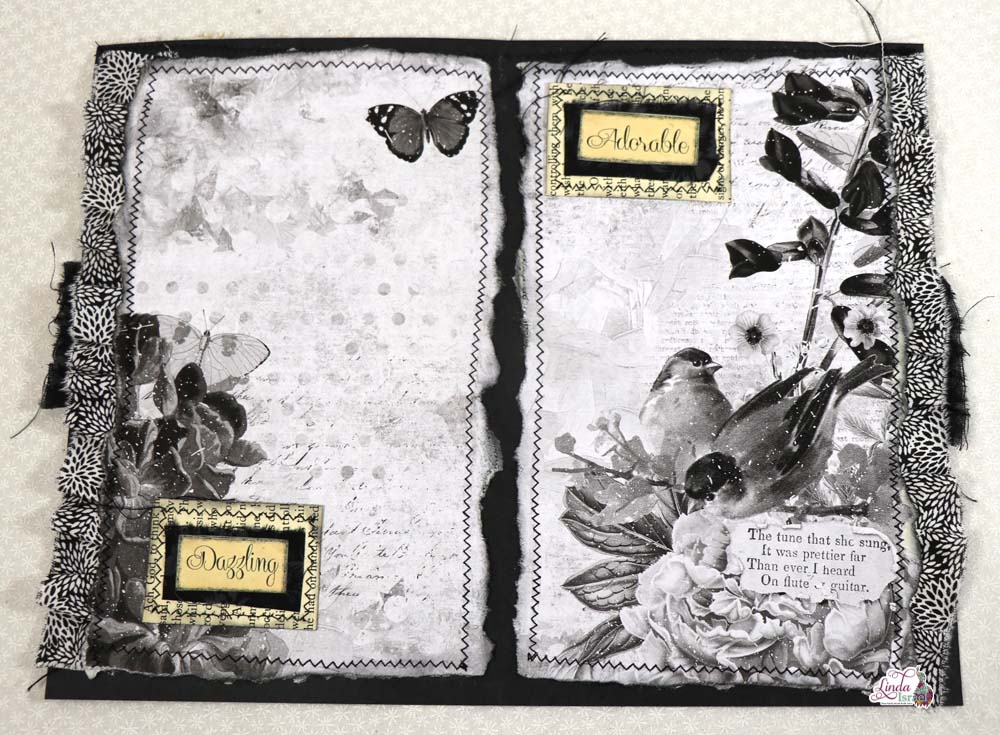
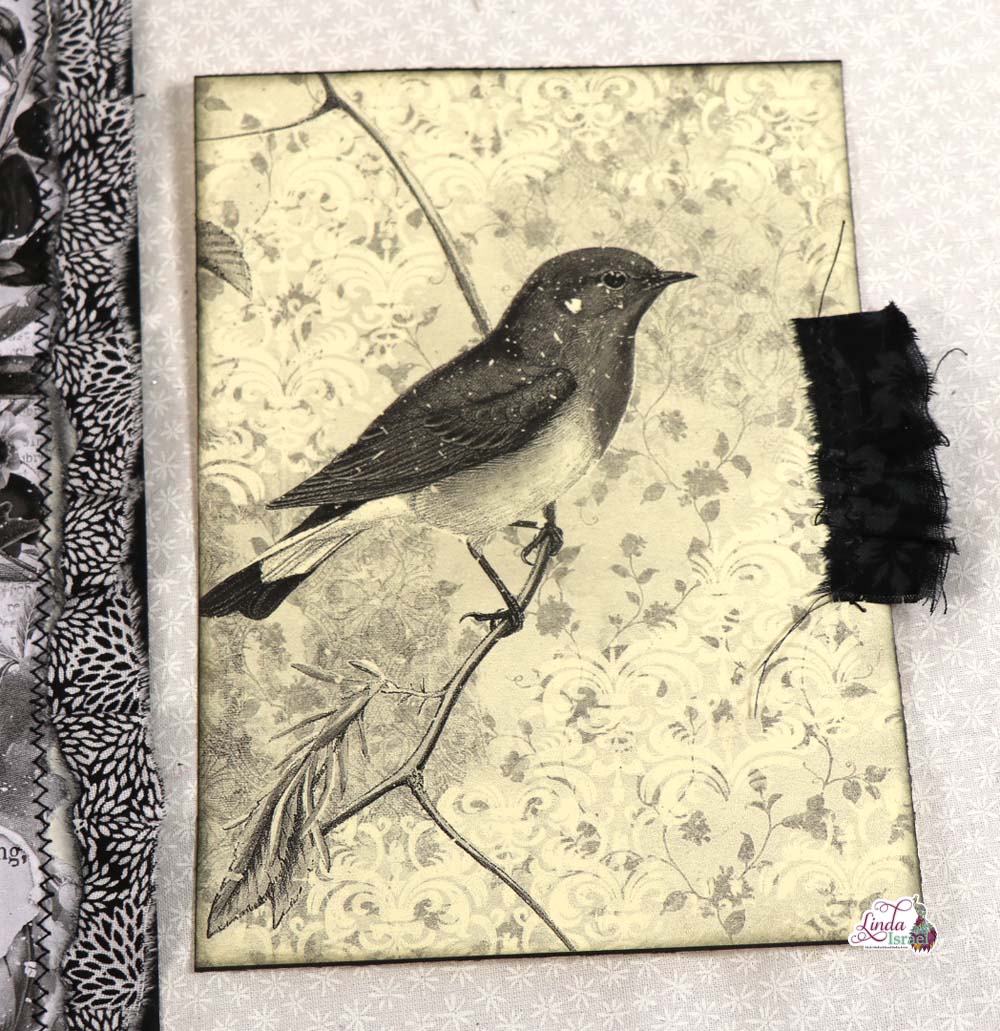
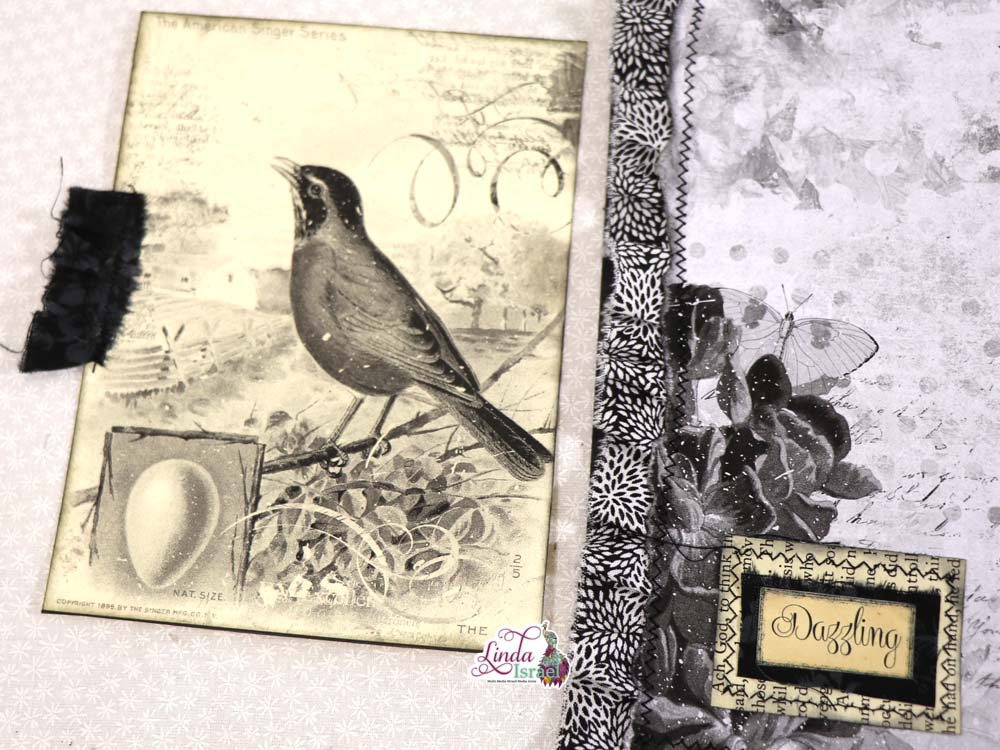
Printing All about Robins images on 8 x 10 print settings in monochrome, Linda adhered to book pages to strengthen then ripped and used black soot distress ink around the edges. Sewing to black copy weight paper and gluing fabric strips to the page edges
Using printable digital words by Calico Collage, with a strip of fabric and pieces of a book page, layered together with tacky glue and then sewn on the sewing machine to finish the page.
Journal cards were created using All about Robins digital kit and enlarging the images and adding strips of fabric.
Have you printed in monochrome to create your journal pages?
Robin Fennessy
Make sure to check out the Friendly Junk Journal People Facebook group. Of course, you are welcome to join the Friendly Junk Journal People Facebook group. The group is growing daily and we are a friendly group willing to help each other and encourage each other.
Interested in any of the projects Linda has created? Please feel free to contact her through her website. Here is her shop, a lot of items featured and more added weekly.
Keep updated on her posts by following the blog by creating an account. Follow Linda on her Facebook Page or on Instagram for updates that may not be shared on the blog.
Thanks so much for stopping by the blog today to see the Tutorial Monochrome Junk Journal Pages Part 2!
