Sharing a Pocket Folio Tutorial, this is the July 2022 Challenge project inside the Friendly Junk Journal People Facebook group. Using a book page, digital images, stamps and more I show how to create a cute pocket folio that can be glued to a journal page or used as a floating item in a journal.
Pocket Folio Tutorial Video. The video is a live premier will show July 4, 2022 at 3:45 pm central standard time.
Supplies used in the Pocket Folio Tutorial.
- Out to Sea Digital Kits
- Under the Sea Digital
- Book Page about 10.5 x 7.75
- Distress Oxide Blueprint Sketch
- Blending Tool
- Aleene’s Tacky Glue
- Fiskars Rotary Paper Cutter
- Sewing Machine
- Octopus Rubber Stamp
- Beacon Fabri-Tac Permanent Adhesive
- Bone Folder
- Over sized Postcard
- Grunge Sheet Music Digital by Calico Collage
- Take me to the ocean stamp
- Jr Legal Note Pad Paper
- Distress Ink Walnut Stain
- Seahorse Rubber Stamp
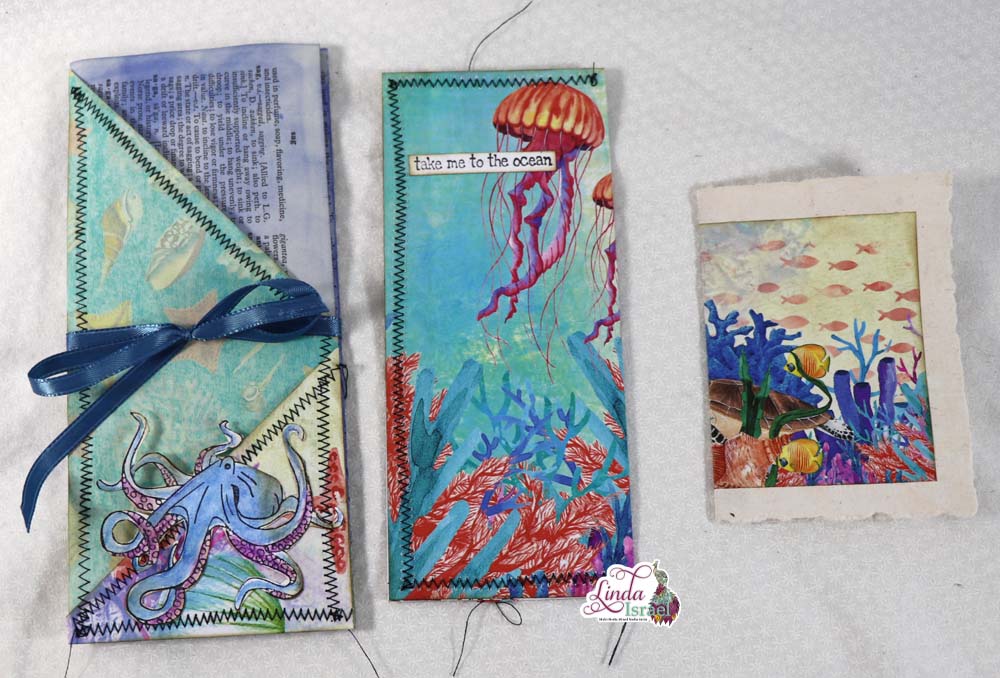
- Mermaid Jellyfish QT Stamp set
- Feathery Rubber Stamp
- Archival Ink Jet Black
- Crab Rubber Stamp
- CNA117G Sails Cube
- Water Stamp
- Octopus Turtle QT
- Sea is calling Stamp
- Handmade Paper
- Ribbon
The foundation of the Pocket Folio is a book page. In my case it measures about 10.5 x 7.75 inches. When I create most of my journals they measure 8.5 tall by 5.5 inches wide. So I like to create elements that will fit inside.
Apply Distress Ink, Blueprint Sketch to the outside edge of the paper. Trim down the digital image (or scrapbook paper) to be .25 inches smaller in my case 10.25 x 7.50 inches. Optional, apply distress ink, Walnut Stain to the edges and then adhere to the center of the book page. Use a bone folder or other tool to smooth the glue.
Flip over the paper and apply distress ink around the edges and create a triangle of color on the right top as this will be visible later.
Once the glue is dry score at 3.5 inches from the right edge on the book page side. Burnish the paper so that it lays flat. Fold in the remaining side so that it almost touches the inside of the first fold. Making a folio.
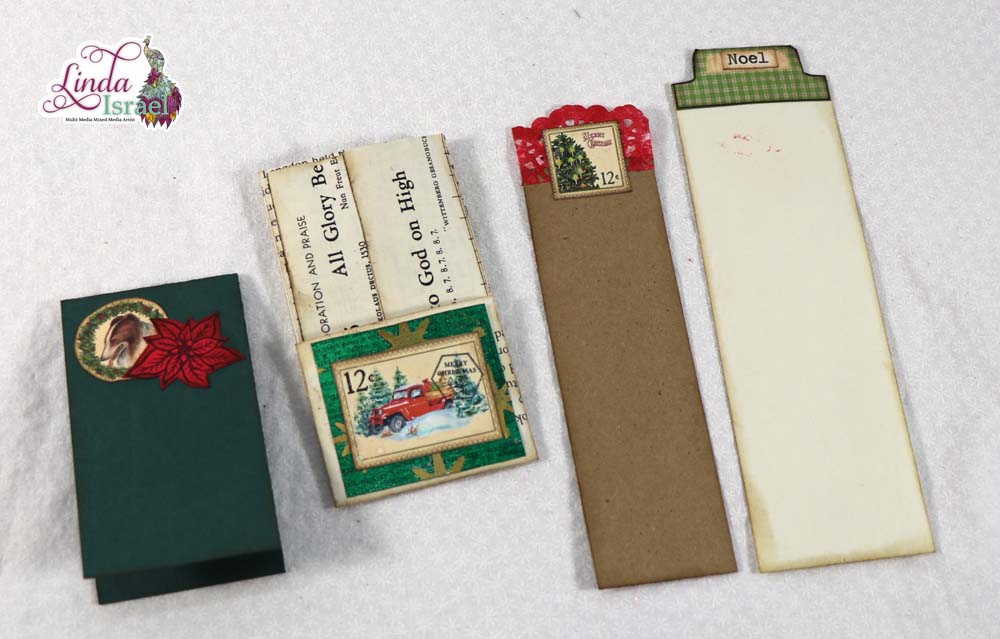
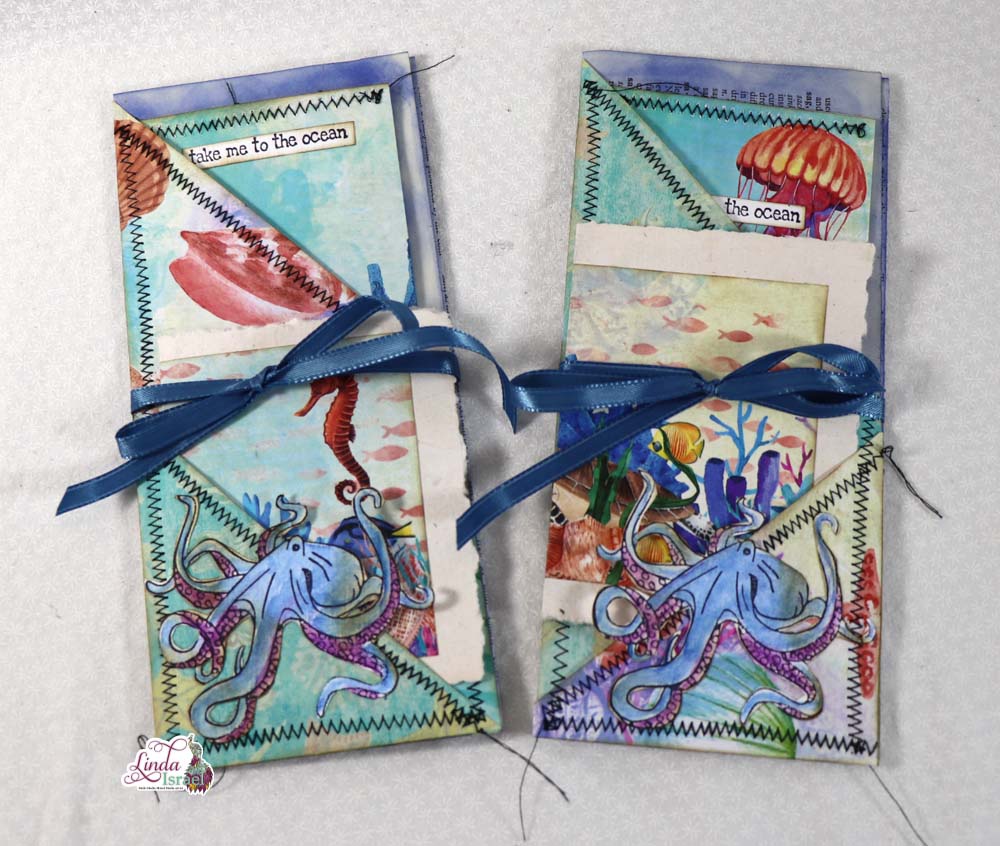
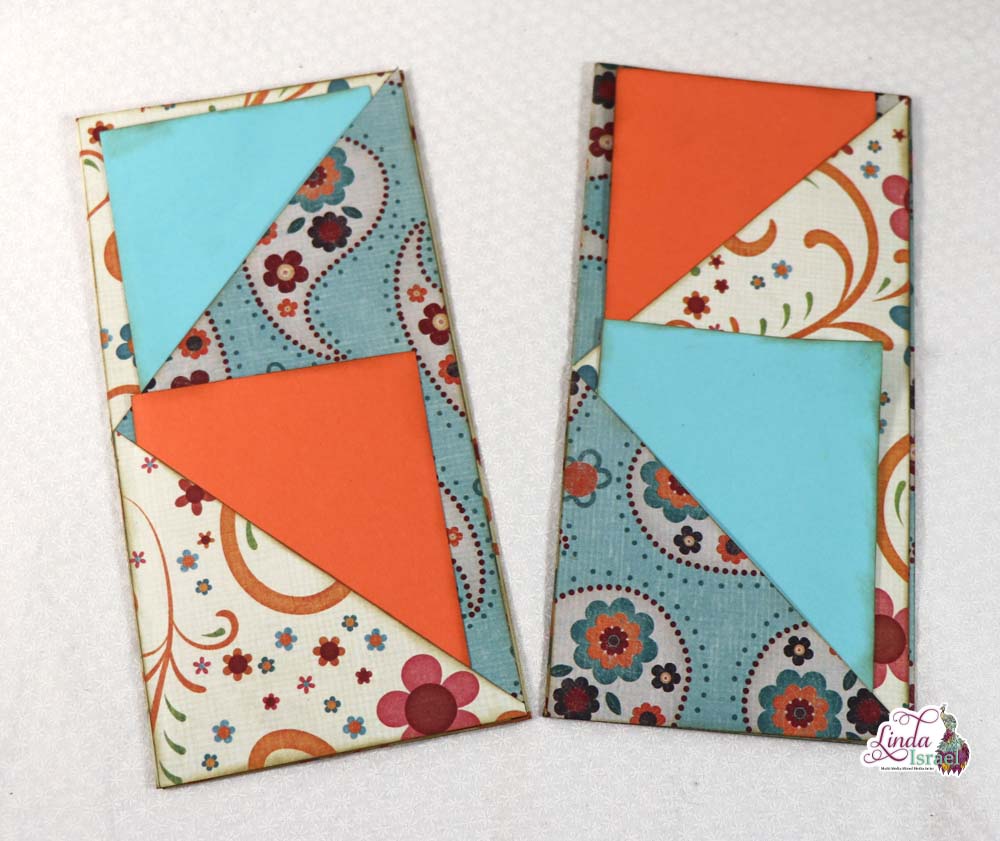
For the front layered pockets. Select two different pattern papers and cut both pieces: 3.5 x 7.75 inches tall. Find the middle on the long side and make a mark. This is a guide to cut the corner at a diagonal. When you cut both papers at the same time you end up with four pieces that can be used for a pocket.
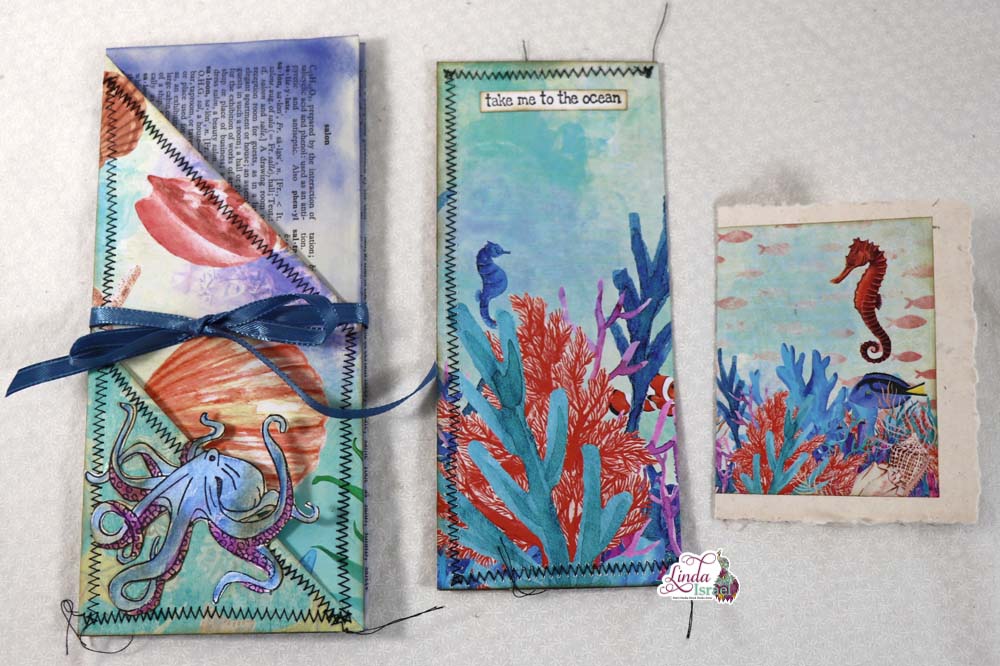
Optional add stitches to the pieces. I like to sew along the pocket edge of the top layer, then sew the two pieces together. This can also just be adhered with glue. Once the pocket pieces are attached together, adhere to the front of the folio.
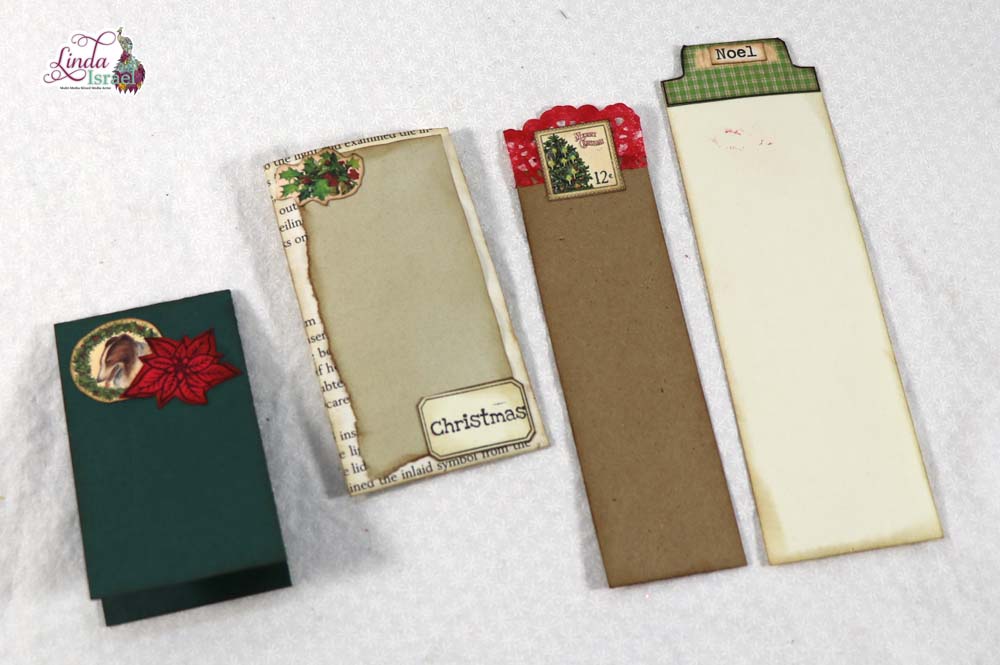
Create the Pocket Journal Card out of an oversized junk mail post card or other cardstock paper. Cut a strip 3 inches wide by 7 inches tall (or just slightly smaller than your front layered pockets so that it will fit. Adhere a strip of grunge sheet music to the right side (1.50 inches wide by 7 inches tall, or the same length as the card base).

Cut one of the digital images in half creating an 8.5 tall by 5.5 wide page. Fold over about .50 of an inch on the right side. Optional sew along the folded edge. Adhere the left side on the back (side without the sheet music). Score at the edge and fold over to the side with the sheet music. Adhere to create a pocket or use a sewing machine to stitch the pocket in place.
Pop some journal cards, tags or scraps of paper into the pocket and then slide the unit into the tall layered pocket on the front of the folio.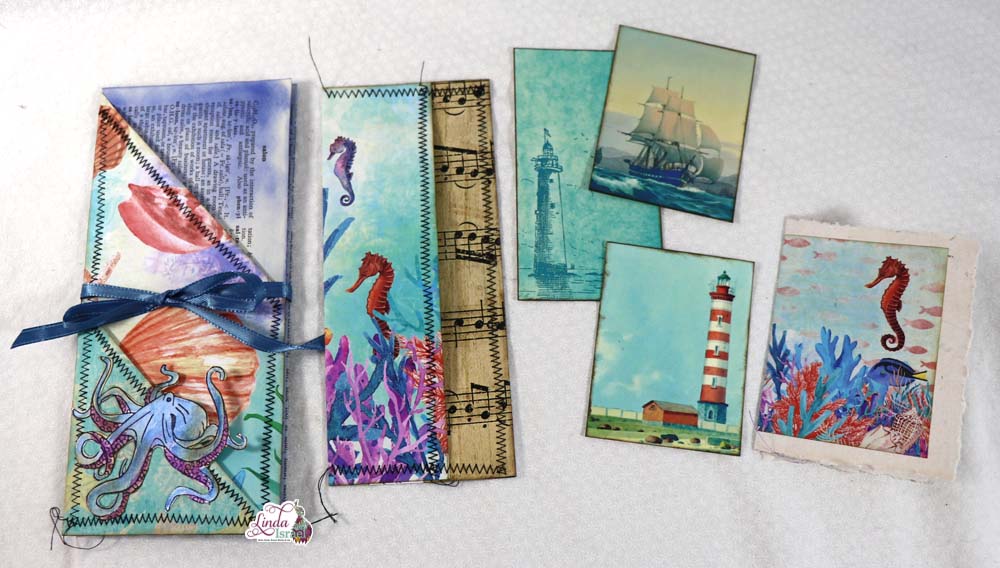
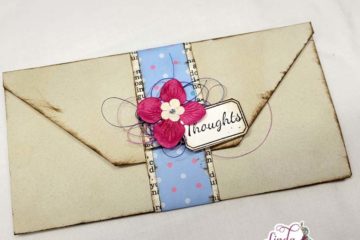
For the smaller card I cut up one of the digital images and adhered to a piece of handmade paper.
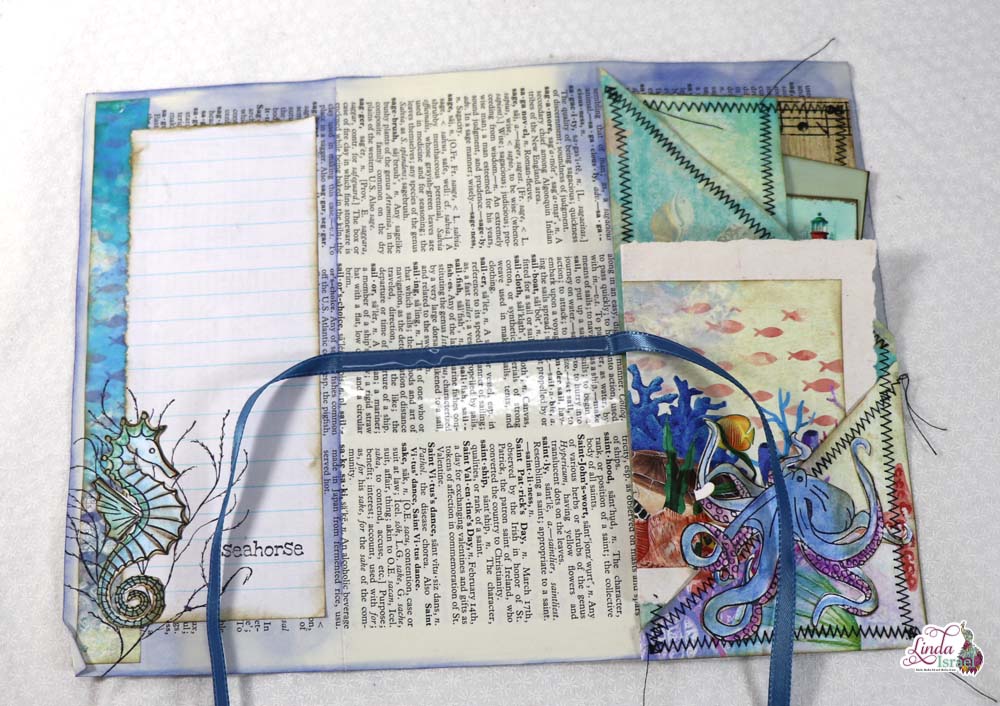
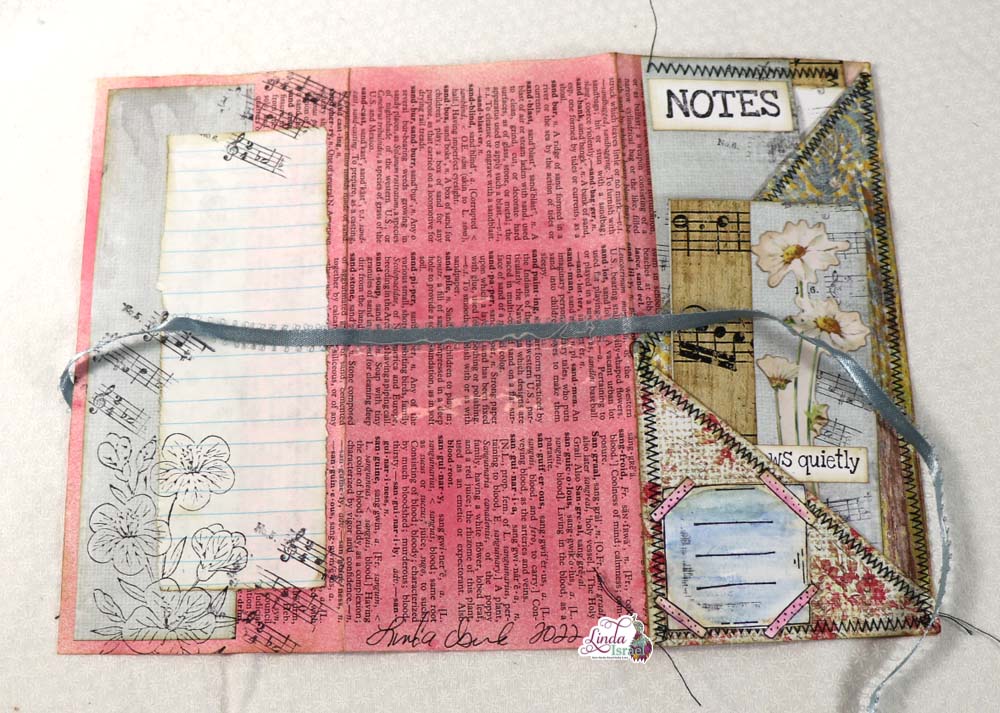
Decorate the right flap on the inside of the folio. In my case I had a strip that was about 1 inch wide by 7.5 inches tall so I used it on the left side. Then I tore a page from a Jr Legal notepad to fill the space and create a writing area.
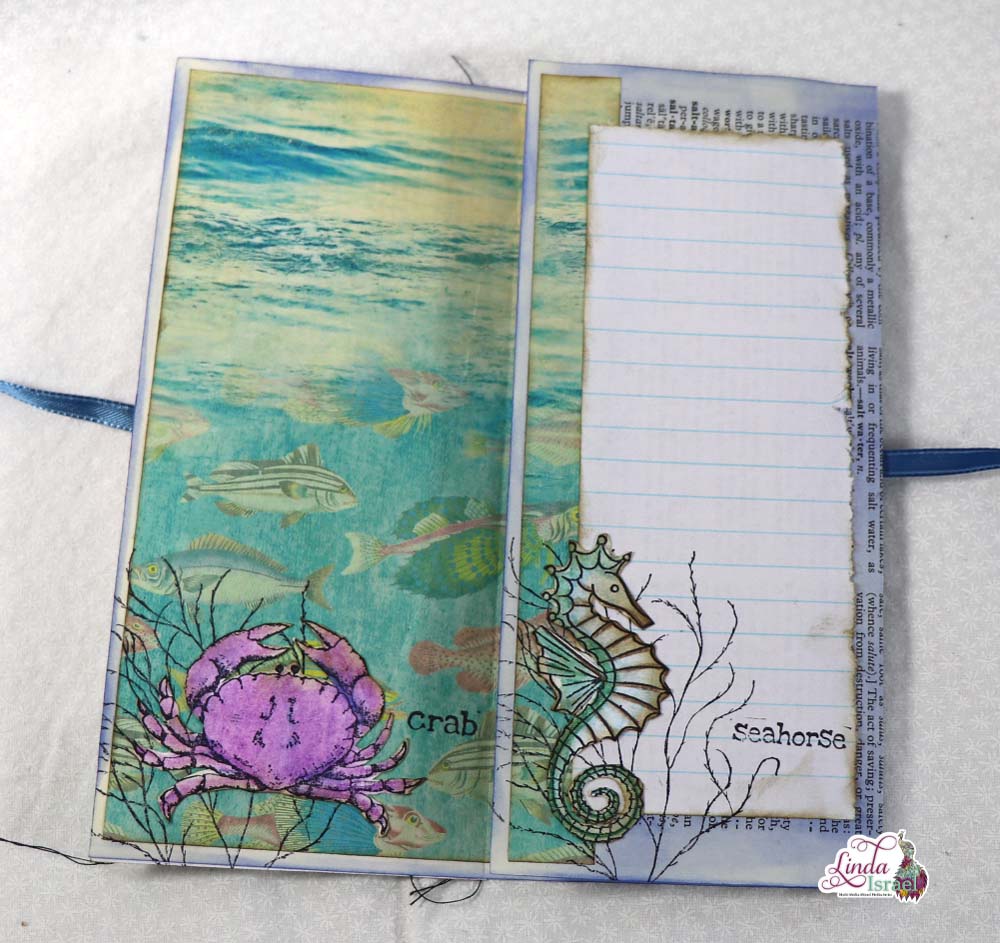
Stamp the Feathery stamp in the lower right corner and then adhere the fussy cut Seahorse stamped image on top. Stamp the word Seahorse to the side.
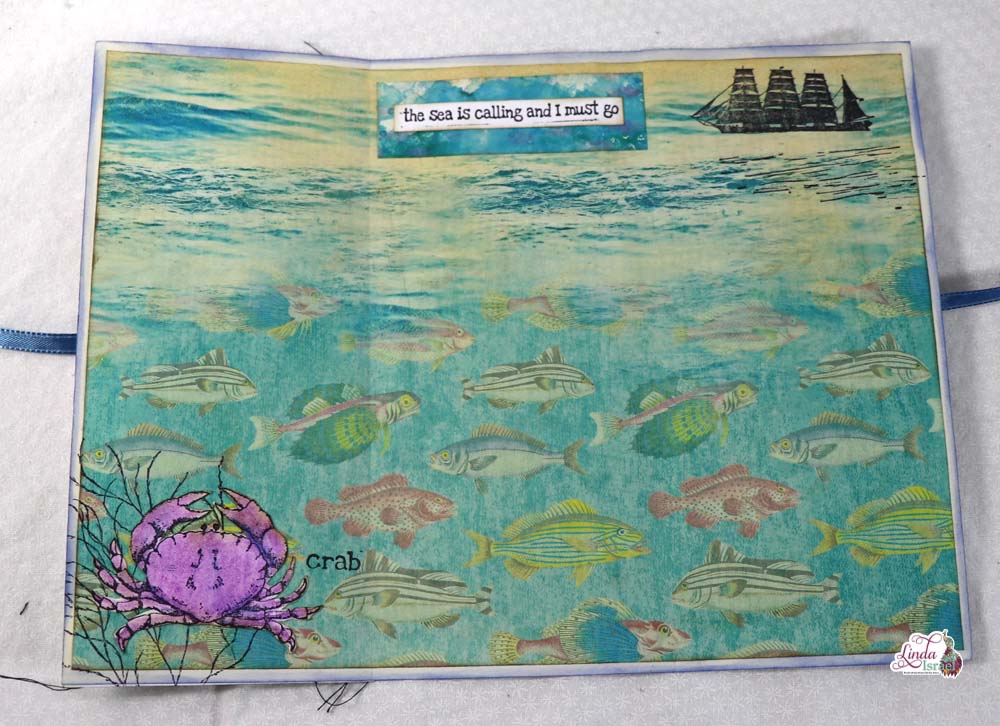
Open the folio to the full inside. On the far right panel, stamp one of the ships from the Sails cube and then the Water Stamp below.
In the center panel, layer the sea is calling and I must go on a scrap of paper.
On the left panel stamp the feathery stamp and adhere the fussy cut crab on top. Stamp the word Crab to the side.
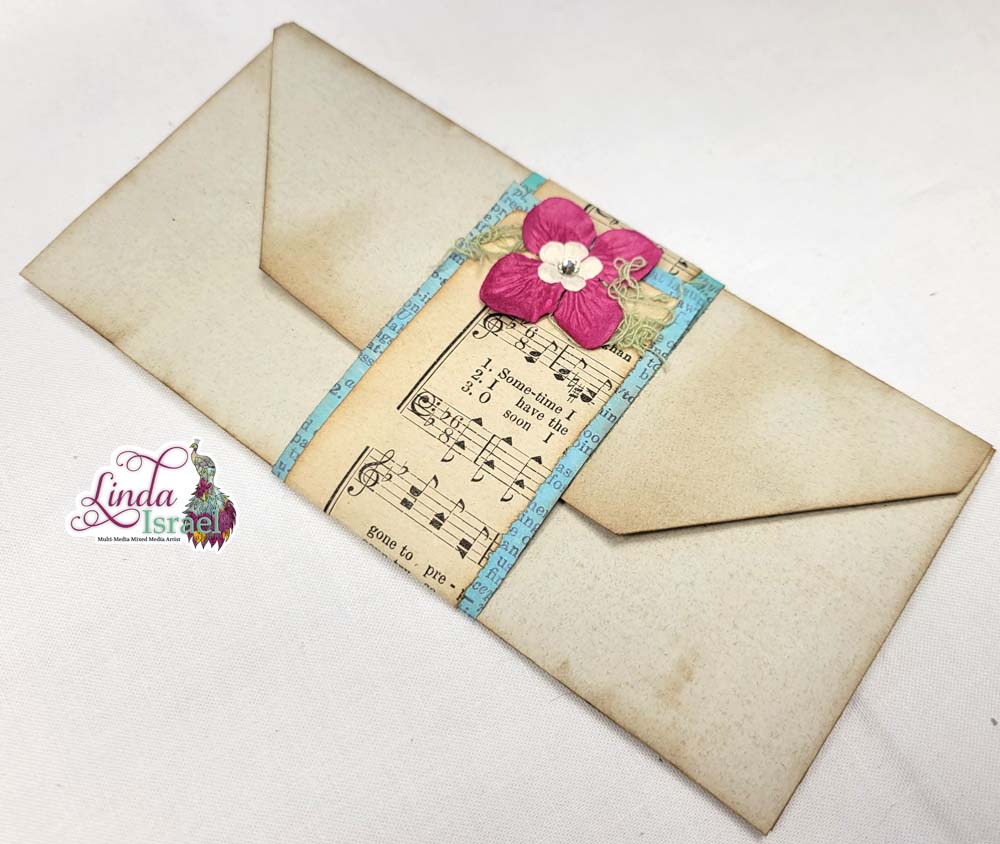
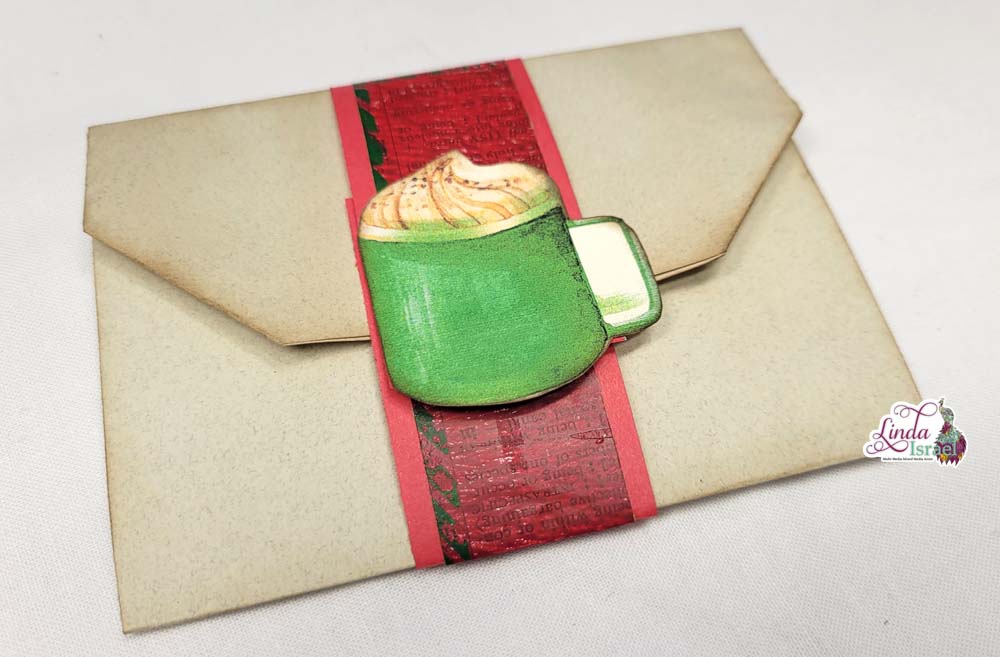
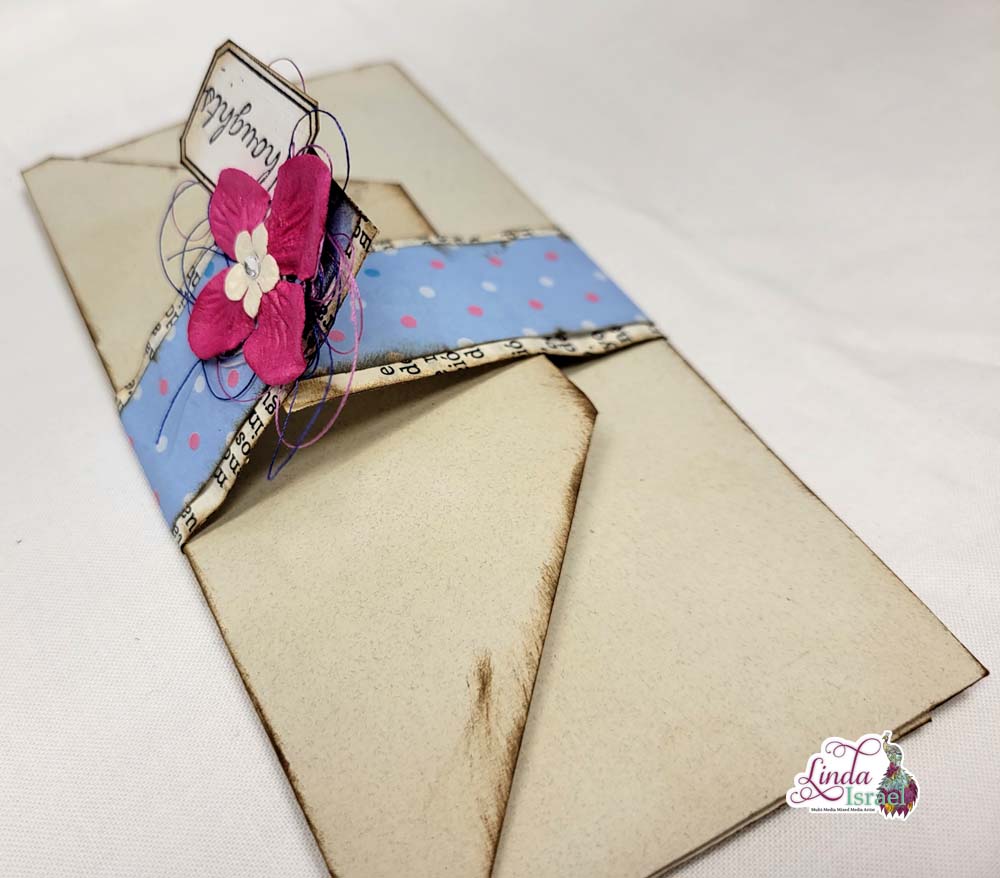
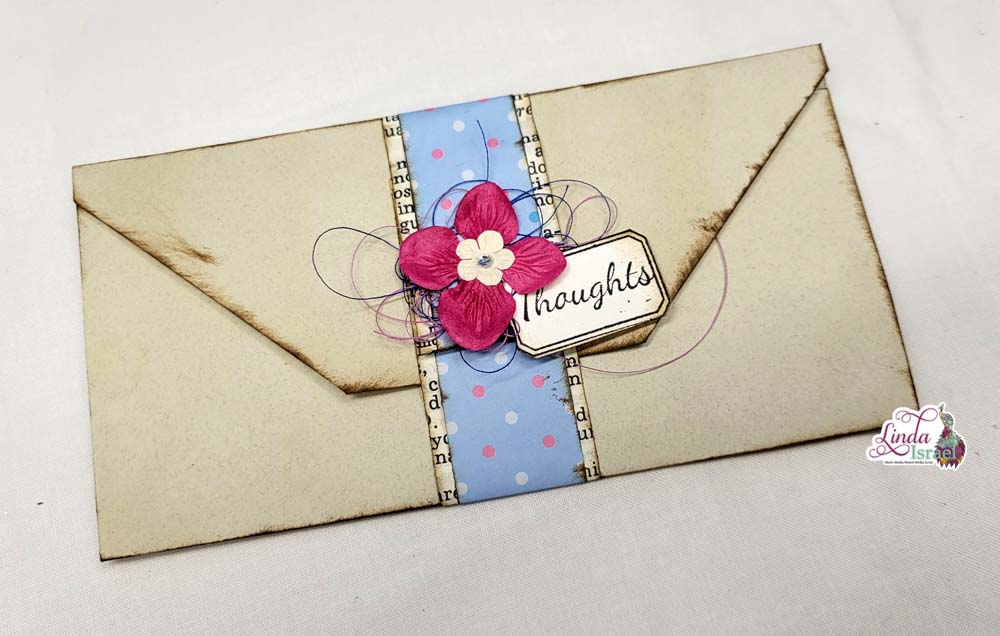
Fold the folio closed. Tie a length of ribbon around the folio to hold it closed. If you plan to adhere this to a journal page, then use some packing or other tape to go over the ribbon so that things don’t catch on the ribbon when using the pocket.
If you would like to make this a floating item in your journal, then you can attach another piece of paper on the back, covering the ribbon and create either another pocket or more writing space.
Isn’t this a fun Folio? Now use the Pocket Folio Tutorial to create your own, then take a photo and share it in the Friendly Junk Journal People Facebook group event to be entered to win a $10 off coupon to my shop. I look forward to seeing what you create!
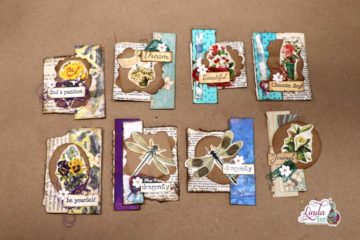
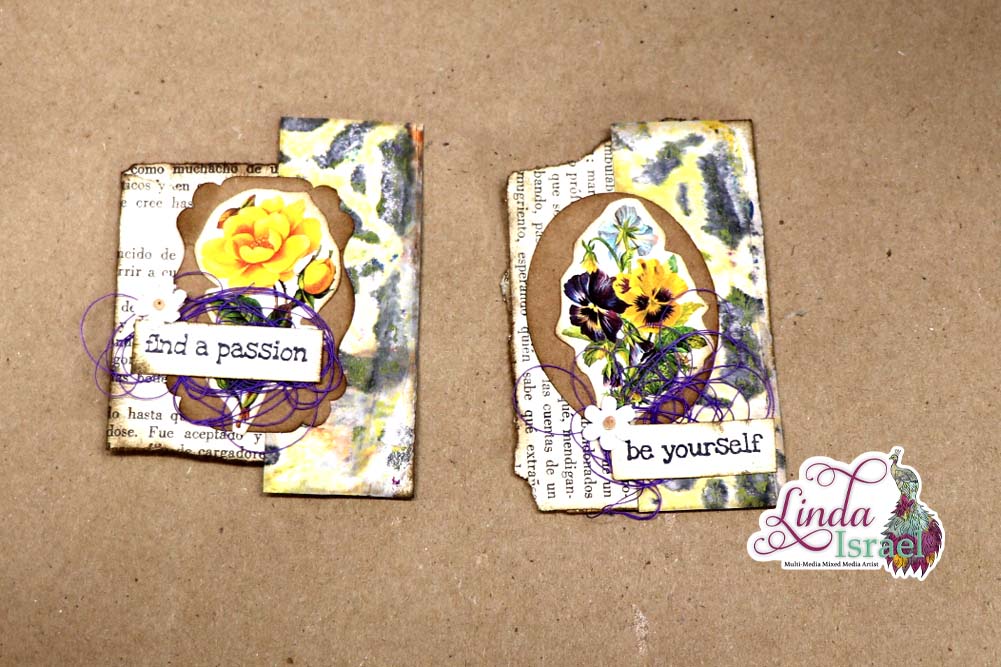
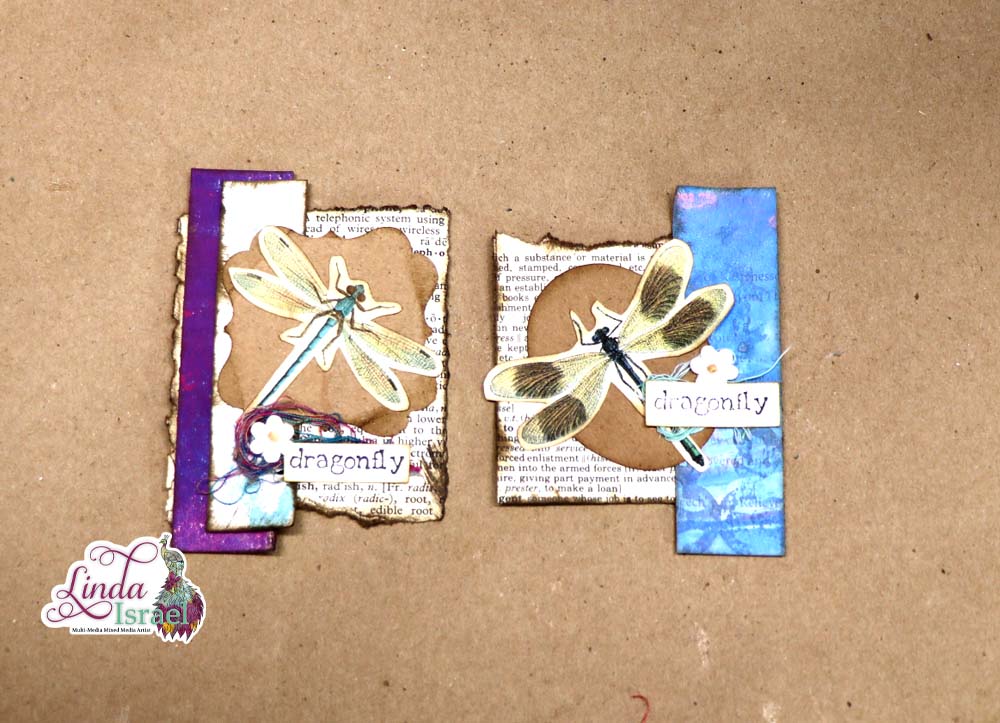
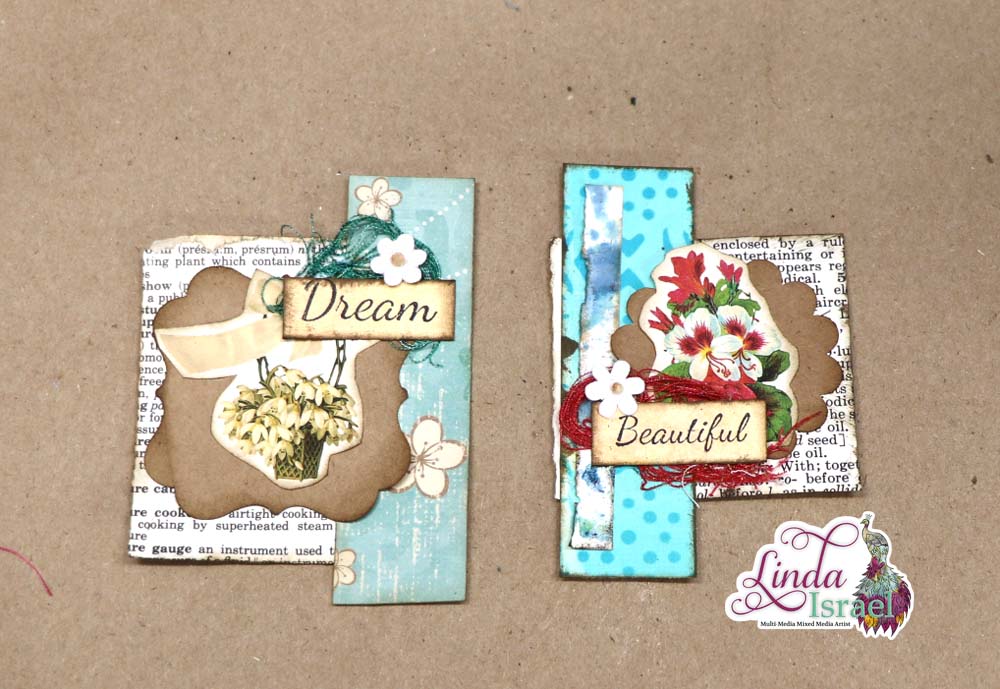
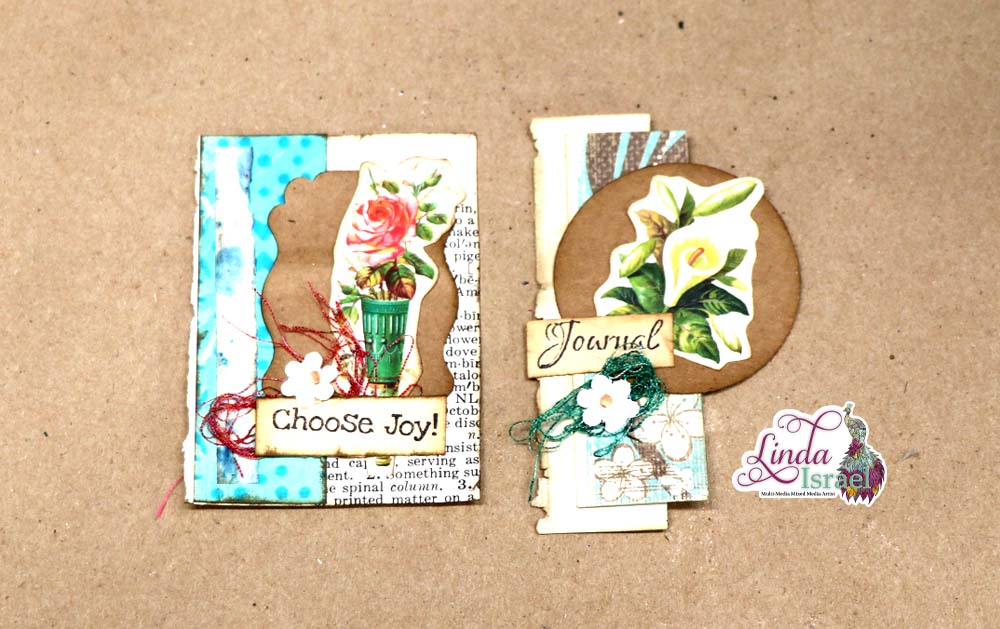
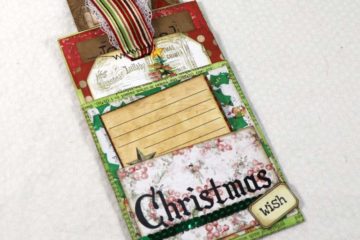
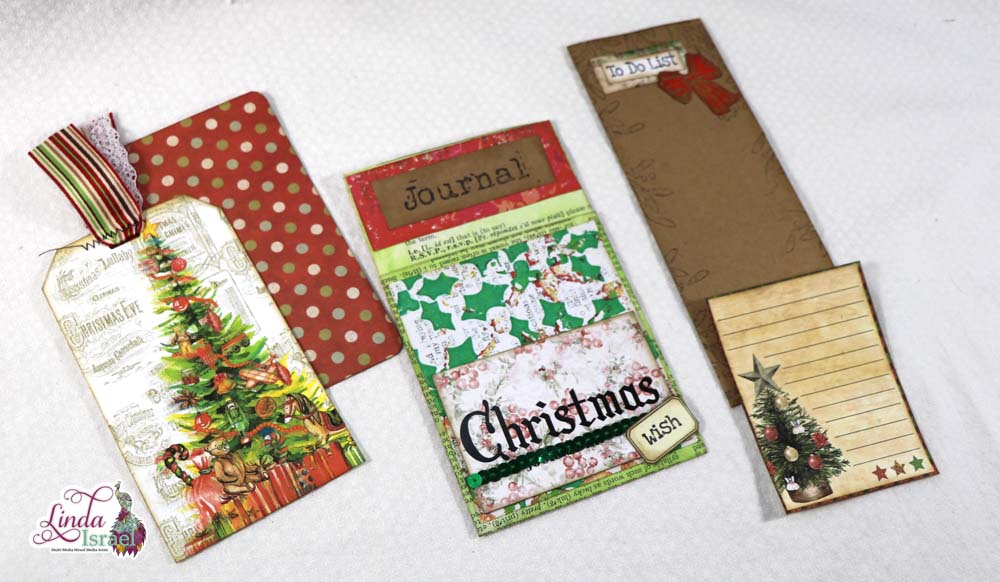
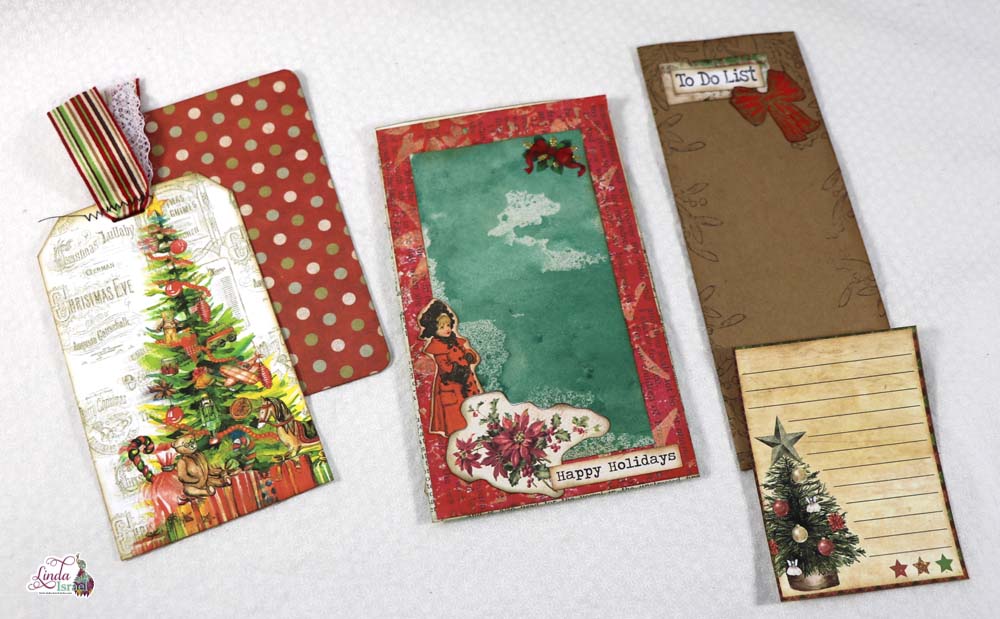
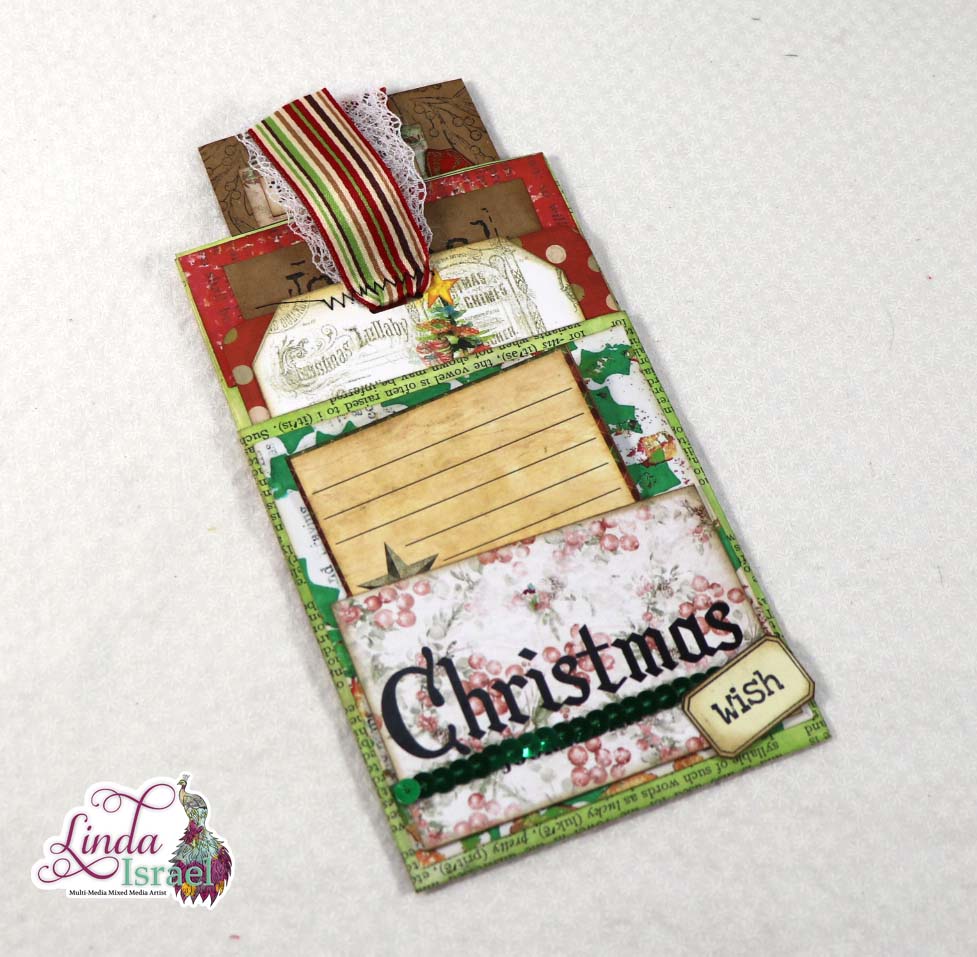
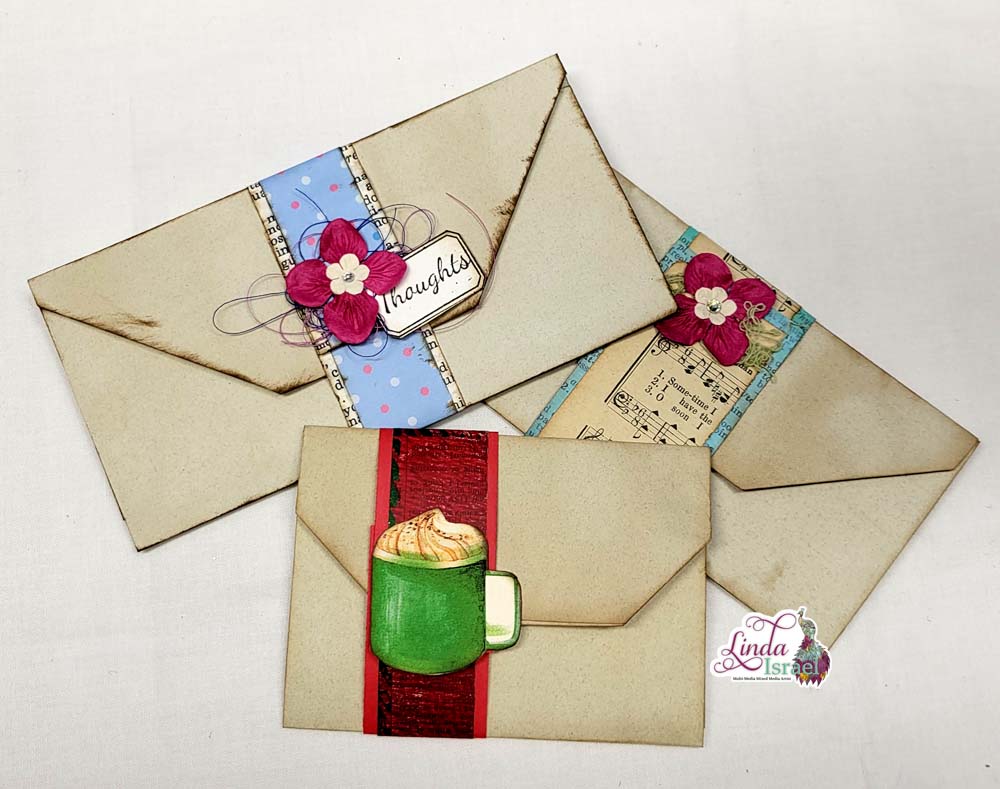
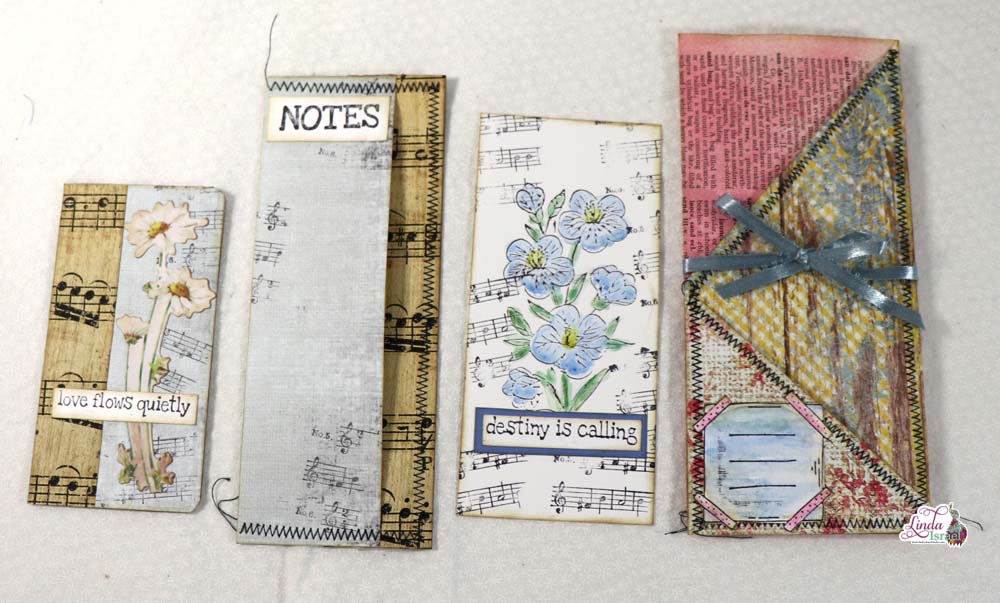
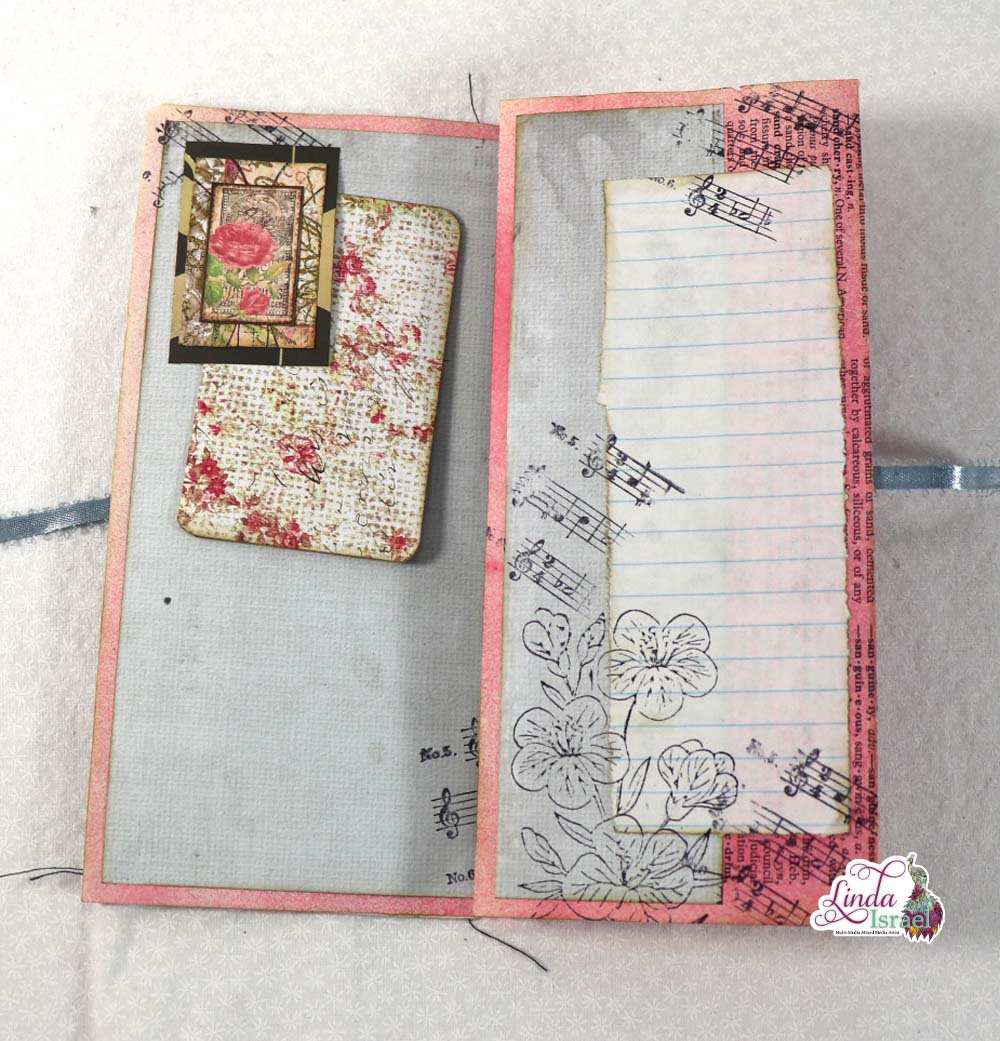
Here are a few photos of other ideas to inspire you!

Visit the Friendly Junk Journal People Facebook group. Of course, you are welcome to join the Friendly Junk Journal People Facebook group. The group is growing daily and we are a friendly group willing to help each other and encourage each other.

Interested in any of the projects Linda has created? Please feel free to contact her through her website. Here is her shop, a lot of items featured and more added weekly.
Keep updated on her posts by following the blog by creating an account. Follow Linda on her Facebook Page or on Instagram for updates that may not be shared on the blog.
Thanks so much for stopping by the blog today to see the Pocket Folio Tutorial.