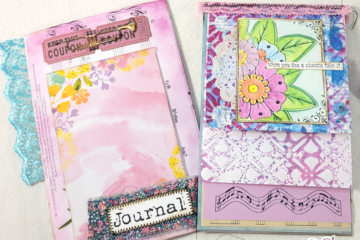
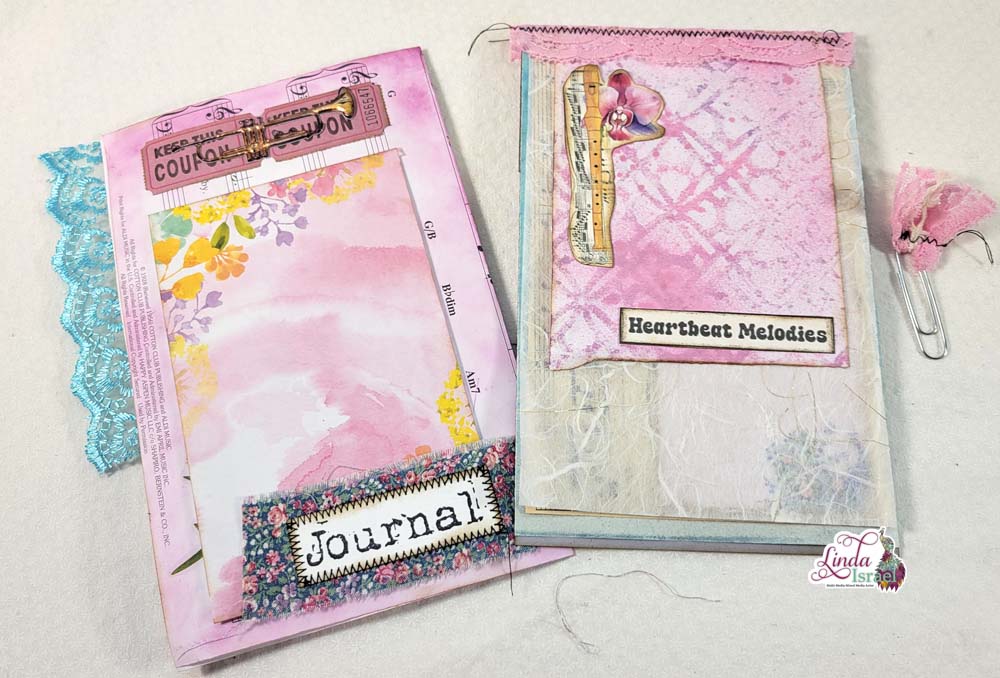
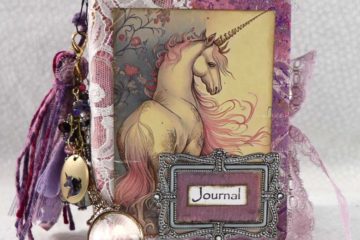
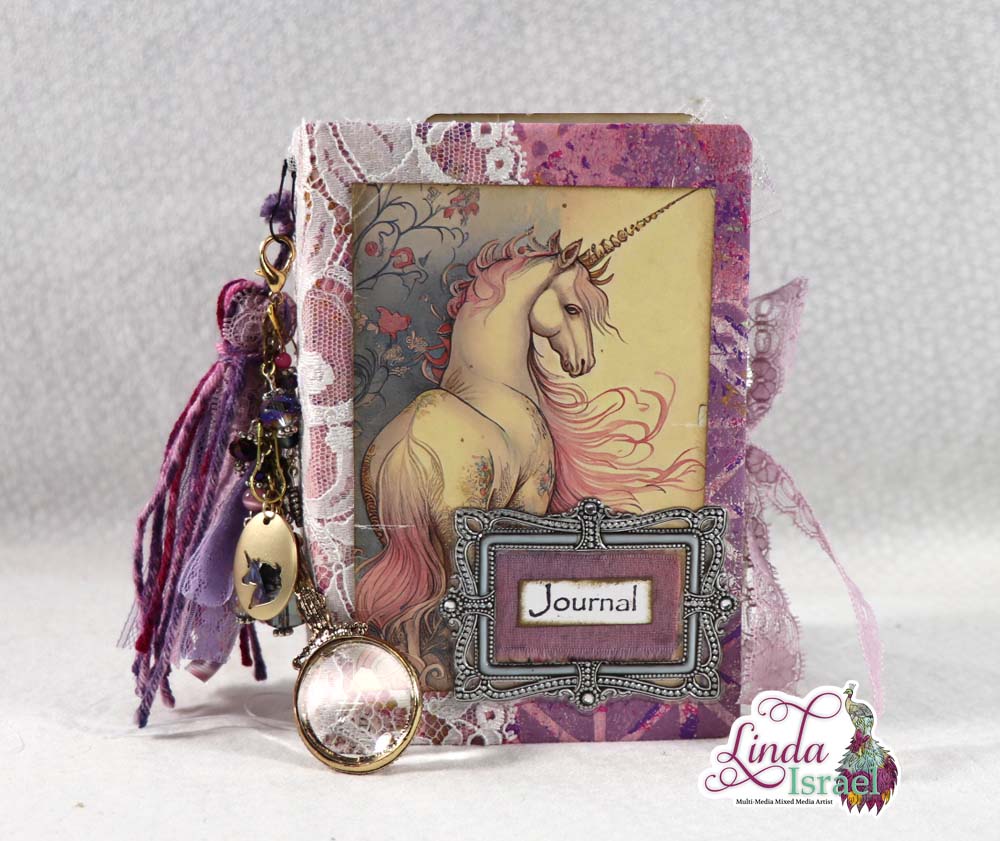
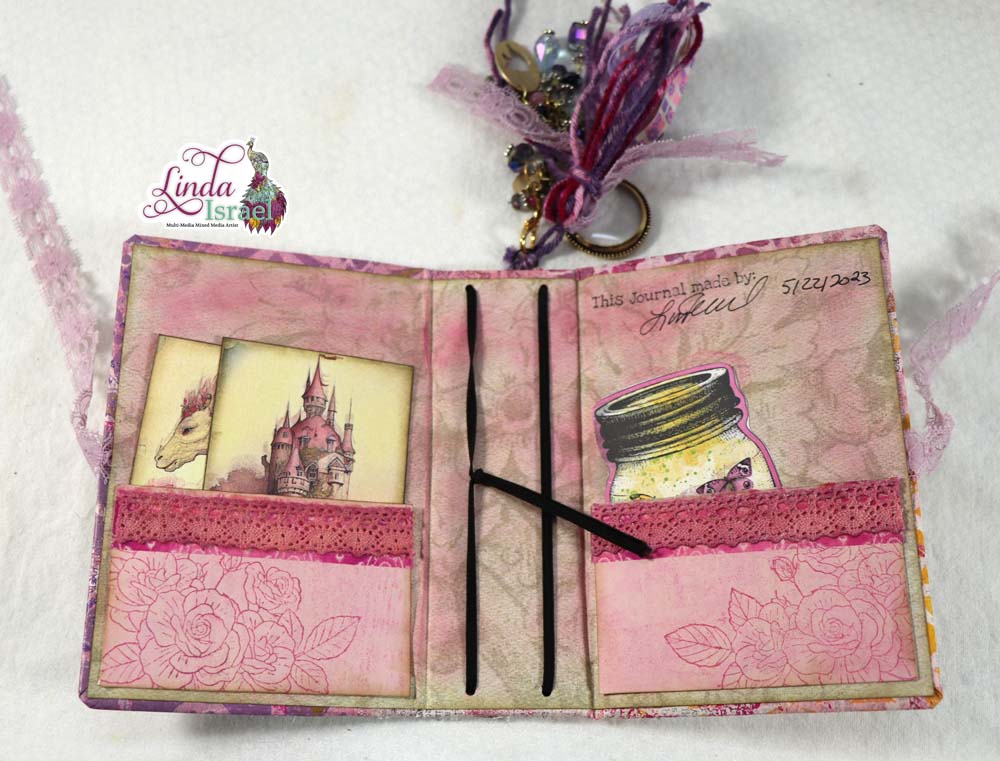
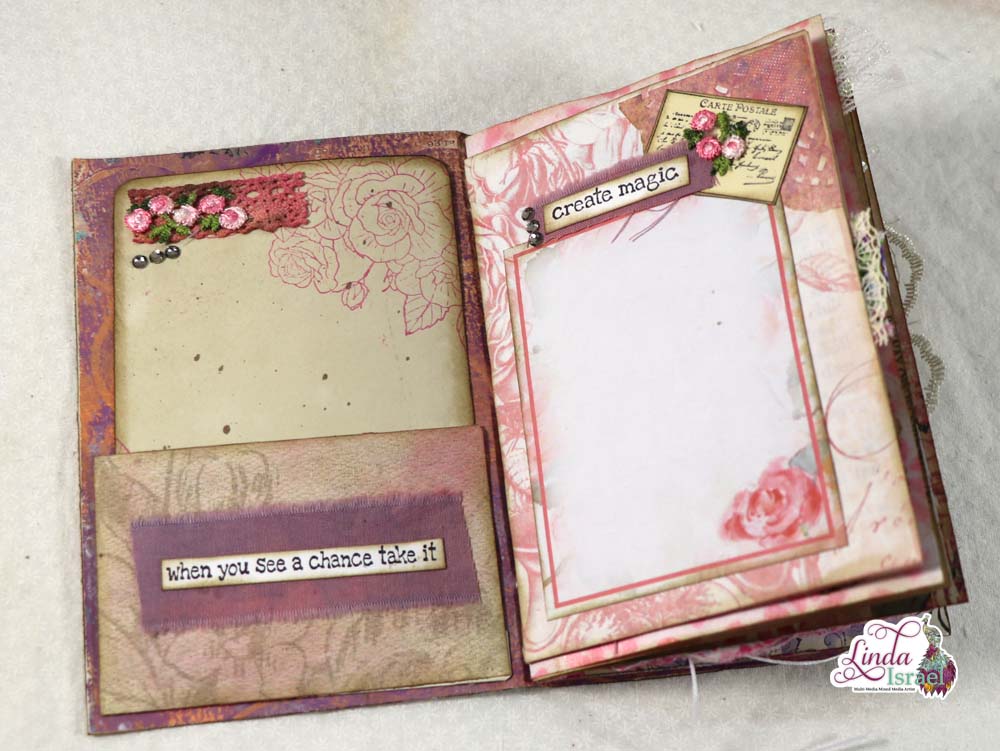
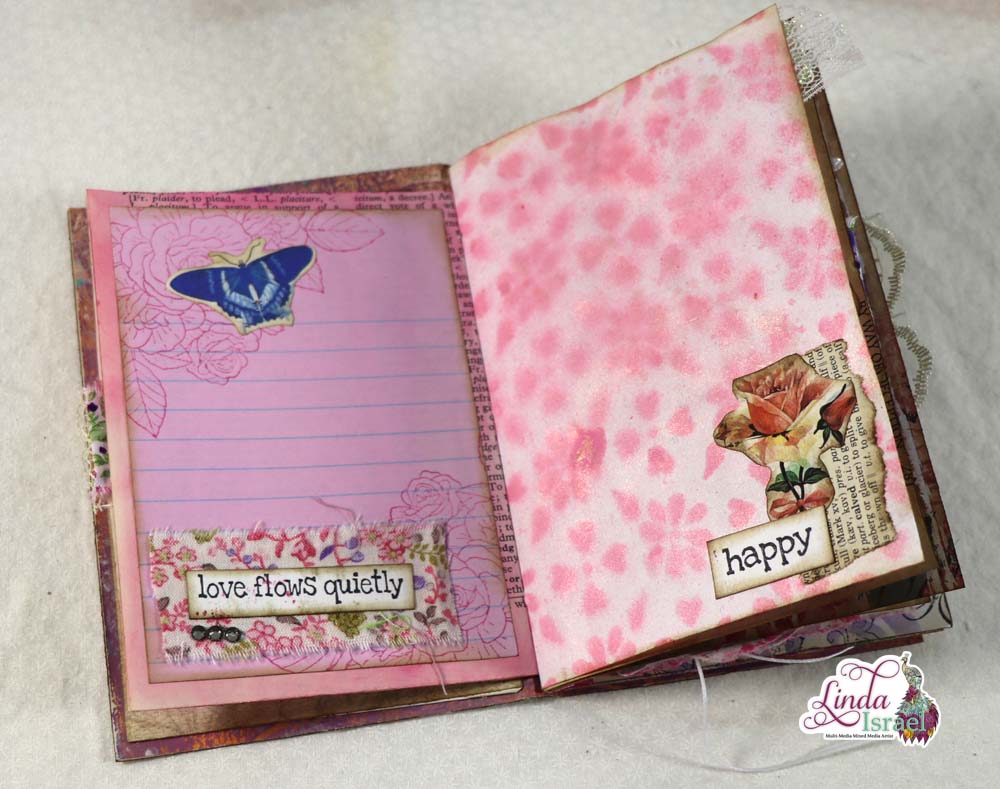
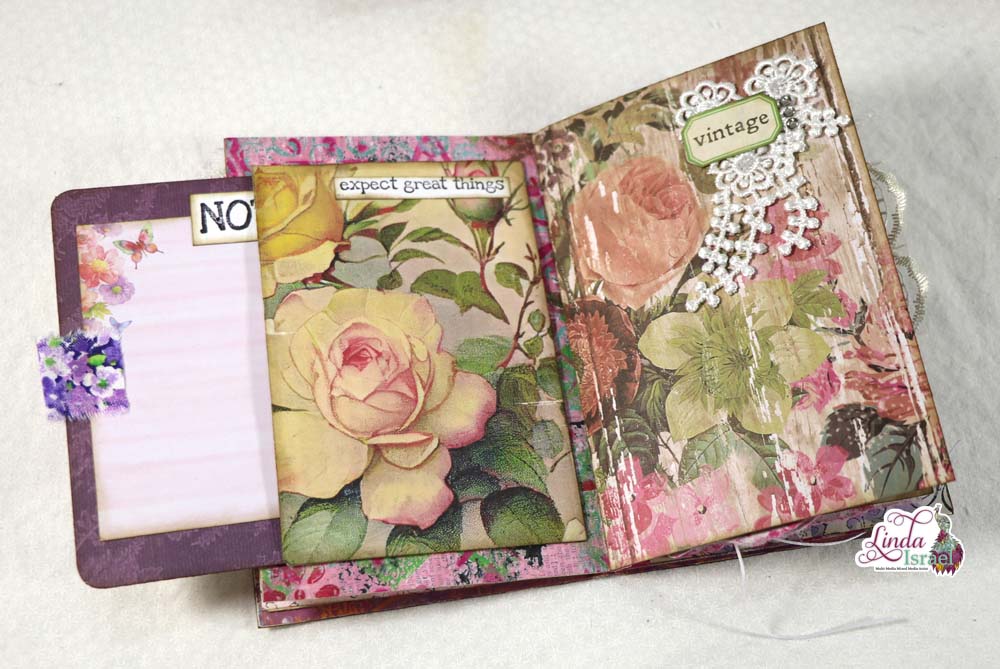
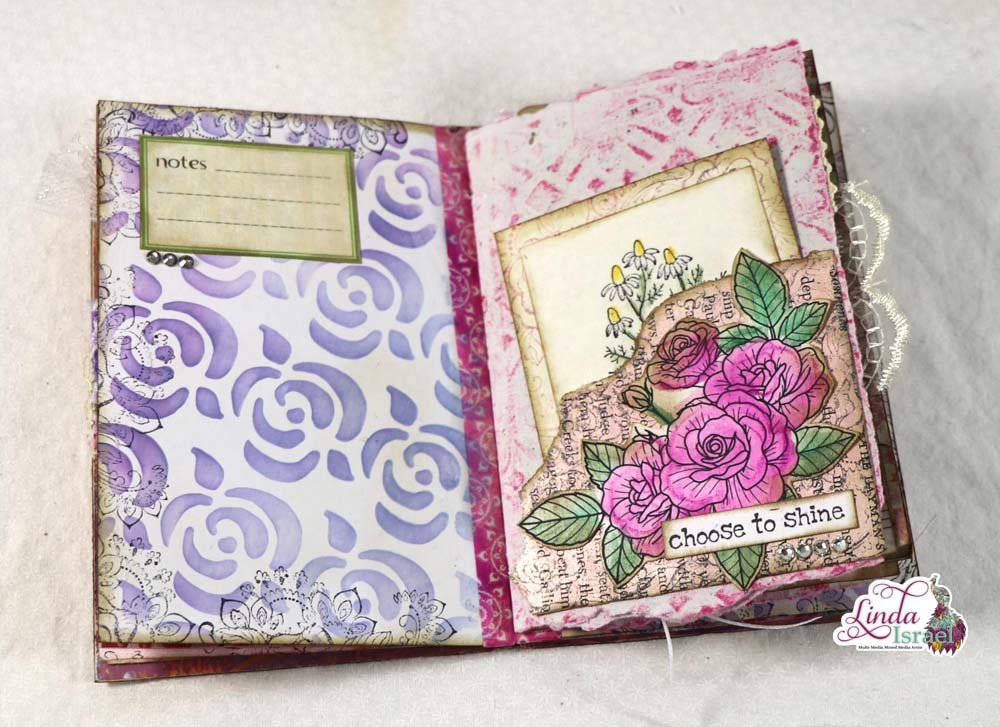
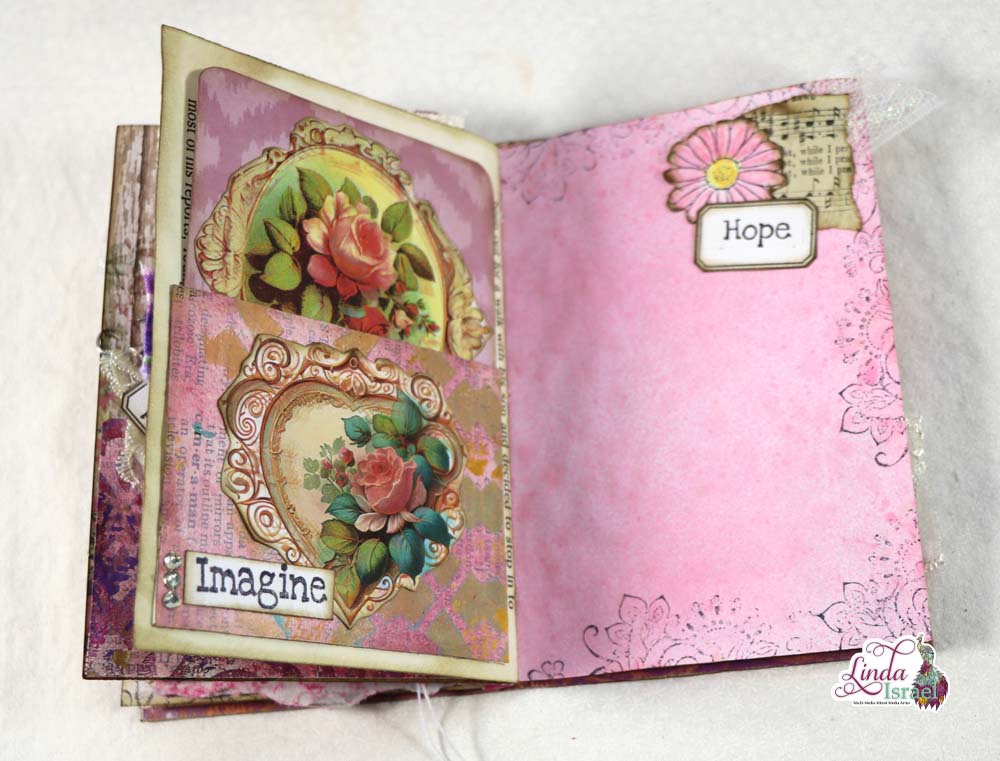
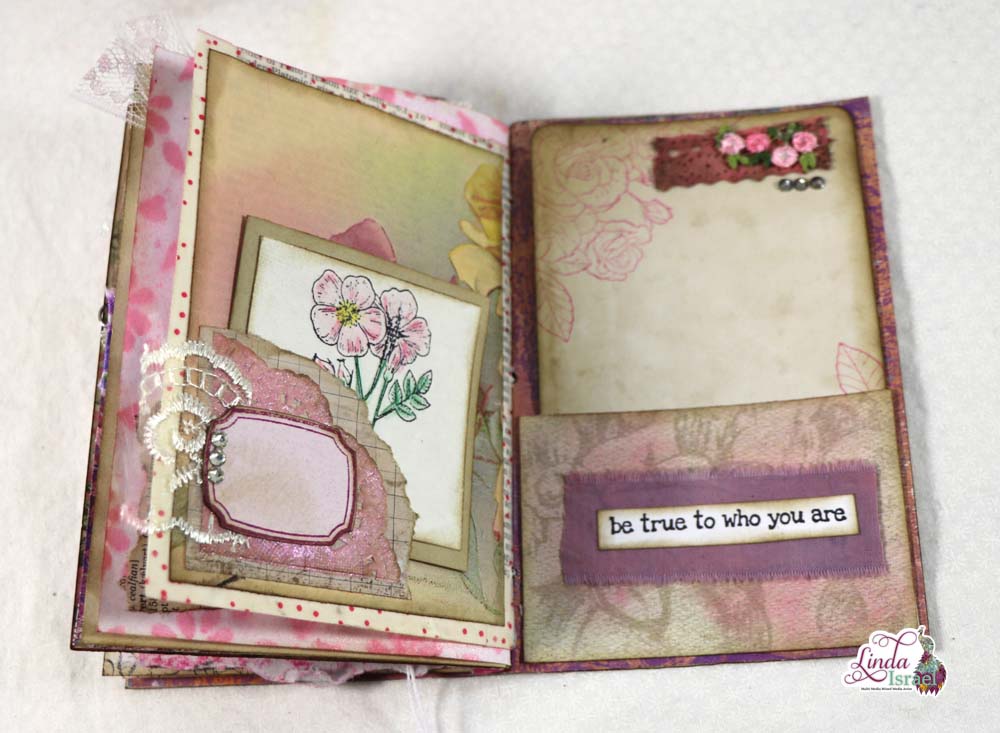
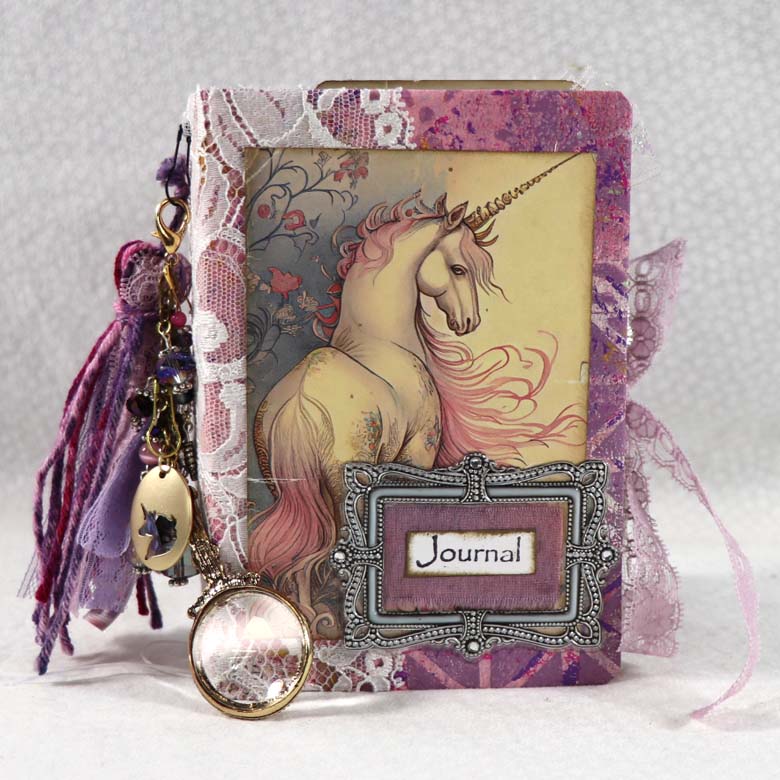
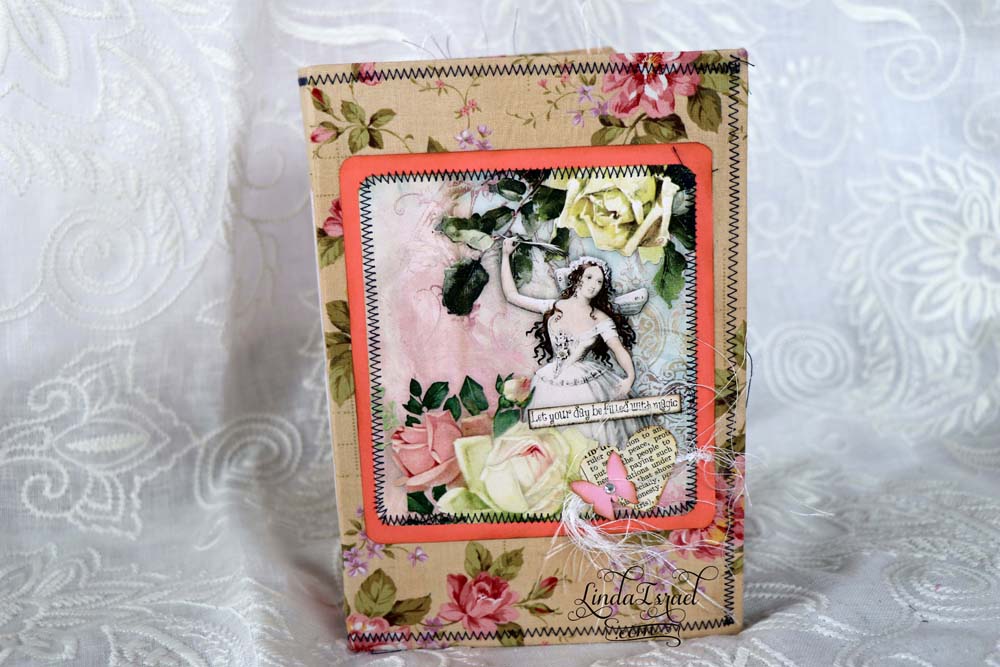
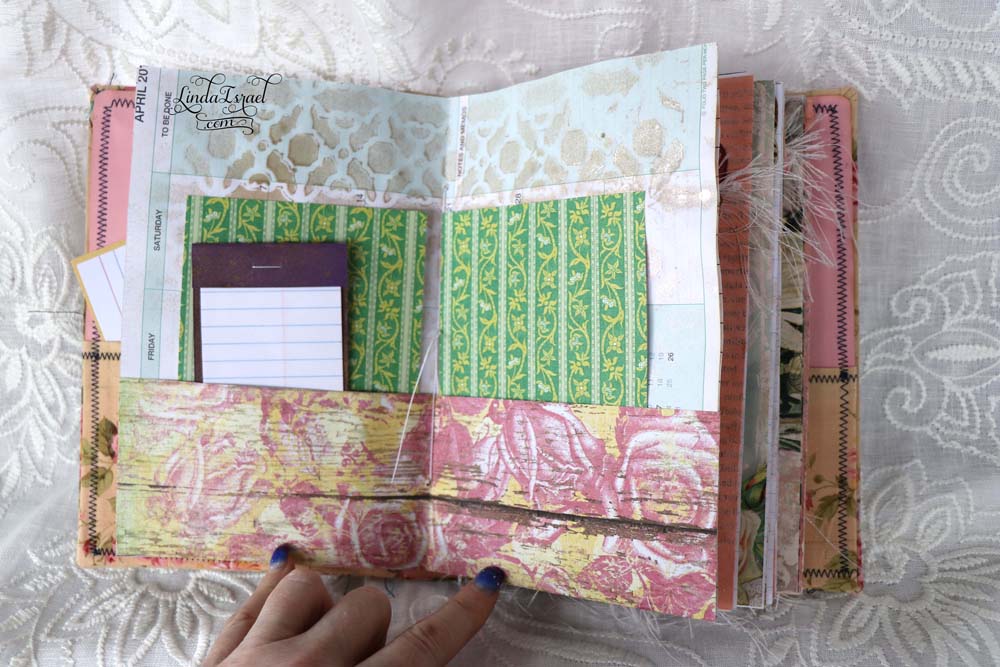
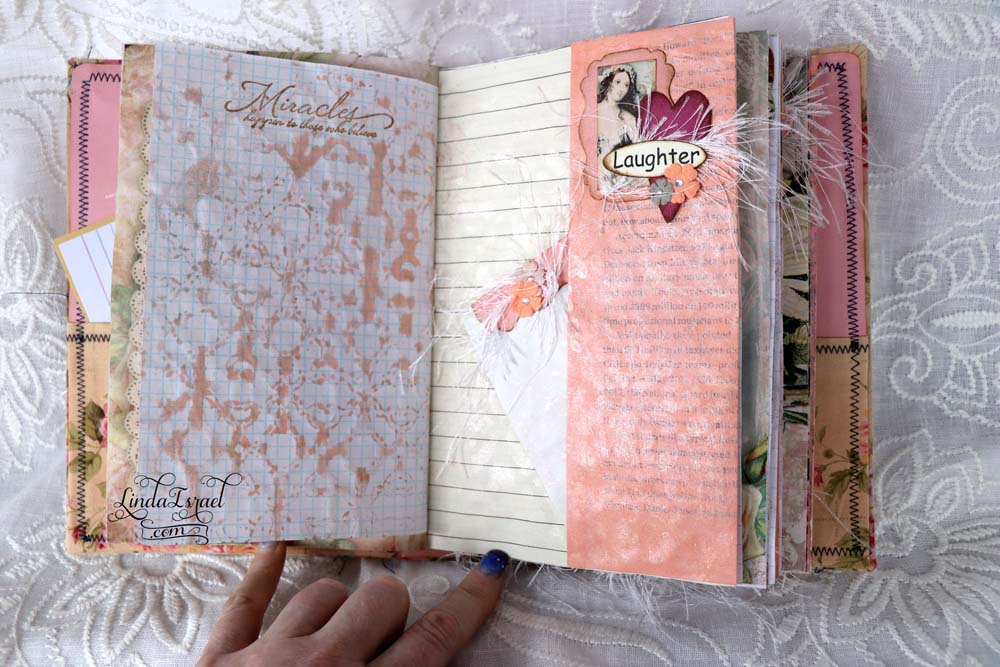
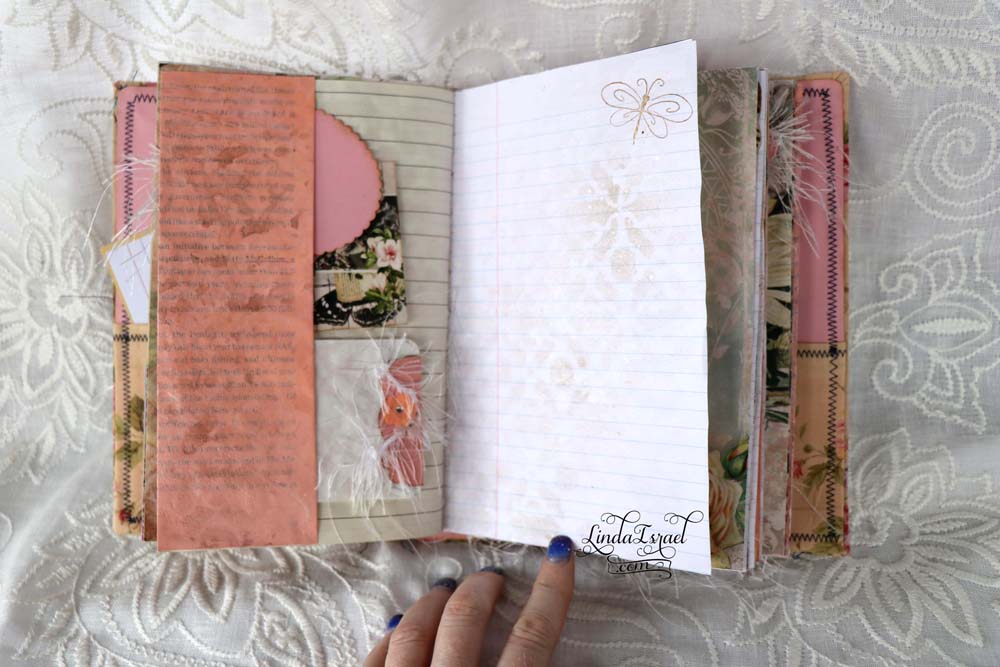
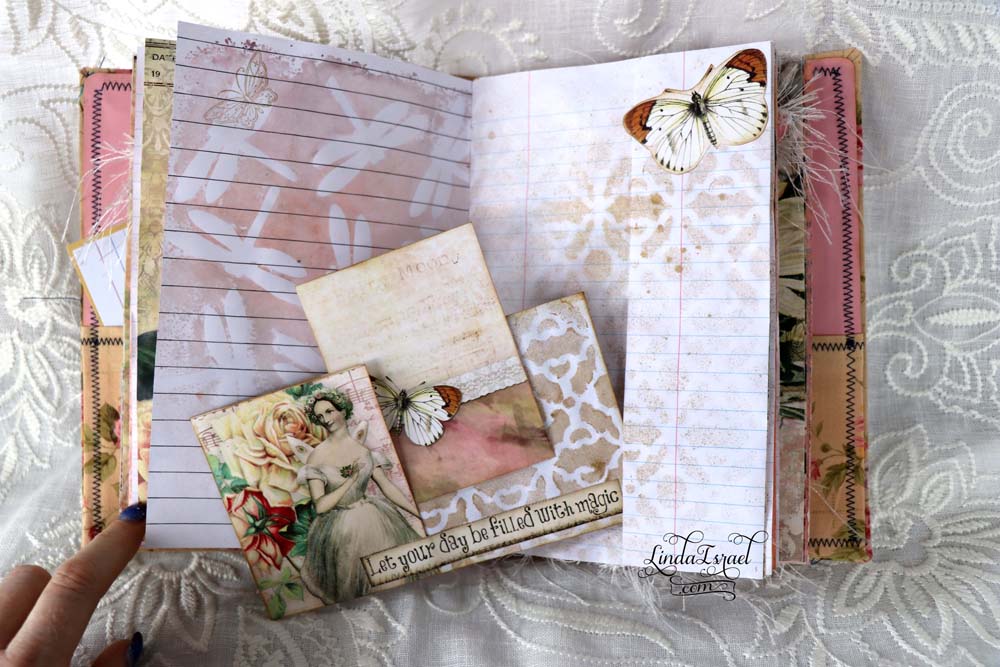
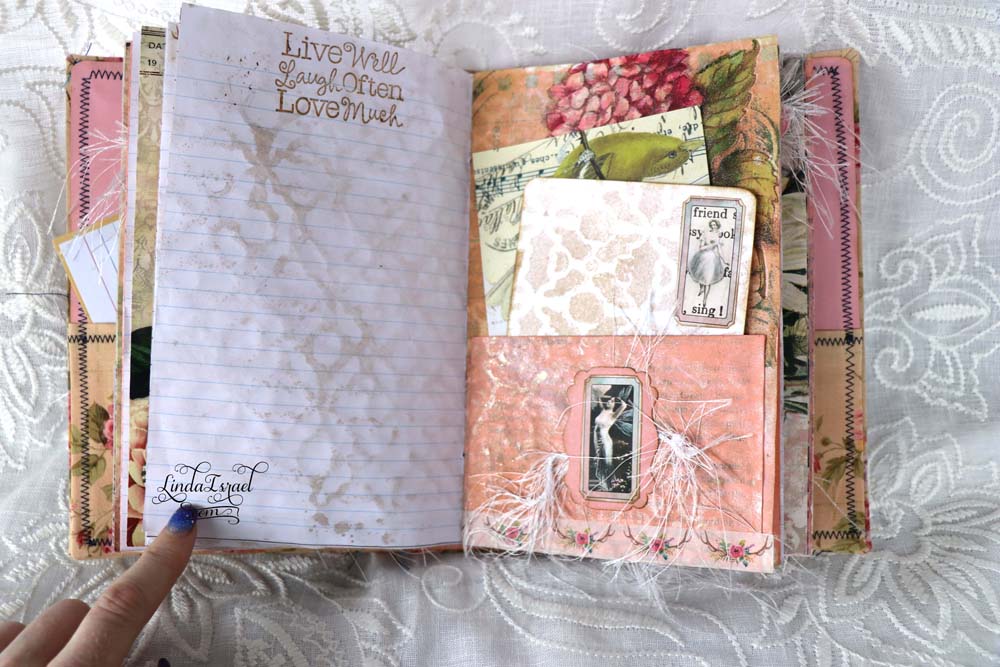
For the past month, I have been sharing tutorials on making a Fairy Garden Junk Journal on my blog and YouTube. Today I’m sharing a Fairy Garden Junk Journal Cover Tutorial to show how I put the complete journal together. Using fabric, chipboard, cardstock and other supplies I show how to make a cover for the Fairy Garden Junk Journal.
Video showing the Fairy Garden Junk Journal Cover Tutorial.
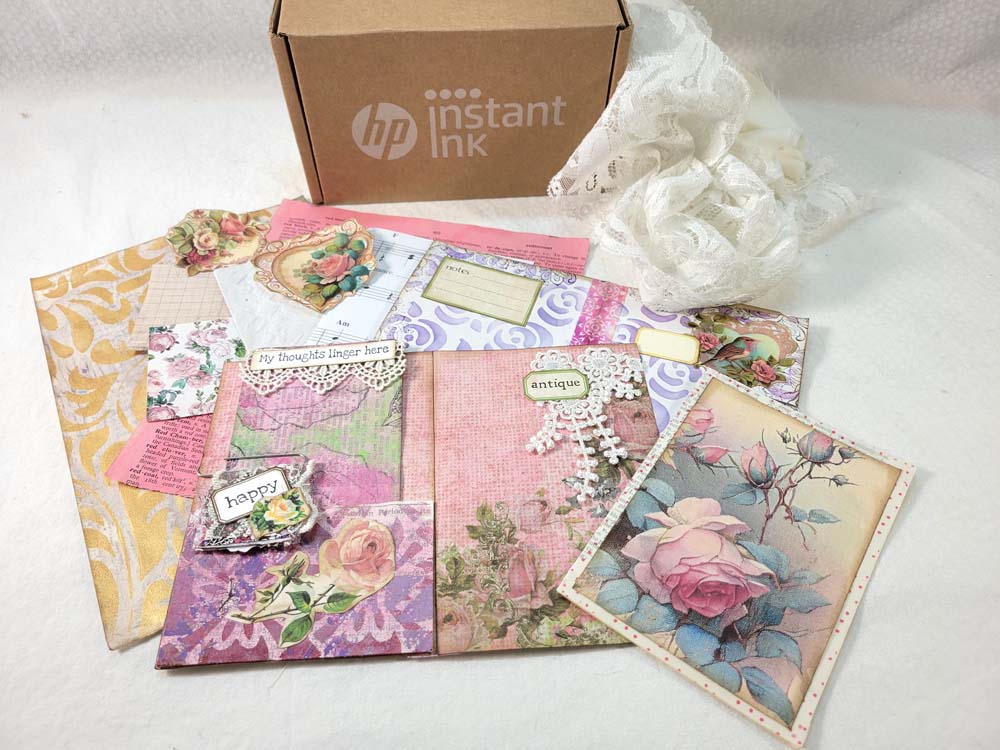
Supplies used throughout the Fairy Garden Junk Journal
- Fairy Garden Domino images from Calico Collage
- Journal Kit – Fairy Garden from Calico Collage – For the journal cards and the small strip used on the ticket.
- Aleene’s Tacky Glue
- Tim Holtz Distress ink, Vintage Photo
- Ranger Ink Blending Tool
- Vintage Photo Reinker
- Die cut shapes, Heart, EK Sucess Real Estate Sign Punch, words created inside Silhouette Software and cut on Silhouette Cameo 3.
- Eyelash Yarn
- 7gypsies blank ticket shape
- Paper flowers
- Fiskars Scissors
- Composition Notebook paper.
- Word created inside Silhouette Software and cut on Silhouette Cameo 3.
- Heat tool
- Tattered Angels Glimmer Mist, Taffy, Precious Metals, Kraft, Walnut Gold
- Glue Stick
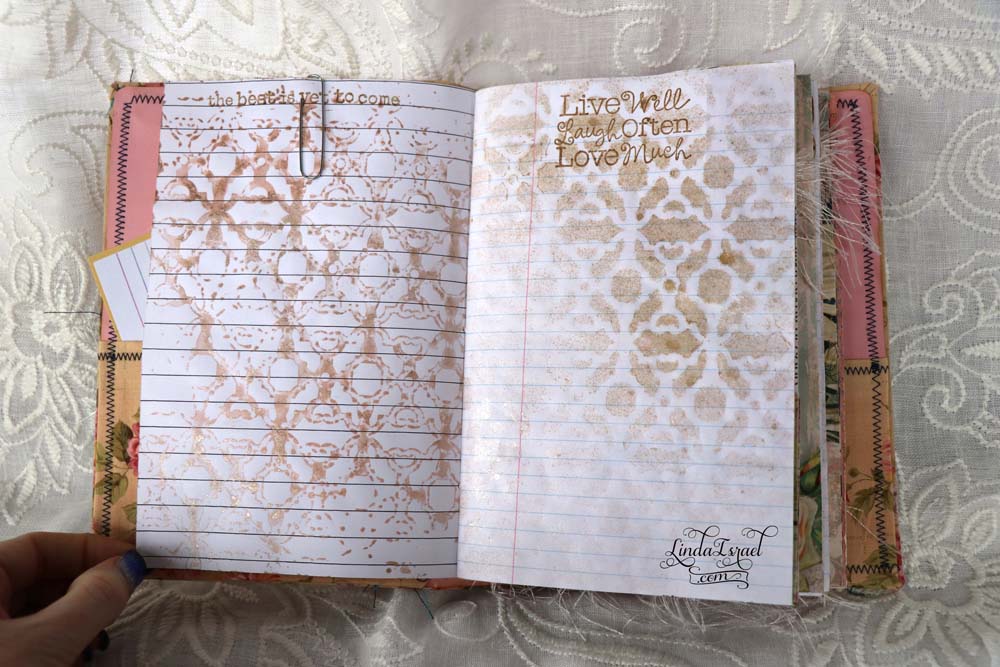
- Lace Stencil
- Envelope
- Book page – my pages were about 9 x 6 inches in size.
- Heat tool
- No-Clog Writing Cap from ScraPerfect
- Paper flowers
- Small Butterfly – Used a paper punch
- Flat Back Rhinestones
- Tweezers
- Faber Castell Black fine point pen
- Anita’s All Purpose Acrylic Paint, Princess Pink and Light Coral
- Paper Plate
- Old gift card or room key card
- Napkin
- Map
- Envelope about 5 x 7 in size opens at the end.
- Words created inside Silhouette Software and cut on Silhouette Cameo 3.
- Washi Tape
- Index cards
- Note cards 4 x 6 in size
- Glam by Tattered Angels, Just Peachy
- Old Planner page.
- Scrapbook paper and scraps of cardstock and notebook paper
- Fiskars Rotary Paper cutter
- Composition Graph Notebook paper.
- Pretty notepad paper
- Chipboard
- Fabric
- Cardstock for inside cover
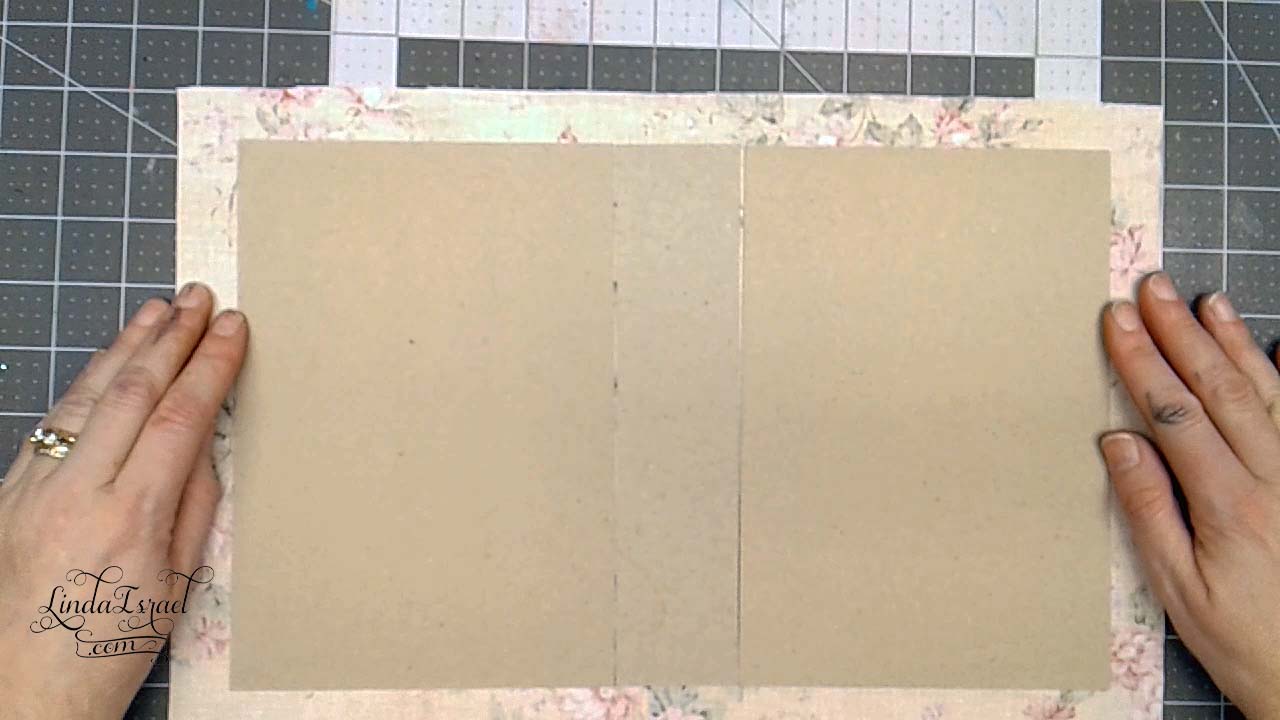
When making a cover for a junk journal I like to measure the pages. Once I know that measurement I add about half an inch to the height and width. This is the size I will cut two pieces of chipboard. For the spine I measure how thick the pages are stacked together and add just a little for growth inside the journal, in this case, it was about 1.5 inches wide. Chipboard can be found in items around your home like cereal boxes, old printer boxes or you can purchase from my shop.
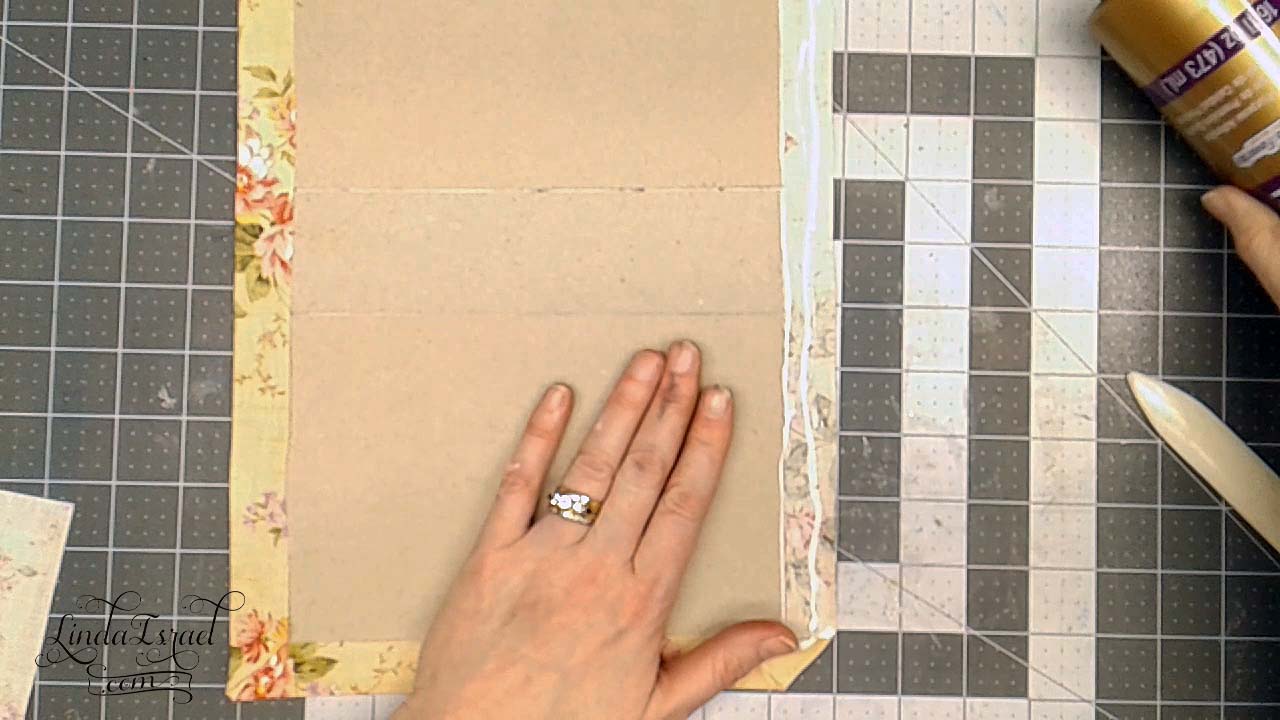
The fabric is then laid out with the chipboard pieces laid on top to determine how big to cut the fabric. I like to cut it about 1 inch bigger all the way around. There needs to be enough fabric to wrap around the edge of the chipboard on all sides when the three pieces of chipboard are laid side by side.
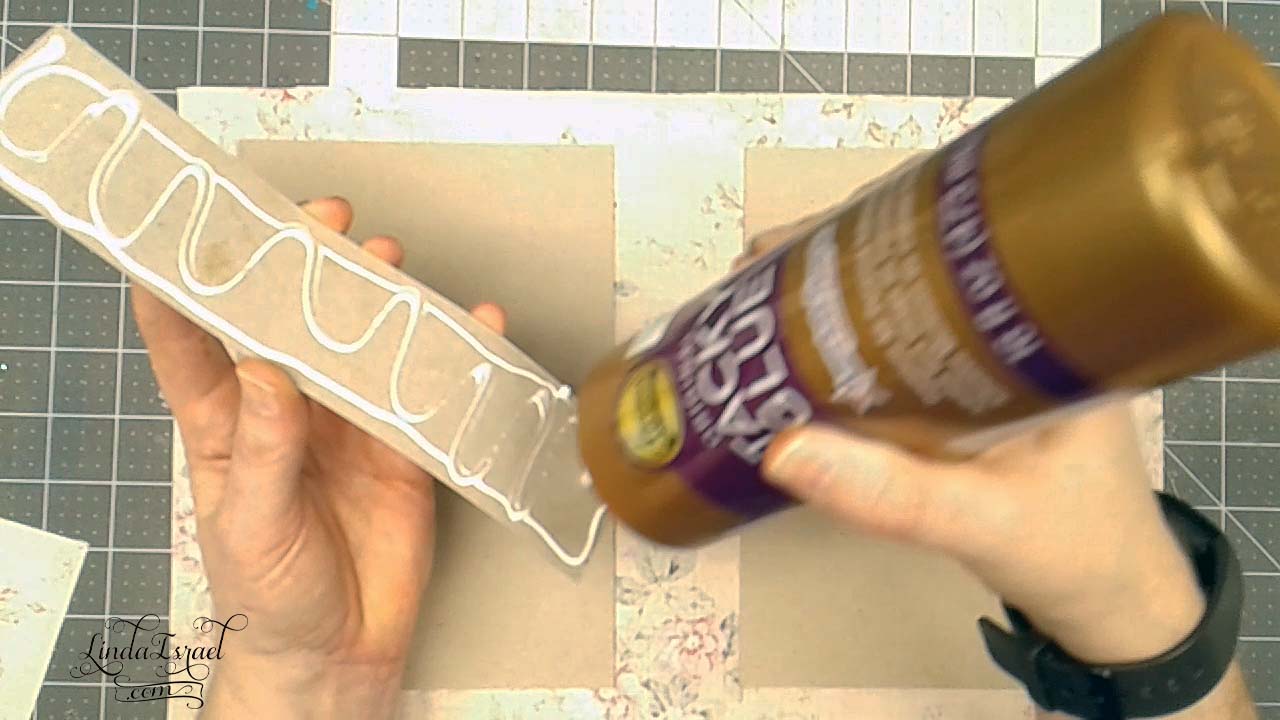
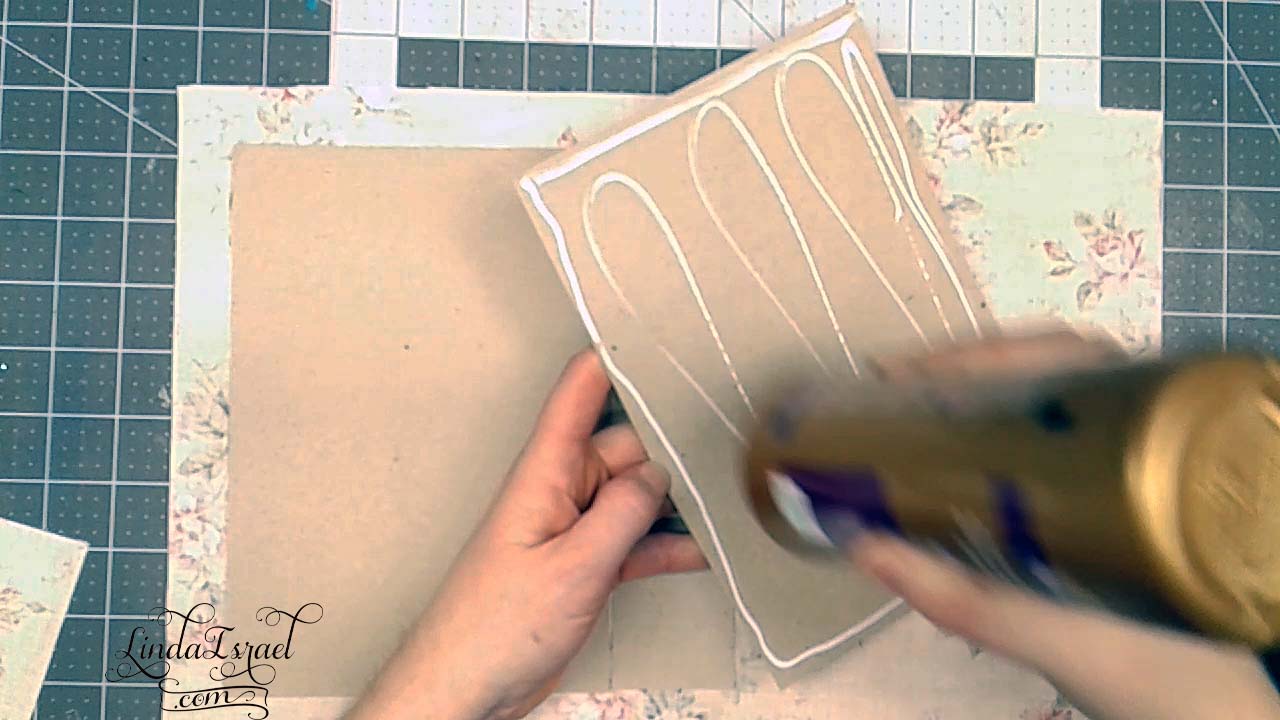
Using Aleene’s Tacky Glue while the fabric is on a non-paper worksurface start with the spine and apply a liberal amount of glue. Use a bone folder to smooth out the glue on the chipboard side. If you try to smooth the glue on the fabric side it will wrinkle and bunch. Go slow and smoothly. Next, apply glue to the other two pieces in the same manner.
Wrap the fabric over to the inside. I like to start with the corners. I don’t cut I just fold inside. Then fold the sides and top to the inside. Let the glue dry a little before taking the cover to the sewing machine. Sew a zig-zag stitch around the outside edge of the cover.
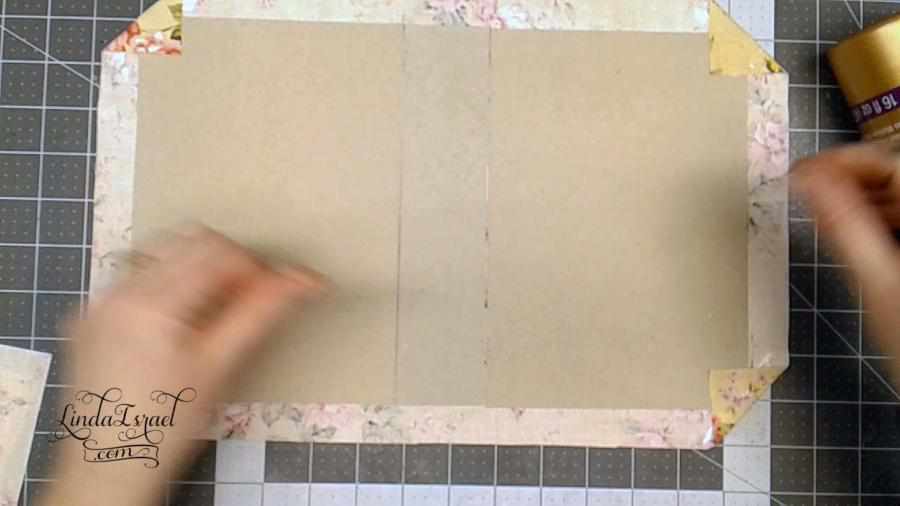
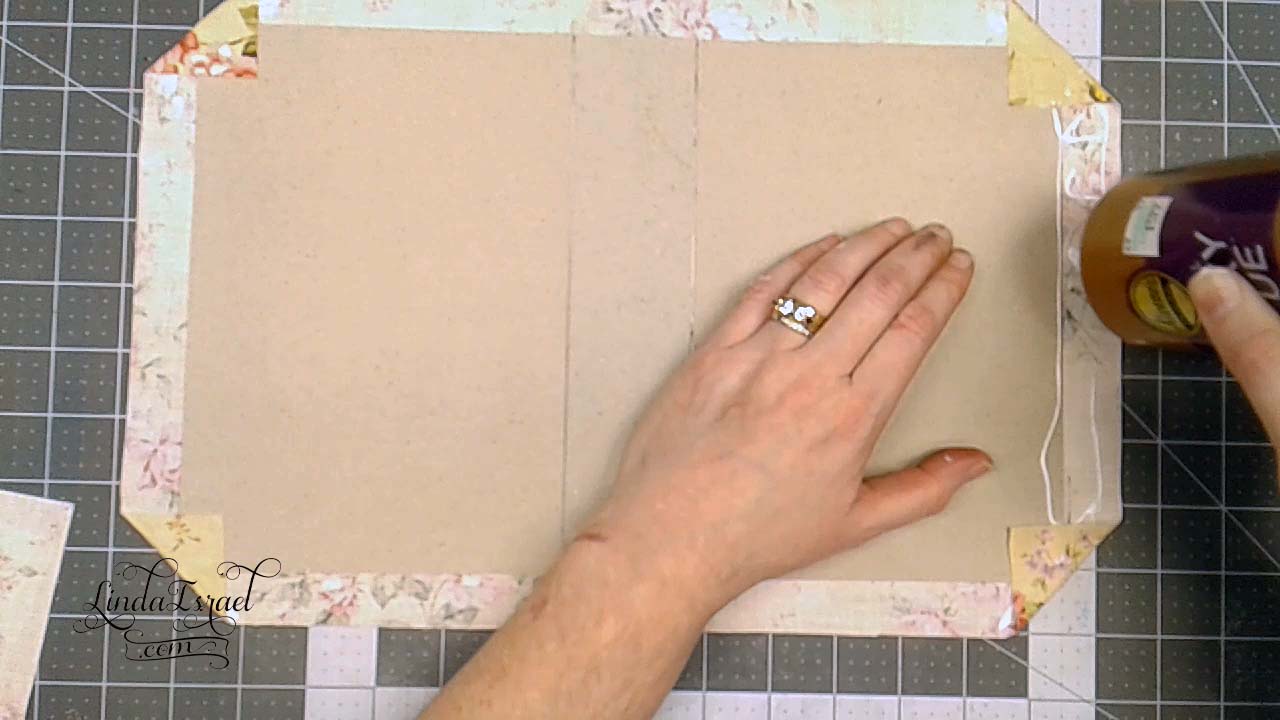

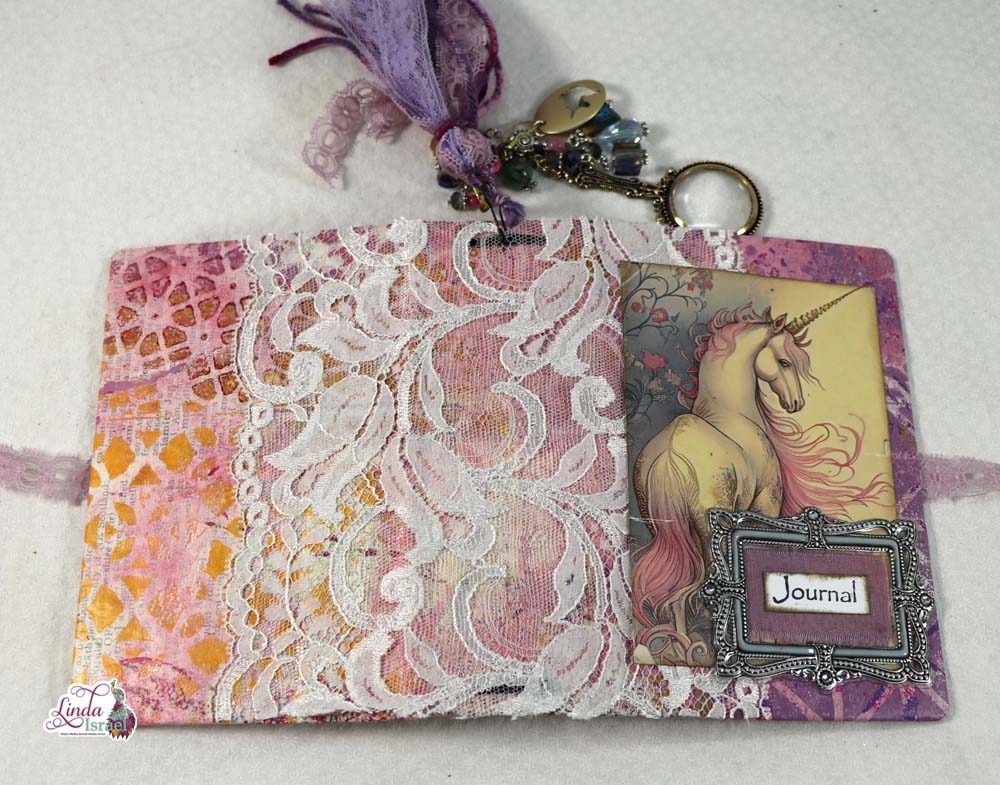
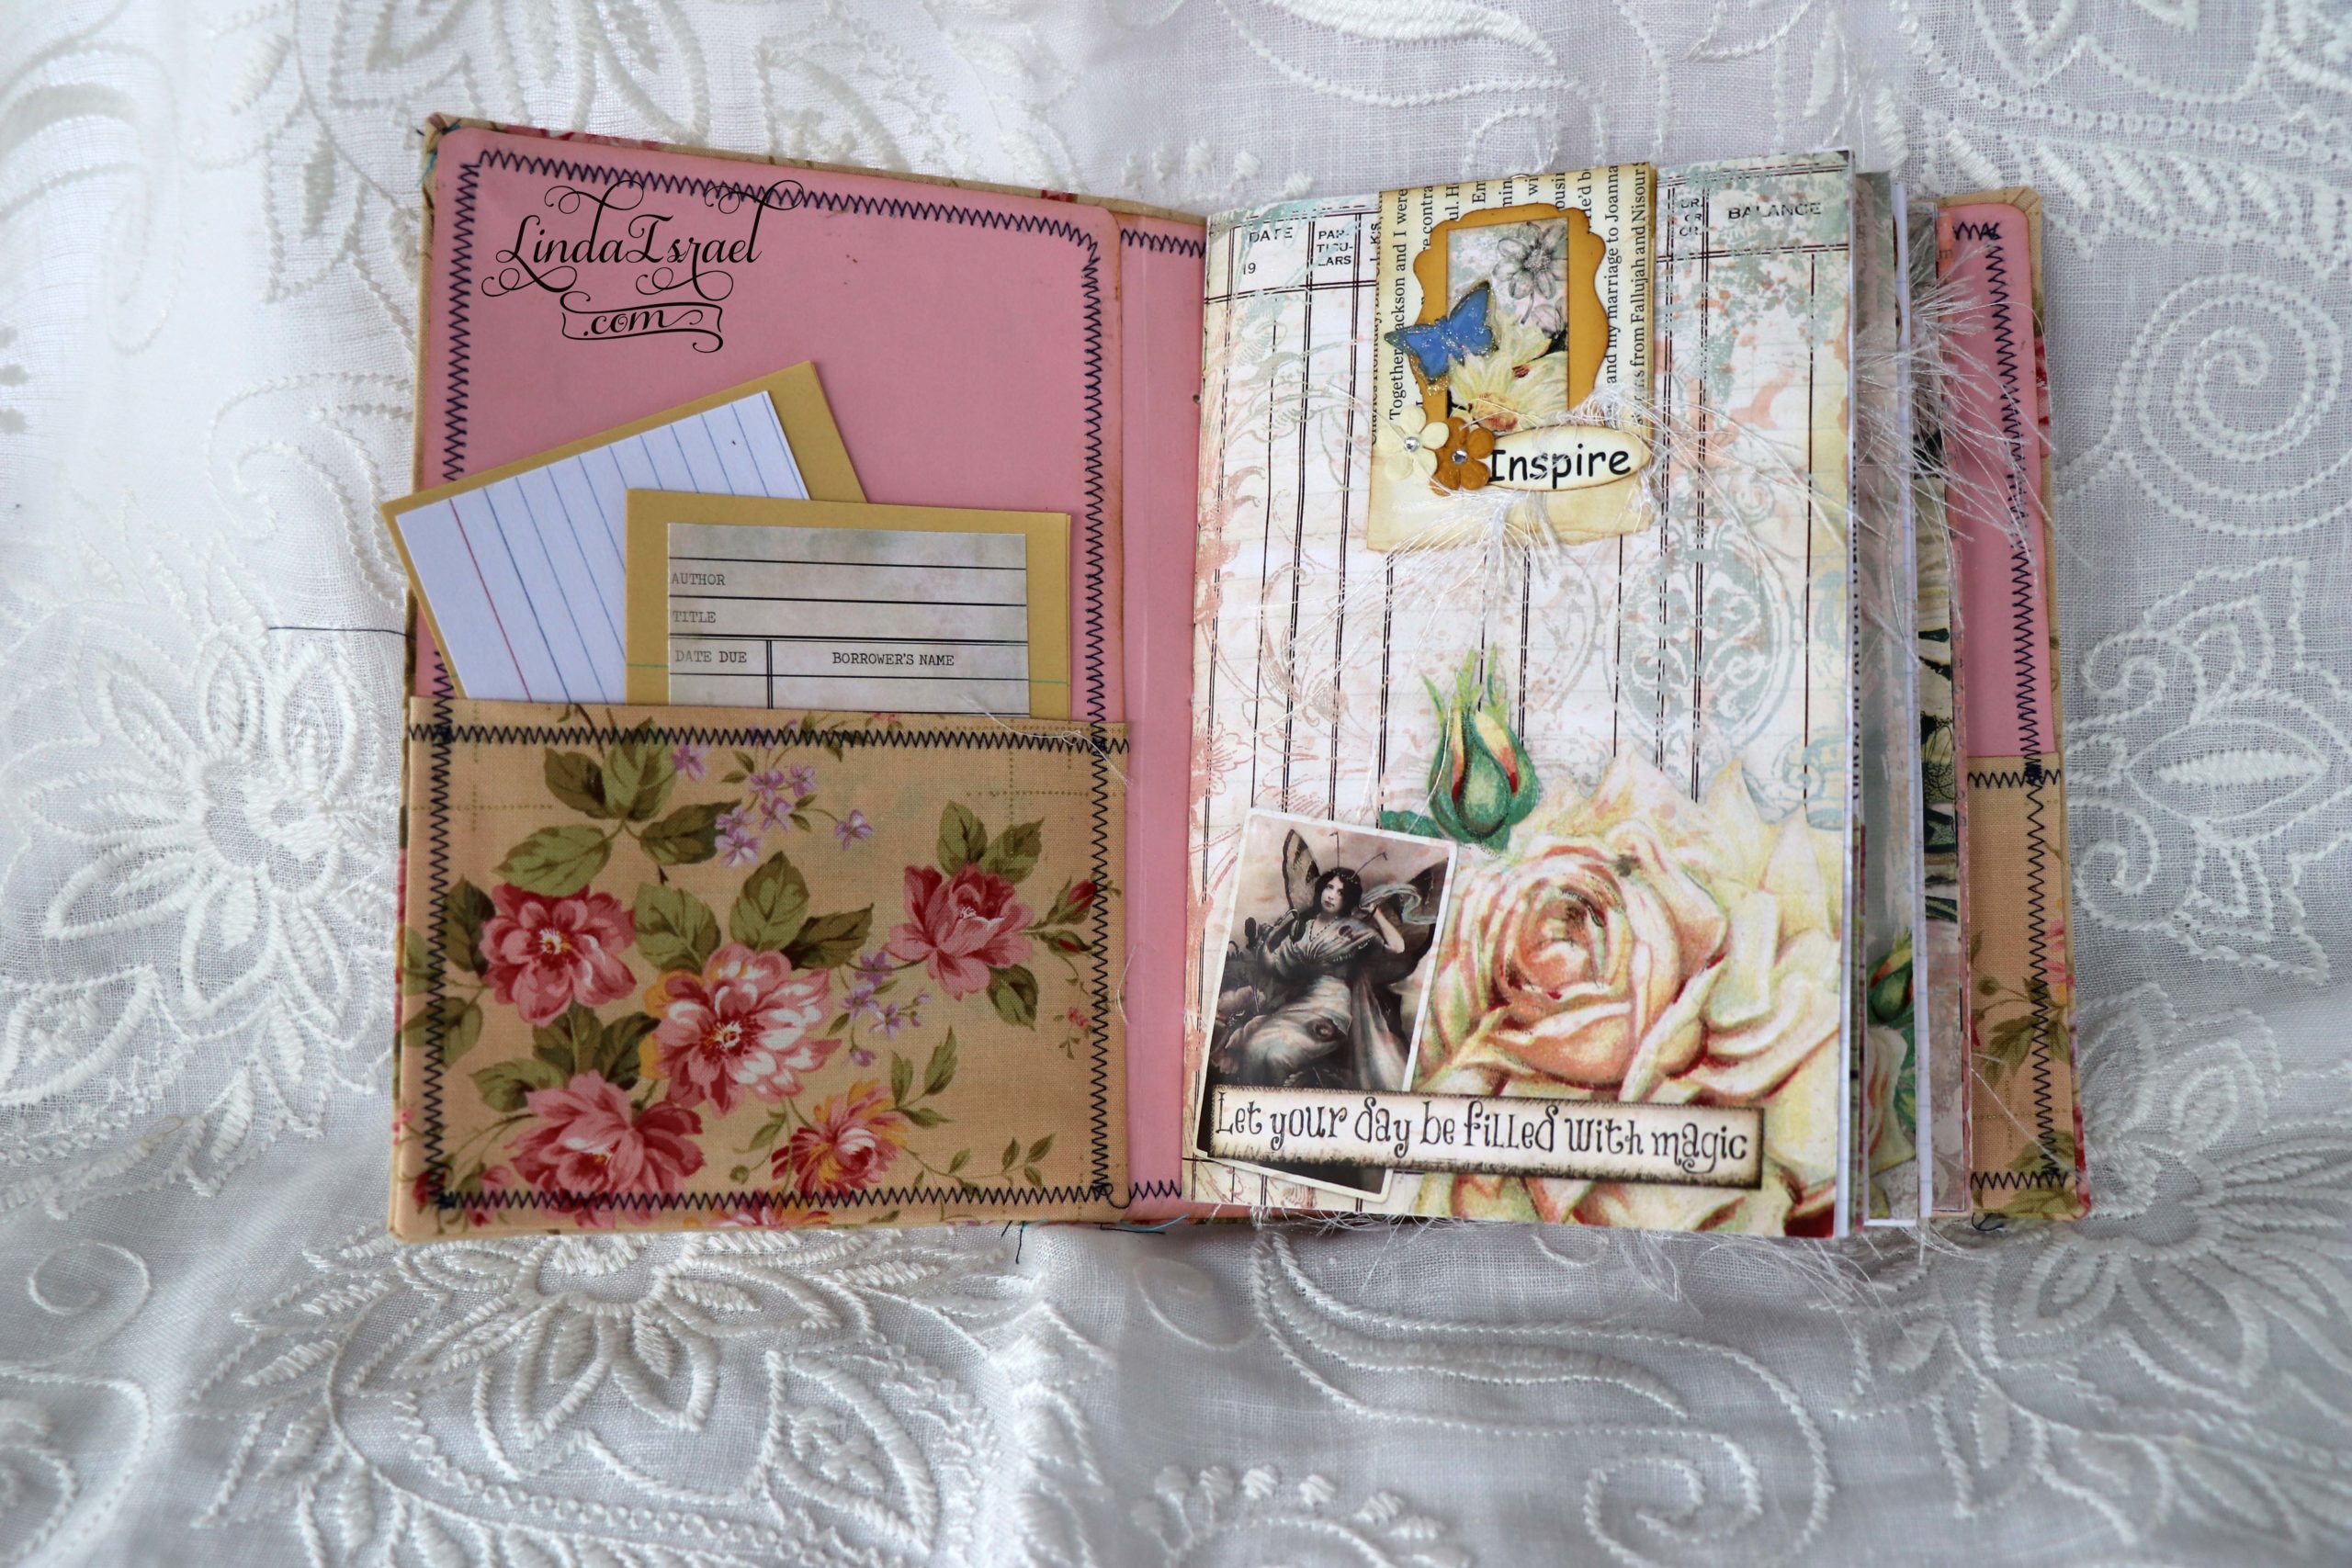
Cut cardstock to be about a quarter of an inch smaller than the cover measurements. These will then have leftover fabric placed on the bottom of the inside and back cover. Lay the spine cardstock piece first and make sure to use a bone folder in the bends of the cover to smooth the glue and get a good bond. Then glue the front and back inside to the cover.
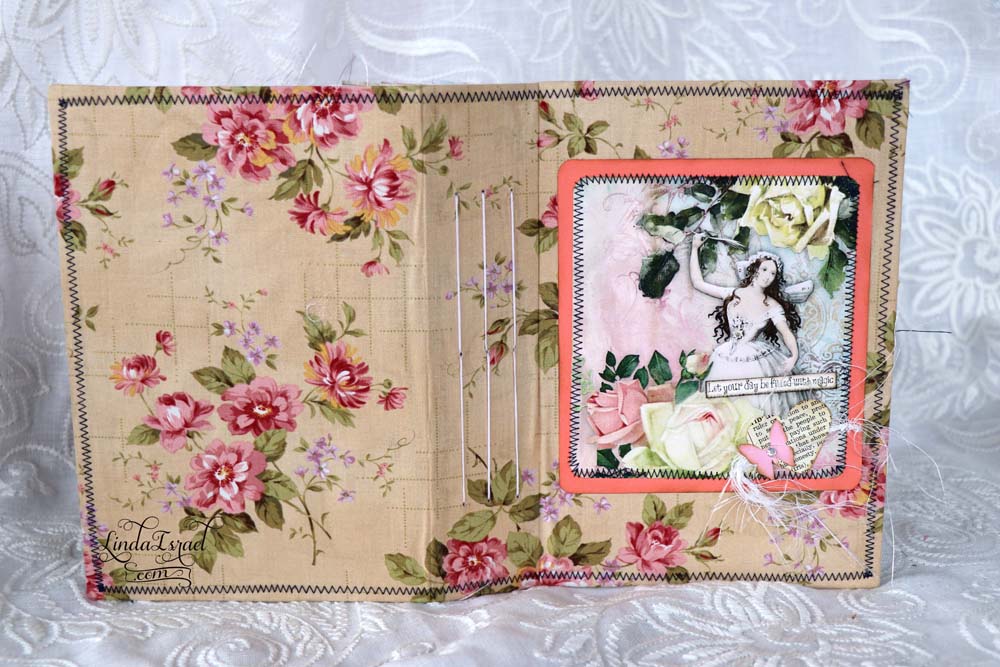
Use a template to mark the hole placement for the three signatures. Punch nine holes in the spine. Punch three holes in the signatures that will correspond to the cover. Bind using a pamphlet stitch. The journal is now complete.
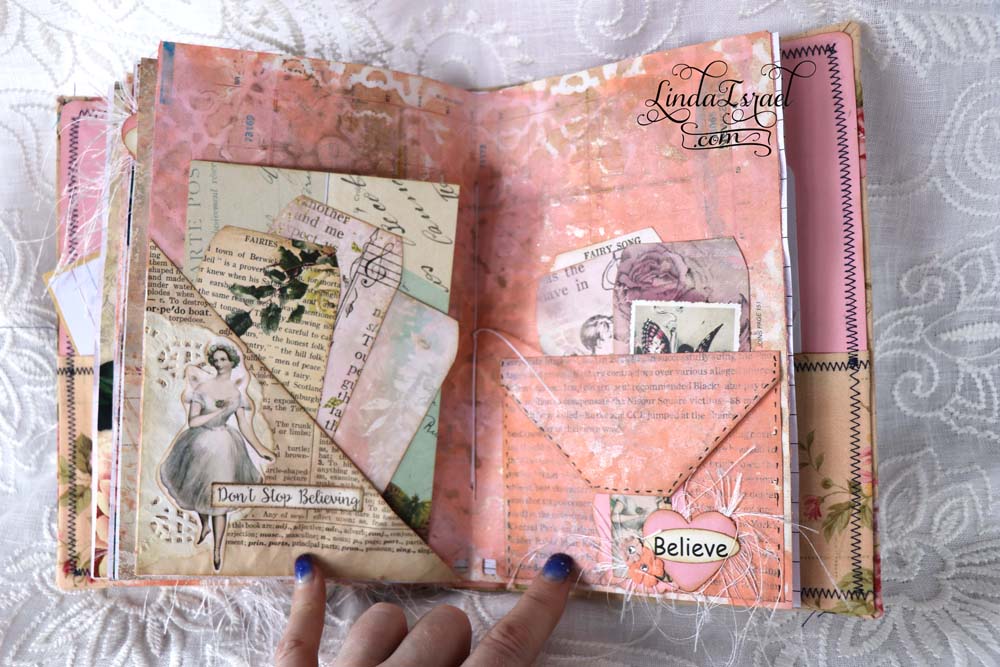
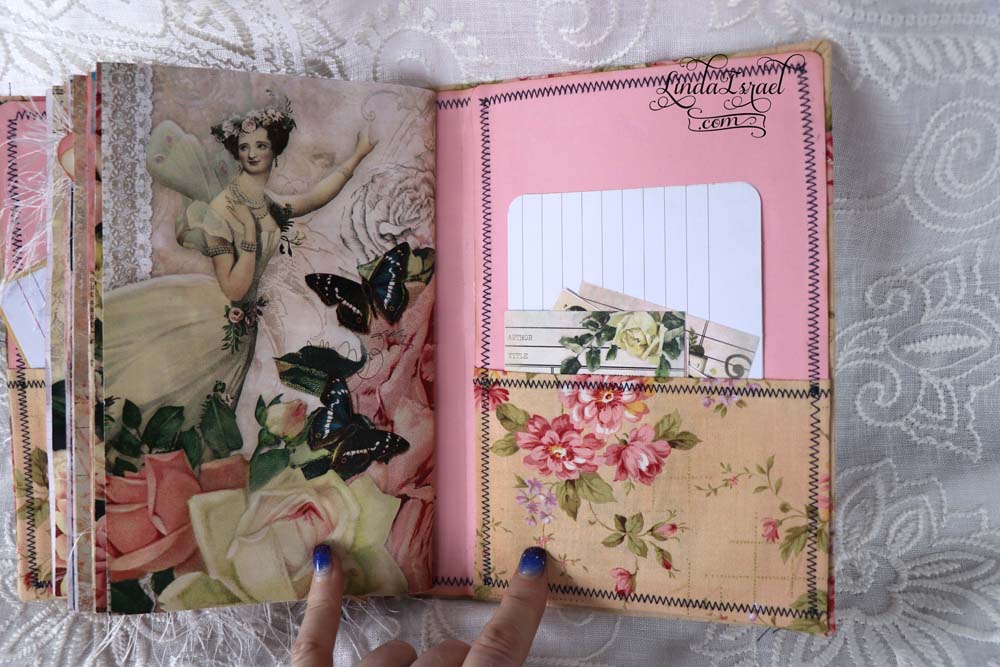
Once you have made a couple of these covers it gets a lot easier and you will be a pro in no time. I really like how this Fairy Garden Junk Journal Turned out.

Make sure to check out the Friendly Junk Journal People Facebook group. Of course, you are welcome to join the Friendly Junk Journal People Facebook group. The group is growing daily and we are a friendly group willing to help each other and encourage each other.

Interested in any of the journals I created? Please feel free to contact me through my Facebook Page.
Here is my shop, I have a lot of items uploaded and add more weekly.
My hope is that I have inspired you to look at those papers in your stash and make your own junk journal.
Keep updated on my posts by following me. Follow my blog with Bloglovin.
Or Follow my Facebook Page or on Instagram for updates that may not be shared on my blog.
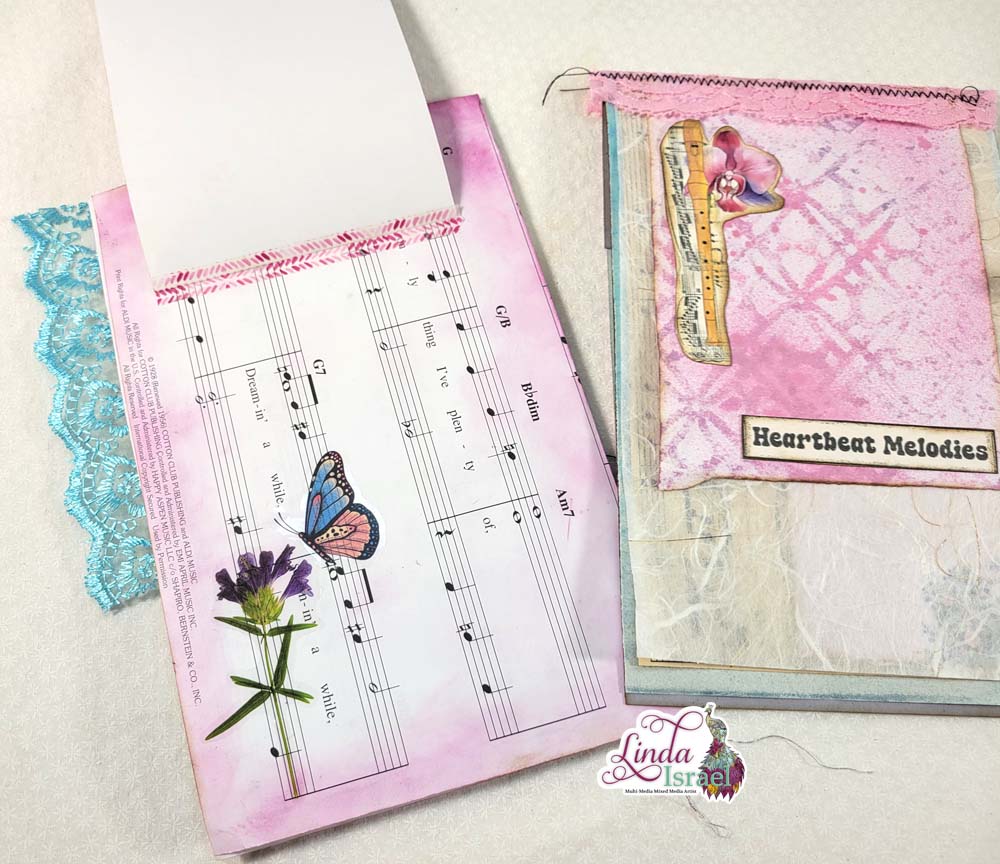
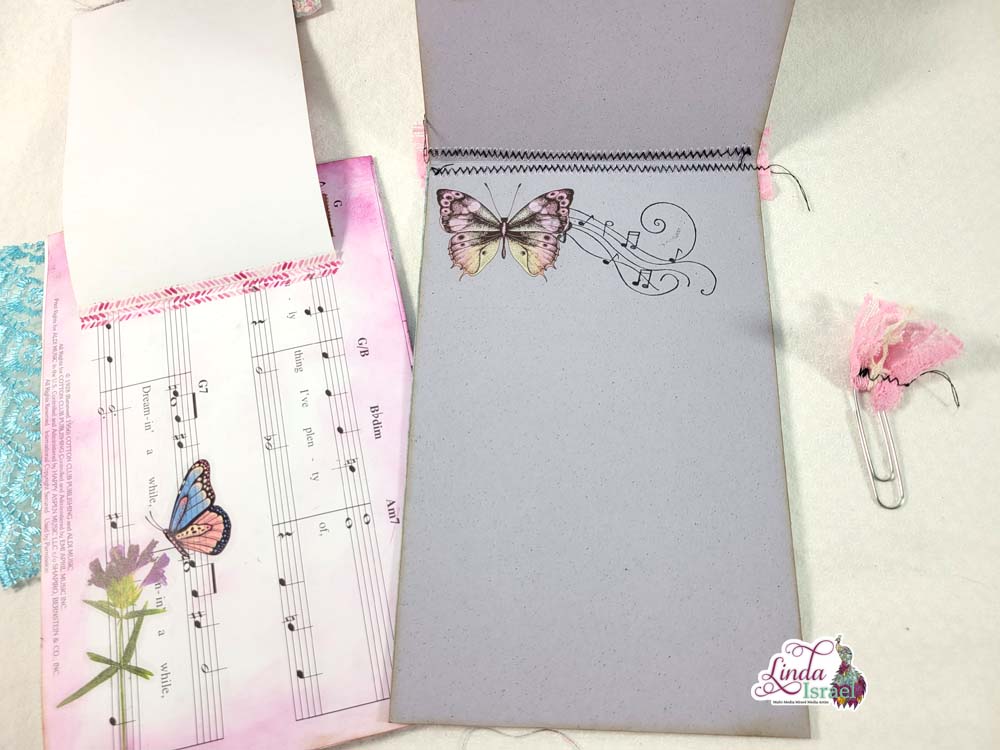
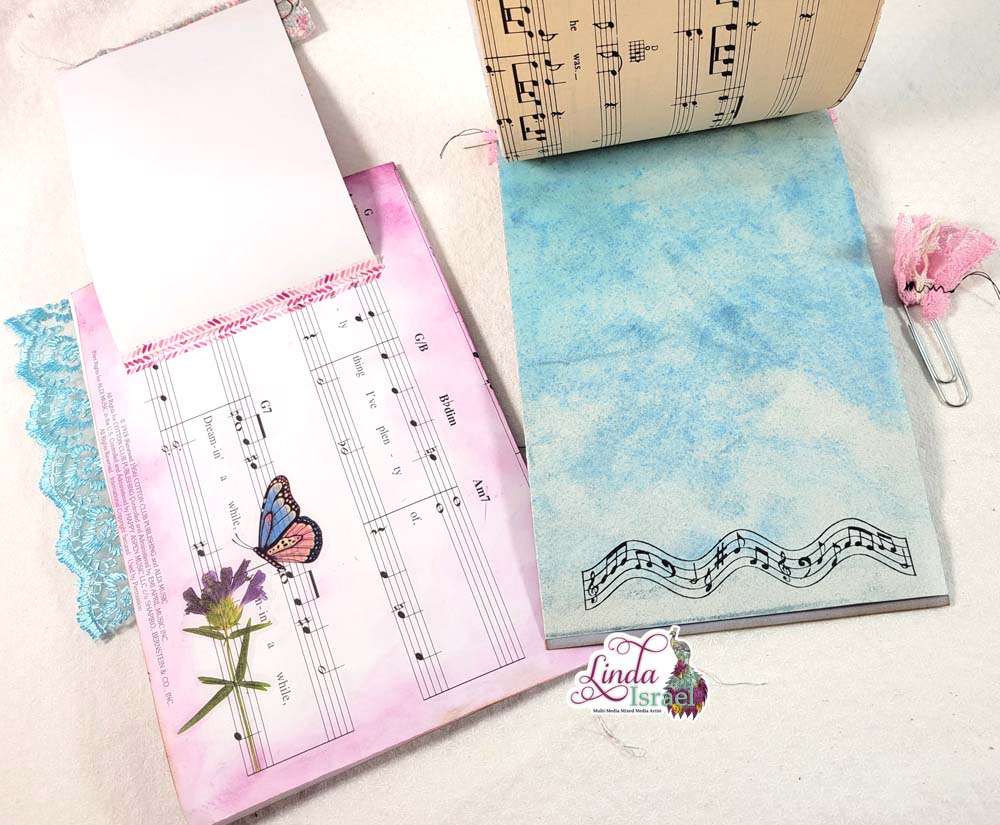
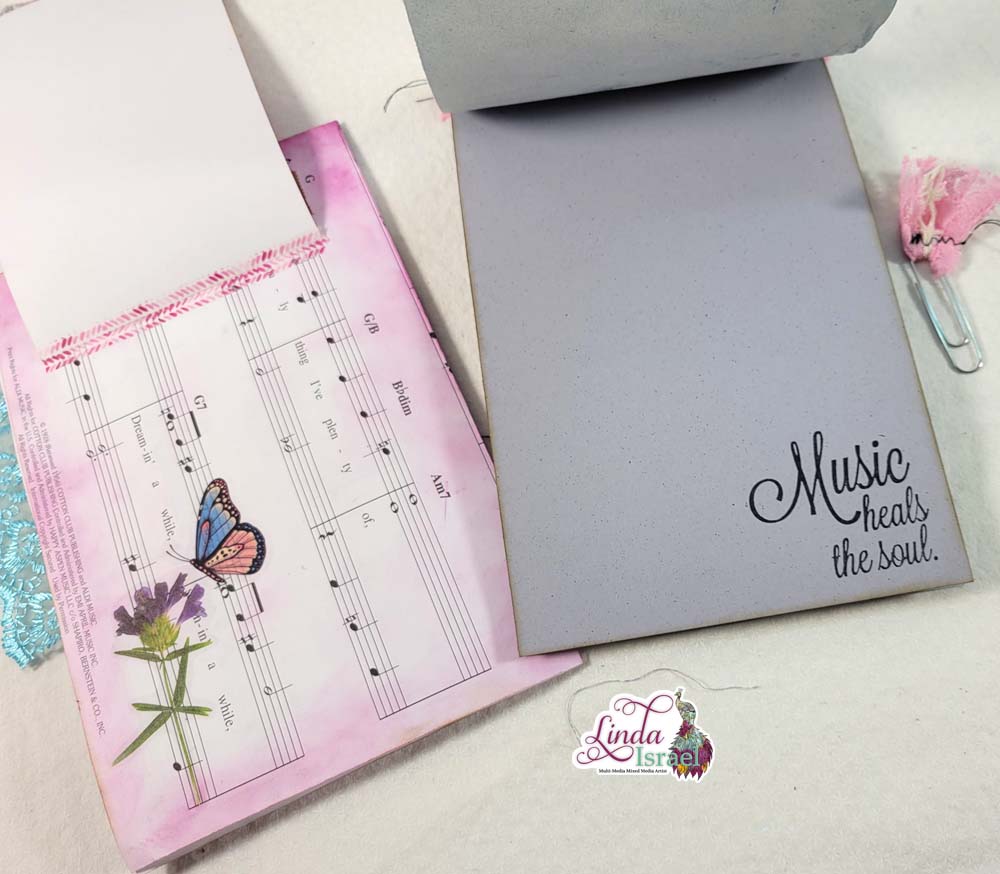
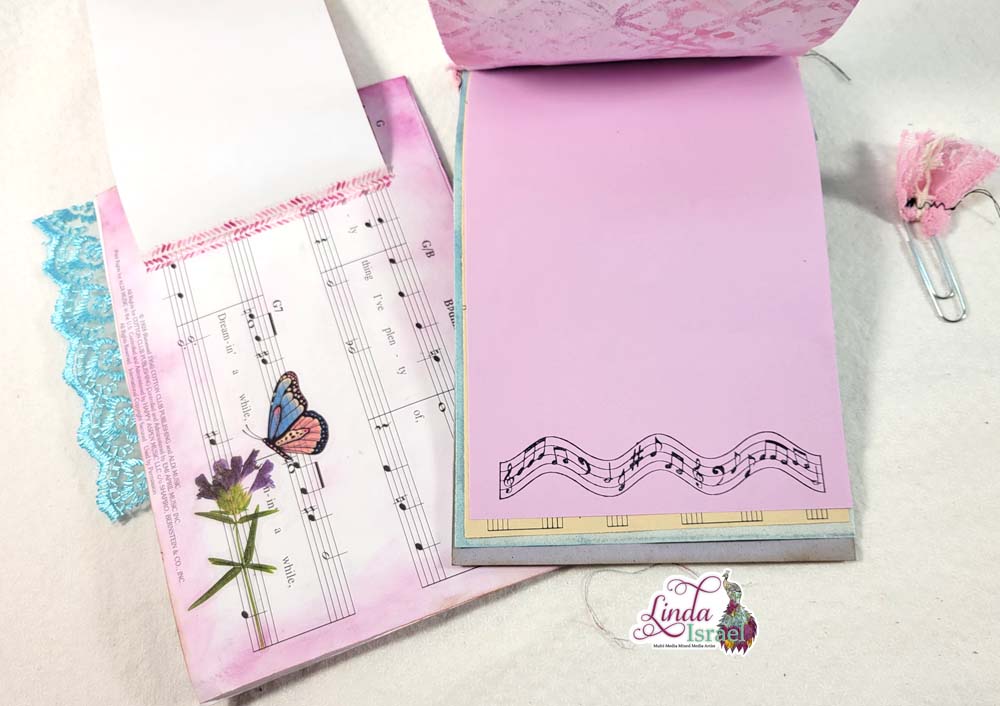
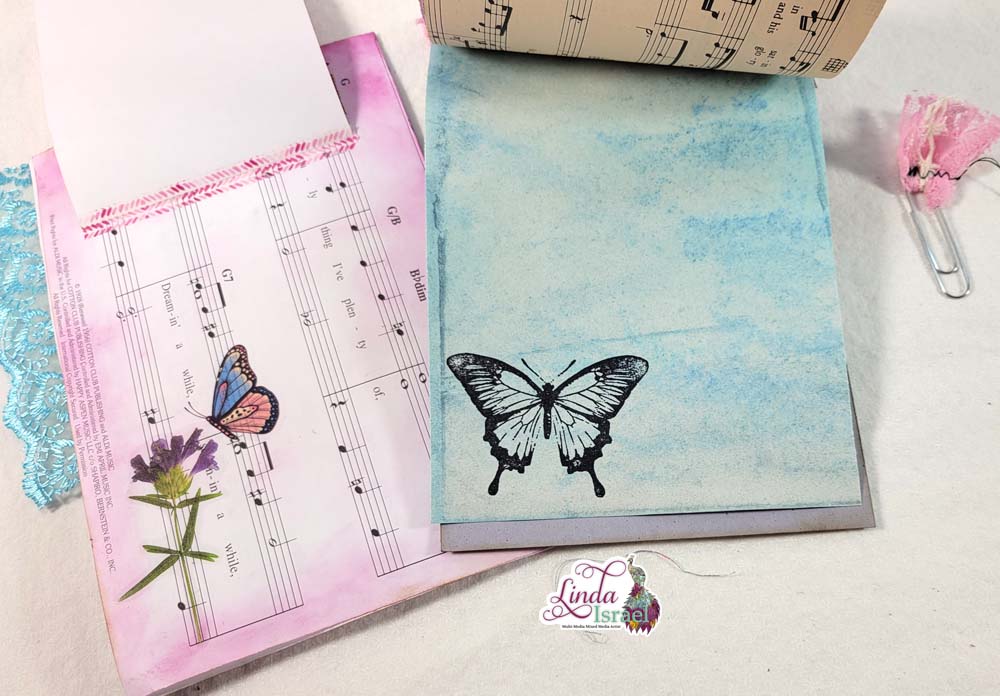
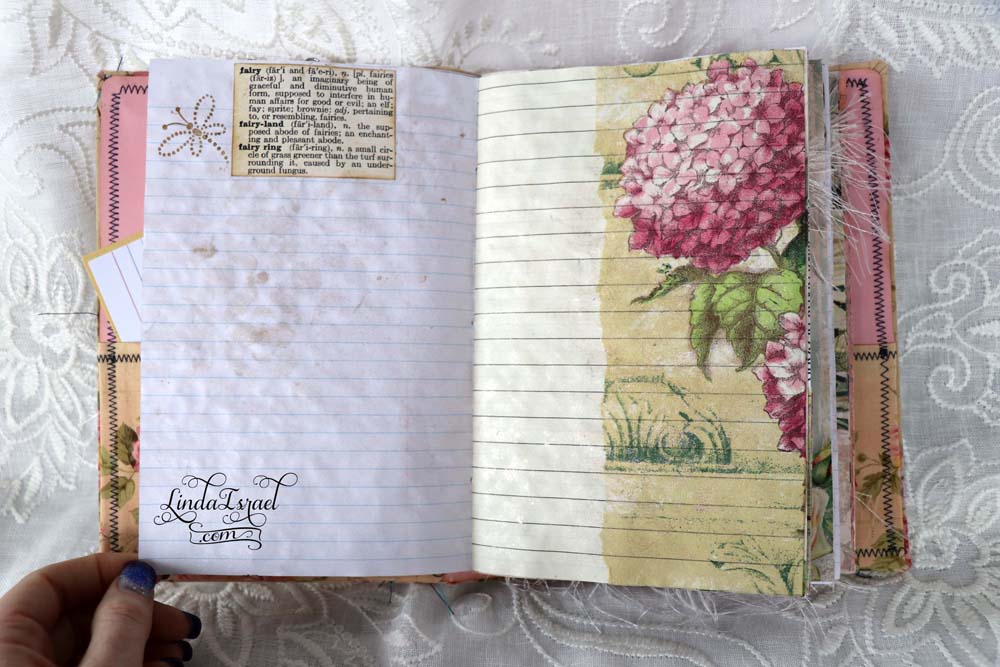
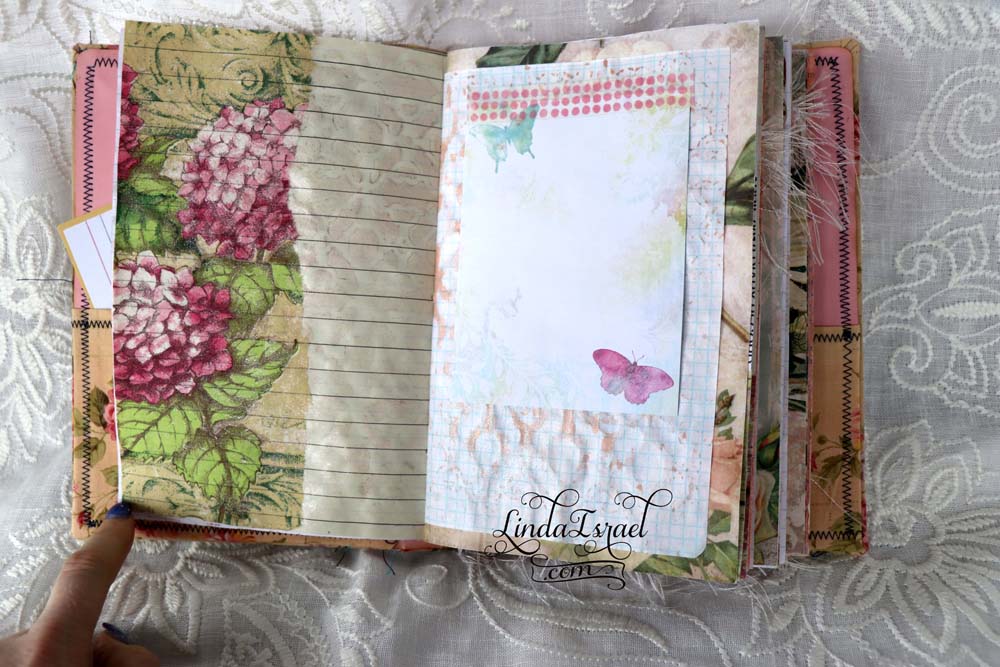
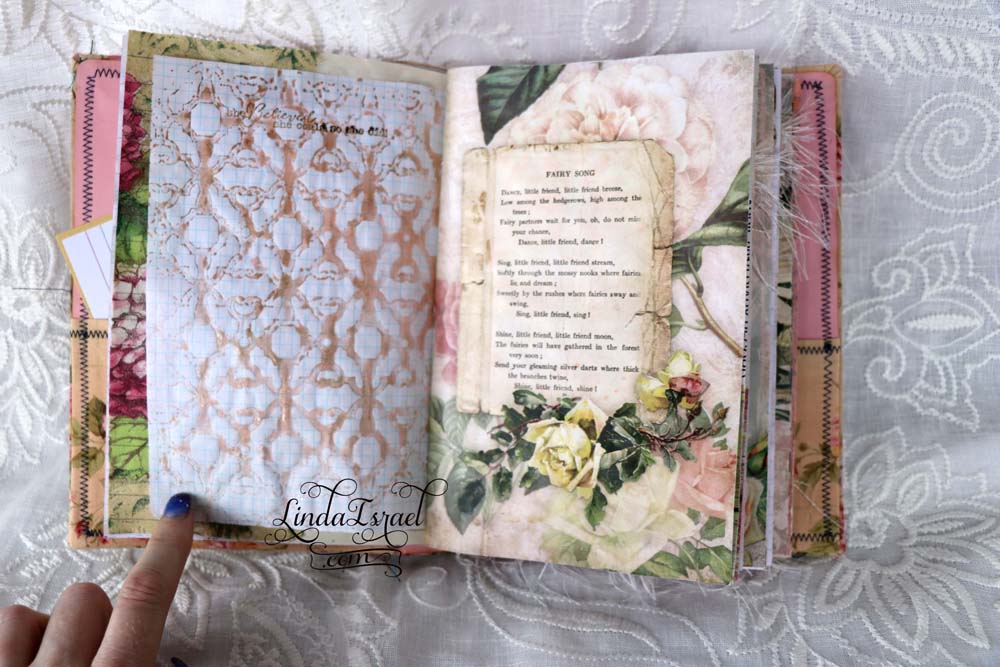
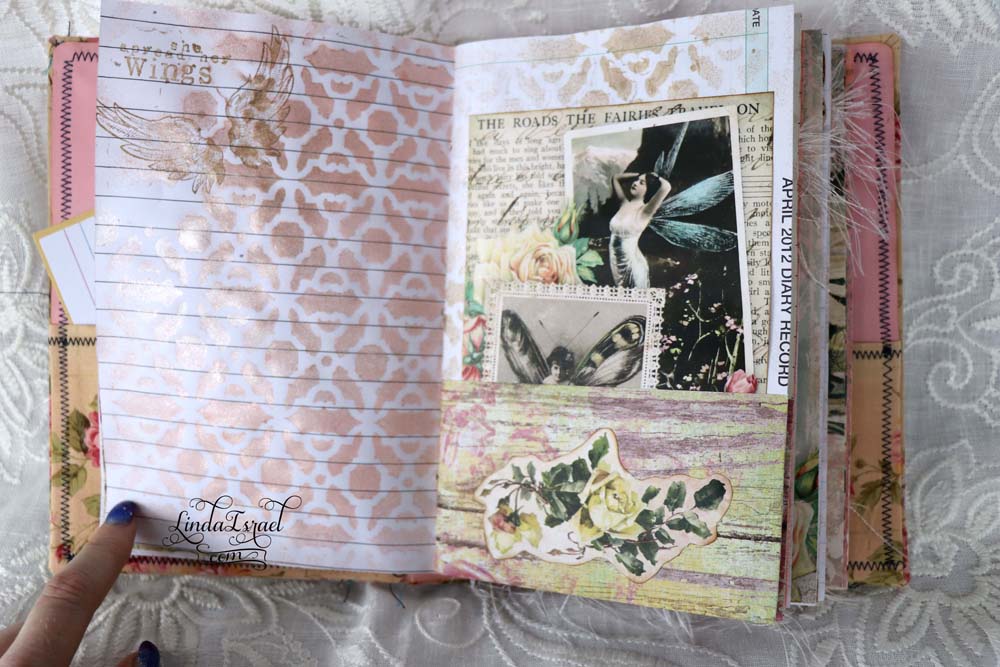
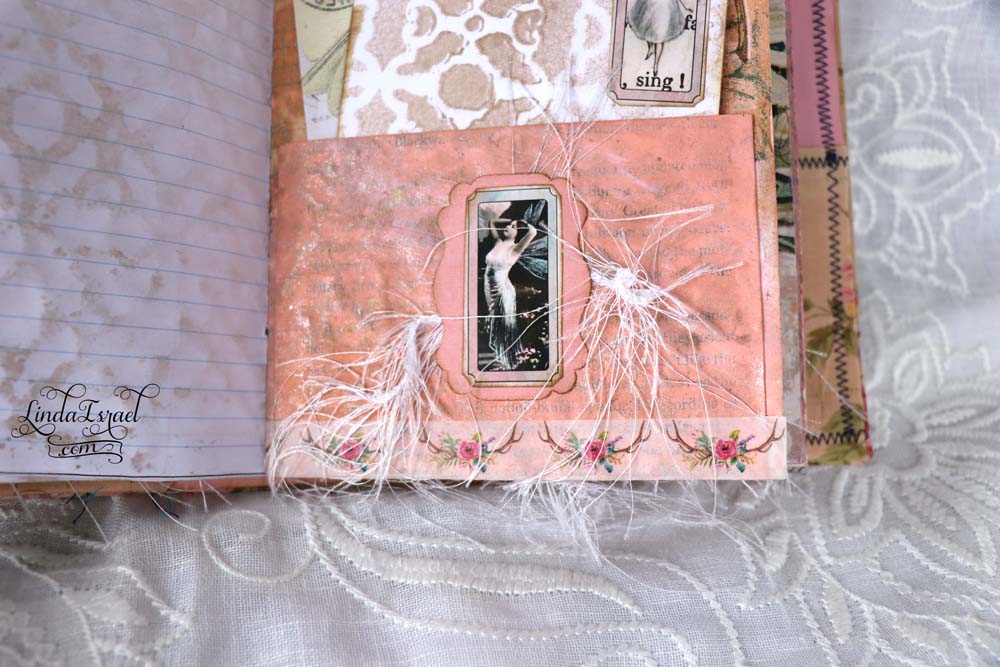
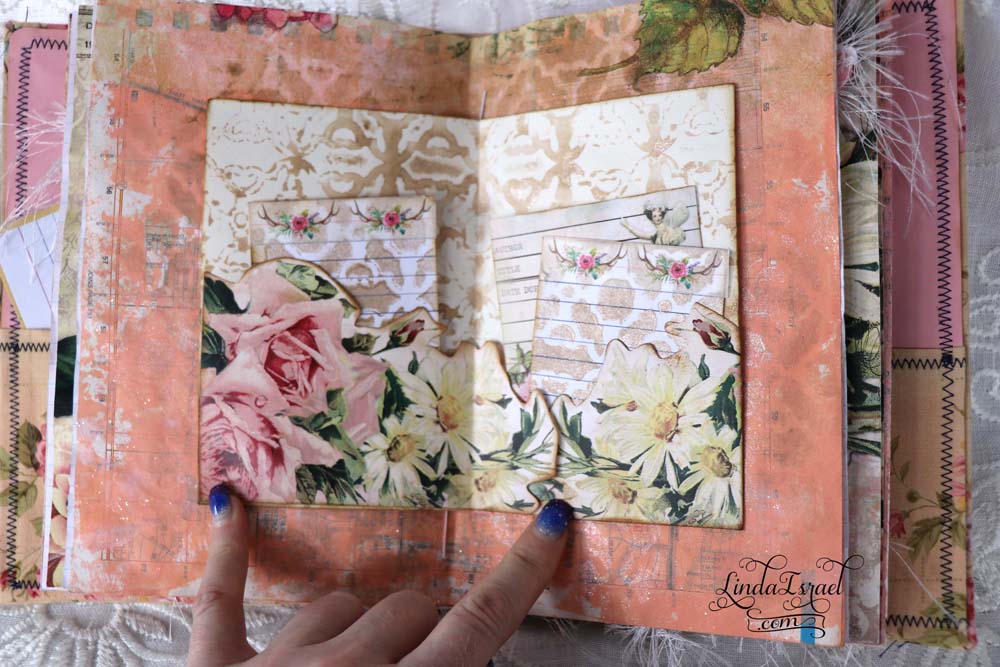
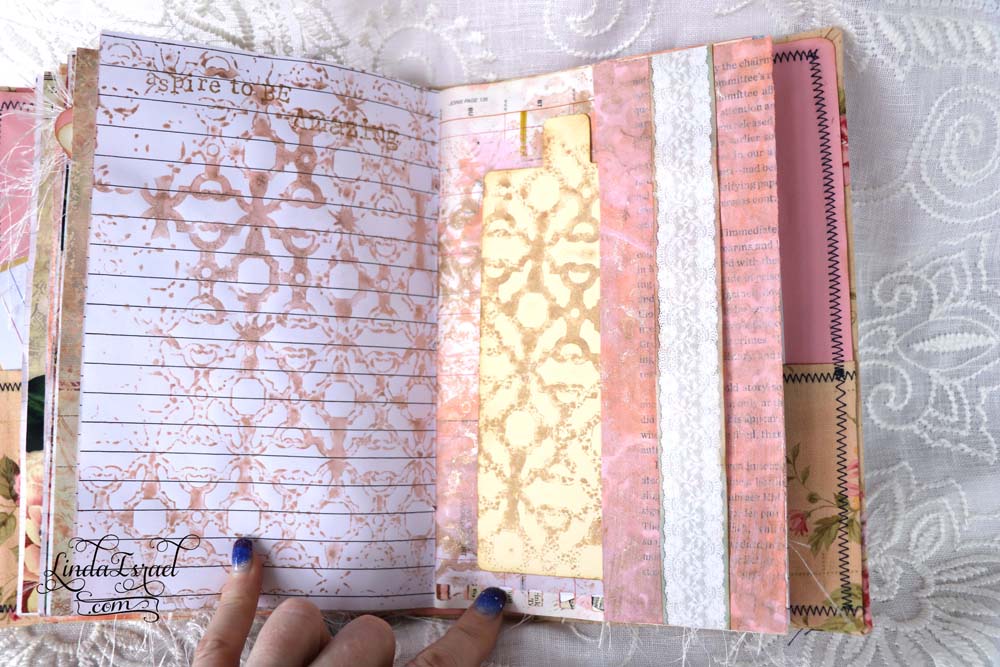
Thanks so much for stopping by my blog today for the Fairy Garden Junk Journal Cover Tutorial and a flip through of the finished journal.