Loaded Envelope Tutorial, Day 5 of 12 Days of Junk Journal Gift Ideas. Today, taking a used envelope, Gel Print scraps and more I show how to make a Loaded Envelope.
Loaded Envelope Tutorial Video.
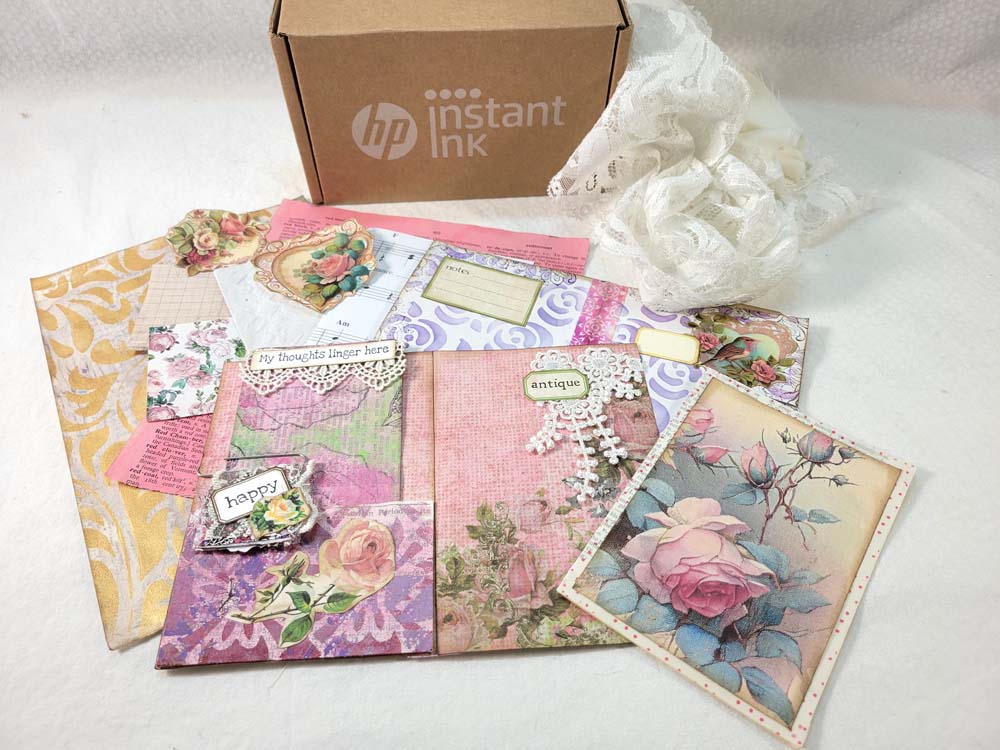
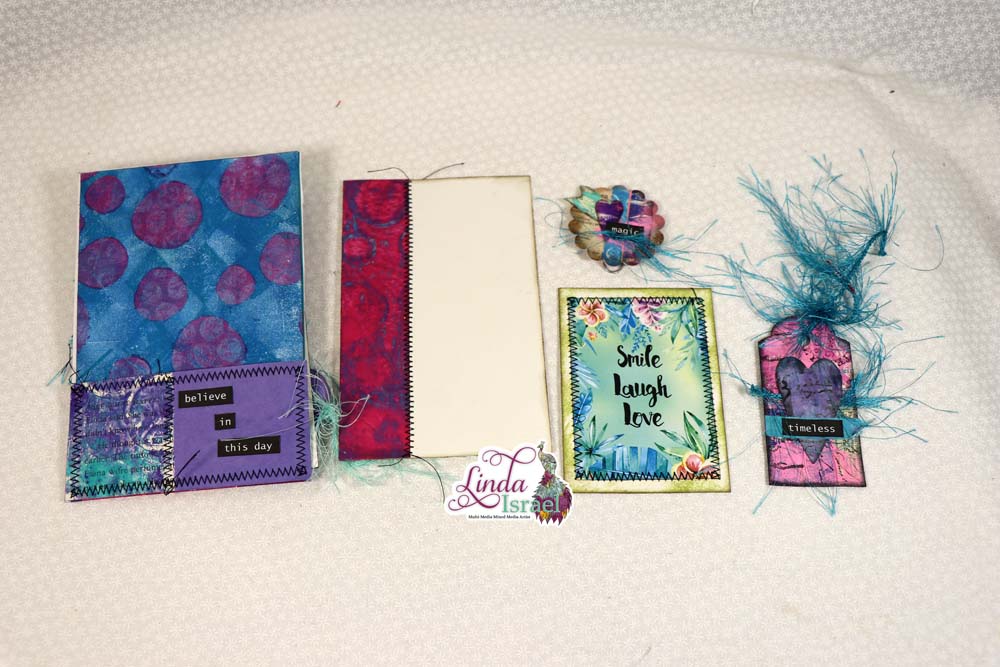
Supplies used for the Loaded Envelope Tutorial.
- Calico Collage Digital images Collage Sheet, Inspirational Words
- Used Envelope
- Gel Prints, Digital Prints or scrapbook paper
- Paint Brush
- Acrylic Paint
- Scraps of Cardstock
- Aleene’s Tacky Glue
- Paper cutter
- Heat tool
- Bone Folder
- Distress Ink, Vintage Walnut
- Blending tool
- Words
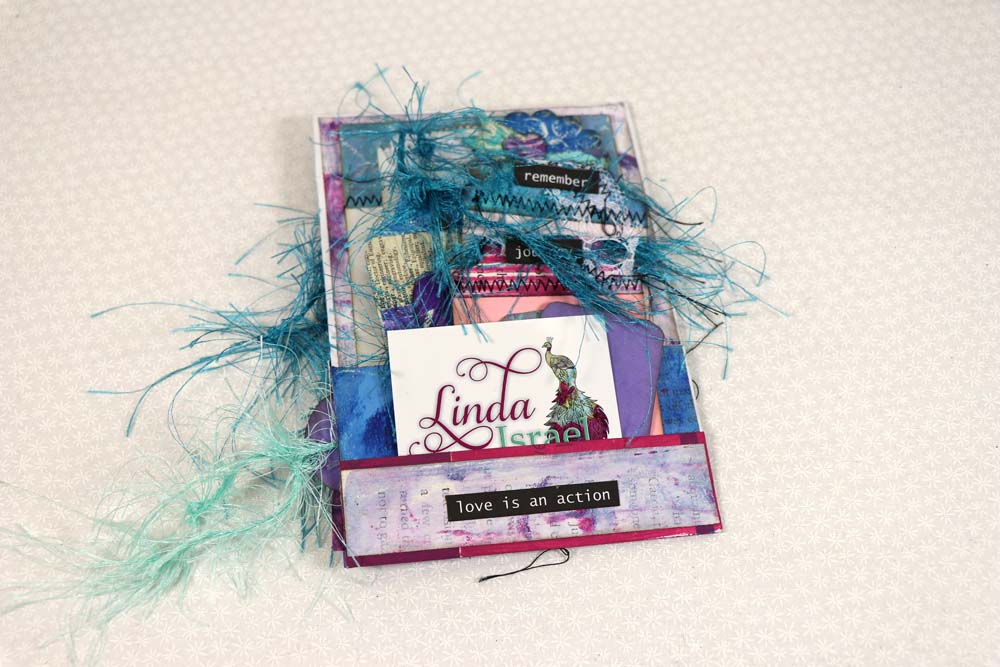
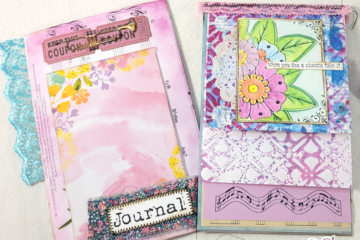
Select an envelope from that pile of junk mail or bills. Fold up one edge so that the envelope is now about 4 inches wide by 6 inches tall. Add an additional fold to create a tiny pocket or tuck spot out of the portion that was folded to make a pocket.
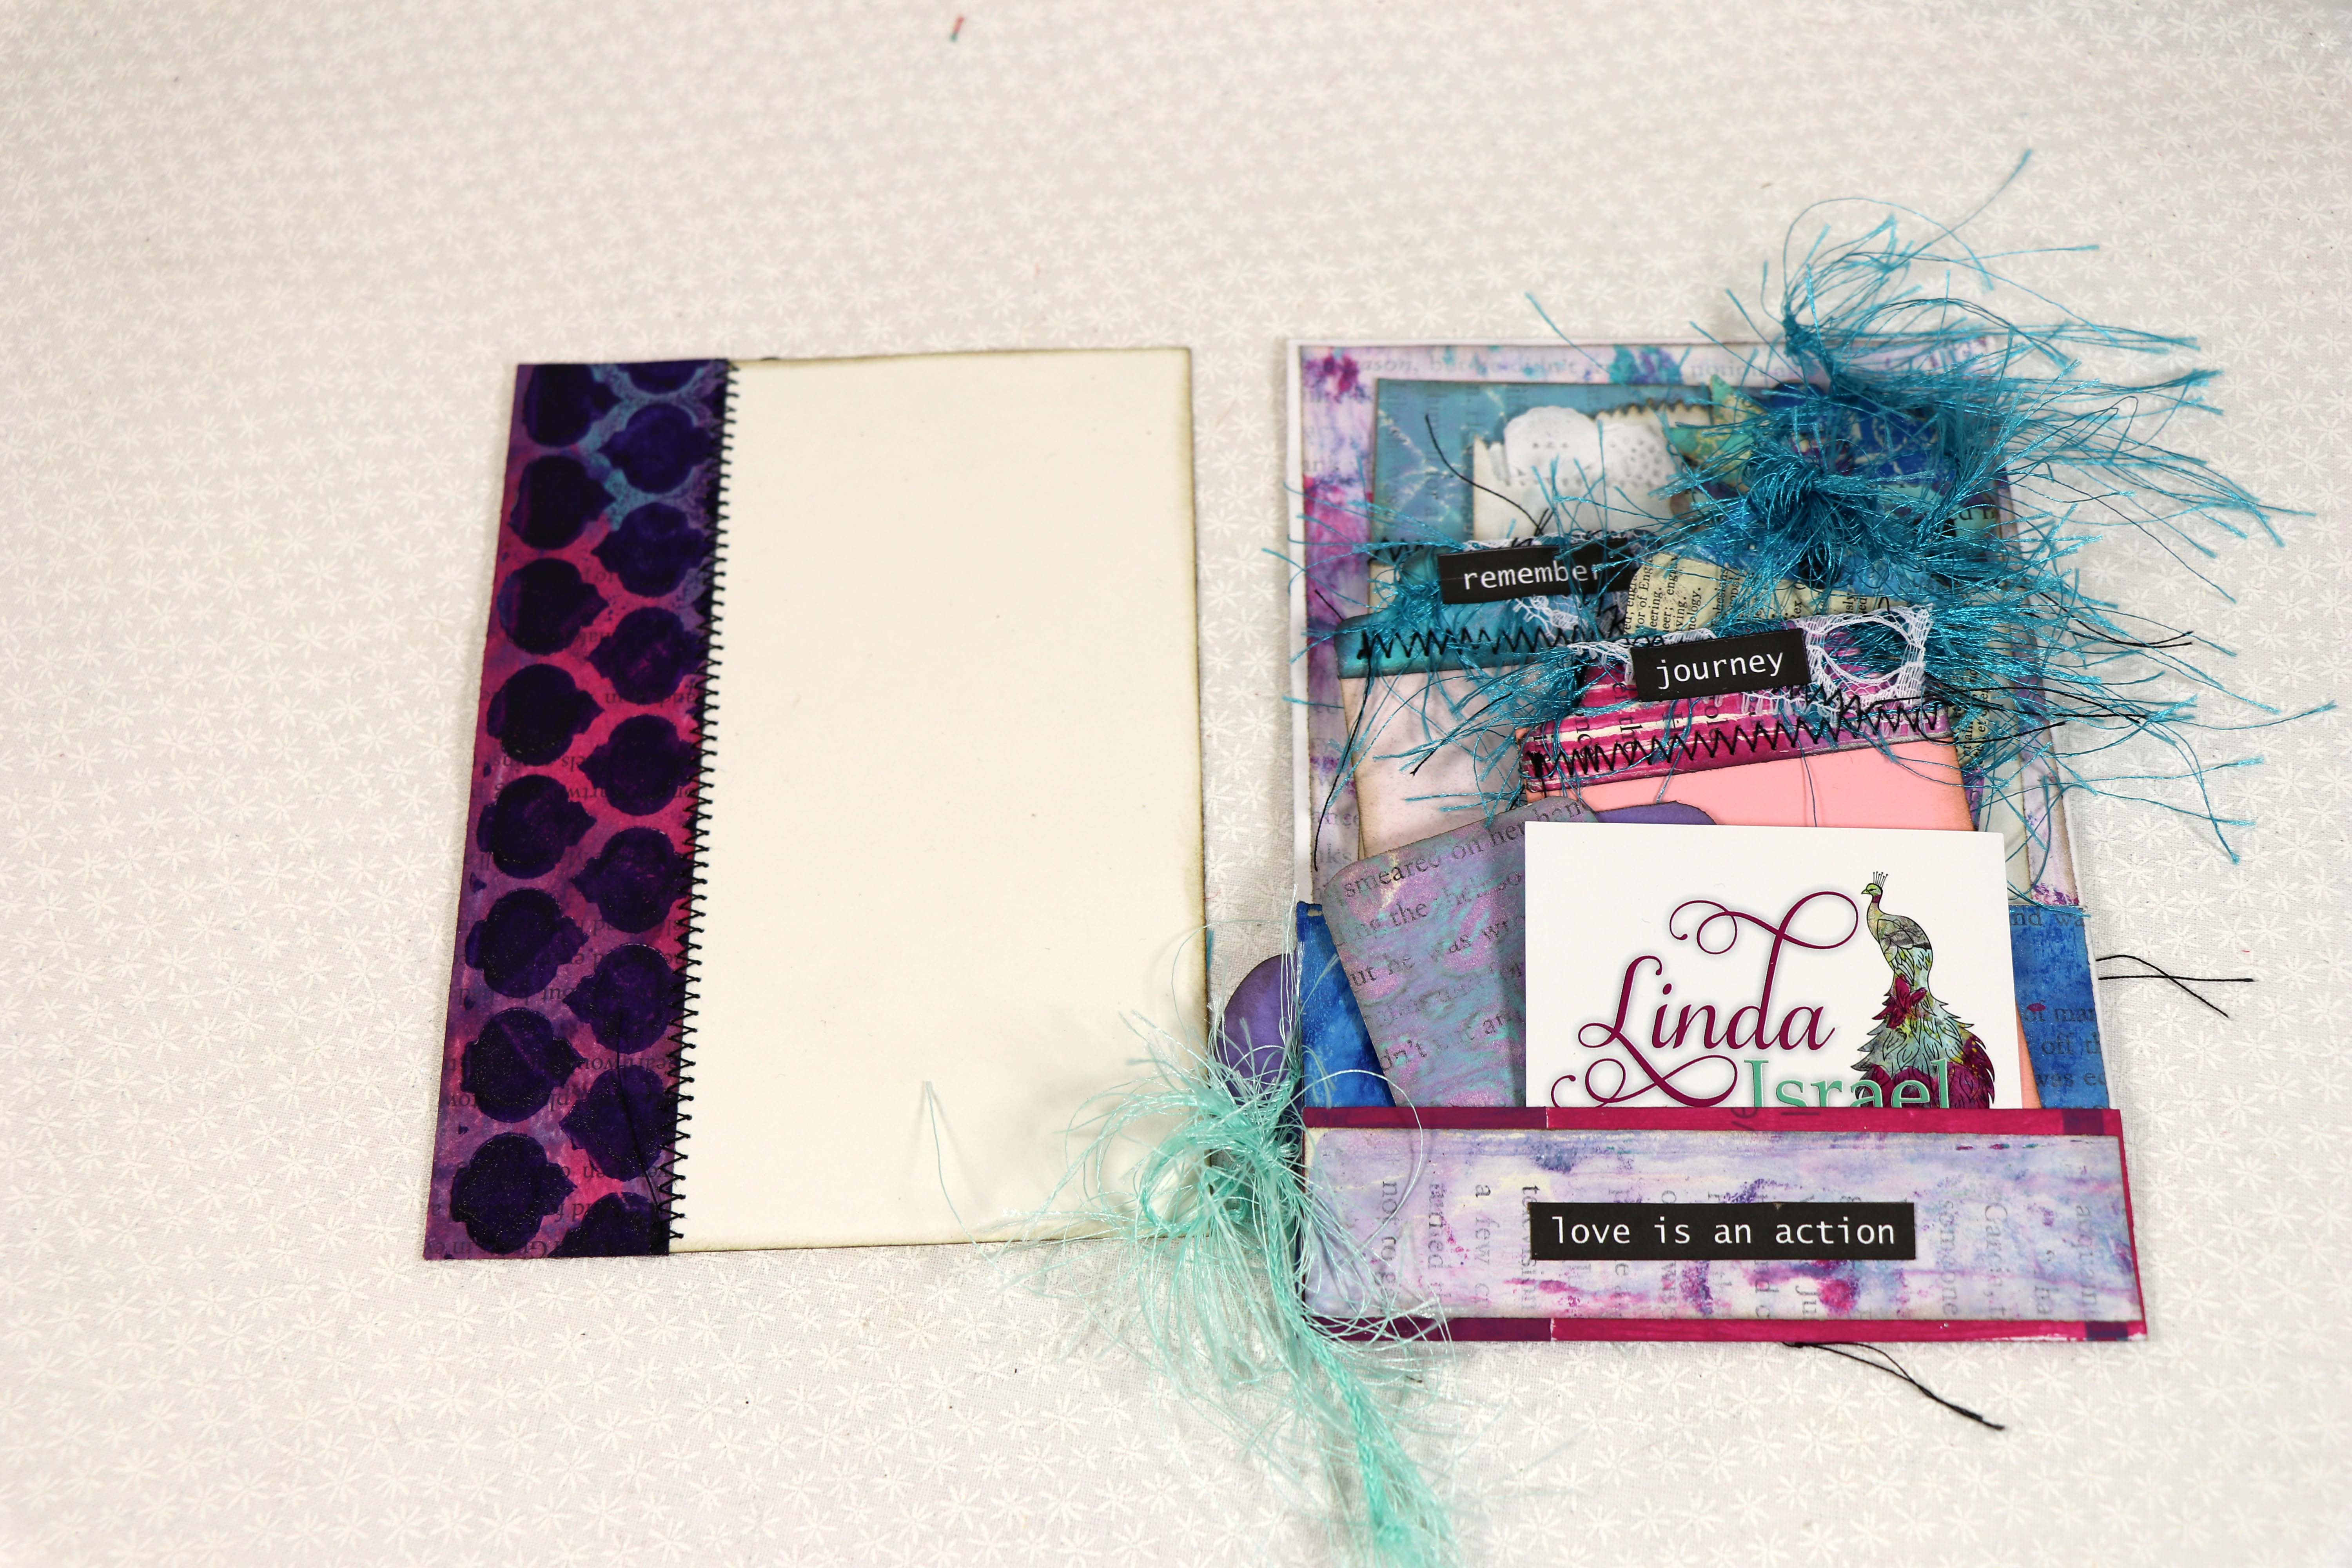
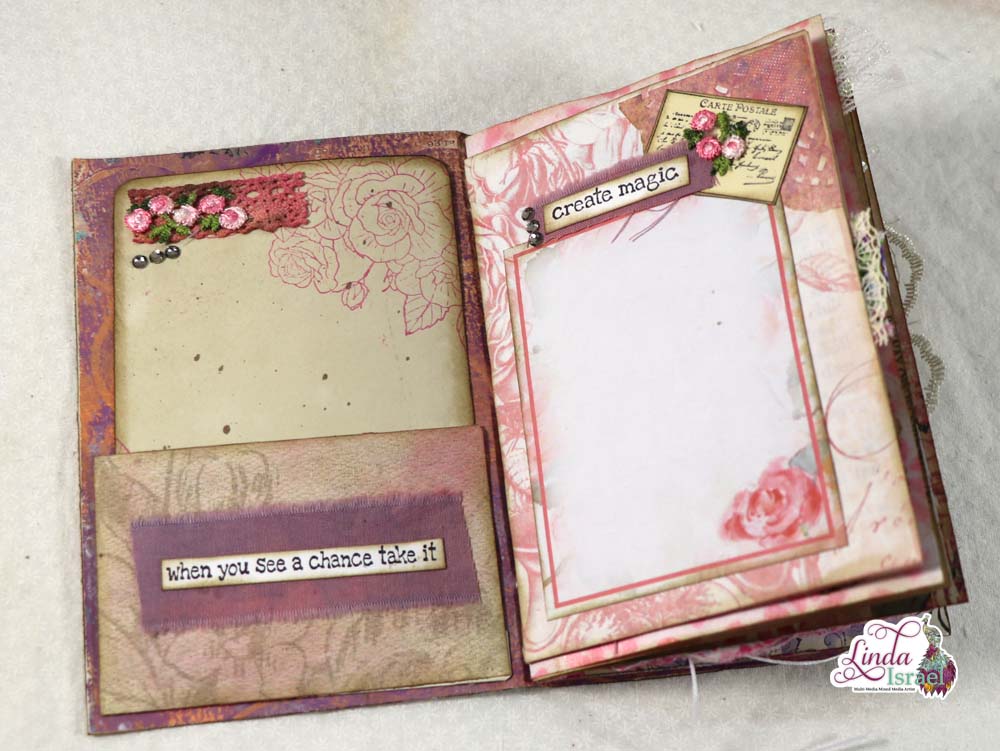
Paint areas to add a bit of color that can be seen behind the scraps. Craft paint is perfect for adding touches of paint and to cover up areas on the envelope you don’t want to see.
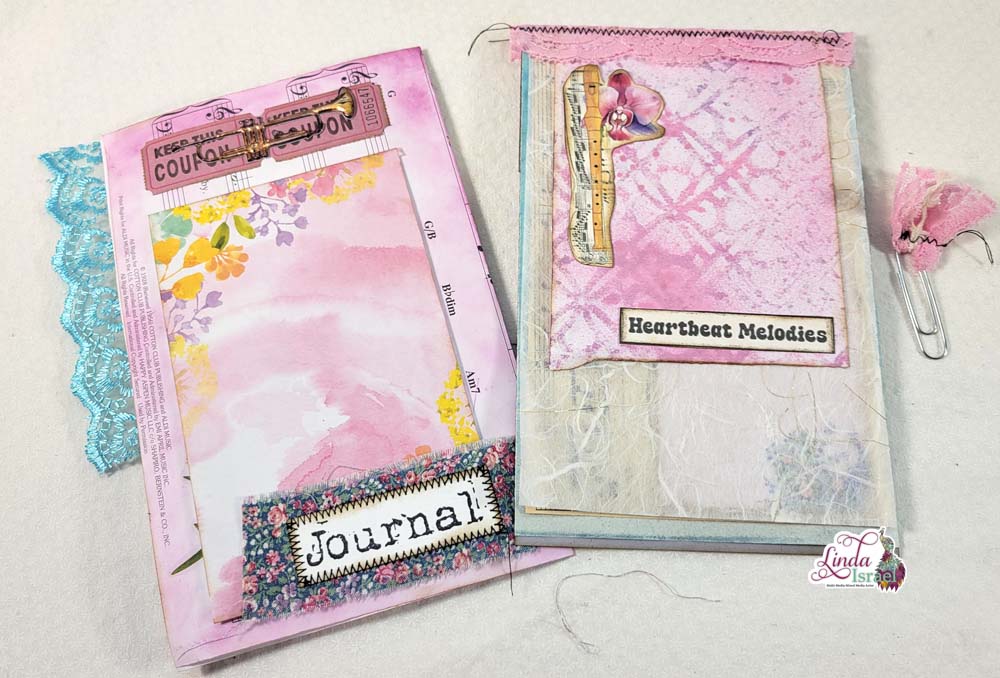
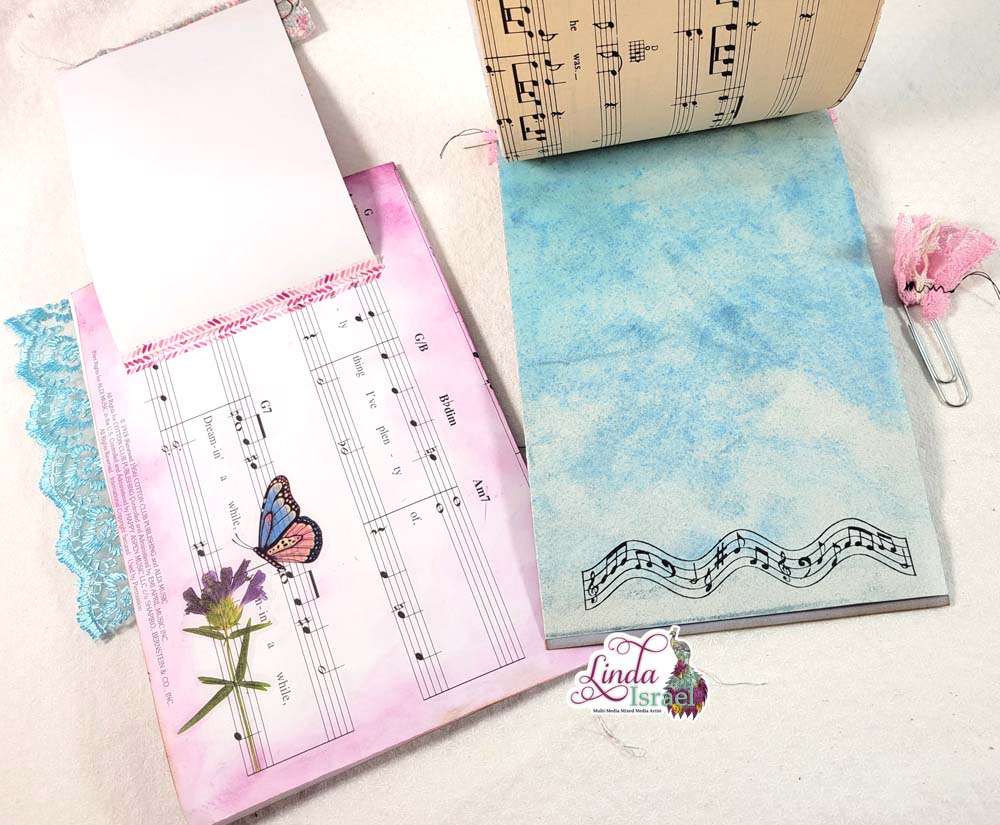
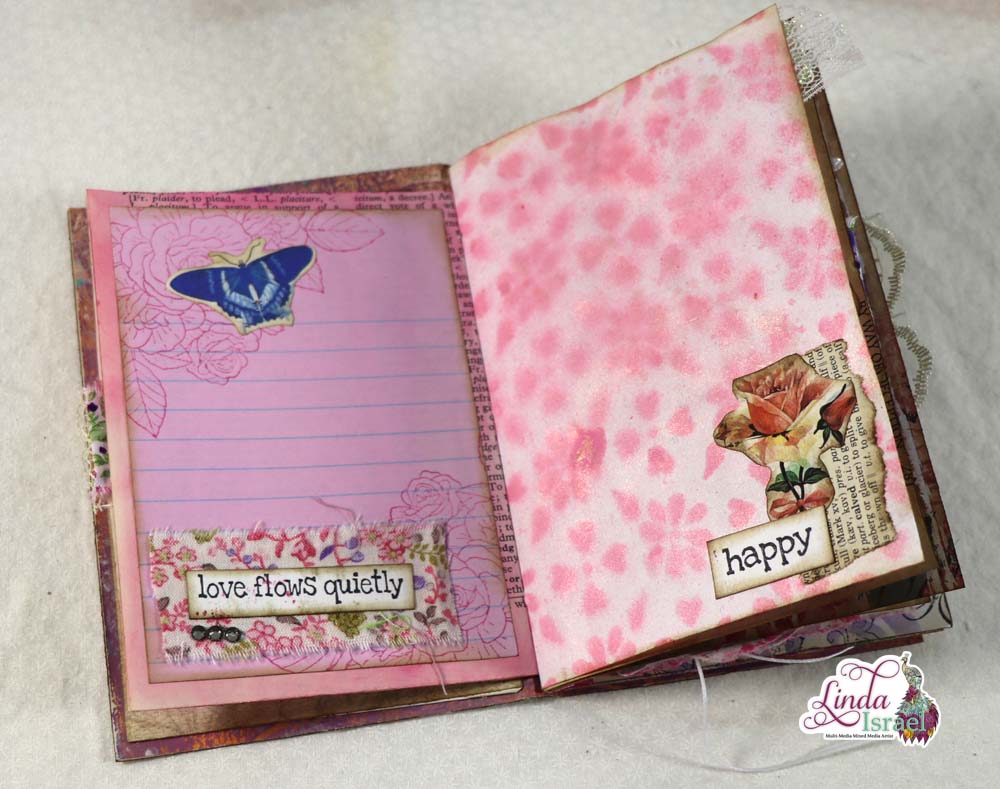
Determine the measurement of the front, back and pocket areas. Cut scraps of Gel Prints, scrapbook paper and more to fit each portion. The pieces that will be behind a pocket don’t have to go all the way down if you want to save paper or don’t have enough.
Apply distress inks to the edges of the pieces. Adhere the scraps of paper over each area. Once all the pieces have been glued into place, adhere the pocket down the sides so that it will remain a pocket. Refer to the video for more details on where to apply glue.
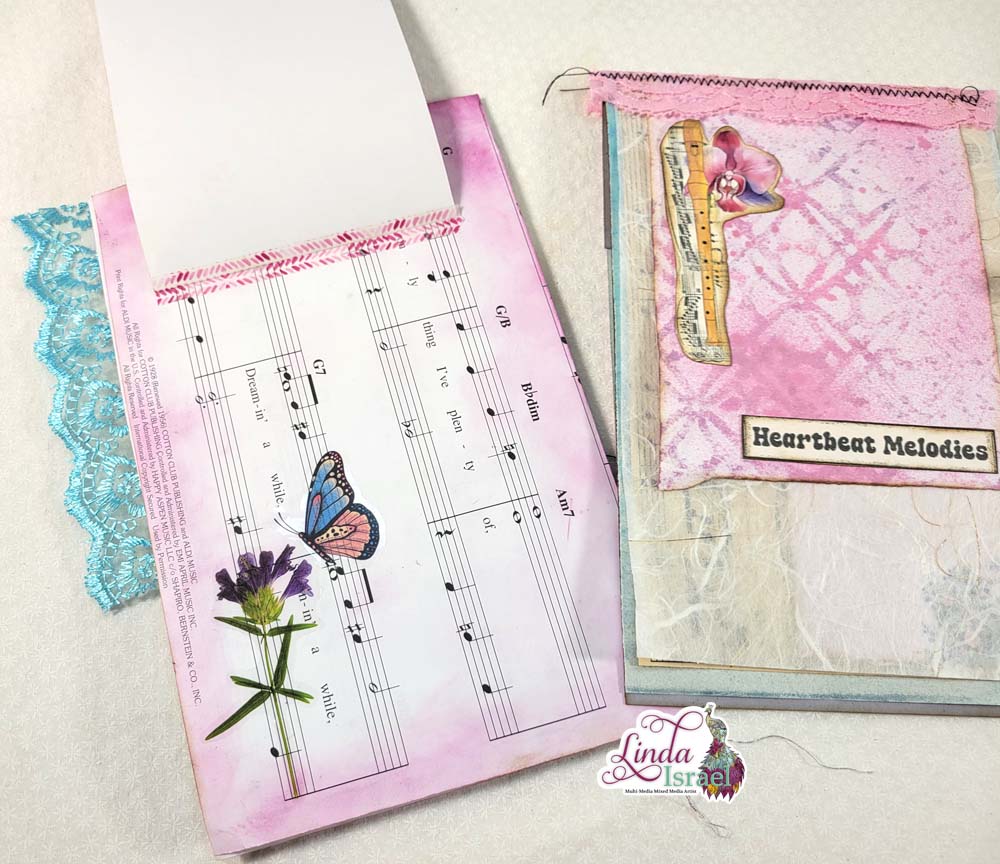
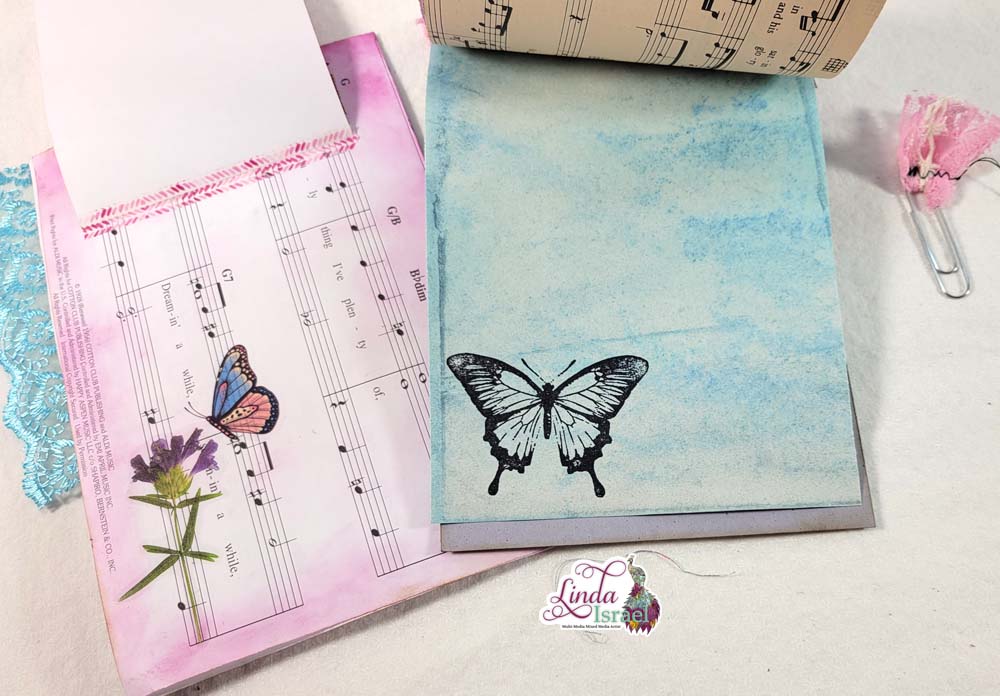
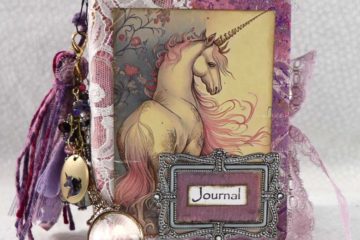
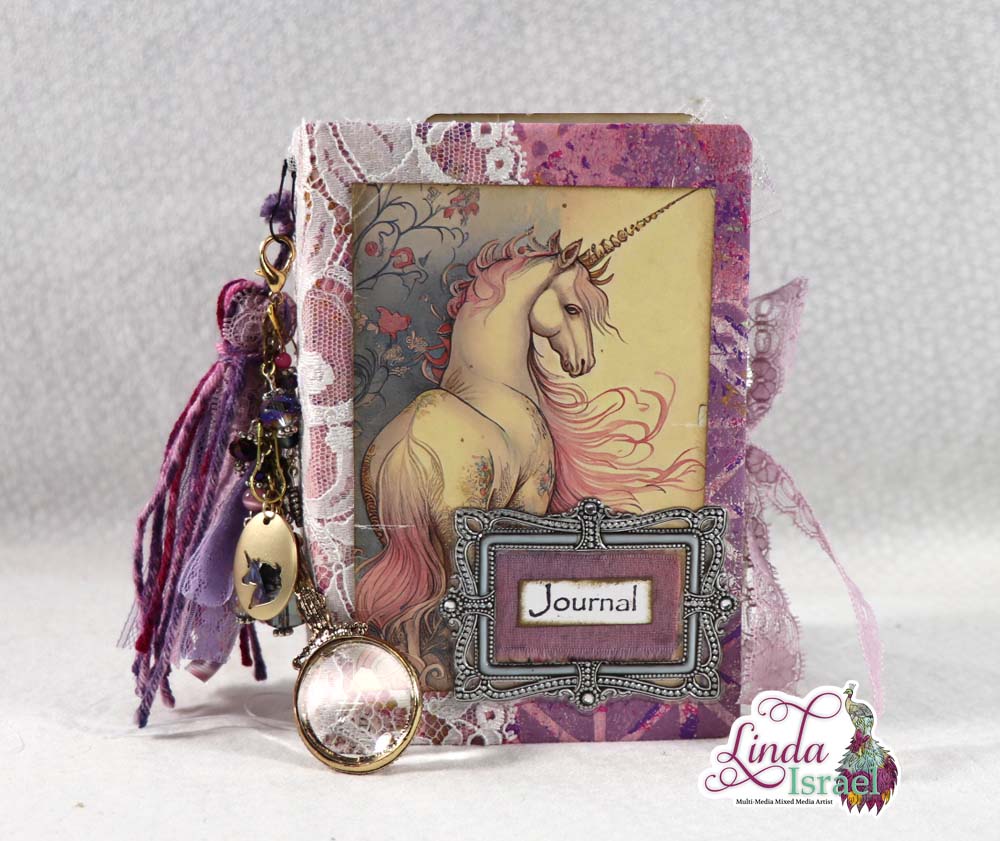
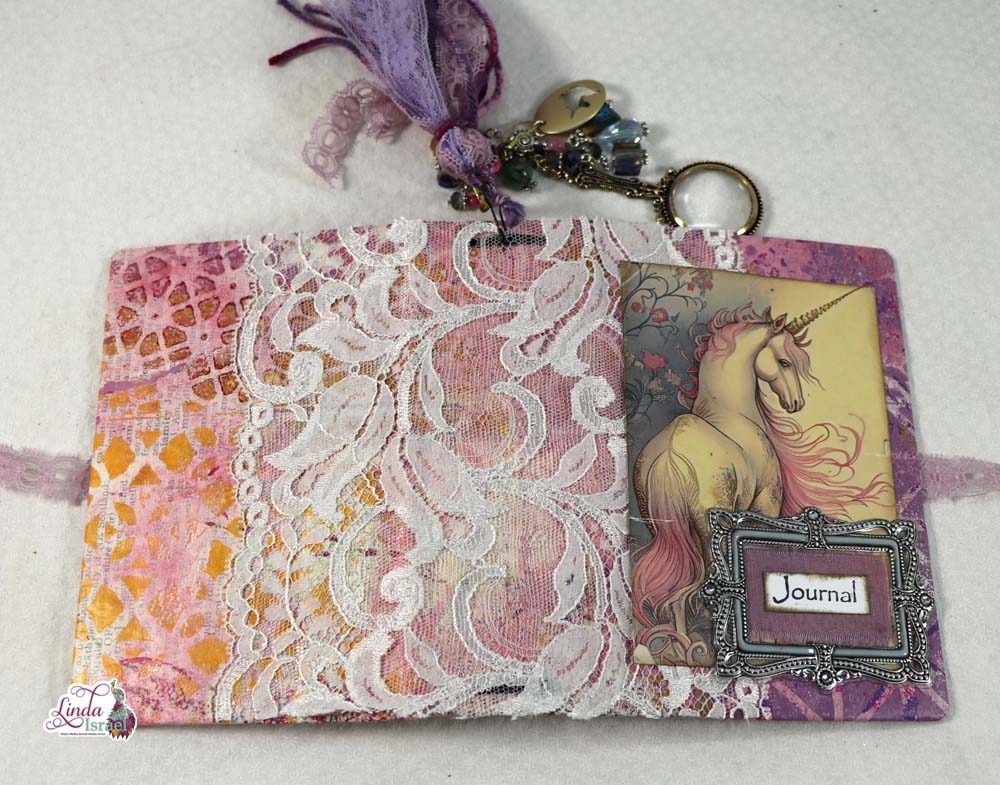
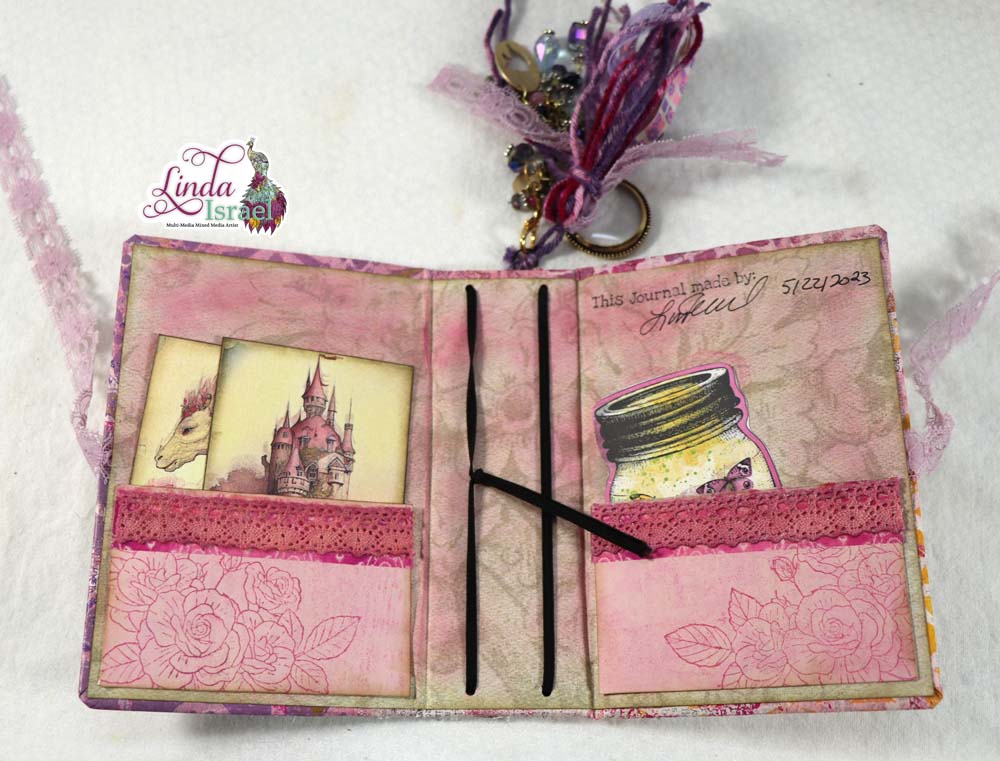
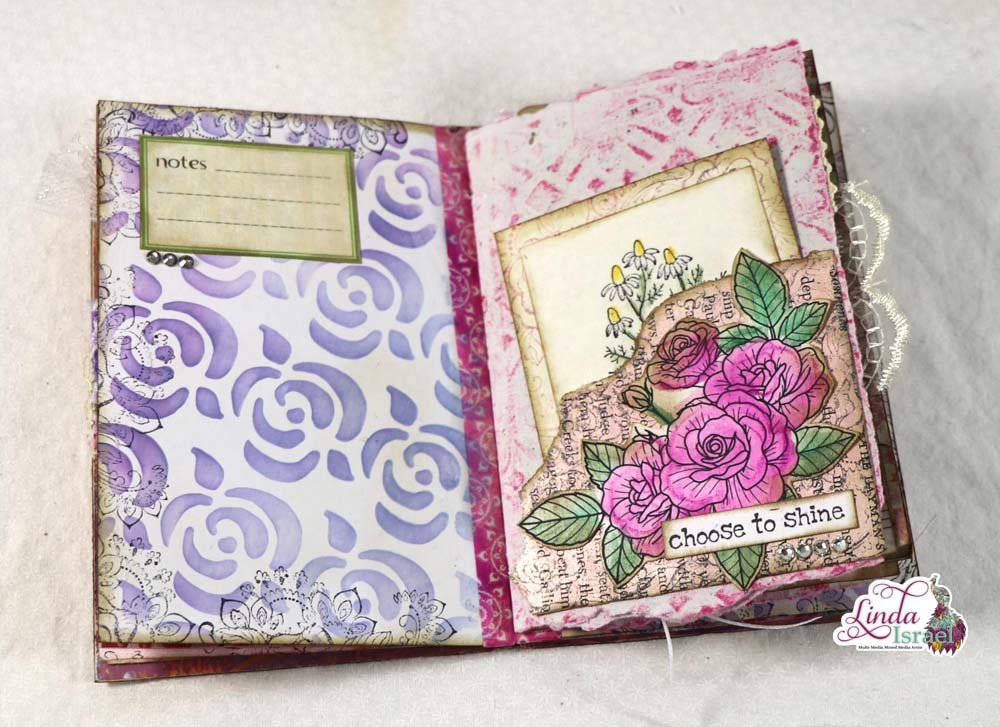
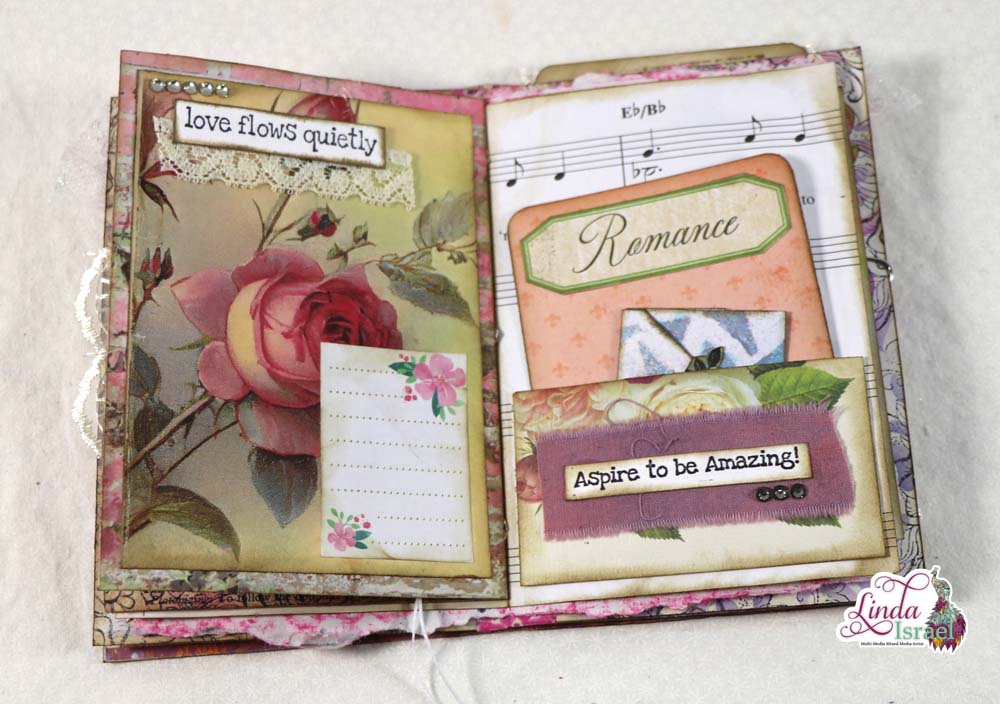
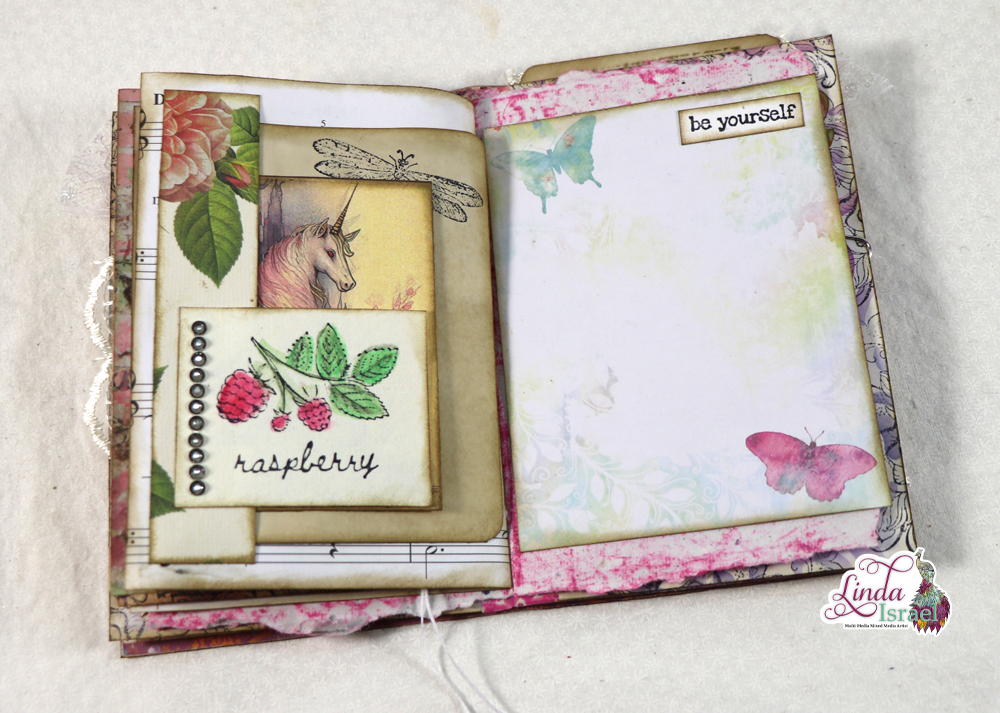
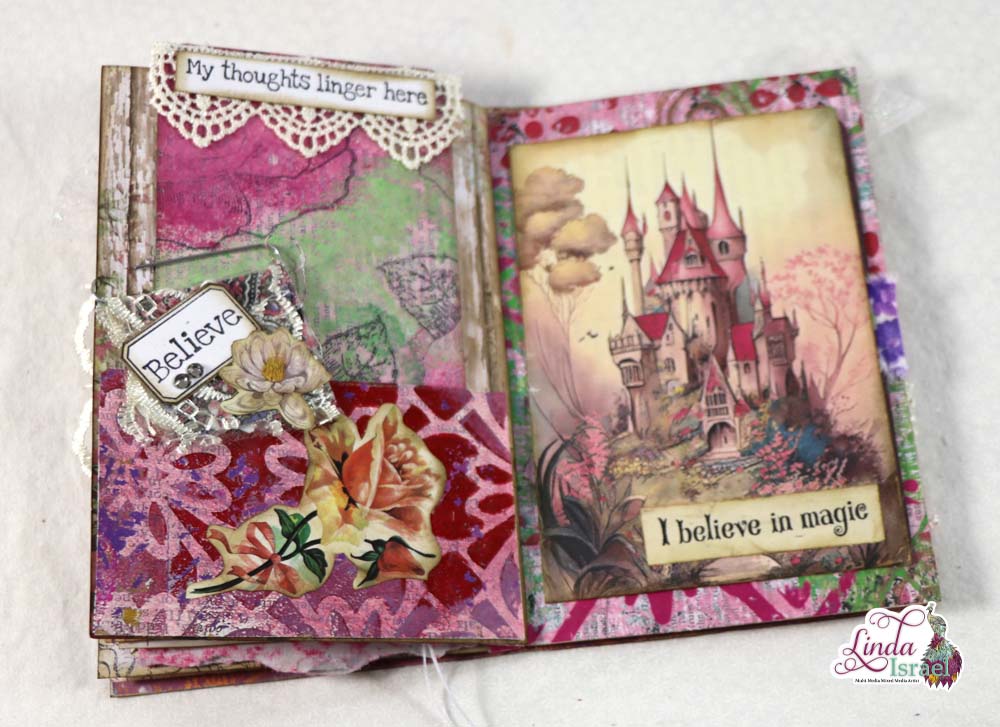
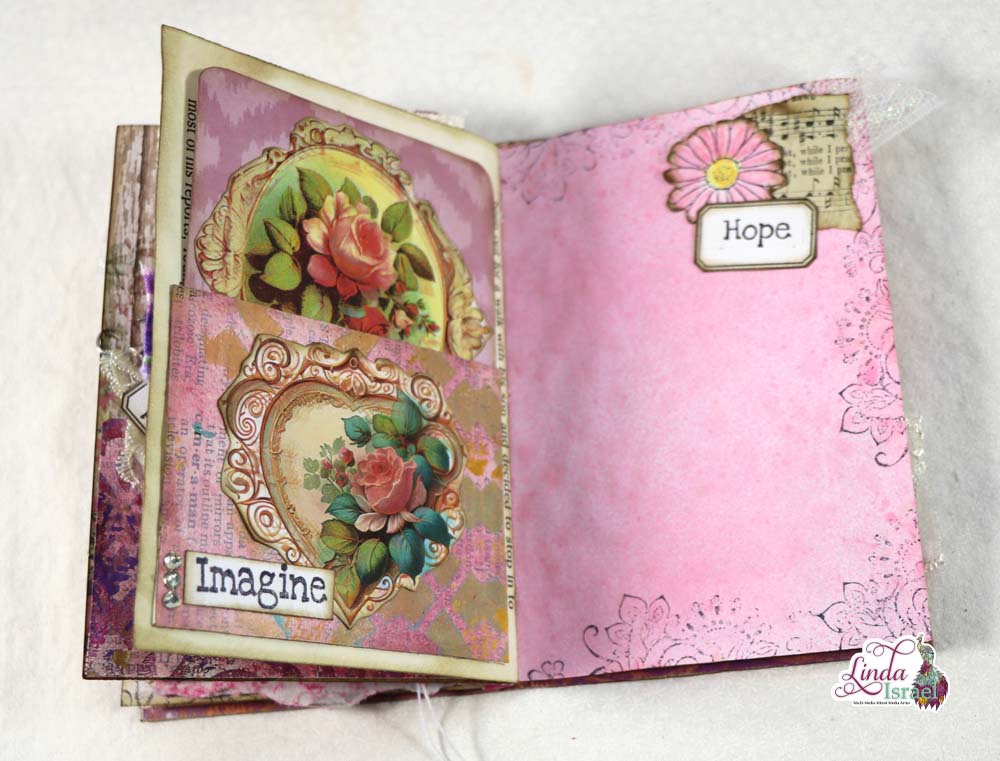
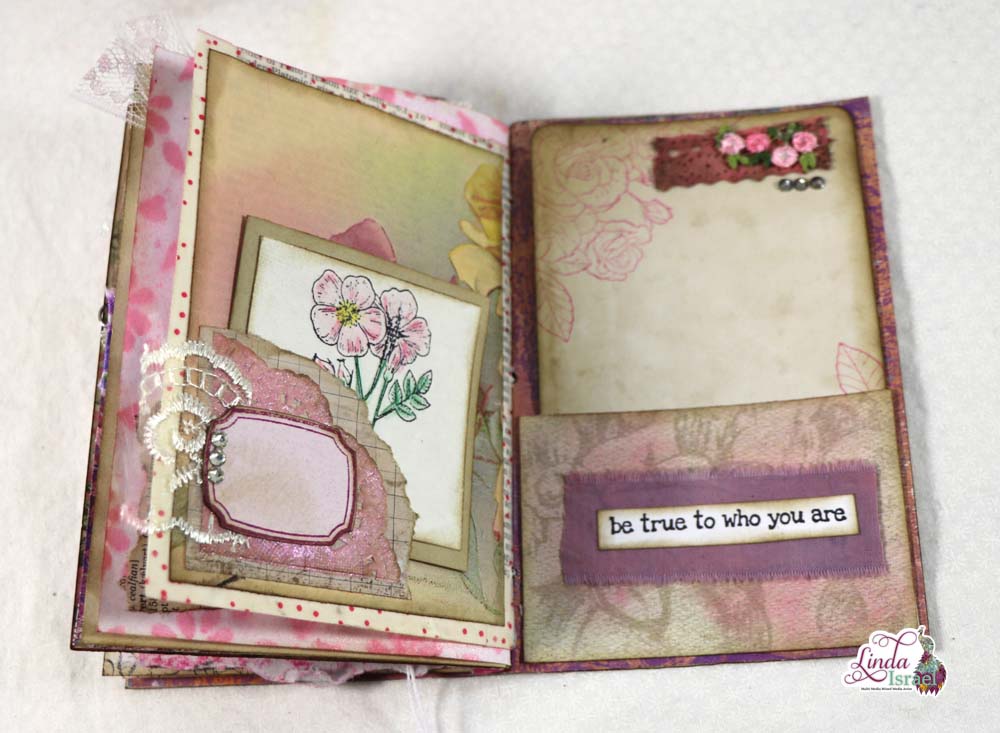
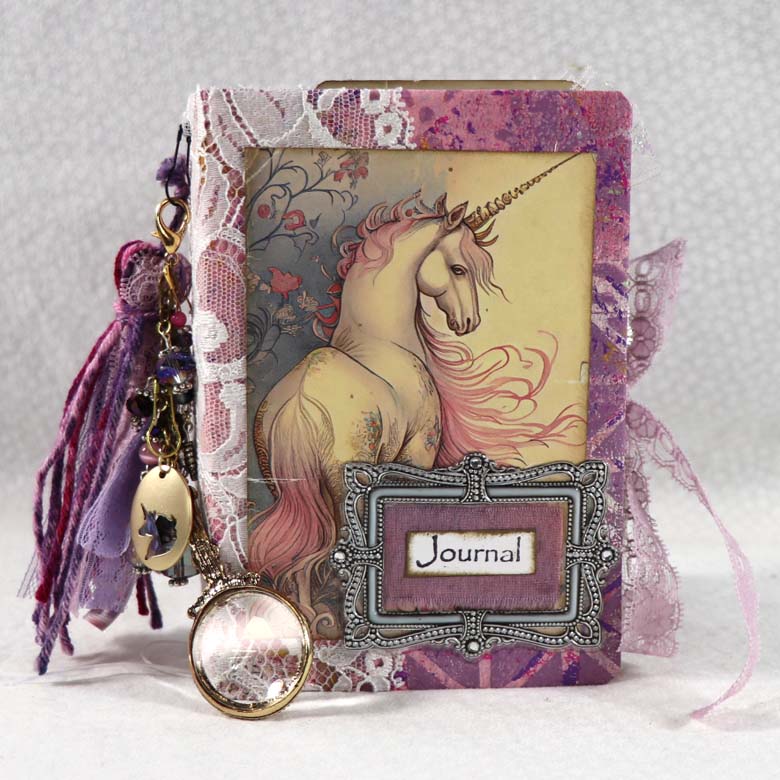
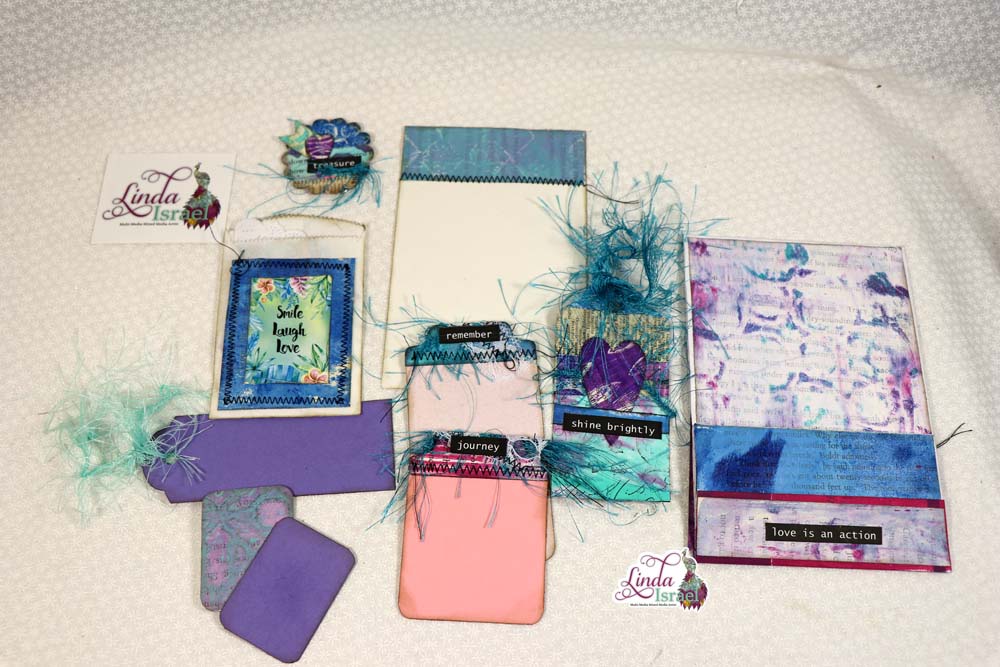
While making this Loaded Envelope Tutorial I kept in mind how I planned to use it in a project. There is a journal I will be making that I thought this would be perfect to slide into a pocket or tuck spot. Then the user can remove this to use the elements. Because I like to keep things fairly flat inside the journals, I only put flat embellishments and items in the loaded envelope.
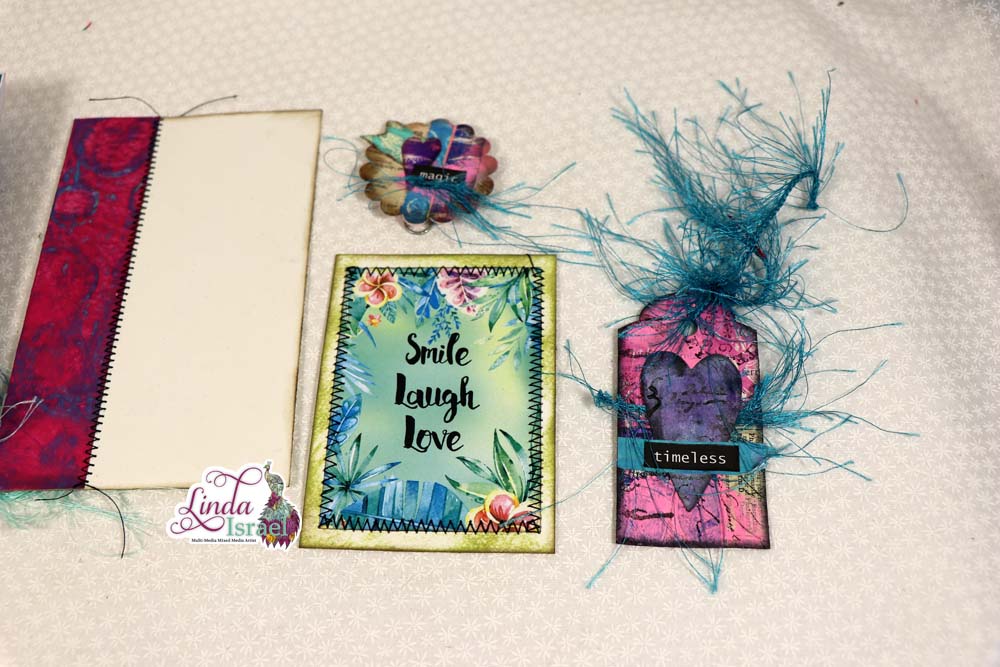
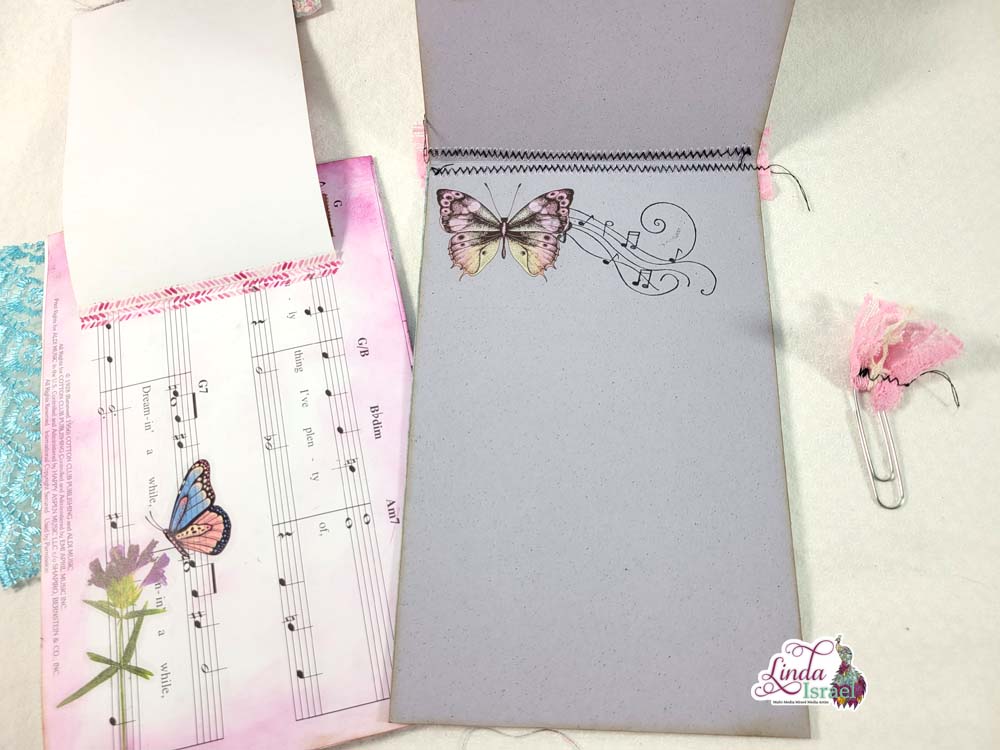
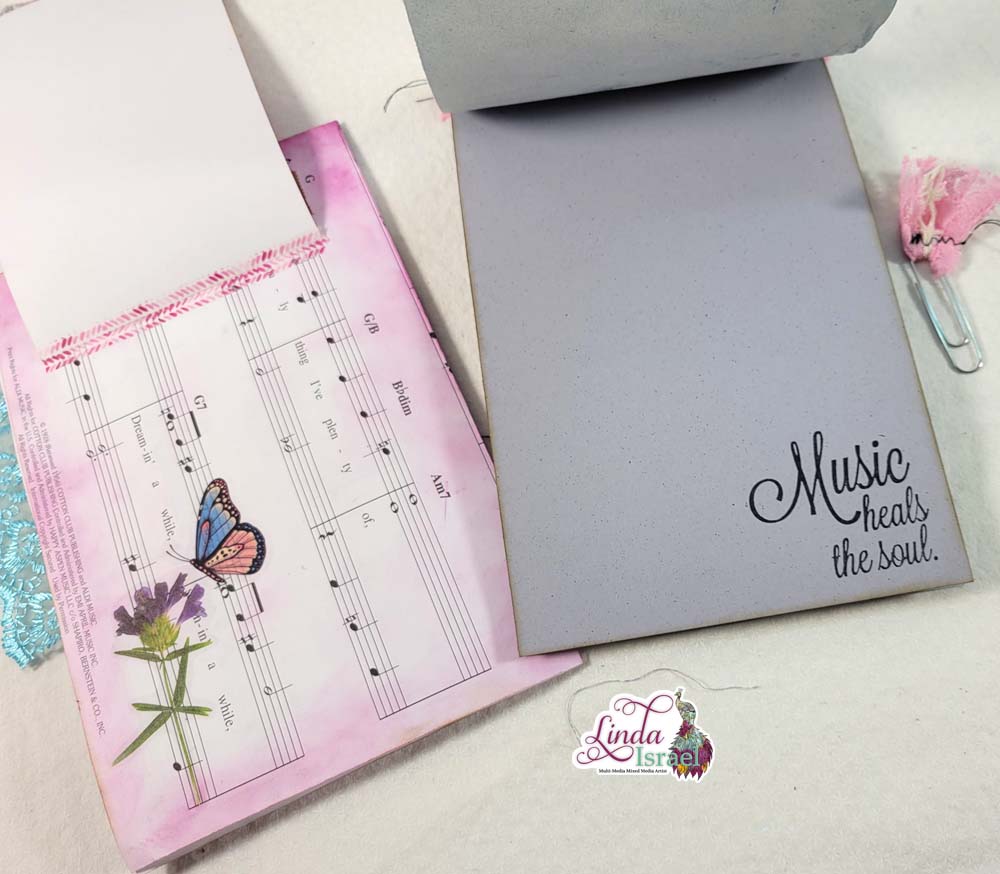
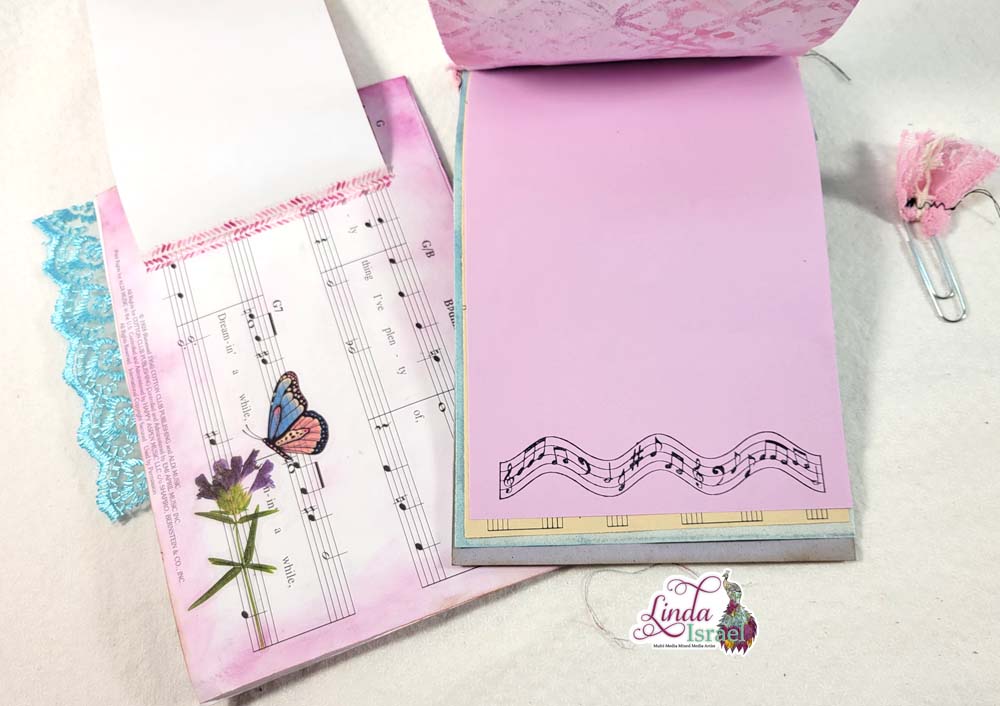
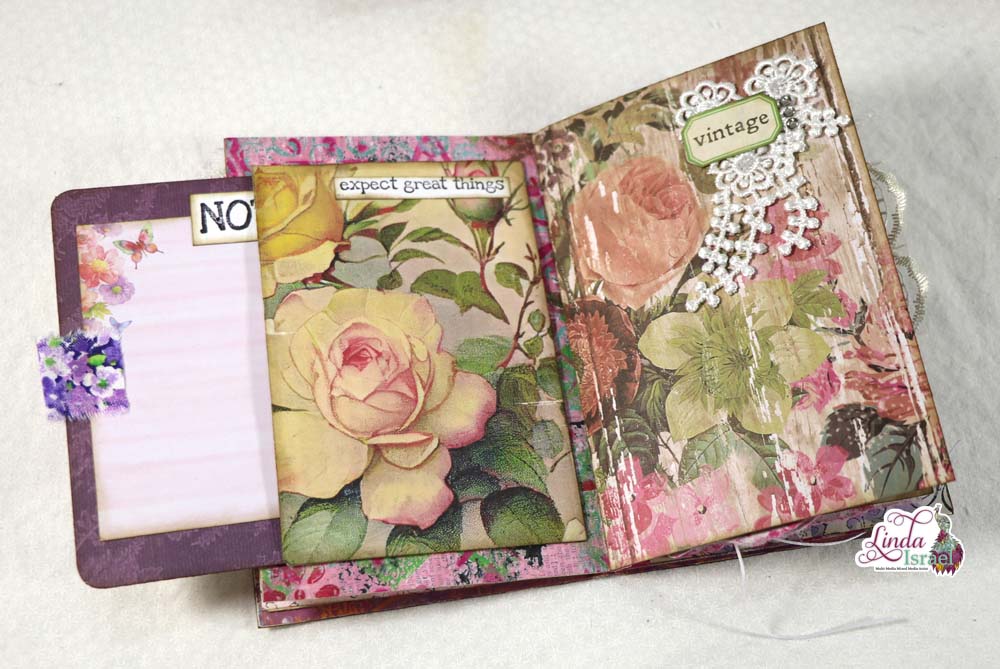
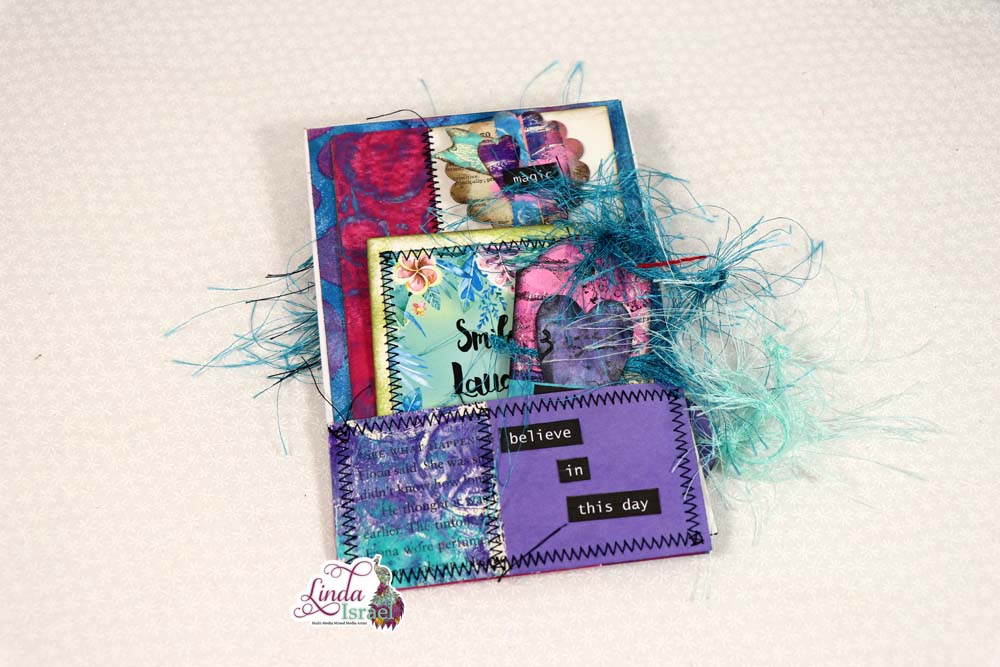
Inside the loaded envelope think about what can be useful for someone else. Journal Cards and Tags are great as those can be used to give to another person. These could also be used as bookmarks and of course to write upon.
Altered paper clips and tabs are great to use to mark places in books, journals, and planners.
Find out the favorite color of the person you will be gifting to and make different elements that are in the favorite color or theme.
Have fun creating Christmas gifts this year. Now that you have seen the Loaded Envelope Tutorial, you can use up that junk mail and scraps for fabulous gifts.
Make sure that you visit the other artists that have created tutorials. Look for other posts using the tag: #12daysofjunkjournalgiftideas.
- Playlist of the videos
- Carie Pickett Brownlee
- Cara Brandon
- Tinisha Denise
- Nina Kumenius
- Jewele San Miguel
- Julie Freeman Fischer
Support me so that you continue to see more tutorials and inspirational projects Become a Patron! When you give me your patronage you will get an exclusive digital download featuring art I created that has now been made into a digital journal kit.
Make sure to check out the Friendly Junk Journal People Facebook group. Of course, you are welcome to join the Friendly Junk Journal People Facebook group. The group is growing daily and we are a friendly group willing to help each other and encourage each other.

Interested in any of the journals I created? Please feel free to contact me through my Facebook Page. Here is my shop, I have a lot of items uploaded and add more weekly.
Keep updated on my posts by following me. Follow my blog with Bloglovin. Or Follow my Facebook Page or on Instagram for updates that may not be shared on my blog.
Thanks so much for stopping by my blog today to see Day 5 of 12 days of Junk Journal Gift Ideas the Loaded Envelope Tutorial.